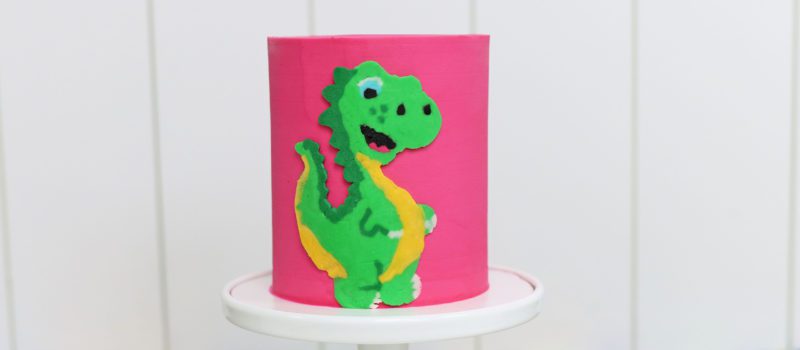
Cakes with a cute or recognizable character are really popular but it’s difficult to replicate all of those tiny details onto a cake. Here’s where buttercream transfers come in: you can trace an image and then put it on your cake!
If you prefer to watch a video of this tutorial, scroll to the bottom of the page.
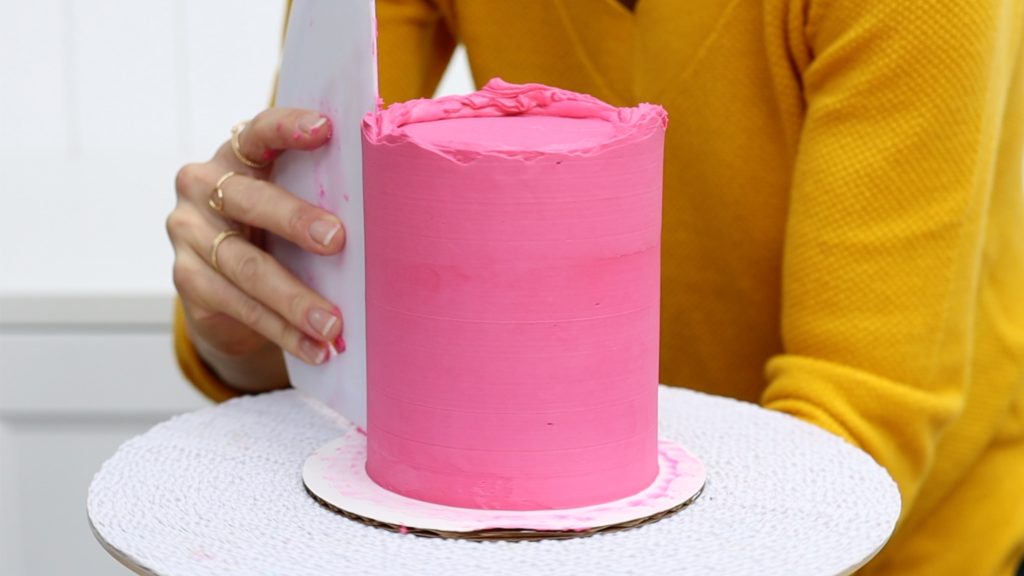
The first step is to frost your cake. It’s best to start here because then you’ll know how much space you have for your design, so you can choose the size of your character. Also, the frosting needs to set before you transfer your design, so after you frost the cake it needs to sit in the fridge for at least an hour while you prepare your design.
Now for the fun part: the character!
Print out an image, making sure it will fit within the height of your cake, and tape it onto a flat surface like a tray or cutting board, something you can move around easily later. Now put a piece of parchment on top, or wax paper or baking paper, lining it up so that the bottom edge is at the bottom of the design, which makes the transfer onto the cake the easiest.
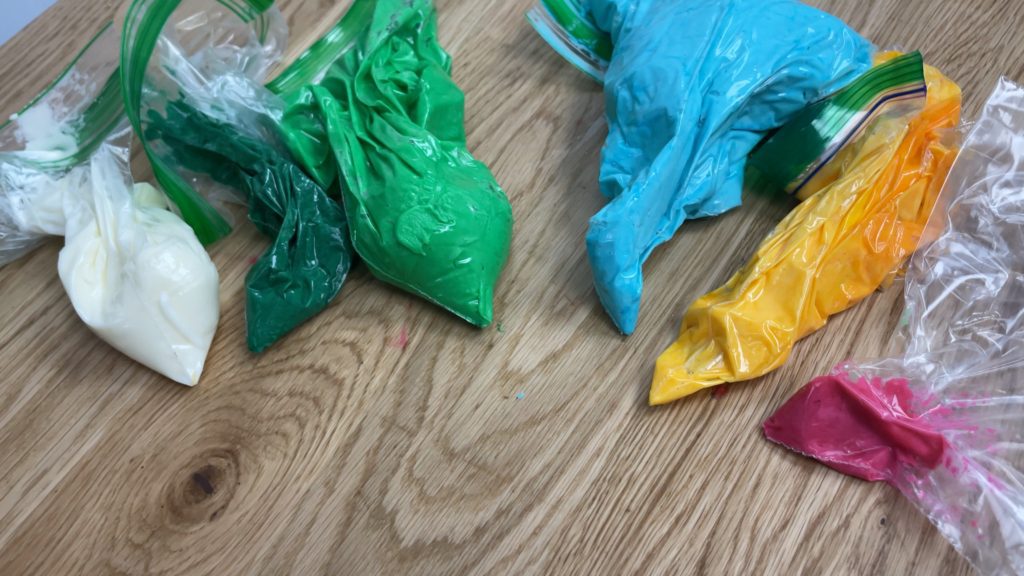
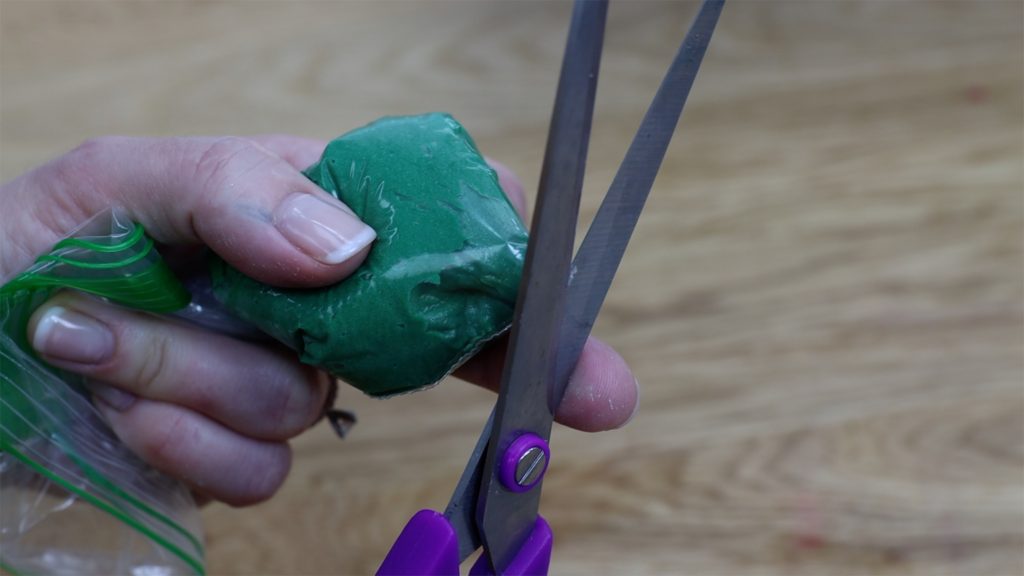
Mix all of the colours you need for your design and put them in piping bags or ziplock bags. You only need a tiny bit of each colour. Cut a little piece off a corner of each ziplock bag, or piping bags if that’s what you’re using, or you can use a small round piping tip like a #2 or a #3.
Use one colour at a time, starting with the smallest details. Squeeze the buttercream out to outline a section and then fill it in by zig zagging the buttercream within the outline.
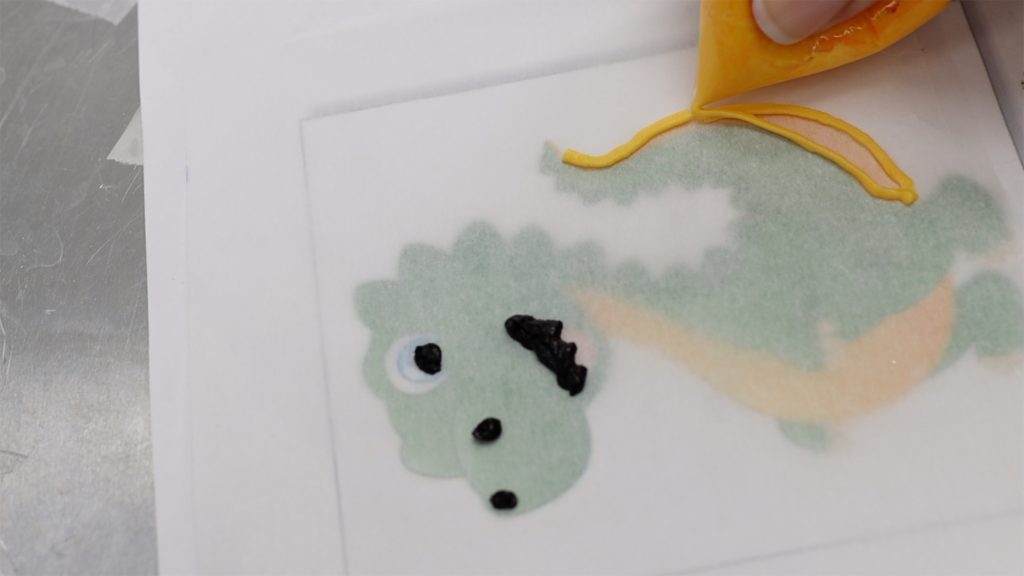
You can use a toothpick to spread the piping around, pushing downwards because you want the buttercream to be pressed flat against the parchment paper, which is the side of the design that’s going to be visible. This side you see here is going to be pressed against the cake so this texture on the buttercream is fine.

To pipe a colour right next to another colour, chill the design first by putting the tray in the freezer for 5 minutes. That sets the first colours so when you pipe beside them, the new colour won’t distort the first colour. I like using ziplock bags for this because I don’t have 7 small round piping tips, which is the number of colours I’m using for this design. Save the colours after you finish piping because you’ll need them later.
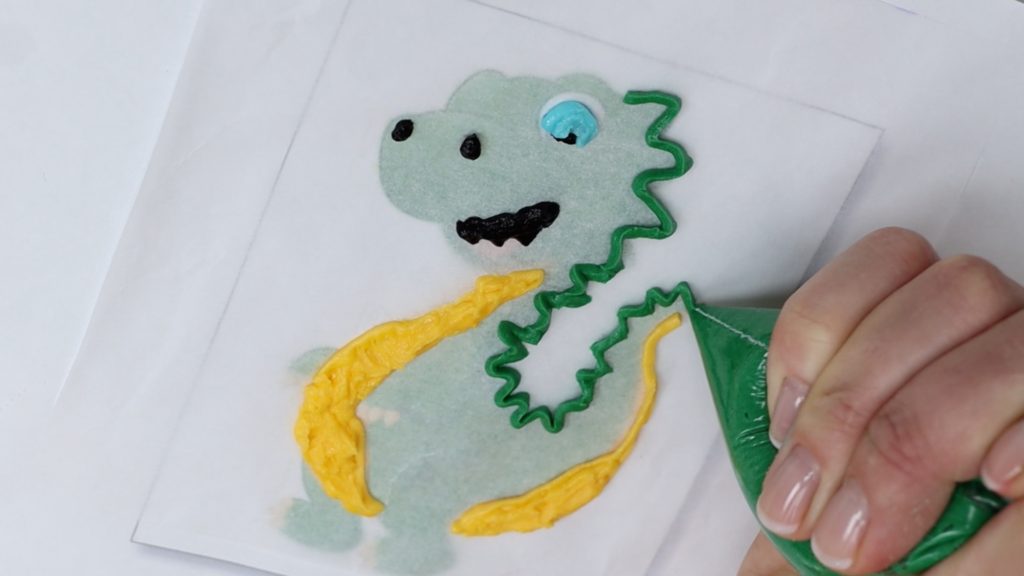
When you’ve done everything else, put the design back in the freezer for another 5 minutes to chill everything.
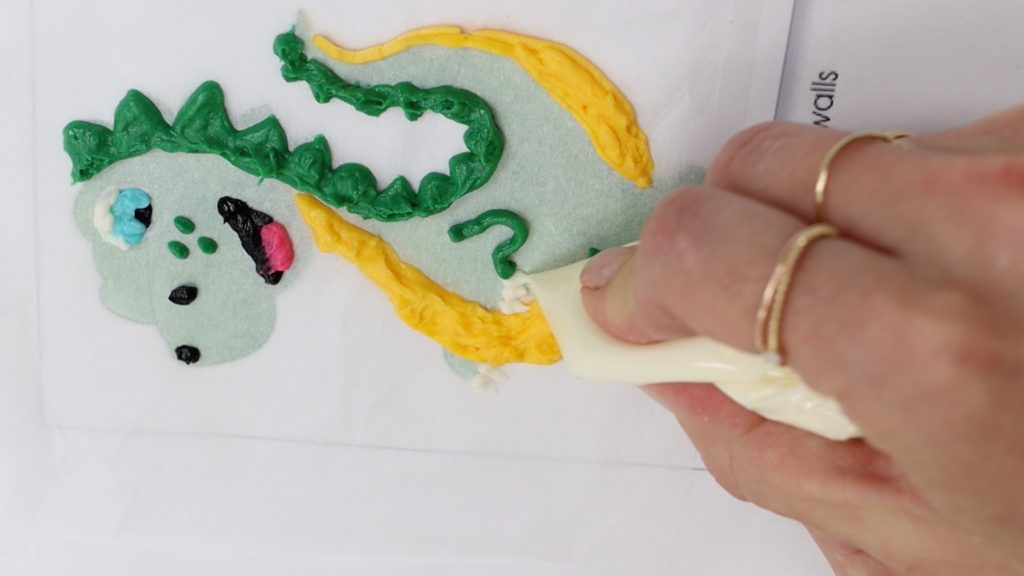
Then outline and fill the shape with the final colour. It’s fine to pipe over the other coloured details because remember, no one will see this side of the design. Use an offset spatula to spread this final colour, pushing it down against the parchment to push out any air pockets and also, by flattening and smoothing this side of the design you’ll create a level surface while will attach best to the cake in a minute.
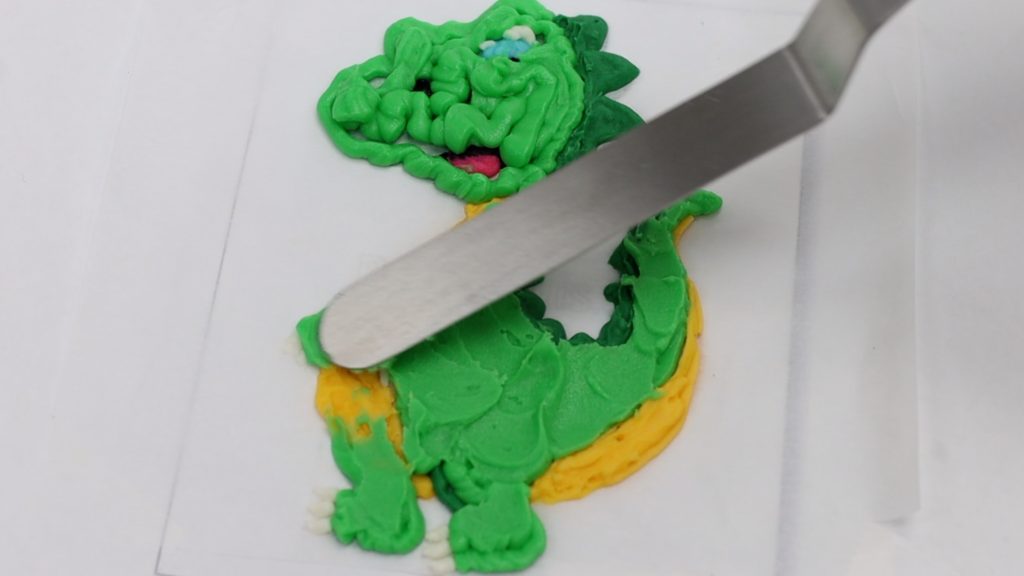
As soon as you’ve finished the design, transfer the design to the cake. You want to do this straight away, while that biggest section of coloured buttercream is still soft and sticky, so that it attaches to the cake. Take your cake out of the fridge and the frosting should be cold and firm. Lift your character up on the parchment paper and line it up against the cake. Press it against the cake, pushing gently against the parchment paper all over the design to stick it to the frosted cake.
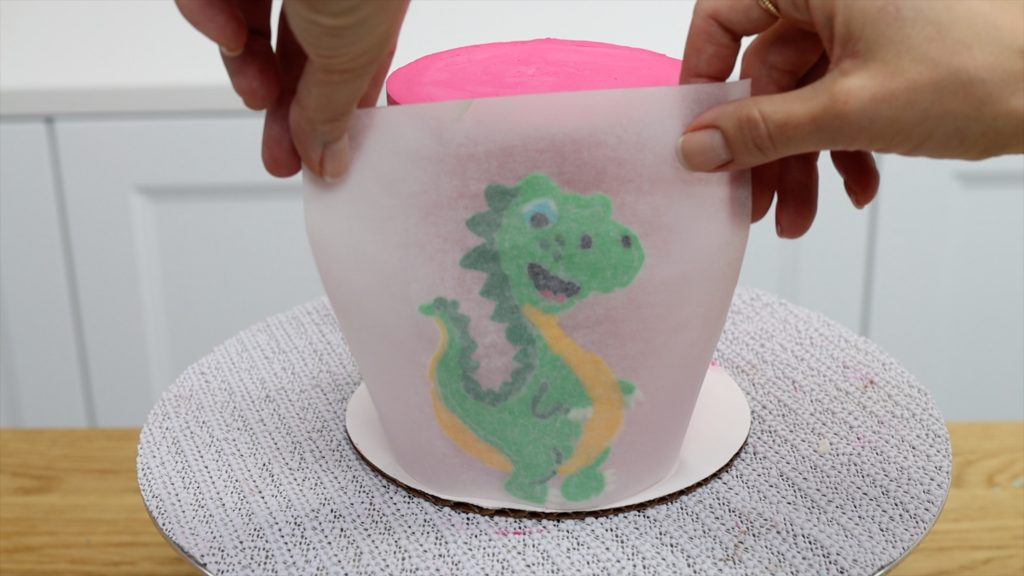
Don’t remove the parchment yet! Put the cake back in the fridge for an hour or in the freezer for 15 minutes to set the character on the cake and then peel the parchment off to reveal your character! We still need to do some touch ups so don’t be put off by the air pockets in the design.
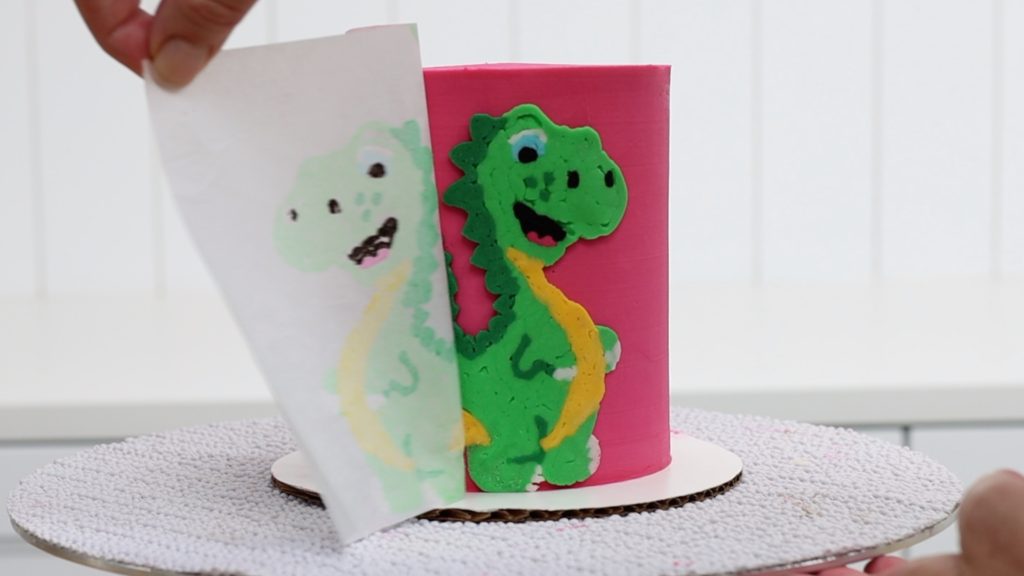
Use the leftover buttercream from piping your design to cover up any air pockets, doing one colour at a time and then scraping off the excess with an offset spatula to smooth it. Since the character has been chilled, it’s okay if you pipe or spread this touchup buttercream over other colours of the design because you can scrape it off without damaging the rest of the design, since it’s cold and firm and will hold its shape.
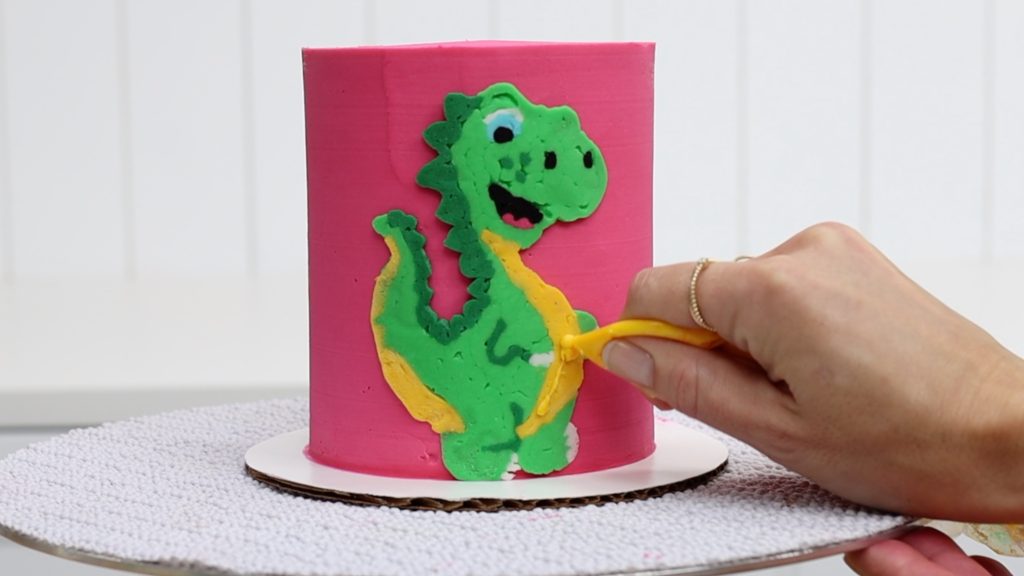
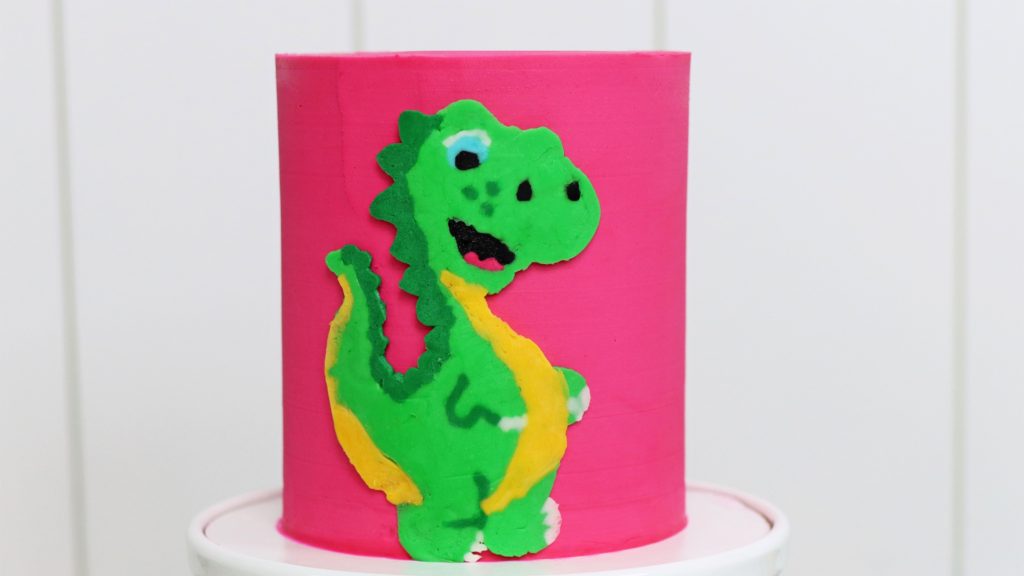
Do as many touchups as you like, until you’re happy with the result. Tracing the character keeps everything in proportion and it’s much easier than piping a design straight onto the side of a cake, and it creates a perfectly flat design!
Take my FREE course on 10 Frosting Techniques and check out my online cake school for LOTS of courses on hundreds of cake designs and techniques.
Here’s the video version of this tutorial:
