Up next in 10


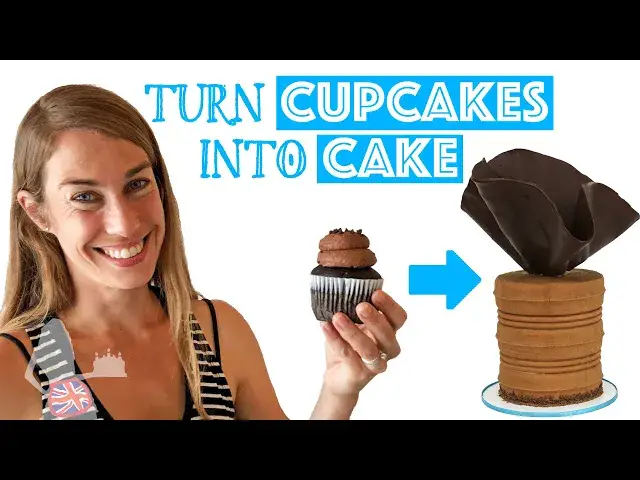
In this cake decorating tutorial I share a fun hack to turn cupcakes into cake! This is perfect if you don't have the right size pan for your cake or if you baked extra cupcakes and want to make something special with them.
For my 4 Minute Buttercream frosting recipe and tutorial click here: http://www.britishgirlbakes.com/recipes/buttercream-frosting/
To read this tutorial (with photos!) instead of watching it click here:
For my tutorial on 5 Tips For Perfectly Textured Cakes click here: http://www.youtube.com/watch?v=WvtQmhfVO2I
For my tutorial on Chocolate Sails 5 Ways click here: http://www.youtube.com/watch?v=umhNWdeiVkE
For my online cake school click here: https://britishgirlbakes.teachable.com/courses
SUBSCRIBE to my channel for new cake decorating tutorials every week!
Show More Show Less View Video Transcript
0:00
In this tutorial I'm going to show you how to turn cupcakes into beautiful little cakes
0:05
Bake your cupcakes as normal, and if you like, after they cool you can put them in a Ziploc bag and freeze them for up to a month
0:11
to save time on the day you assemble and decorate your cake. If you do this, take the cupcakes out of the freezer and leave them at room temperature for about an hour to thaw before you start
0:21
You can do this with any flavor of cupcakes, but I'll be using vanilla and chocolate cupcakes for this tutorial
0:27
For each little cake, you'll need one or two cupcakes, cupcakes and some buttercream in a piping bag or just in a bowl is fine. If you baked your
0:34
cupcakes in wrappers peel those off now. This means that you can bake a batch of cupcakes
0:39
and later decide to turn some into cakes, or you might choose to use wrappers so that the
0:44
cupcakes don't stick to the pan when you bake them. Use a serrated knife like a bread
0:48
knife to cut your cupcakes horizontally into two halves, or you can cut them into thirds
0:52
I'm going to use one and a half cupcakes for each of my little cakes, so I'm cutting my
0:57
cupcakes into halves and I'll use three cupcakes, so six layers, to make two cakes of three
1:03
layers each. You can drizzle the cupcakes with simple syrup if you like, which keeps them
1:08
moist if you're not going to eat the cake on the same day, and you make simple syrup by simmering
1:12
equal parts of water and sugar together until the sugar dissolves. You'll notice that the
1:17
top halves of the cupcakes are wider than the bottom halves, and this doesn't matter after you
1:21
frost the cake, but if you want the layers to be perfectly straight when you cut into the cake, you can
1:26
You can trim the top halves with a knife or use a round cookie cutter
1:30
To assemble your cake you need a cake board and I like to do this on a non mat on a turn table Pipe or spread a dollop of buttercream onto the middle of the cake board to act as glue to attach the cake Push a cupcake layer into the butter cream lining it up so that it in the center of the board
1:47
and then pipe or spread a layer of filling on top. I'm using my 4 minute butter cream for this, and the link for the recipe and tutorial is in the top of the screen and in the video description
1:57
Place the next cupcake layer on top, add another layer of filling, and then another cupcake layer
2:04
If you're enjoying this tutorial, please click the thumbs up button to like it
2:08
and subscribe to my channel for new cake decorating tutorials every week
2:12
Spin the cake around to check that it's straight, and push down on one side if you need to adjust it a bit
2:18
Now chill the cake for about an hour in the fridge or 30 minutes in the freezer to set the filling
2:22
and that dollop of buttercream on the cake board, so that the cake doesn't slide around as you frost it
2:28
You can see that the sides of the cake aren't straight, because cupcakes are tapered, but that's fine
2:33
We're going to cover this all up. Now that the cake is cold, pipe or spread buttercream onto it for the crumb coat
2:39
It's easiest to pipe it on, since the cake is so small that spreading it straight on is a bit tricky
2:44
but you can do whatever you prefer. Cover the cake completely with buttercream
2:49
and then use a frosting smoother to scrape off the excess buttercream, creating a cake with straight sides
2:55
You don't have to use buttercream for this, you can use ganache or whipped cream instead
2:59
Tidy up the top edge by scraping the frosting that's sticking up over onto the top of the cake
3:04
Fill in any air pockets with more buttercream using your offset spatula and then scrape again
3:10
This crumb coat doesn't need to be perfect because its purpose is just to trap in any of the crumbs that come off the cake
3:16
You going to cover it up in a minute Put the cake back in the fridge or freezer for 30 minutes to an hour to set the crumb coat and then spread or pipe on the final coat of frosting You can frost and decorate these little cakes made with cupcakes however you like
3:30
and I'll show you two ideas now. For this first cake, I'm using chocolate cupcakes and chocolate buttercream
3:36
I'm smoothing the frosting around the sides, not worrying about the top edge yet
3:41
and then using a textured cake comb to imprint texture into the sides. tidying up the top edge, and then going around the sides again, filling in any parts I don't like with more butter cream, and then using the textured comb over that area again
3:56
I have a tutorial on five tricks for textured cakes, and if you'd like to watch that, I've put the link in the top of the screen and in the video description below
4:03
When I'm happy with the frosting, I'm putting the cake on a baking tray, and then pouring chocolate shavings around the cake board
4:10
I grated a bar of chocolate against the fine side of a cheese grater to make these shavings
4:14
The purpose of the baking tray is so that if any of them fall off the cakeboard
4:18
they get caught by the tray instead of going all over the counter. I'm using the back of my spoon to press the shavings into the sticky frosting on the cake
4:26
To decorate this cake, I'm going to make a chocolate sale with these chocolate chips
4:30
melted at 50% power in the microwave, spreading the melted chocolate onto parchment paper
4:35
or you can use wax paper, and I'm aiming for an even thickness, and getting it as smooth as possible, and then draping it over the top of a bottle to make an upside-down bowl
4:43
bowl shape. I have a full tutorial on chocolate sails and I've put the link for that
4:48
tutorial in the top of the screen and in the video description. After an hour in
4:52
the fridge I'm peeling the chocolate away from the paper and then placing the sail on top of my cake If the frosting has set you can spread some fresh buttercream onto the cake where you going to place the sail to act as glue I made this cake with vanilla cupcakes and I covering it with pink buttercream and then chilling it in the fridge for 30 minutes to set the frosting
5:11
I have a bowl of a few different shades of pink and purple buttercream, stirred a little bit together, but the colour is still very marbled
5:19
and I'm spooning this into a piping bag fitted with a petal tip. And you can see that this tip has a narrow end and a wider end, and I'm holding it facing downwards
5:27
with the wider end pressed against the side of the chilled cake. As I apply pressure to the bag, I'm pulling the bag slowly upwards
5:35
moving my hand from side to side to make the ribbons of buttercream wave back and forth
5:39
as they go up the side of the cake. I'm trying to space the ribbons evenly apart around the cake
5:46
Because there are lots of colours of buttercream within the piping bag, the ribbons have different shades of pink and purple within them
5:52
which adds a bit of interest to the cake. I don't like this ribbon, so I'm scraping it off with my first
5:57
frosting smoother and this works because the frosting on the cake has set because it's cold
6:02
so the frosting isn't damaged by the pressure of my frosting smoother as I scrape
6:07
I'm piping up above the top edges of the cake and I can tidy those parts up later
6:12
After piping ribbons all the way around the cake, I'm using my offset spatula to swipe the tops of the
6:17
ribbons, which are sticking up over the top edge of the cake, from the outside, towards the
6:22
middle of the cake, and then swiping them up with my offset spatula so that the ruffles are level
6:27
with the top of the cake. I hope you've enjoyed this tutorial. Please click the thumbs up
6:31
button to like it and check out my online cake school and the link for that is in the
6:35
top of the screen and in the video description. Subscribe to my channel for a new cake decorating
6:40
tutorial every week
#Arts & Entertainment
#Desserts
#Special Occasions