0:00
I love the pastel colours of Easter and there are so many cute cake designs for this season
0:04
I'm going to share four Easter cake decorating ideas that are easy but pretty and eye-catching
0:13
For gorgeous pastel shades of frosting, add just a drop of gel colours to buttercream
0:18
I know it sounds crazy but I like adding a teeny tiny bit of black to make the colours
0:22
more muted and romantic instead of super bright. Be conservative with how much gel you add because
0:28
you can always add more if you want to make it darker. Gel colours do develop and darken with
0:33
time so make the colour a little bit lighter than what you want. Even a plain cake looks like an
0:38
Easter cake when the frosting is a pastel colour like this. A sprinkle border is a quick way to
0:44
add colour and texture and detail to a cake. Optionally you can wrap your cake in parchment
0:49
and that will give you a neat straight band of sprinkles around the cake. There are lots of
0:53
Easter coloured mixes out there like this one by Sweetstamp and I've put a discount code in the
0:57
video description. Just pour the sprinkles out, scoop them up with an offset spatula or your hands
1:02
and push them into the frosting on the cake. To make a cute bunny stencil, draw an outline onto a
1:08
piece of parchment paper and cut it out. I like to cut the parchment long enough so that I can
1:12
completely wrap it around the cake and I'll show you why in a second. Line the stencil up so that
1:18
the bunny is wherever you want it to go and then spread buttercream over it to cover up the cake
1:22
that's exposed within the stencil. If the parchment wraps all the way around the cake it will hold
1:27
itself in place or you can use tape or pins to secure it but if you cut the parchment shorter
1:32
you'll have to press it against the frosting to hold it still and your fingers will warm up the
1:37
frosting on the cake and leave imprints on it. Scrape off the excess frosting and smooth it with
1:42
a cake comb and if it isn't flat, spread more frosting over any uneven areas and then scrape
1:47
again with your cake comb. Peel the parchment off and voila! I added a sprinkle border to the bottom
1:53
and now to jazz this bunny up a bit I'm going to pipe on some flowers to make a sort of headband
1:58
and I'm using a 2D star tip and a tiny drop flower tip, each in a piping bag with just a few
2:04
spoonfuls of buttercream. These tips both work by squeezing out the buttercream and then twisting
2:09
the tip to pipe all of the petals at once. It's slightly awkward twisting along the side of a
2:14
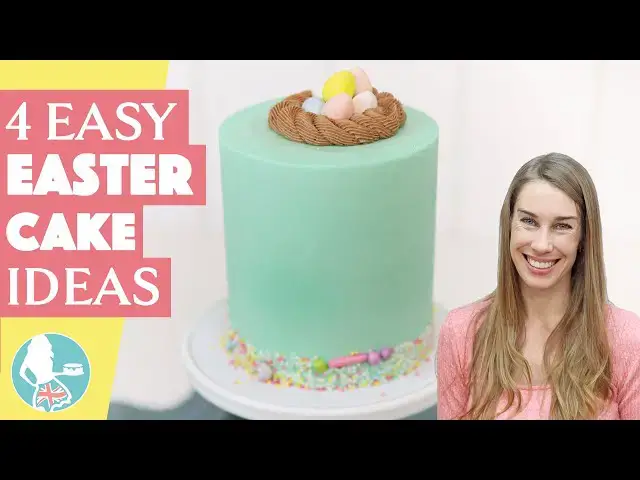
cake but I love the way these flowers look. Simple and quick but so pretty! Now let's make a chocolate
2:21
easter egg nest. Use any star tip but choose one that fits the size of your cake. This 1M tip is
2:27
too big for my little four inch cake so I'm switching to a number 199 open star tip instead
2:33
Press a round cookie cutter or the rim of a glass into the top of the cake as a guide of where your
2:38
nest will be and I'm using chocolate buttercream but you could use vanilla tilted with brown gel
2:43
instead. Pipe a rope border that will look like a nest by spiralling the buttercream in a circle
2:48
overlapping each circle or loop of buttercream with another one and the prongs of the star tip
2:54
will create ridges or grooved texture in the piping that makes this look like a nest
2:58
Add some easter eggs and you've got a pretty colourful easter cake that only took seconds to
3:03
decorate! I hope you've seen some ideas you like! Tell me in the comments which is your favourite
3:08
Happy Easter and thanks for watching