Up next in 10


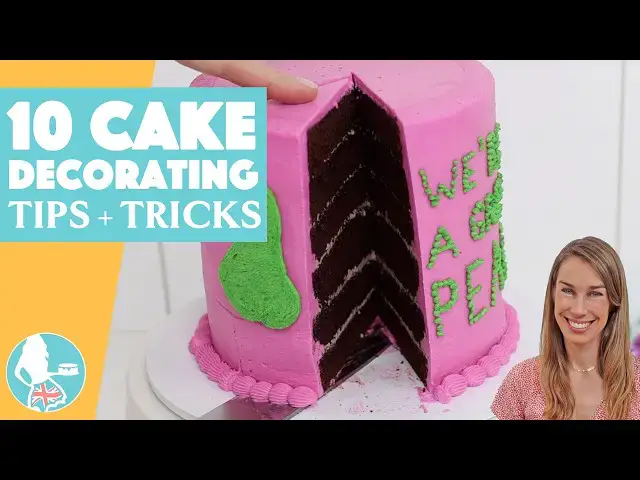
Whether you’re struggling with messy buttercream, lumpy frosting, or piping gone wrong, these ten most-used cake decorating tips will save you time, fix common problems, and make your cakes look more professional.
🥣My Recommended Cake Decorating Tools: https://www.britishgirlbakes.com/my-recommended-tools-for-cake-decorating
💫Start your FREE 7 day trial on my cake school: https://britishgirlbakes.teachable.com/p/all-you-can-cake
🎂Take my FREE course on 10 Frosting Techniques: http://britishgirlbakes.com/free-course
👩🏼🍳My 4 Minute Buttercream recipe
https://www.britishgirlbakes.com/recipes/buttercream-frosting/
📄READ a written version of this tutorial (with photos!)
https://www.britishgirlbakes.com/10-essential-cake-decorating-tips-and-tricks/
👍Please LIKE and SUBSCRIBE to my channel for a new cake decorating tutorial every week!
💬 SAY HI!
Website: https://www.britishgirlbakes.com
Instagram: https://www.instagram.com/britishgirlbakes
Show More Show Less View Video Transcript
0:00
Whether you're struggling with messy
0:01
buttercream, lumpy frosting, or piping
0:03
gone wrong, these 10 mostused cake
0:05
decorating tips will save you time, fix
0:08
common problems, and make your cakes
0:09
look more professional. Let's start with
0:11
something really simple that makes a
0:13
huge difference. How to make yellow
0:15
buttercream look white. If your
0:17
buttercream has a yellow tinge, you can
0:19
brighten it up by adding a tiny bit of
0:21
violet food coloring. Just dip a
0:22
toothpick into your bottle of violet gel
0:24
and drag that through your buttercream.
0:26
The violet cancels out the yellow, and
0:28
you'll instantly see your buttercream
0:30
turn a much brighter white. Look at the
0:32
difference between the white color now
0:34
and the yellow before adding violet.
0:37
Now, here's a cake where the buttercream
0:38
is actually supposed to be yellow, but
0:40
I'm using it to talk about borders.
0:42
Borders can be tricky. If your
0:43
buttercream is a bit too runny or too
0:45
stiff, or if you're still getting used
0:47
to a new piping tip or technique, it can
0:49
be difficult to get it just right,
0:51
especially if your hands are shaky like
0:52
mine. But here's how to undo a border
0:55
you don't love. Chill the cake before
0:57
you pipe onto it so the frosting is cold
0:59
and firm. Then if you decide the border
1:01
doesn't look how you want it to, you can
1:03
just scrape it off. Since the frosting
1:05
underneath is cold, you won't damage it
1:07
and you can fix your buttercream's
1:08
consistency and try again or use a
1:11
different style or piping tip. Speaking
1:13
of buttercream consistency, let's talk
1:15
about how to fix it if it's too stiff or
1:17
full of air bubbles. Scoop up about a
1:20
third of the buttercream into a separate
1:21
bowl and microwave it for 10 seconds to
1:24
melt it. Then stir it back into your
1:26
main bowl. The melted buttercream
1:27
loosens everything up and the result is
1:29
the perfect texture. Soft, smooth, and
1:32
easy to spread onto a cake or pipe with.
1:35
Next, if you didn't sift your icing
1:37
sugar before making your buttercream,
1:38
you might find little white lumps in it
1:40
like these. They're ugly and will leave
1:42
trails in your frosting when you smooth
1:44
it or get clogged in a piping tip.
1:46
Instead of starting over, grab an
1:48
immersion blender, one of these handheld
1:50
stick blenders with a spinning blade,
1:52
and blitz through the buttercream for a
1:53
few seconds. It smooths everything out,
1:56
getting rid of the lumps and giving you
1:57
silky, lump-free frosting that you can
1:59
spread or smooth or pipe. On the topic
2:02
of piping, let's talk about how to fit a
2:04
piping tip into a piping bag so it
2:06
doesn't burst out. Piping bags are
2:08
sealed at the end. So, to fit a tip in a
2:10
new bag properly, drop the tip into the
2:12
bag and push it all the way down to the
2:14
end. Use scissors to score a line about
2:16
halfway up the tip. Then slide the
2:18
piping tip out of the way and cut along
2:20
that line. Now, when you press the tip
2:22
back down, about half of it will poke
2:24
out of the bag, just enough to hold it
2:26
snugly in place while you pipe. And if
2:28
you want to fill a piping bag without
2:30
getting buttercream all over your hands,
2:32
use a glass. Fold the top of the piping
2:34
bag over the rim of the glass, and that
2:36
will hold it open while you spoon your
2:38
buttercream in. Fill it up to about 2/3
2:40
full, no more, and then unfold the top.
2:43
Lift up the bag and twist the top to
2:45
push the buttercream down. That stops it
2:47
from oozing out of the top while you're
2:48
piping. Let's jump into cutting cakes
2:51
now. Specifically, how to get neat,
2:53
clean slices. The easiest way to cut
2:55
through a cake is when it's at room
2:57
temperature, but that's also the
2:58
messiest. Instead, chill your cake for
3:00
at least an hour so the buttercream
3:02
firms up and then leave it out on the
3:04
counter for 2 hours before slicing. The
3:06
buttercream will still be set, so it
3:08
won't be sticky or messy, but the cake
3:10
itself will be back to room temperature,
3:12
which is when it tastes the best. Dip
3:14
your knife into warm water, dry it off,
3:16
and you'll glide right through the cake
3:18
with no dragging or crumbs. Look at that
3:20
cross-section. The layers look so neat.
3:22
By keeping your knife clean, you won't
3:24
be dragging any buttercream through the
3:26
next slice. So, every slice will look
3:28
neat like this. Now, let's talk about
3:30
coloring buttercream. If you're trying
3:31
to get a deep vibrant color like red or
3:34
navy, you don't need to use a whole
3:36
bottle of food coloring, start by
3:38
tinting your buttercream lighter than
3:39
the color you want and then microwave
3:41
it. 5 seconds for a small bowl or 10
3:44
seconds for a larger one. Melting the
3:46
butter in the buttercream deepens the
3:47
color instantly. But of course, melted
3:49
buttercream is not great for frosting or
3:51
piping, so pop it into the freezer now
3:53
for 5 minutes. The cold brings it back
3:56
to the right consistency and makes the
3:57
color even darker. If you cover and rest
3:59
it for an hour or two, you'll see it
4:01
develop even more. This is a great way
4:03
to get bold colors without the nasty
4:05
taste of too much food coloring. Look
4:06
how much brighter this red buttercream
4:08
has become. It's perfect. Okay, leftover
4:11
buttercream. It's almost impossible to
4:13
guess exactly how much you'll need of
4:14
each color for a cake, but it doesn't
4:16
really matter because leftovers are
4:18
okay. They're actually a timesaver. You
4:21
can freeze any extra buttercream in a
4:22
sealed bag, like a ziplo for up to 2
4:24
months. Then just take it out the night
4:26
before you need it and by morning it
4:28
will be soft and at room temperature.
4:30
Squeeze it into a bowl. Add more color
4:32
if you like and stir it well to knock
4:34
out any air bubbles which tend to appear
4:36
when the buttercream changes
4:37
temperature. Now this leftover
4:39
buttercream is ready to use for your
4:40
next cake. Finally, let's talk about
4:42
cake layers that don't come out
4:44
perfectly. Maybe one breaks or there's a
4:46
chunk missing like in this layer here.
4:48
Don't throw these layers away. Just fill
4:50
in the gap with buttercream and layer
4:51
your cake as normal. After the crumb
4:53
coat, your cake will have straight,
4:55
smooth sides, and once it's frosted, no
4:57
one will ever know there was a missing
4:58
piece. I hope these cake decorating tips
5:00
make your life much less stressful.
5:02
Knowing how to fix mistakes, work
5:04
smarter with buttercream, and use your
5:06
tools properly makes a huge difference.
5:08
To take your cake decorating skills
5:10
further, visit my cake school on
5:11
britishgirlbakes.com to learn hundreds
5:13
of cake decorating techniques and
5:15
designs. See you there.
#Desserts
#Baked Goods