0:00
A sheet pan is a rectangular pan, and of course you can use it to make a rectangular cake
0:05
but you can also do so much more with it. In this tutorial I'll show you six ways to use your sheet pan to make different shaped cakes
0:16
After baking a sheet cake, the easiest option is to let the cake cool in the pan and then spoon your frosting on top
0:23
Spread it around while the cake is still in the pan. This way you don't have to worry about frosting the sides of the cake
0:29
cake or finding a cake board or platter big enough to put the cake on. You can wiggle your spatula
0:35
back and forth to add some texture or scrape from side to side to smooth the frosting
0:40
which you can then decorate with sprinkles or piping or a buttercream transfer or whatever you
0:45
like. Make mini cakes using a sheet cake by using a round cookie cutter to cut out circular cake layers
0:53
This is perfect if you don't have mini cake pans and even if you do, cutting the cake layers out of a sheet
0:59
cake is much quicker than baking a few layers at a time. And you won't have to wash lots of cake
1:04
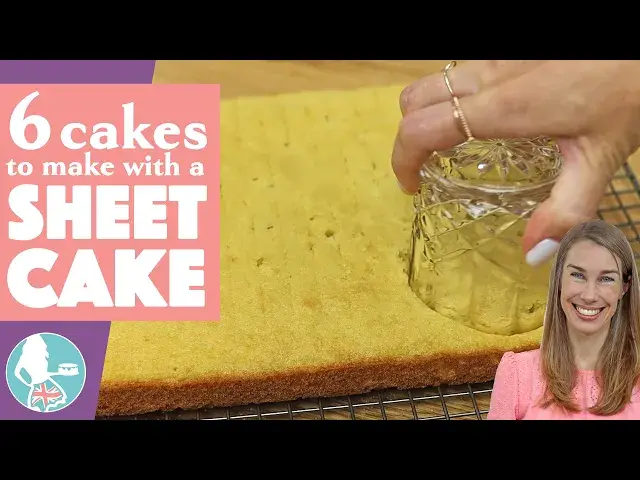
pans this way. If you don't have a round cookie cutter, you can use the rim of a glass instead. And
1:10
although the edges won't be as neat, by the time you've frosted and decorated the mini cakes
1:15
you would never know what the edges look like inside These mini cakes can be turned into lunchbox cakes to take to school or work or share them with a loved one for a small celebration Number cakes can be cut out of sheet cakes instead of buying special pans for each individual number
1:31
Use a piece of paper the same size as the cake, folding it in half and then drawing the number onto it
1:36
Cut it out and place it on the cake to cut around. I like to use two layers so that you can add piping in the middle and on top of the cake
1:44
I'm using a 1M star tip to pipe these rosettes. to pipe these rosettes. While the frosting is still soft and sticky, you can add whatever
1:51
decorations you like on top, and they'll attach easily. Number cakes are really quick to put together
1:57
and if you struggle with getting smooth frosting on your cakes, you can skip that on these
2:01
They do dry out quickly, though, because there's no frosting to seal in the moisture around
2:06
the sides of the cake, so don't make these more than a day in advance, and store them in an airtight
2:11
container, like a Tupperware, or in a cake box with a lid. You can make layer cakes out of sheet cakes
2:16
using a cake ring. With a 6-inch cake ring you can get two full circles out of a 9 by 13 inch sheet
2:23
cake and two semicircles, as well as some cake scraps which you'll need in a minute. You can divide
2:29
the cake layers in half if you like. Now alternate cake and filling to assemble your cake. I'm using
2:35
room temperature cake layers which I almost never do and you can see why When cakes are at room temperature they really crumbly and messy to work with Refrigerating them for an hour firms them up so that they hold together much better For the semicircle layers when you place them on the cake you see a big gap in between them
2:53
which is where the cake scraps come in. Use them to fill the gap, spreading some frosting along the straight edges of the semicircles to attach the scraps
3:02
And then add another layer of filling, another layer of cake, and ta-da
3:07
Now you can frost this cake and decorate it, and when you slice it, into it and serve it, the layers will look perfect. Cut your sheet cake into squares to make a
3:16
square cake without needing a square cake pan. Layer the cake and filling as tall as you like. For a
3:22
9 by 13 inch cake you can get five layers if you use the two little extra pieces at the edge to form
3:28
one of the squares. Give it a crumb coat and then chill the cake for at least an hour while you cut
3:34
out a square of cardboard that's half an inch bigger than the cake. You can use an Amazon box or any
3:39
cardboard you have because you're going to wrap this in parchment paper to make it food safe and
3:43
non-stick. Now spread frosting onto the top of the cake only and push the wrapped cardboard square
3:48
down onto it, adjusting it so it's centred on the cake. Spread frosting around the sides of the
3:54
cake being generous so that it's at least as thick as the edges of the cardboard square. By cutting
4:00
the cardboard square half an inch bigger than the cake you have room for a quarter of an inch of frosting on each side Scrape around the cake with a cake comb and then spread more frosting to fill in any shallow areas and then scrape again and again sideways and upwards pushing your cake comb against the cardboard
4:16
to keep it straight until the sides are smooth and the edges are sharp
4:21
Put the cake in the freezer for 15 minutes or the fridge for 30 minutes and then slice underneath
4:26
the parchment with a knife to lift up the wrapped cardboard square. Spread more frosting over the top to fill in any gaps
4:32
scrape off the access, and voila. And then, of course, you can use a sheetcake to make a frosted sheet cake
4:39
The trick for this is to use cold cake layers, which will stay firm and keep their position on the cakeboard
4:45
and also help you get sharp angles around the corners. Get the crumb coat as angular as you can
4:51
since that forms the shape that the final layer of frosting sits on top of
4:56
Push the frosting on top all the way over the edges of the cake, and around the sides make sure it sticks up above the top end
5:02
of the cake and also push it over the edges at the sides so that when you smooth the frosting
5:07
you'll create sharp angles around the corners and also from the sides onto the top of the cake
5:13
Add a border and then decorate the top for your celebration. These are so easy to serve and a
5:18
9 by 13 inch cake like this can serve 30 people. I hope this tutorial has been useful
5:24
Visit my cake school on british girlbakes.com to learn hundreds of cake decorating techniques
5:28
and designs. Thanks for watching