0:00
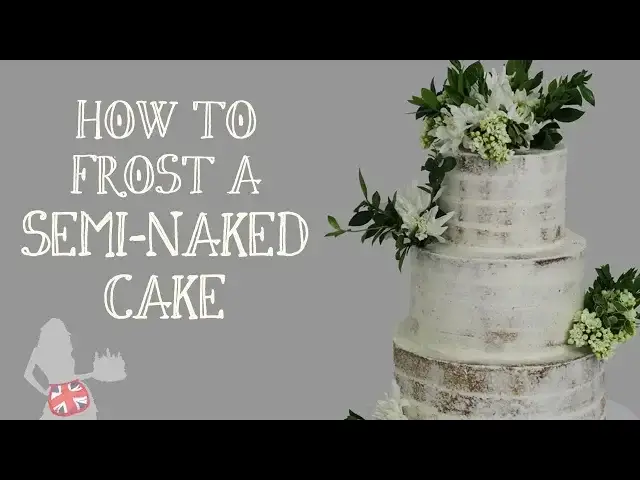
Hi! I'm Emily and I'm going to show you how to make a beautiful semi-naked cake
0:04
like this one. The beauty of a semi-naked cake is that it has the same rustic look
0:09
as a naked cake but the thin layer of frosting seals the cake, locking in the
0:13
moisture so your cake doesn't dry out. First, make sure your layers are pretty
0:18
Trim the tops so every layer is level. Since your frosting is going to be very
0:22
very thin, every imperfection will be visible so you want your layers to be
0:26
the same thickness and sitting level on top of each other. Place your first layer
0:31
on a cake board, securing it with a spoonful of frosting. Now add your
0:35
filling. If your semi-naked frosting is going to be white, you'll probably want
0:40
the filling to look white as well so you can put whatever filling you're using in
0:43
the centre of the cake and then pipe a ring of white frosting around it
0:48
Try to place each layer exactly on top of the one below so your cake sits
0:53
straight. You can also pipe the ring and then apply the filling inside the ring
1:03
but it's a bit more fiddly so I prefer to do it the other way around
1:10
After you've built your cake, check it from every angle to make sure the layers
1:14
are lined up straight. I'm making a three-tier cake so I'm starting by
1:19
building all three tiers. This one has white filling so I'm not
1:24
bothering with the ring of white buttercream around the edge. I'm just using my offset spatula to spread the filling all the way up to the edges of
1:30
the cake. If you're finding this tutorial useful, please subscribe to my channel. I
1:35
post new cake decorating tutorials every week. Now chill your cake for at least an
1:41
hour in the fridge or 30 minutes in the freezer. This firms it up so it's easier
1:45
to cut. Now we're going to trim the cake so that it's perfectly rounded and has
1:49
smooth sides. Using a serrated knife, trim down to take off the edge of any layer
1:54
sticking out of the cake and then hold your knife vertically to trim all the
1:58
way around the cake. Use scissors to cut your cake board so it's the same size as
2:03
the cake. If your cake has warmed up while you trimmed it, chill it again
2:07
before frosting it. Now use an offset spatula to apply your frosting to your
2:12
cake. I'm starting with my biggest cake tier. Being generous with the frosting
2:17
will make crumbs less likely to pull off on your spatula. It also helps to have a
2:21
cold cake because cold cakes are firmer, so less crumbly. Once you've covered your
2:26
cake with frosting, use a frosting scraper to take off any excess frosting
2:30
You can decide how much frosting you want based on how visible you want the
2:34
cake underneath to be. You can use your frosting scraper to pull frosting from the tops of the sides
2:42
of the cake onto the top surface of the cake or you can use an offset spatula. To
2:47
finish, I like to use my offset spatula with the tip in the center of the cake
2:51
spinning my turntable to smooth out the frosting on top of the cake. If this
2:55
pushes any frosting over the side of the cake, just use your frosting scraper to
2:59
go around the sides again. When your cake is frosted, leave it on the turntable and
3:05
put the whole thing in the fridge to chill again. This way, when you lift the
3:09
cake off the turntable, it will be cold and the frosting will have set, so you
3:13
won't smudge the frosting. I'm moving my biggest cake onto a cake drum, which will
3:17
be the base of my three-tier cake. I'm following the same technique to frost my
3:22
next two tiers. And now I'm going to stack them using boba straws as a support structure. For
3:41
more details on this, watch my tutorial How to Stack a Tier Cake. I was
3:46
impatient and I didn't chill these cakes after frosting them, so you can see that
3:50
where I lifted them off the turntable, the frosting stuck to the turntable and
3:54
got messy. Don't worry if this happens, it's easy to fix later. You can try to
3:59
touch it up with an offset spatula, but I'll show you an easier way in a minute
4:03
Make sure your cake is chilled before trying to touch it up, otherwise you
4:08
might smudge more of the frosting. Use a piping bag fitted with a small round tip
4:12
or a flat tip and squeeze the frosting out around the base of the cake. Then use
4:17
a frosting scraper to smooth the frosting against the side of the cake
4:22
Please like this video if you found it helpful and subscribe to my channel to
4:26
get more cake decorating tips and techniques. And now you can decorate it
4:31
Try a drip or watch my tutorial on how to decorate a cake with fresh flowers