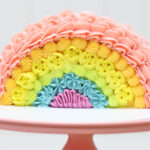
Air pockets, indents, uneven top edges, and weird texture lines that just won't go away! In this tutorial I'll show you the most common frosting mistakes I see and what causes them. Most importantly, I'll show you how to fix them!
Before we get into the smoothing part, let’s do a quick recap of how to prepare your cake. Start by layering your cake and fillings on a cake board at least 2 inches bigger than your cake. Attach the bottom layer to the cake board with a dab of buttercream to hold it in place. Give it a crumb coat and let that set so it's firm. If you need a refresher on how to layer and crumb coat a cake, see my in-depth tutorials on those steps.
Now let’s move on to the final coat of buttercream, where the frosting mistakes can start.
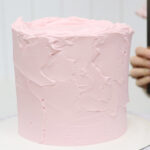
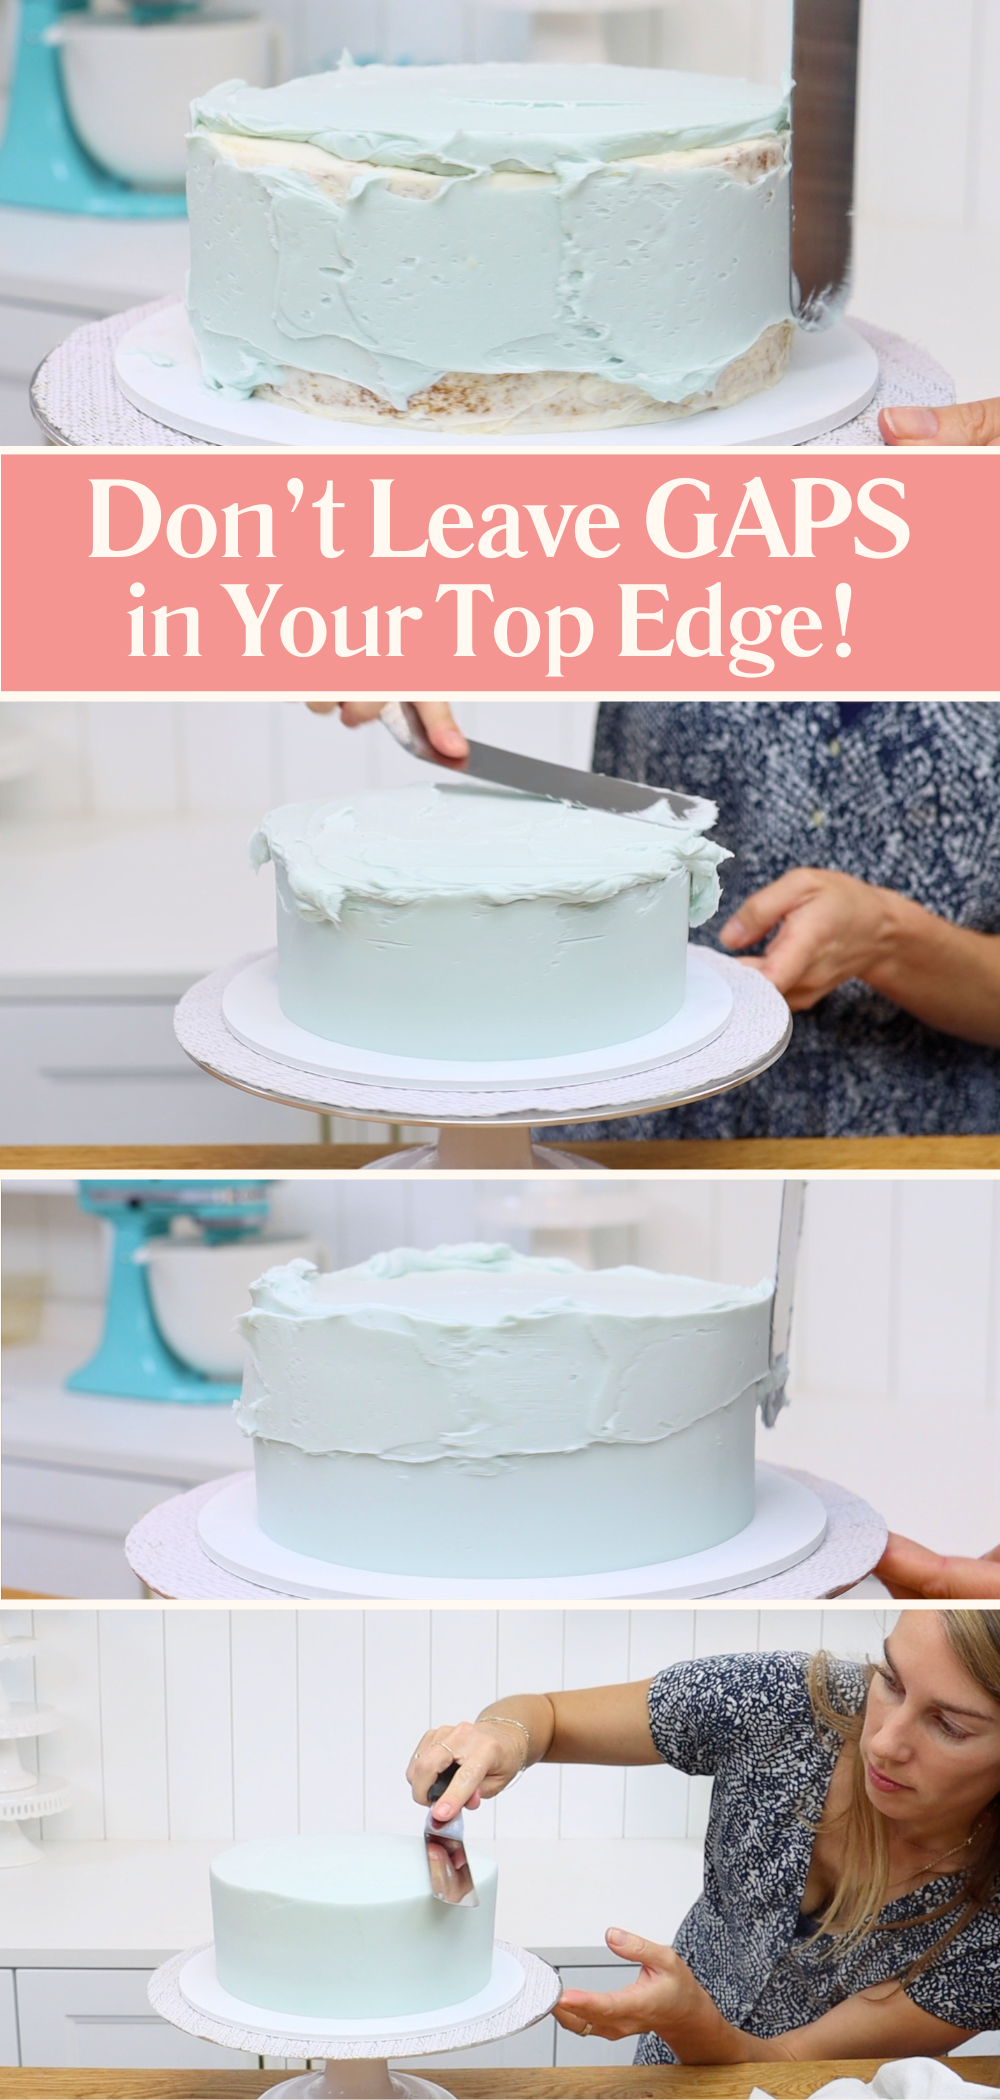
The first mistake is not spreading buttercream all the way to the edges of the cake. On the top of the cake this creates gaps around the edges. Around the sides, if the buttercream isn't high enough you’ll have shallow patches near the top and that top edge won’t look sharp or straight.
So once you've spread buttercream to cover to top of the cake, push it beyond the edges. Around the sides, push the buttercream up to form a lip or wall around the top edge of the cake. This is essential for creating a sharp top edge later.
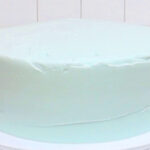
The top cake in the image below doesn't have enough buttercream on the top or around the sides. Lower down you'll see that I’ve added more buttercream and spread it beyond the top edge. That gives me enough to work with when it’s time to smooth the frosting.
The next mistake is using short, jerky turns of the
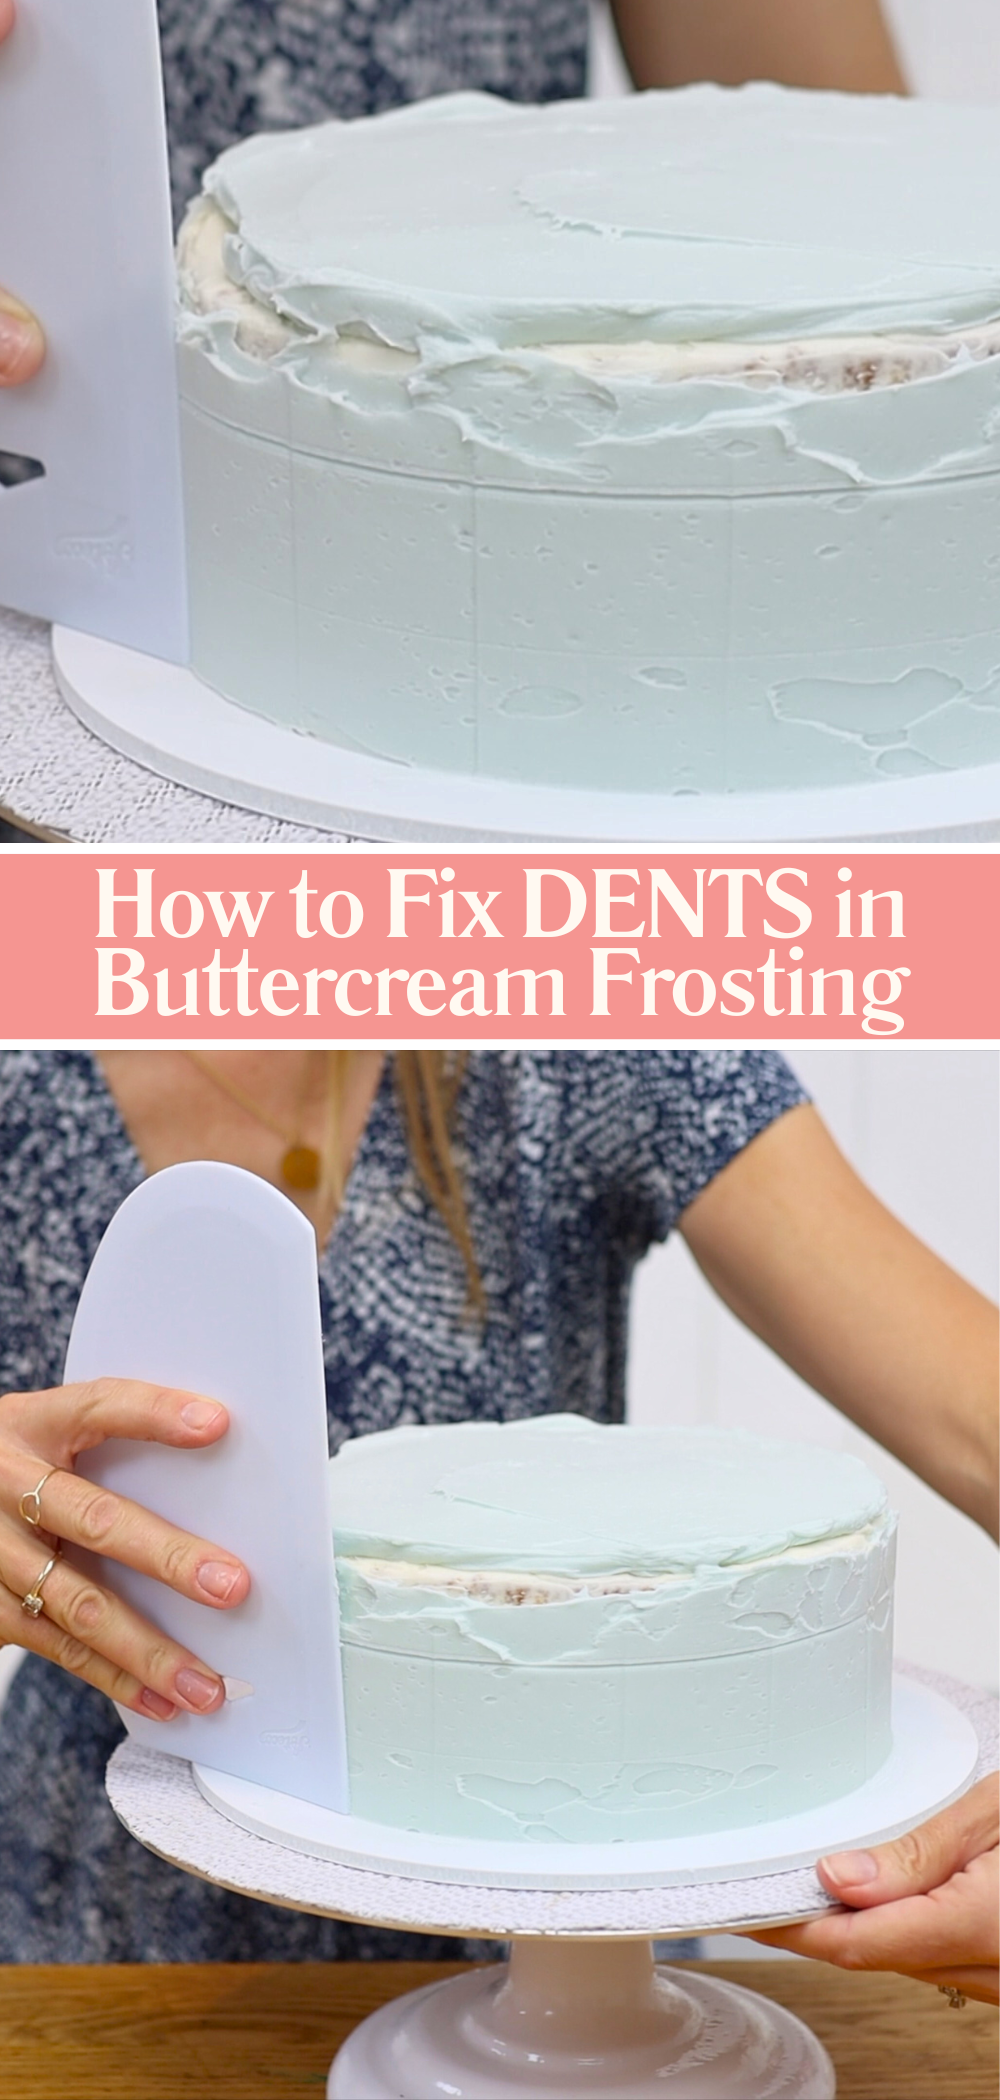
You may have noticed two frosting mistakes in the image above. As well as vertical dents, there's a horizontal line going all the way around the cake. This is caused by a cake scraper that has been damaged by dropping or knocking against something hard. When the straight edge is dented or dinged, that bump will leave a line or trail in the buttercream.
Run your finger along the edge of your comb to feel for a sharp piece sticking out. If you have one, switch to a different cake comb, one that’s smooth and undamaged. Metal combs are generally more durable than acrylic or plastic, so they’re less likely to get damaged like this.

Before using a cake comb or cake scraper, you'll need to spread buttercream to cover your cake. If you apply it unevenly, some areas won’t have as much frosting. When you scrape around your cake to smooth the frosting, those shallow areas show up as gaps or patches. Fix these by scraping more times around the cake to remove the thicker layers until everything levels out.
There are several frosting mistakes you can make with your cake scraper and the most common is using too much pressure. This creates tiny air bubbles or tears in the buttercream, especially if your frosting is a bit stiff. You can see little pockmarks in the photo below, leaving the surface looking textured instead of smooth. To avoid this, use very light pressure as you scrape and let the
A quick fix for the little tears is to warm up your cake comb to help it glide more smoothly. I like to use a blowtorch or hair dryer to warm the metal slightly, or you can dip the comb in hot water and dry it off. Just make sure the comb is warm, not hot, so you don’t melt the buttercream or cause it to bulge. You’ll feel the difference as it glides over the cake and fills in any tiny air bubbles.

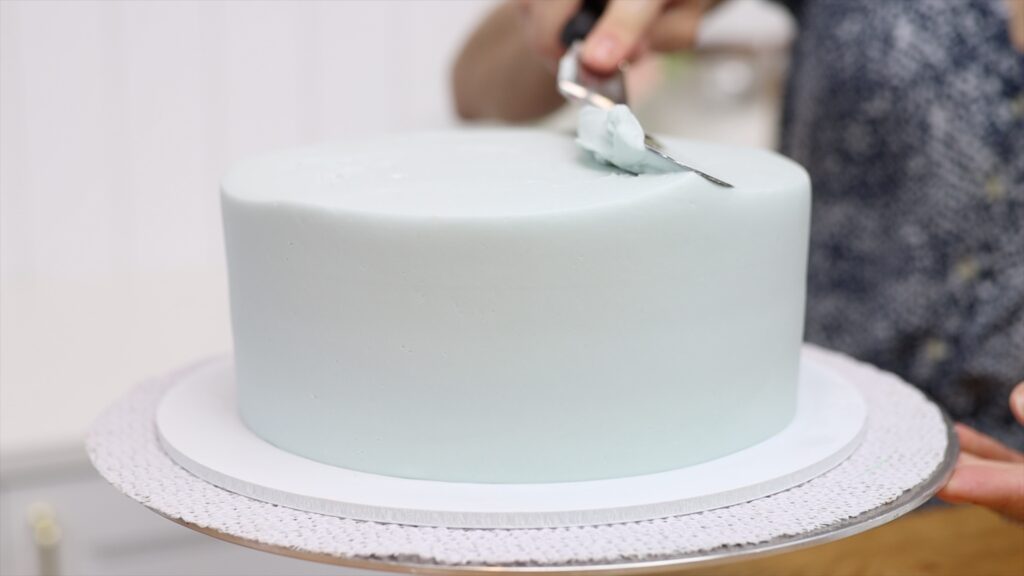
When you get to the top edge of the cake, swipe across the top edge to leave it. One of the common frosting mistakes here is pressing downwards. This causes bulges underneath the surface and makes the edge look wobbly. Instead of pushing down, swipe sideways across the top, pushing the excess buttercream away from the edge and then lifting it off.
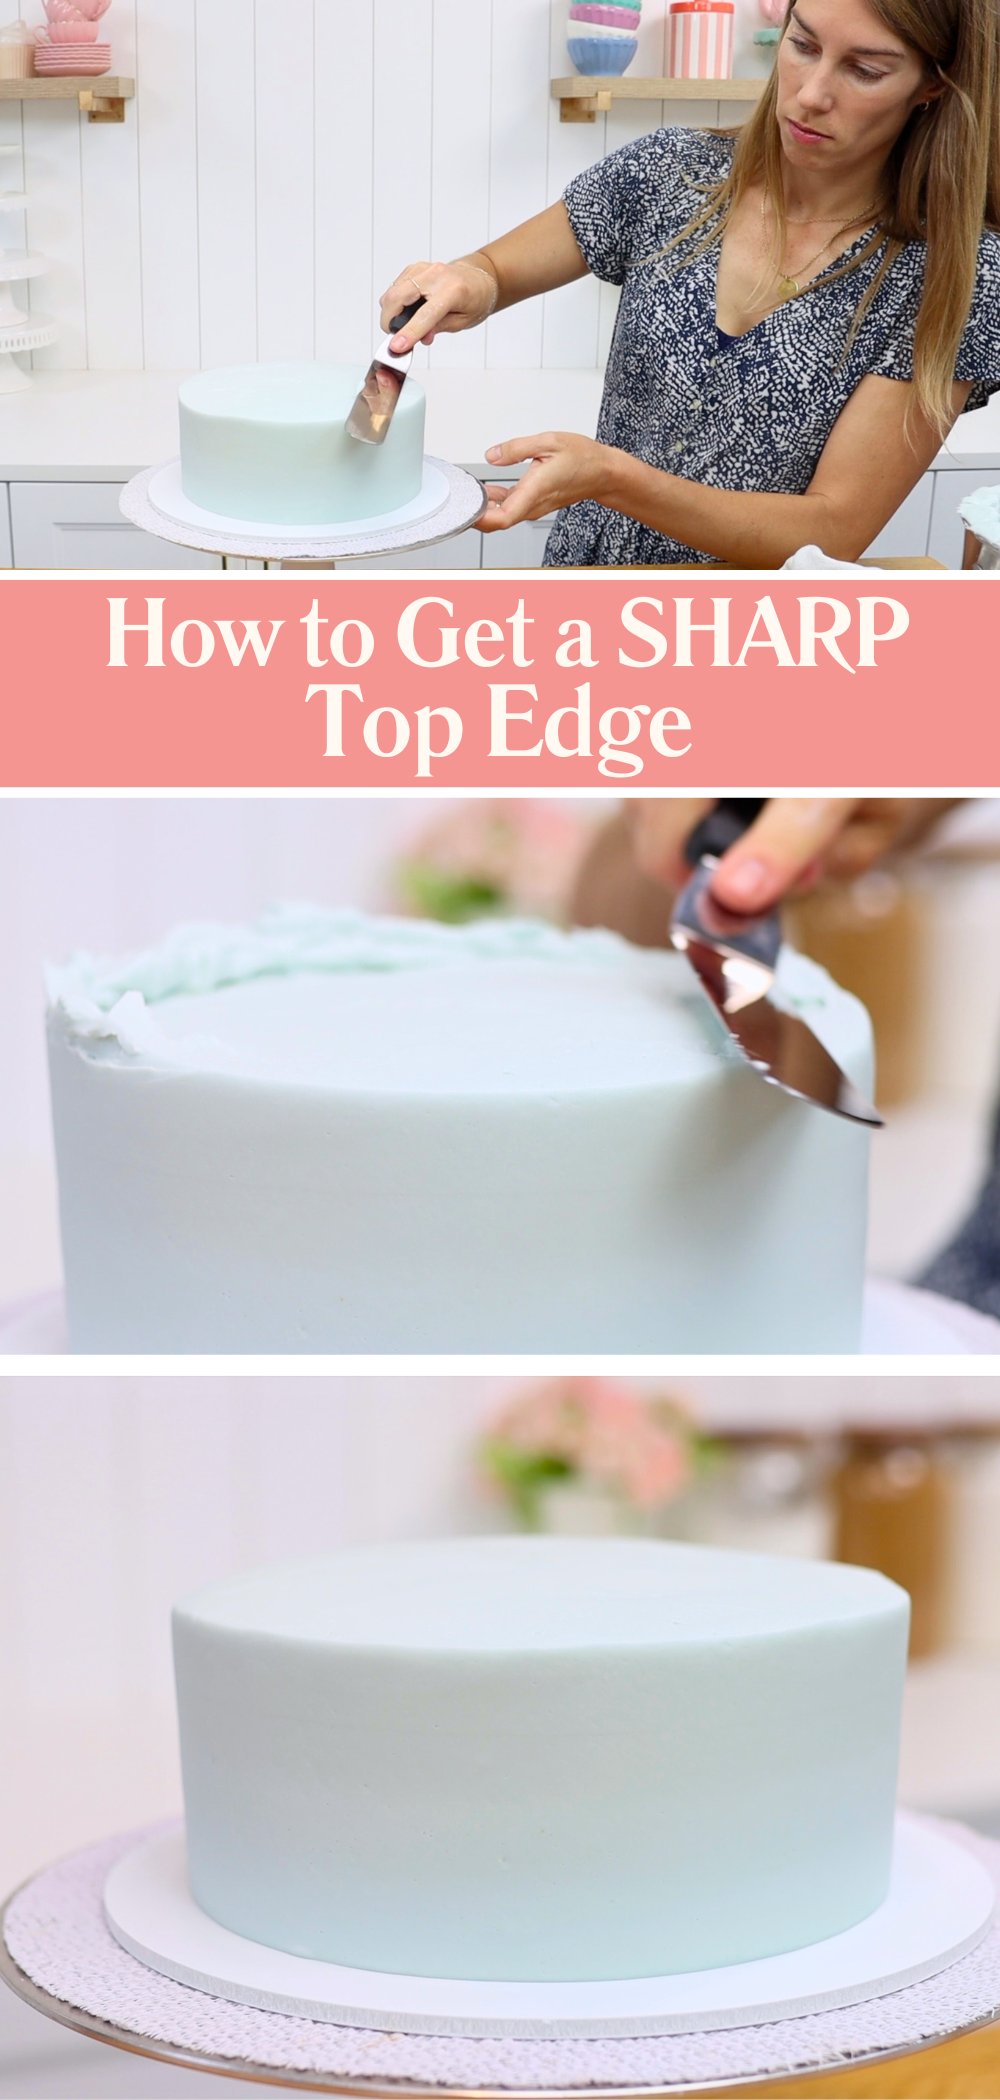
The next issue is swiping the top of the cake with a messy tool. This happens when you don’t wipe your
After each swipe, take a second to clean your tool before swiping again. If you forget and drag buttercream back onto the edge, just clean your tool and swipe again!
And finally, one of the most common frosting mistakes is... stopping too soon! When you've worked your way around the top edge of the cake, you might assume it's level but look closely! Get down to eye level and spin the cake, staring at the top edge as it spins. When you look closely you’ll see little bumps or dips, usually in between two swipes. You need to keep swiping over those dip or blips, wiping your tool clean after each time. Spin the cake again until the entire top edge is straight all the way around.
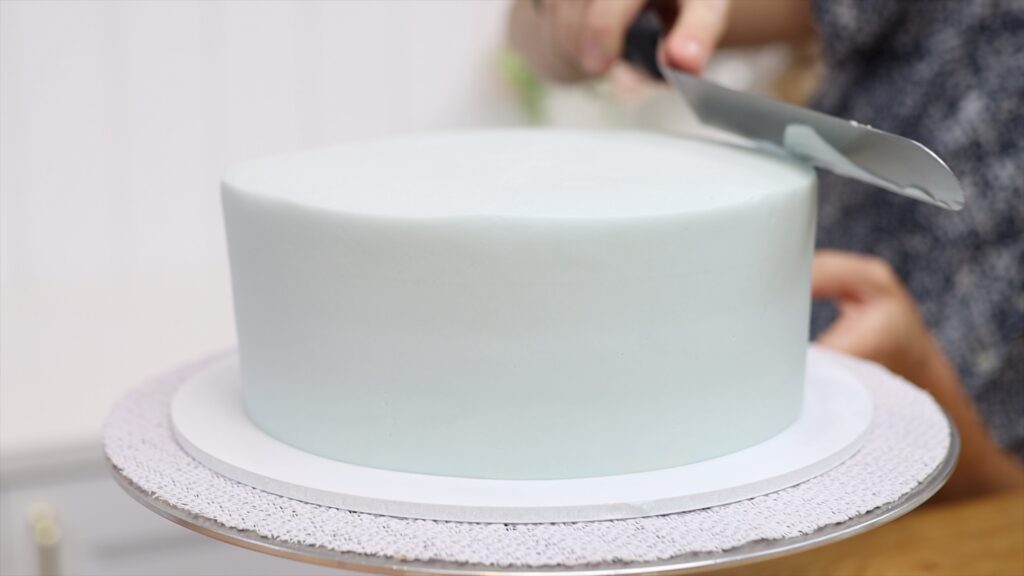
It takes a bit of time and patience to get super smooth frosting on a cake. Once you know what to look for and what to avoid, it becomes a lot easier. These 8 frosting mistakes are incredibly common but now you know how to fix them, your cakes will look smoother and more professional.
Tell me in the comments what part of smooth frosting you struggle with! And visit my cake school to learn hundreds of cake decorating techniques and designs with my online courses and memberships!
You can also watch a video of this tutorial on 8 Smooth Frosting Mistakes: