If you’re new to cake decorating, you’re probably discovering how many small decisions go into making a cake look beautiful. This guide to cake decorating for beginners is packed with 10 simple tips that would have saved me so much time, money and frustration when I was starting out. These beginner cake decorating tips will help you avoid common pitfalls, work more efficiently, and even enjoy the process more! Some of these tips might really surprise you, from how to stop your buttercream from melting to how to store fully decorated cakes.
This might seem like a minor detail but it’s actually one of the most common cake decorating mistakes beginners make. Your cake board should be at least 2 inches wider than your cake. That means if your cake is six inches across, you’ll want to use an eight inch board. This may seem exaggerated but after adding your crumb coat and frosting, the cake will be wider than you expect.
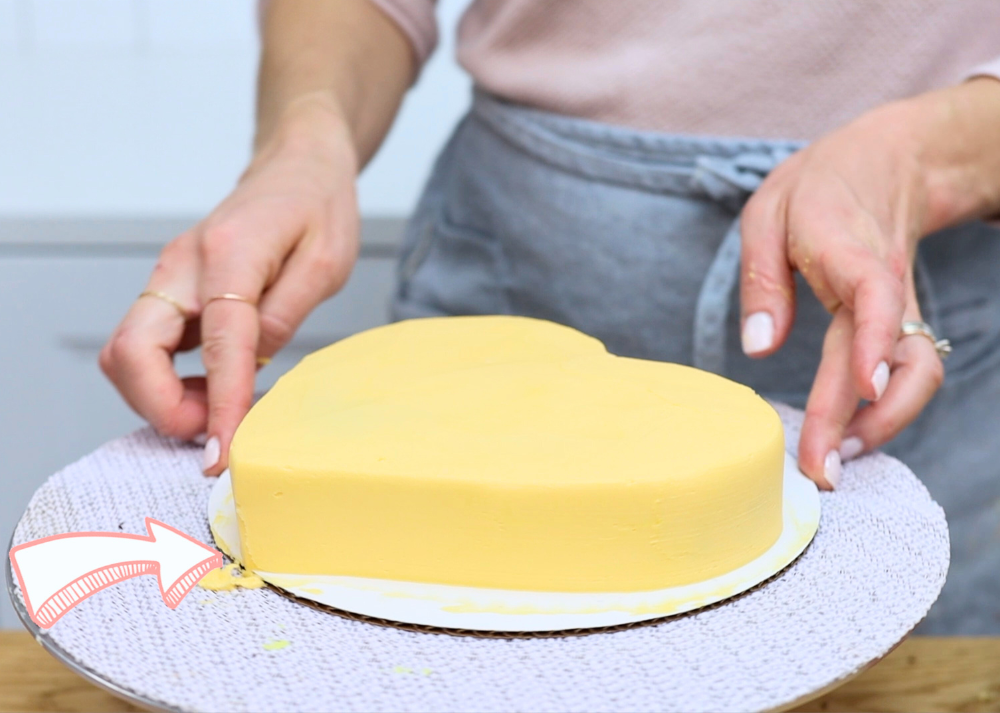
If your cake goes right up to the edge of the board, it’ll look cramped and messy. Moving it onto another board is tricky to do without damaging it. So if you’re ever in doubt, always choose the larger board. It gives your cake space to breathe and makes the final presentation look much neater.
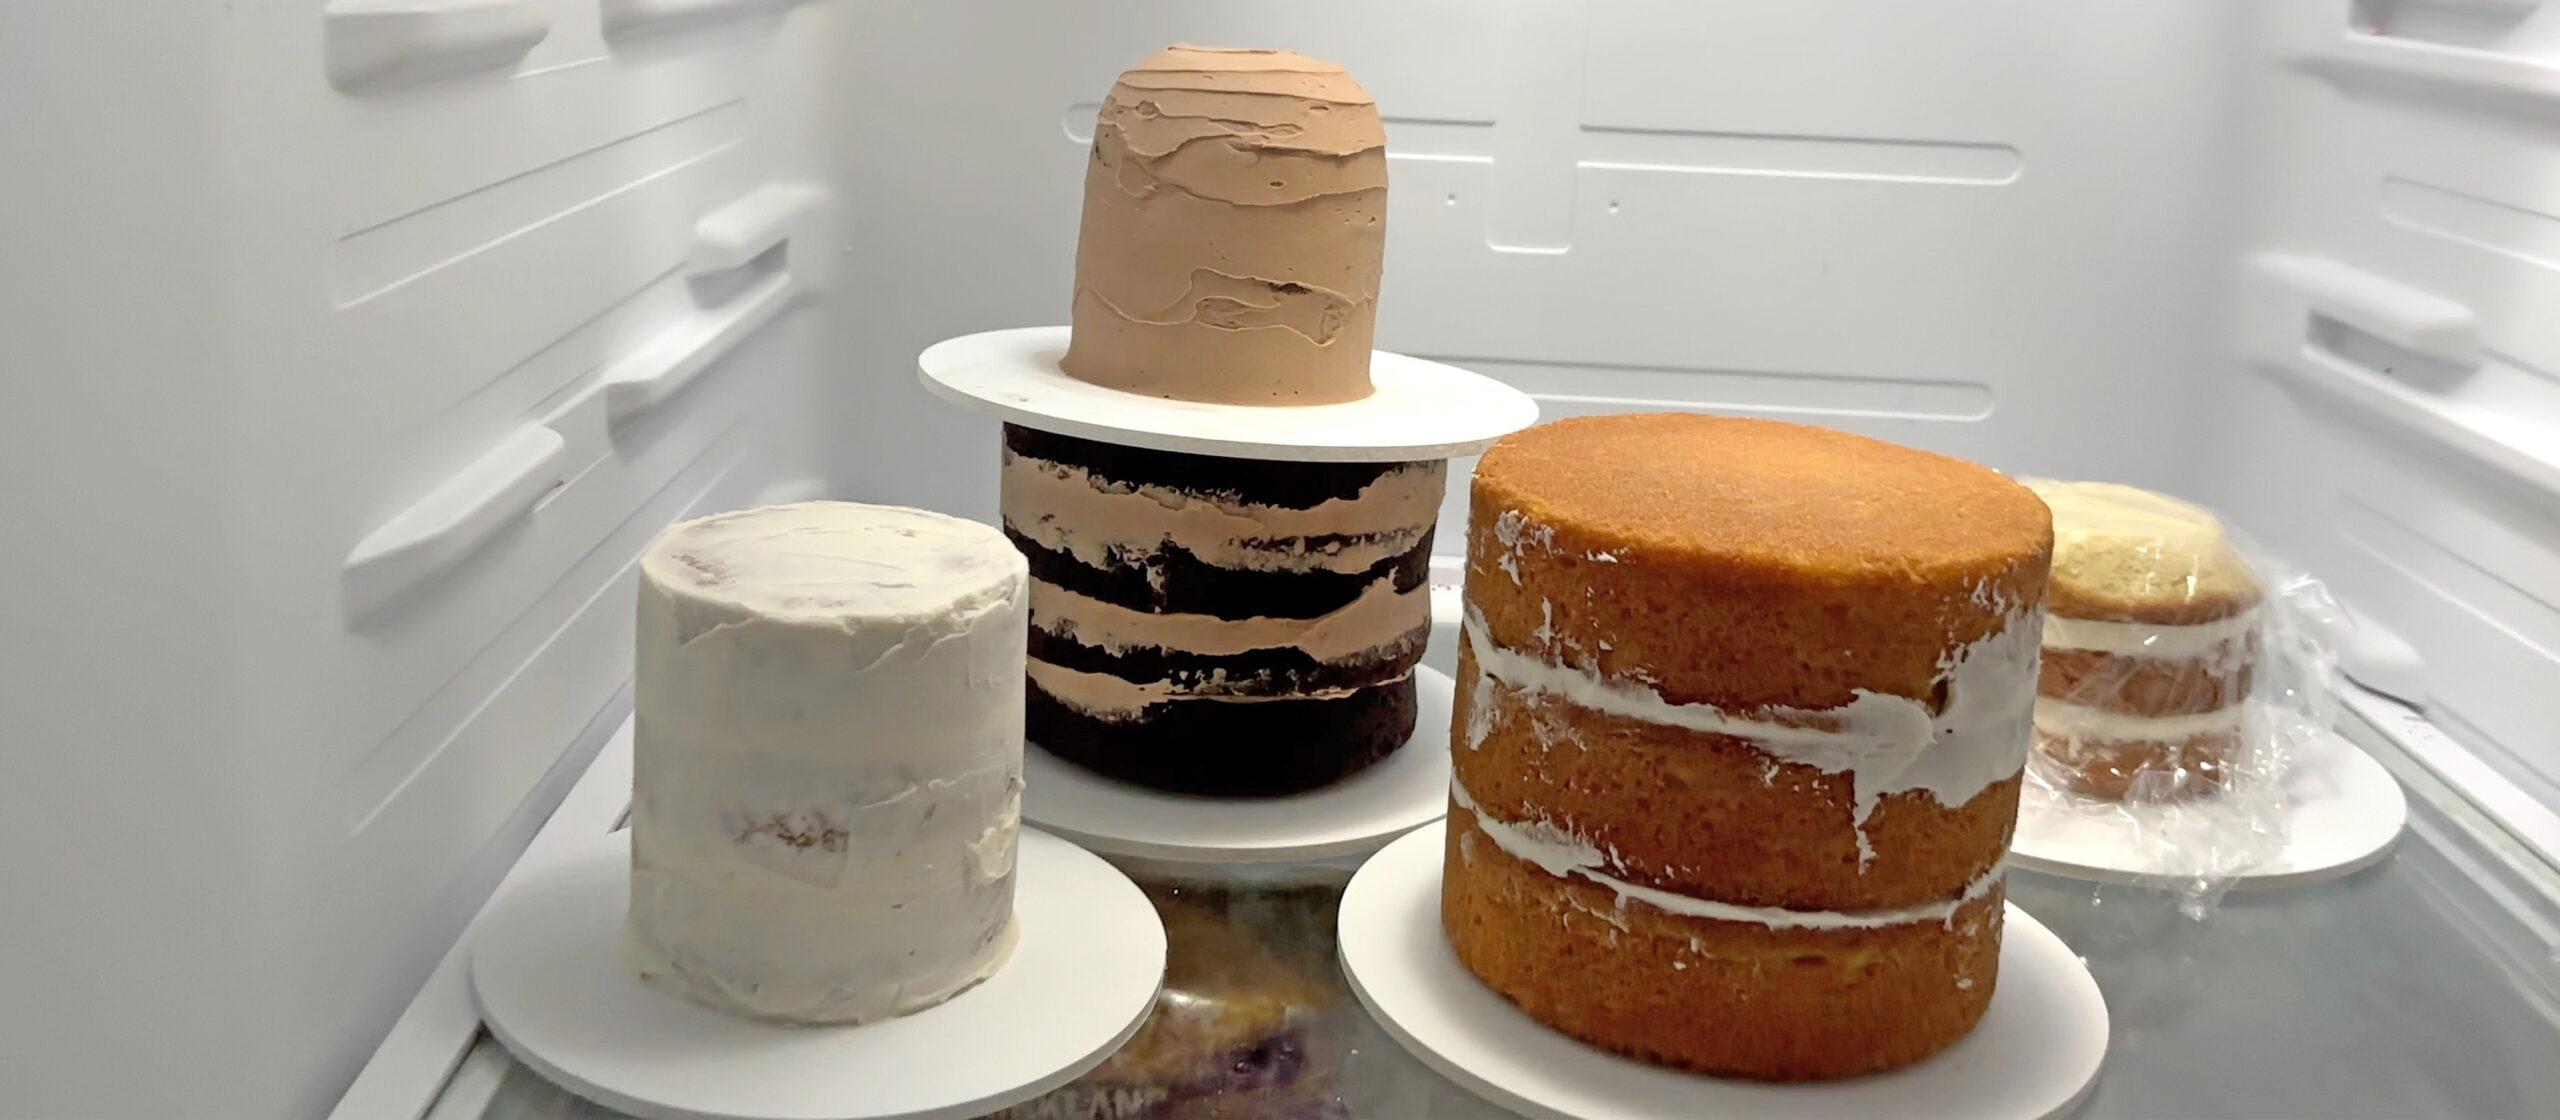
One of the best tricks in cake decorating for beginners is learning how to use your freezer properly. If you frost a cake when it’s at room temperature, the soft layers will slide around on the cake board. They'll also shed crumbs into your frosting. Here’s how to fix that.
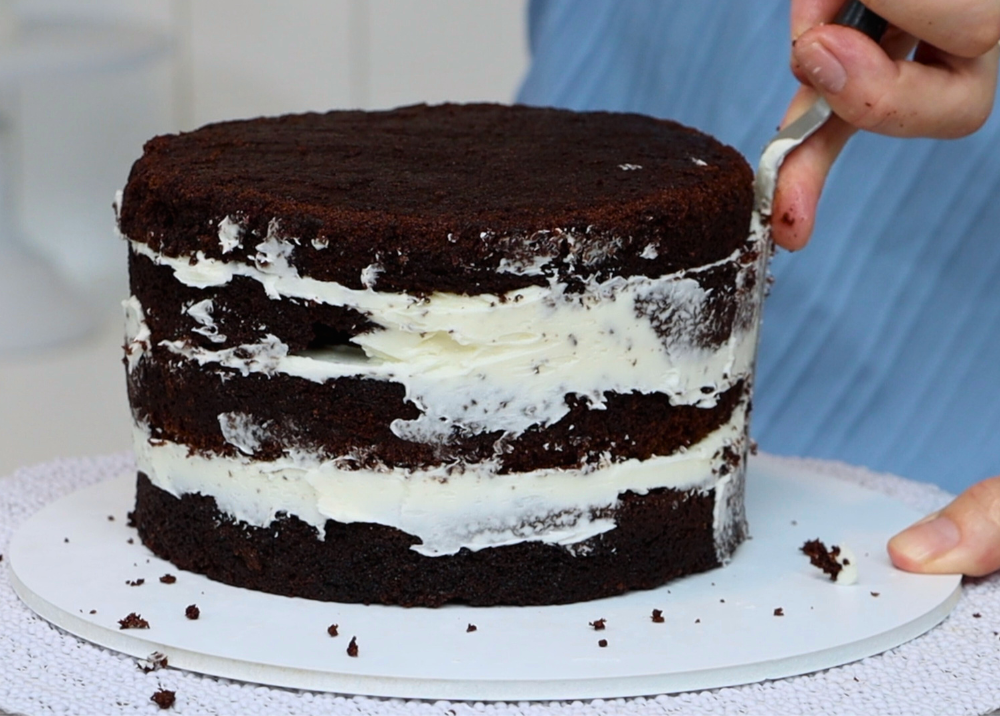
After baking and cooling your layers, spread a small blob of buttercream in the middle of your cake board. Press your first cake layer down onto it, which helps anchor the cake. Once the cake is stacked, pop it into the freezer for 15 minutes. This firms up the cake and the blob of buttercream so it stays in place while you frost it. It also means your buttercream will glide on much more smoothly without dragging crumbs. Check out this tutorial for more ways to use your freezer for cake decorating.

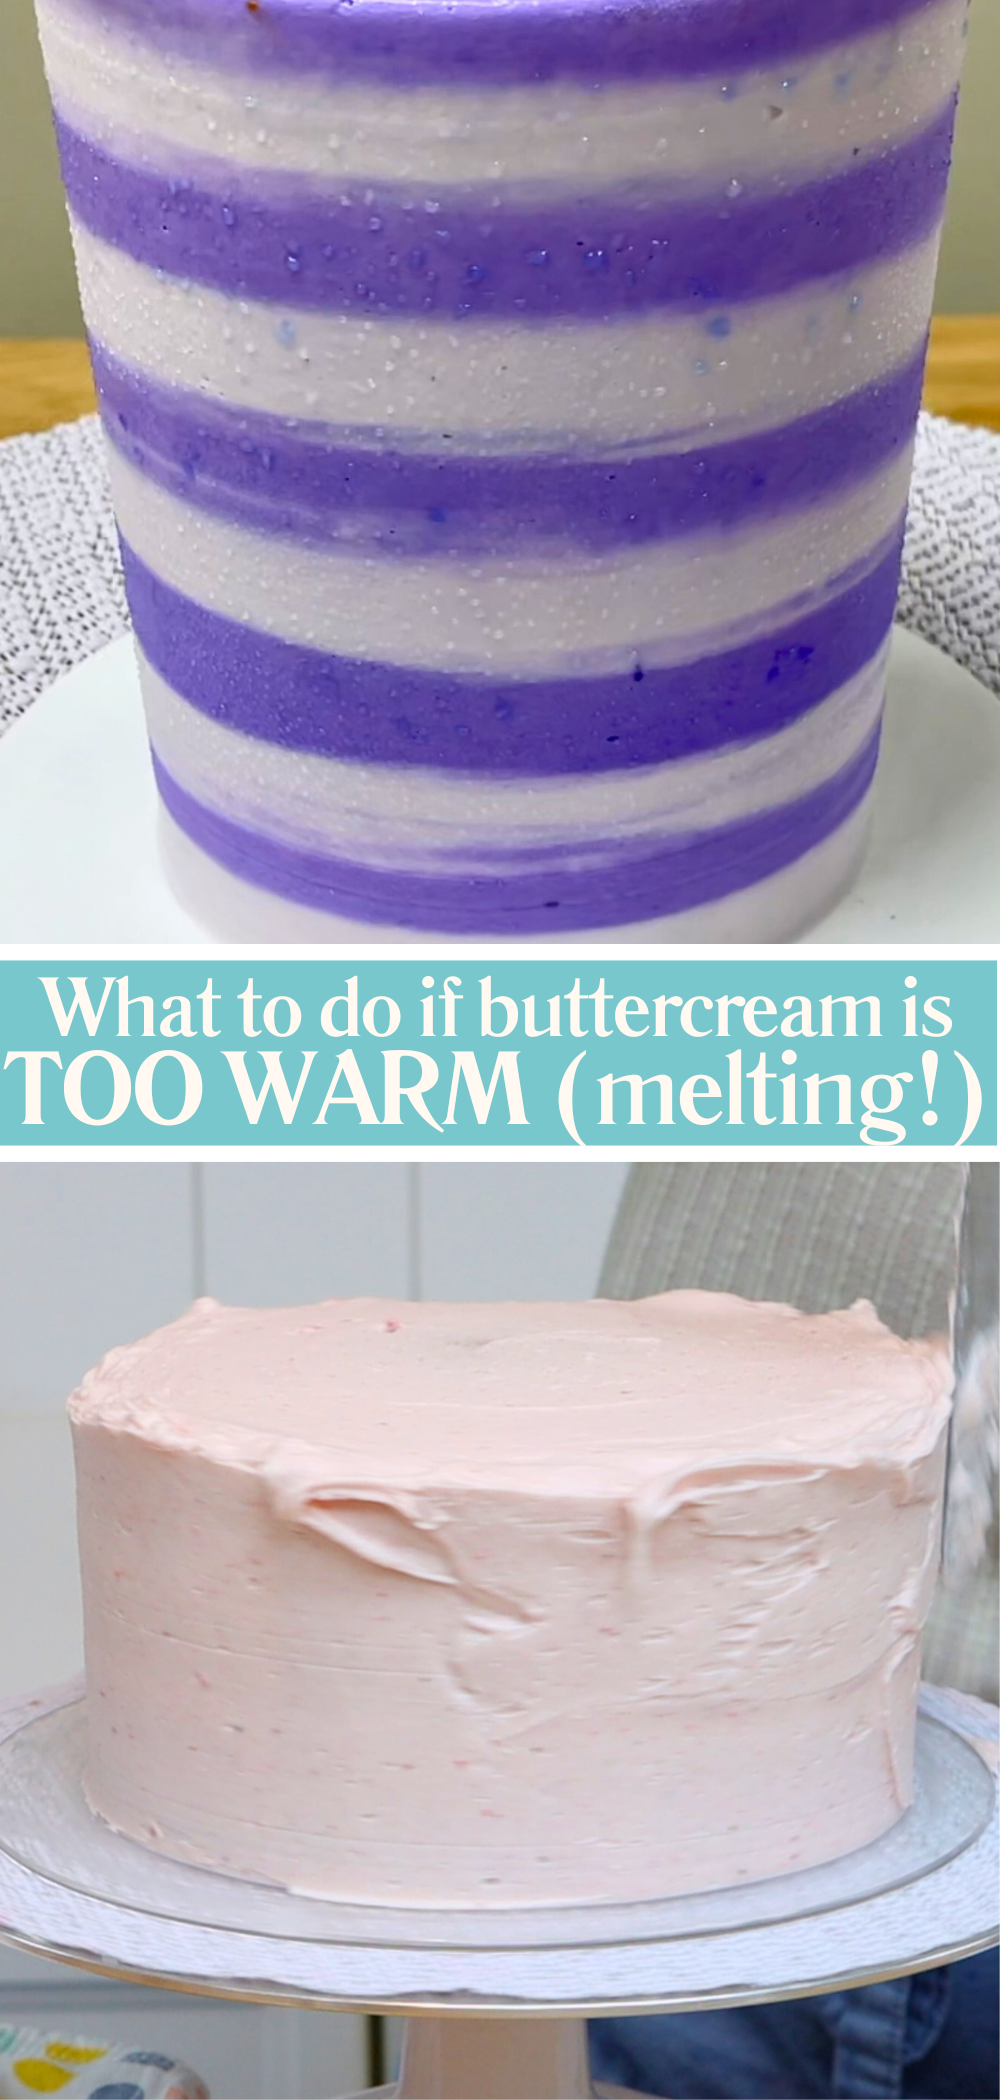
Here’s something I learned the hard way: room temperature really matters when you’re decorating cakes. When I moved to Texas I experienced freezing cold winters and 110°F summer days in an uninsulated garage studio. My buttercream couldn’t handle the extreme temperatures. In winter, the frosting was too stiff to smooth and in summer it melted off the cake.
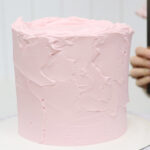
When your buttercream doesn't behave even though you followed the recipe, it’s probably the temperature of your room. If it’s too cold, the buttercream in your bowl will feel stiff when you stir it. Your frosting smoother will leave texture behind as you scrape around the cake. It will tear the buttercream and you'll see small, shallow holes in the surface. Microwave the bowl of buttercream for 10 seconds, give it a stir, and repeat if needed.
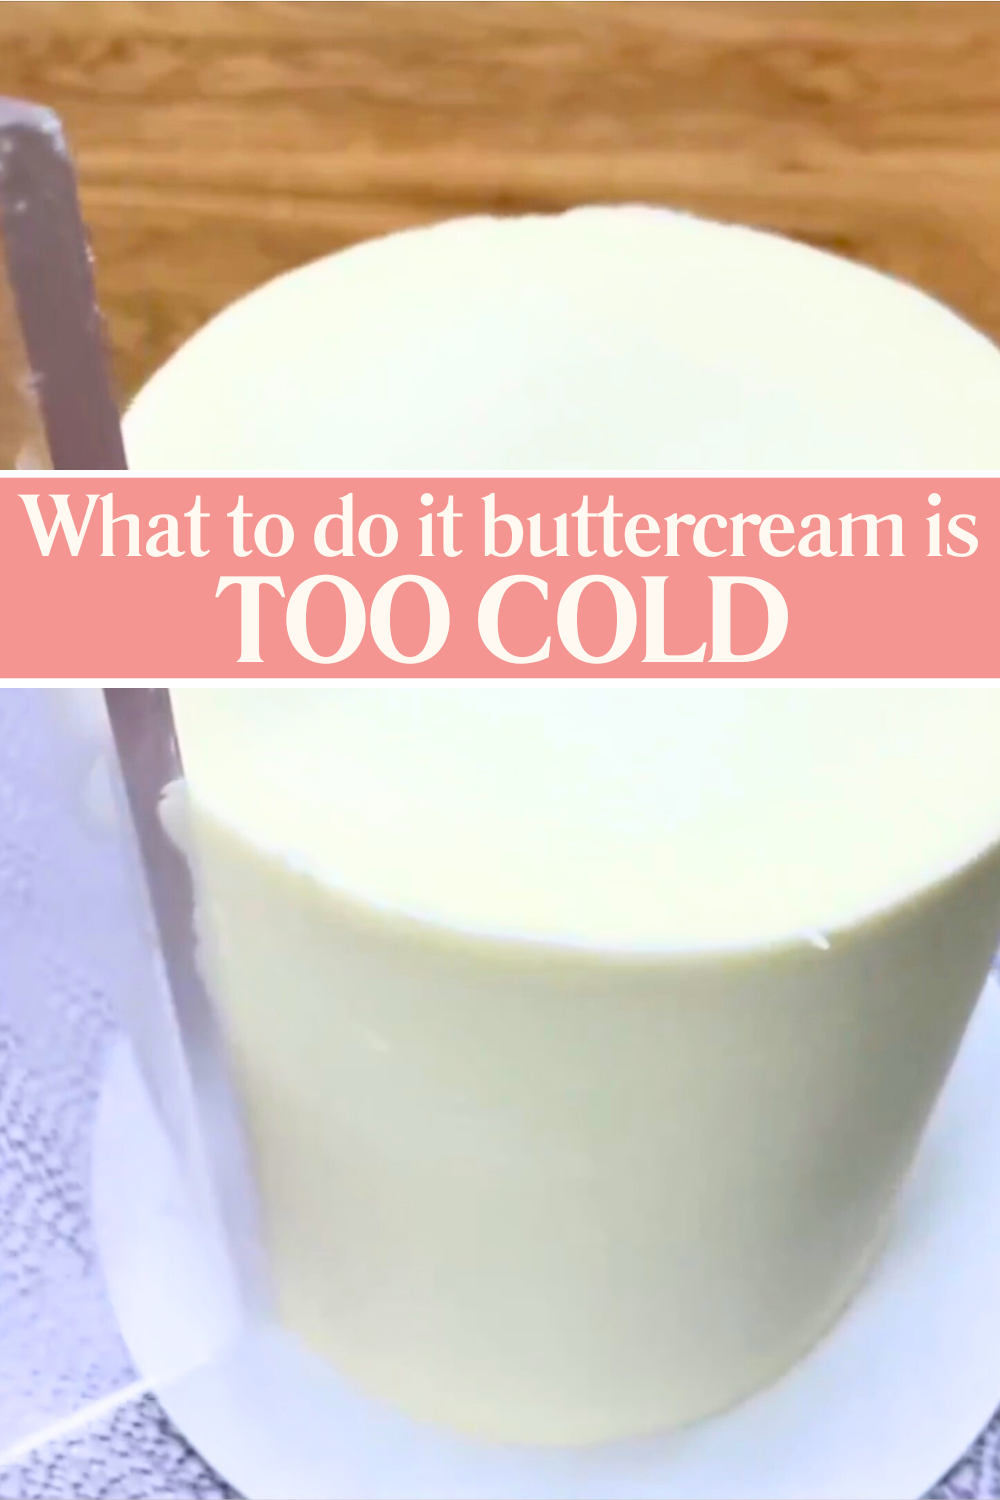
If it’s too warm, the frosting will slide down the sides of your cake. Stick the bowl of buttercream in the freezer for a few minutes to firm it up. Getting the temperature (and therefore the buttercream consistency) right makes your decorating so much easier.
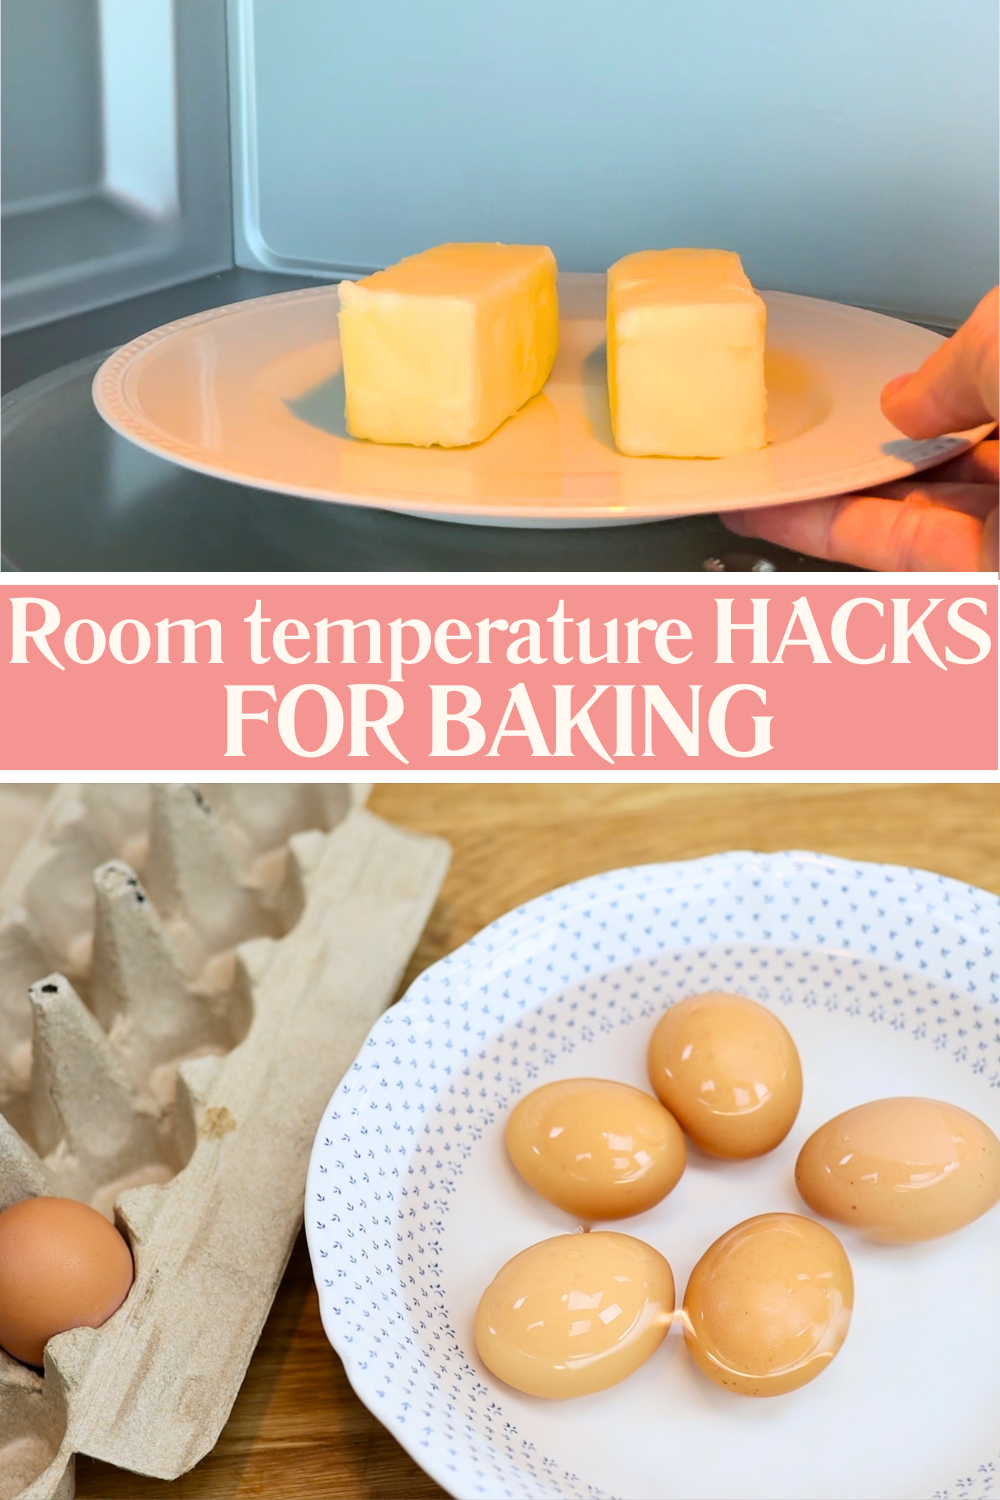
Recipes often call for room temperature butter and eggs, but that doesn’t mean you have to wait around all afternoon. Here’s how to get there quickly.
Microwave your butter for 10 seconds, flip it over, then another 10 seconds. Now your spatula should slice easily through each bar or stick of butter. For eggs, pop them in a bowl of lukewarm (not hot) water for five minutes. They’ll be ready to use and mix much more evenly into your batter. These little shortcuts will save you time and improve your baking results.
I used to think that the more cake decorating tools I had, the better my cakes would be. But you absolutely do not need a drawer full of gadgets to make beautiful cakes. In fact, you probably already own plenty of things that work just as well as “proper” tools.
For example, you can cut stencils out of parchment paper or create textured buttercream finishes with a spoon. I’ve decorated entire cakes using only everyday kitchen tools and the results looked as polished as when using professional tools. If you’re just getting started, don’t let a lack of tools hold you back. Focus on your technique instead – it matters so much more.
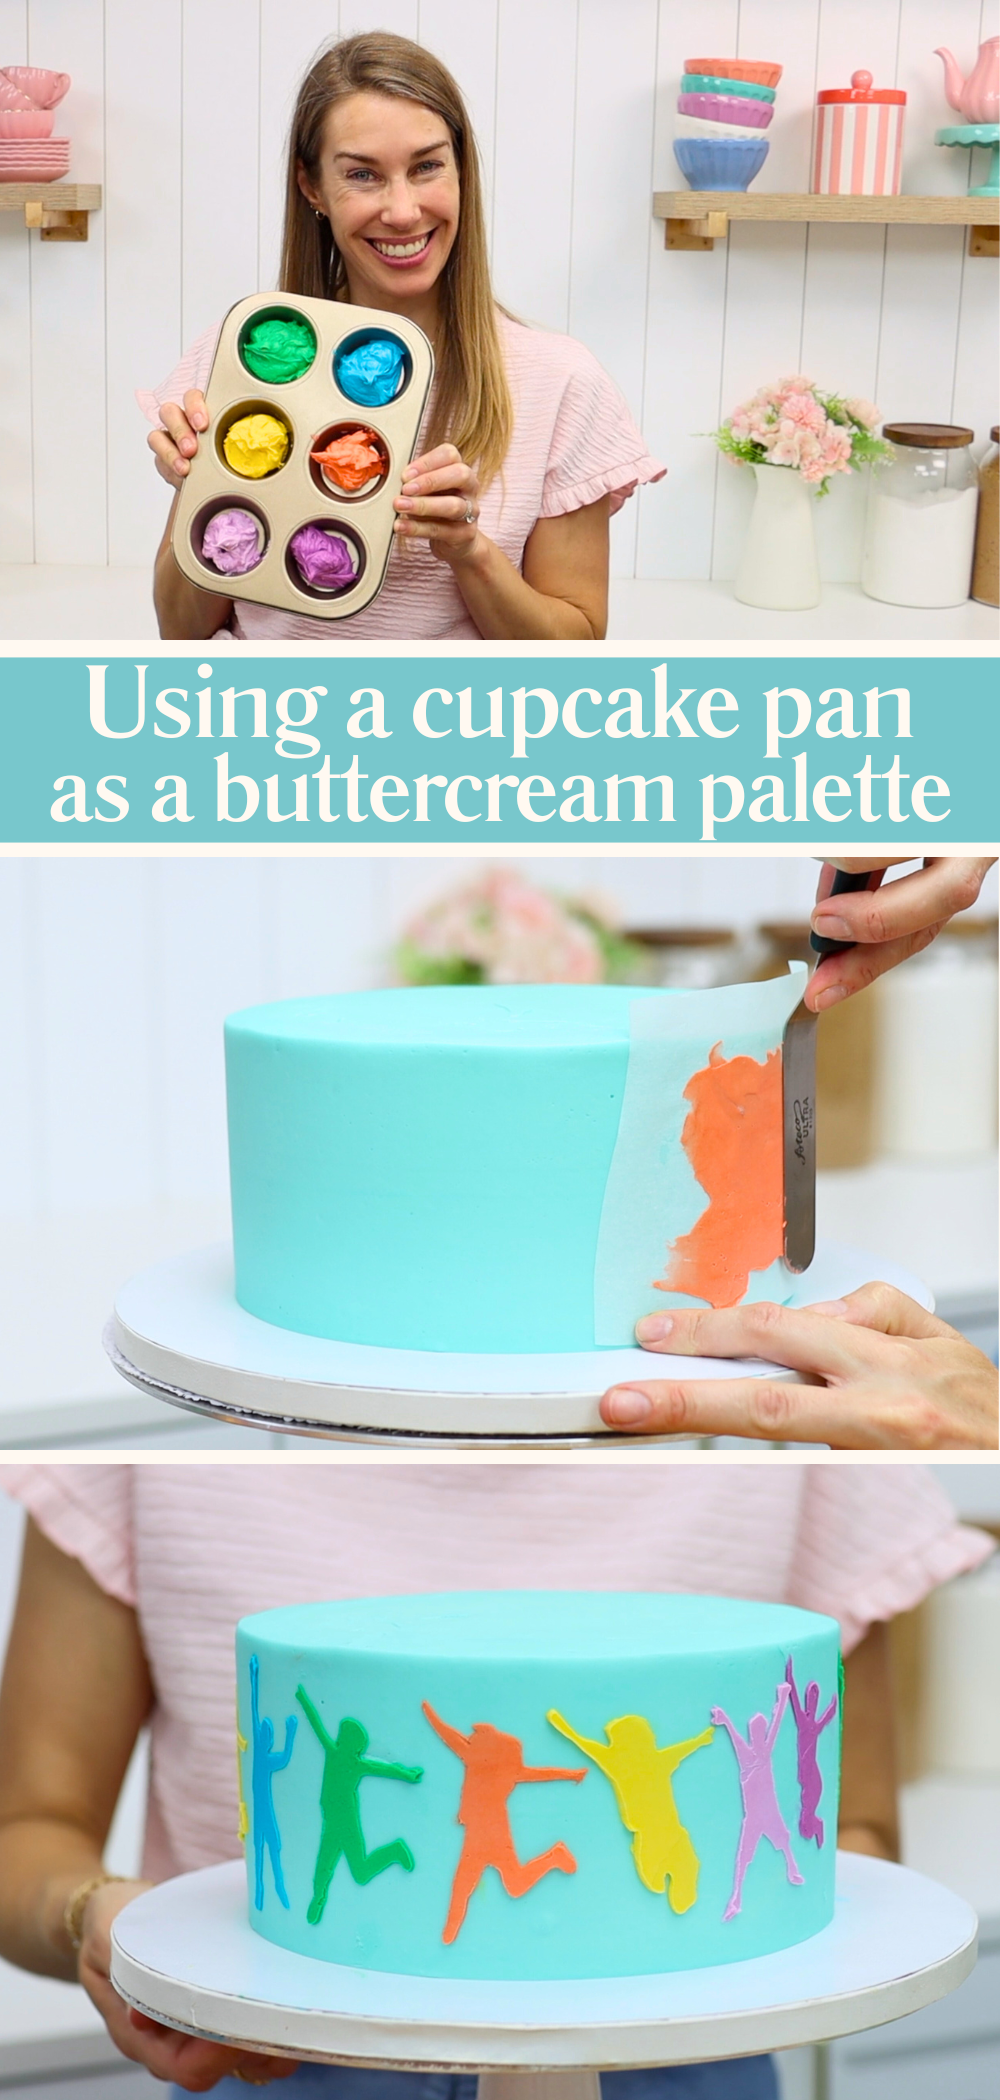
If you’re using several different colours of buttercream, here’s a simple trick that will save you time in the kitchen. Use a cupcake tray to mix small amounts of coloured buttercream instead of separate bowls.
Now all your colours are in one place, they're quicker to use, and you only have one tray to clean at the end. When you’re working on more complex cake designs, little time-savers like this make a big difference.
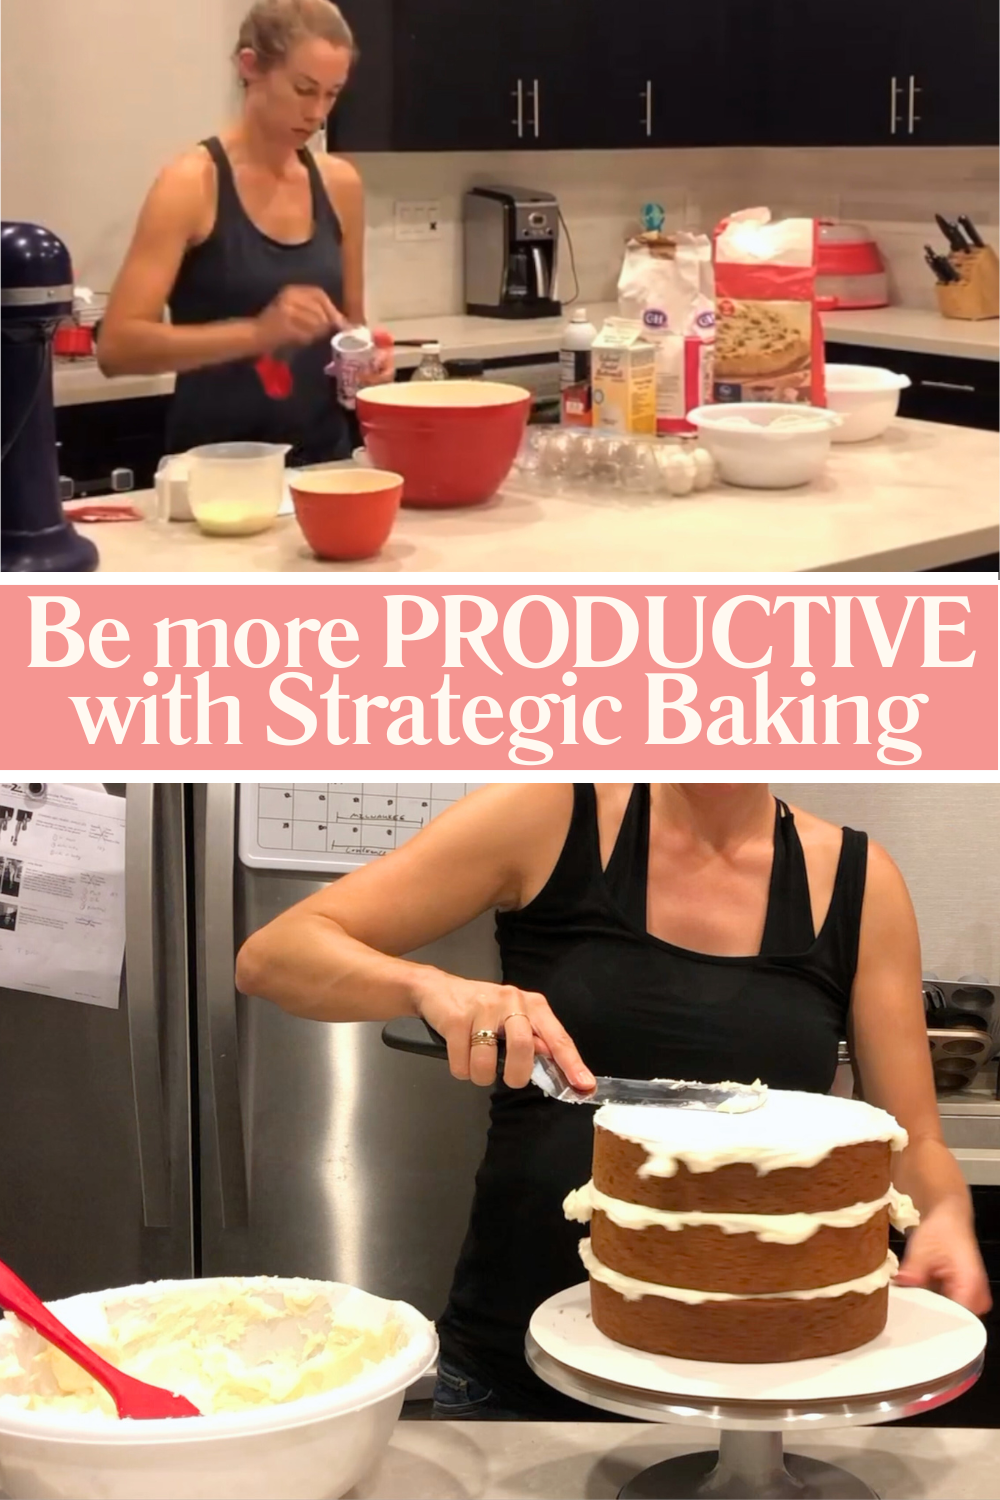
When you’re new to cake decorating it’s tempting to try and do everything in one day. But one of the most helpful beginner cake decorating tips is to break your cake process into stages.
You can:
This works especially well if you have a busy schedule or little ones at home. It’s much more manageable and you won't waste time waiting in between stages. You’ll end up spending less total time on the cake without feeling rushed.
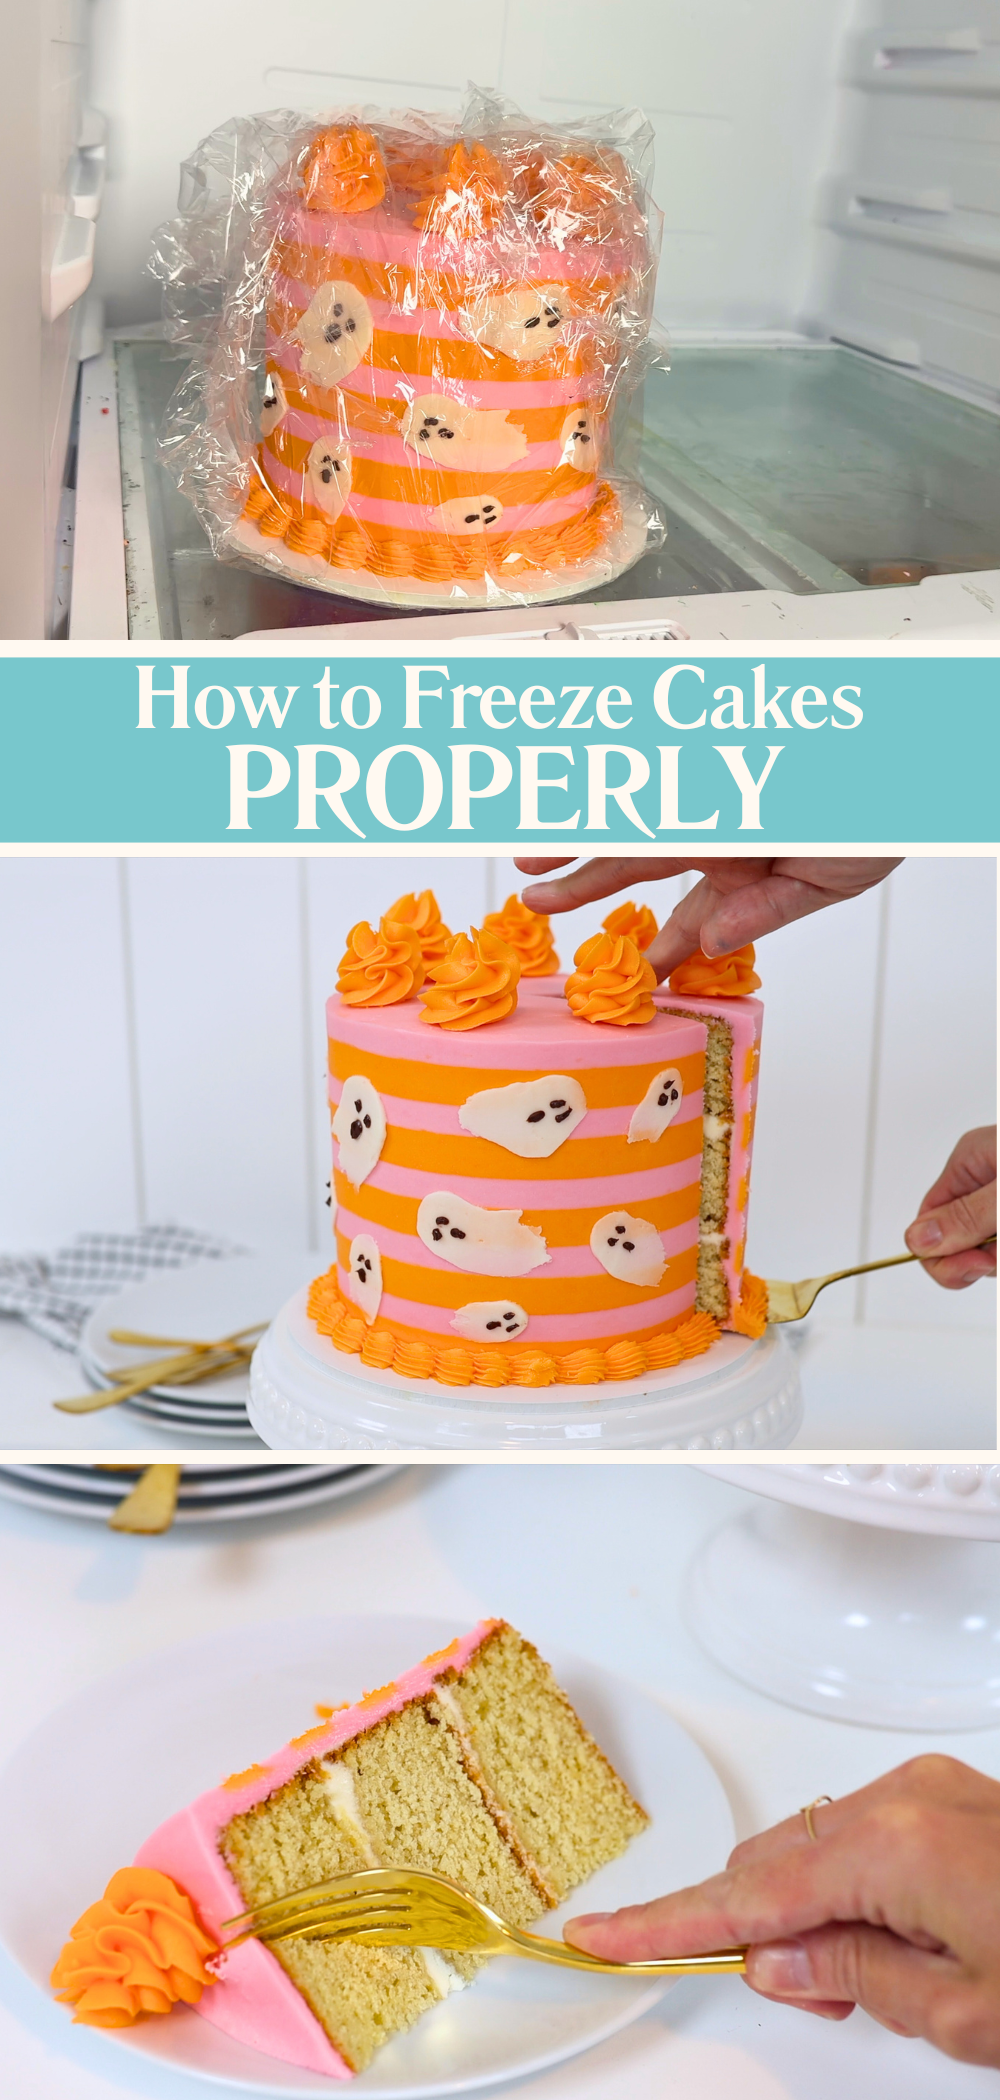
This tip blew my mind the first time I tried it: you can freeze fully decorated cakes. Once your cake is finished, put it in the freezer unwrapped for 30 minutes. This firms up the frosting and decorations. Then wrap it in two layers of plastic wrap and freeze for up to two months.
To thaw, move the cake to the fridge the day before serving. On the day, take it out of the fridge two hours before you serve it and unwrap it straight away so the wrap doesn't damage your decorations. This will save you if events are rescheduled after you've already made the cake! It's also useful if you have scheduling conflicts and can't make the cake in the days just before an event. It’s an absolute game-changer.
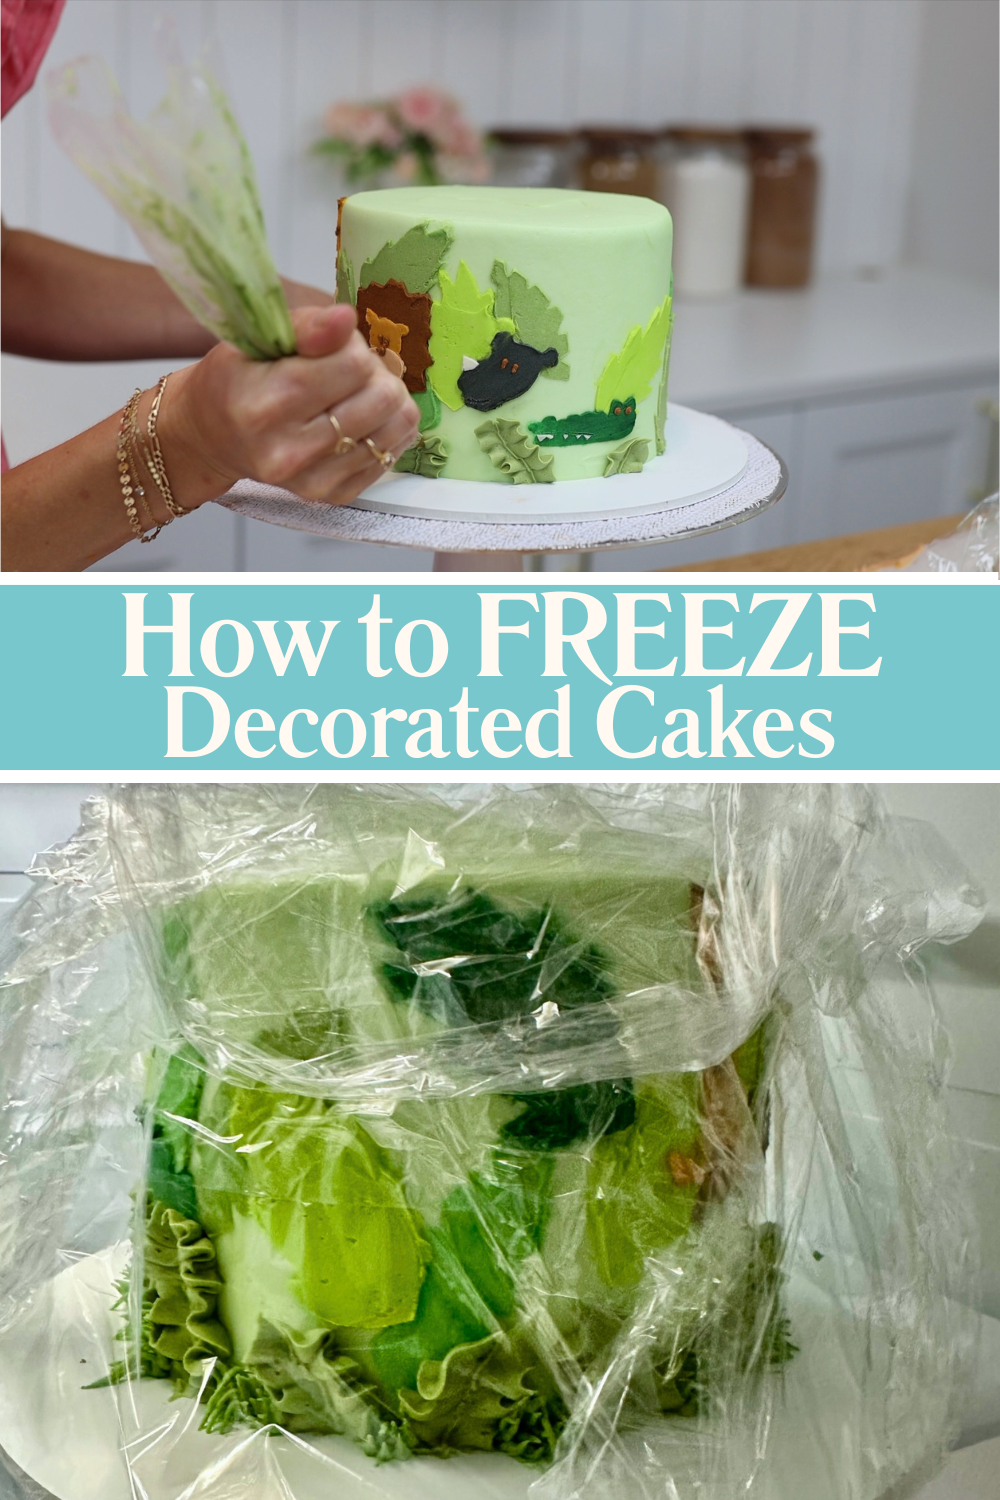
And don’t worry – I’ve done blind taste tests and couldn’t tell the difference between a freshly baked cake and one that had been frozen for a week. As long as it’s stored and thawed properly, freezing doesn’t affect the taste.
If you’re selling cakes, this one’s important. Custom decorations take time, materials, and creative energy. If you don’t charge for them, you’re doing extra work for free. Whether it’s hand-piped flowers or fondant figures, make sure your pricing reflects the extras.
This might not feel like a decorating tip, but it’s part of valuing your work. My full tutorial on how to price cakes breaks this down so you can make a profit.
Here’s another common mistake: forgetting to include delivery in your pricing. It’s not just the drive – it’s the time spent planning, coordinating, getting the cake to the venue safely, and then getting yourself back home again. There’s also petrol or gas, wear and tear on your car, and the stress of transporting a cake.
It’s completely fair – and necessary – to charge for this. If you’re taking cake decorating beyond a hobby, make sure you treat it like a business.
There’s a lot to learn when you’re starting out, but hopefully these tips help you avoid some of the common cake decorating mistakes that I had to figure out the hard way.
If any of these tips were helpful, I’d love to hear from you. Leave a comment to let me know which one you’re going to try first, or share your own favourite tip for beginners. And if you want to keep learning, visit my cake school to learn hundreds of cake decorating techniques and designs.
You can also watch a video of this tutorial on cake decorating for beginners: