
If you're looking for an easy graduation cake that’s bright, joyful and doesn't require any fancy tools, this is the tutorial for you! Whether you’re celebrating a preschool graduation, the end of the school year or a milestone moment, this cake is guaranteed to make a statement.
Start by baking your favourite cake – I used my Very Vanilla Cake recipe and added sprinkles into the batter for fun, colourful slices. Assemble your cake with layers of cake and my 4 Minute Buttercream, which is quick, delicious and perfect for decorating.

You can use another recipe for the frosting but make sure it's a crusting buttercream. That just means it firms up as it sets, which is key for being able to apply your stencils later on.
Apply a crumb coat, which is a very thin layer of frosting that locks in crumbs and covers the whole cake. It doesn’t need to be perfect – just make sure there’s no naked cake showing. Chill the cake in the fridge for about 30 minutes.
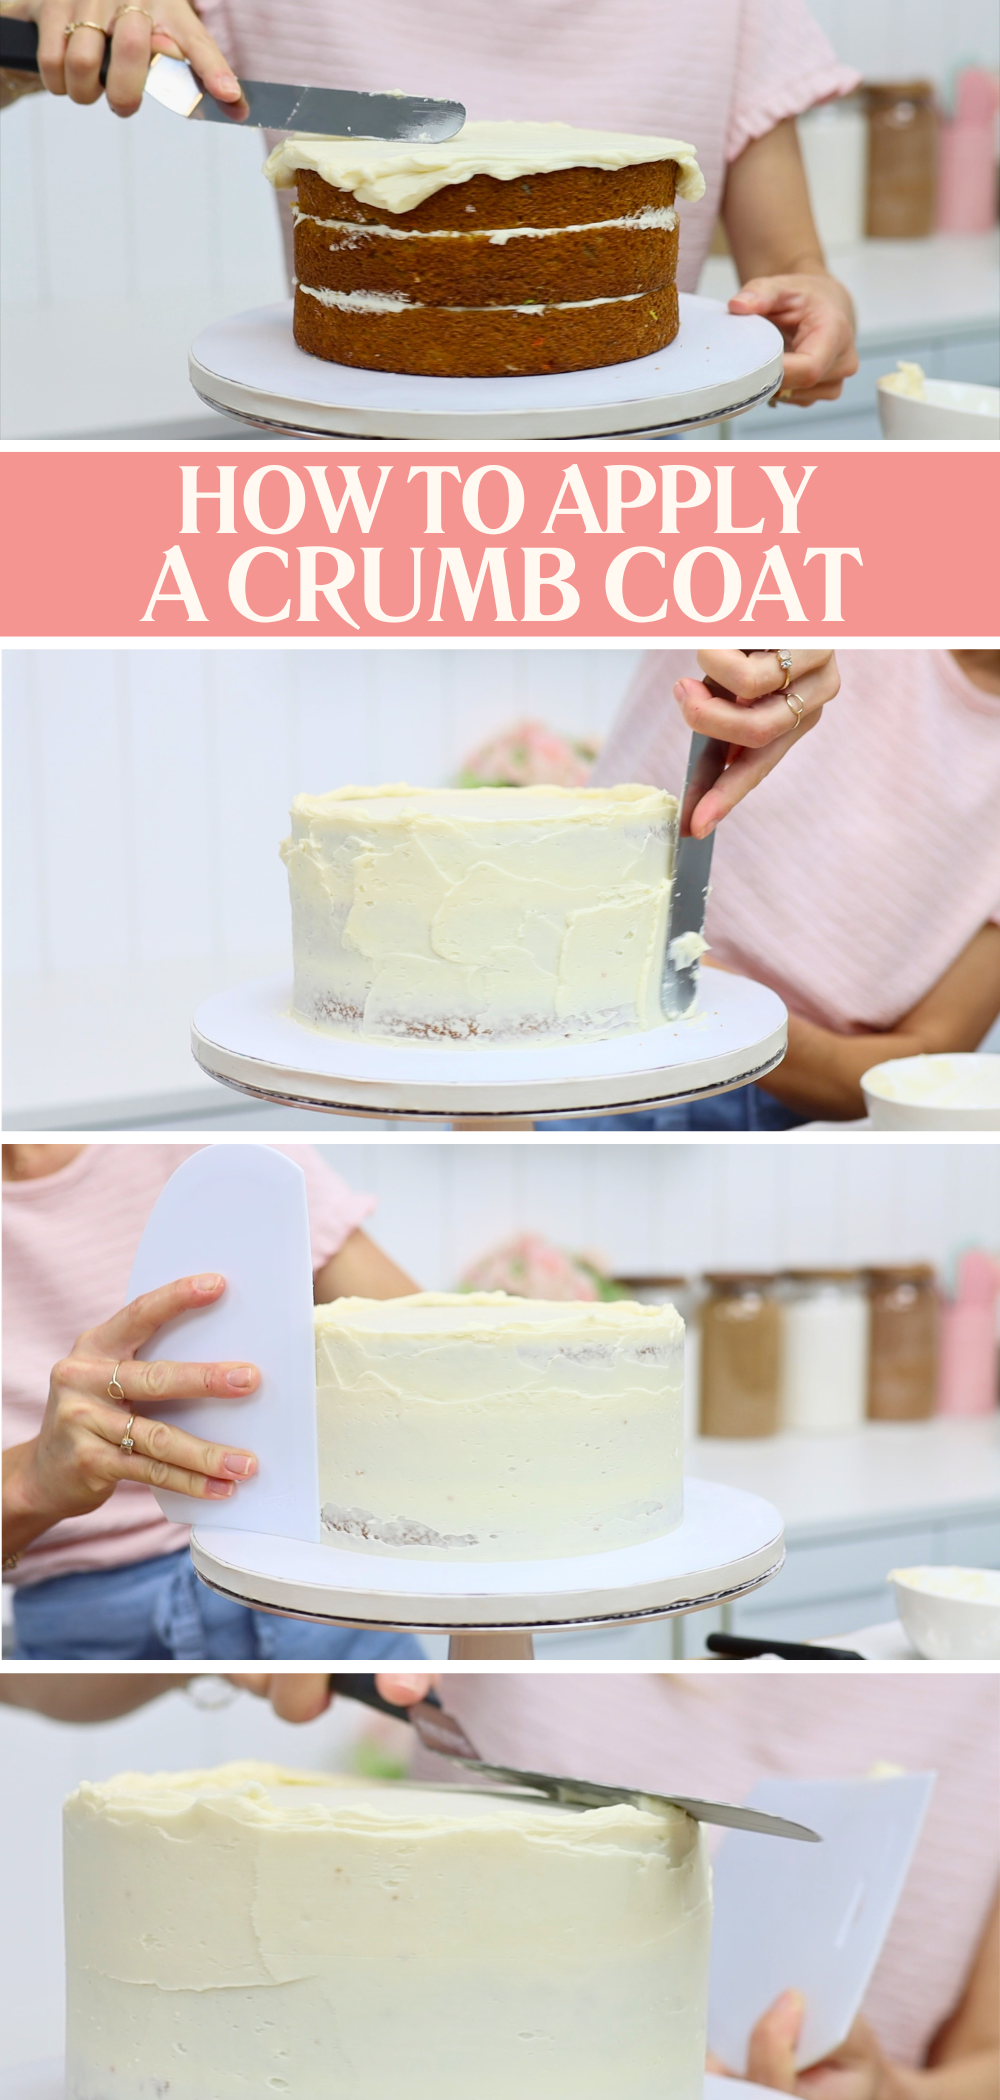
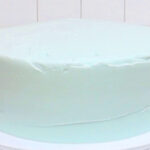
Once the crumb coat is set, tint your buttercream in your chosen base colour. I used blue gel for a bright, fun finish. Frost the top of the cake first, then move on to the sides, letting the frosting rise just above the top edge for sharp corners later.
Use a cake comb to smooth the sides. If you have a metal cake scraper, even better! You can warm it up for ultra-smooth results. To finish the top edge, swipe sideways with your
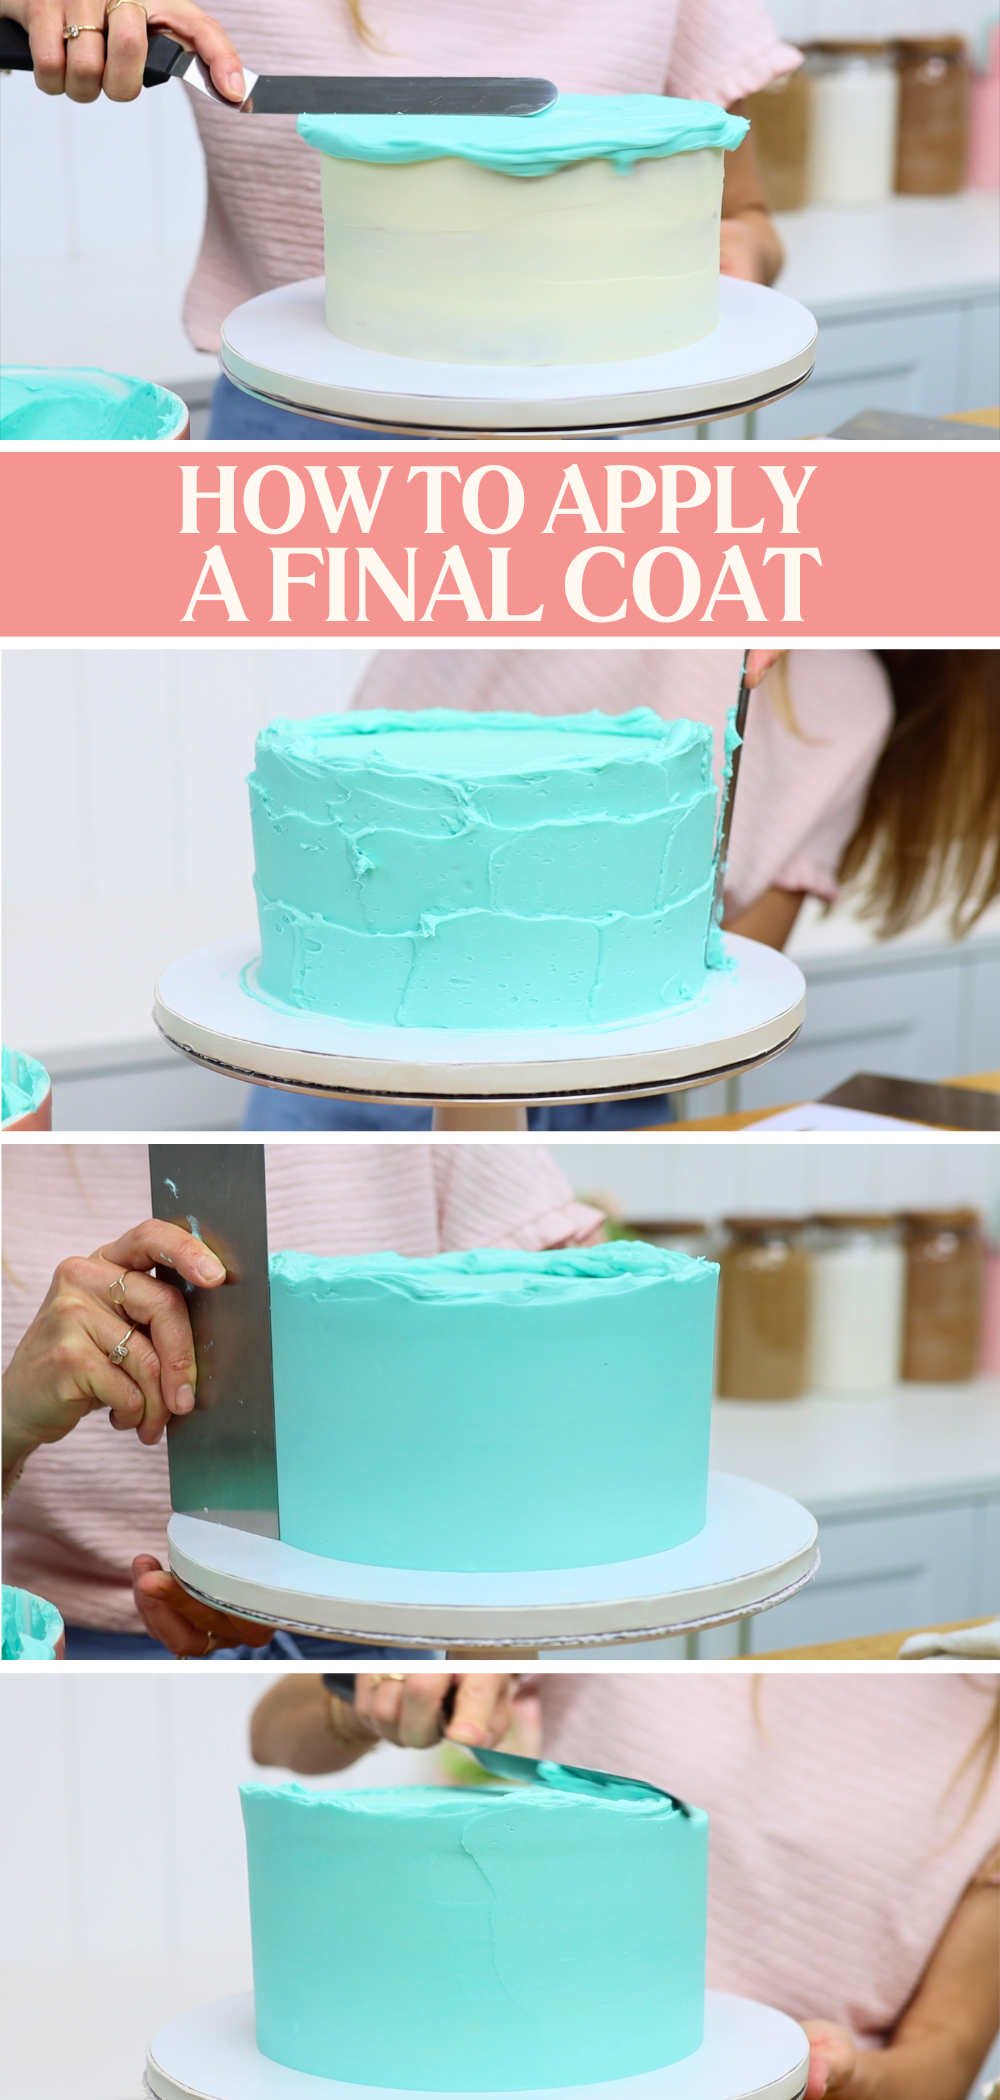
Now chill your cake again – at least one hour, or overnight.
While the cake is chilling, make some DIY cake stencils. Search online for “celebrating children silhouettes” and print them out. Trace each figure onto squares of parchment or wax paper, leaving about an inch of paper around each outline. Carefully cut them out, snipping into the middle of each figure and then pushing one scissor blade through and angling around the outline. The more precise you are here, the cleaner your buttercream silhouettes will look.
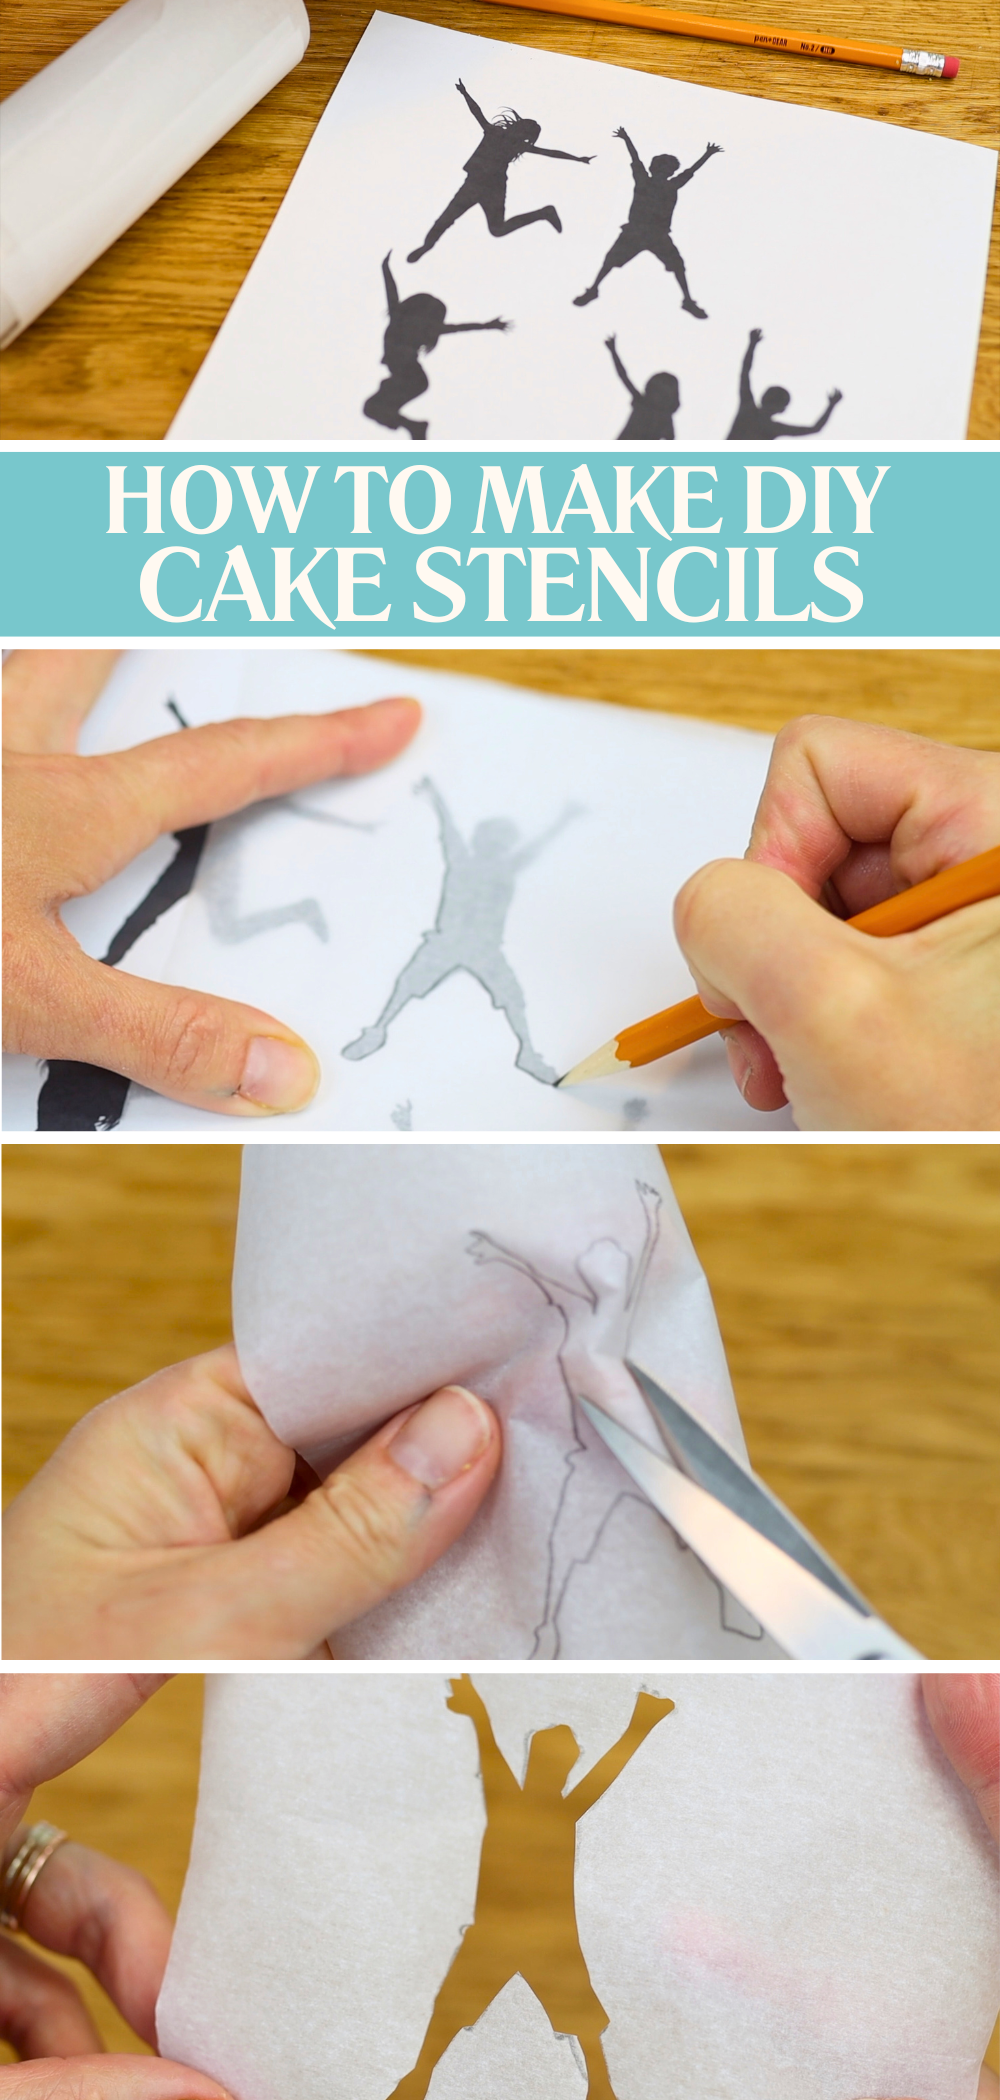
Tip: if you’re doing a lot of figures, I find it’s faster to make individual stencils for each one rather than scraping them clean and reusing.
Once your cake is firm and chilled, wrap your first stencil around the cake where you want the design. Press it gently against the cake and spread coloured buttercream over it, from the edges towards the middle to prevent smudging.
Scrape with a small
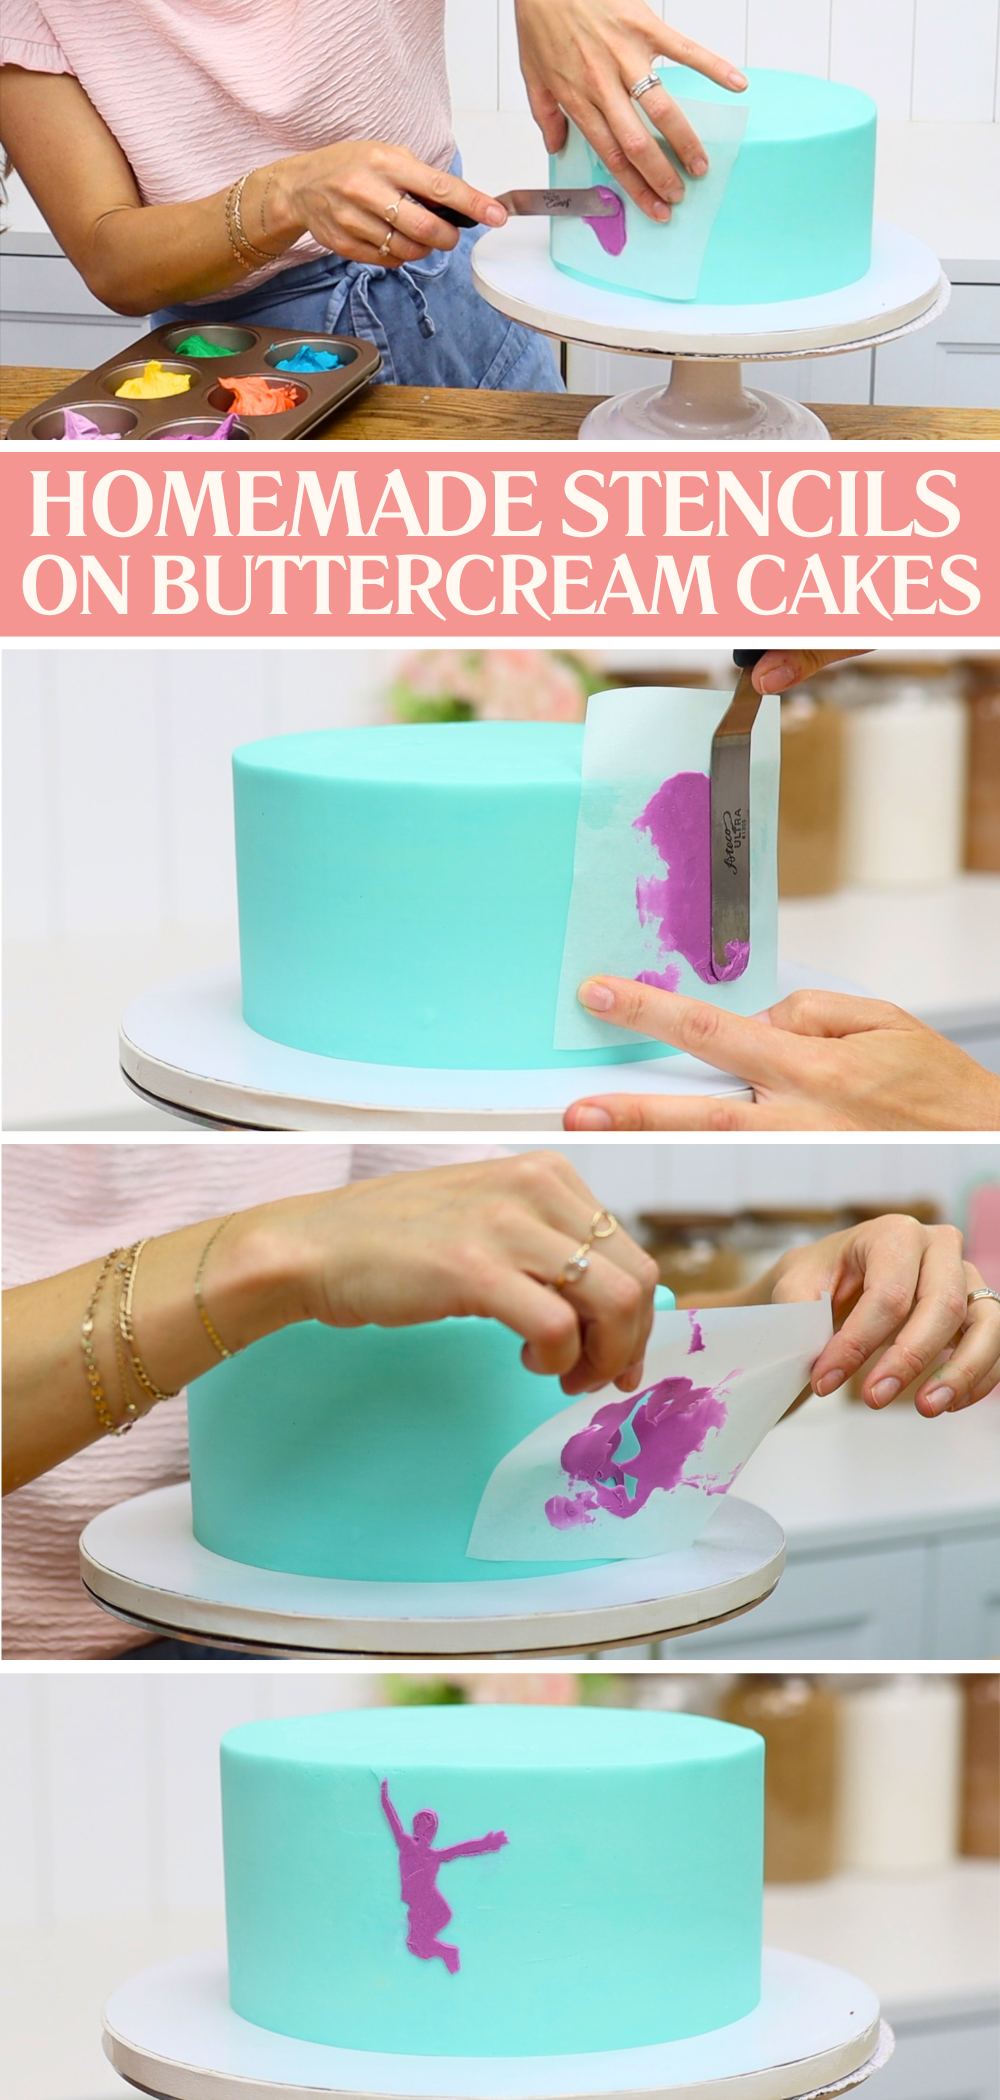
Space your stencils so they don’t touch any fresh buttercream and repeat the process. Chill the cake again before filling in the gaps after the first figures has set.
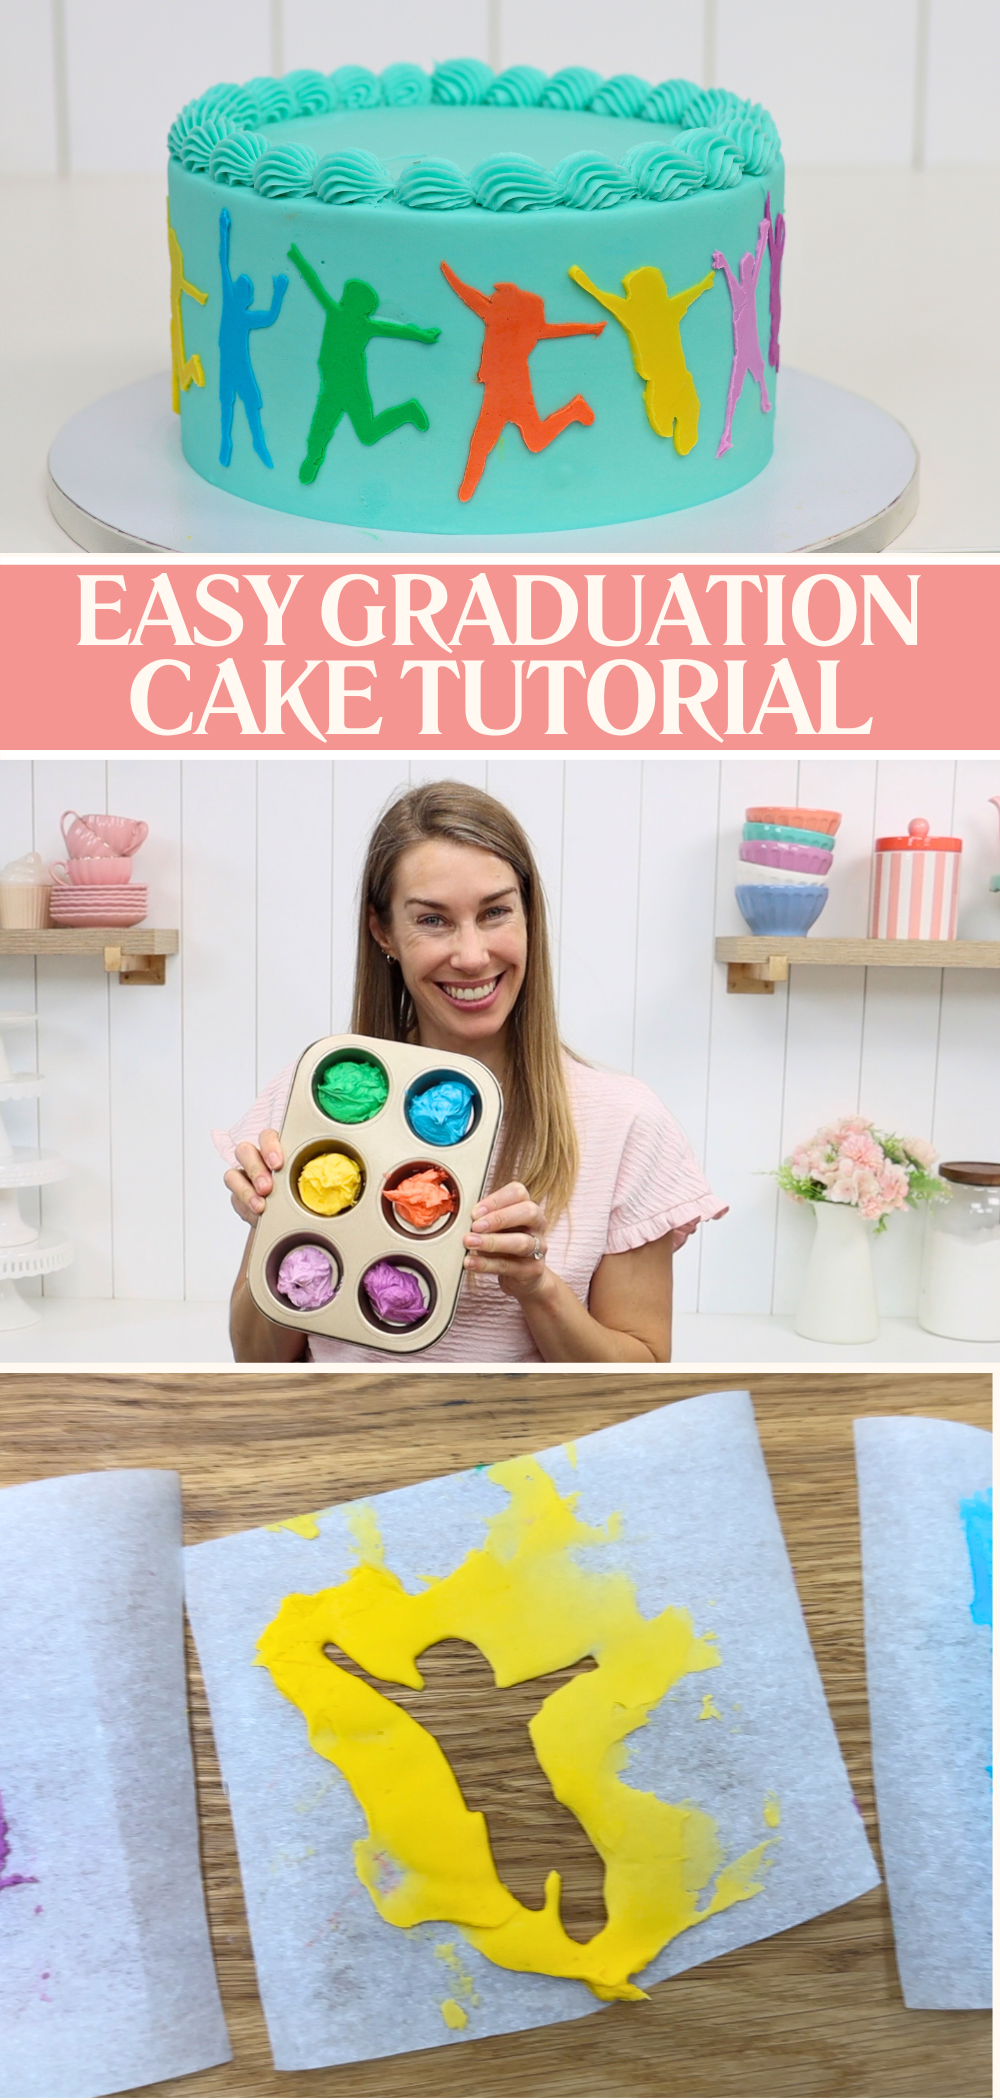
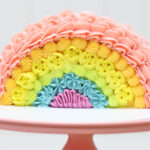
Mixing your colours in a cupcake pan is a great time-saving trick – less washing up and perfect portions of buttercream for each figure.
Once your design is finished, keep the cake chilled until it’s time to serve. This easy graduation cake is ideal for end of year parties or really any event that calls for bright, happy energy. I made it as a preschool graduation cake - you could even personalize the stencils for your child’s class!
For hundreds more cake decorating techniques and designs, visit my online cake school!
You can also watch a video of how to make this easy graduation cake:


Really good and easy to understand, I can't just wait to practice this for my nephew. Thank you so much, you've been my inspiration ❤️
Yay! So glad it's helpful. I hope your nephew loves it!