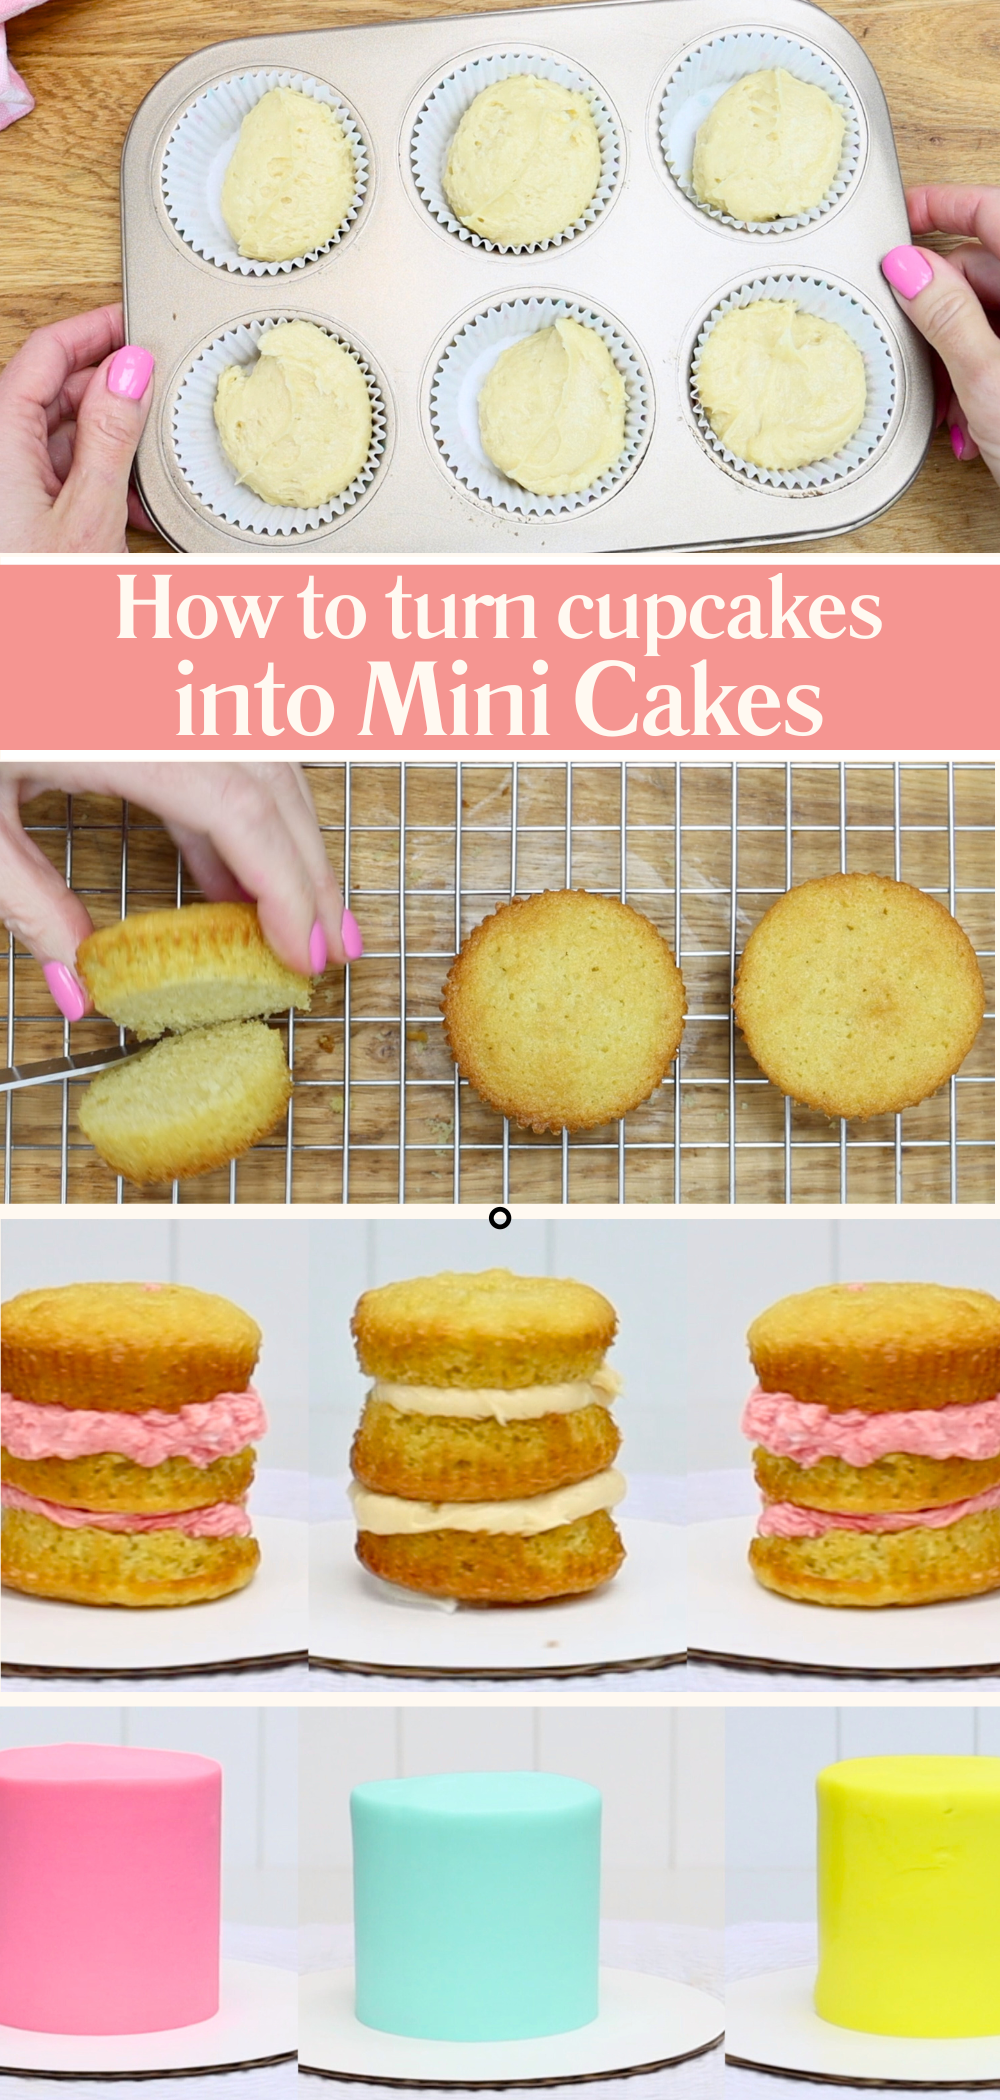
Welcome to this mini cake tutorial! Mini cakes might be small, but they pack in just as much flavour and fun as their full-sized counterparts. Whether you’re baking for a birthday, a tea party, or just fancy a cute treat, these bite-sized beauties are surprisingly easy to make at home. In this guide, I’ll walk you through every step – from baking the layers to choosing fillings, decorating, and even storing and serving.
If you’ve been wondering how to make a mini cake, you’re in the right place!
There are two easy ways to make mini cake layers: use cupcakes or bake thin cake layers.
If you’re starting with cupcakes (my one-egg recipes make about six), simply peel off the wrappers and slice the cupcakes in half across the middle. You’ll get wider and narrower layers, perfect for stacking into bigger or smaller mini cakes.
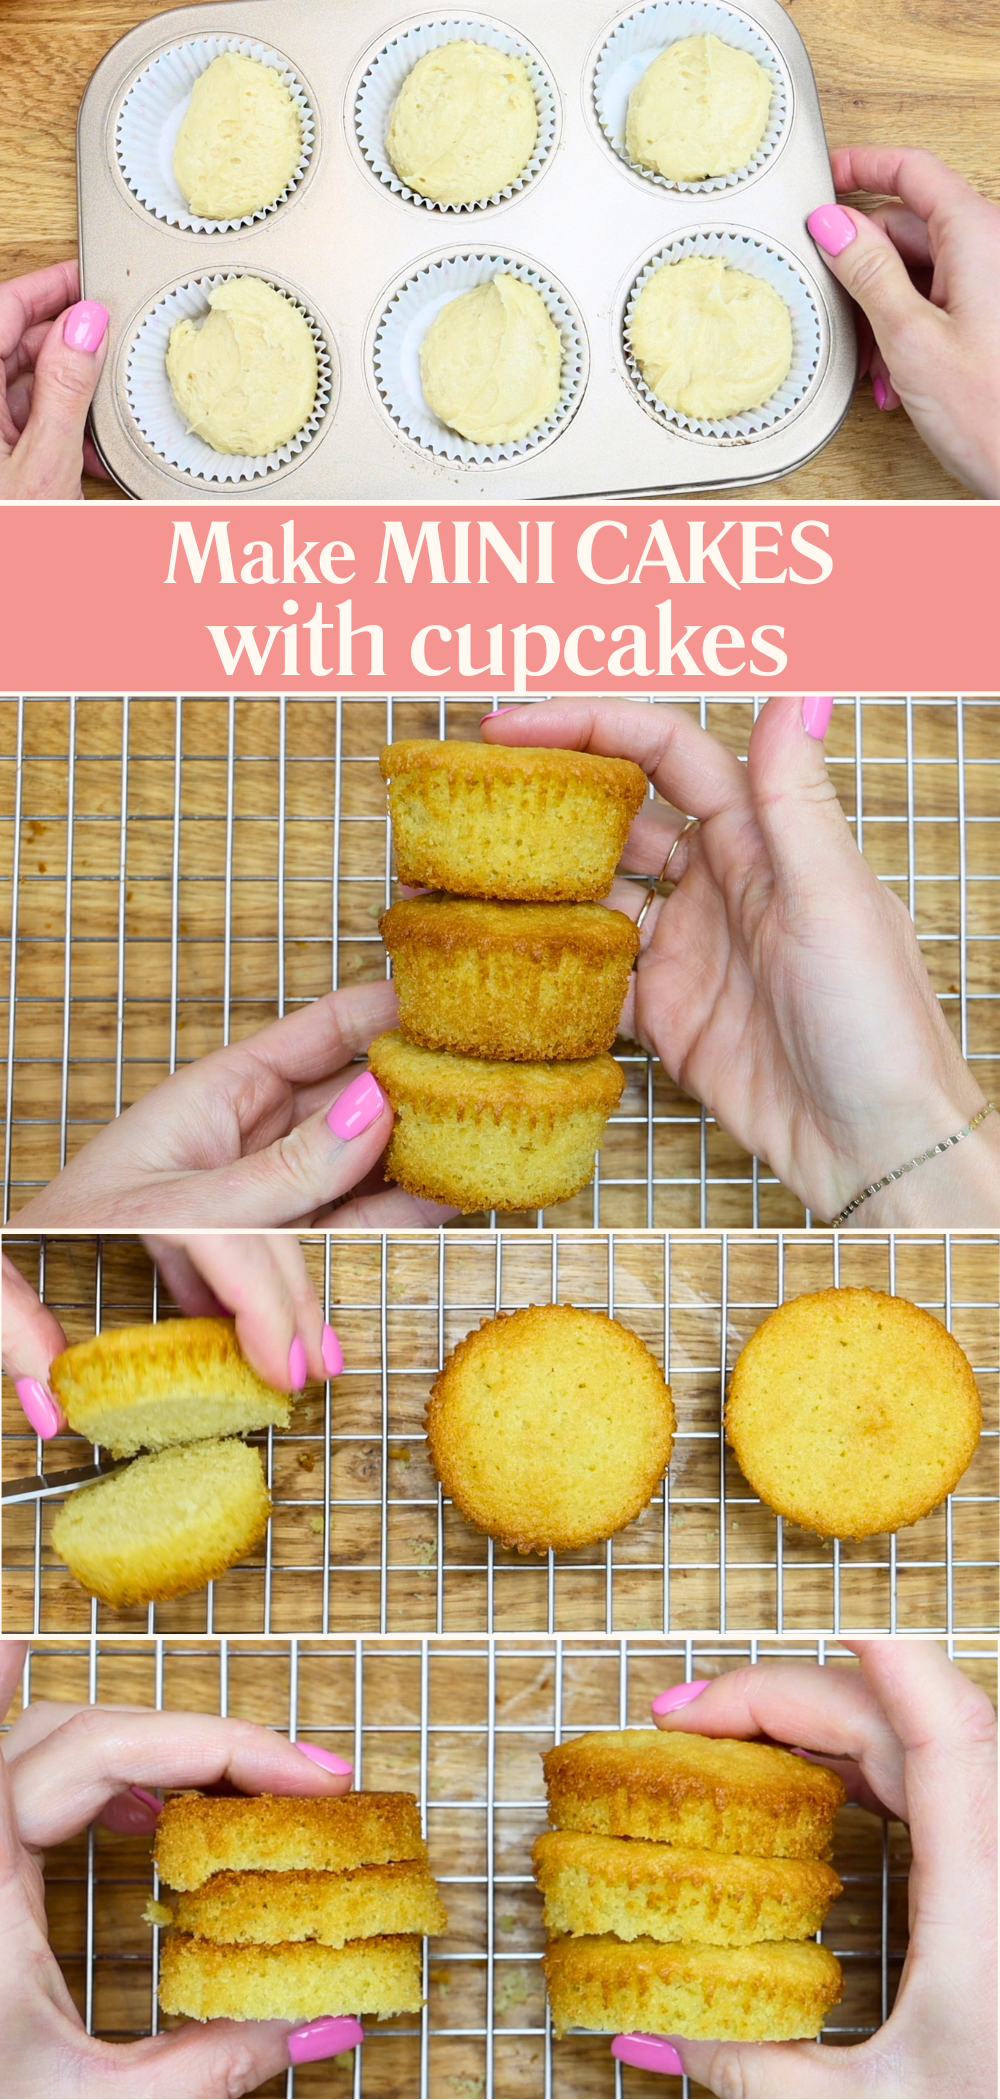
The uneven edges are covered up when you frost the cake, but you can also use a serrated knife to trim them down if you want your cake to look neat and even from the start.
You can freeze leftover cupcakes in an airtight container like a Tupperware or ziplock bag for up to a month. Handy for when you want to whip up a mini cake without baking from scratch!
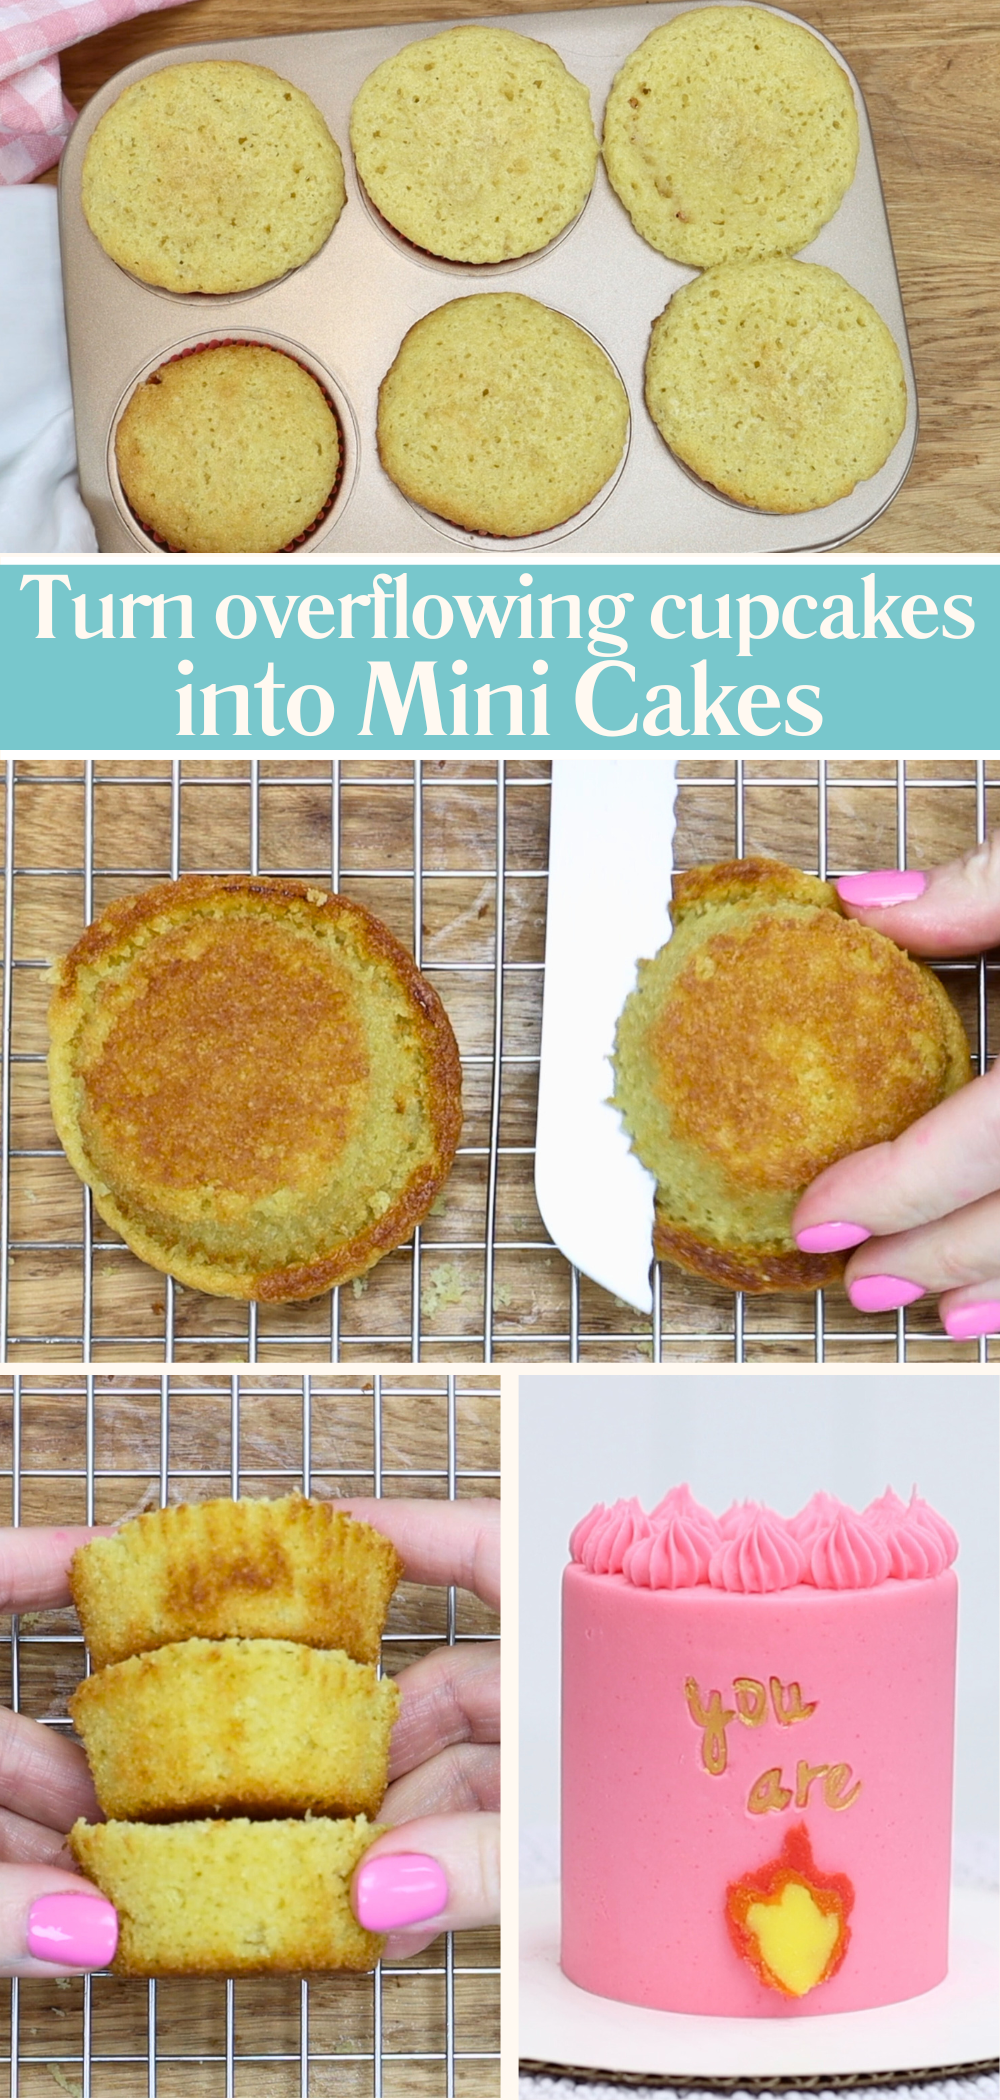
If your cupcakes have overflowed a little in the oven, just trim the domed tops and use the flat bottoms:
Prefer using cake layers? Bake thin 6-inch rounds (again, my one-egg recipes work beautifully), and use a 6cm or 2.5 inch cookie cutter to cut out perfect mini cake layers. Level them by trimming the top before or after cutting for neat, flat layers.
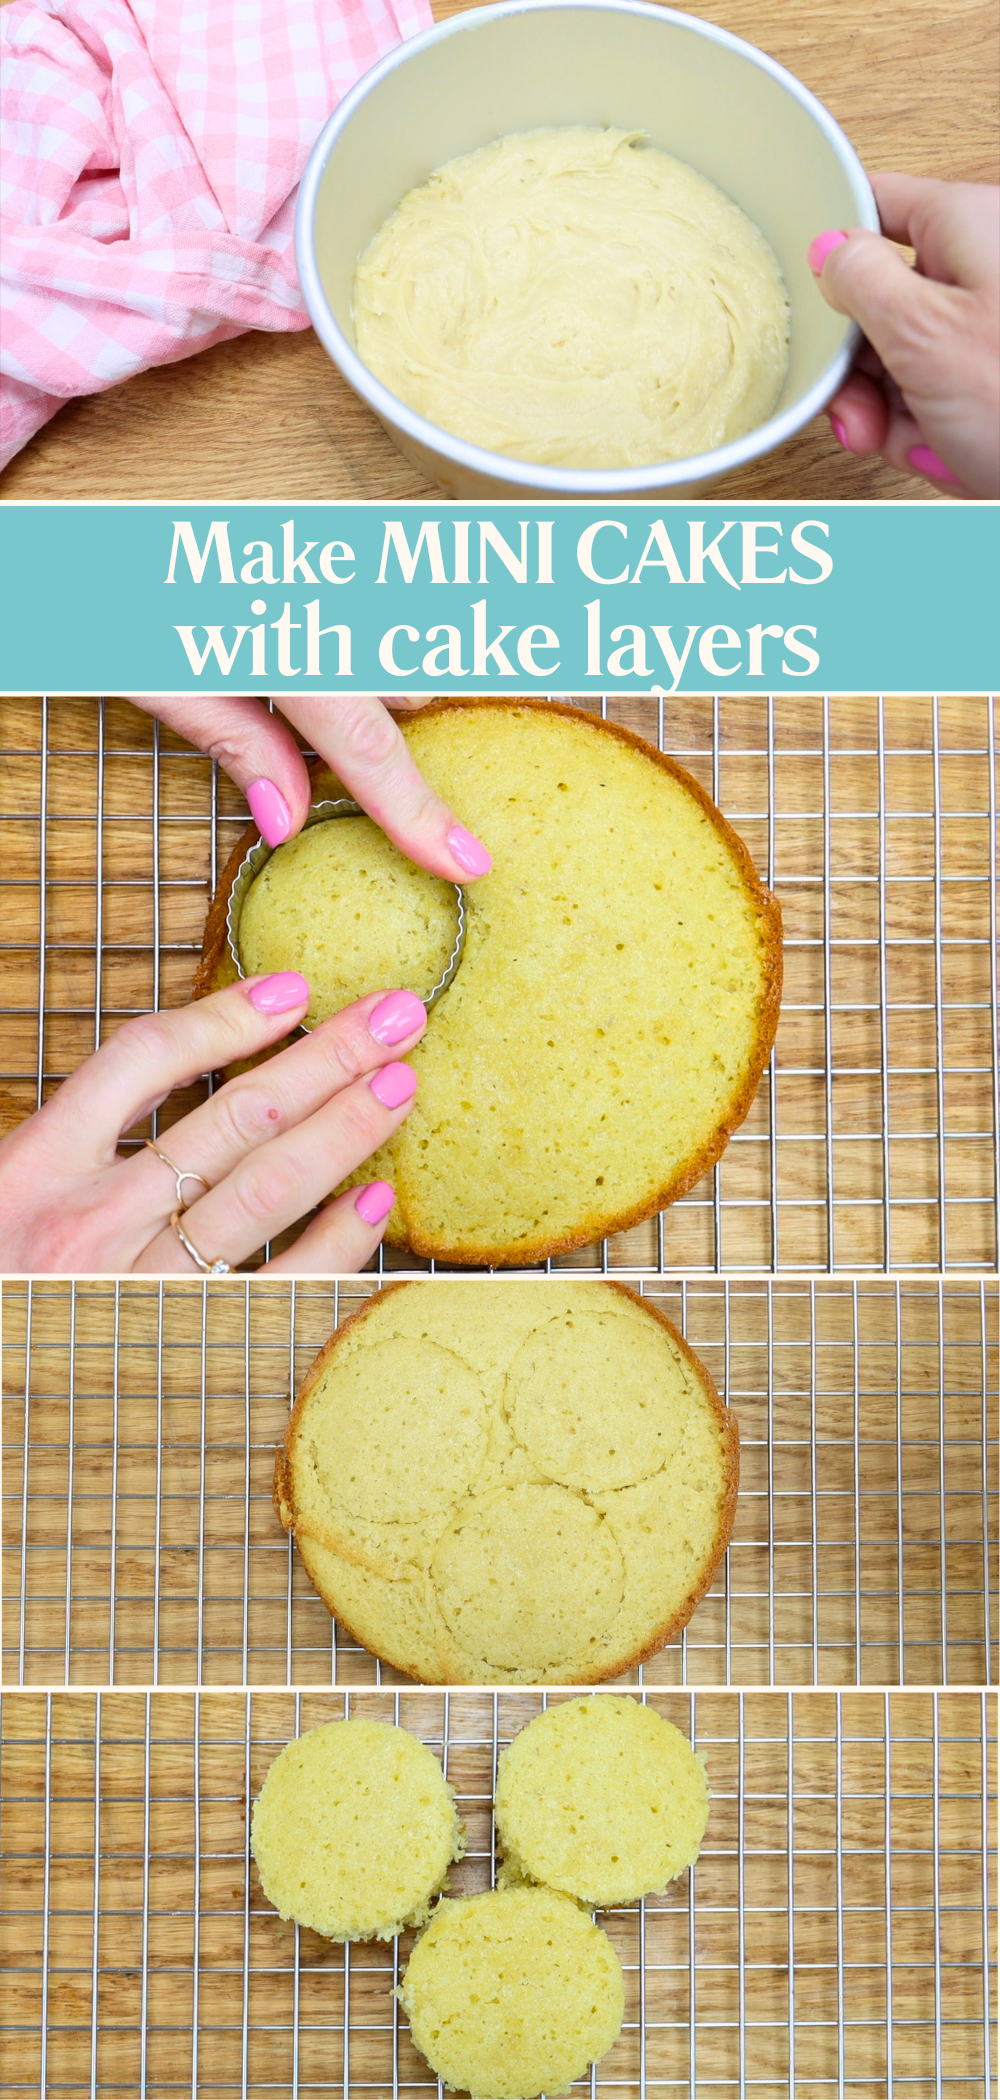
The cookie cutter method gives really tidy, even layers. But again, don’t worry if you see a difference now between these and the cupcake-based layers – once frosted, they’ll look practically identical.
To fill and frost a mini cake I use my 4 Minute Buttercream. In the recipe card below you'll find my small-batch recipe using just one stick (or 1/2 cup) of butter and icing sugar or powdered sugar. I actually prefer using a hand mixer for this, as stand mixers often struggle with such a small amount of ingredients.
The consistency of your buttercream is key: it can’t be too stiff or it’ll be tricky to spread on such a small cake. Here’s my microwave hack: scoop out a third of the buttercream, microwave it for 10 seconds, then stir it back in. You’ll notice the buttercream becomes much easier to work with – smoother, softer, and less stiff.
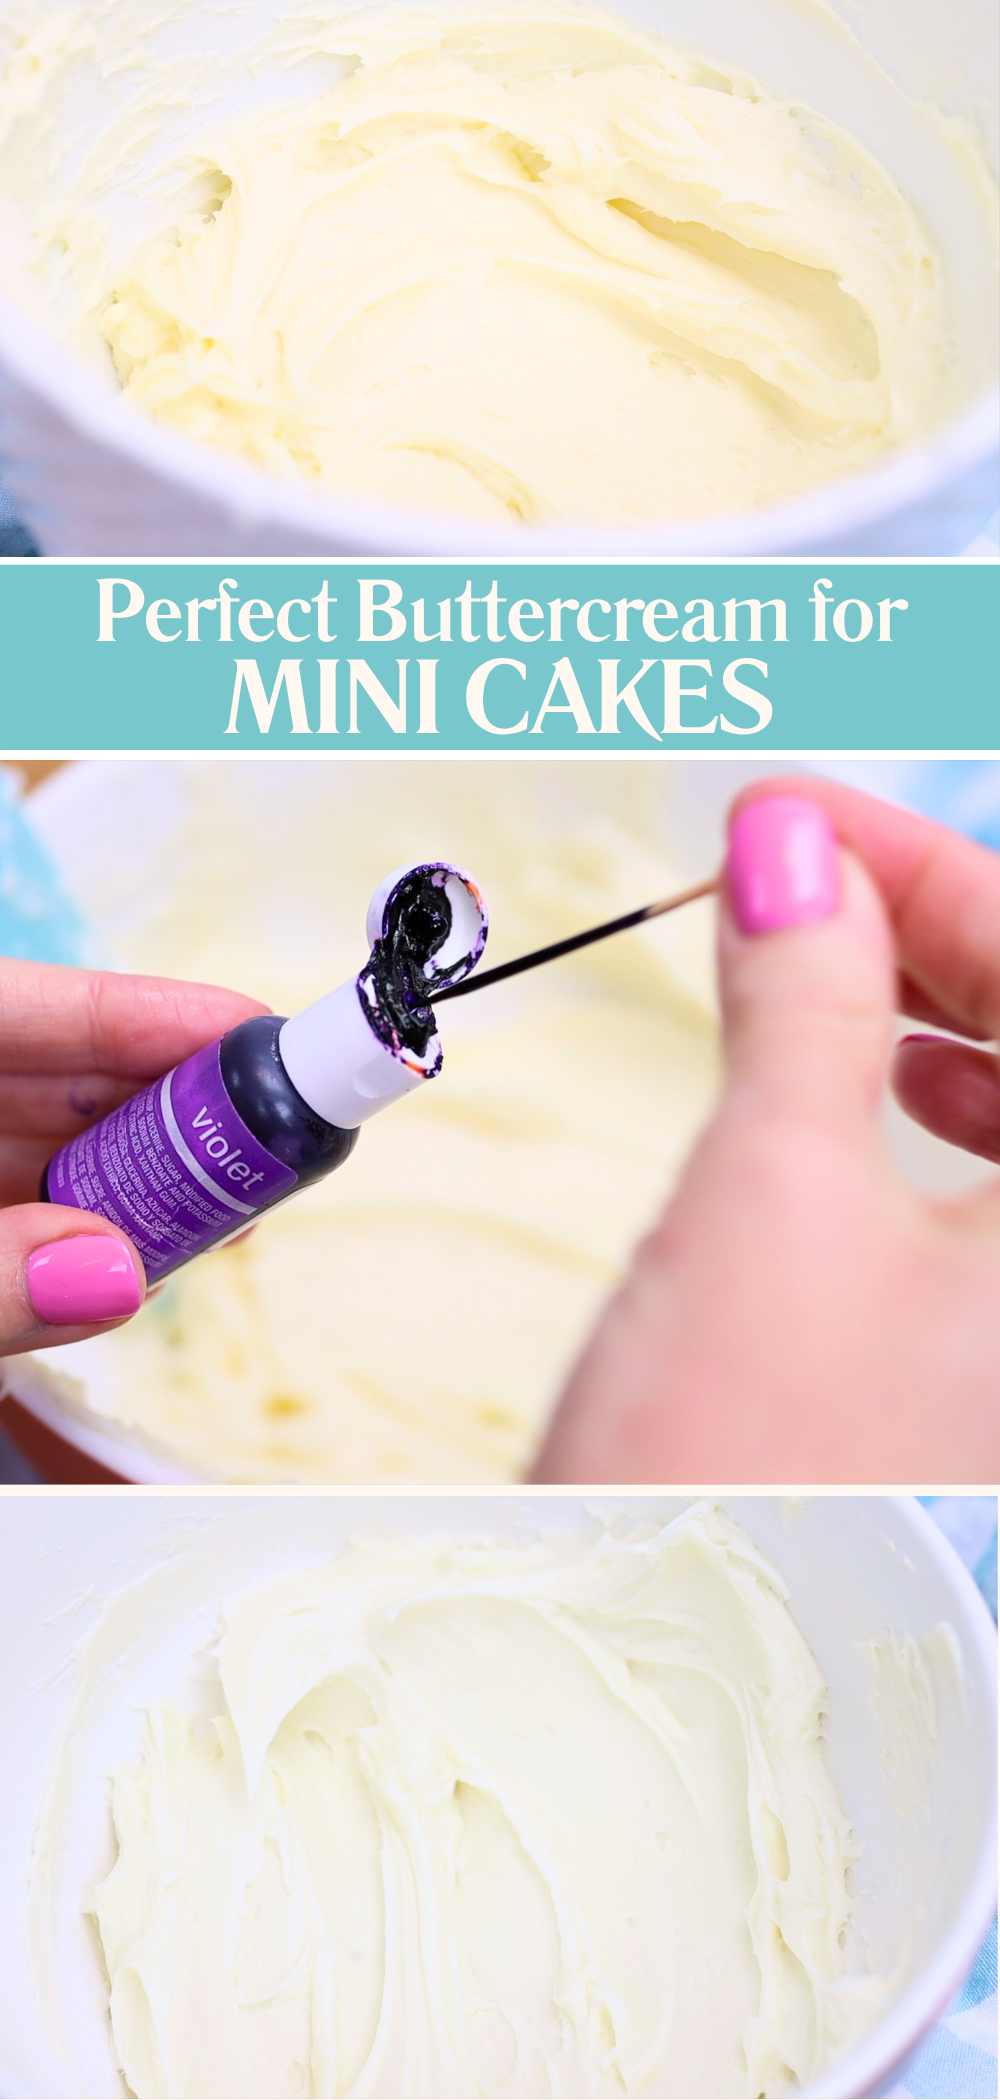
If your buttercream looks yellow you can correct that with a tiny dab of violet food colouring. Use a toothpick to add the smallest amount – it neutralizes the yellow and brightens your buttercream to a crisp white.
To add flavour to buttercream you have lots of options: crushed freeze-dried strawberries, dulce de leche, jam, lemon curd, or melted chocolate. Anything thick enough not to make the buttercream runny works well.
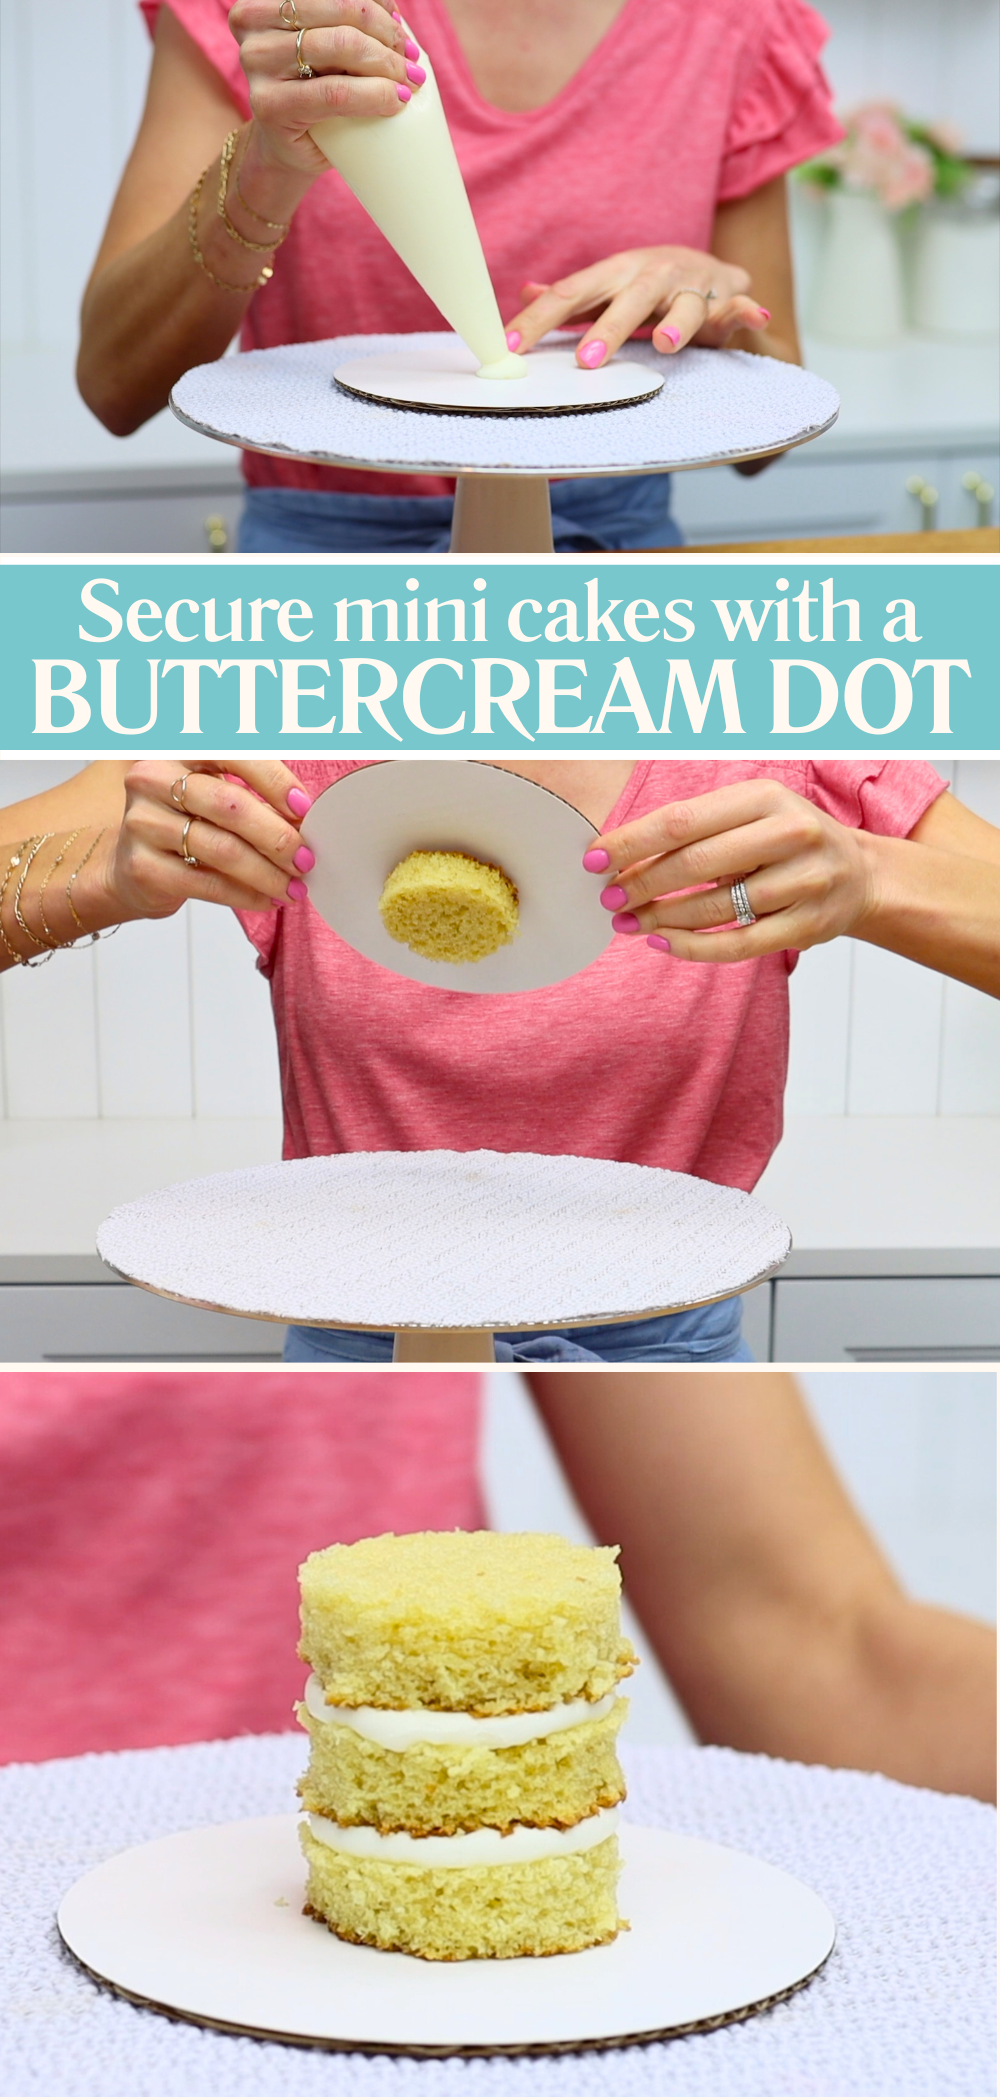
Choose a cake board at least two inches wider than your mini cake layers. Spread or pipe a dot of buttercream in the middle to act as glue, keeping your mini cake firmly in place. Without this, your cake may slide around as you decorate it, especially since it’s so light. That buttercream dot will firm up as it chills, making the cake even more secure.
If you’re using buttercream as the filling, you can simply spread it or pipe it onto each layer. But if you’re using a softer filling like jam, lemon curd or dulce de leche, you’ll need to pipe a buttercream dam around the edge of each layer first. This prevents your filling from oozing out under the pressure of the cake layers and ruining the outer frosting.
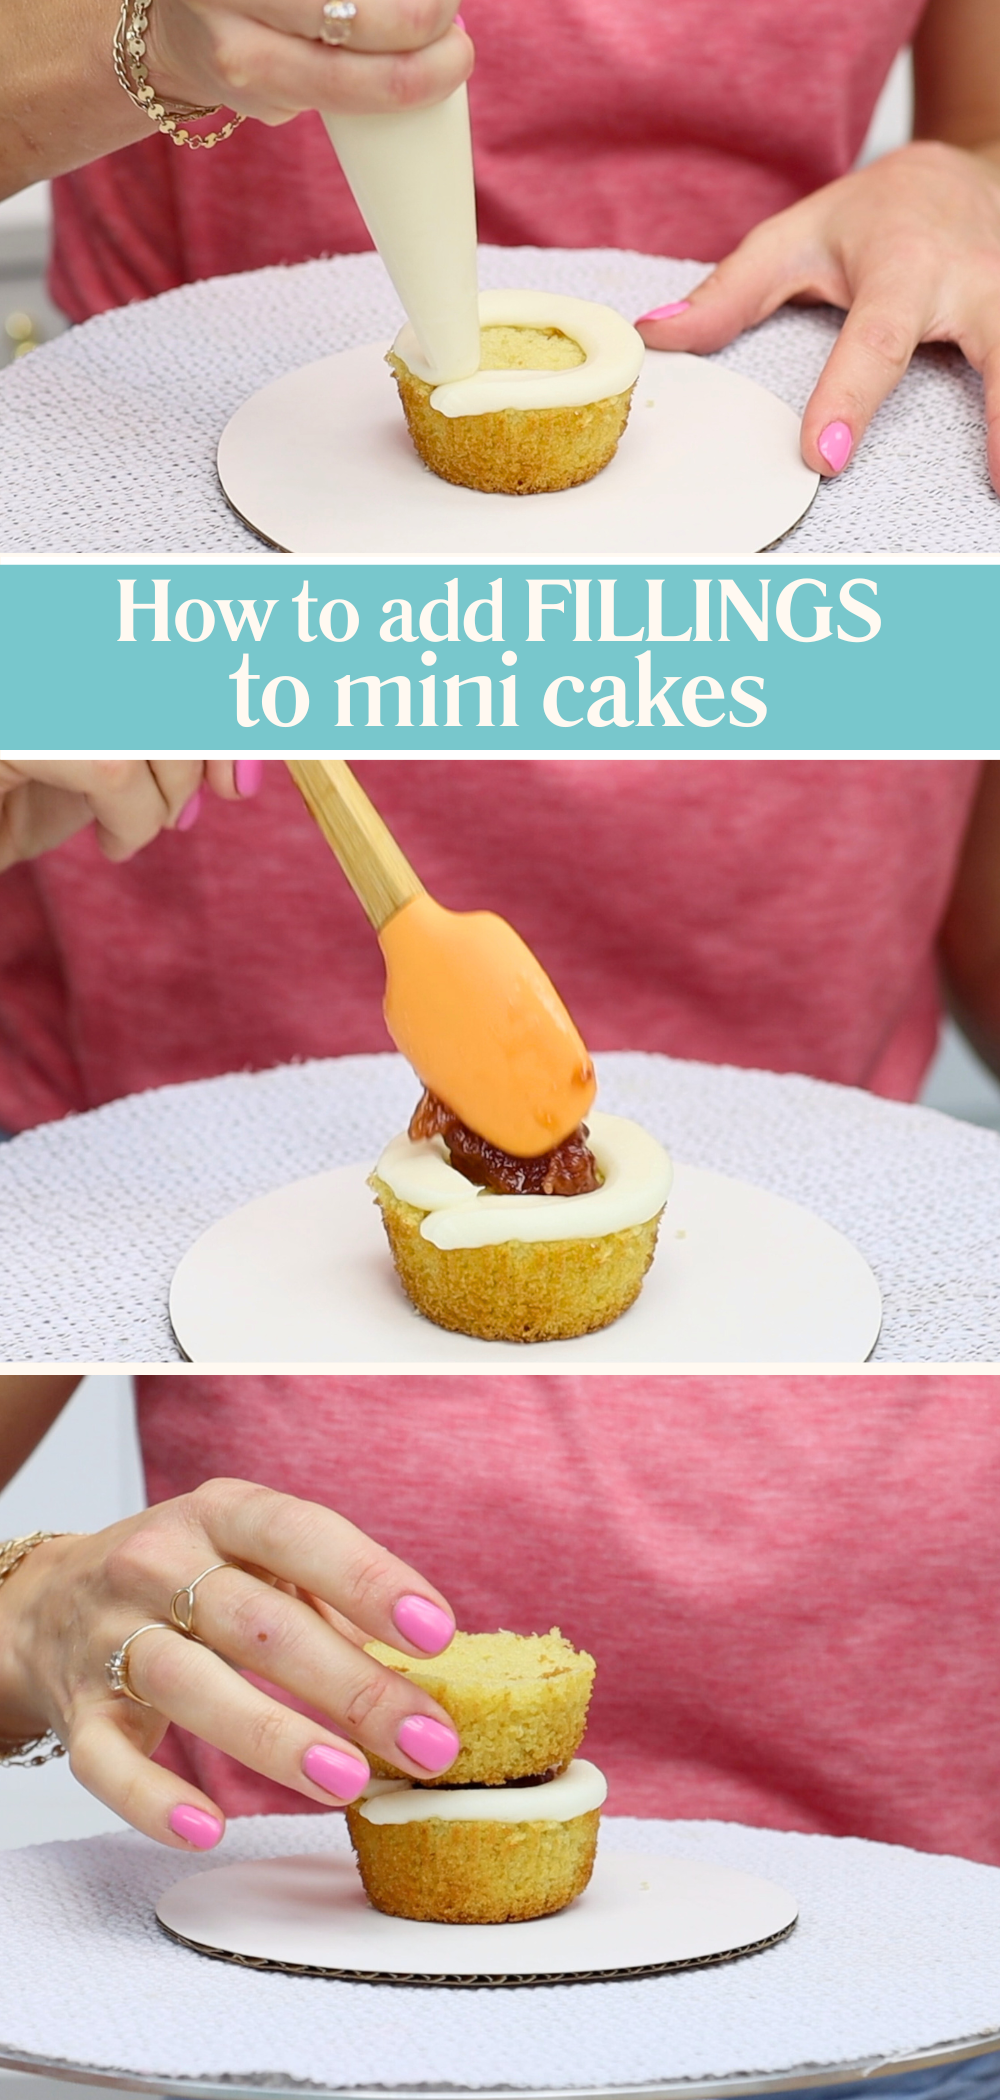
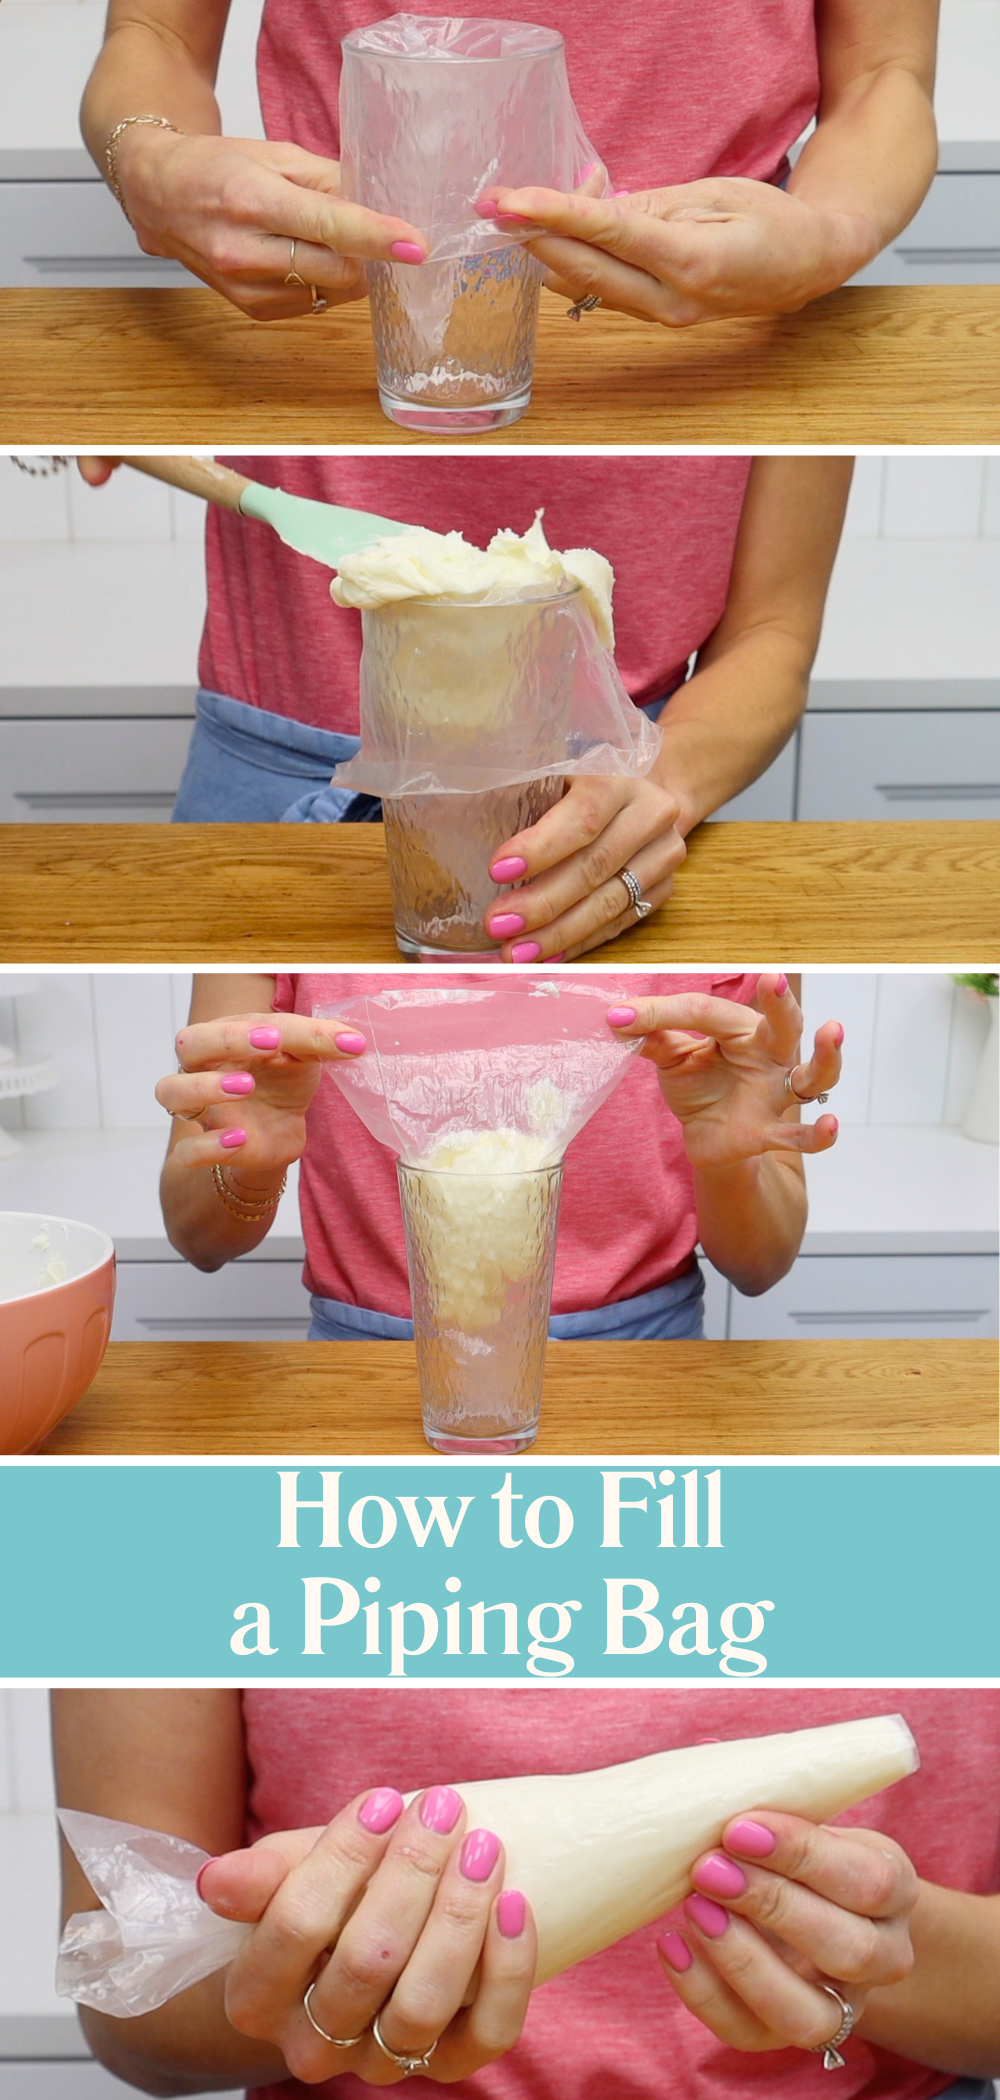
To make a dam, fill a piping bag (folded over a glass to make it easier) with buttercream, then snip off the end to create a hole about the width of your finger. Pipe a ring around the edge of each layer, spoon the filling into the centre, and stack the next layer on top. Repeat until your mini cake is assembled.
Chill the cake for 30 minutes in the fridge or 15 minutes in the freezer before you start frosting. This is essential to stop the cake from sliding around or bulging.
The crumb coat is your first layer of frosting and its job is to trap any crumbs that come off the cake. This step gives you a smooth, crumb-free surface for your final layer.
For mini cakes, I prefer to pipe the crumb coat on. It reduces friction from your spatula and makes it easier to apply the frosting without moving the cake.
Spread the buttercream onto your chilled mini cake using an
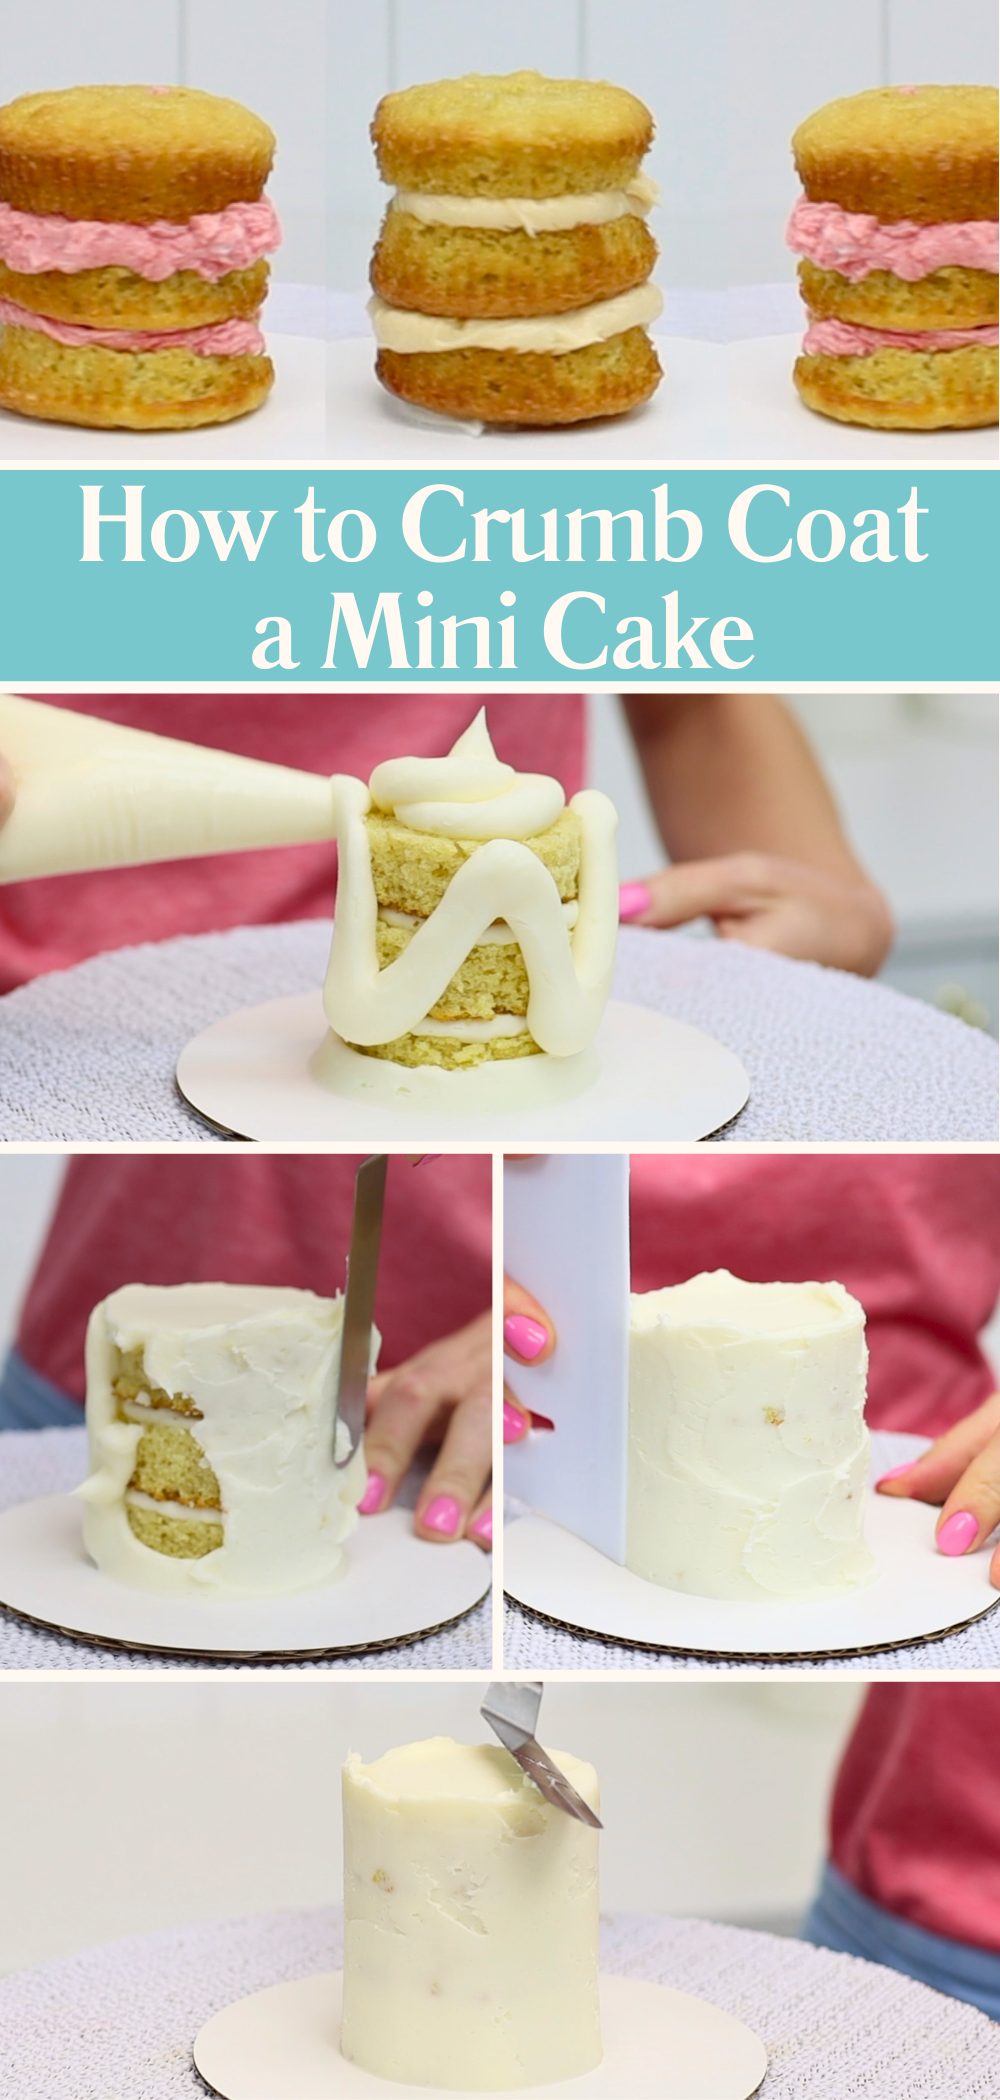
Next, use a cake comb or icing scraper, pressing the bottom edge onto the cake board for a straight finish. If your mini cake is made from cookie cutter layers, you’ll notice the neat sides straight away. Cupcake layers may look a little more rustic, but once they’re covered in frosting, it won’t matter!
Finish by tidying the top with your
After crumb coating, pop the cake back into the fridge or freezer until the frosting is firm and no longer sticky. This will make applying your final coat so much easier.
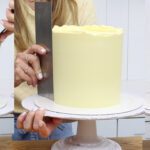
Check your buttercream consistency again – it should be soft and easy to spread. Start by frosting the top of the mini cake: spoon on a generous amount, spread it across, and let it spill over the edges to help form neat corners later. Hold your
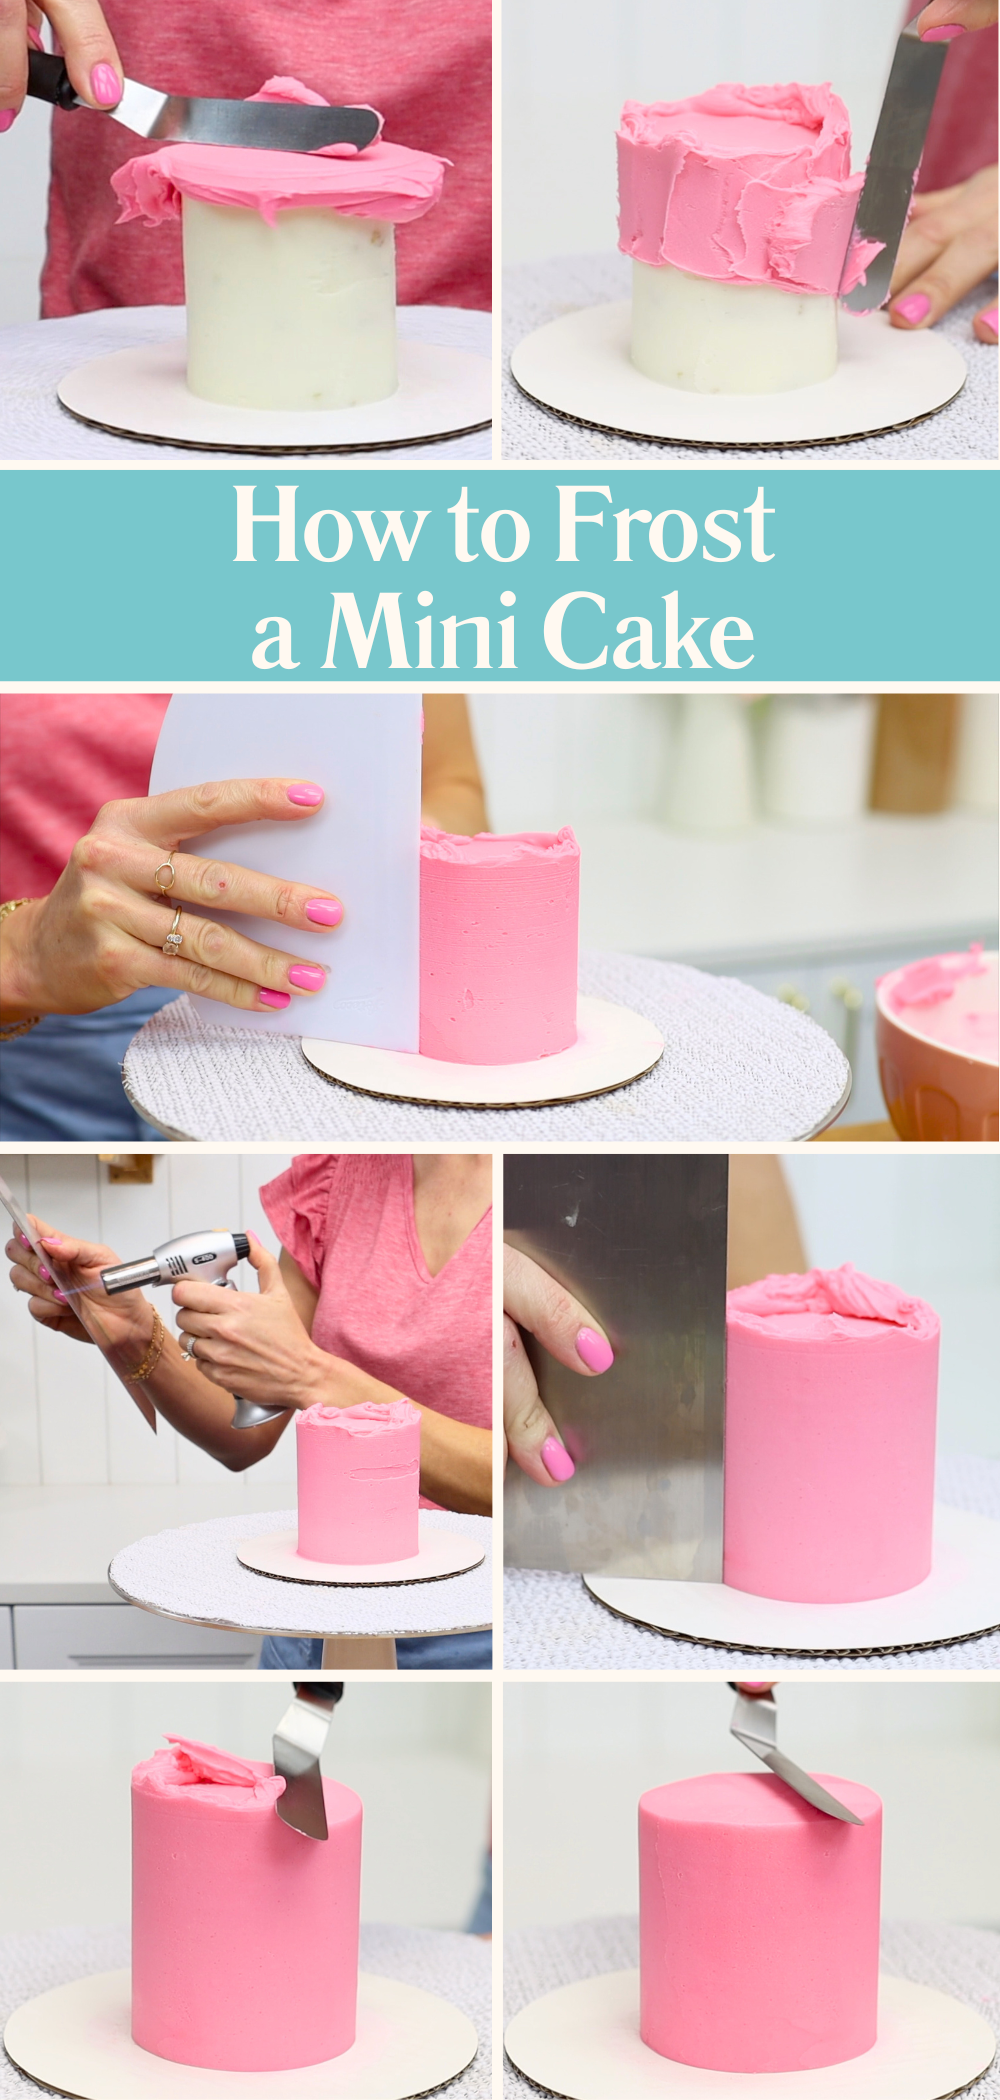
Next, apply buttercream to the sides. Push the frosting up around the top to build a lip that helps you create a sharp edge. Use a cake comb to smooth everything out. Keep pressure light and stop often to clean your comb – excess build-up can drag and pull the cake, which might dislodge it from the buttercream glue.
To fill any gaps or indents, apply more buttercream and repeat the smoothing process. A metal cake comb works brilliantly for the final passes – and warming it slightly (with hot water, a blowtorch or hairdryer) can give you an ultra-smooth finish.
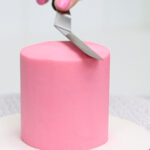
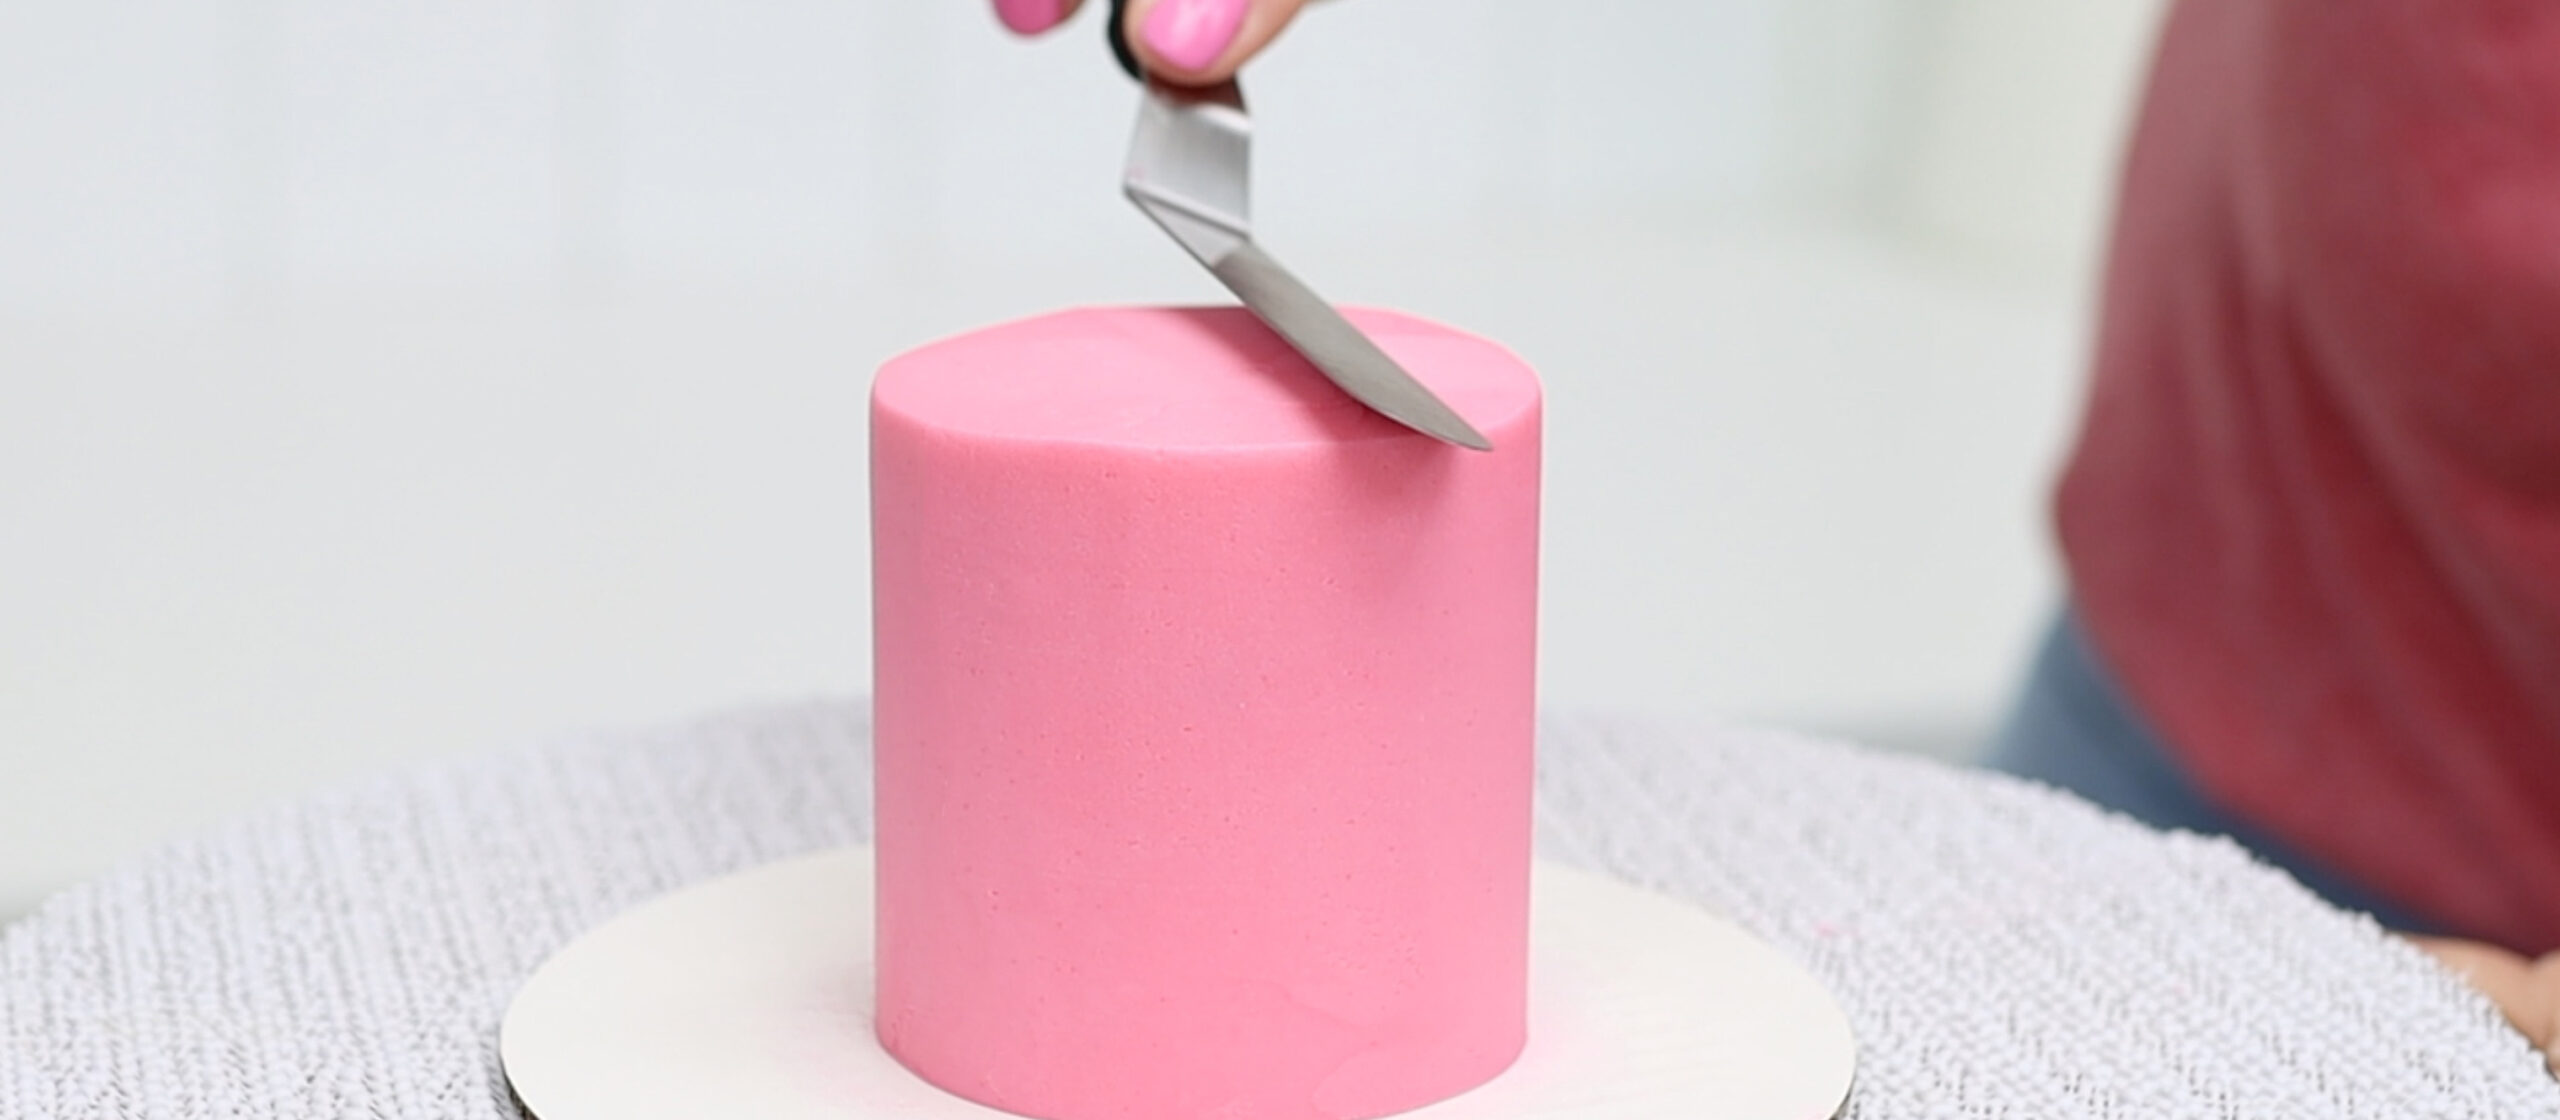
Tidy up the top by swiping sideways with a clean
Chill your mini cake again before decorating to firm up the frosting. I recommend using all of the following techniques on cold, firm mini cakes to prevent the frosting sagging or bulging.
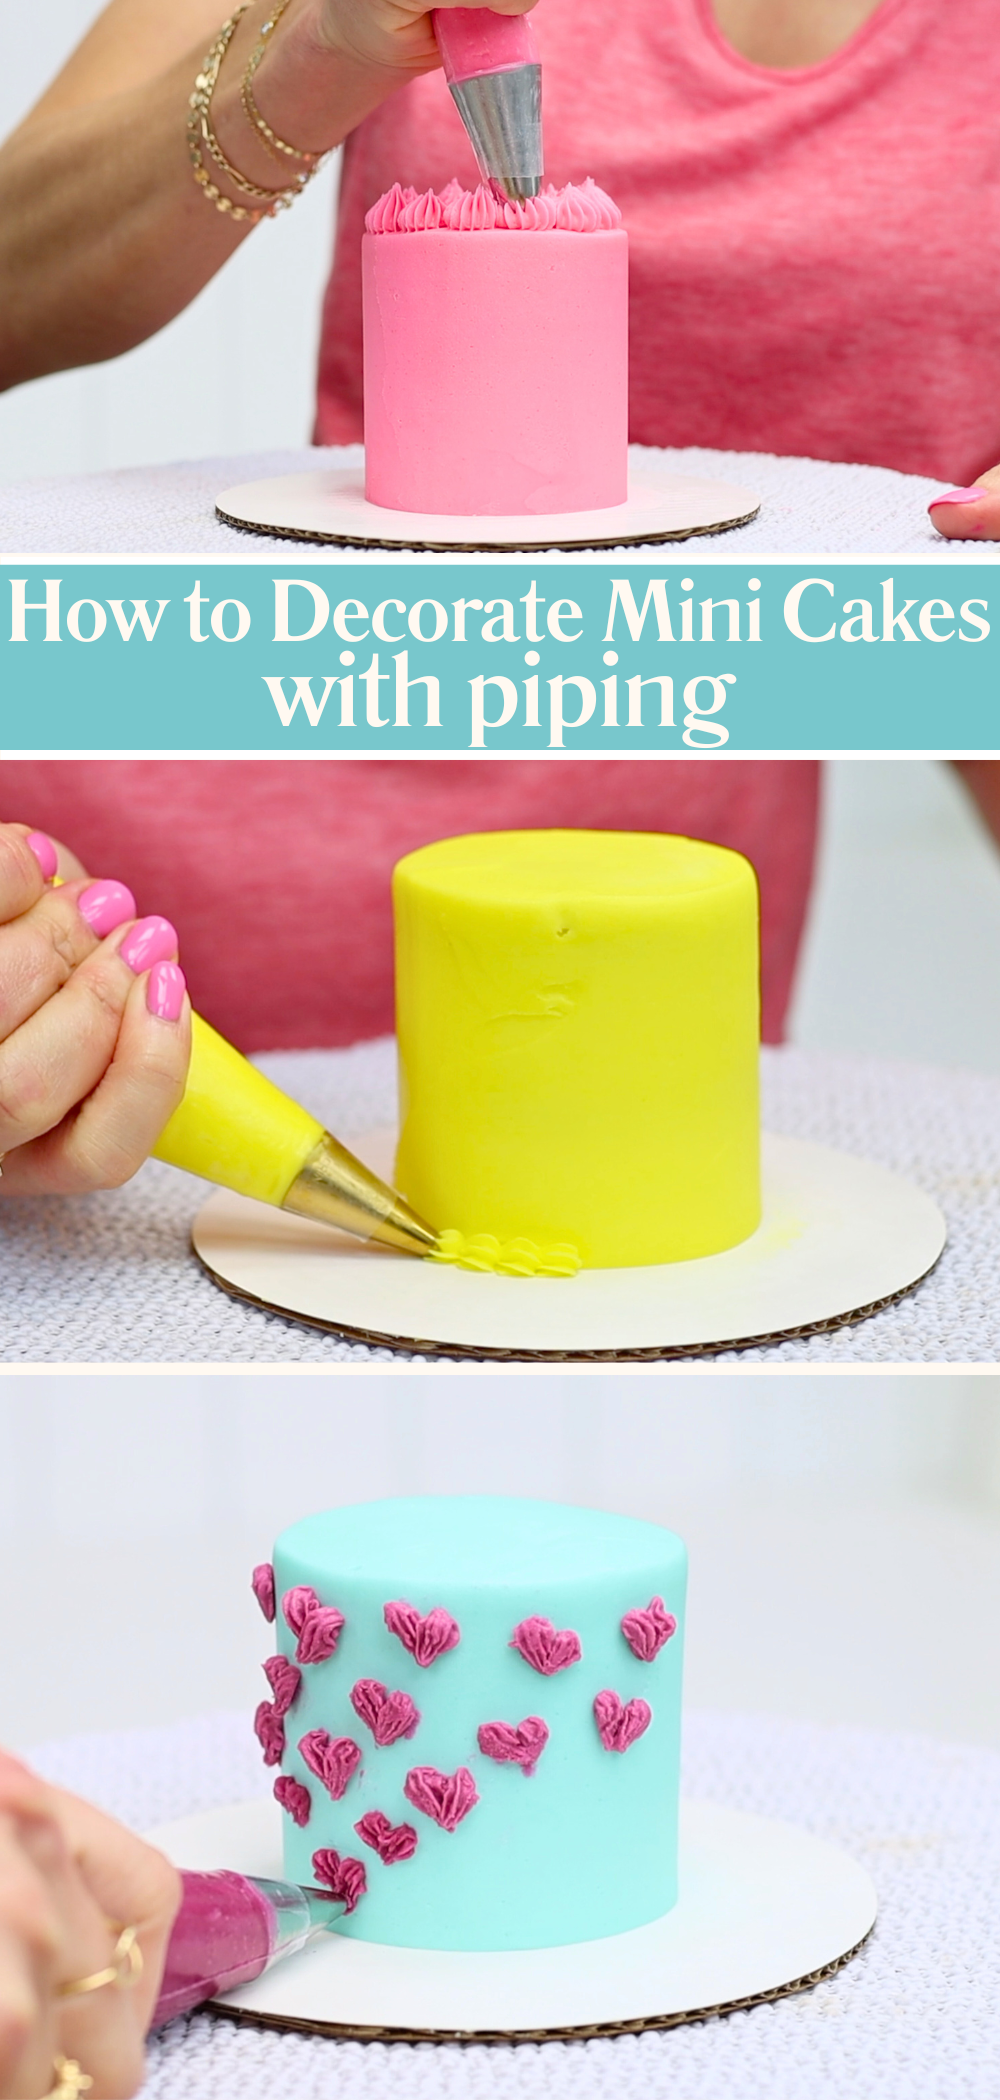
Piping: Use small piping tips (like a #16 star) to keep your designs in proportion. You only need a little buttercream for piping, but fill your bag at least a third full to make squeezing easier. Add borders around the top and bottom, or pipe directly onto the sides.
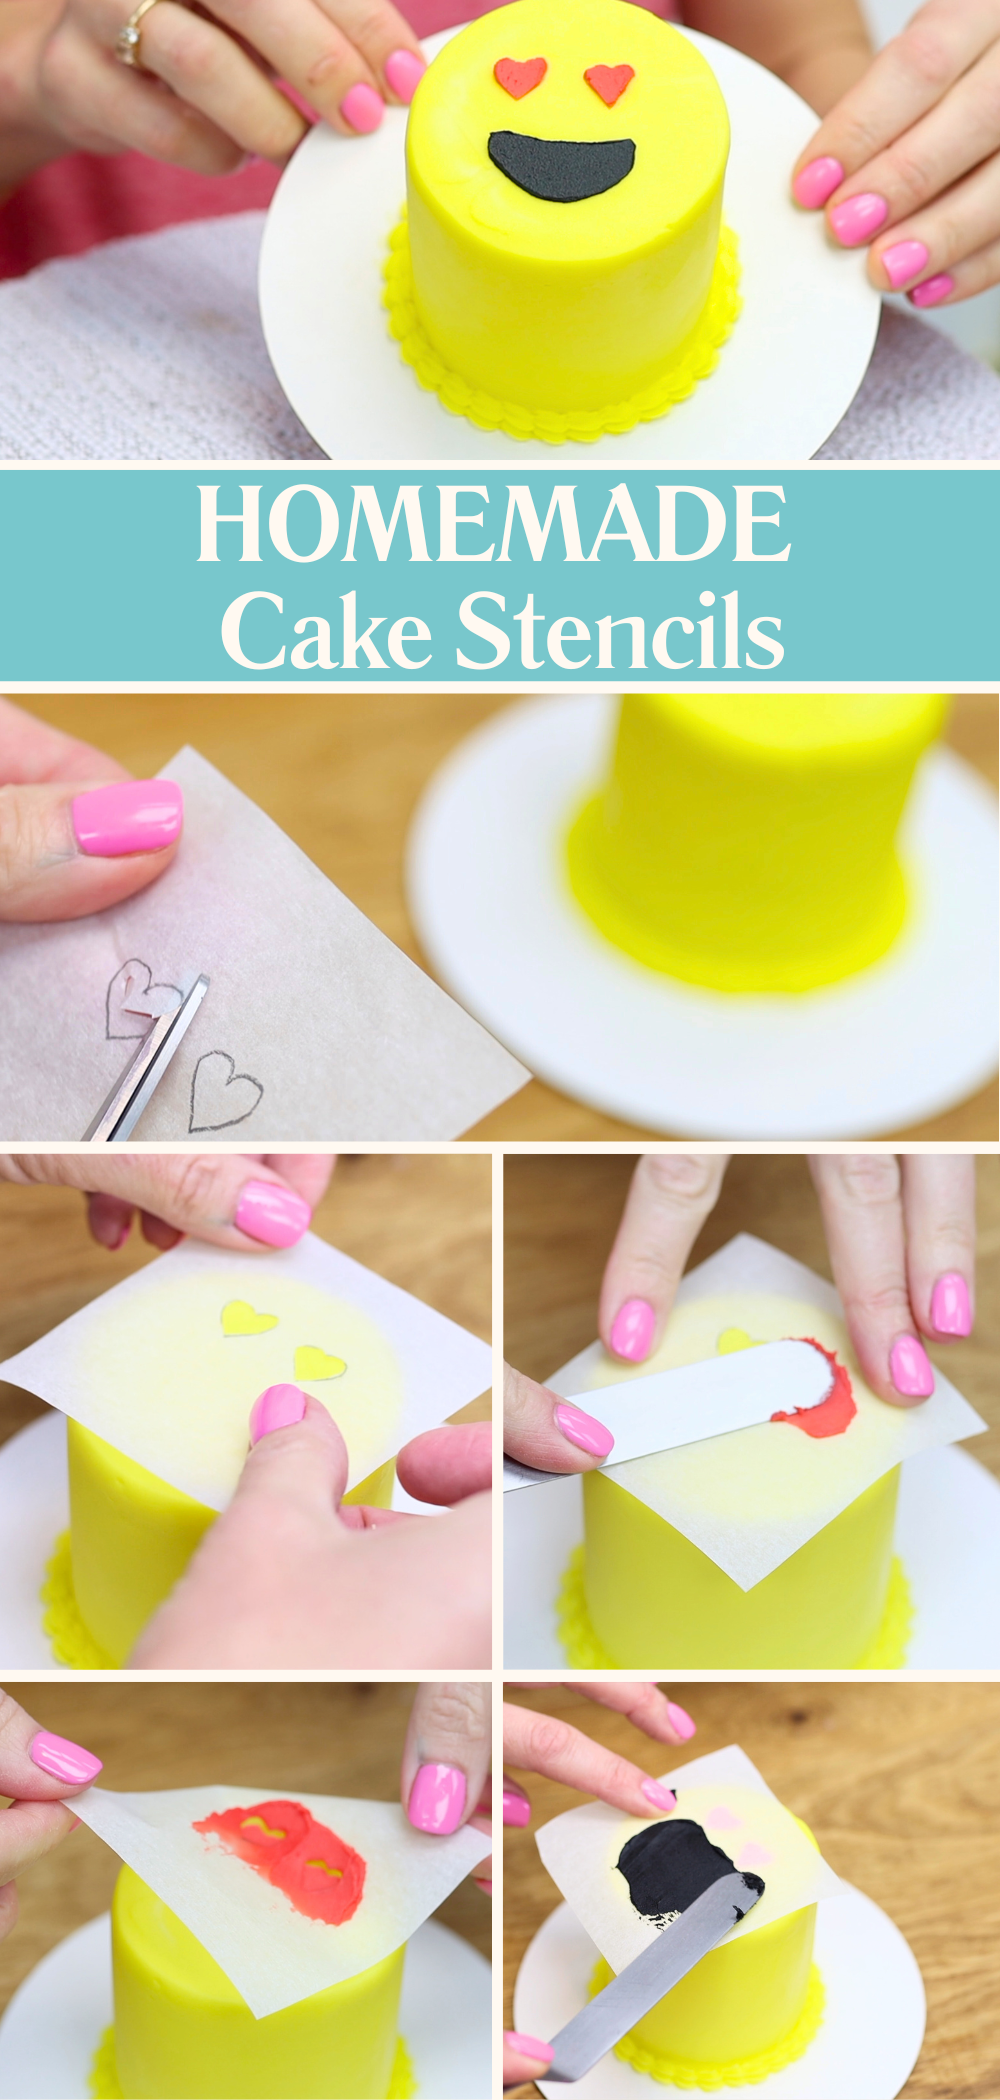
Stencils: Use stencils to create intricate patterns. Make these yourself by drawing designs onto parchment paper or wax paper and cutting the shapes out. The surrounding paper will be your stencil! Make sure the buttercream frosting on the mini cake is cold and firm so the stencil doesn't damage it. Spread colored buttercream over the stencil and scrape off the excess to leave a thin, smooth layer behind. Peel the stencil off and voila! If you're using several stencils, chill the cake in between each so that you don't damage any previously stenciled details.
Lettering: To add a message, try Sweet Stamp letters. The cupcake-size sets are perfect for mini cakes. Chill the cake for an hour, then let it sit at room temperature for about 30 minutes before stamping. You can paint over the impressions with edible paints or mix lustre dust with vodka or clear extract.

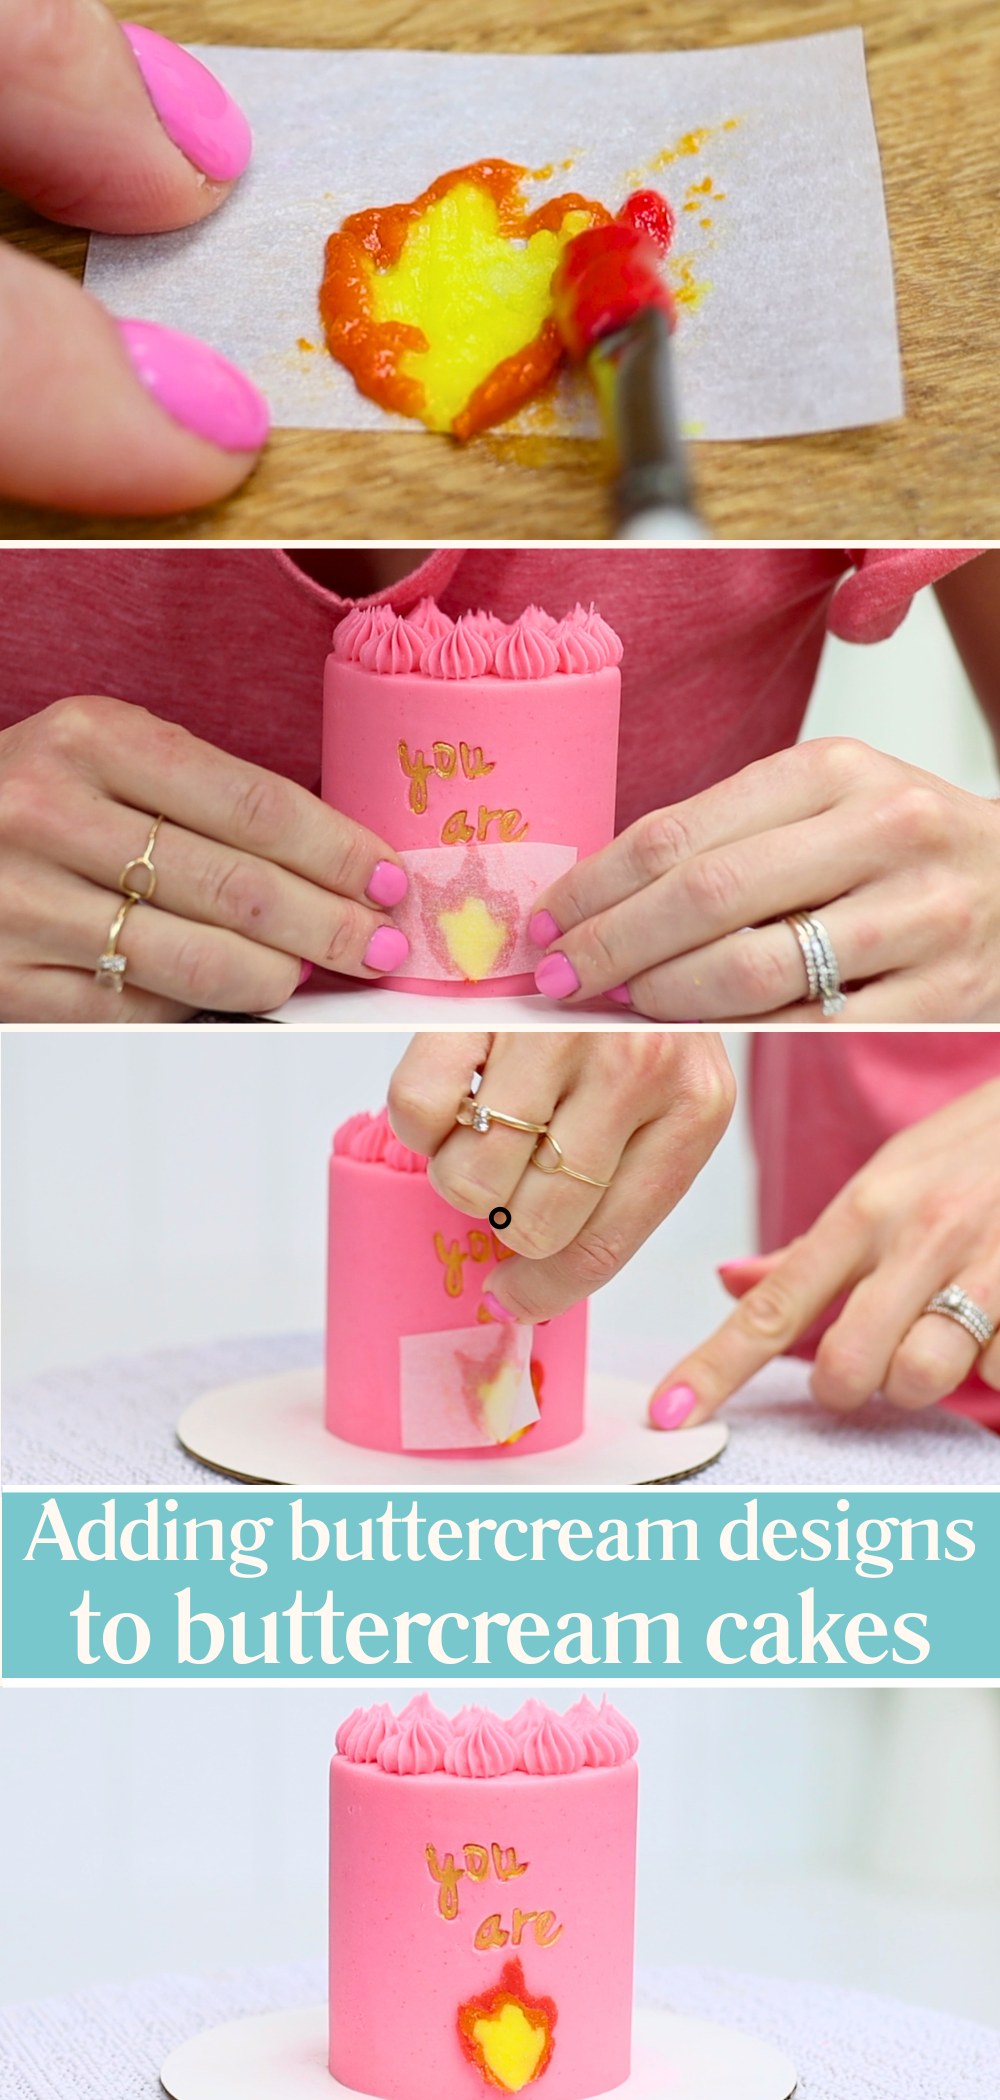
Buttercream transfers: These are another fun option. Pipe designs onto wax or parchment paper or microwave buttercream for 5 seconds to soften it and then paint the design on. Press the design gently against the cake, leaving the paper attached for now. Chill the cake for at least an hour before peeling the paper away. The details will transfer cleanly onto your chilled frosting.
Mini cakes are easy to store and transport. Keep them in an airtight container in the fridge for a few days. For travelling, move them straight from the fridge to your car so they’re firm and won’t wobble en route.
Want to move your cake from its board to a stand or plate? Do it while it's cold to avoid damaging the frosting.
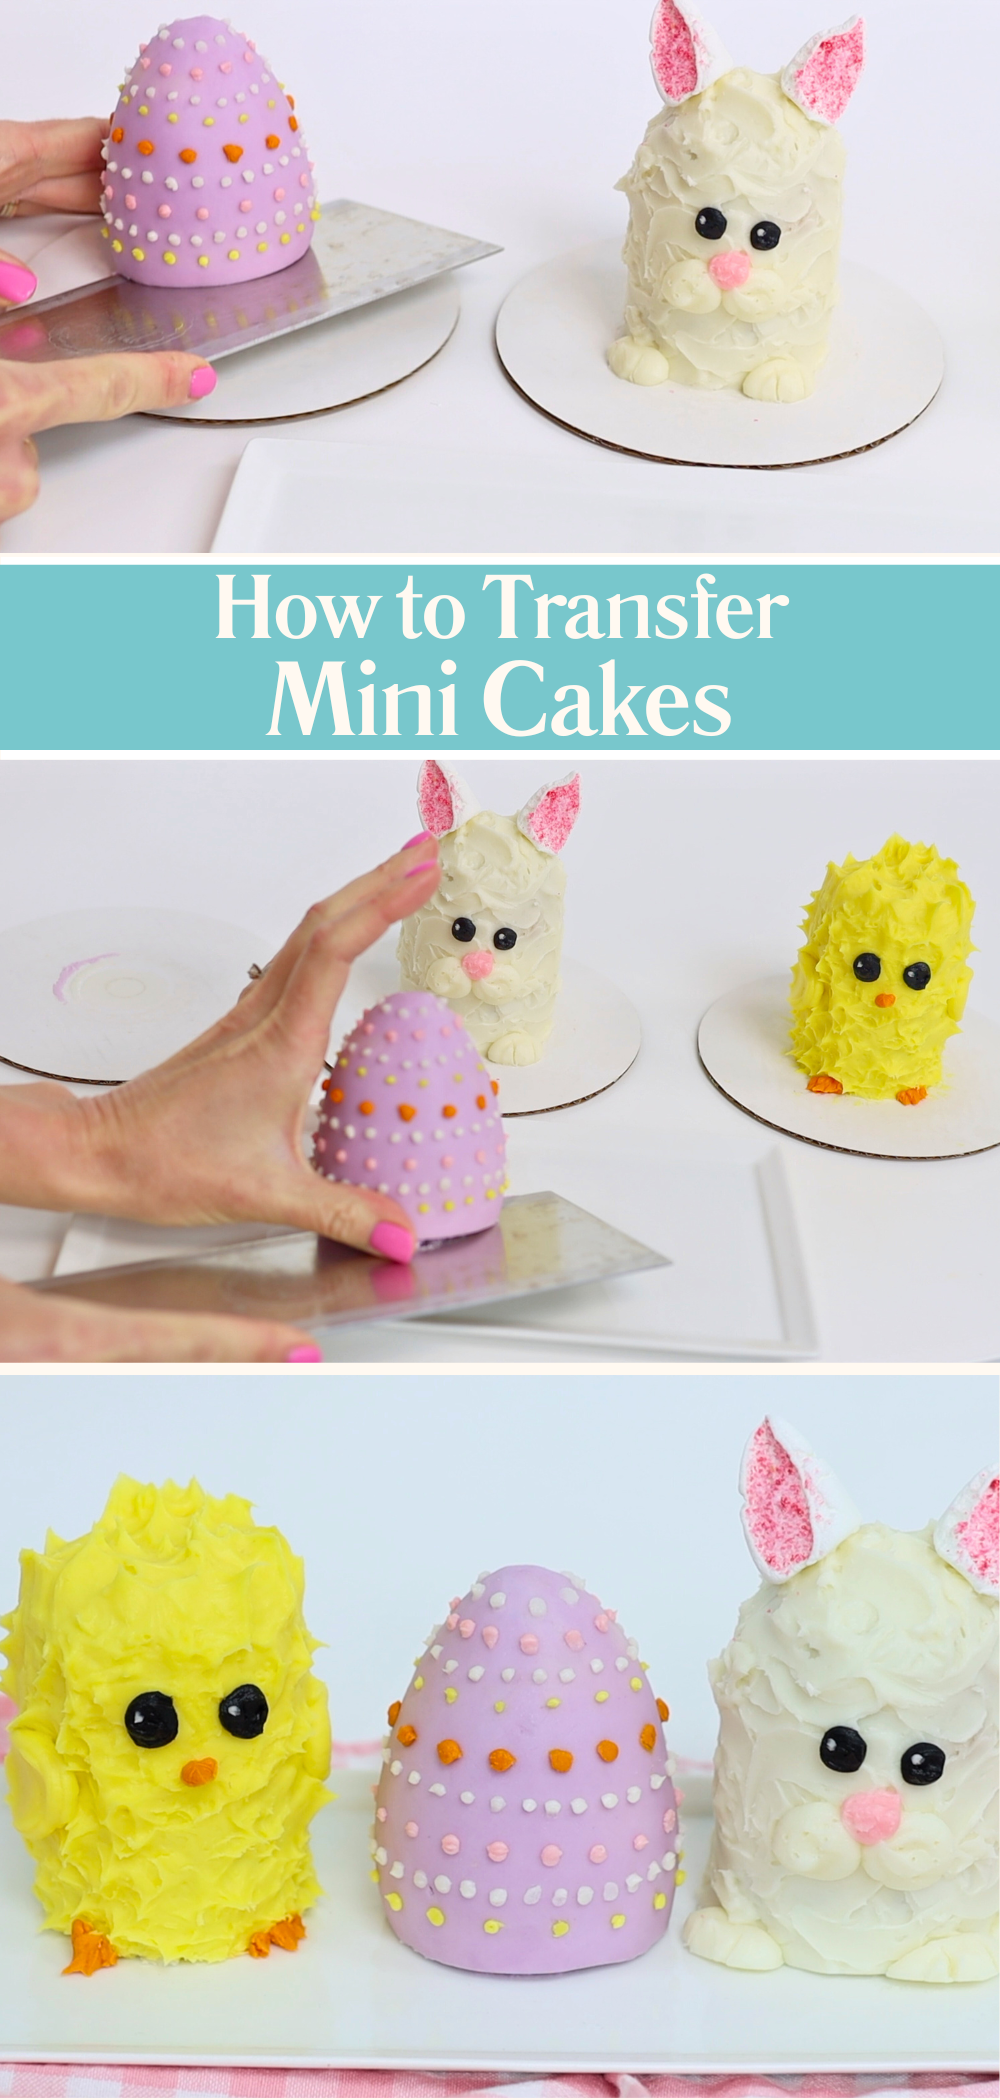
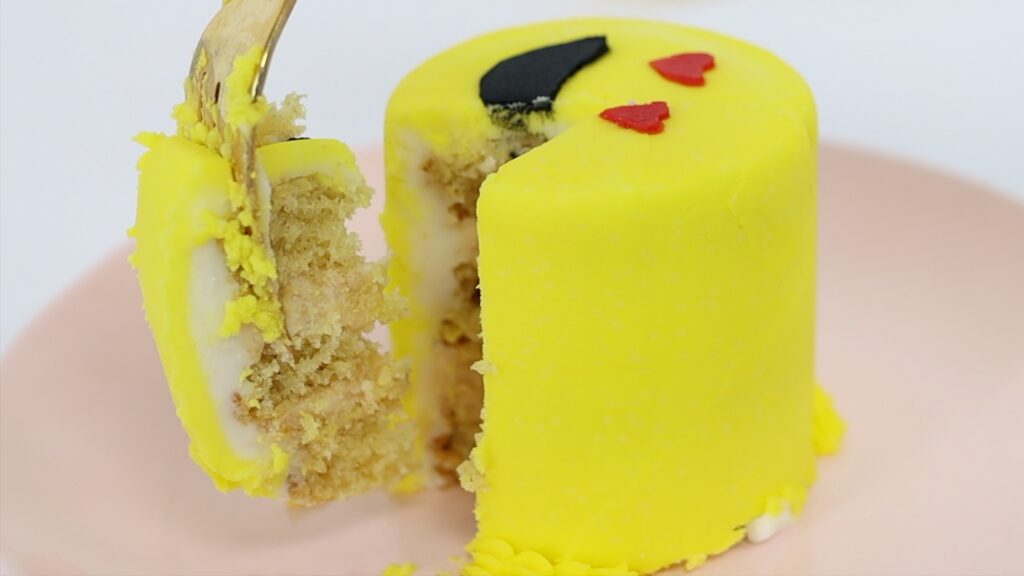
Let mini cakes sit out at room temperature for an hour or two before serving – they taste best when the cake, filling and frosting are soft. You can slice them into tiny wedges or use a fork because they’re just the right size for an individual serving or for two people to share.
Want to learn more? Visit my online cake school for hundreds of tutorials, designs and techniques. Try everything FREE for 7 days with my All You Can Cake membership, which includes access to everything on my cake school!
Here's a video of this mini cake tutorial:
Save this mini cake tutorial to Pinterest for later: