Here are the most common cake fails and what to do to prevent or fix them!
What cake fails are possible if cakes aren't attached to their cake boards? When you frost the cake, your
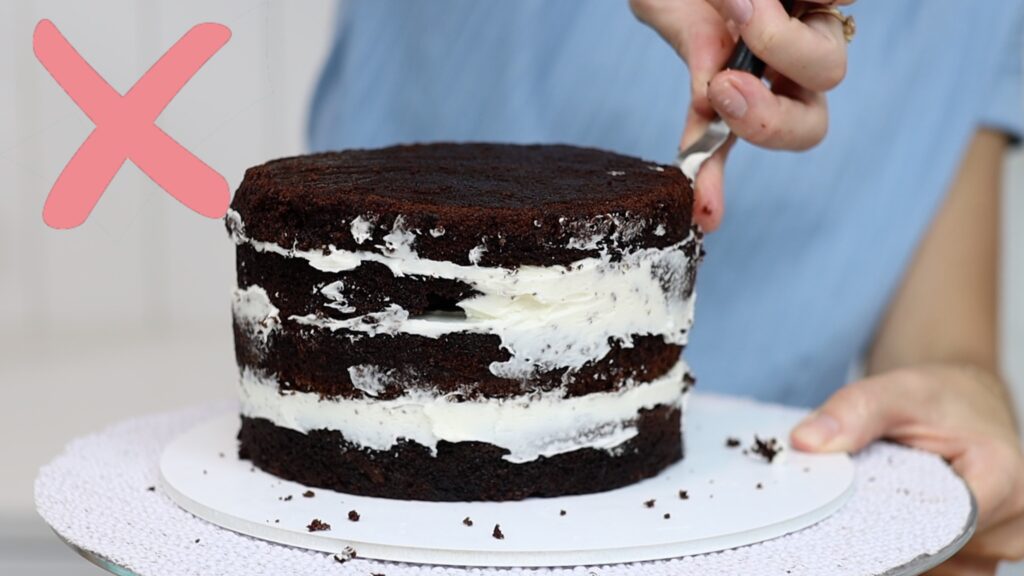
So, before you start layering cake and fillings, pipe or spread a dot of buttercream in the middle of your cake board.
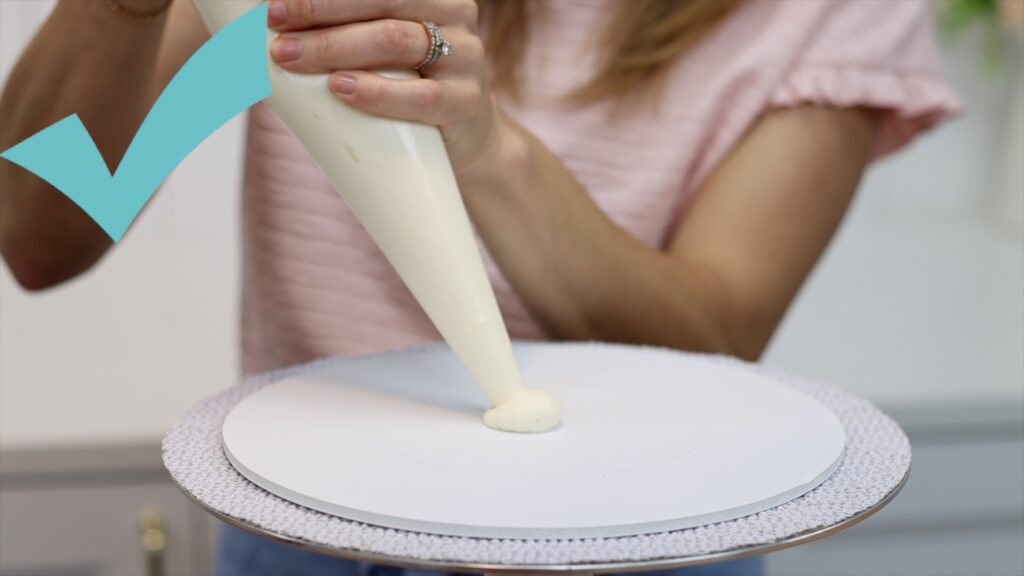
Press your first cake layer down onto that dot. When it sets later, it will attach the cake to the cake board. Put the cake in the fridge for 30 minutes to chill, which will make it set more quickly. Then you can do any cake decorating you like without needing to chase your cake around on the
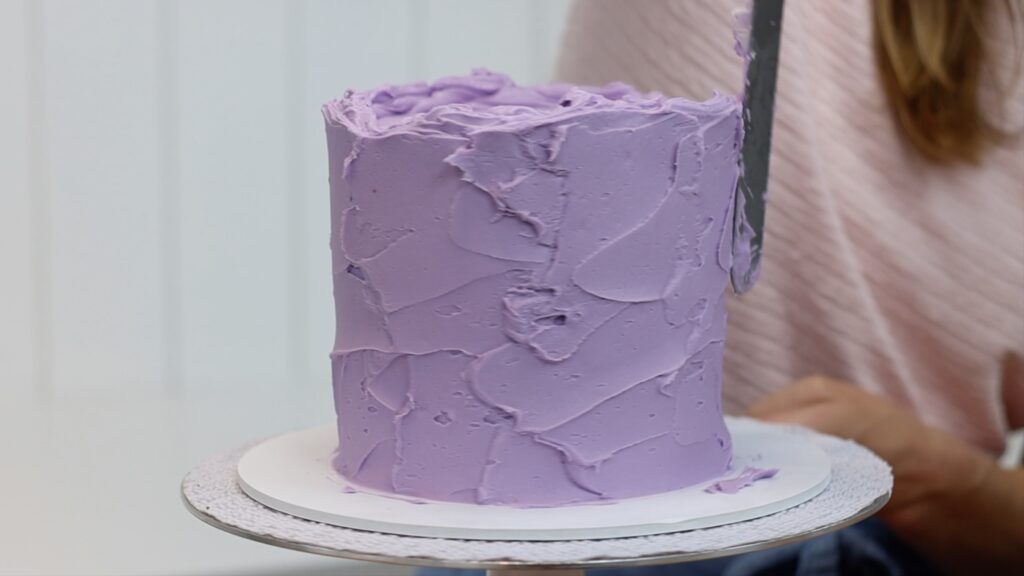
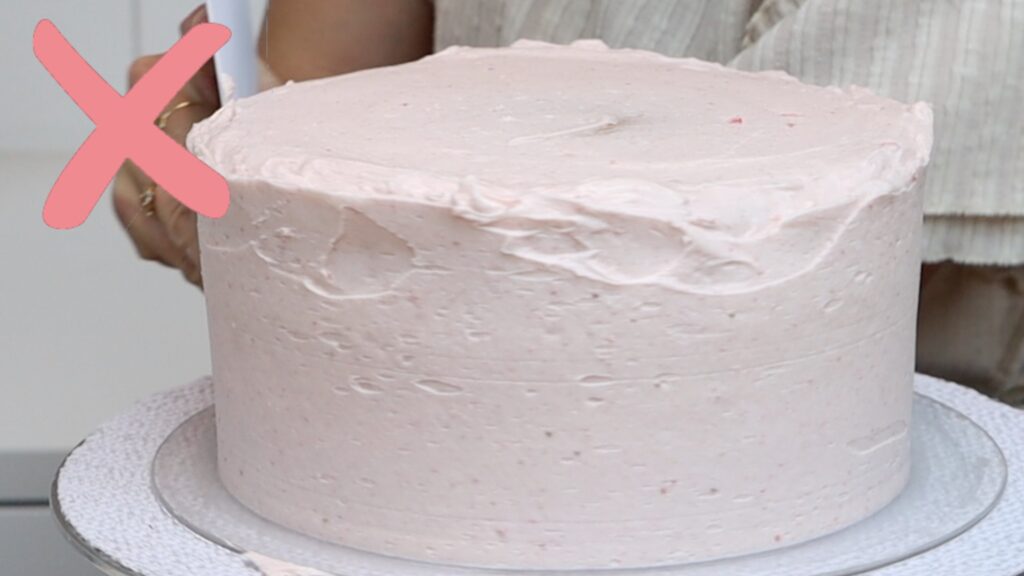
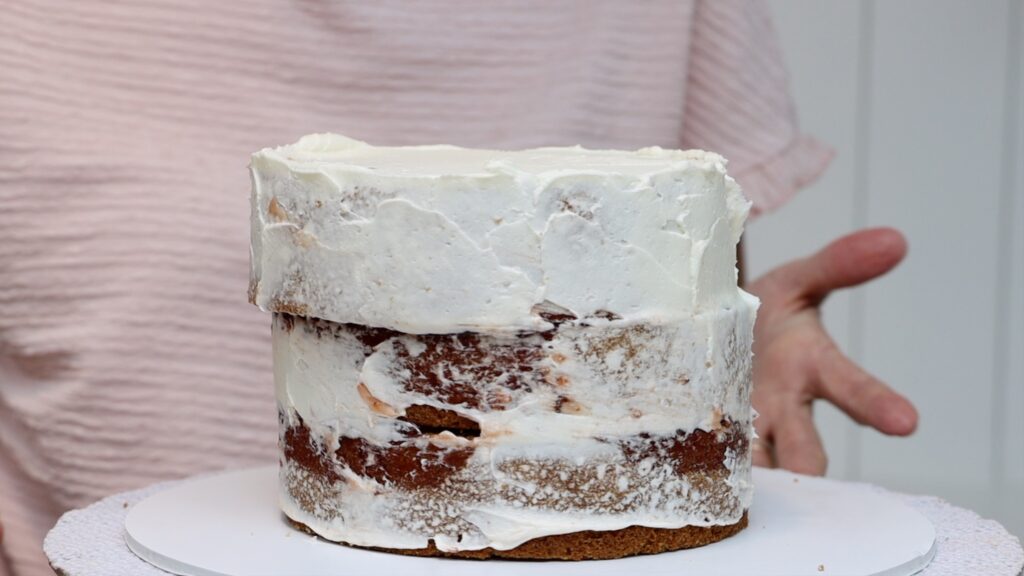
The biggest cake fails are caused by the wrong consistency of buttercream. You'll know if it’s too runny because it will slide down the cake. Even if you spread it up to the top of the cake, as you smooth the frosting it will sink down. You’ll have these big indents around the top edge:
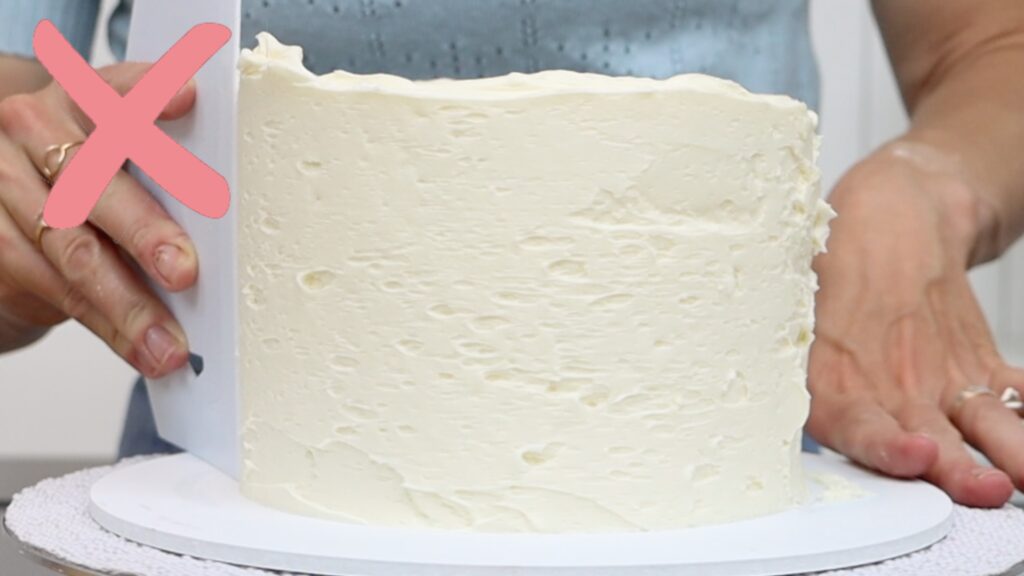
If the buttercream is too stiff it will be difficult to spread over the cake. The buttercream will tear apart from itself, leaving these holes all over the surface of your frosting.
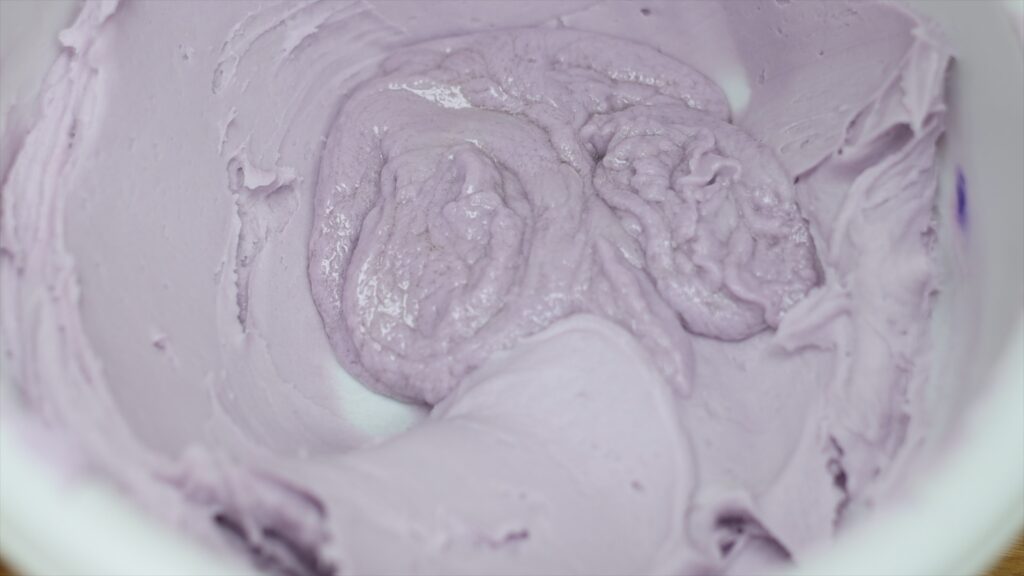
To achieve the right consistency and prevent air bubbles, use this easy hack. Scoop up a third of the buttercream and microwave it for 10 seconds to melt it.
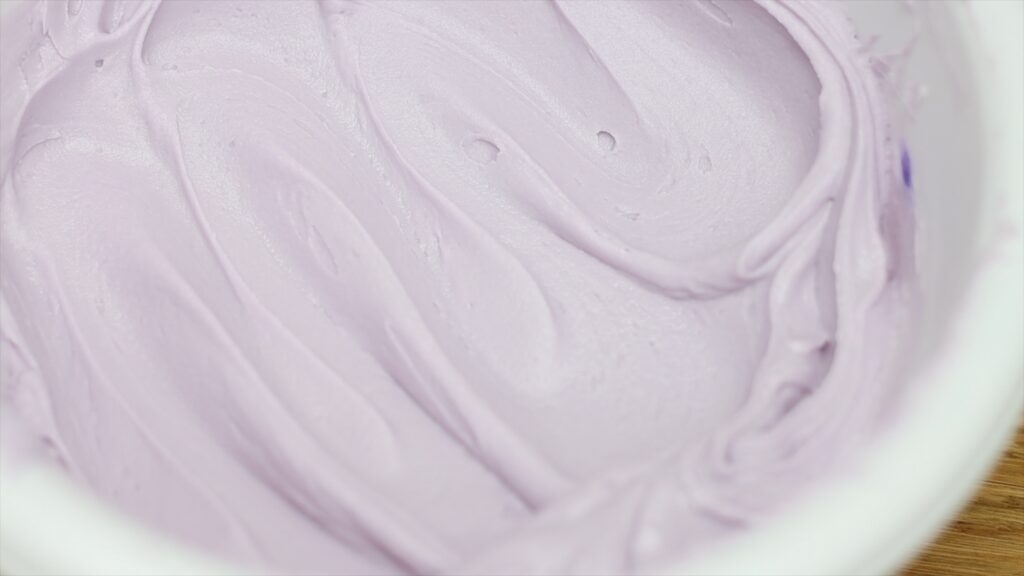
Stir it back into your bowl of buttercream and after a few stirs you’ll have silky smooth buttercream. This method also gets rid of any air bubbles in the buttercream! The buttercream will spread effortlessly onto your cake and will be quick and easy to smooth.
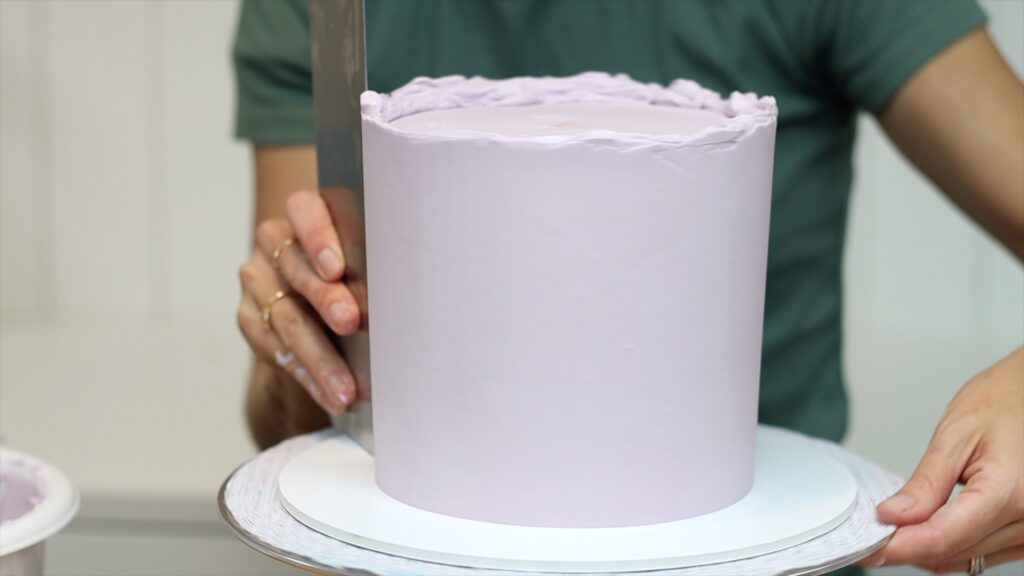
The right consistency is key to smooth frosting, neat piping, stenciling, and really any cake decorating technique.
The temperature of your cake layers really matters when you’re assembling and frosting your cake. If you don't let cakes cool after baking they'll be delicate and crumbly. When you spread filling onto the layers it will pull up crumbs from the cake, which will get into your filling. Your crumb coat will be filled with crumbs, too!
But the bigger problem is that as you frost the cake, the pressure from your spatula and cake comb will push the cake layers sideways. This will make the cake lean, like this:
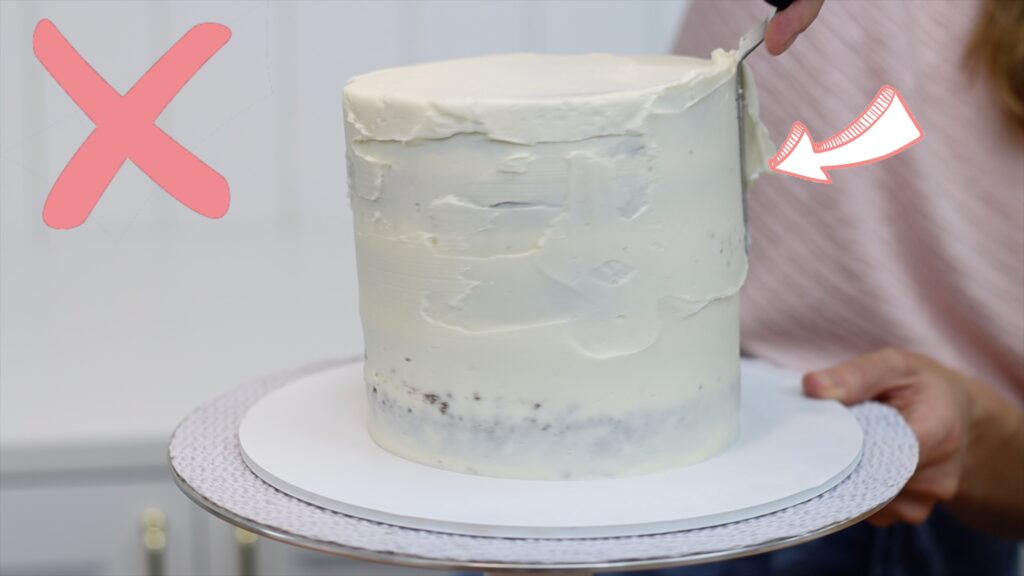
Instead, put your cake layers in the fridge for 30 minutes or the freezer for 15 minutes before you assemble and frost your cake. When they’re cold they’ll be less crumbly and much firmer and easy to frost. Even this tall, four layer cake is standing straight as I spread buttercream onto it:
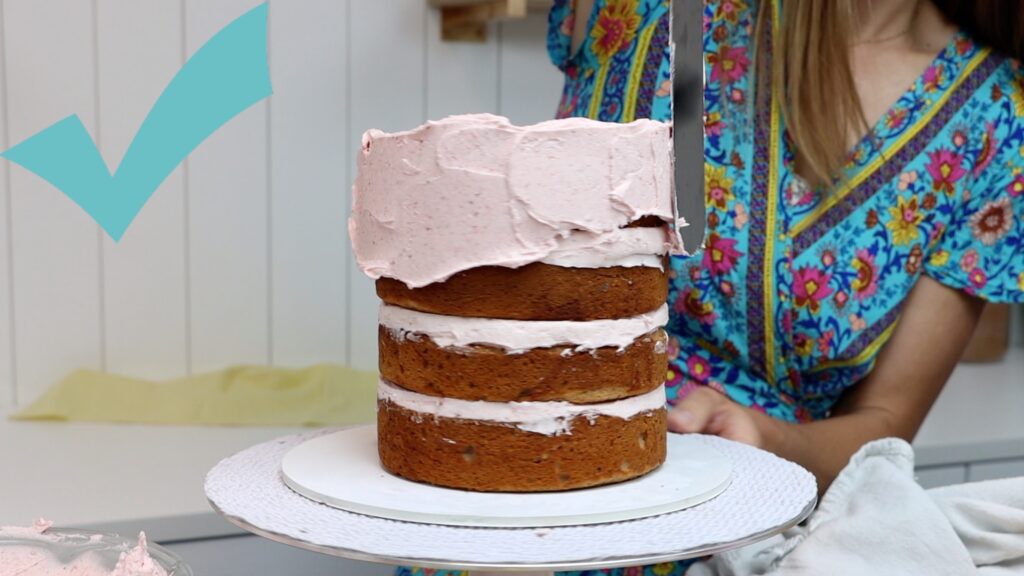
Don't worry - when cakes warm back up to warm temperature they’ll soften again. They'll be just as delicious as before they went into the fridge!
Runny fillings like jam or caramel are delicious but tricky for two reasons. The first is that the weight of the upper cake layers will push down on the filling. They'll squeeze it out of the sides of the cake, which can cause bulges in your frosting. Look at the jam oozing out here.
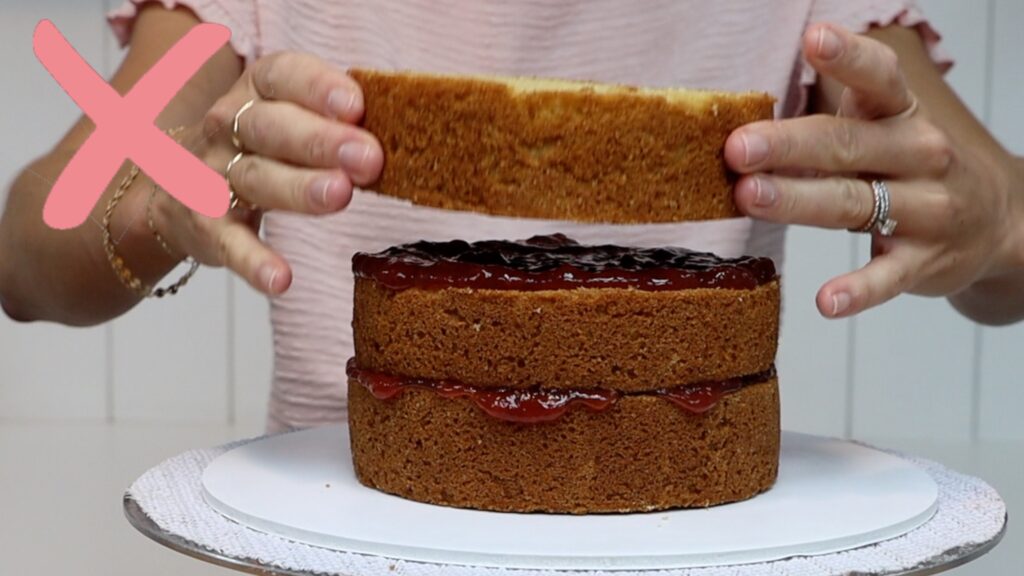
The second is that these fillings are slippery. They don't attach to the cake layers like buttercream does. When you frost the cake your spatula or cake comb can push the layers off-center, making the cake lean.
Now, this doesn't mean you can’t use runny fillings! You just need to add an extra step: a buttercream dam. These are rings of buttercream piped around the edge of each cake layer, like a dam or wall. They'll hold the runny filling in so that it doesn't ooze out.
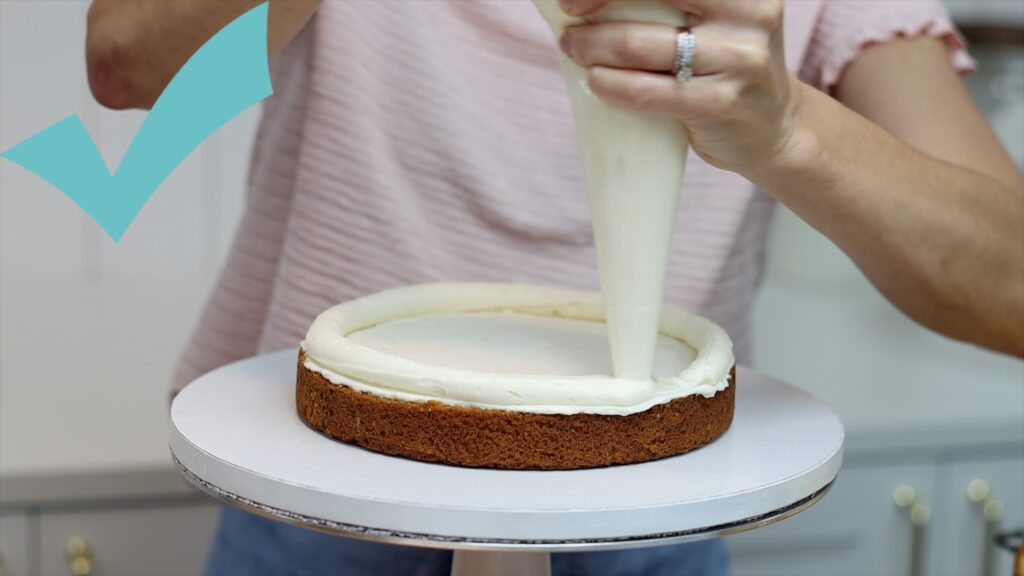
Now spoon your next filling into the middle of this and spread it up to the edges of the buttercream dam. Optionally, spread a thin layer of buttercream onto the cake first to stop the filling absorbing into the cake. Then put the cake into the fridge for about 30 minutes to chill and set these buttercream dams. When you frost the cold cake, the cake layers and the filling will both stay in place.
If you stack cakes without support, within a few hours the top cake will sink down into the bottom cake. This will happen even faster if the cake’s haven’t been chilled!
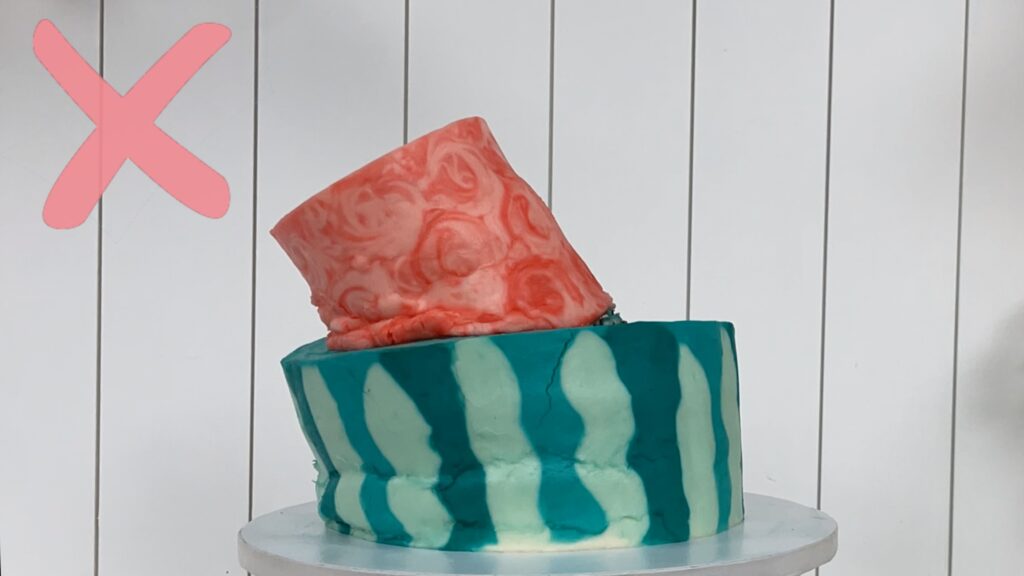
Here's how to stack a tier cake so that this won't happen. First, chill both cakes in the fridge for a few hours to set the frosting. This is necessary so you don’t damage them as you stack them. The top cake needs to be on a cake board that’s the same size as the cake so that you don’t see the board after you stack the cakes.
Lift the top cake and center it on the bottom cake. Use a toothpick to outline the cake and then take it off. Cut five straws or wooden dowels to be the same height as the bottom cake. Use the first straw or dowel to measure the others to be the same height.
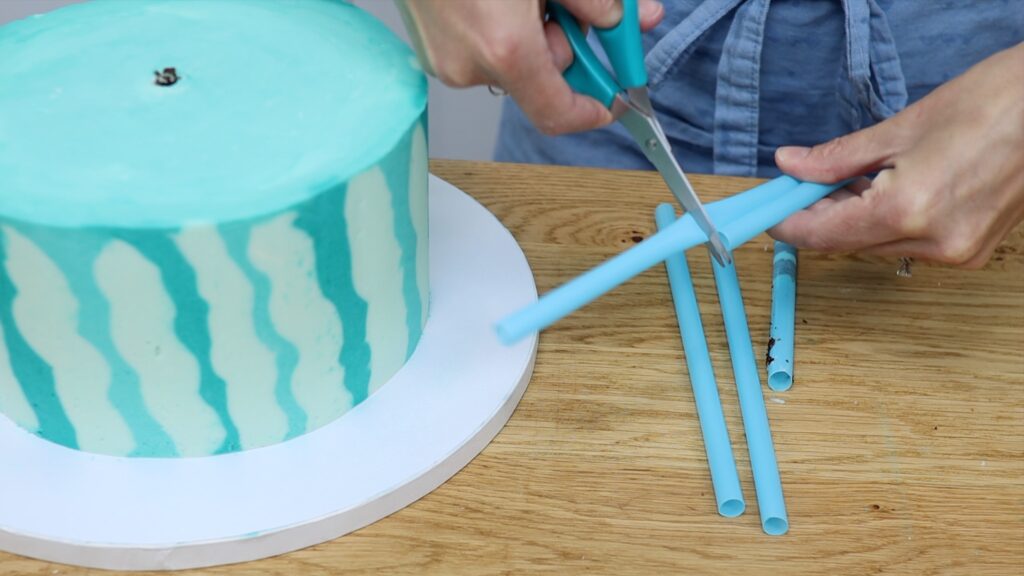
Push the straws or dowels within the circle you scored onto the cake with your toothpick. I use a square formation with one more in the middle.
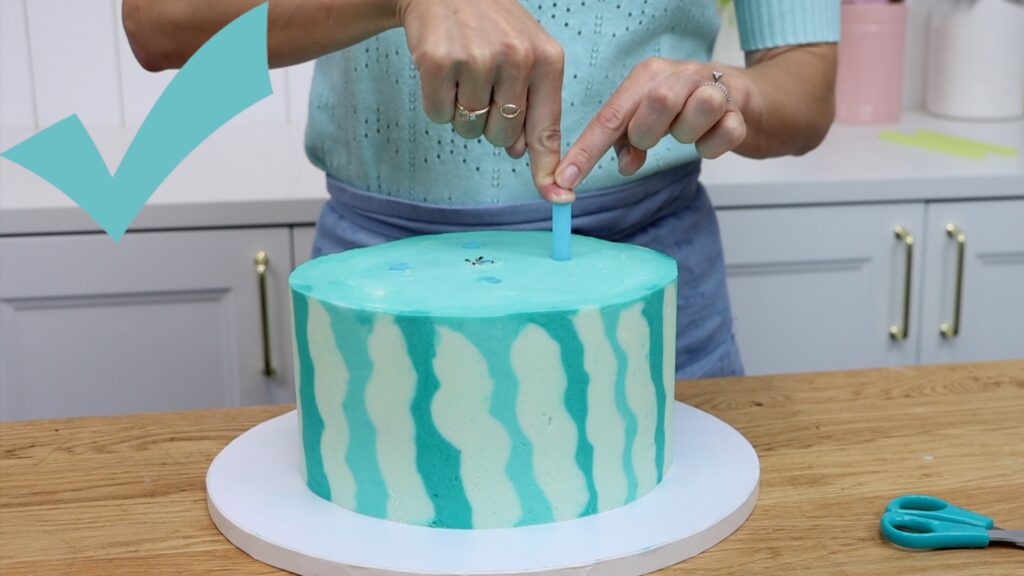
Spread some buttercream within the circle you scored to act as glue. Then put your next cake on top, still on it’s cake board. You can cover up the join of the two cakes with a piped border if you like.
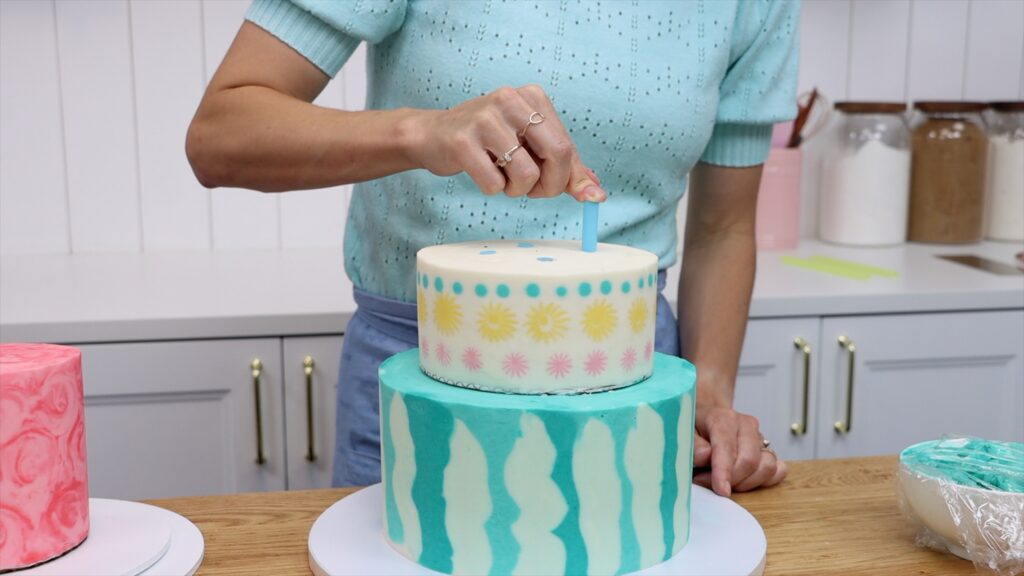
For a three tier cake, repeat the process for your second tier. The supports will hold the cakes upright and the buttercream glue will stop the top cake from sliding around when you move it.
Remember this leaning cake from earlier in this tutorial? Here’s a quick fix for leaning cakes that haven't been chilled yet. It works when the filling hasn't set so the layers aren't fixed in place. While you’re frosting the cake, as you notice it leaning, wrap the cake in cling film or Saran Wrap. Then push it to straighten it.
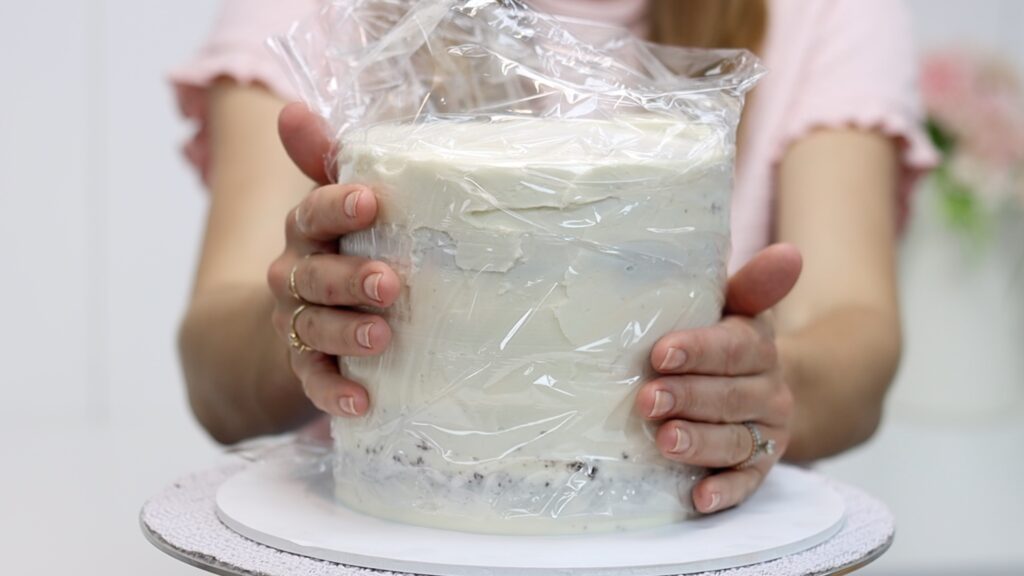
Put it into the fridge to set the filling and frosting so that the cake is stable, which will take about 30 minutes. Then take the cake out and unwrap it. Since the frosting has set, you won't damage it as you unwrap it.
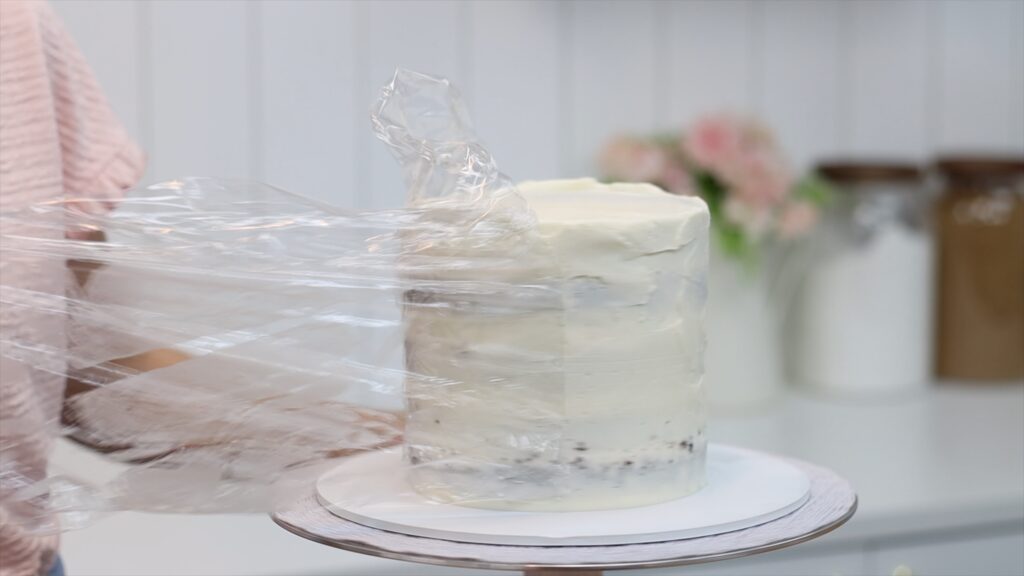
Now that the cake isn't leaning and it’s firm, add another layer of frosting on top. You'll have a neat, straight cake!
When you smooth the frosting on a cake you only need a very thin layer to cover the crumb coat. However, that’s not true for textured frosting. With a textured cake comb the frosting needs to be at least as thick as the texture on the comb. If it's not, as you scrape around the cake to imprint the texture in the frosting, the comb will go too deep. The widest parts of the texture will push through the final layer of frosting an into the crumb coat underneath.
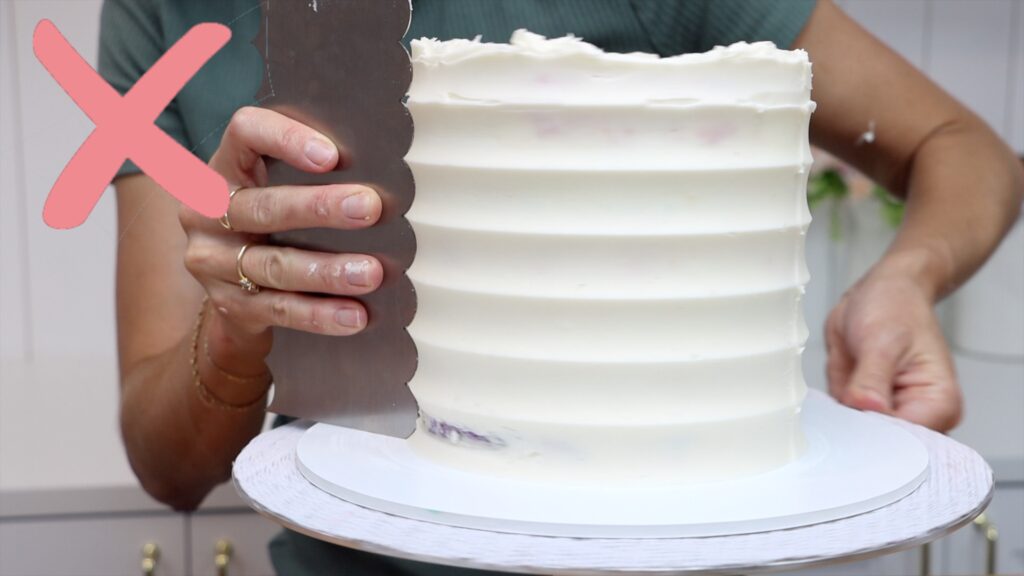
So for textured frosting, making sure you spread the frosting at least as thick as the texture in the comb.
After all the effort of getting your frosting smooth, don’t ruin it by rushing into the decorations! This is especially true for heavy cake toppers or piping. Their weight will cause bulges in the frosting since the frosting is still so soft, which you can see here:
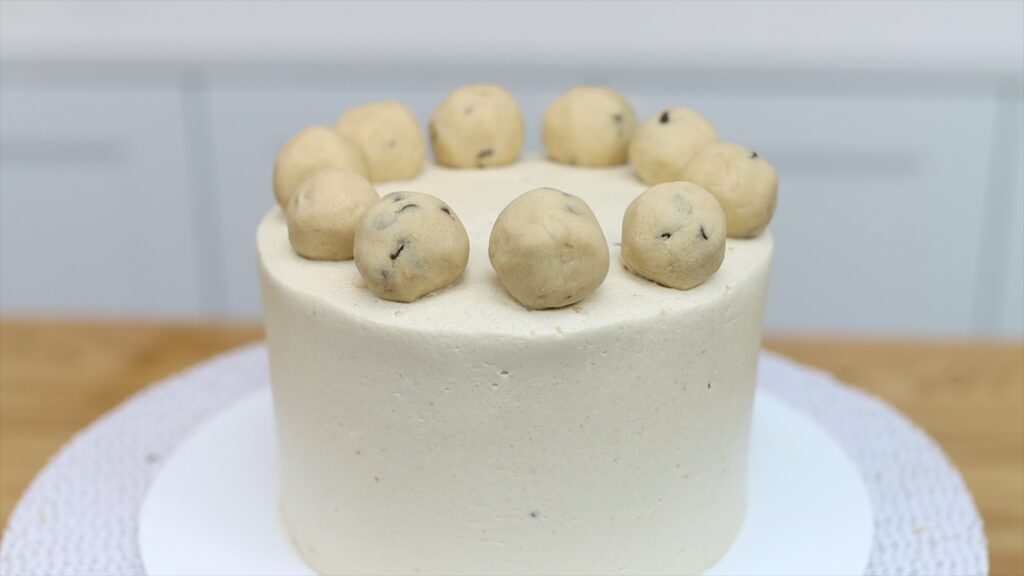
Chill the cake after frosting it for at least 30 minutes in the fridge so that the frosting gets firm. After that you can add piping, cake toppers, or any other heavy decorations.
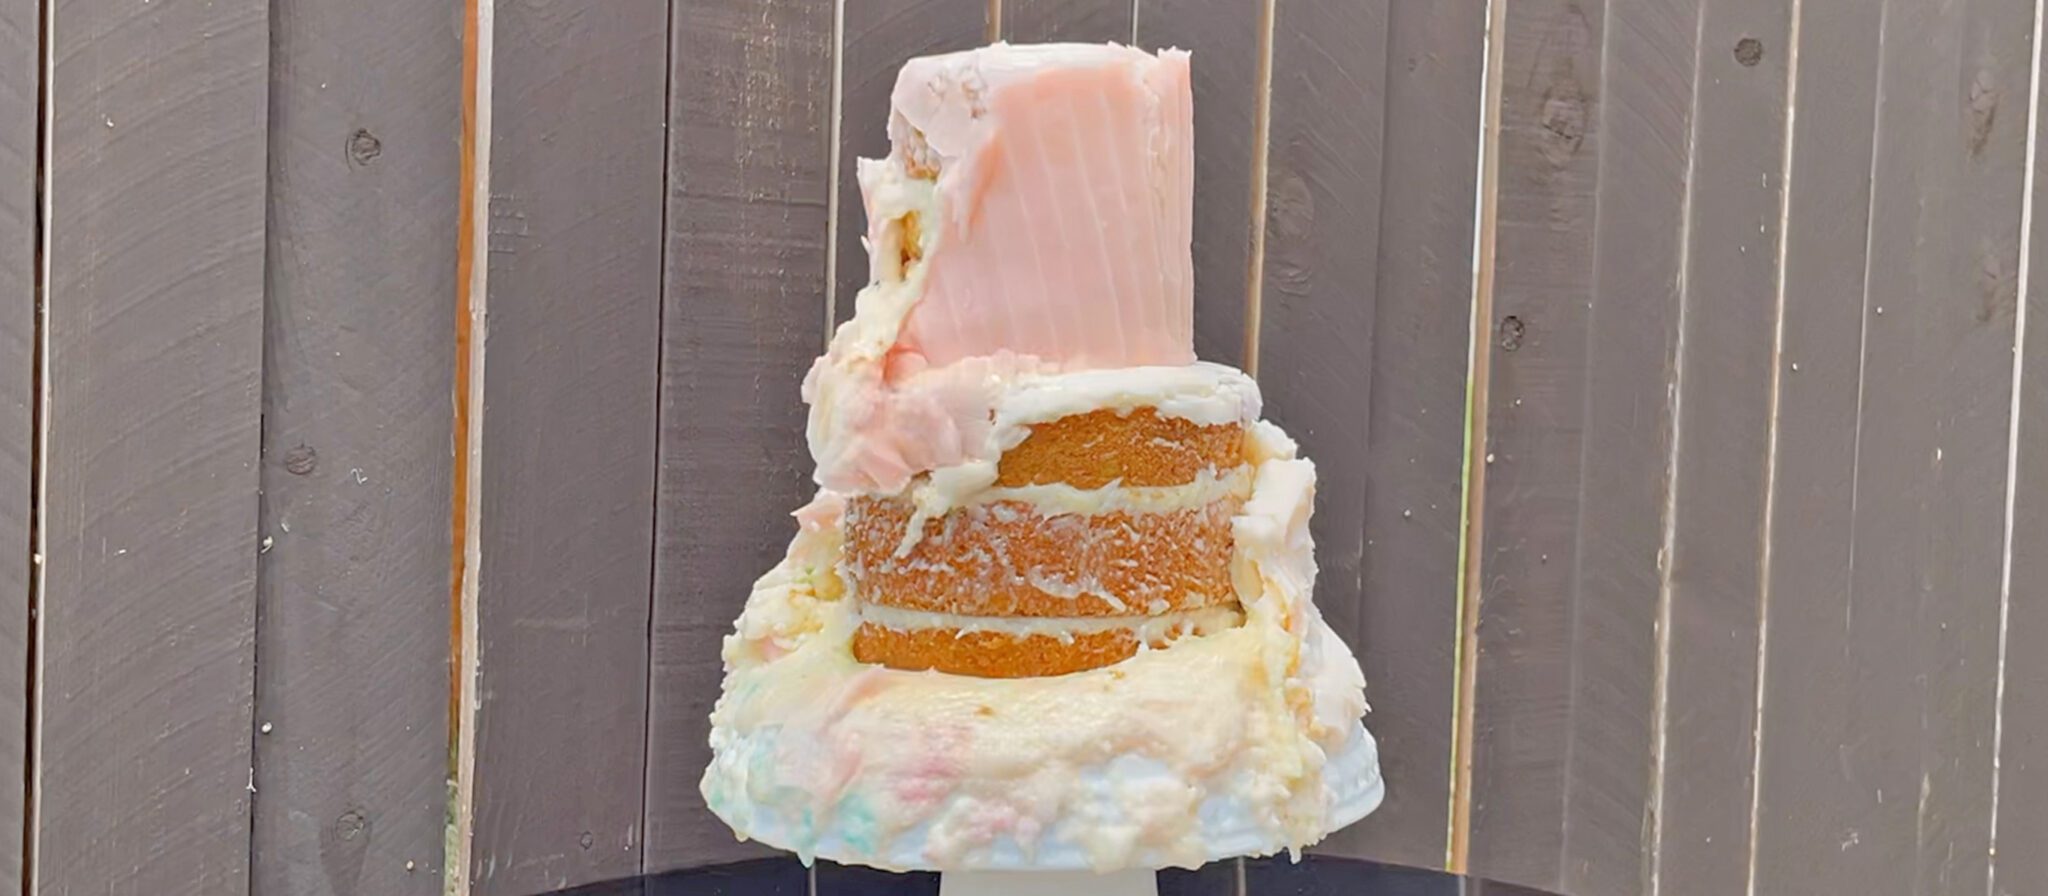
You might have seen this video I shared on instagram that went viral. It shows what happens when a cake is left in the sun on a cool day at 70F or 22C:
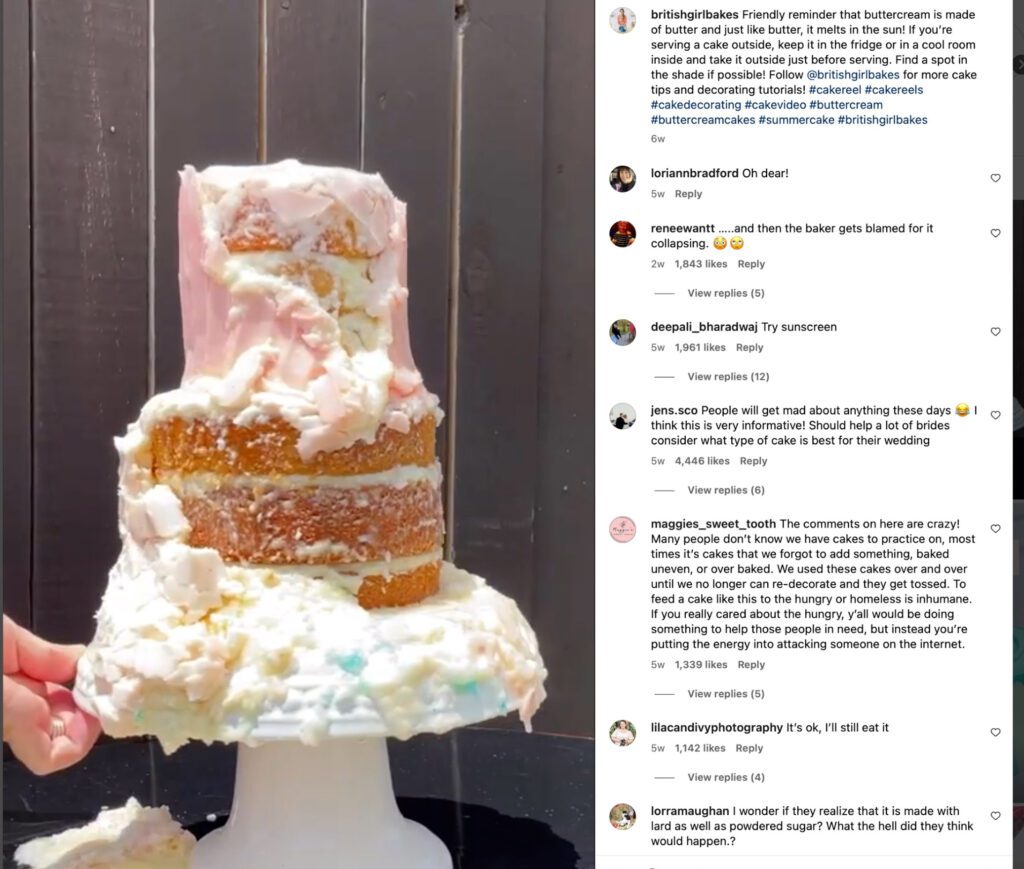
I keep my cakes in the fridge if they’re not going to be eaten within a few hours. It keeps the frosting and decorating stable and also keeps the cake fresh for longer. The frosting seals in the moisture of the cake so the cake doesn't dry out. For more than a few hours in the fridge, put it in a box or cake caddy so it doesn’t absorb any flavours in the fridge.
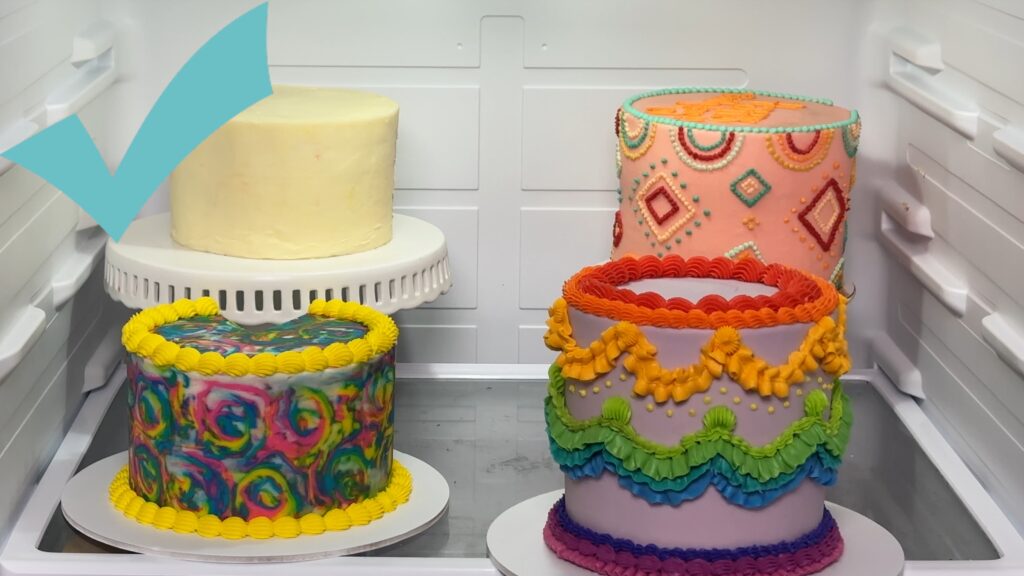
Keep cakes in the fridge until you transport them. Cold cakes are firmer are more resistant to vehicle vibrations or sudden braking. If you transport cakes at room temperature they're more likely to develop leans or bulges in the frosting.
Although I recommend storing cakes in the fridge, I don't recommend eating them cold! Cold cakes taste hard and dry. Take cakes out of the fridge 2-4 hours before serving and leave them on the counter to room temperature. When the cake and buttercream warm up they'll be soft and moist and delicious!
You can also watch a video of this tutorial on 10 cake fails and how to avoid them:
