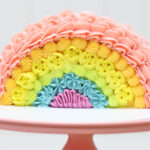
From fixing broken cake layers and preventing leaning cakes, to achieving impossibly smooth frosting, you’ll WISH you knew these 10 cake hacks sooner!
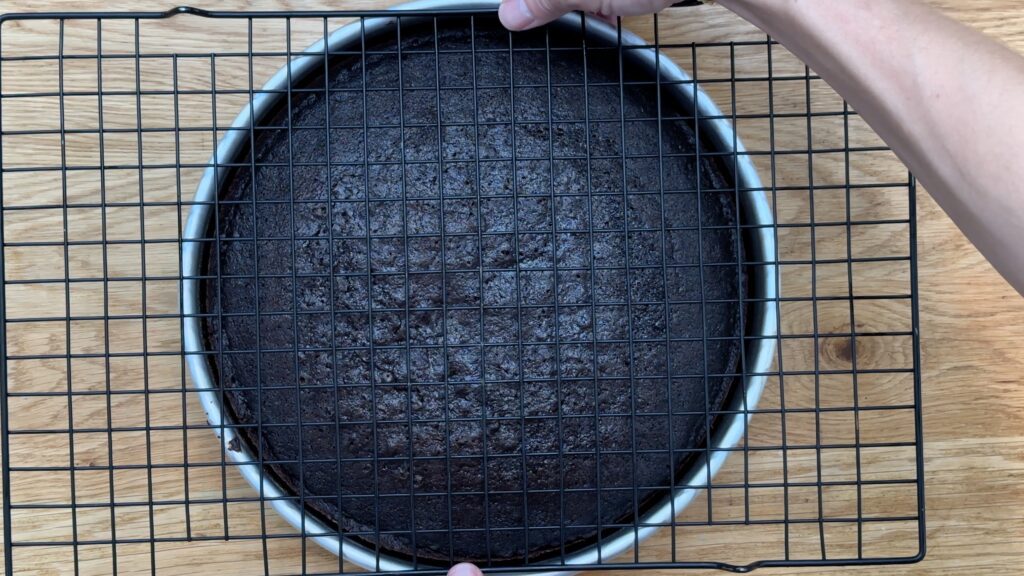
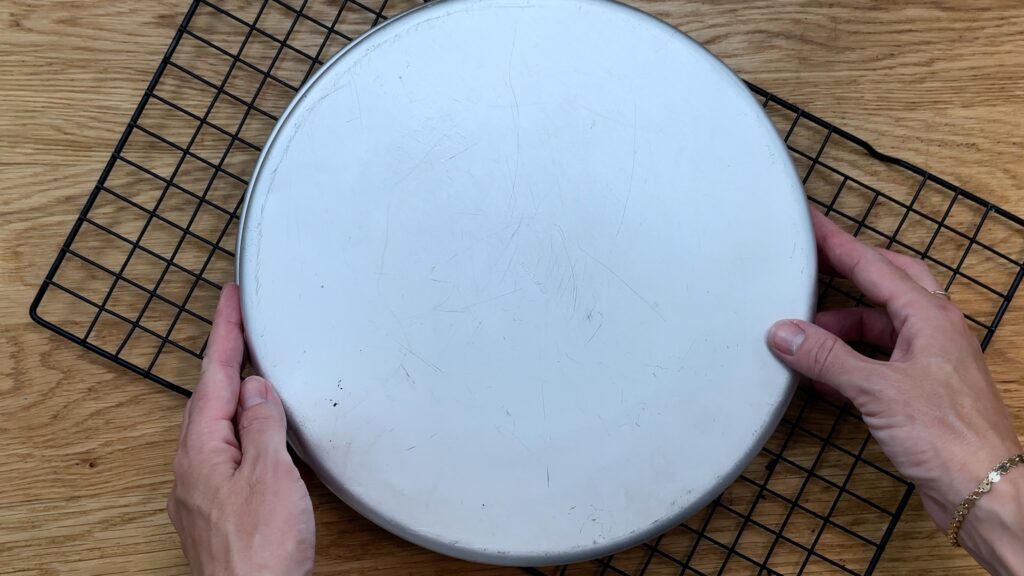
Prevent cakes from cracking or crumbling by turning them out of their pans this way! After taking a cake out of the oven, place a cooling rack on top of the cake pan. Then grip both the rack and the pan and flip them both over together. Lift the cake pan up and voila! Intact cake layers every time!
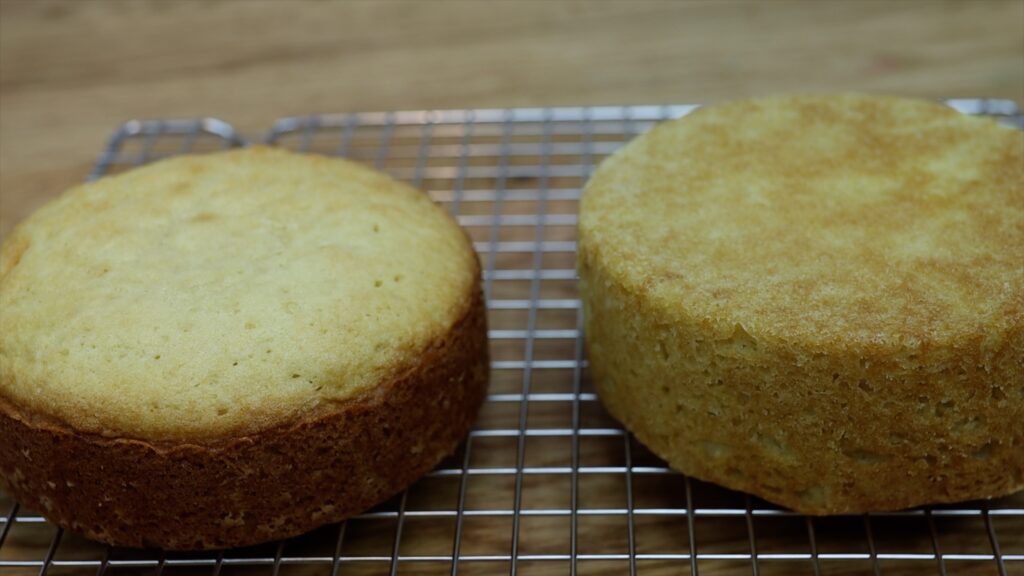
For evenly baked cakes with level tops (no domes) and no burnt edges, the secret is cake strips! I resisted buying these for a long time but they really aren’t a gimmick. You could soak oil towels or cloths in water instead to make your own DIY version of them.

Look at the difference between the same cake batter baked in cake pans with and without baking strips!
Cakes sometimes break or crumble or crack or fall apart as you’re turning them out of their pans. Theis may be because you didn't grease the pan before pouring your batter in. Most commonly, it happens when you turn the cakes out immediately after taking them out of the oven. Instead, wait 5 minutes for the cake to cool and firm up slightly.
If your cake does break, don’t throw it away! Wait for it to cool and wrap it in plastic wrap. Put it in the freezer and when it freezes, the pieces of cake will stick together. Now use them as normal, layering them with buttercream as your filling. When this buttercream sets it will hold the crumbled cakes together like glue! You can even spread it on to attach a piece that’s fallen off completely.
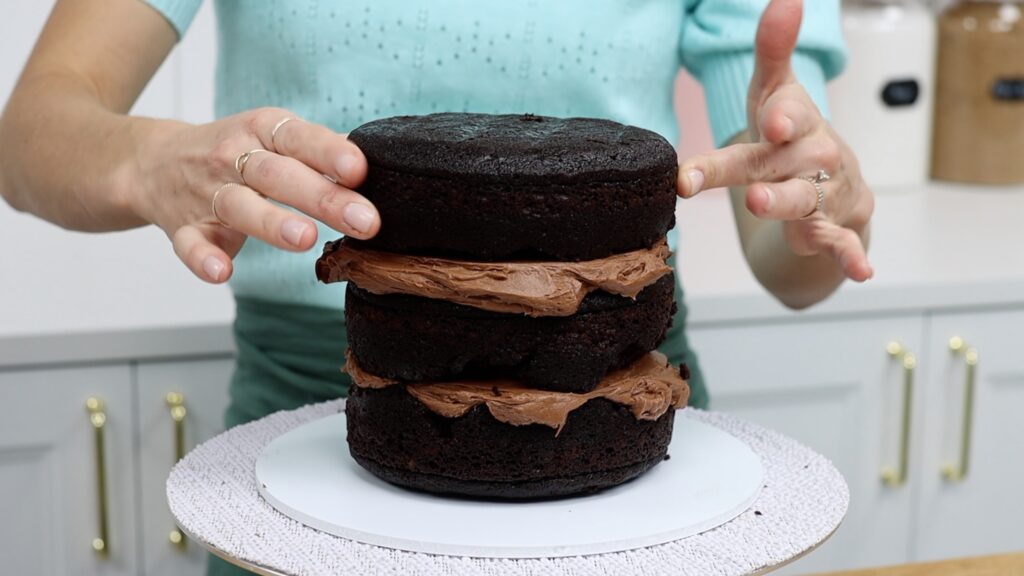
Chill the cake again to set the buttercream and then frost it with buttercream. Then this buttercream sets it will also hold the cake together. Decorate the cake and when you serve it, no one will know how ugly those cake layers were to begin with!
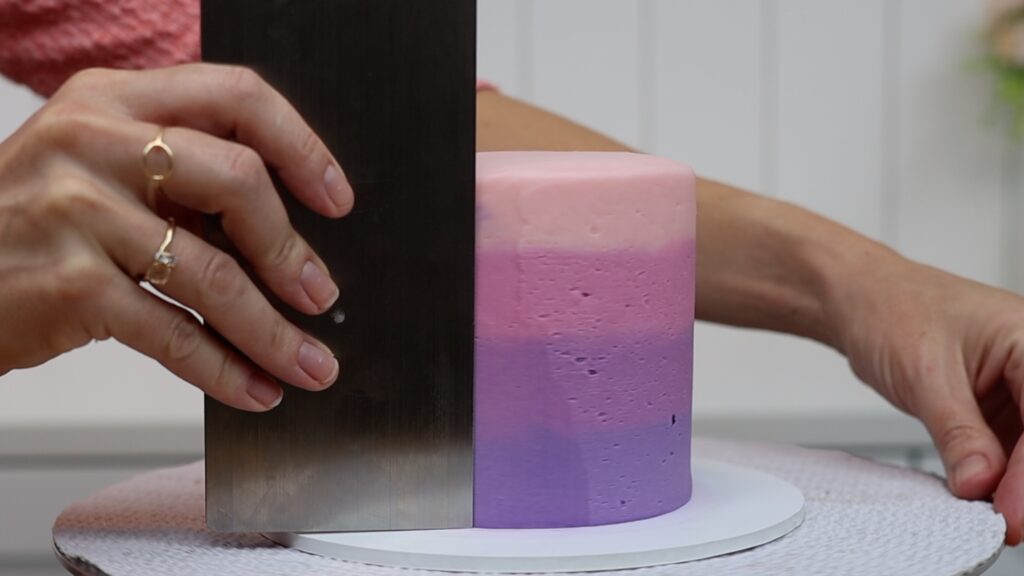
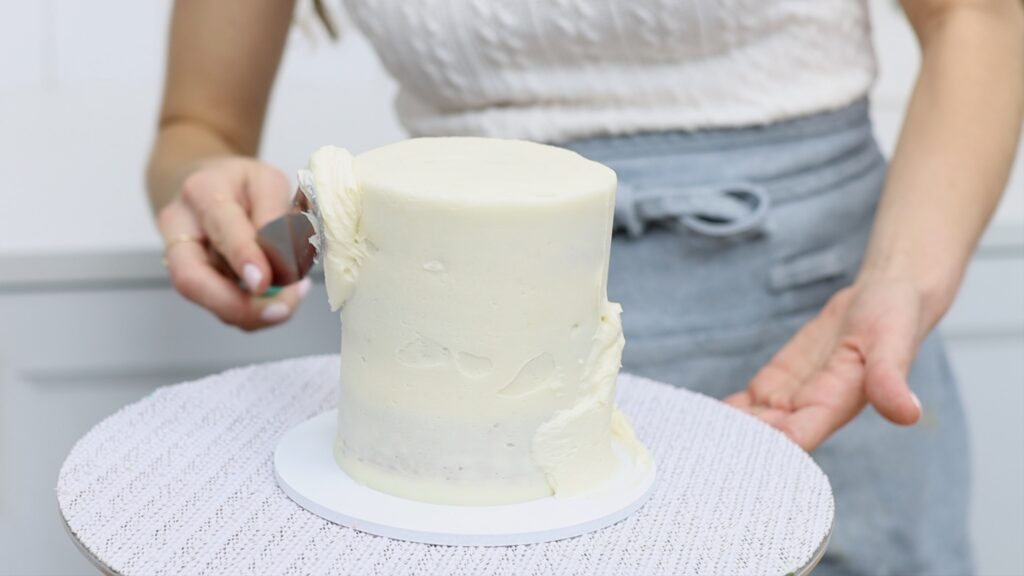
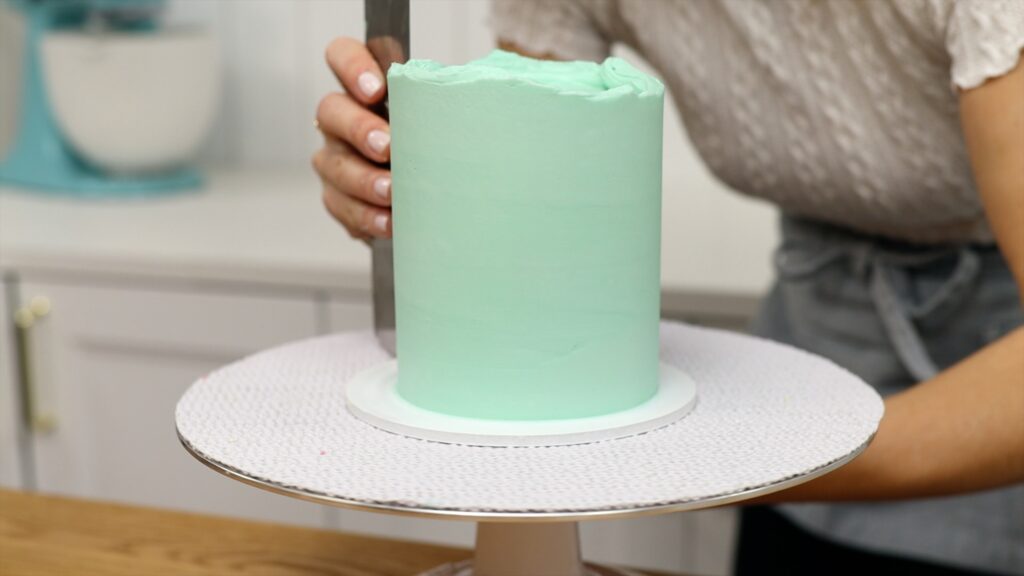
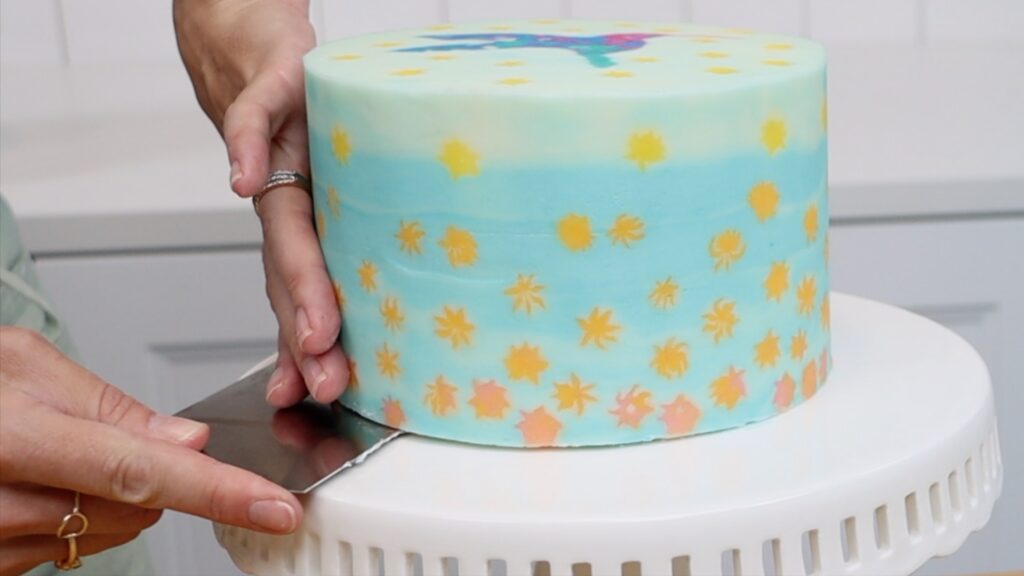
Air bubbles in your frosting? Or dents or gaps or uneven parts? Here’s a hack for those! Heat a metal cake comb by dipping it into hot water or using a blowtorch along the edge. Then scrape around your cake. The hot metal will melt the very outer layer of frosting, pulling that melted frosting around the cake. It will fill in imperfections in the frosting to create a super smooth surface.
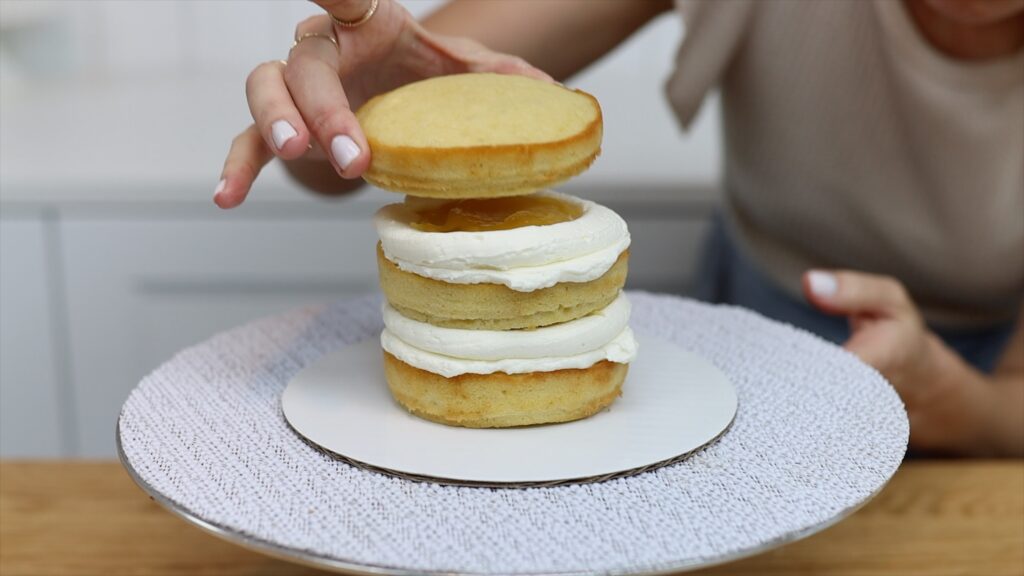
Bulges in the sides of your frosting? You won’t have any if you use this method of assembling your cake. For runny fillings like caramel or lemon curd, pipe a ring of buttercream around the edge of the cake before spooning in your filling. This ring of buttercream is called a dam. It will hold the filling in so it doesn’t ooze out, which is what causes a bulge in between cake layers, underneath the frosting.
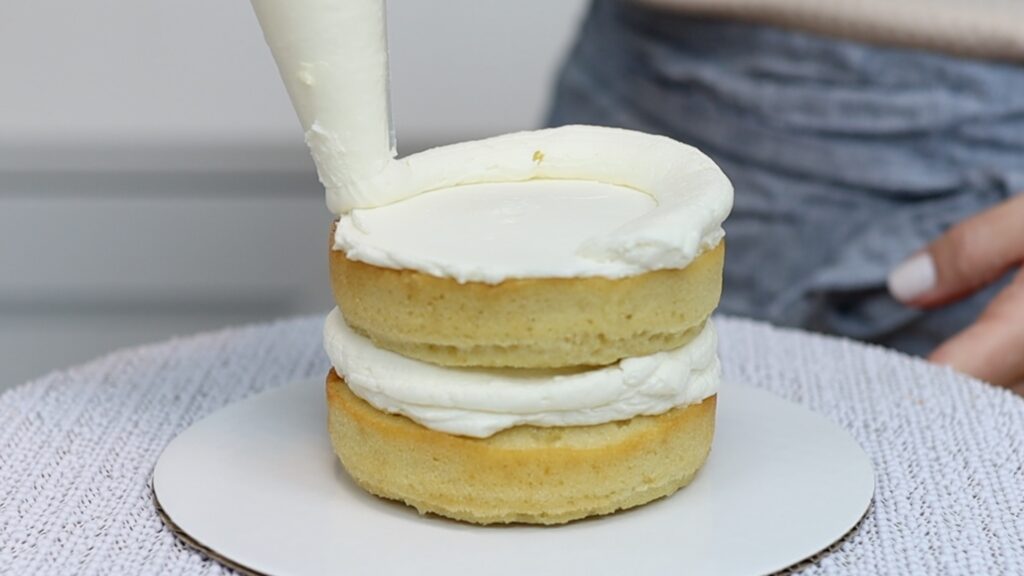
After assembling your cake, scrape around the sides to flatten the buttercream sticking out from between the layers. Then frost and decorate and your sides will be straight without bulges!
Basic cake hacks like these ensure a strong, stable foundation so every frosting and decorating technique will look its best. To perfect your caking skills, take my Basics of Cake online course.
If your cake looks like it’s leaning sideways, your layers aren’t placed directly on top of each other. Even if you’ve already started frosting your cake, it’s not too late to fix this! Spread some more frosting to fill in the lean on each side of the cake. This means the bottom of one side of the cake and the top of the other.
Then when you scrape around the cake, press your comb down on the cake board to line it up straight. You’ll smooth this frosting you’ve spread on to create straight sides on the cake. Add your final layer of frosting and you’ve got rid of the leaning or tilting effect!
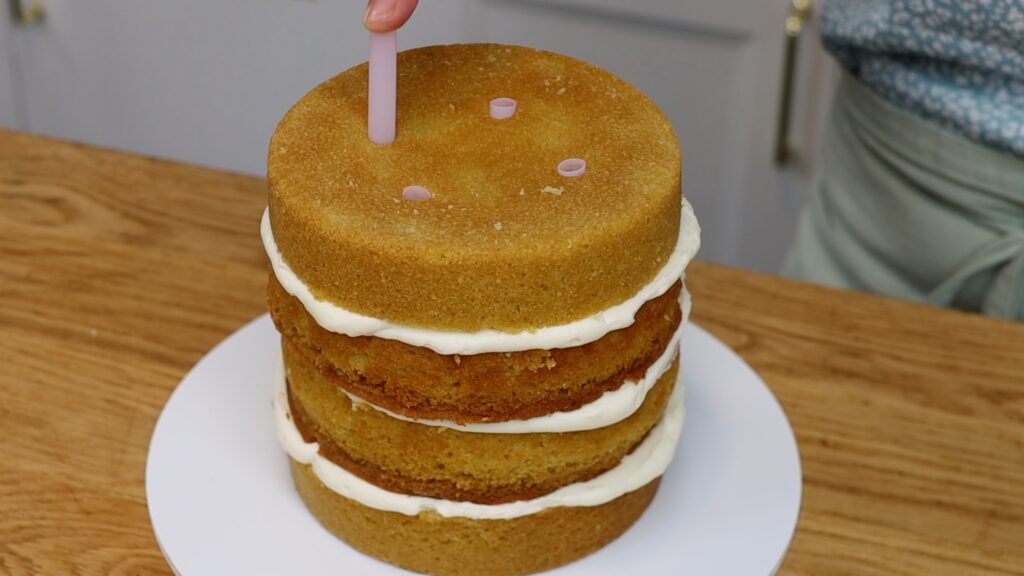
For super tall cakes that won’t collapse or topple over you'll need an internal support structure. This isn't as complicated as it sounds! Alternate cake layers and filling but stop after your first three or four cake layers. Then push a boba straw or wooden dowel down to the bottom of the cake. Pinch it where it sticks out above the cake and cut it there so it’s the same height as the cake so far. Measure another three straws to be the same height. Then push them all into the cake, spacing them about 2 inches apart from each other.
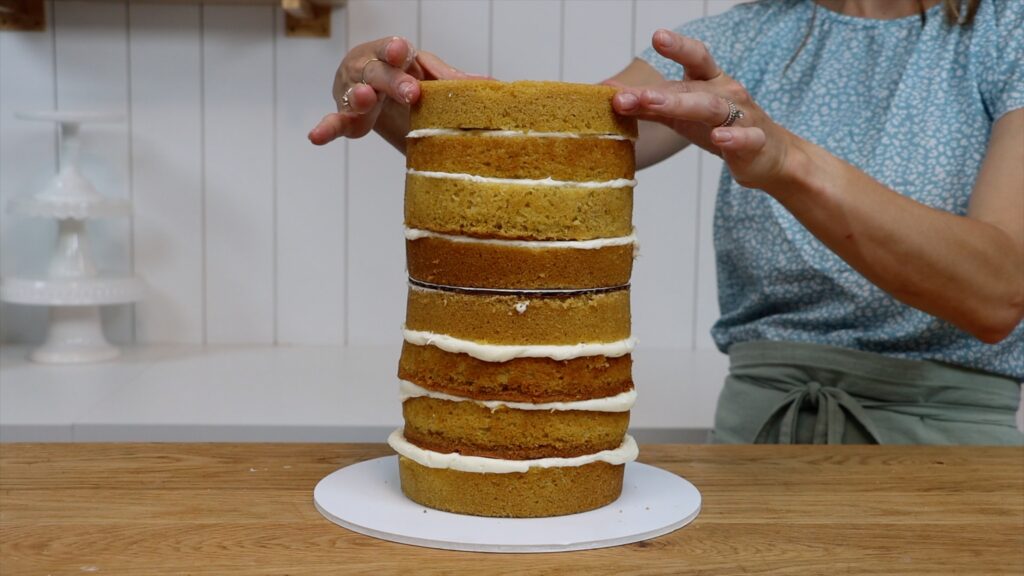
Spread some frosting on top to act as glue and then push another cake board on top. The cake board should be as wide as the cake so that it doesn't stick out beyond the sides. Warning: a six inch board might be bigger than a cake baked in six inch pans! This happens because some cake recipes shrink after baking as they're cooling. In this case you can use a board an inch smaller or trim the cake board.
Use some buttercream to attach your next cake layer to the bottom part of the cake. Continue assembling your cake with the next three or four layers.
The final step is to take a long wooden dowel and push it down through the middle of the cake. It will poke straight through that cardboard cake board in the middle. When it hits the cake board at the very bottom, mark the dowel with a pencil where it sticks out of the cake.
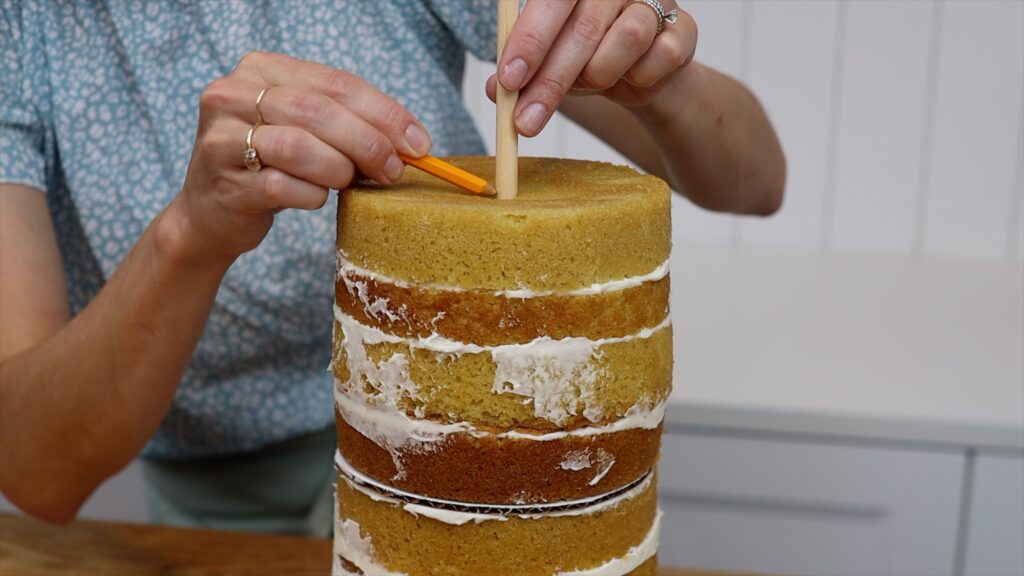
Pull the dowel back out and cut it on the pencil line with wire cutters or a sharp knife. Then push it back down into the cake. I haven’t finished frosting and decorating this cake yet but when I do, I know it will be stable enough to display and transport without problems!
There are two parts to this hack for perfectly neat cake slices. First, let your frosting set before cutting the cake. You can set the frosting quickly by putting the cake in the fridge or freezer for 30 minutes. Next, dip your knife in a glass of warm water and dry it before cutting. Now your knife will slice cleanly through the frosting and cake. The set frosting will be firm enough that you can balance the slice as you place it on a cake.

To transfer your cake from its cake board onto a cake stand the hack is to chill the cake first. The frosting will get cold and firm to the touch. Then slide an
Lift the cake up and lower it down onto a cake stand. You can adjust and center it on the stand because the frosting is firm enough to push against without damaging it.
Need a hack for condensation on cakes? Condensation is caused by two things. The first cause is moisture in the fridge or freezer so your cake needs to be sealed before refrigerating or freezing. You can wrap it in two layers of plastic or store it inside a cake caddy or any other airtight container.
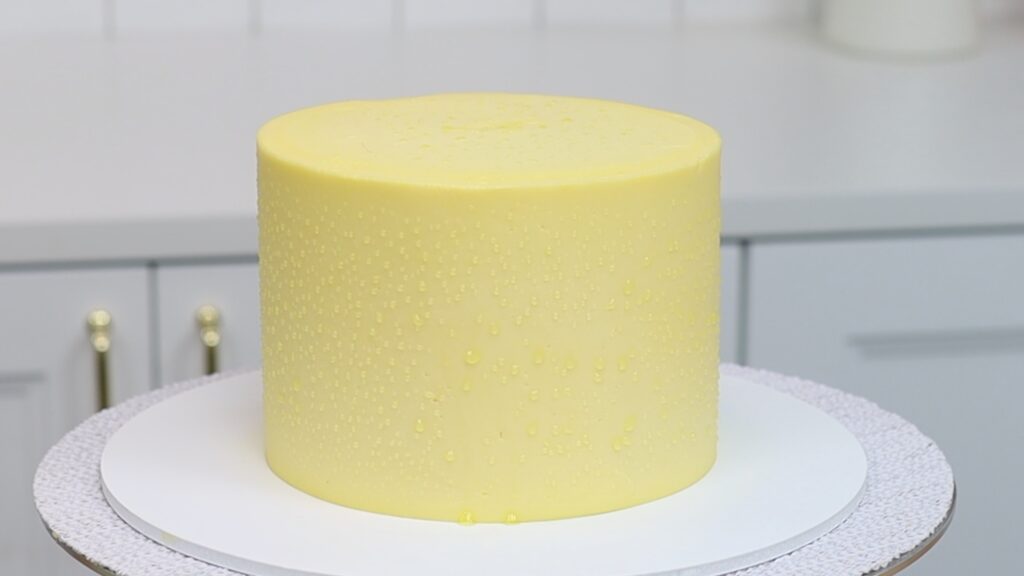
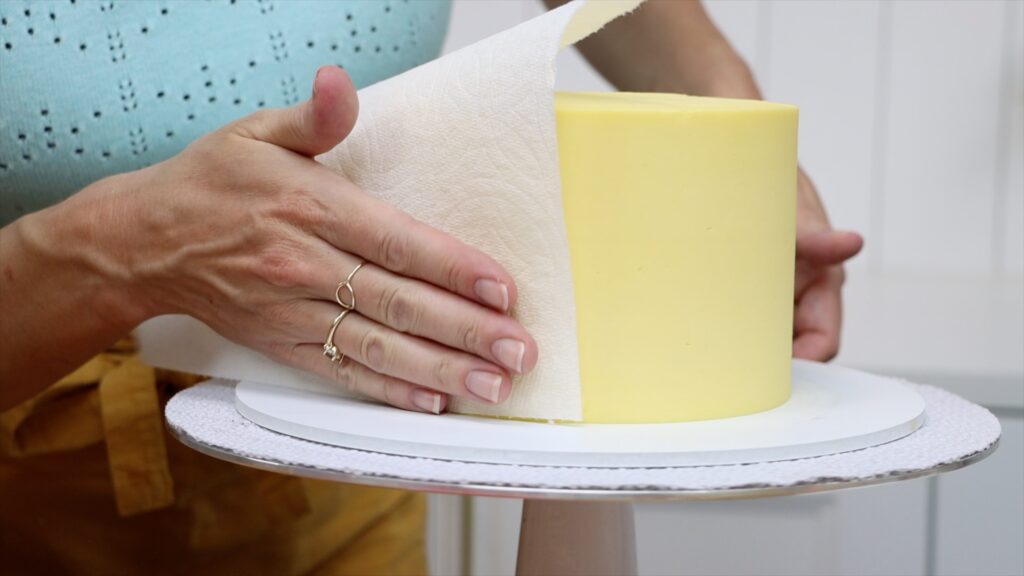
The second cause, which is more common, is a big change in temperature. Avoid moving a cake from the freezer straight to room temperature or from the fridge to a hot room. If you need to refrigerate your cake, when you take it out move it to a cool room. In summer this usually means using air conditioning or a fan. If you do get condensation droplets on your cake, dab them with a paper towel to absorb the liquid.
If you want to take your cake skills to the next level and learn hundreds of cake decorating techniques and designs, visit my cake school to learn hundreds of cake decorating techniques and designs with my online courses. Join my ClubPLUS membership for access to every MasterCourse, MiniCourse, Live Workshop, and 5 Minute Fridays. I hope to see you there!
You can also watch a video tutorial for 10 Cake Hacks You'll Wish You Knew Sooner: