In this tutorial I’ll solve the 10 most common cake struggles! Leaning cakes, food coloring stains on everything, never enough countertop space, air bubbles in your frosting, lack of cake decorating inspiration, sprinkles everywhere... Get ready for these practical solutions!
Most cake decorators have an impressive collection of piping tips that have been mauled by the garbage disposal or insinkerator.
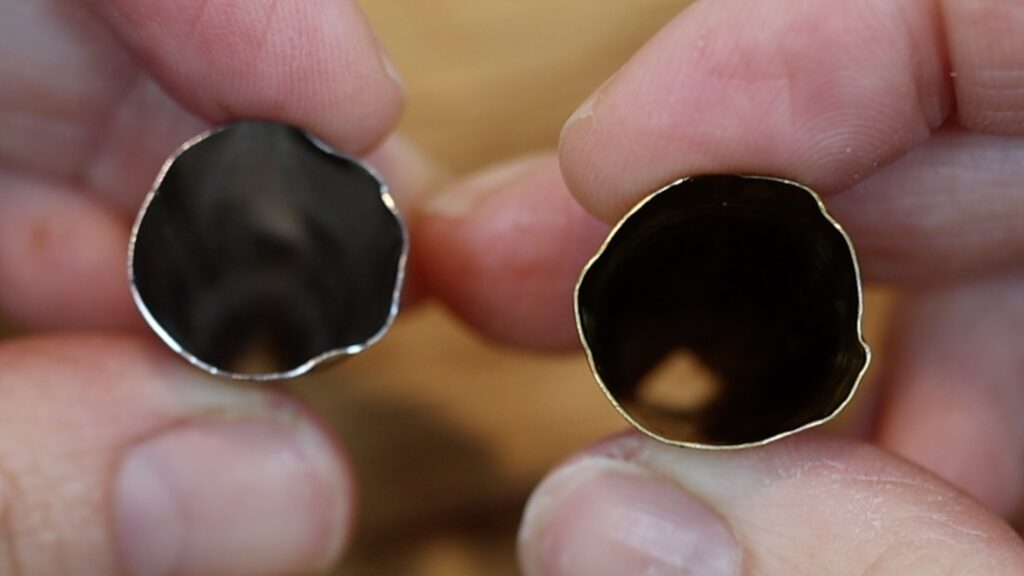
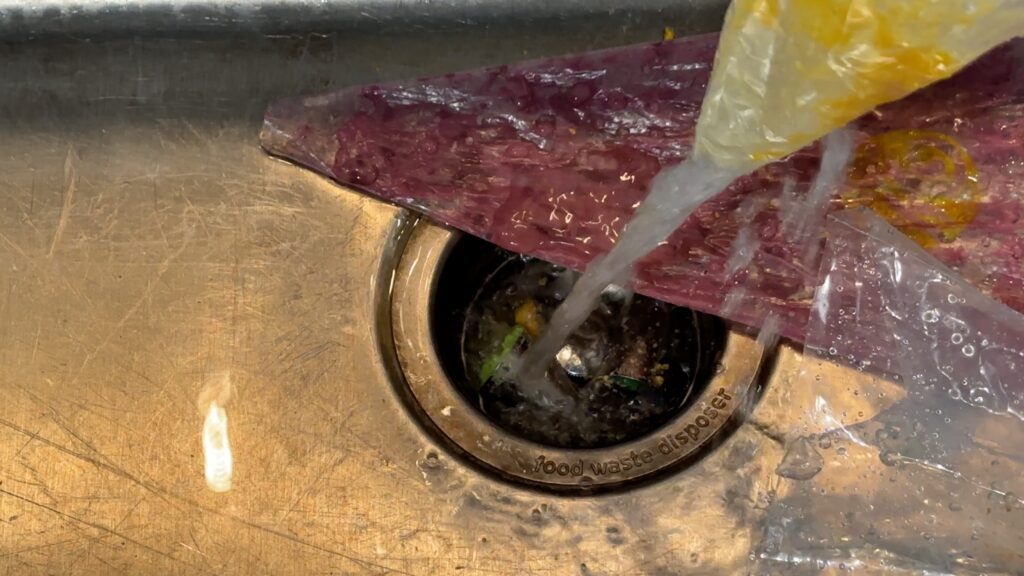
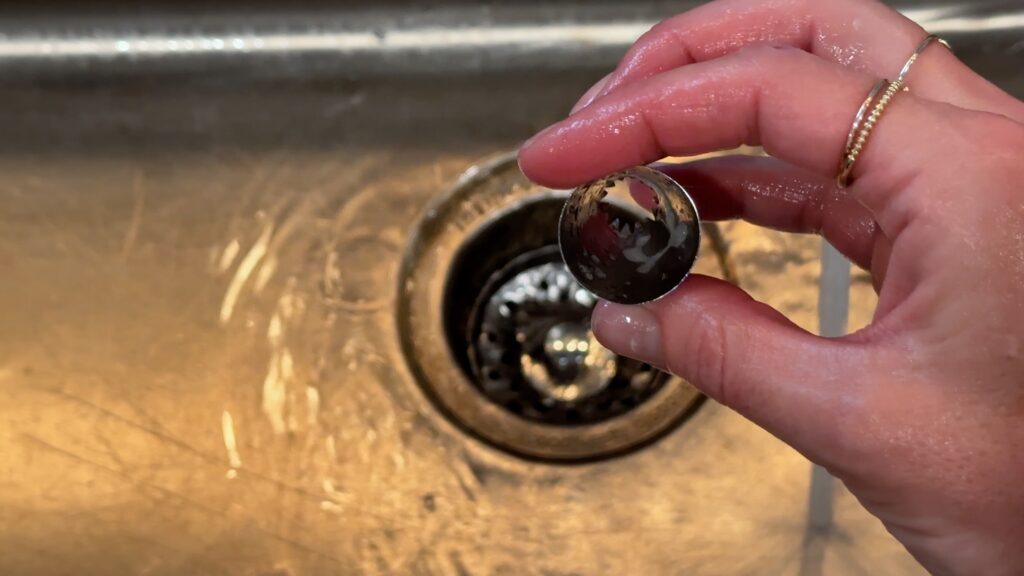
Whenever you wash piping bags and piping tips, use a drain sieve in the sink. I find these annoying the rest of the time but with piping tips they’re so useful! Frosting from piping bags will go through the sieve but piping tips will wait patiently for you in it. As a bonus, as the hot water flows down the drain it will clean the piping tips for you!
Sprinkles are beautiful but they can travel fast and far. Whenever you’re using sprinkles, catch any runaways by decorating on a baking sheet or tray. Any sprinkles that roll and bounce off the cake will be trapped by the rim around the tray.
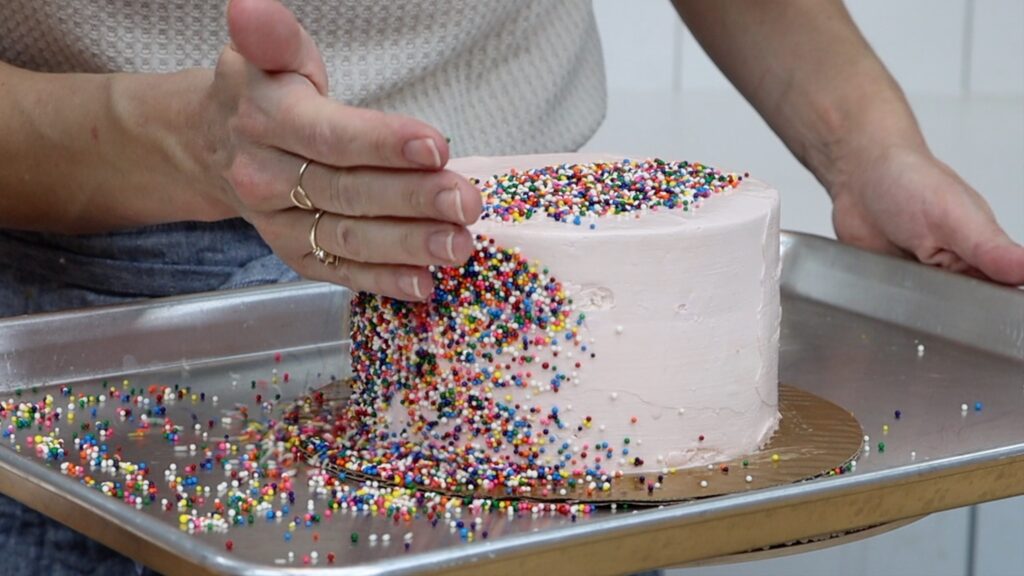
When you’ve finished decorating, tap the cake board to knock the final sprinkles onto the tray. Then tilt the tray and pour the sprinkles into their jar or packet.
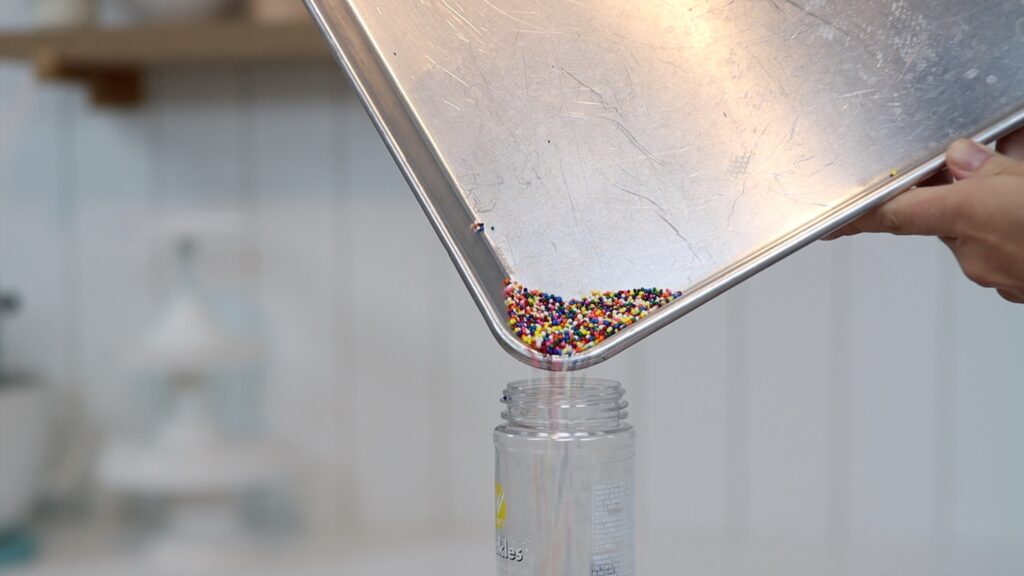
To be even more careful, pour your sprinkles into a piping bag before you use them. Cut a small piece off the end of the bag and you'll have more control over where they go.
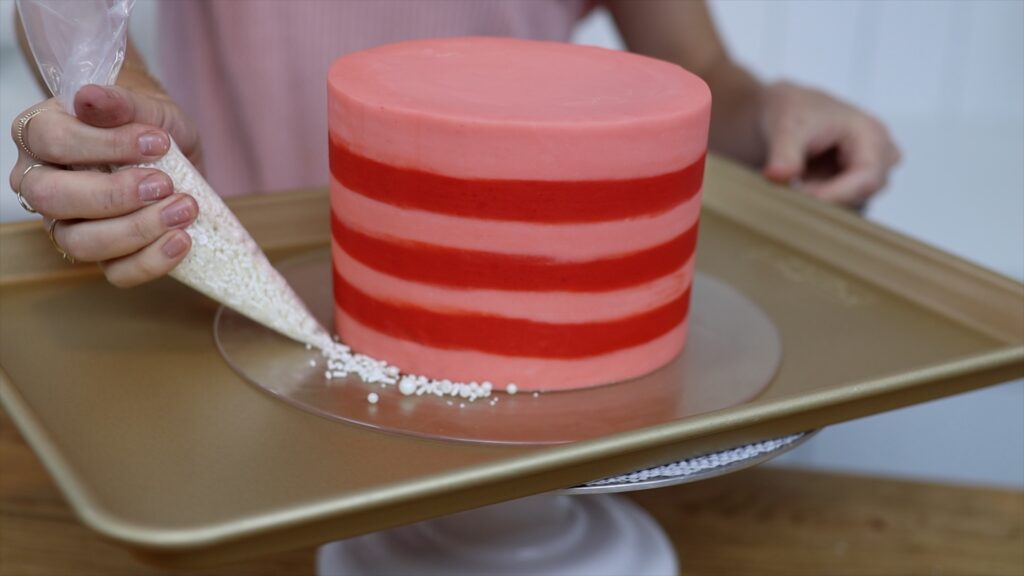
The worst of the cake struggles, I think, is food coloring stains. They’re so difficult to wash off! When bottles topple over they leak onto each other so whenever you pick up a bottle you’ll stain your hands.
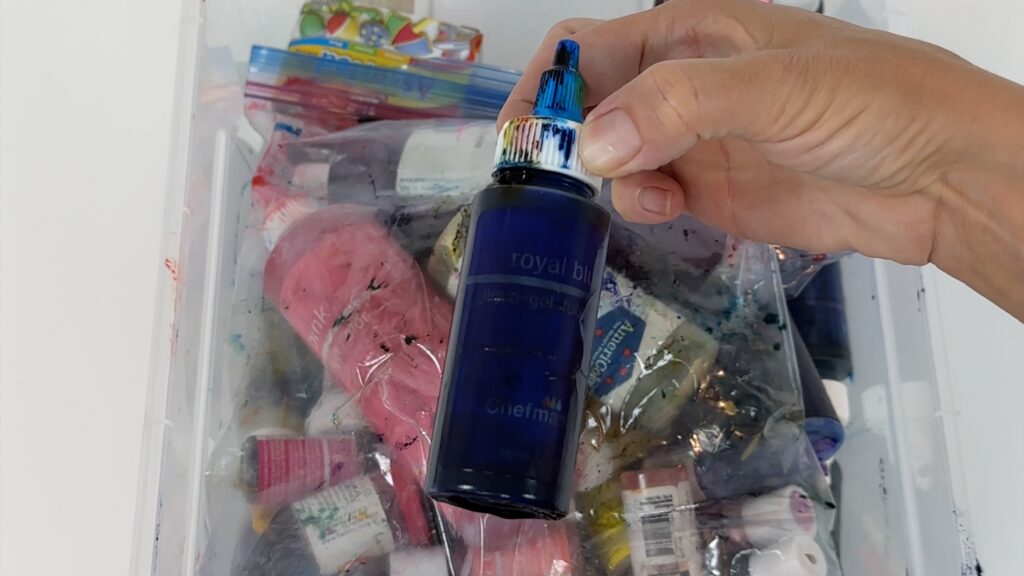
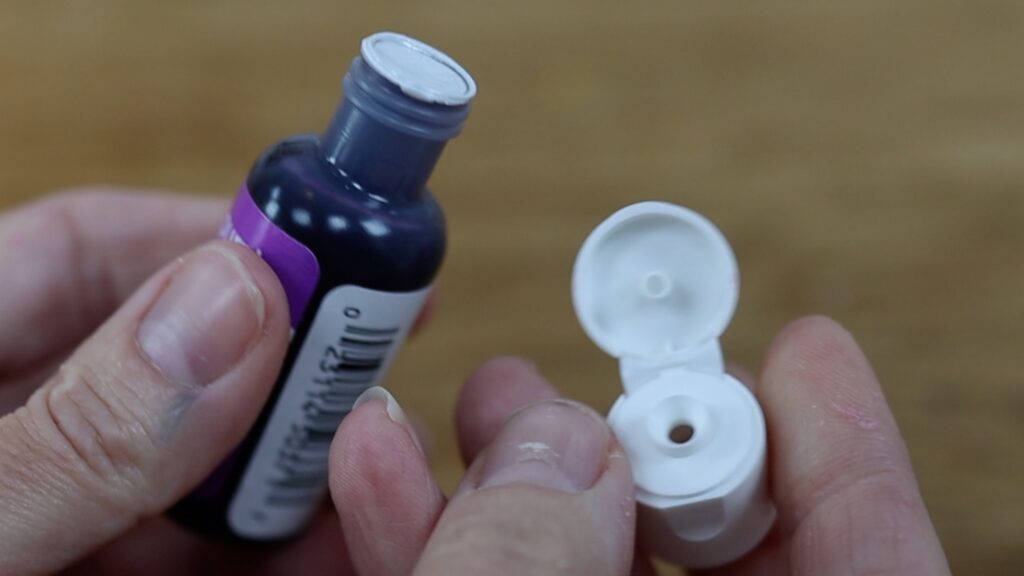
There are two solutions for this. First, open your bottle using the spike on the inside of the lid. Unscrew the lid and press the spike into the lining that covers the bottle. You'll make a small hole, which is much less likely to leak than if you peel the lining off.
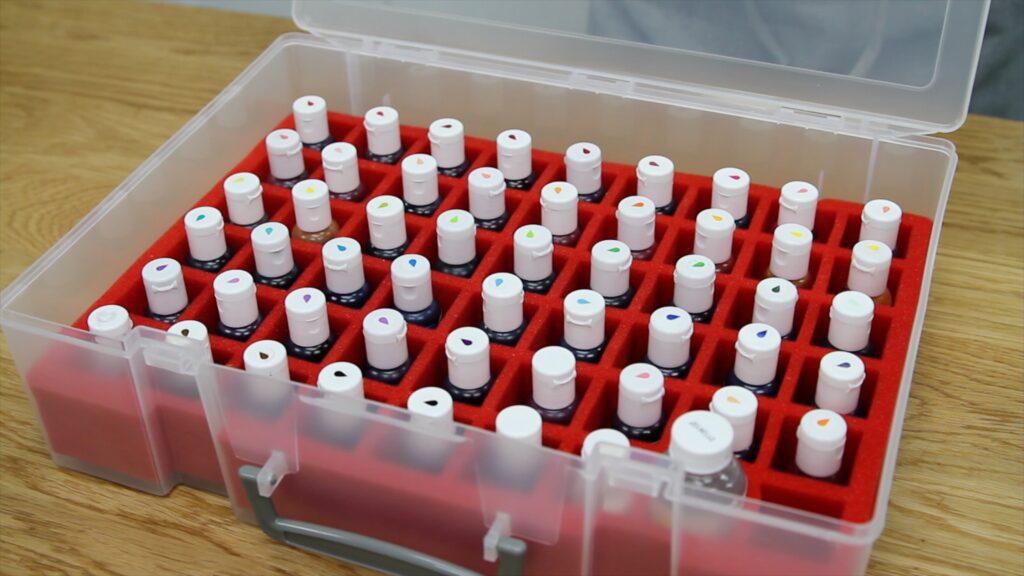
Secondly, store your bottle upright instead of letting them fall over. I use a storage caddy intended for nail polish, which is exactly the right size for gel colours! No more leaking and no more staining!
Countertop space is in high demand when you’re cake decorating and there is never enough! Here are my tips for making the most of what you have.
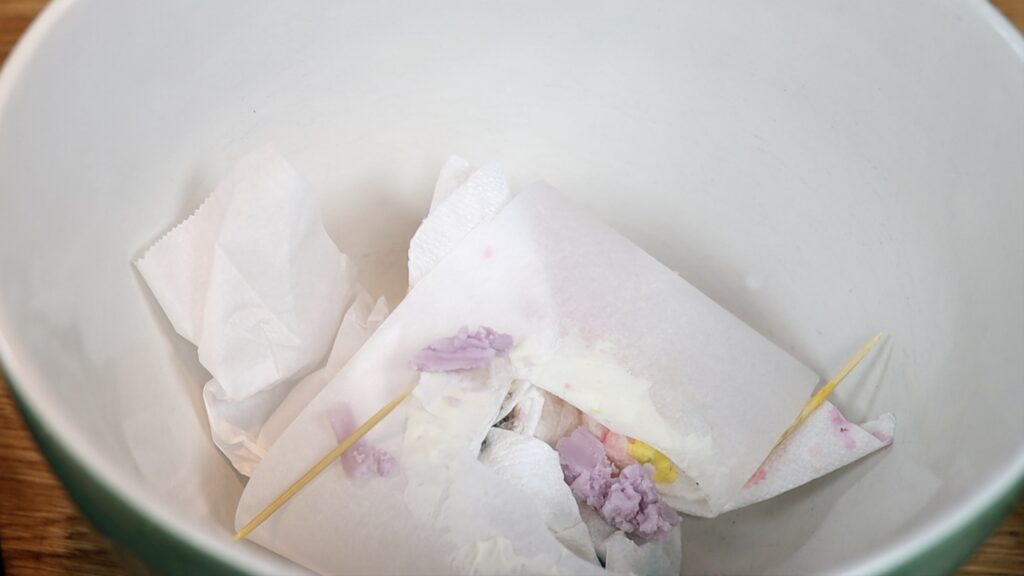
If you’re not next to a rubbish bin or garbage can, use a throw away tub. Throw cake scraps, cut off ends of piping bags, and any other rubbish into this tub or bowl or bucket. This saves you the time of walking back and forth to the rubbish bin and keeps rubbish off your countertops.
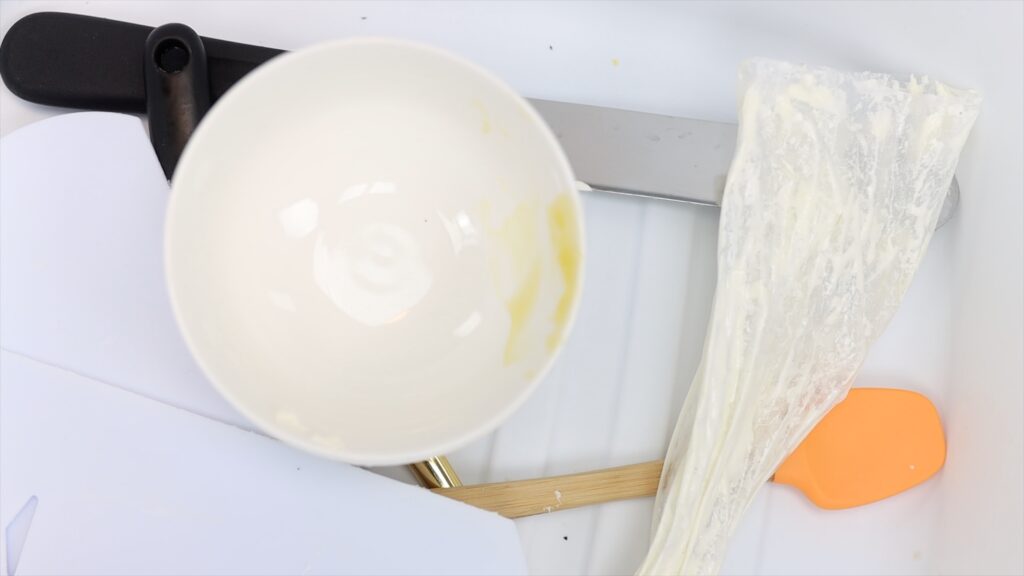
If you’re not working next to a sink, have a washing tub too. Use this for anything dirty like piping tips, spatulas or cake combs. Then carry it to the kitchen sink when you're finished!
Store appliances in cabinets rather than on the countertop to make more space. Even a mixer can fit into a cabinet, reducing countertop cake struggles.
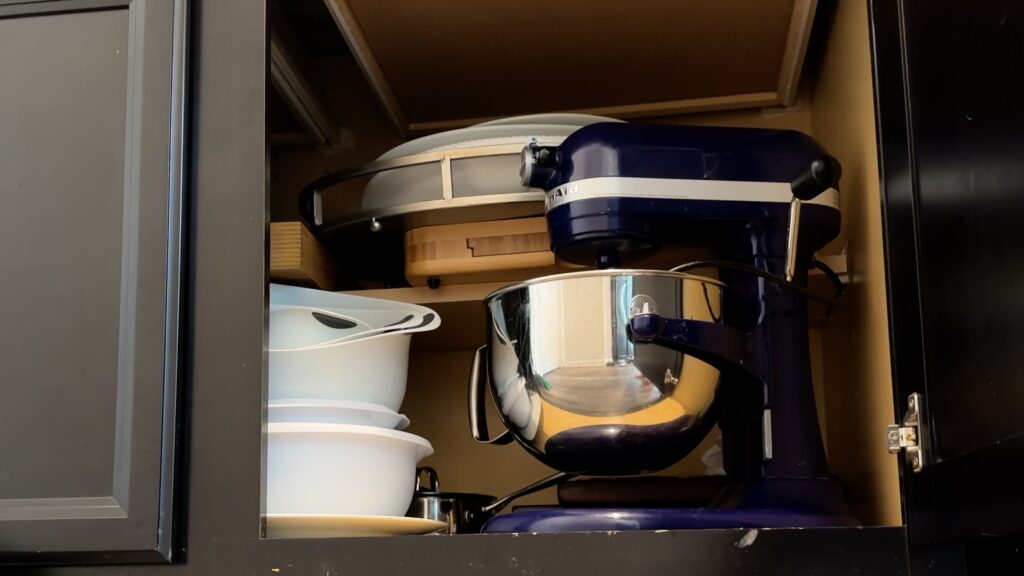
Don't store tools and supplies on your countertops either, which brings me to my next solution below.
Free up space, reduce clutter and make it easier to find everything with my favourite baking organization hacks!
Tired of cake pans tumbling out of your cupboards? When you stack pans on the same size you'll build a leaning tower than topples over easily. Instead, put small pans inside big pans and they’ll balance the next layer of pans.
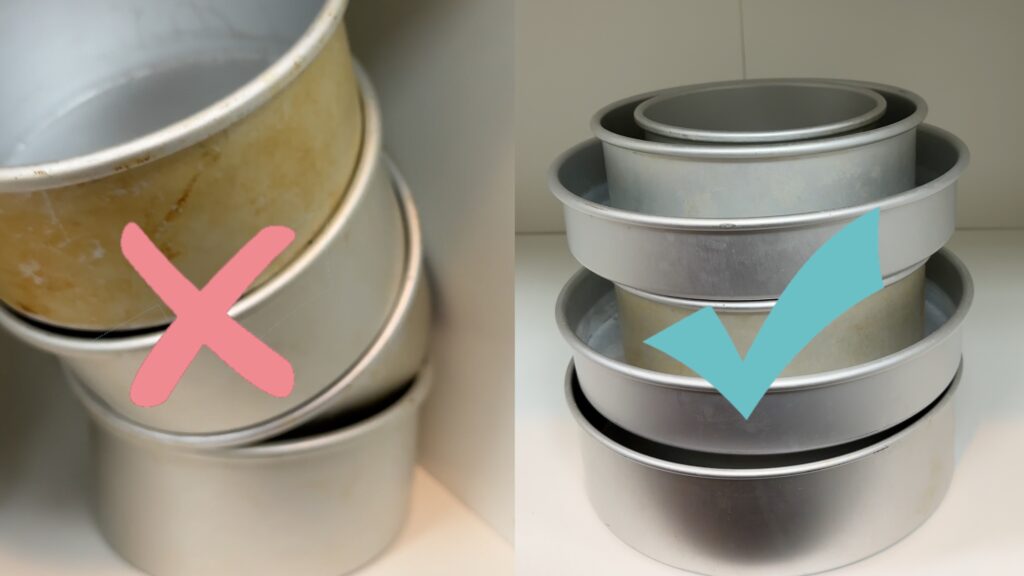
Your tower of pans will be stable and also much shorter, taking up less space!
Most cake decorators have several types of cake combs for smooth and textured frosting. Don’t stuff them into a drawer because it’s a pain to find the one you’re looking for. Racks intended for pan lids work excellently as a divider for different types of cake combs.

In a split second I can grab a smooth acrylic comb, a textured metal comb, or whichever one I want. I use the same rack for my cake boards to separate those by size and material.
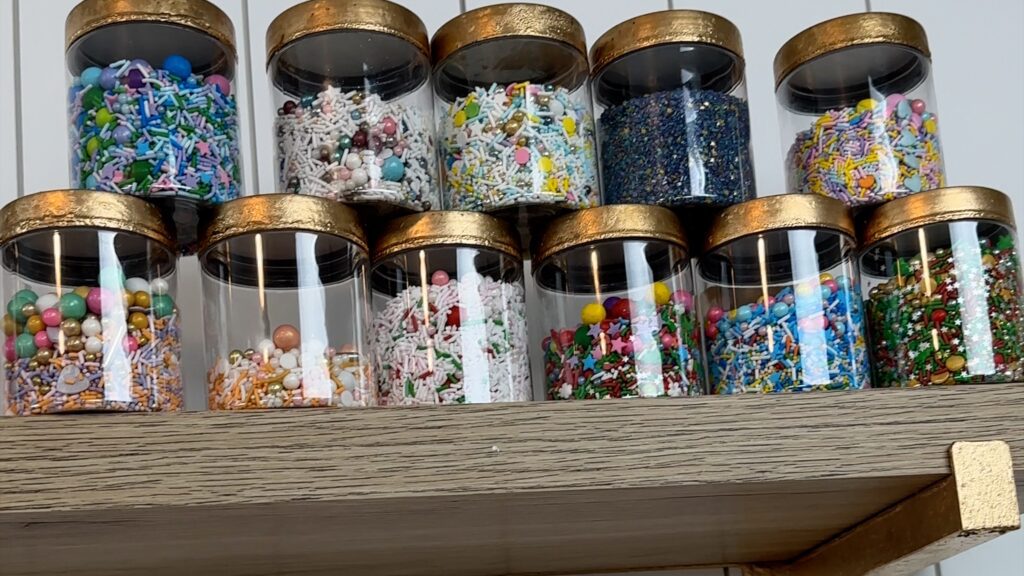
Sprinkles get mixed up in a box or drawer and it takes forever to find then one you’re looking for. Pour your most used mixes into jars and arrange them on a shelf. Now they’re easy to find and they’ll add a colourful decoration to your room!
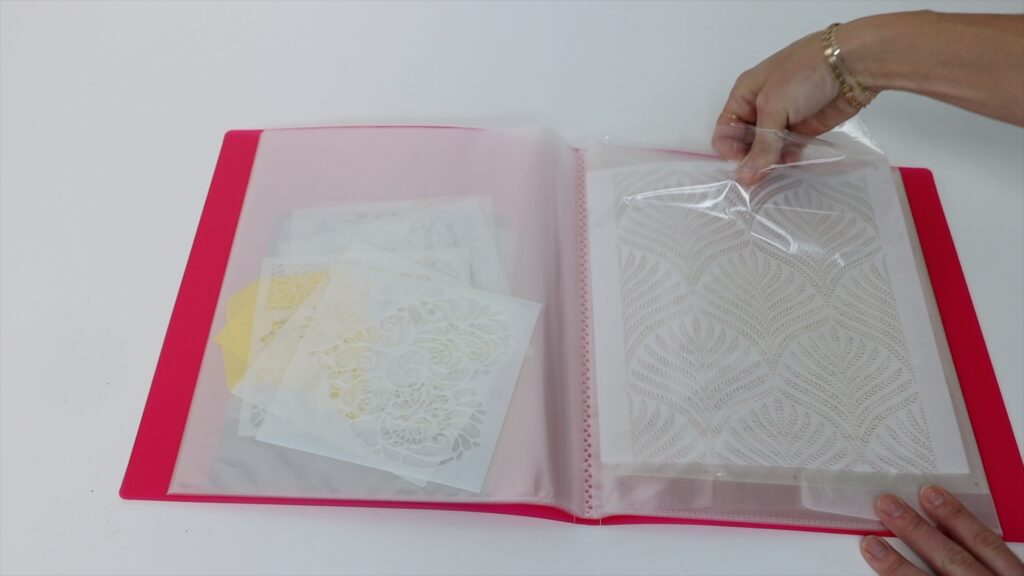
Stencils are super thin but if you have several, they end up taking up a lot of space. A folder with plastic wallets is an easy storage solution for these. Put one stencil in each wallet and optionally, organizer them by material or theme. You can label the sections with tabs if you like. Now you can flick through the folder quickly, making it quick and easy to choose and remove your stencil.
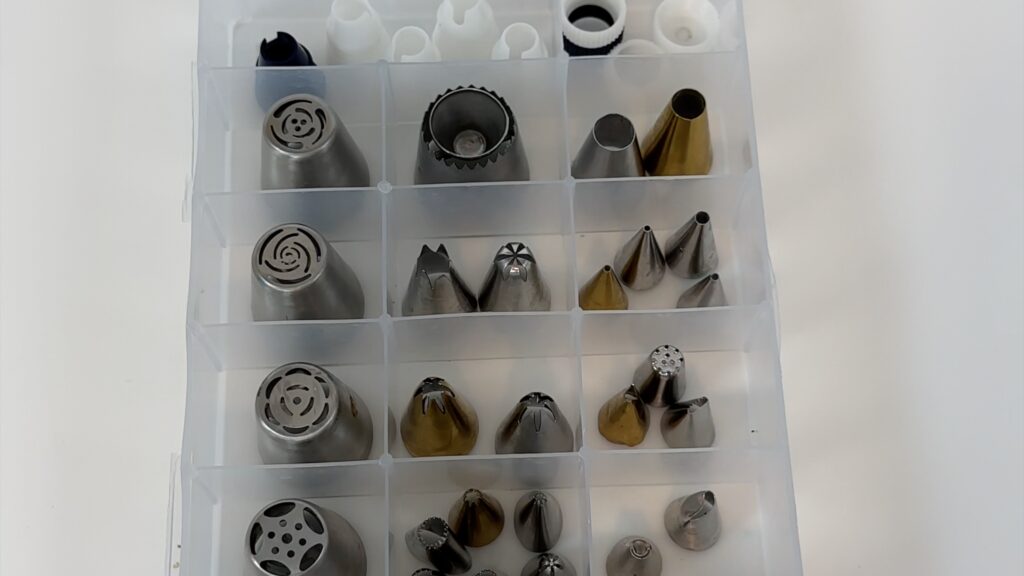
Piping tips cause cake struggles when they fall into the insinkerator but also when it comes to storage. Piping tips love to hide inside each other and to lie sideways, so that they all look identical! This makes it difficult to find the one you’re looking for. Use a craft box and either place one tip in each section or group them together. For example, I keep star tips in one section, petal tips in another, and grass and leaf tips in another.
If cakes move around while you frost them, it's impossible to get smooth frosting! Why do they slide? Because they’re not attached to the cake board!
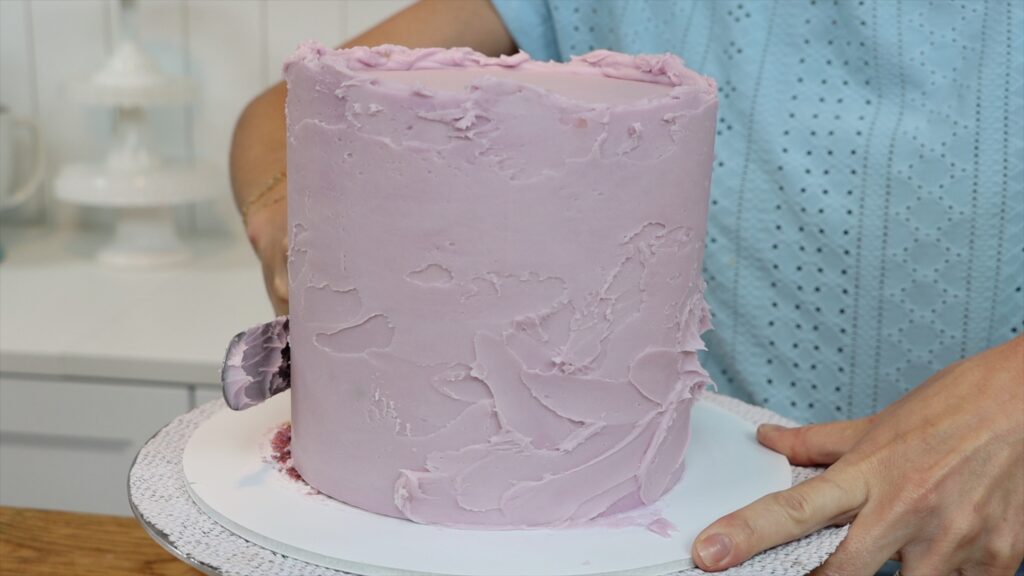
Before you start assembling your cake, pipe or spread some frosting onto the middle of the cake board. Then press your first layer of cake down onto that frosting. This will stick the cake to the cake board and as you layer your cake and filling, it won’t slide around.
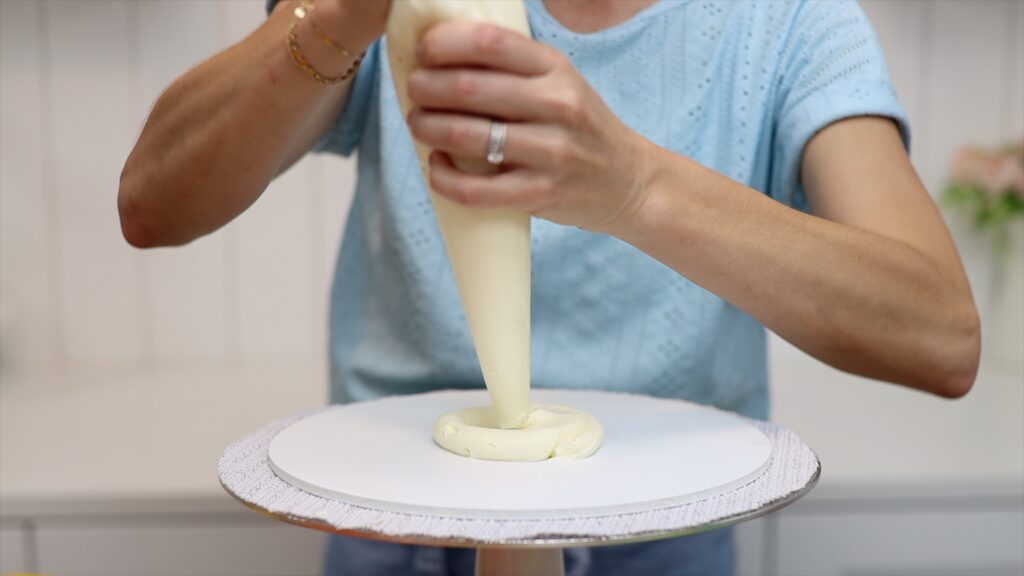
But there’s one more step to this! Chill the cake for about 20 minutes before you frost it to set that frosting so that it glues the cake in place. Next, as you spread frosting onto the cake and then scrape around the cake, the cake will resist that pressure. The frosting on the cake board will hold the cake securely in place so that it doesn't move.
If it does move it's because your spatula or comb pushed the cake off the buttercream dot. To fix this you'll need to add some fresh buttercream 'glue'. Lift the cake up by sliding an
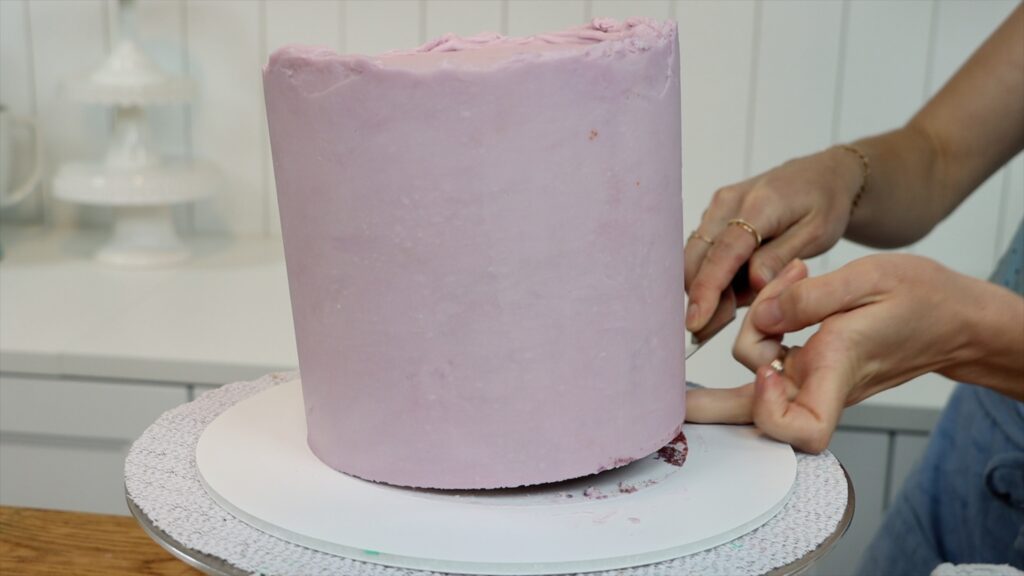
If the cake isn't cold, put it into the fridge or freezer for a few minutes to set that fresh frosting. Now the cake will be securely attached to that dot!
If your cake looks like it’s leaning sideways, your layers aren’t placed directly on top of each other. The good news is that even if you’ve already started frosting your cake, it’s not too late to fix this! Use more frosting to fill in the lean on the bottom of one side and the top of the other.
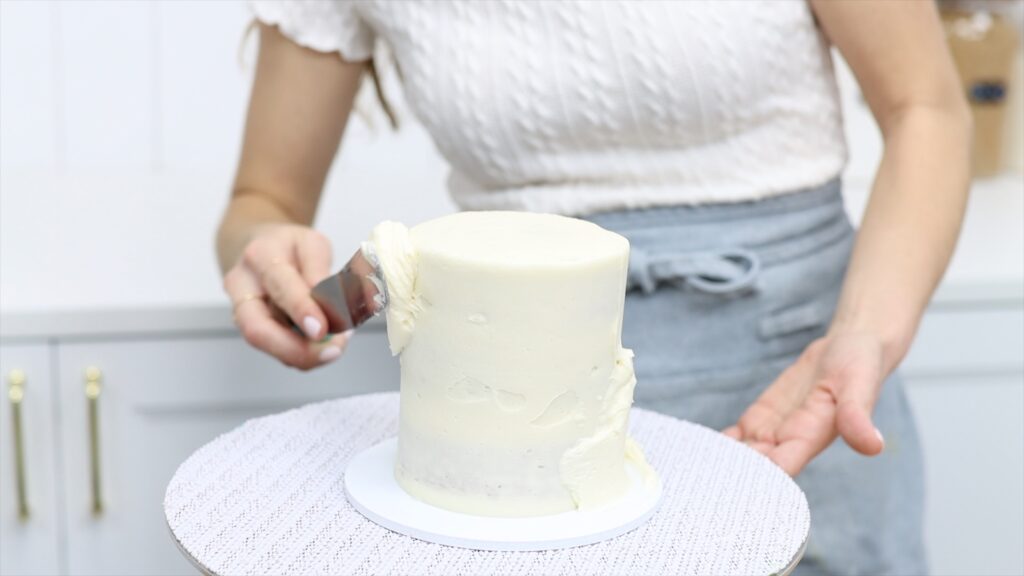
When you scrape around the cake again, press your comb down on the cake board to line it up straight. You’ll smooth this frosting you’ve spread on to create straight sides on the cake.
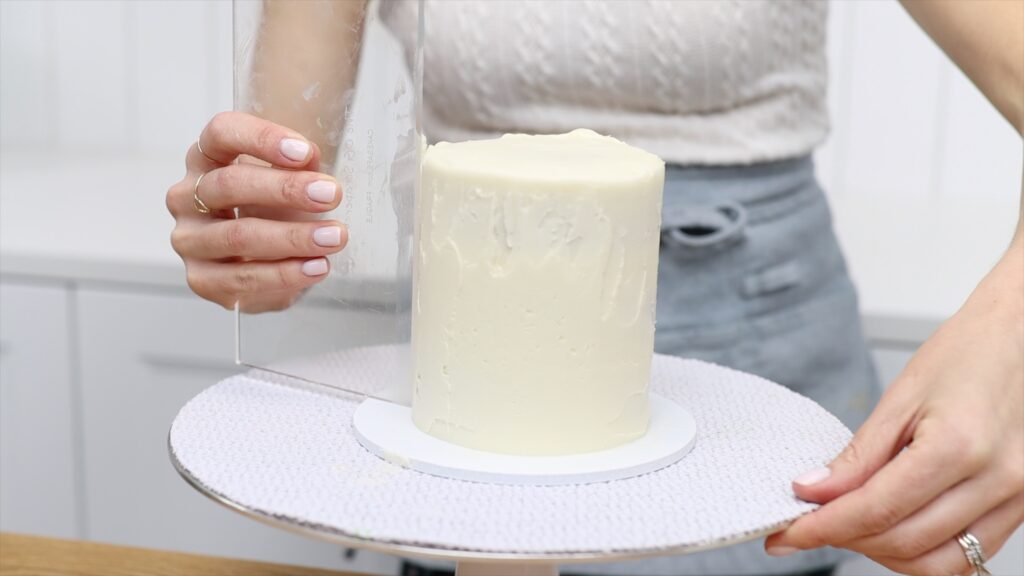
Add your final layer of frosting and you’ve got rid of the leaning or tilting effect!
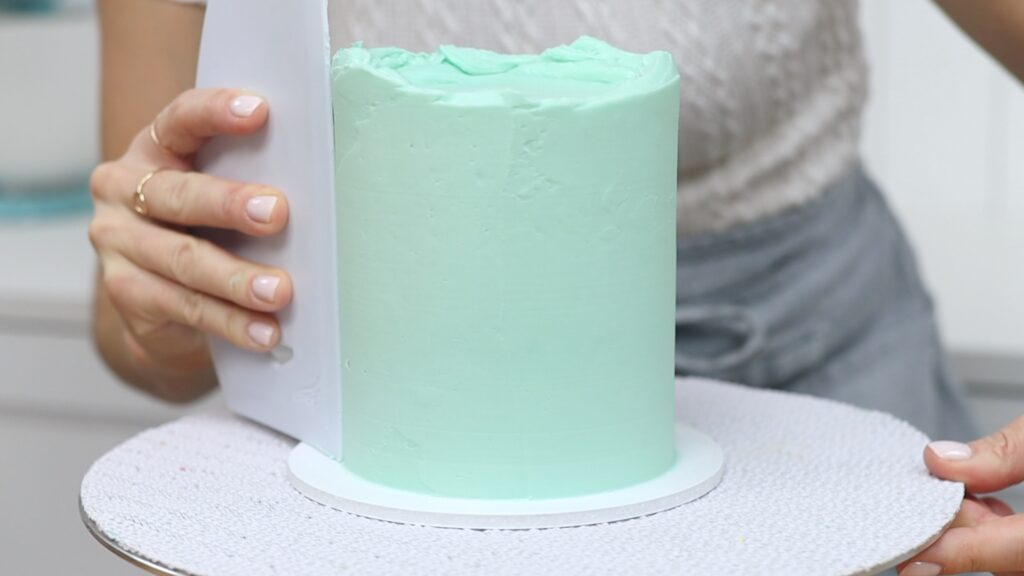
Even if your buttercream looks smooth in the bowl, after frosting your cake it can be covered in air bubbles. These are usually caused by under-mixing or over-mixing your buttercream.
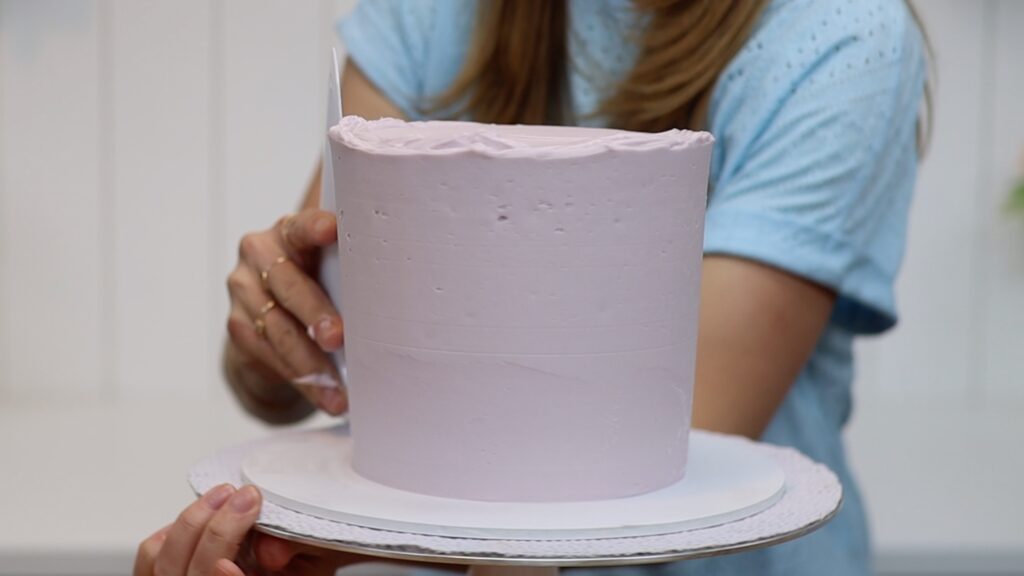
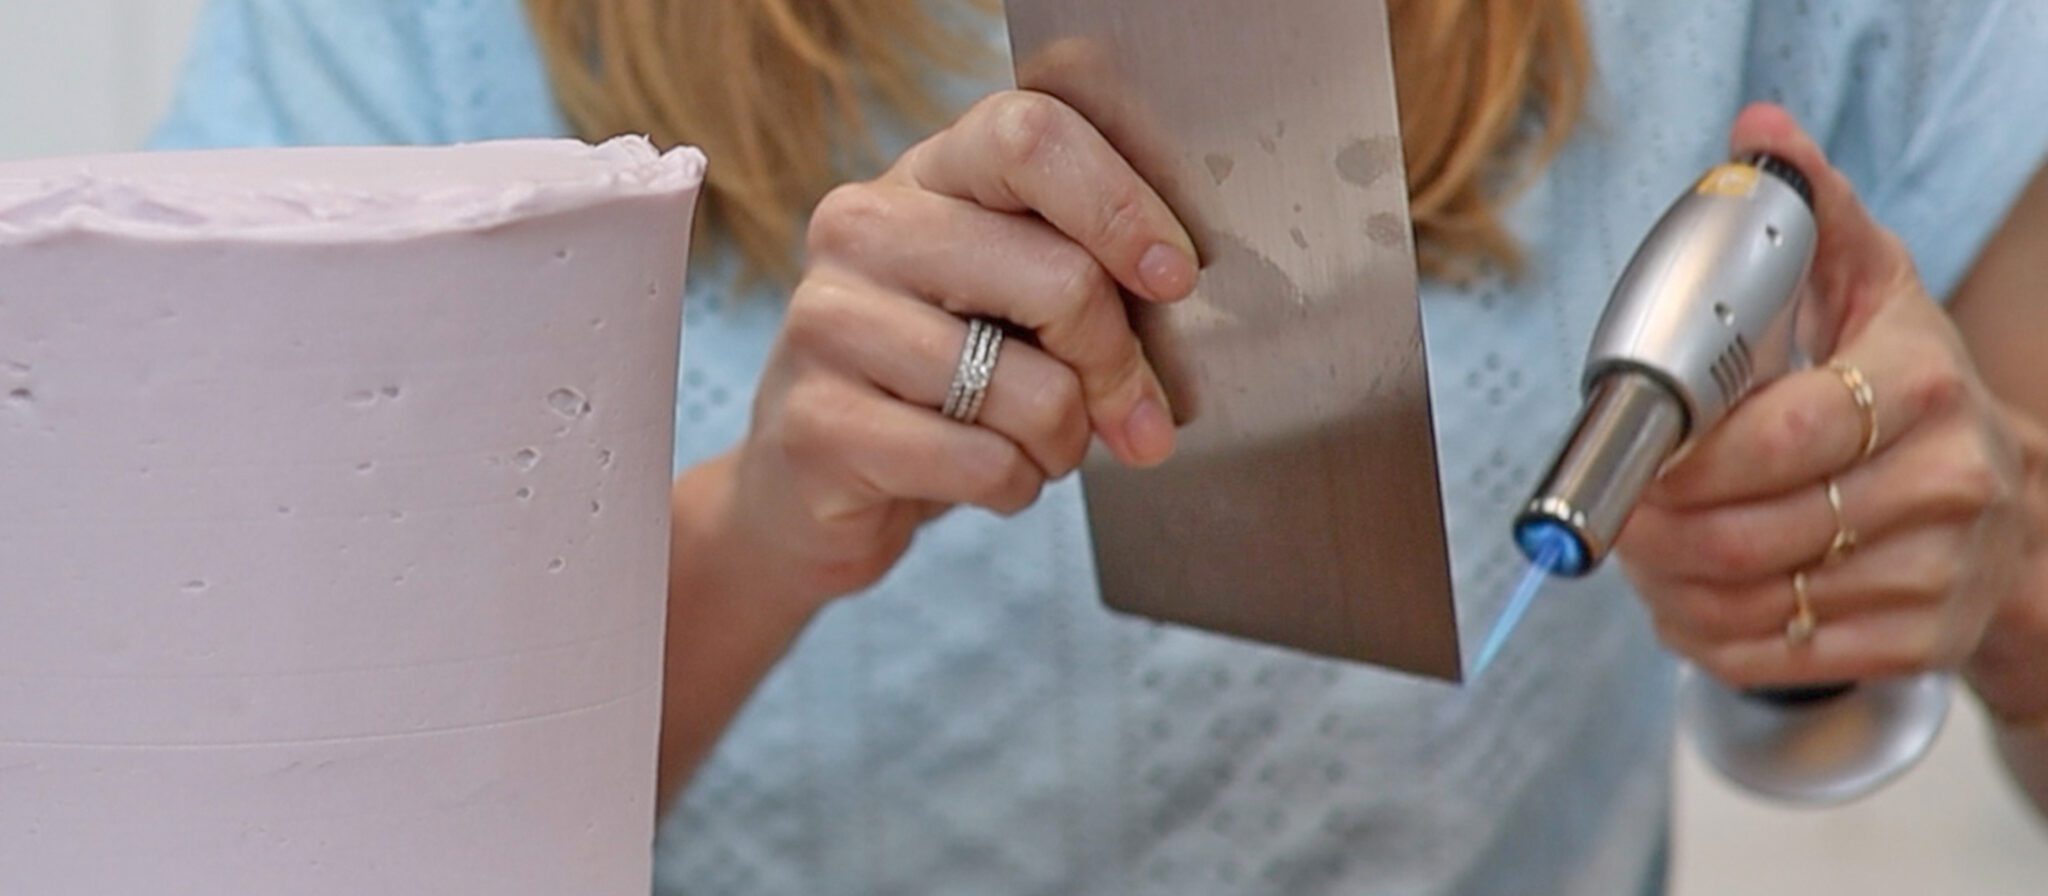
Luckily, like the other cake struggles in this tutorial, there's an easy solution. A metal cake comb and heat! You can use a blowtorch to heat the edge of your cake comb or hold the comb under hot running water.
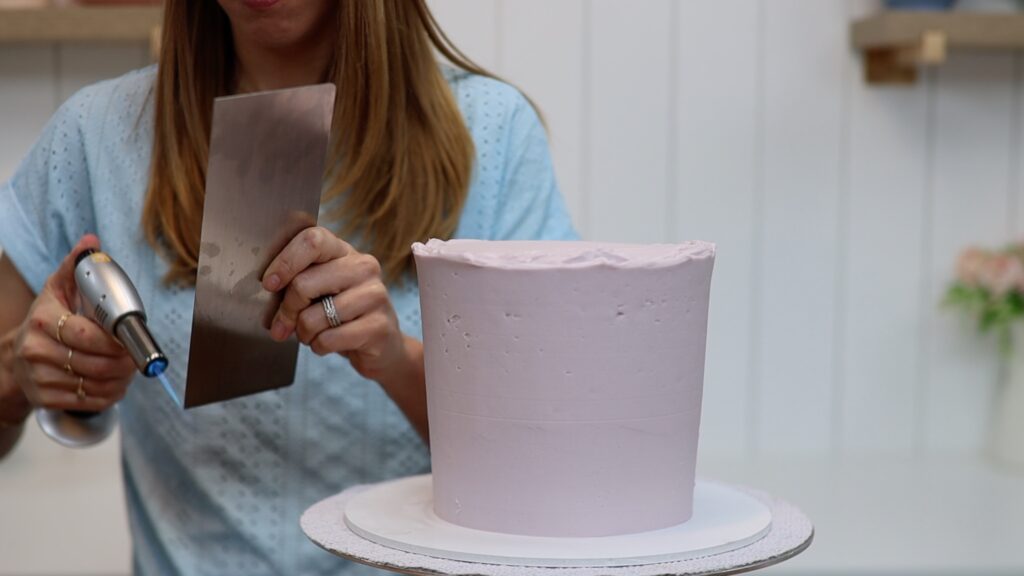
The heat of the metal will melt the very outer layer of frosting, dragging it around the cake to fill in any air bubbles in the frosting. The result is perfectly smooth frosting!
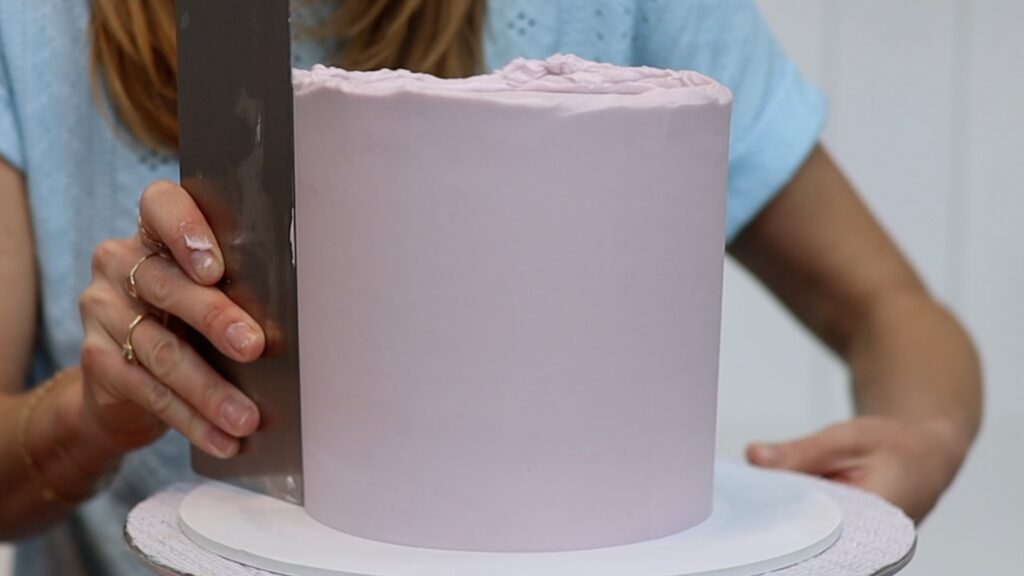
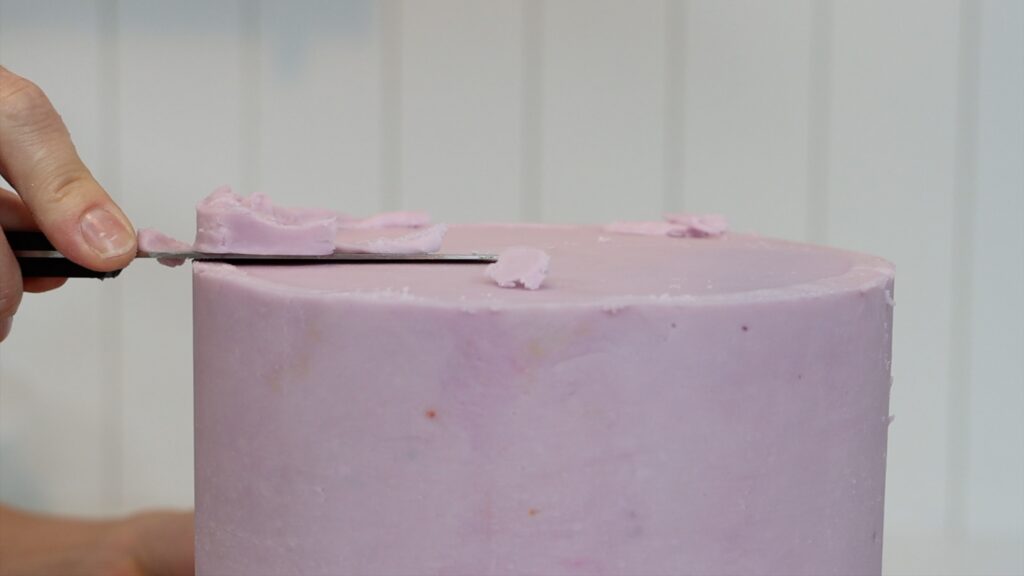
If you have ugly gaps around the top edge of your cake, it’s because your frosting wasn’t high enough. It needs to stick up above the top edge before you level it with a spatula or knife.
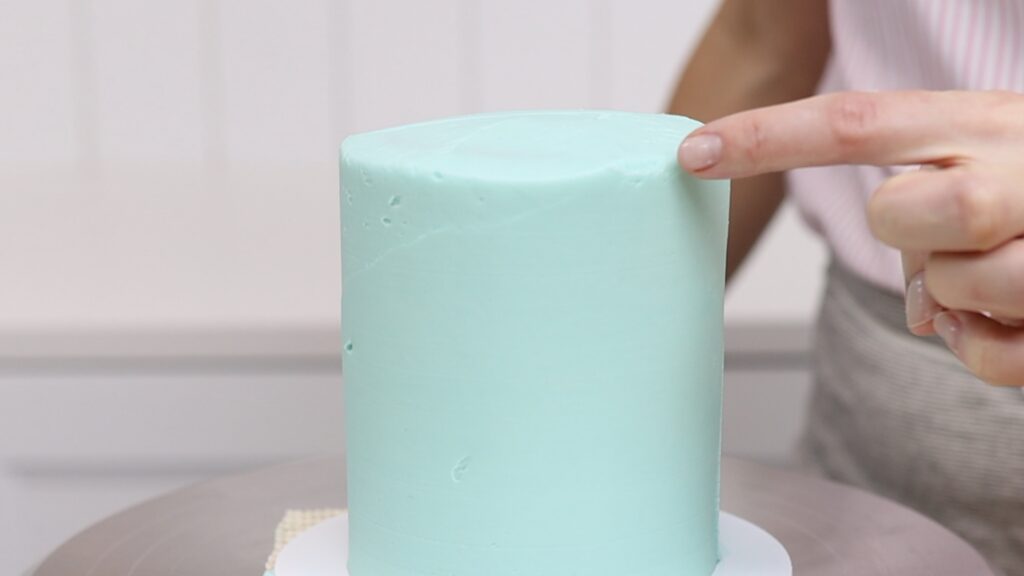
To prevent this, push upwards with your
Losing cake inspiration is common, especially if you’re trying to think of cake designs daily for your instagram account! A quick decoration that will match your cake to any colour scheme is to make a sprinkle mix. Use different shapes and sizes and colours for unique combinations. Press the sprinkles into the bottom of the cake for a sprinkle border or sprinkle them on top of the cake.

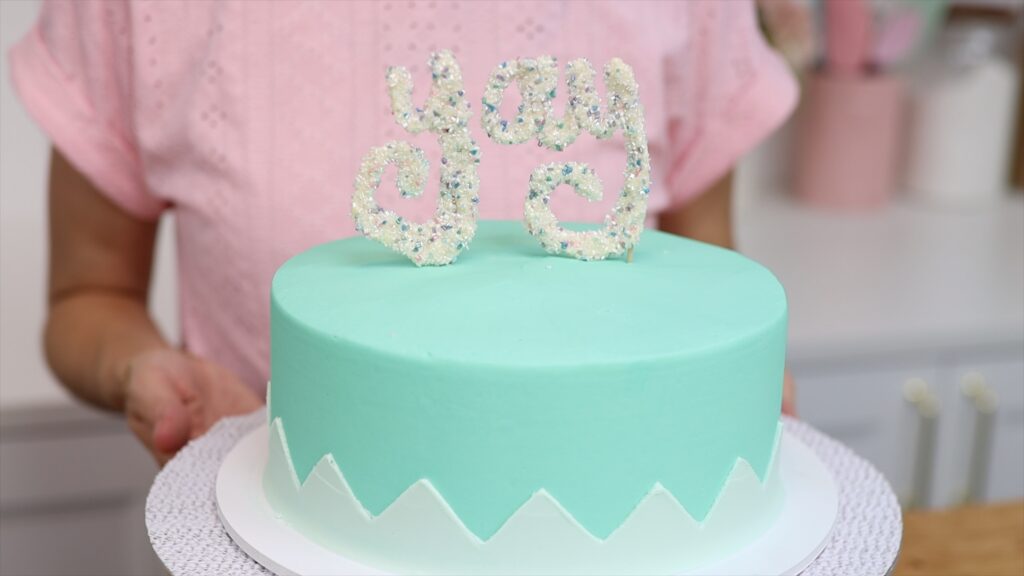
You can also use sprinkles or coloured sugar to make a cake topper. Here's a tutorial on making your own cake toppers!
I hope you’ve seen some ideas you’d like to try! To learn hundreds of cake decorating techniques and designs, visit my cake school where you'll find courses and also memberships for access to everything on the cake school - start your free 7 day trial!
You can also watch a video of this tutorial on 10 cake struggles solved:
