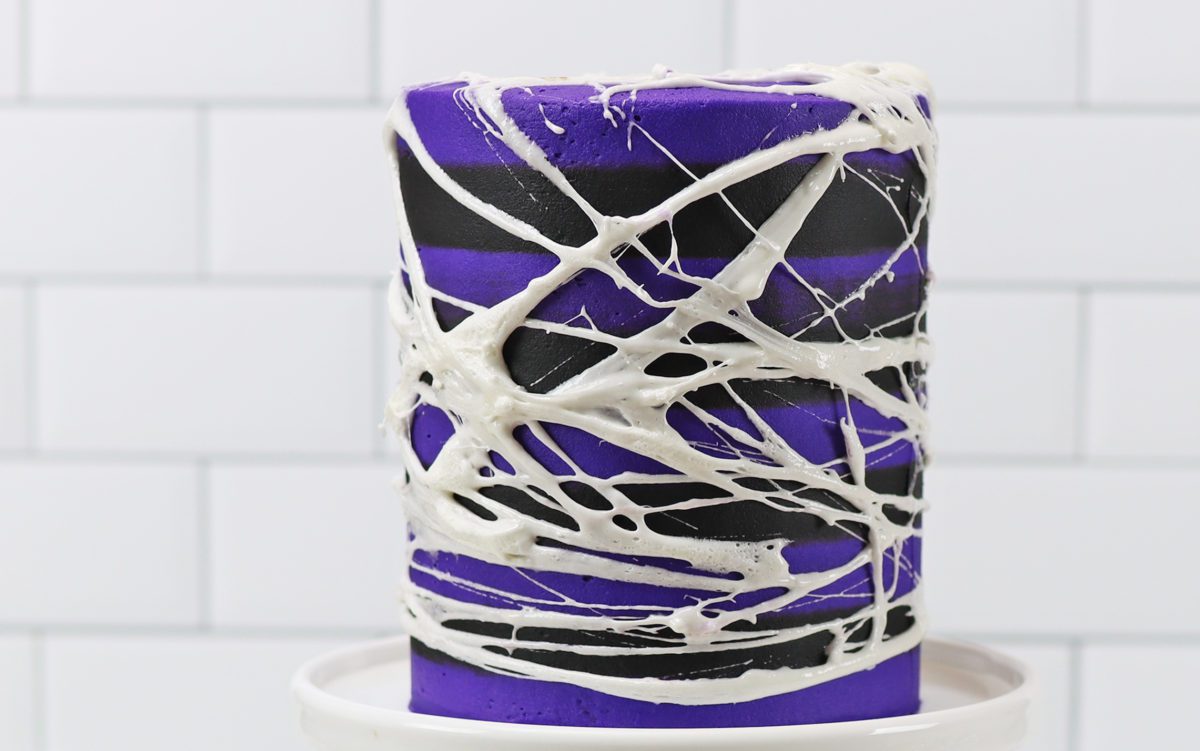
There are lots of design possibilities for Halloween cakes and in this video I’m going to share 10 hacks for quick and easy but impressive Halloween cake decorating!
If you prefer to watch a video of this tutorial, scroll to the bottom of the page.
#1 Black Buttercream
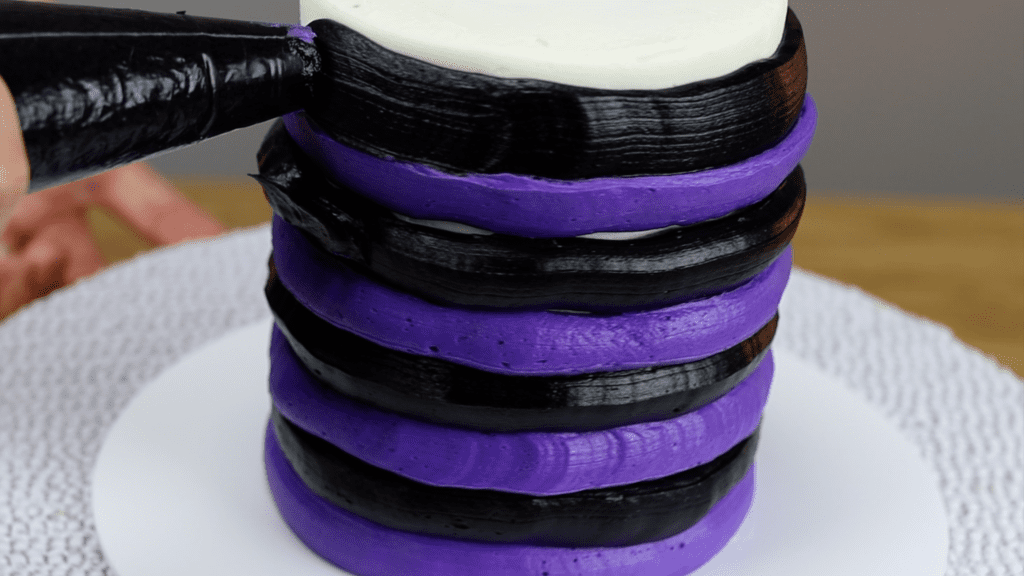
The first hack is how to create jet black buttercream. There are a few tricks for this, the first one being to start with a brown base by mixing cocoa powder and hot water to make a paste and adding that along with melted chocolate to your buttercream.
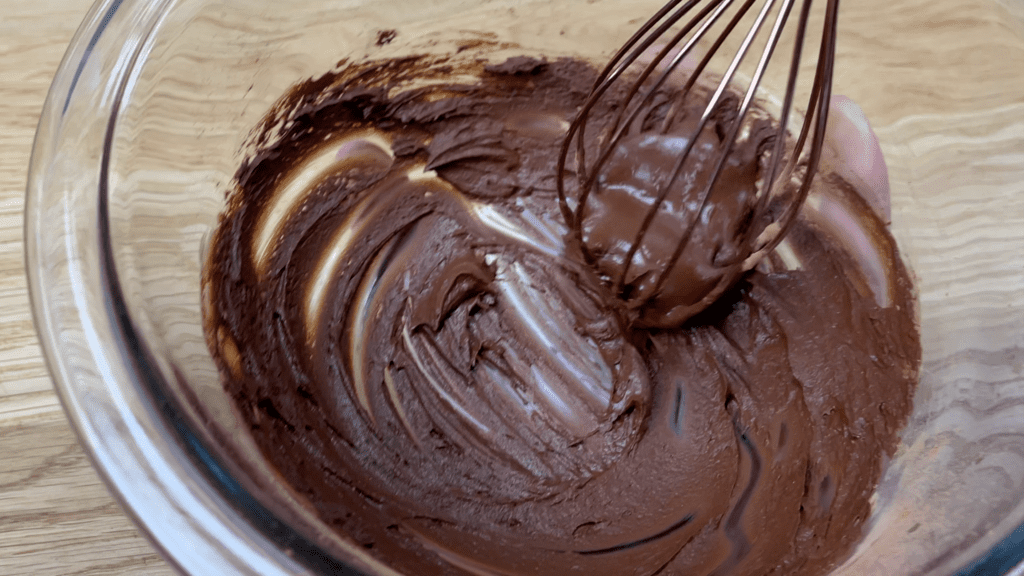
Melt the chocolate at 80% power in the microwave for 30 seconds at a time so that it doesn’t overheat and seize, and let it cool to room temperature before adding it to the buttercream so that you don’t melt it.
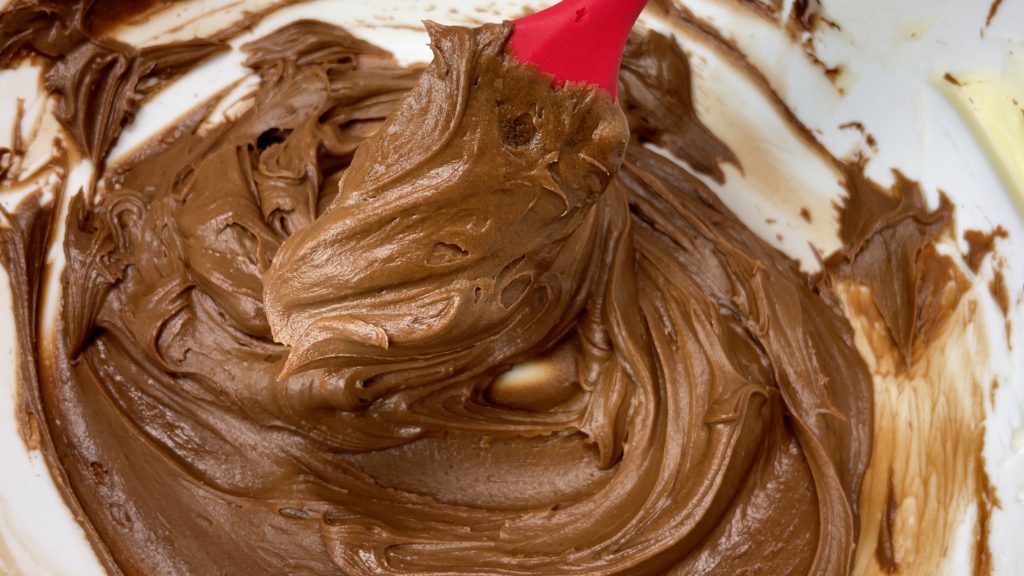
Now add black gel and you’ll need a lot less than if you’d started with plain white vanilla buttercream.
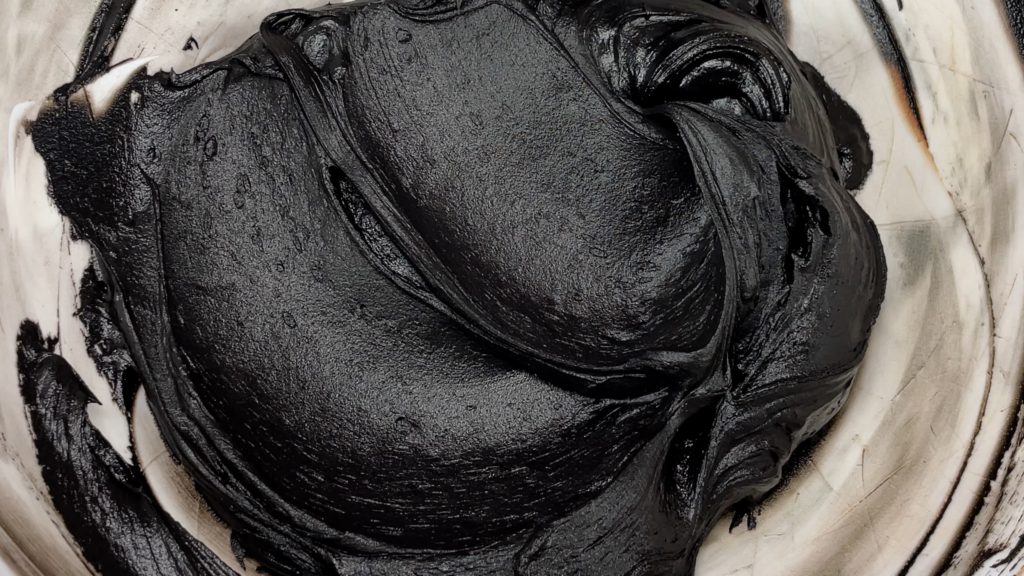
Next tip: after you’ve mixed the black in, cover the bowl and leave it for an hour for the color to develop and darken and you’ll have a true jet black buttercream, perfect for Halloween cakes!
#2 Edible Spiderwebs
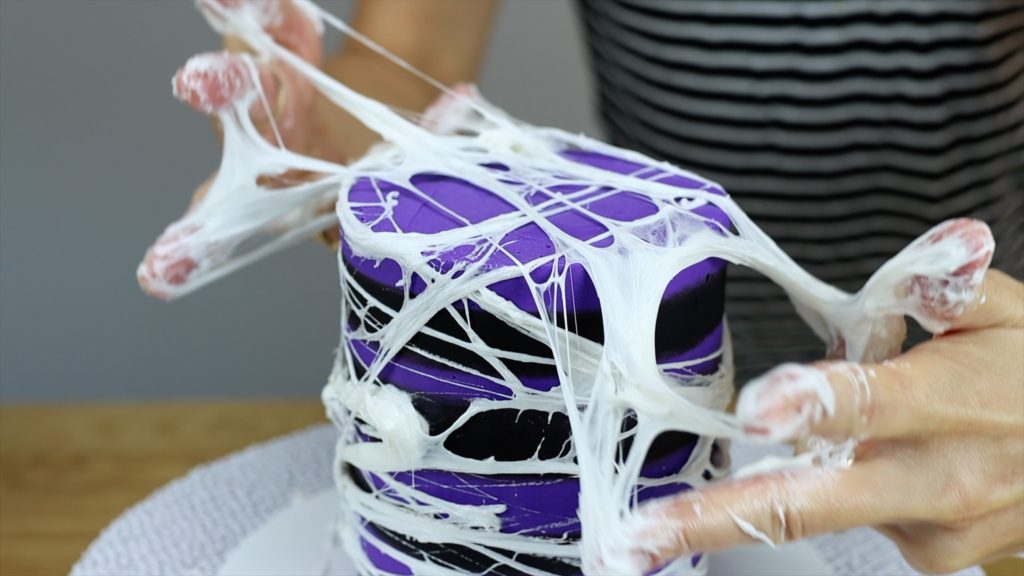
Create edible spiderwebs with marshmallows, melting them in the microwave for 30 seconds and then stirring them to make, well, a mess! Pinch the mixture between your fingers and stretch it out to wrap around a cake.
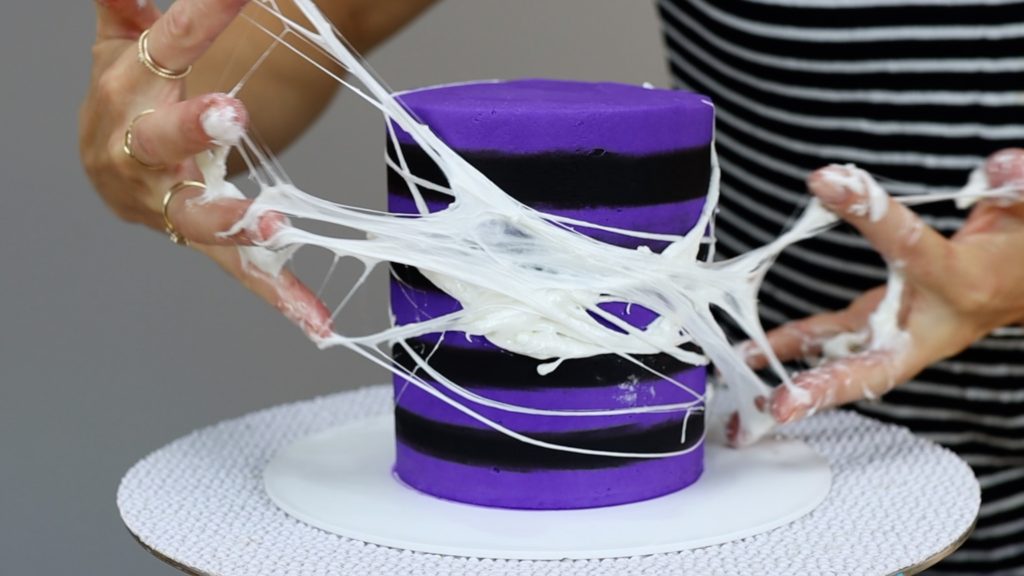
Make a perfectly imperfect web of stringy, gooey, delicious strands of marshmallow. Don’t forget the top of the cake! Cake toppers will stick to the marshmallow spiderweb, like this bubbling cauldron in my Striped Spiderweb Cauldron Cake class.
#3 Piped Pumpkins
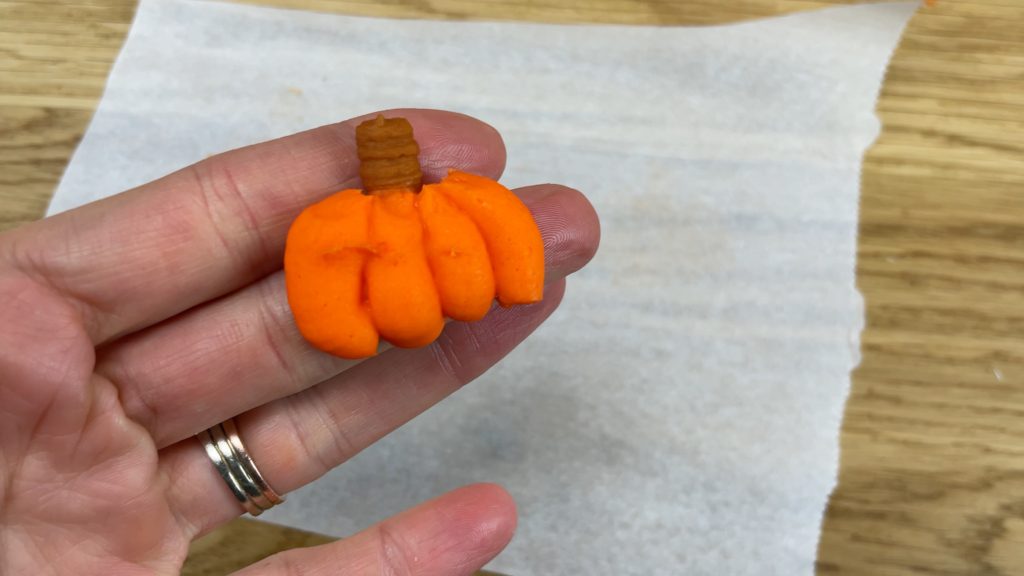
For textured pumpkins use a medium round tip like this #12 tip, piping curved lines side by side. I usually do 4 or 5 lines, and these lines create the effect of the bulges and grooves in a real pumpkin.
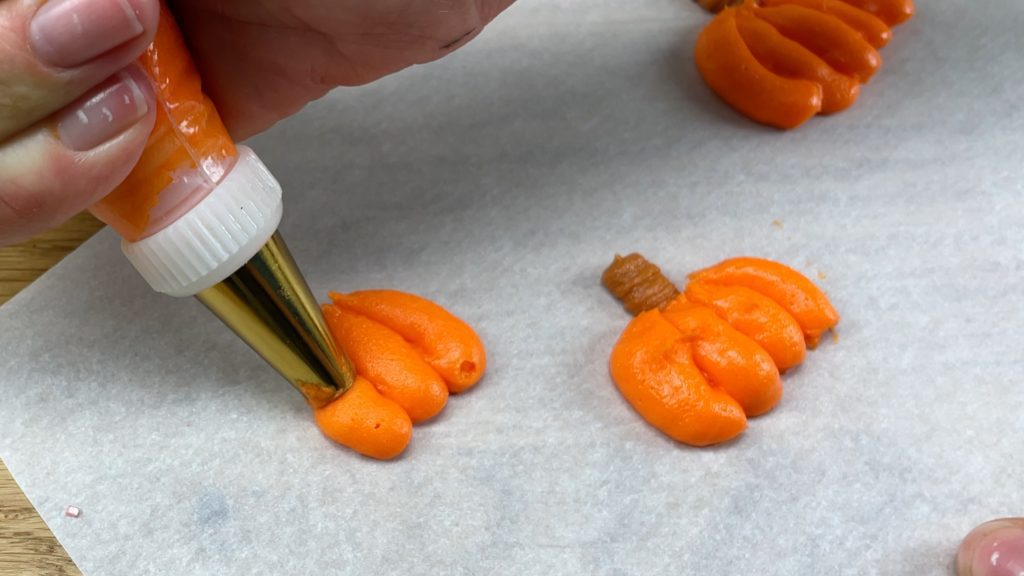
Piping them onto parchment is much easier than piping onto the side of a cake. Put them in the freezer for 10 minutes to chill and set the buttercream and then you’ll be able to peel them off the parchment and pick them up to stick onto the side of a cake!
#4 Whimsical Halloween Cakes
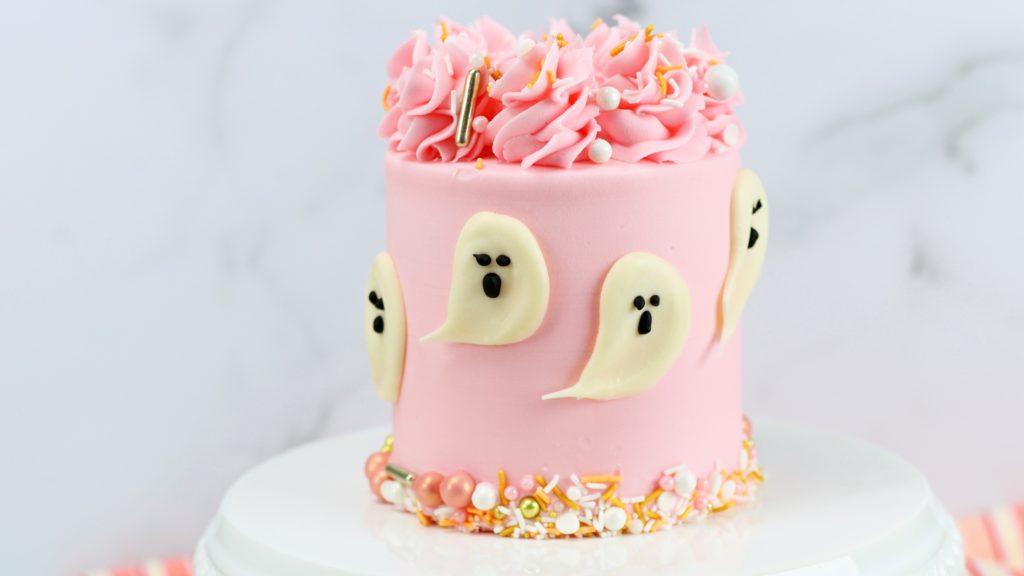
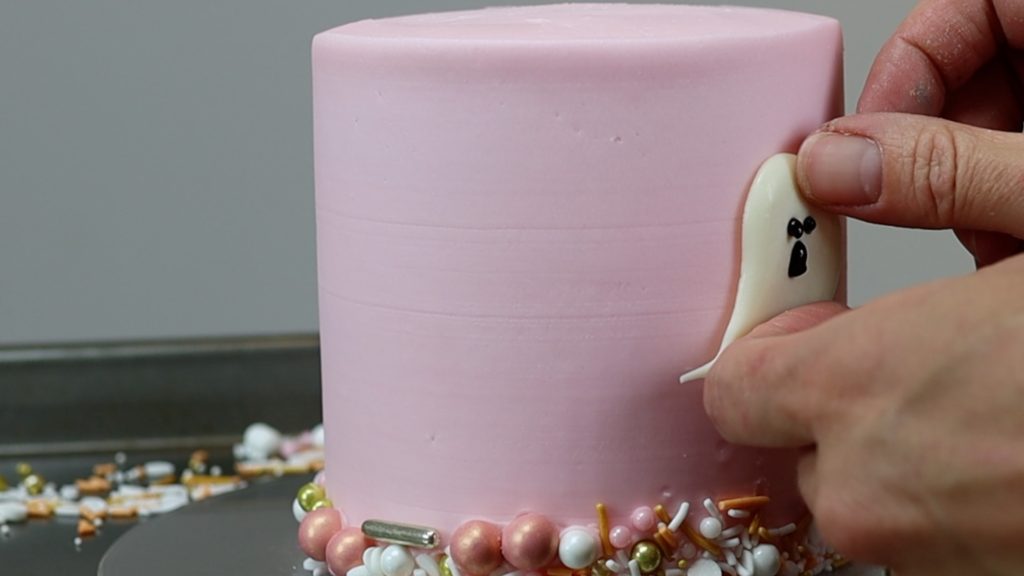
Halloween cakes don’t have to be scary and using non-traditional Halloween colours is a great way to make the cake fun instead of creepy. Pale pink, for example, pairs really well with orange and you can incorporate the orange with a sprinkle border, pushing the sprinkles gently into the bottom inch or so of the cake just after frosting it, while the frosting is still sticky so the sprinkles will attach easily.
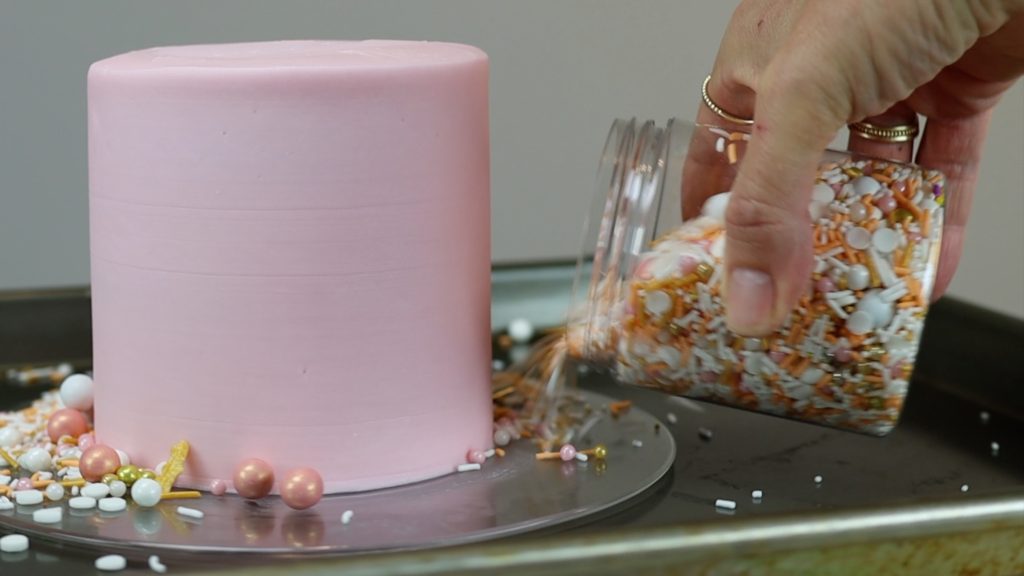
Some pretty pink swirls piped onto the top with a 1M star tip finish this off nicely, creating a Halloween cake that’s whimsical with a touchy of spooky.
#5 Chocolate Ghosts
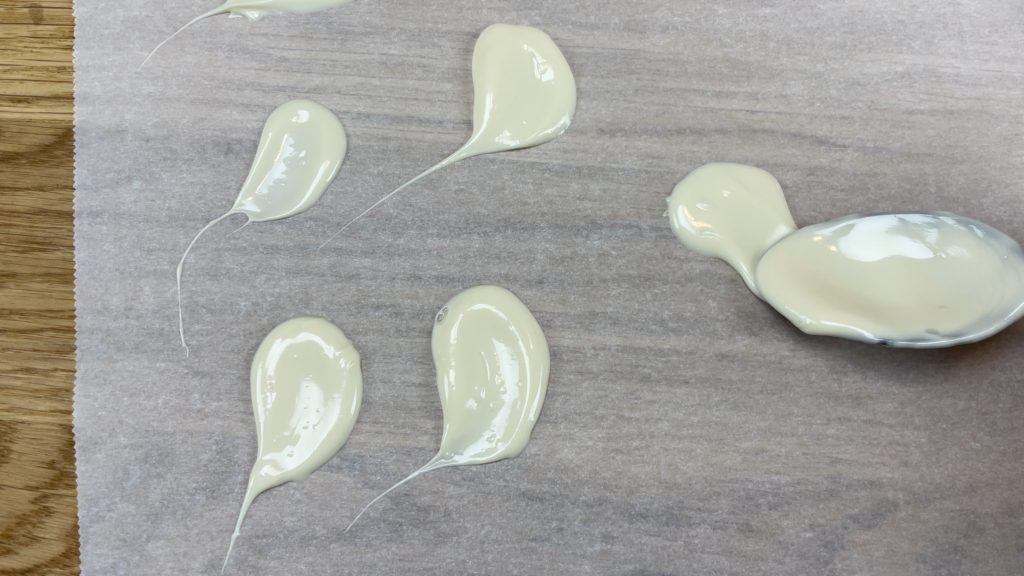
Use white chocolate chips or white candy melts and melt them in the microwave at 80% power for 30 seconds at a time so they don’t overheat and seize.
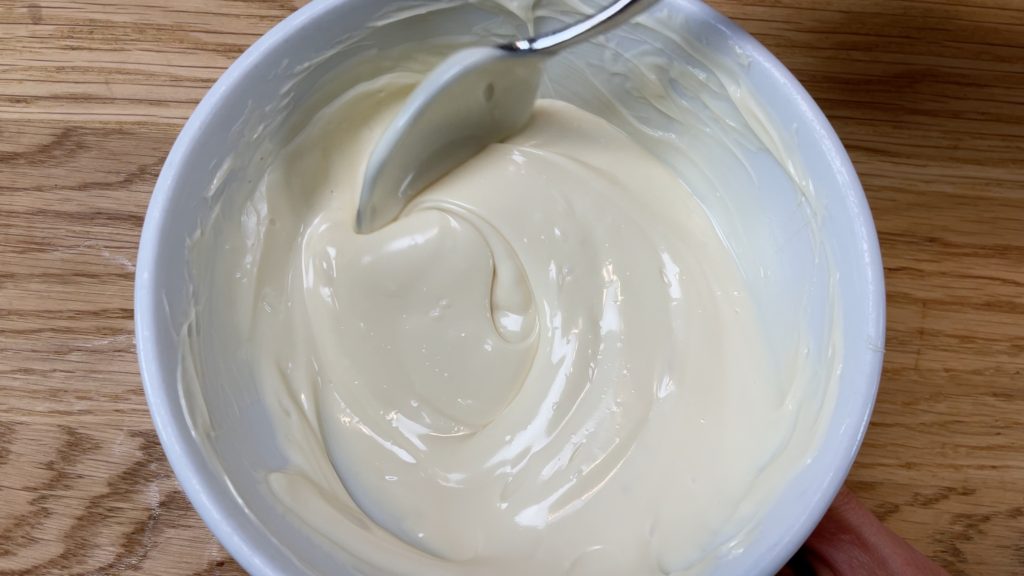
Lay out a piece of parchment paper and spoon a little bit of melted chocolate onto it, and then use the back of the spoon to smear it out, whisking the spoon away to leave a little tail on each ghost.
For the faces, melt chocolate chips and add black gel and then pour the melted chocolate into a ziplock bag and cut off a corner, and then pipe on dots for the eyes and mouth. These need to set before you add details and attach them to a cake so leave them at room temperature for about an hour or put them in the freezer for 5 minutes.
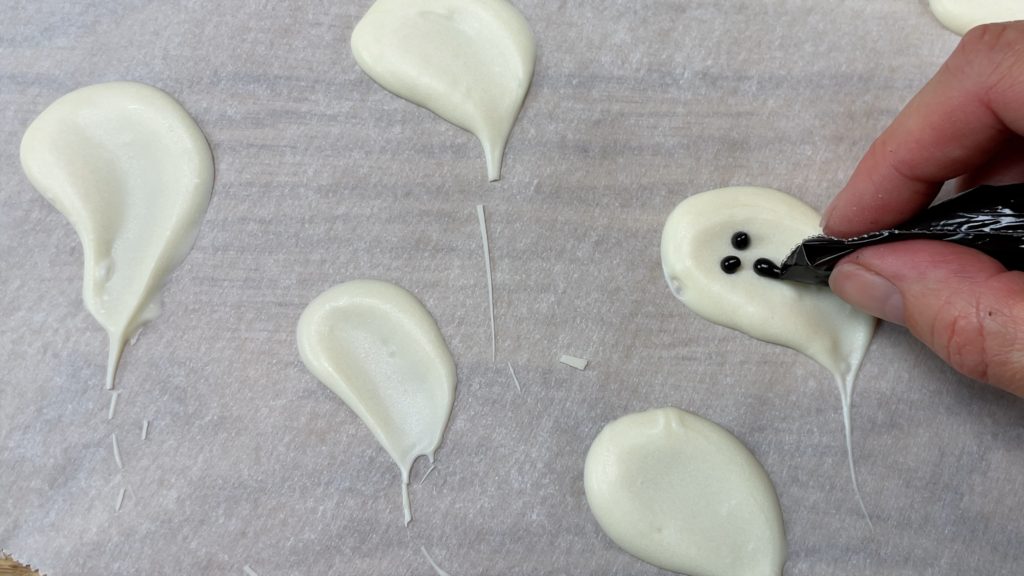
Peel the ghosts off the parchment paper and press them into a cake while the frosting is still soft and sticky, and they’ll attach easily!
#6 Cookie Cake Toppers
For really easy homemade cake toppers, cut out cookies in Halloween shapes and freeze them for an hour before baking them so that they hold their shape and don’t expand into blobs in the oven.
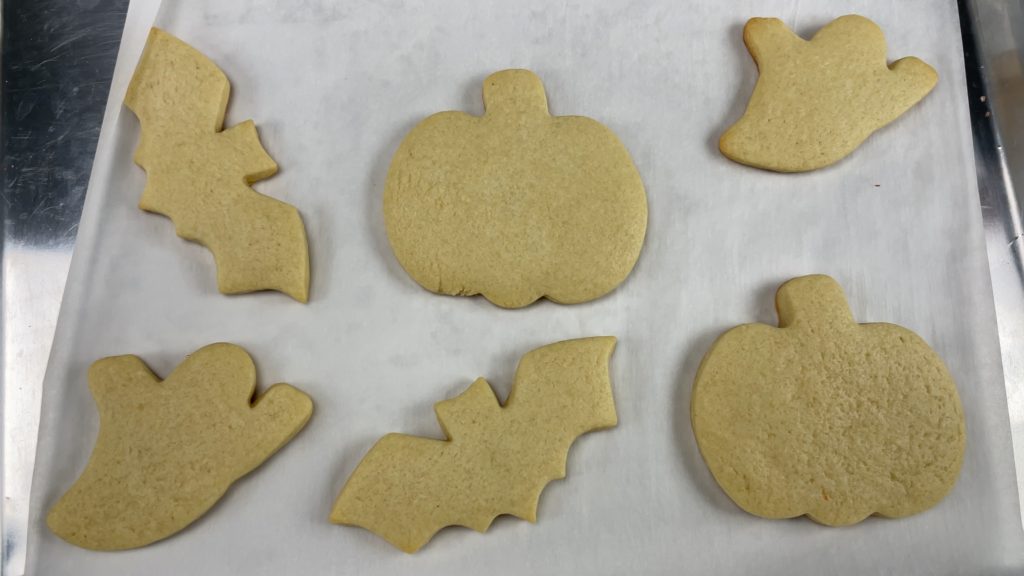
Let them cool completely and then pipe or spread buttercream to decorate them. Holding your piping tip a little bit above the cookie as you pipe will help you get a smooth outline.
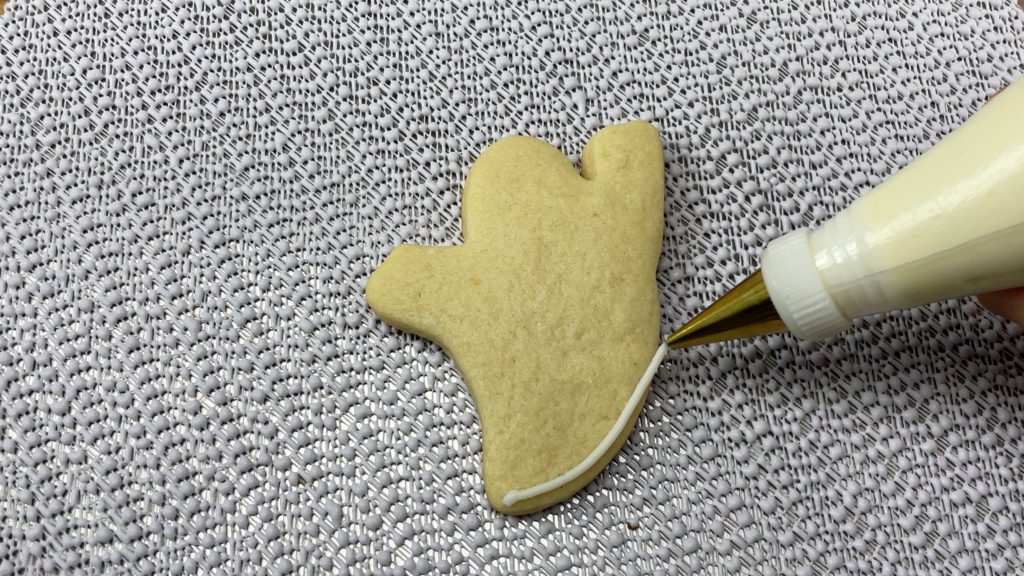
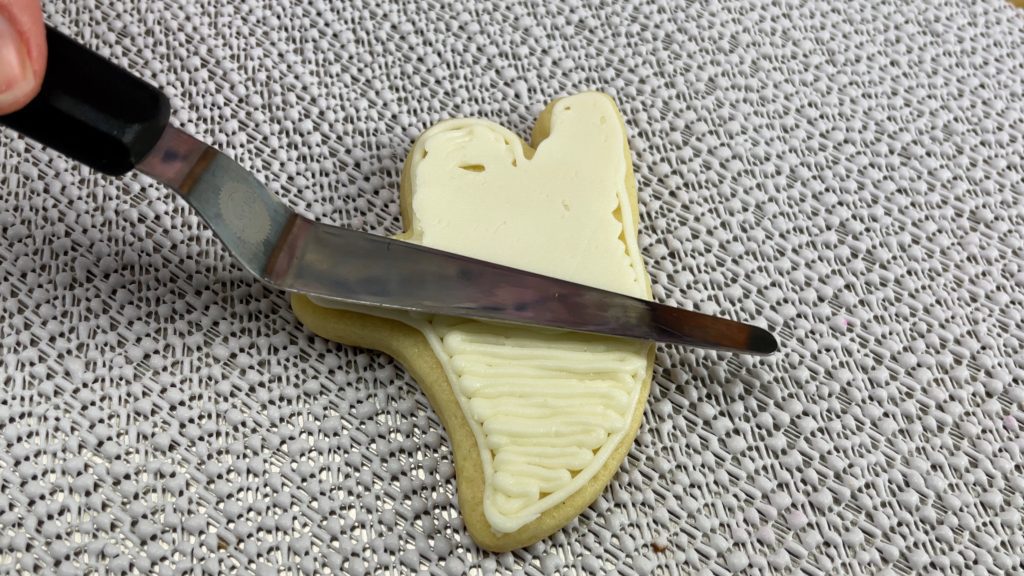
A quick way to decorate cookies is to zig zag the buttercream all over the cookie and then use an
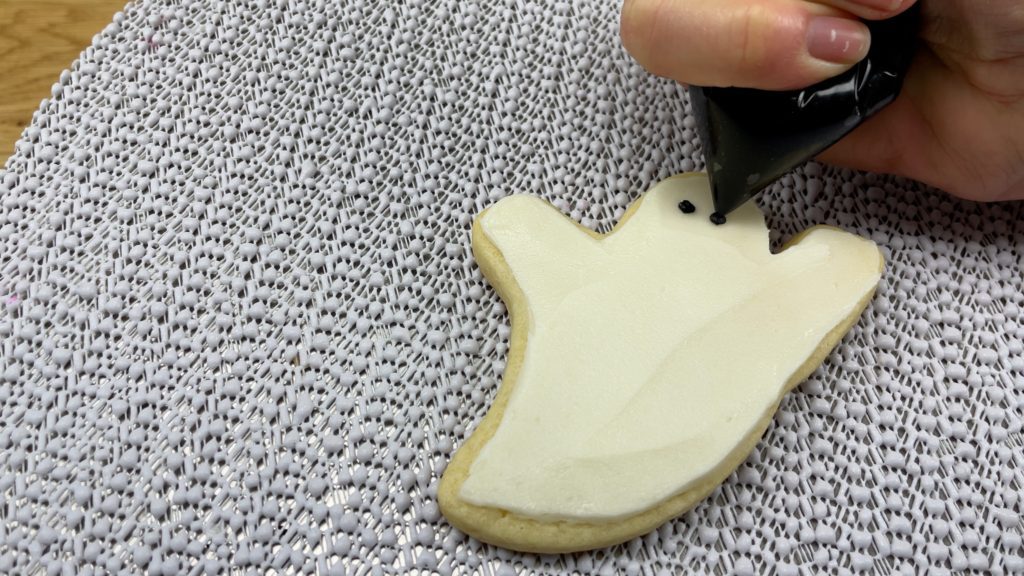
Use black buttercream or melted chocolate tinted black to pipe the face with a piping bag or just a ziplock bag with a corner cut off.
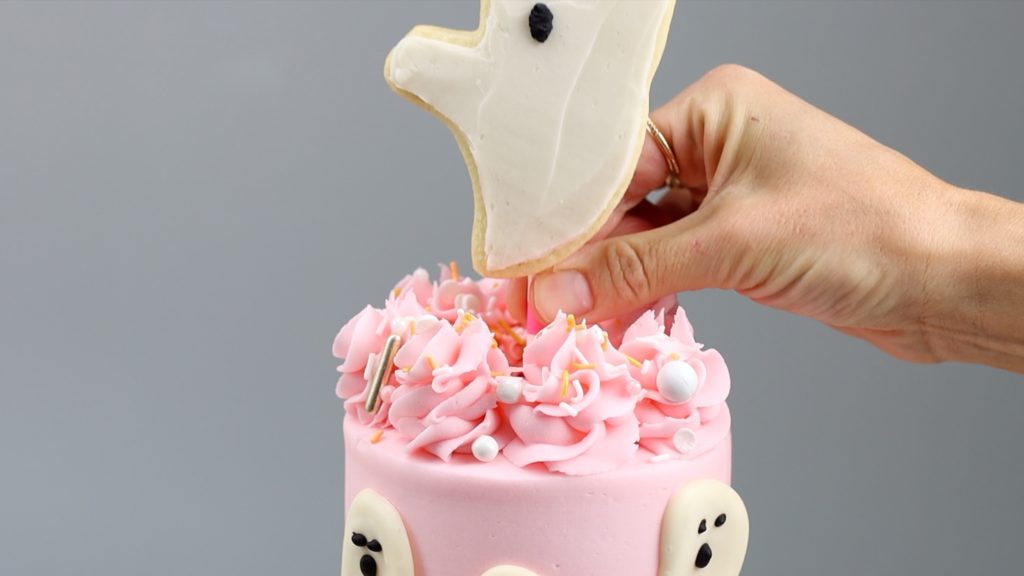
To attach the cookie to a cake, spread or pipe a line of buttercream or melted chocolate up the back of the cookie and press a straw into it, and the buttercream or chocolate will act as glue.
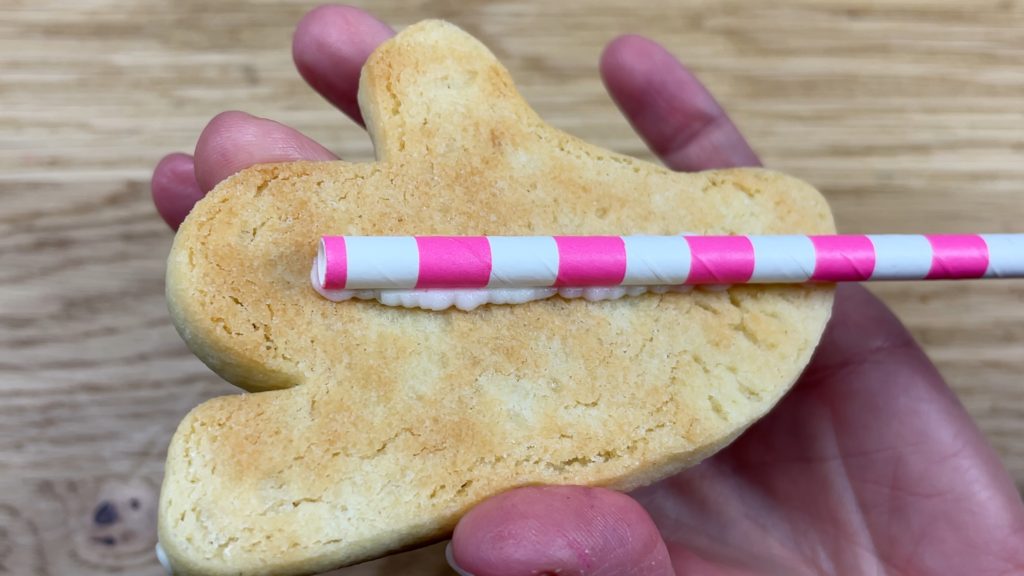
Put the cookie in the freezer for 5 minutes to set the buttercream decoration as well as the “glue” on the back of the cookie and then push the straw into your cake to secure your cookie cake topper in place!
#7 Piping Guides
Piping your design straight onto a cake? To make it easier and neater, draw or trace the design first onto paper or parchment paper and then cut it out.
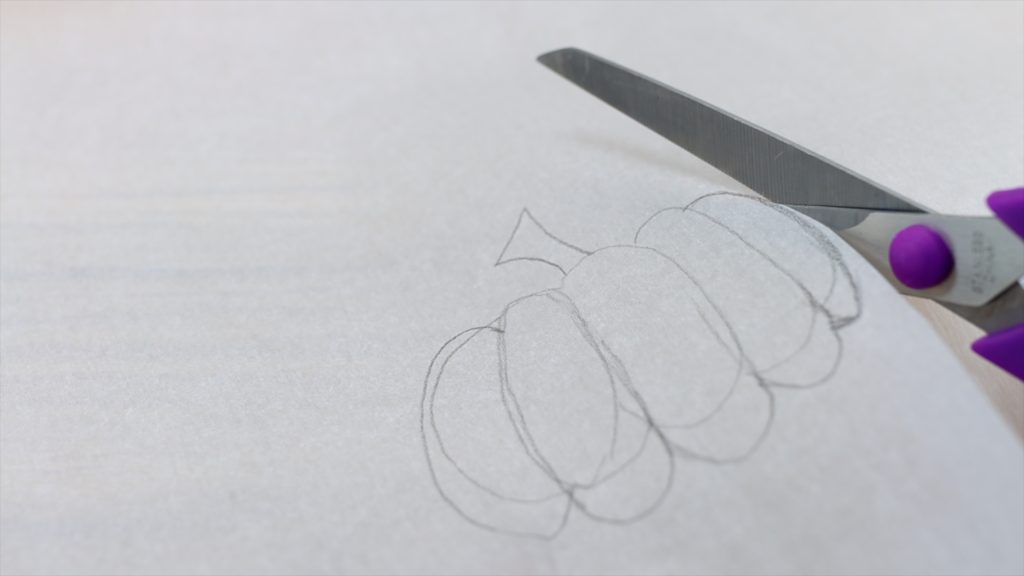
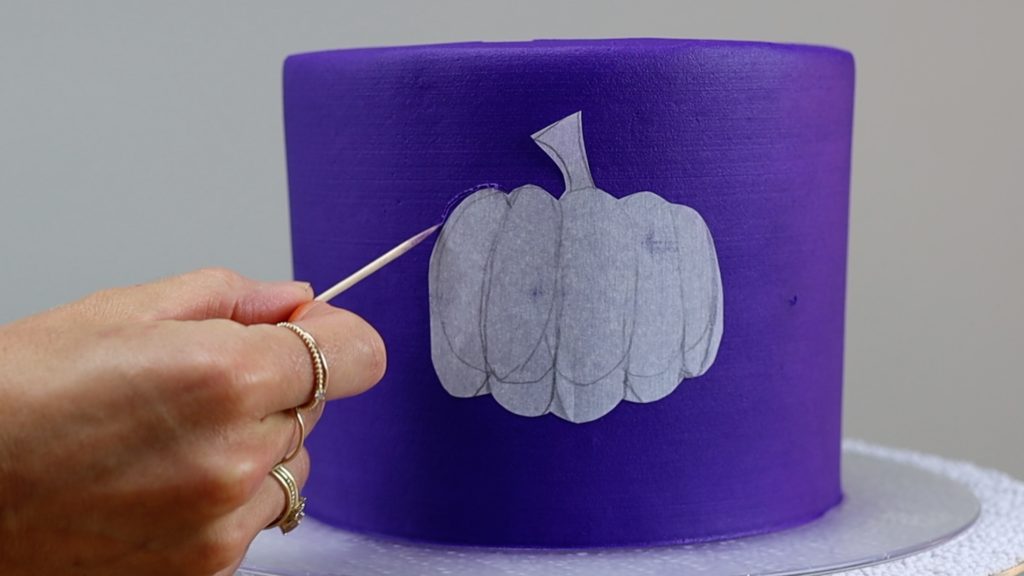
Hold it against the side of your cake after the frosting has set, so that the frosting is film and you don’t damage it. Use a toothpick to draw around the edge of the shape, creating a guide to pipe onto.
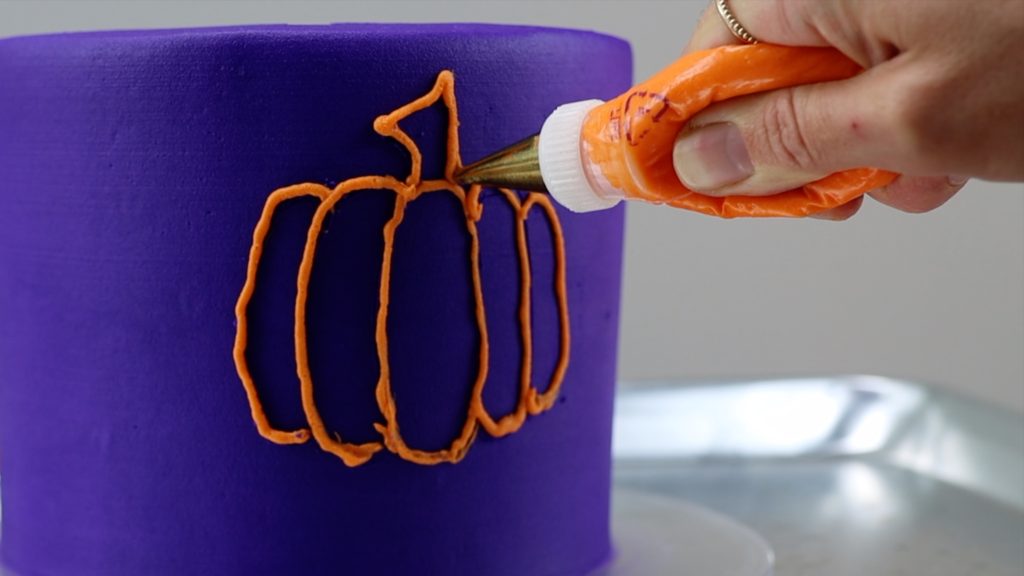
Now you can pipe onto the outline, using it as a guide instead of free-handing your design.
#8. Glitter Designs
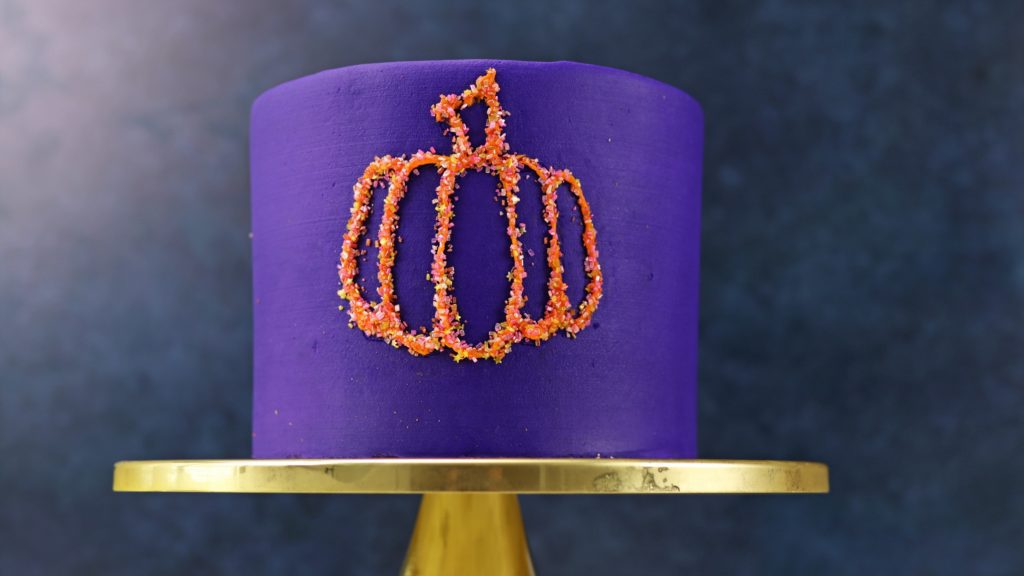
Don’t like your piping? Press sprinkles or coloured sugar over the outline and the sprinkles with stick to that soft and sticky piping. Use a paintbrush to brush off the extra sprinkles or sugar.
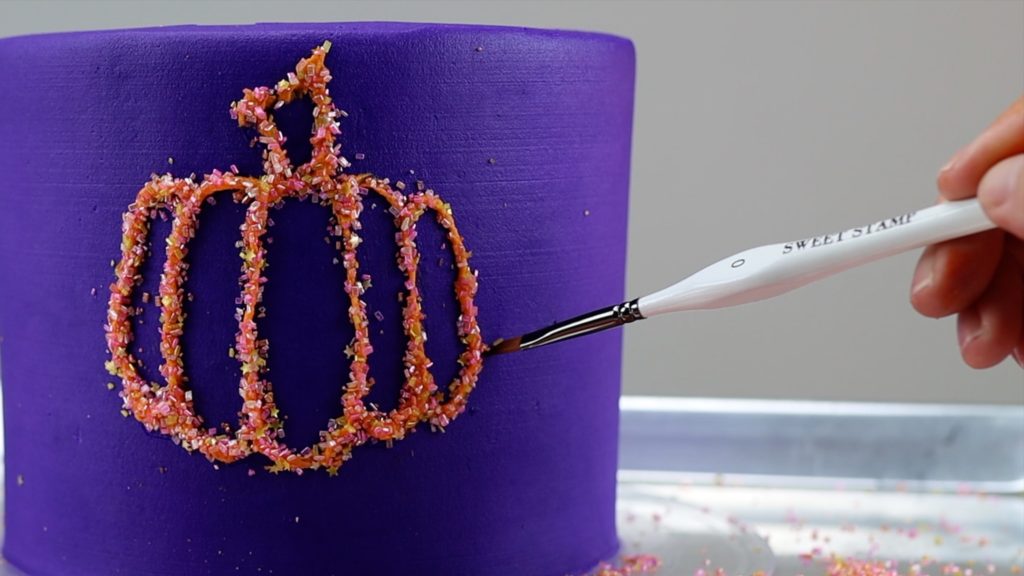
Adding sprinkles or sugar to the piping makes the lines colourful and sparkly, but also, they’ll appear much neater!
#9 Homemade Stencils
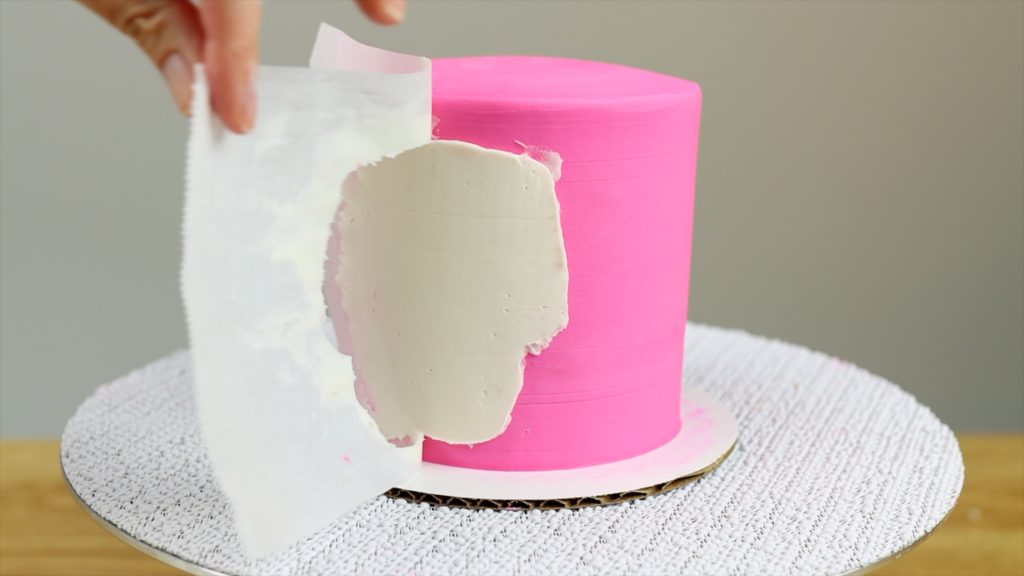
With parchment paper you can create your own stencils! Draw or trace your design, cut it out and press the parchment paper against your cake. This only works when the frosting is firm, so I put my cakes in the fridge for at least an hour before doing this.
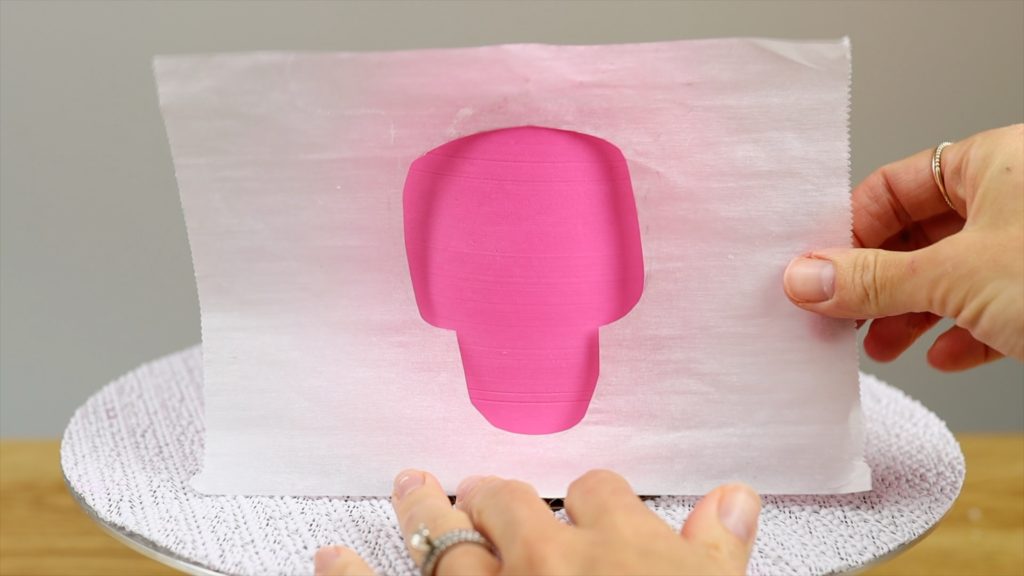
Spread buttercream over your homemade stencil and then smooth it with a cake scraper. With this technique you can make your own free stencils in whatever shape and size you like, saving lots of money and creating unlimited cake designs!
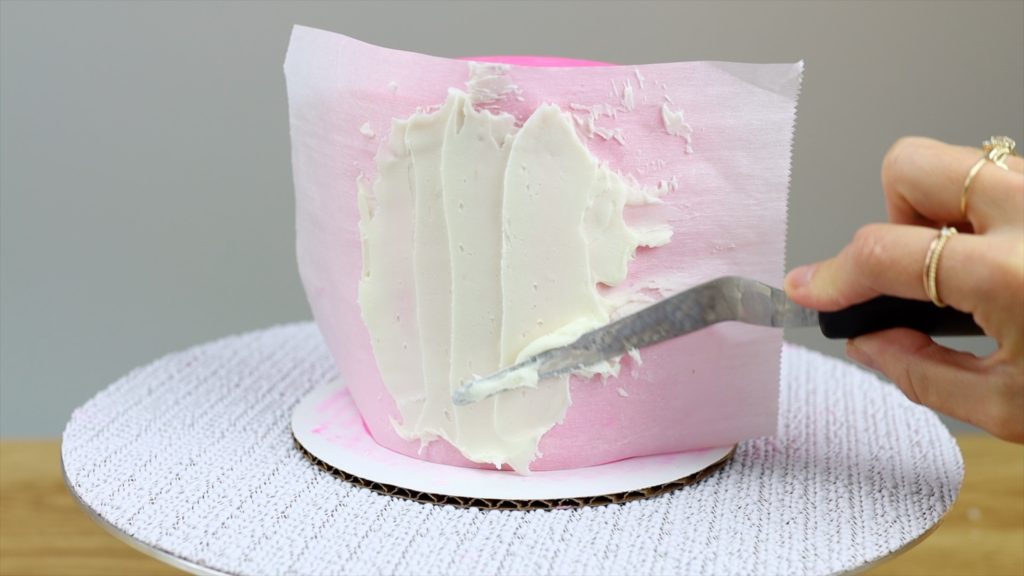
After you peel the parchment off you can touch up any smudges in the outline of your shape with a toothpick, scraping gently to remove unwanted buttercream.
#10 Quick Multi-Coloured Designs
Want to create a design with lots of colors? If you don’t have several small round piping tips you can pipe your design with ziplock bags, filling each one with a bit of colored buttercream and cutting off a tiny piece from one corner, and pushing the buttercream through that hole.
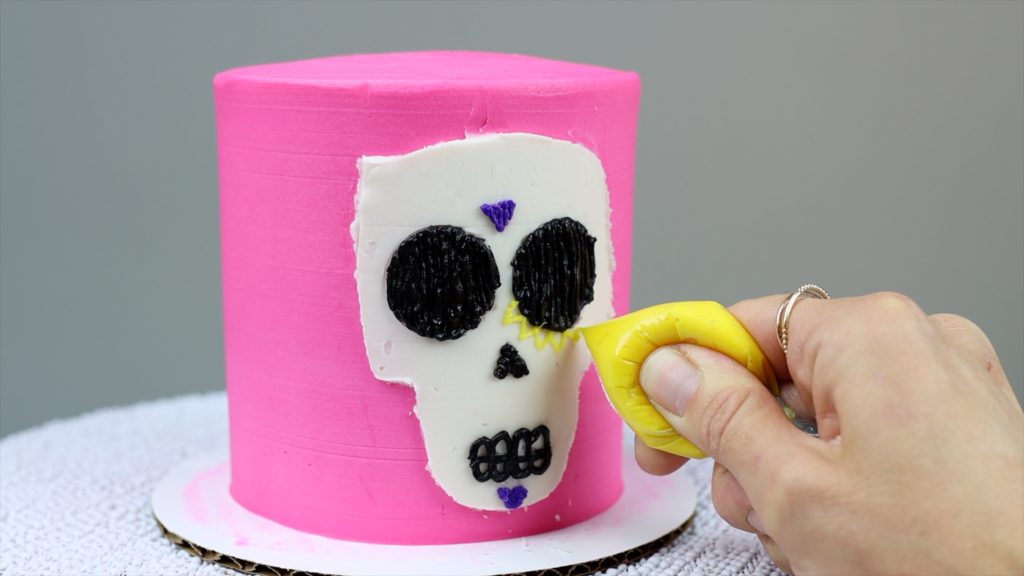
Use 5, 10, or however many colours you like, without spending forever washing and drying piping bags and piping tips in between each colour. You can pipe lines to create outlines or to fill in shapes, or pipe dots, and the more you cut off the corner of your ziplock bag, the wider your lines or dots will be when you squeeze the buttercream out of the bag.
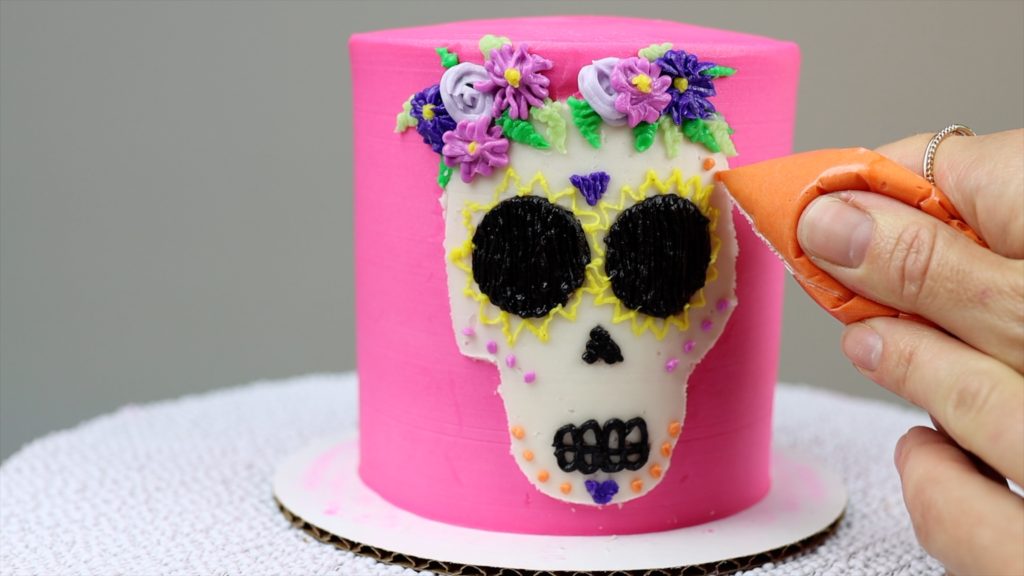
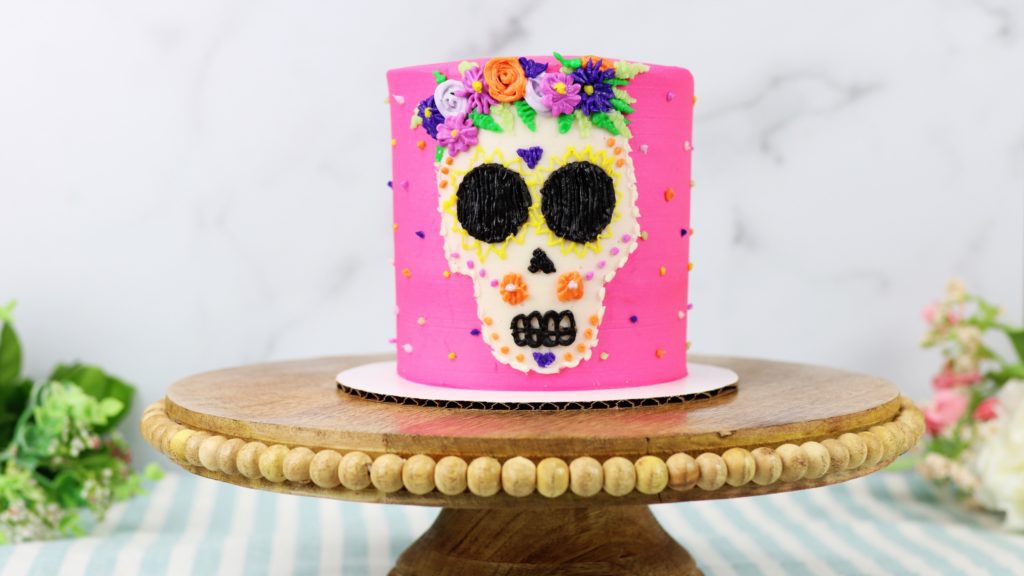
You’d never know intricate cakes like this were created with just a few ziplock bags!
I hope these Halloween hacks have been useful. Tell me in the comments which one’s your favourite and check out my online cake school for lots of cake decorating classes and courses.
Here’s the video version of this tutorial:
