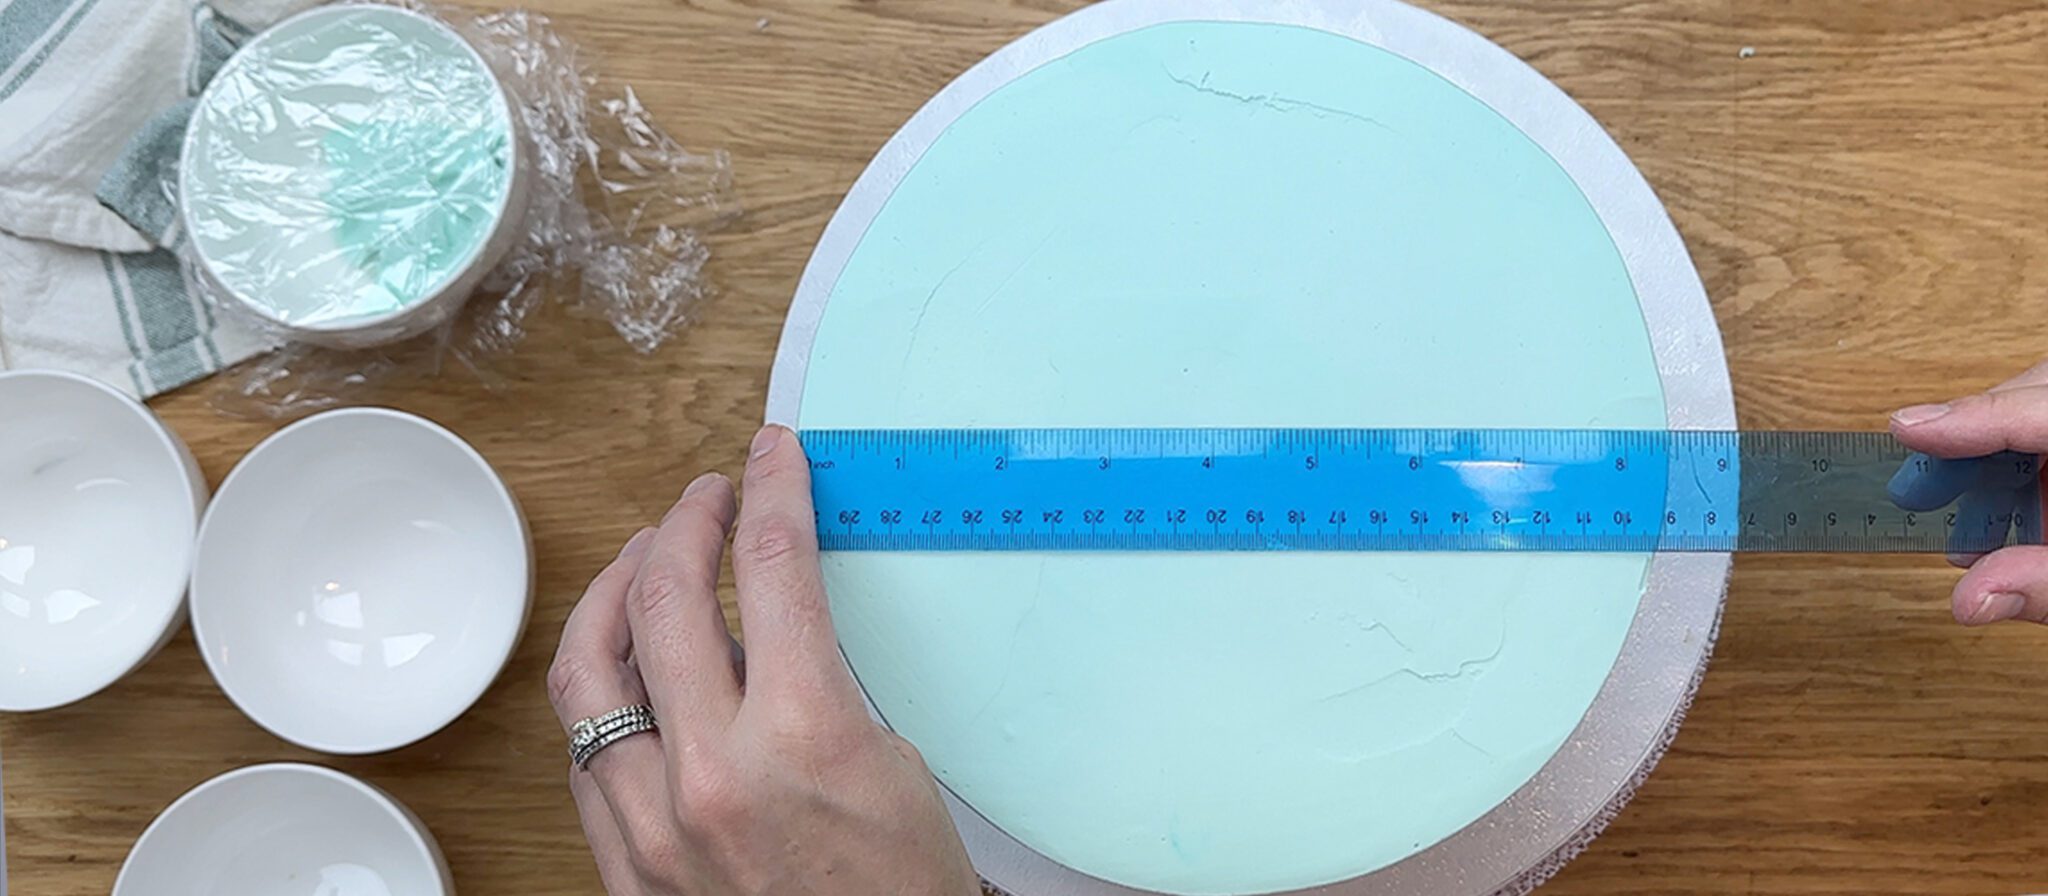
Use these smart cake decorating hacks for smooth frosting and neat decorations. Colour theory for white buttercream, pi for wrapped designs, multiplications to convert recipes and more!
Conversions are useful if you want to bake a cake that's bigger or smaller than your recipe. Did you know that you can halve an 8 inch cake recipe to make a 6 inch cake? And if you divide a 6 inch recipe by three to make a third of the batter you can make a mini cake with 4 inch pans.

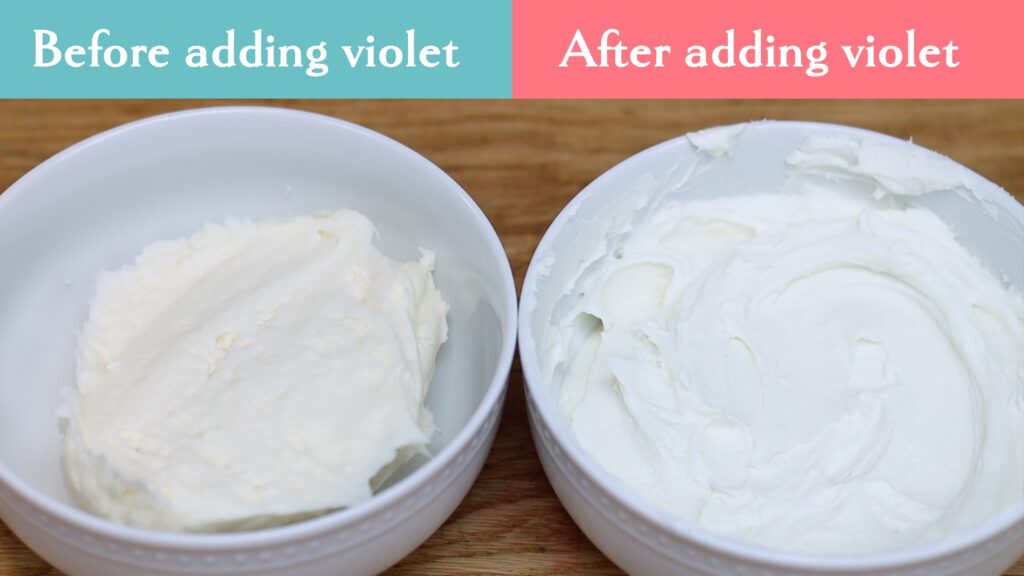
Now for some colour theory. The colours opposite each other on a colour wheel are complimentary colours and they cancel each other out. This means that yellow buttercream can be made whiter by adding violet!

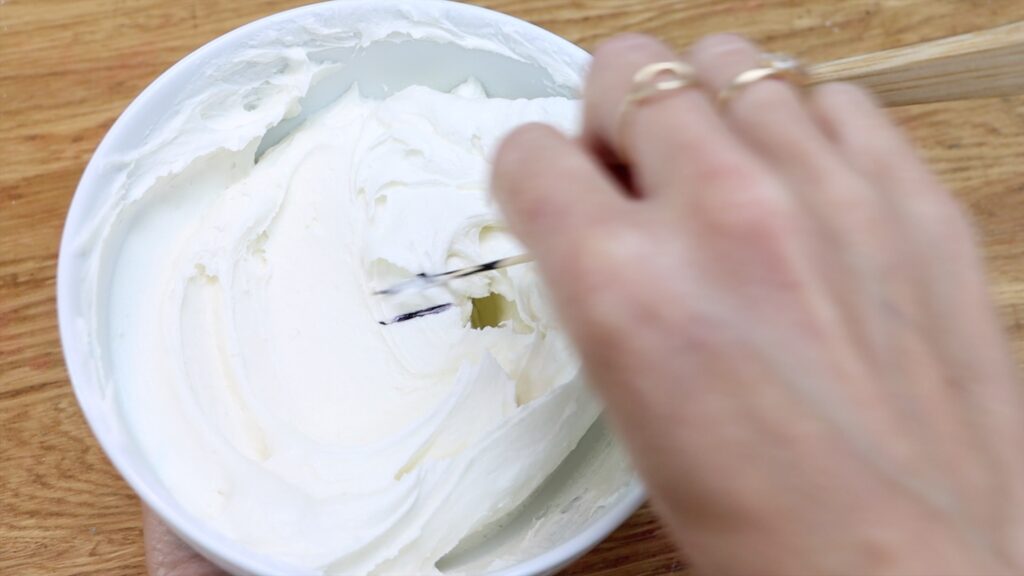
Only add a a tiny amount, which is easiest to do by dipping a toothpick into violet gel and then dragging the toothpick through your buttercream.
Look at the difference in this buttercream before and after adding violet:
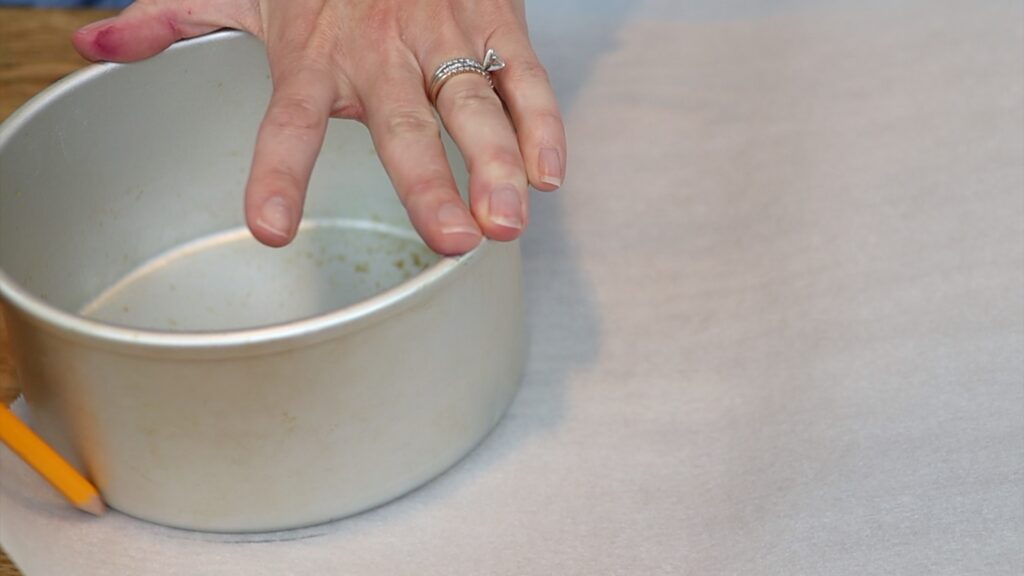
Another use for toothpicks is to make yourself a guide for piping. Trace around your cake pan onto a piece of paper and cut out that circle.
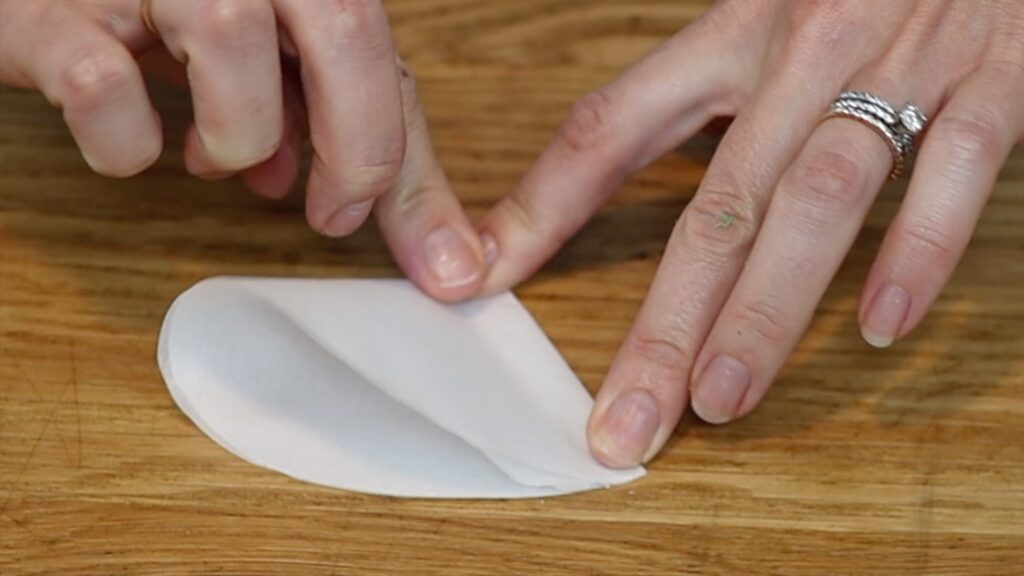
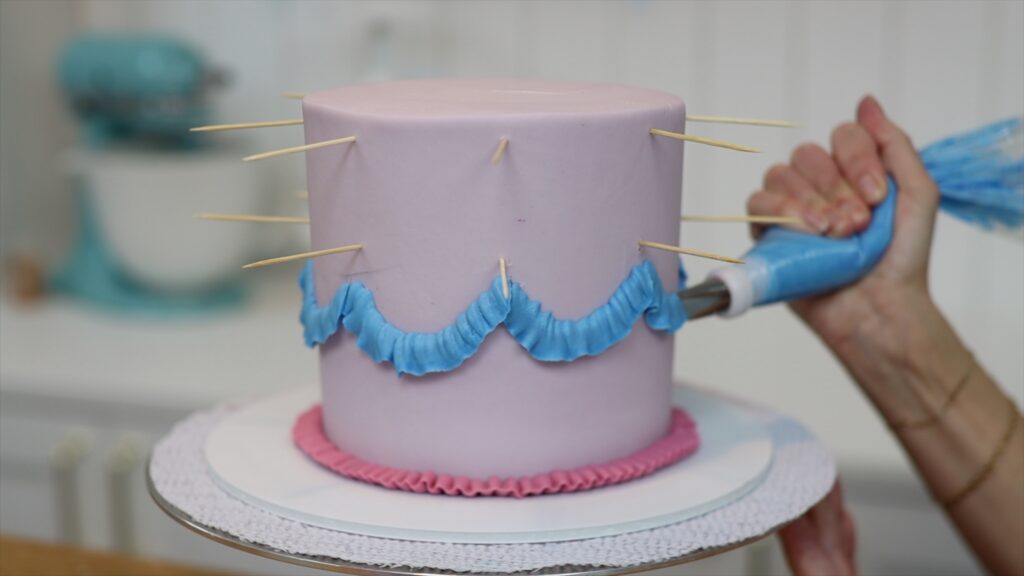
Fold it in half and in half again and again and then unfold it. Place it on top of a frosted cake after chilling the cake so that the frosting is cold and firm. Poke a toothpick into the frosting below each crease.
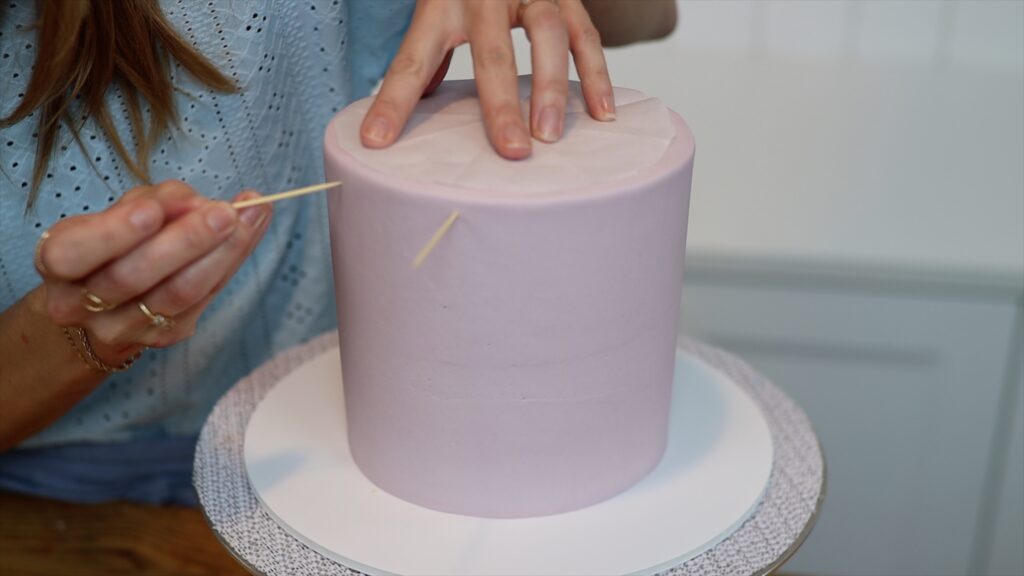
Use this to guide you as you pipe so that the decorations are evenly spaced around the cake.
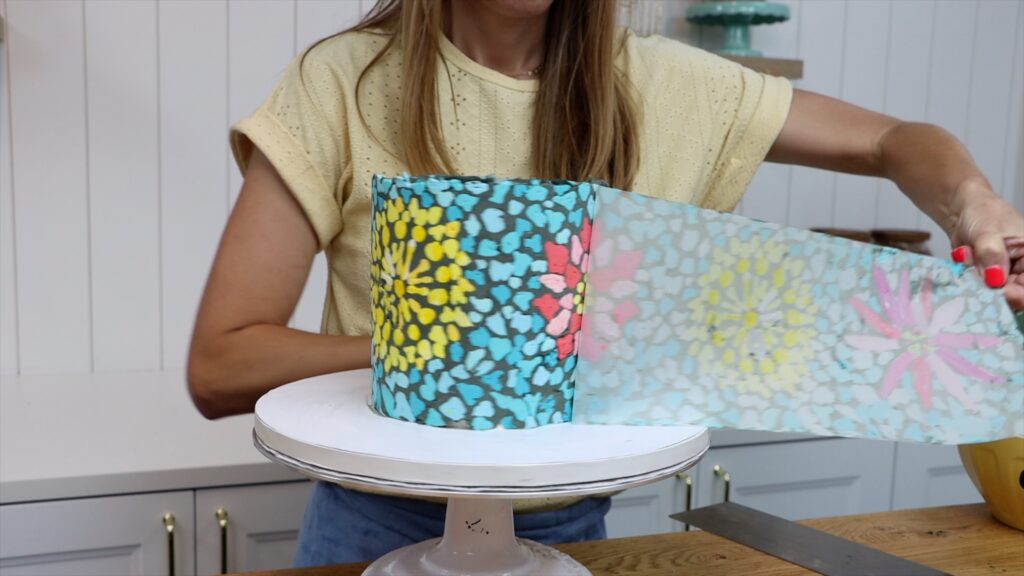
Decorations that wrap around a cake sometimes need to fit perfectly. These could be stencil patterns, chocolate collars or cages, or buttercream wraps. To measure these, save time by using pi to find the length that will wrap around the cake. Measure the width of the cake (the diameter) and multiply by pi, which is 3.14.
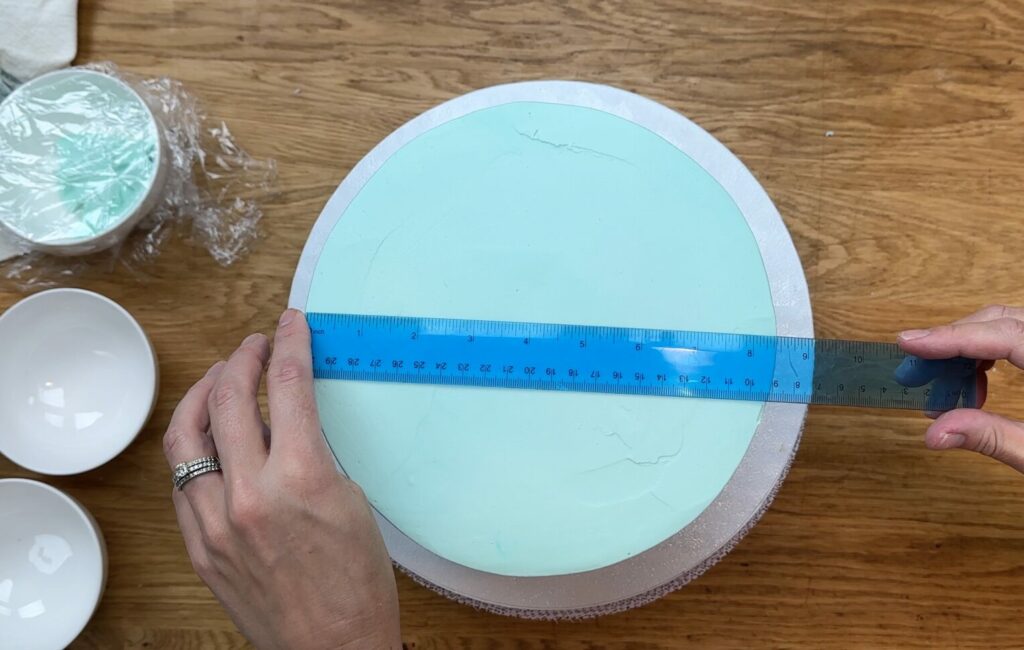
Cut a piece of parchment or wax paper so it's that length, which will wrap snugly around the cake.
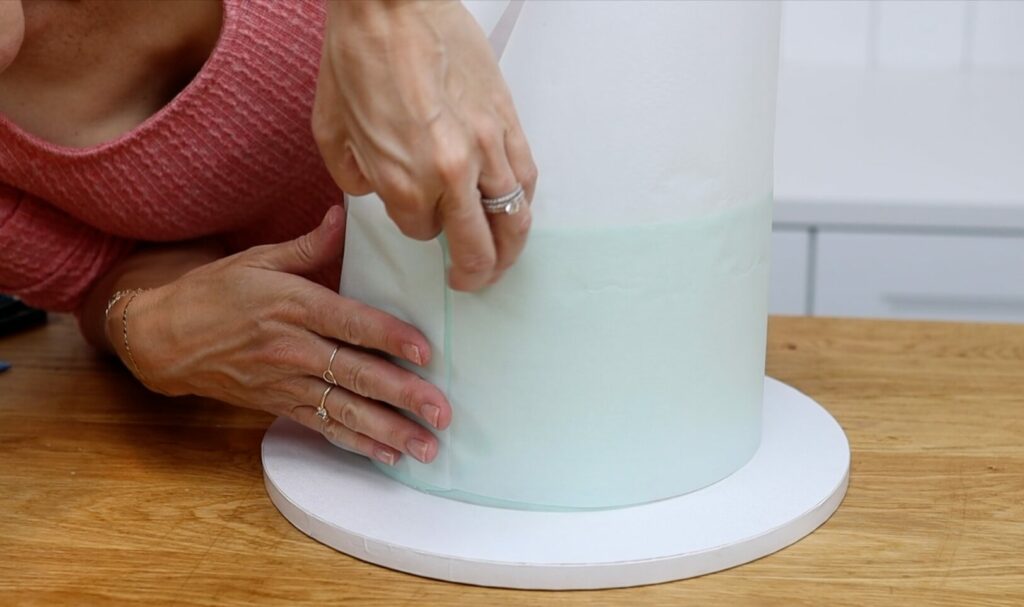
This is perfect for stencils, so that a pattern lines up neatly.
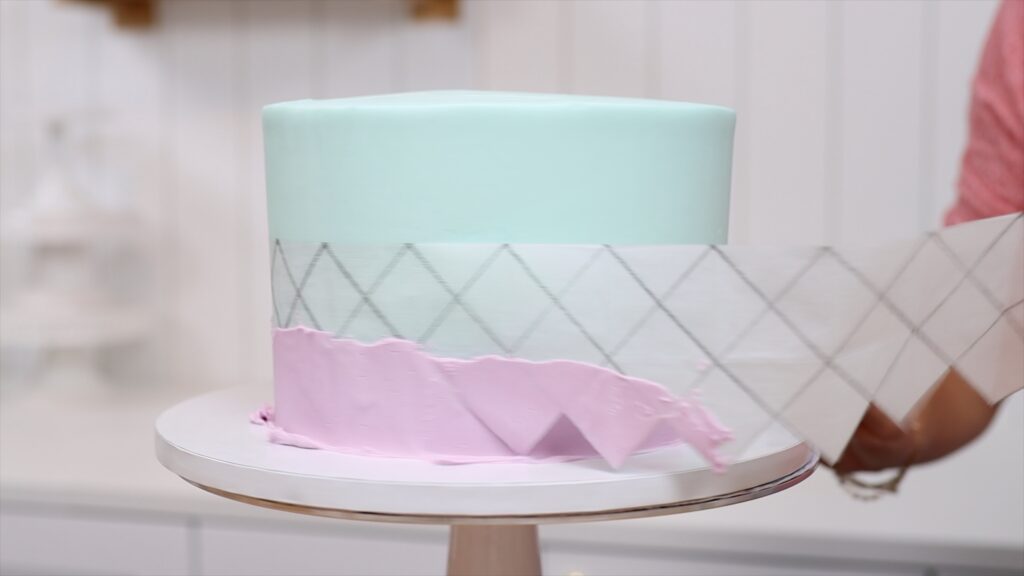
If you're going to pipe or spread buttercream onto the paper and then wrap it around the cake, add about an inch to make room for that layer of buttercream.
Keep your pencil case out because a ruler can also be used to frost a cake. Start by spreading buttercream or any other frosting onto your cake to cover the top and sides.
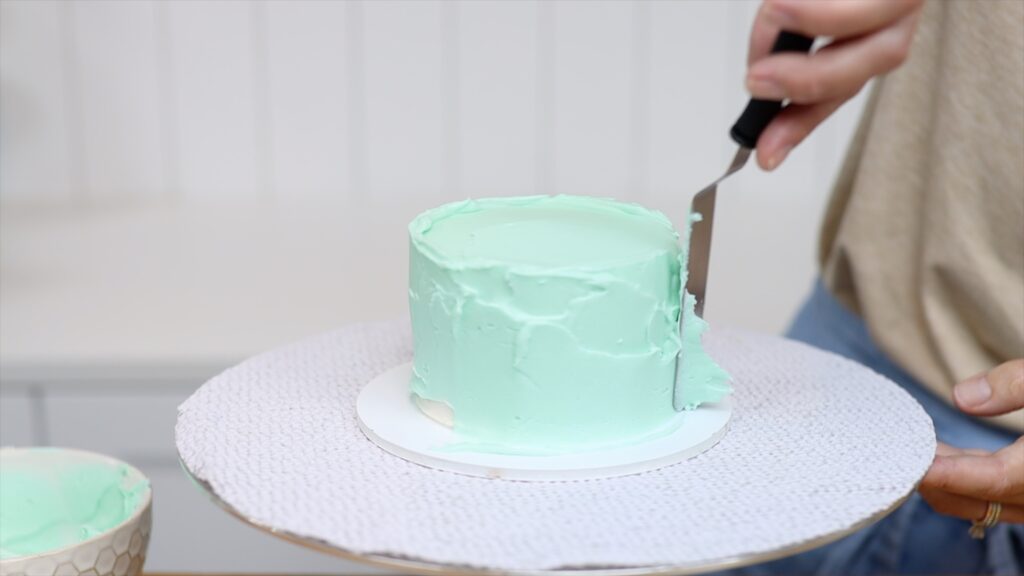
Then press the base of a clean ruler down on the cake board to line it up straight. Push the edge very gently into the frosting as you spin the
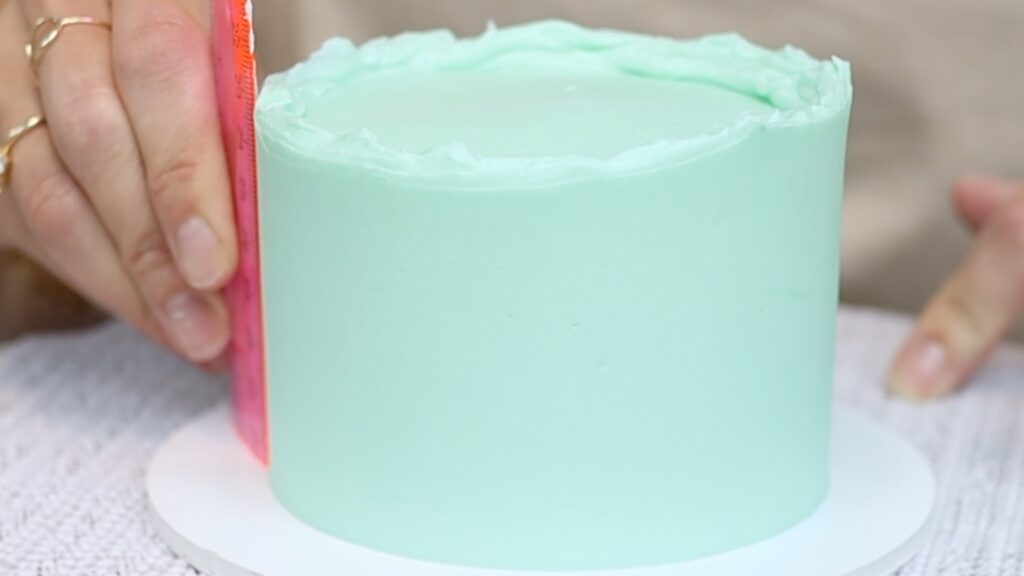
You'll need to do this two or three times to smooth any air pockets and imperfections. You'd never know it was a ruler (not a cake comb) that made this frosting so smooth!
Here's another tool you can use for cake decorating. You probably didn't expect to need your toolbox to make a cake! But a spirit level is an excellent tool to make sure your cakes are level on top. This is especially important for tier cakes.
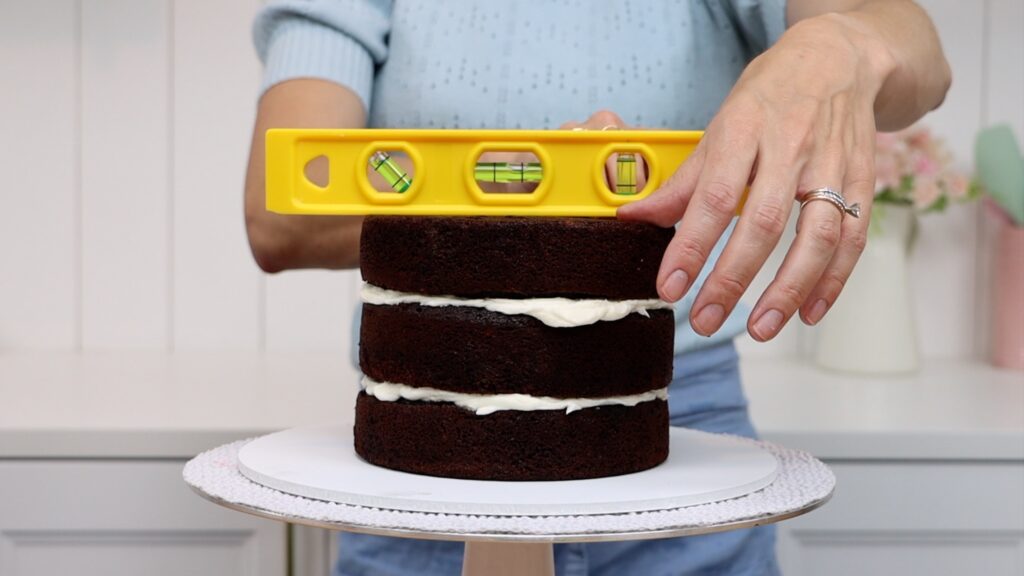
If the little bubble isn't in the center, push down on one side of the cake before you frost it. That side of the cake layers will push down into the filling to straighten and level the cake. Then chill to set the cake before you frost it.
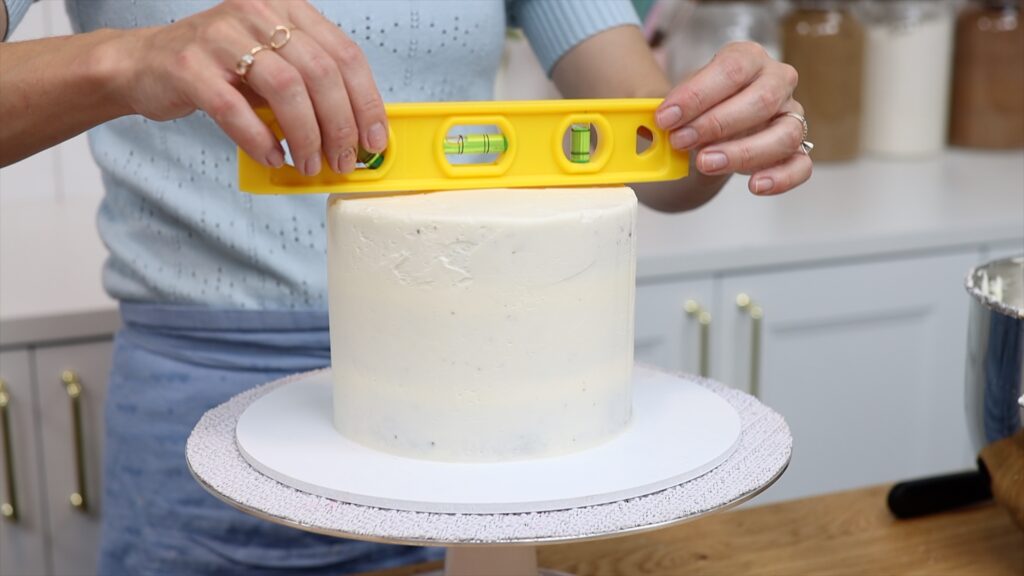
Check the top again with a spirit level and now it's ready to decorate to make a neat, straight cake.
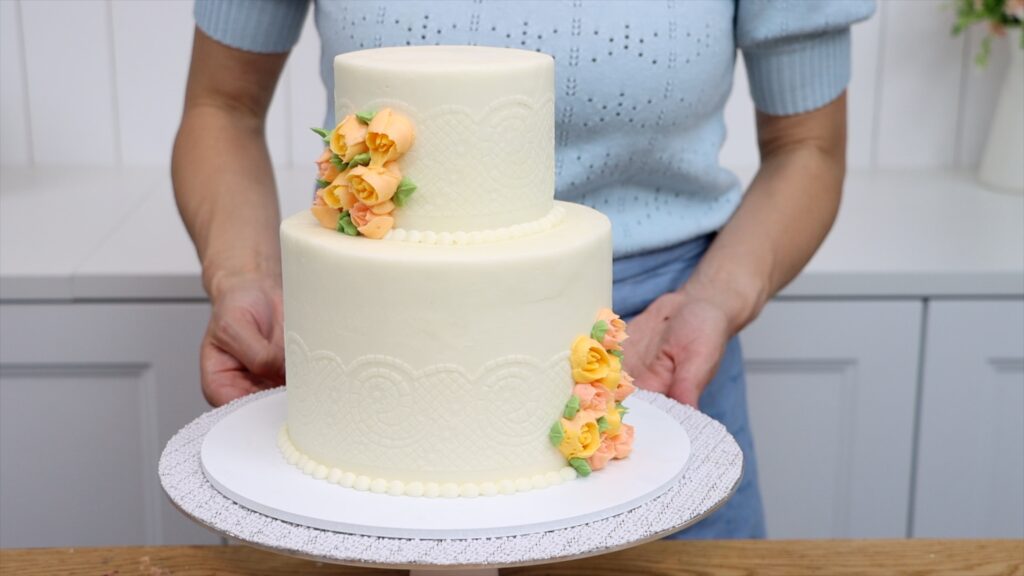
As well as straight cake layers, you'll also want them to be the same height as each other. This will give you the most beautiful slices. To make the most even cake layers, weigh the batter.
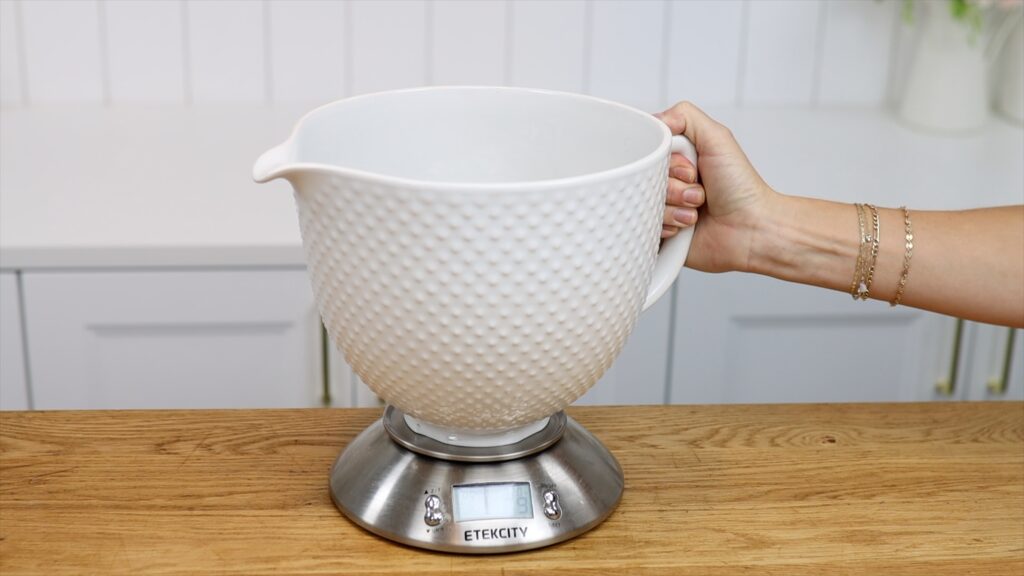
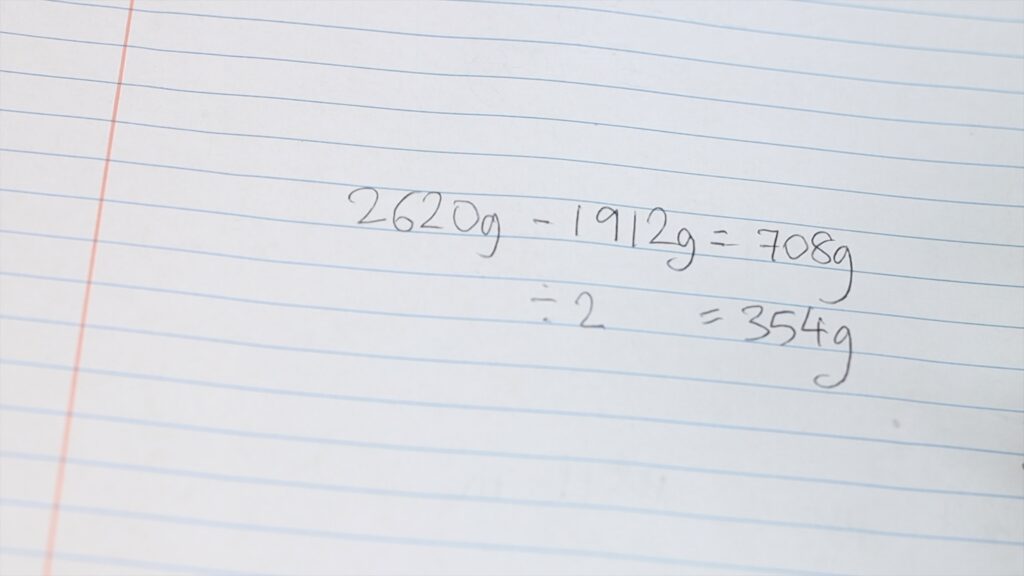
First, weigh your mixing bowl alone before you prepare your cake batter. Then weigh it again with the batter inside. Subtract the weight of the bowl and divide by the number of pans.
Now put a pan on your scale and zero the scale. Scoop the batter in until you get to that number you just calculated. Repeat for the rest of your pans.
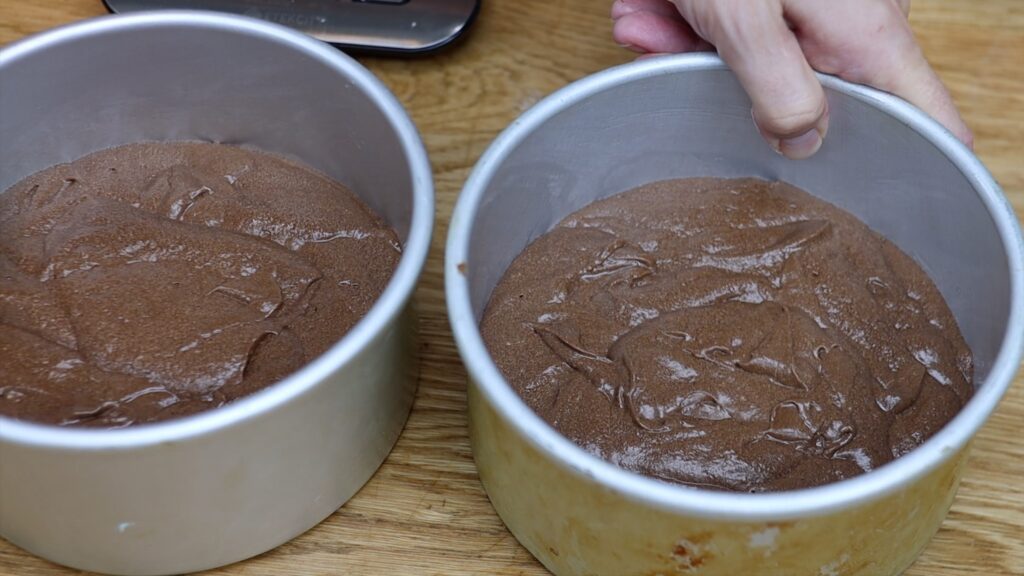
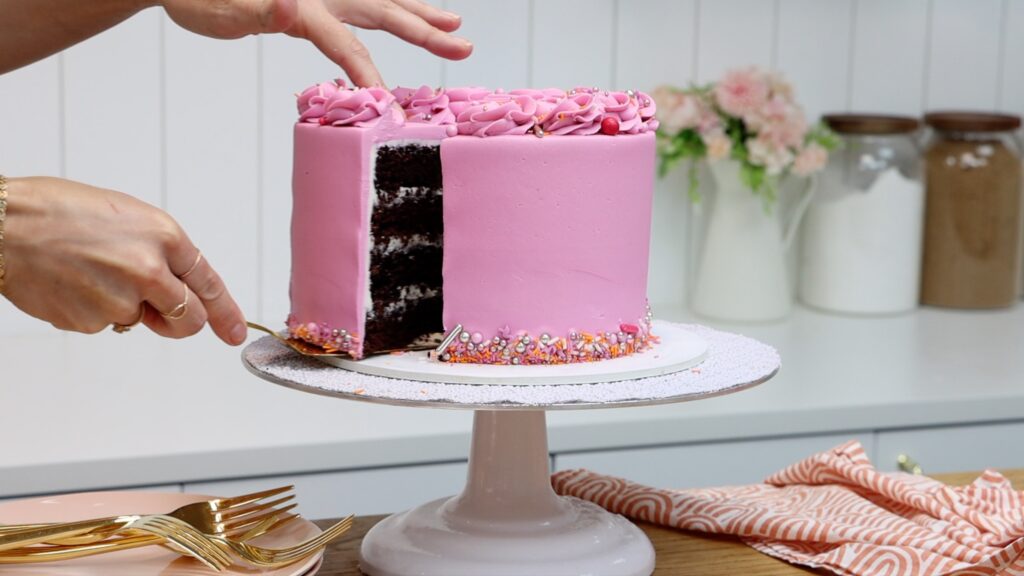
This way you'll have exactly the same amount of batter in each pan. Cake slices look extra pretty with even layers, don't they?
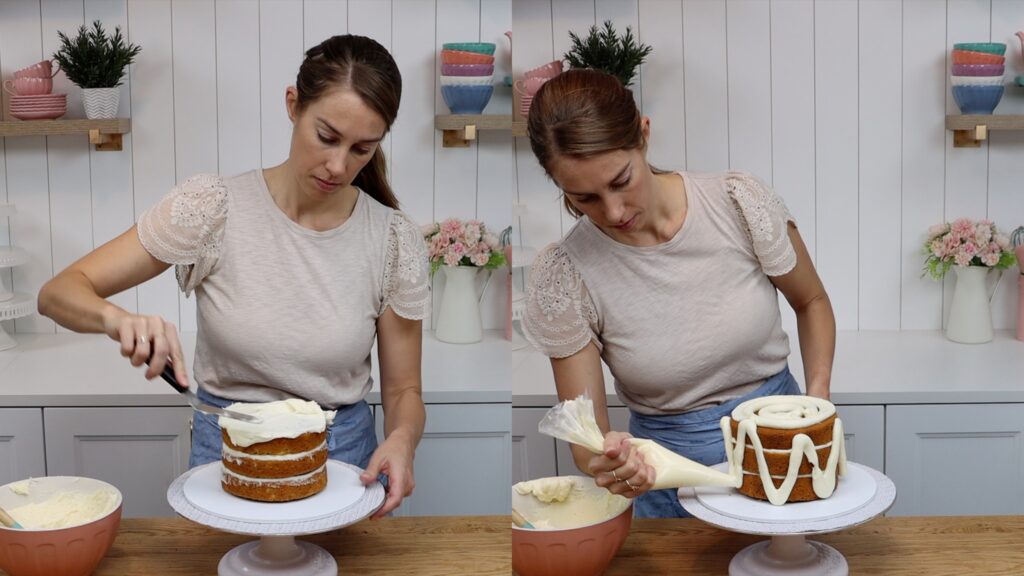
I did a geeky experiment on the fastest way to make a cake, testing which methods will save you the most time when you assemble and frost a cake. Spoiler alert! Piping the filling and frosting is much faster than spreading it straight onto the cake. Also, using cold cake layers will make the process much quicker, too. I like to put layers in the fridge for 30 minutes or the freezer for 15 before assembling and frosting.
Are there smart cake decorating hacks to tackle condensation? Absolutely! Avoid these moisture droplets and running colours on your cakes by paying attention to temperatures.
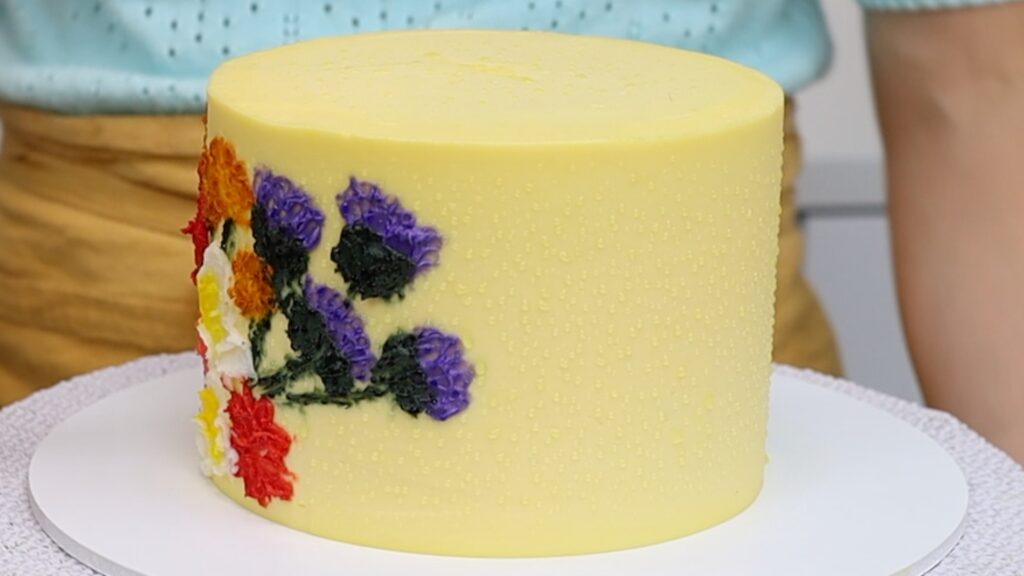
Condensation happens when a cake goes through a big difference in temperature, fast. For example, from a freezer of 0° Fahrenheit moving to room temperature of about 72°. The difference between the warm room outside of the cake to the cold inside of the cake is a big difference. This will cause condensation or cake sweat.
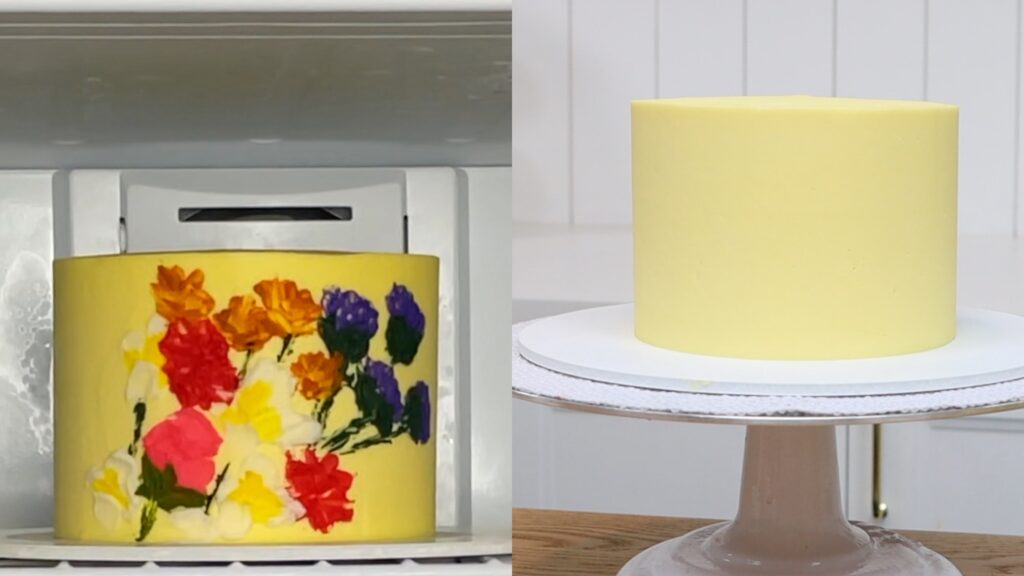
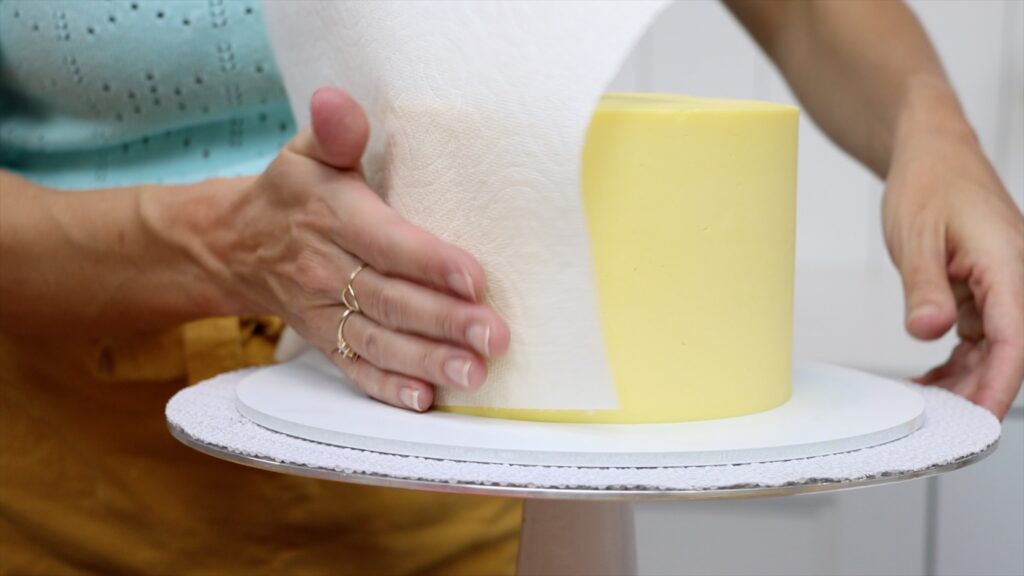
Instead, if your cake is frozen move it to the fridge for 24 hours to thaw. Then move it room temperature. By changing the temperature gradually you'll minimize condensation. Even if you don't use a freezer, if the room is hot your cake might sweat while you're decorating it. If you can't lower the temperature of the room, dab the cake with a paper towel. It will absorb the moisture droplets, which will disappear once the cake warms up to the temperature of the room.
For great cake photos I think the best trick is to make the background blurry or out of focus. This will really draw attention to your cake. You can do this on a camera or a phone by adjusting the F stop or F number. For the best results move your cake as far away from the background as possible.
I like to use F2 or F3, which makes the background really blurry or out of focus. On an iPhone choose Portrait mode and tap the F at the top of the screen, which will display a sliding bar to choose the F number.
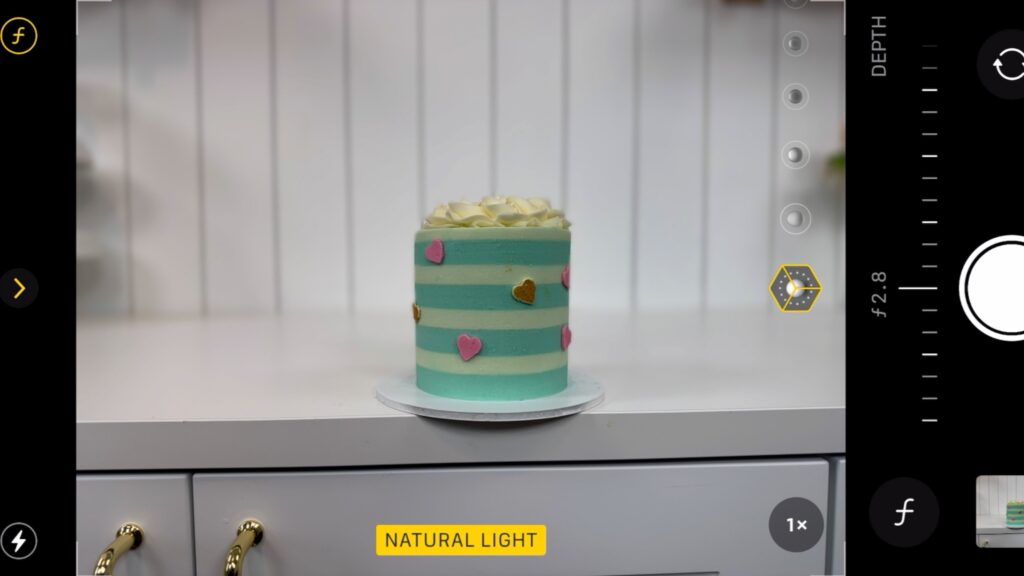
Look at the difference between these two photos. The first is taken with F11 for an in-focus background. The lines on the wall look obnoxious. The second photo is taken with F2.8 and the blurry lines in the background look more interesting than distracting.
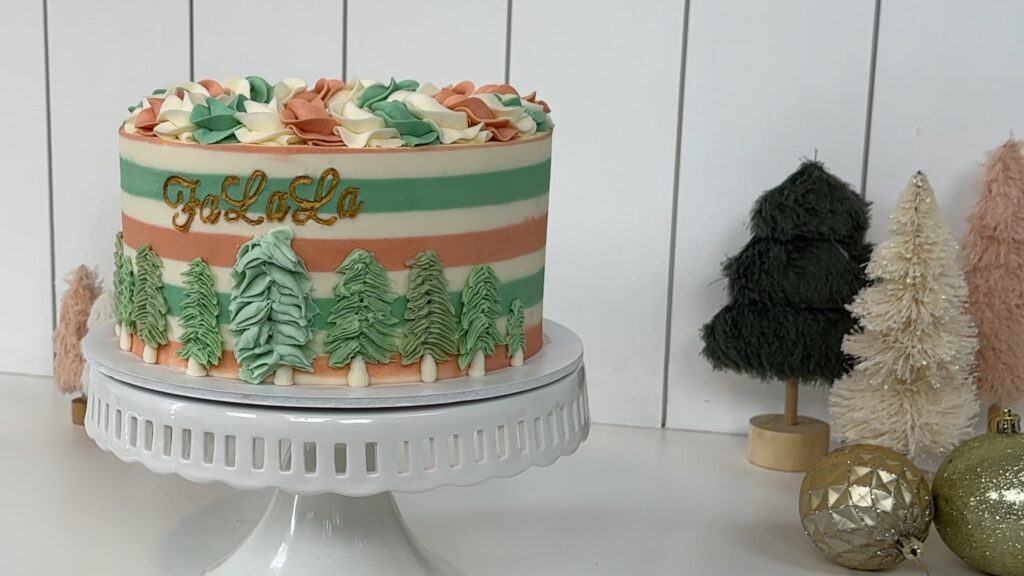
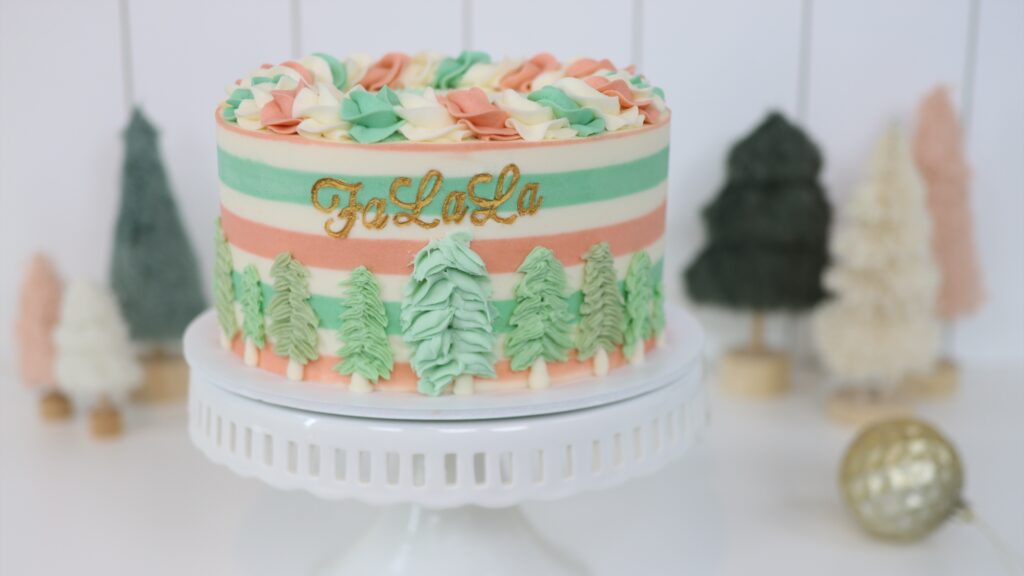
So even though cake decorating seems creative, using your brain and these smart cake decorating hacks can help you make more practical and beautiful cakes. To learn more cake decorating techniques visit my cake school.
You can also watch a video of this tutorial on 10 Smart Cake Decorating Hacks:
