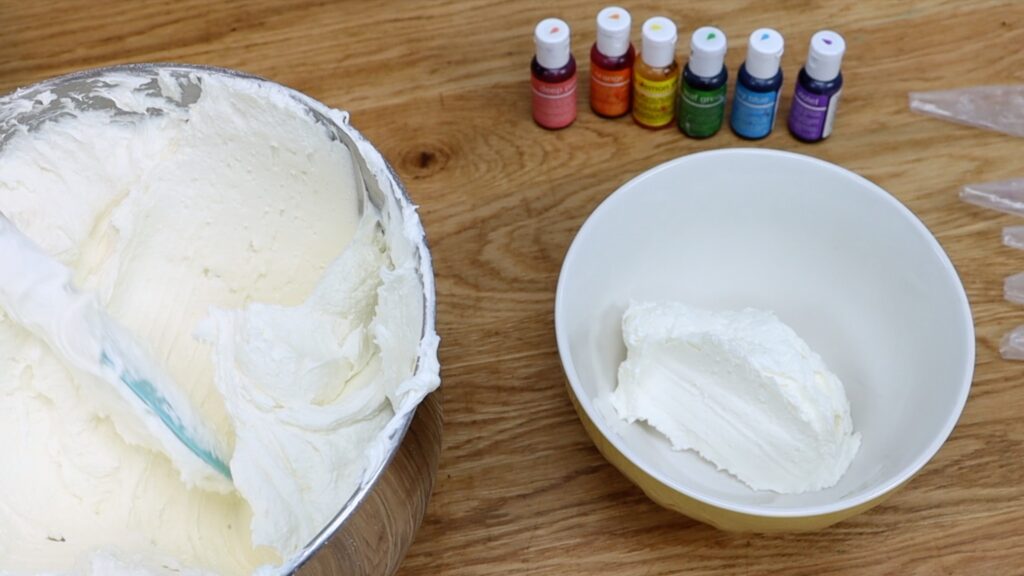
With these 10 tips for buttercream colouring you’ll make bright white buttercream, bold buttercream colours, stunning effects like ombre with one drop of color, and rainbow colors using just one bowl! I'm using my 4 Minute Buttercream for all of the examples in this tutorial.
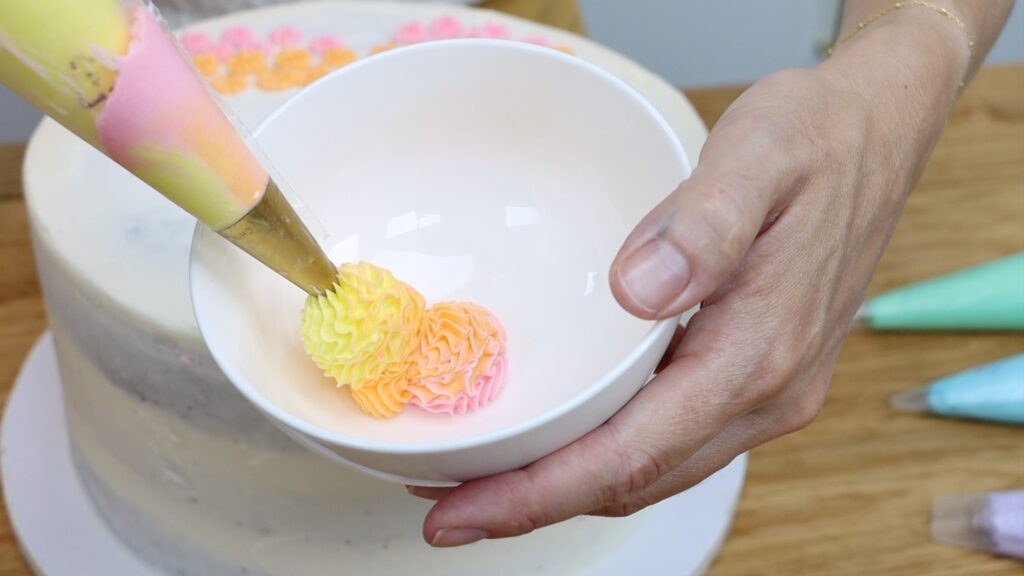
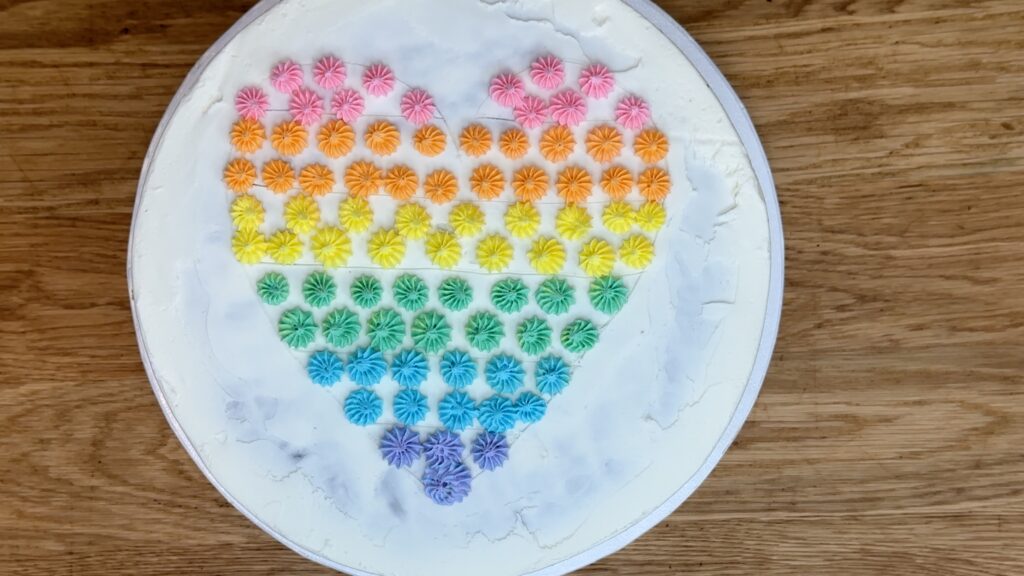
To mix rainbow colours in just one bowl you’ll need food colours but NOT in the traditional rainbow order.
Spoon some plain white buttercream into a bowl and add yellow gel. Mix it in and take out however much yellow buttercream you need. You can put it into a piping bag or use it for whatever frosting or cake decorating technique you like. Then mix orange in the same bowl, incorporating any of the leftover yellow. Take out what you need and then mix pink in the same bowl. Continue with purple, then blue, and finally green.
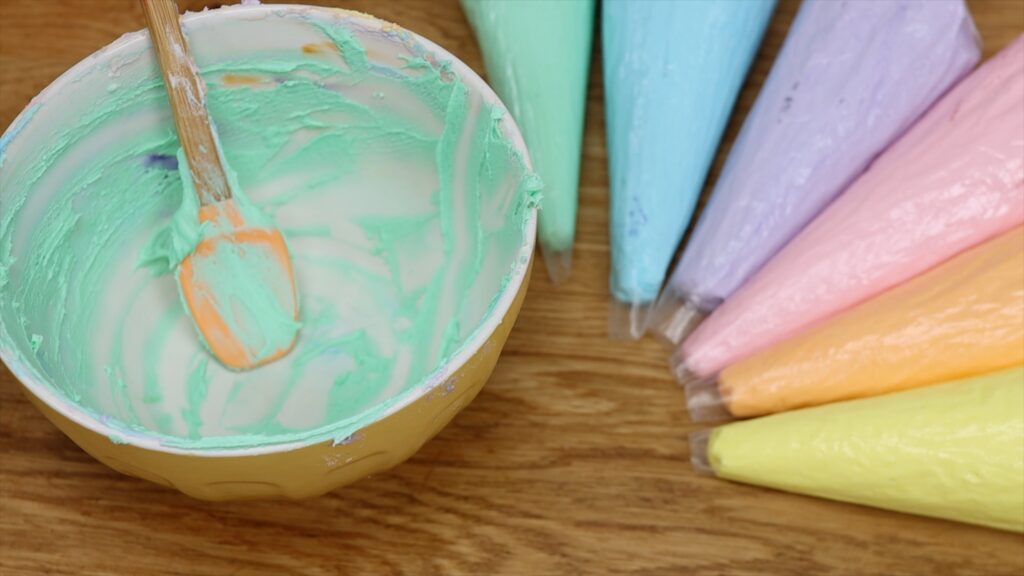
The reason for this order is that each colour will blend nicely with the next colour. This wouldn't work if you used one bowl without cleaning it and mixed the colours in a different order. For example, mixing yellow after purple would turn the yellow into brown.
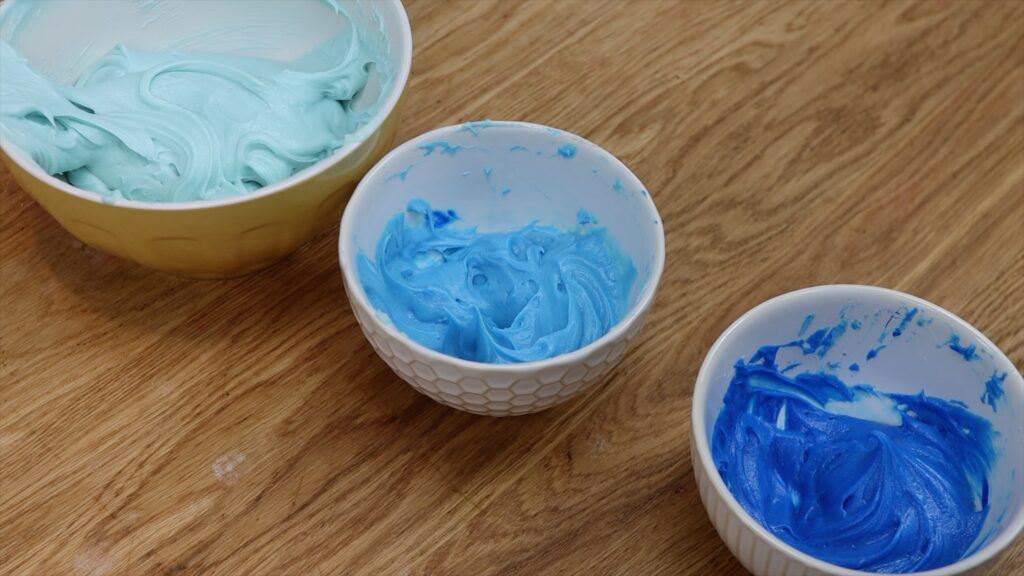
For bright and bold colours, use buttercream colouring gels instead of liquids. Look at the difference between these two identical bowls of buttercream. The bowl on the left was coloured with a squirt of blue liquid colour. The bowl on the right has the same amount of blue gel colour.
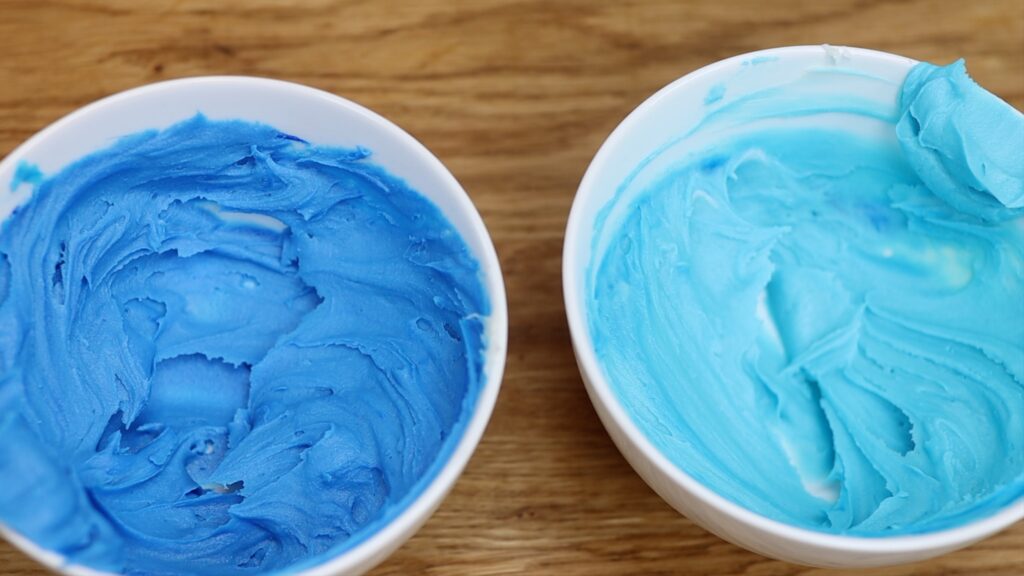
Liquid colouring doesn’t make a strong colour even if you use a lot. Adding too much will water the buttercream down to make the consistency too runny to pipe with. Gel colouring makes bold colours and doesn't affect the consistency of the buttercream.
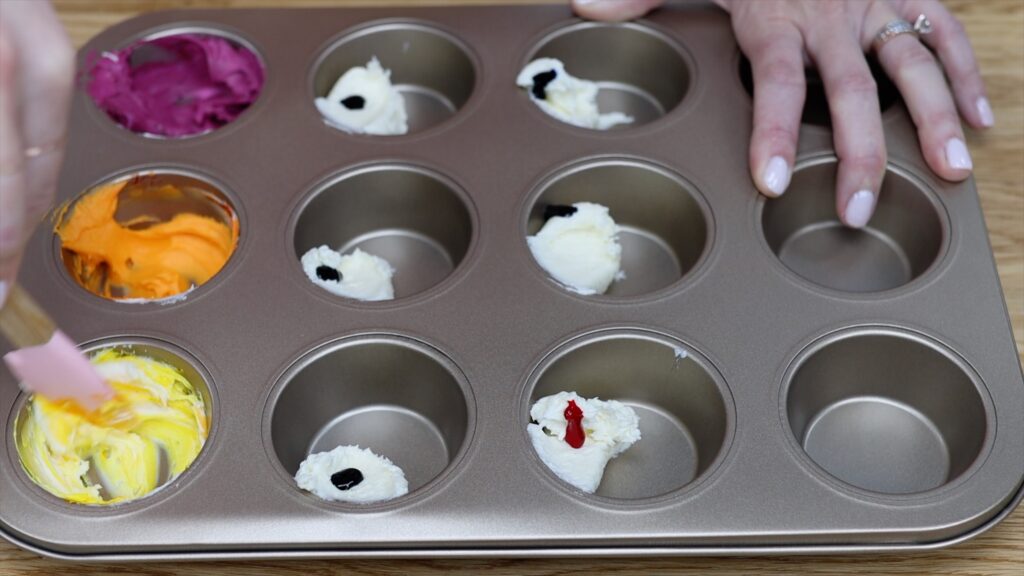
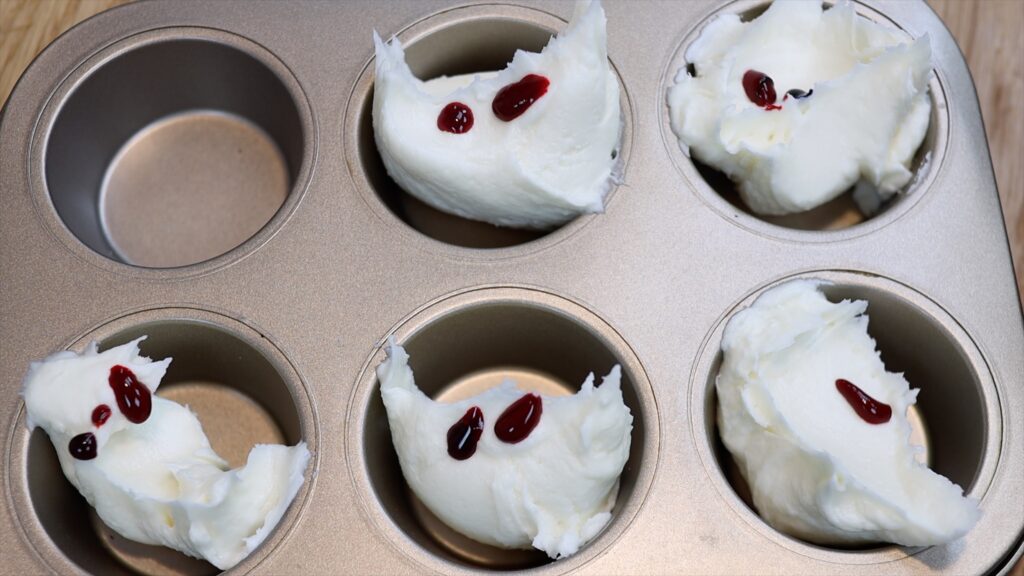
My favourite hack is using a cupcake tray to mix colours of buttercream. This is really useful if you need a small amount of lots of different colours because instead of washing several bowls at the end, you only wash this one pan.
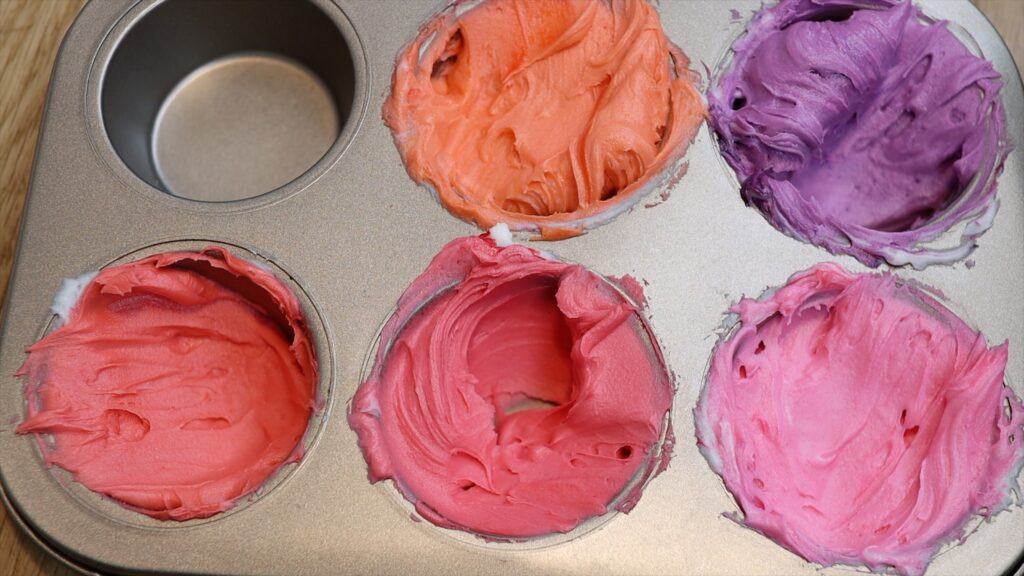
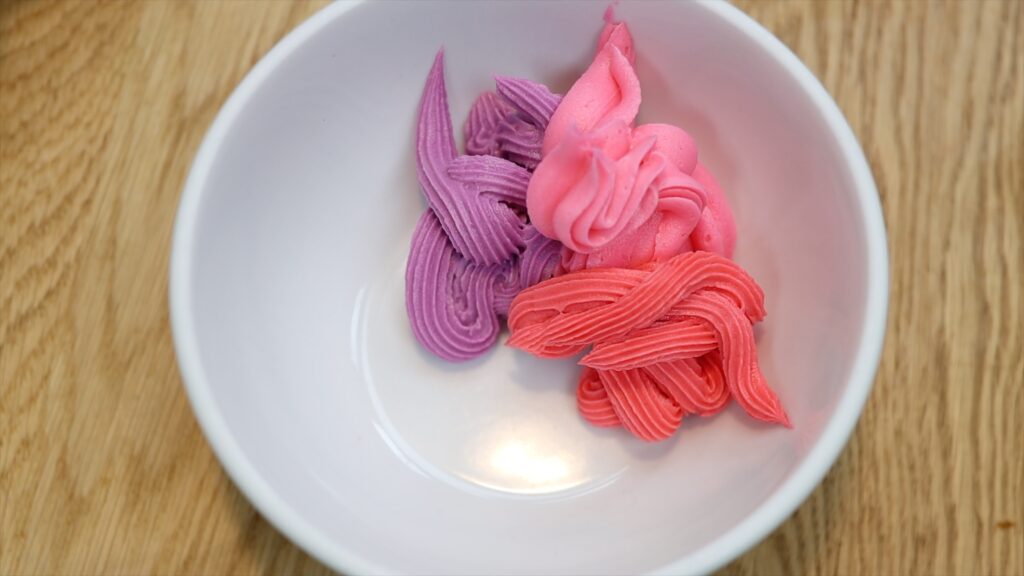
To make a colour palette where all of the colours go well together, start by tinting several bowls of buttercream the same colour. I love using a cupcake pan for this, too! Now add a different colour to each of these. I'm starting with pink and adding purple, orange or red.
By starting with the same base colour, the colours will have that in common and will look great together on your cake.

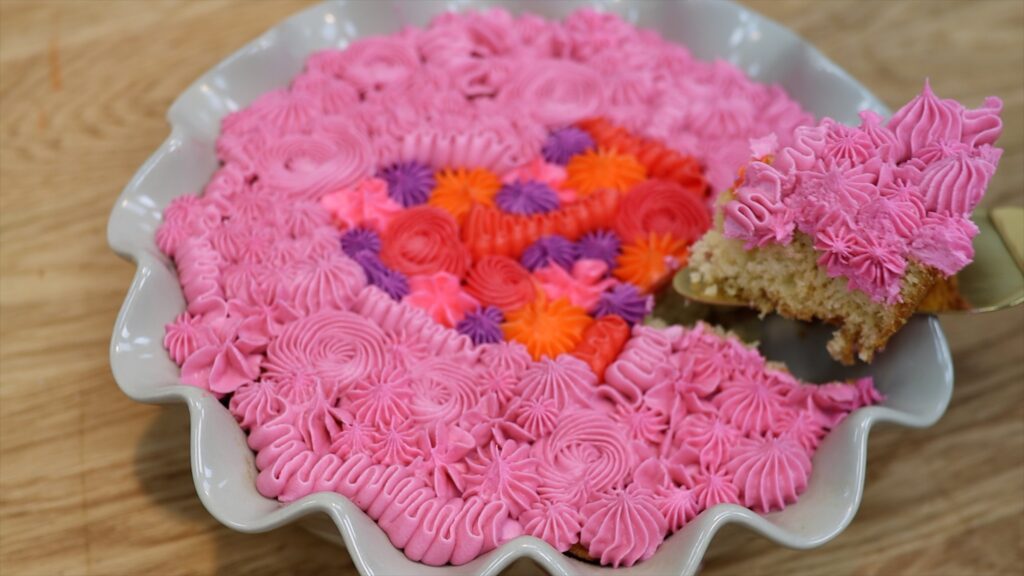
Another way to use this idea is to mix together multiple colours you’re using on your cake. You'll make another colour that will work with your colour scheme.

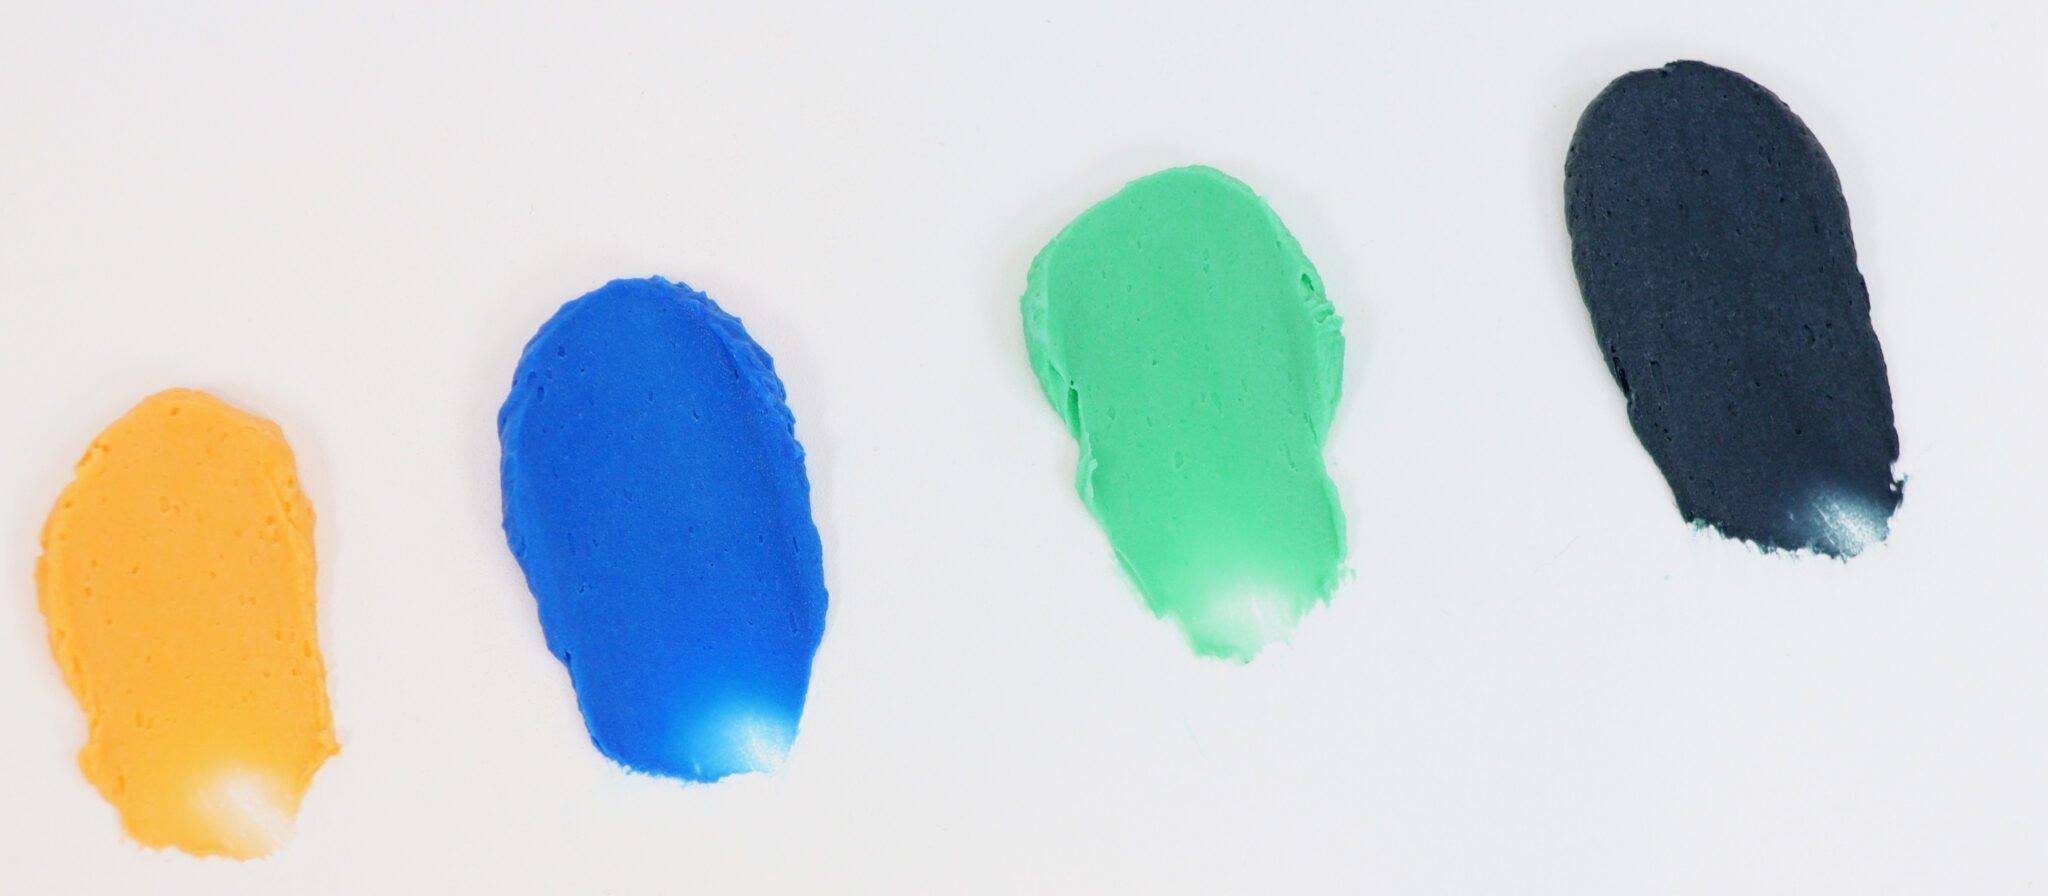
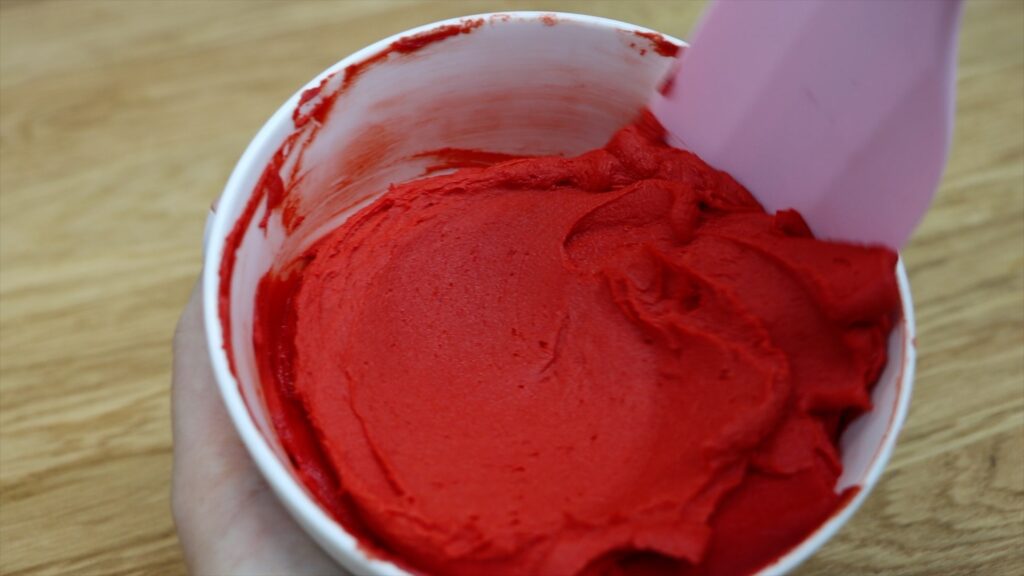
To make black or red or any other dark colour of buttercream, use gel colours. They're more concentrated than liquids so you'll need less of them. You'll need to use quite a lot but stop when you've made a shade lighter than you need. Then cover the bowl and leave it for an hour. You can chill it in the freezer for even better results and then let it thaw to room temperature. The gel will develop and darken and you’ll end up with frosting several shades darker than you had originally!
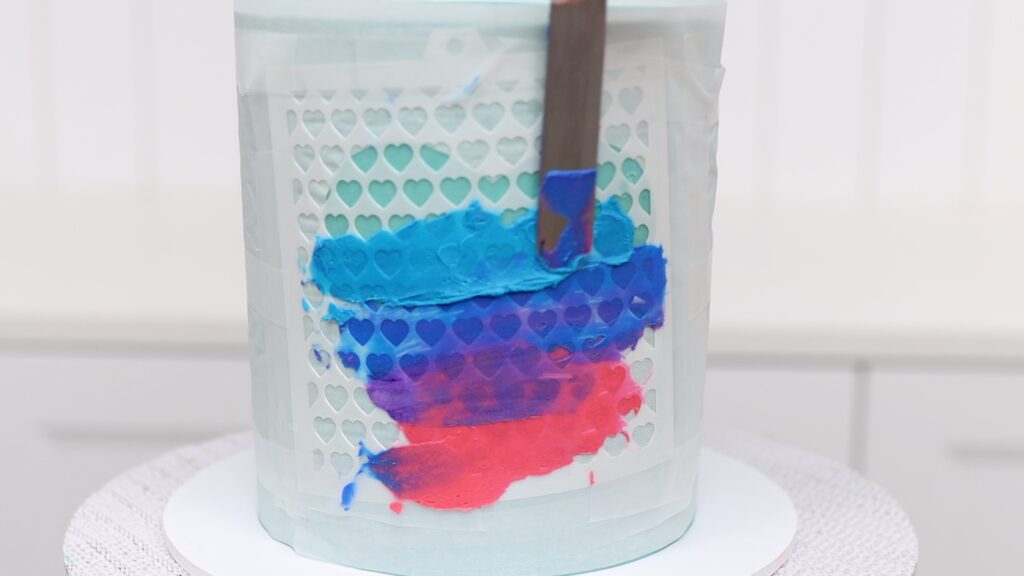
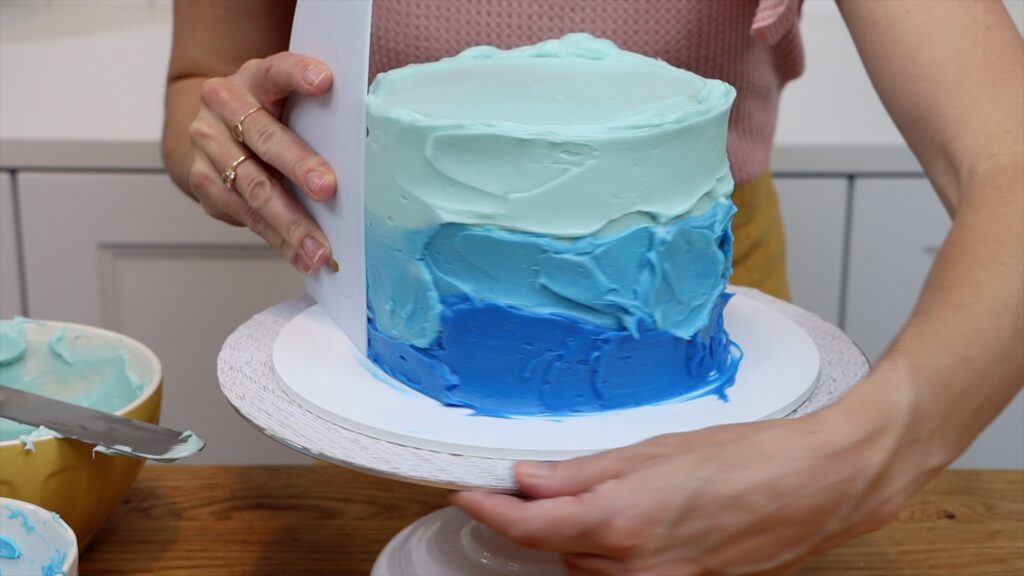
To make ombre frosting with just one squirt of color, make your darkest shade first. Then spoon a little bit of that into another bowl of plain white buttercream to make a lighter shade. Spoon a little bit of that into another bowl of plain white buttercream to make an even lighter shade. You’ll need the most buttercream for whichever colour is going to go on the top of the cake.
Now you have three shades of the same colour to spread onto your cake. Smooth the frosting and then zig zag to mix it up a bit to make the gradient more gradual. I teach this in a lot more detail in my free online course on 10 Frosting Techniques. Smooth again and tadaa! Super easy but stunning ombre frosting!
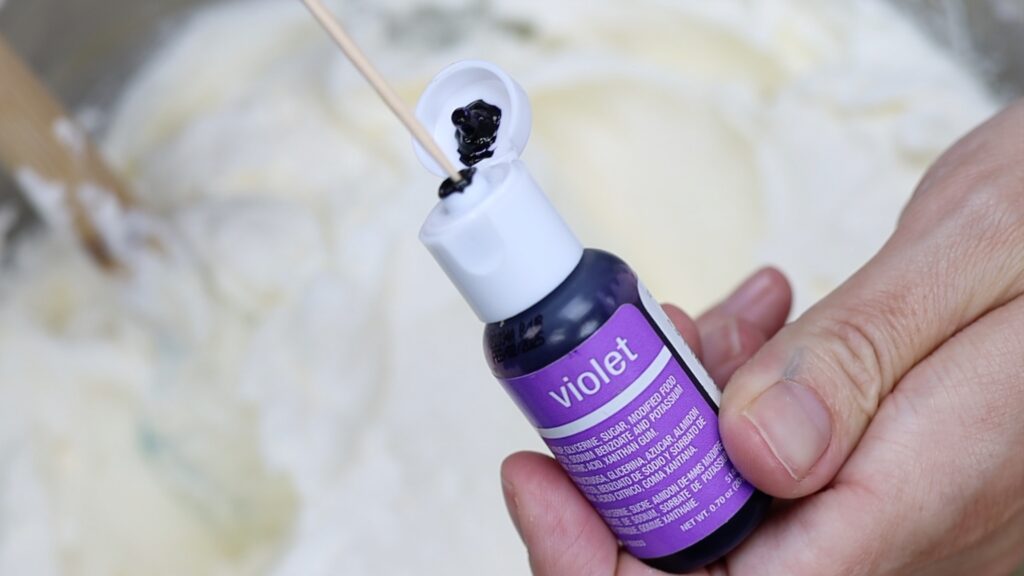
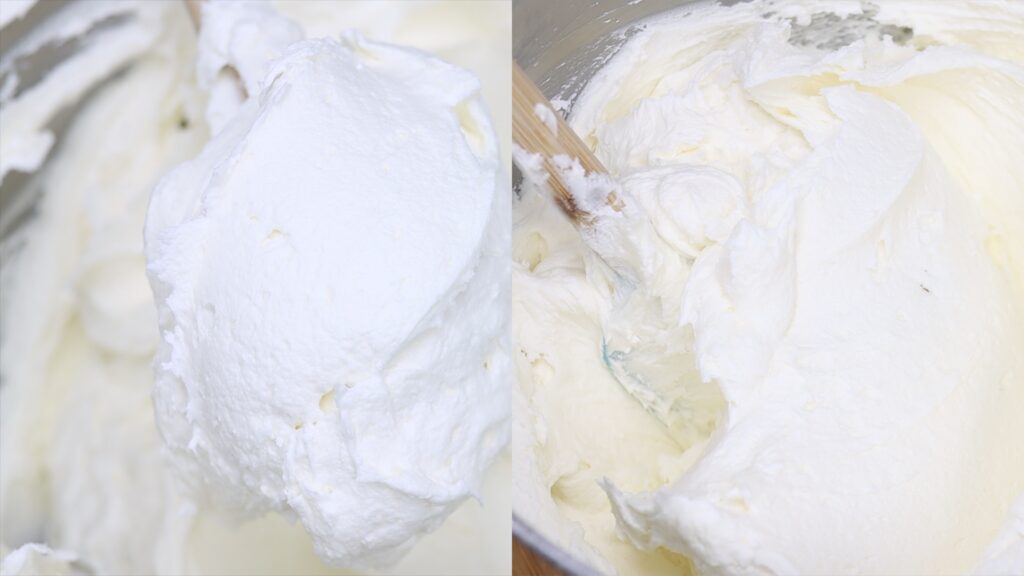
Now a hack for that elusive white buttercream. Butter is yellow so buttercream will naturally have a yellow tinge. Violet will cancel that out but only a tiny amount, much less than a full drop. Use a toothpick to poke into the bottle of buttercream colouring and smear that into the buttercream. Remember that you can always add more if you need it!
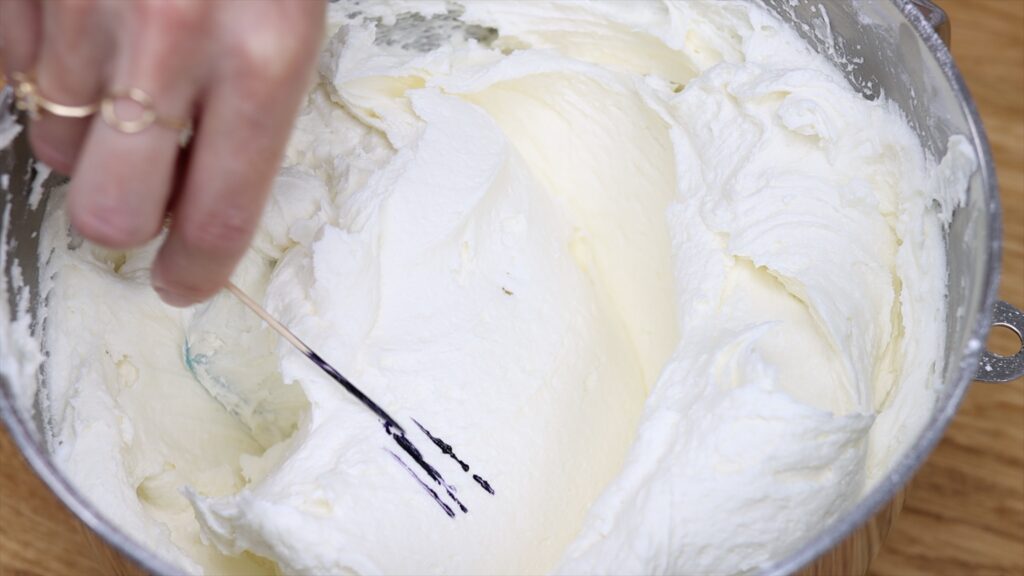
Mix it in well to make bright white buttercream. Look at the difference between before and after adding violet to this batch of buttercream:
If you don’t use all of your buttercream, don't throw away the leftovers! This works for buttercream scraped off while making striped frosting or facelift frosting, for example. You can cover leftover buttercream with plastic wrap and leave it at room temperature for 2 days. To freeze it, spoon it into a ziplock bag and it will last 2 months without changing flavour! Take it out the night before you use it to thaw.
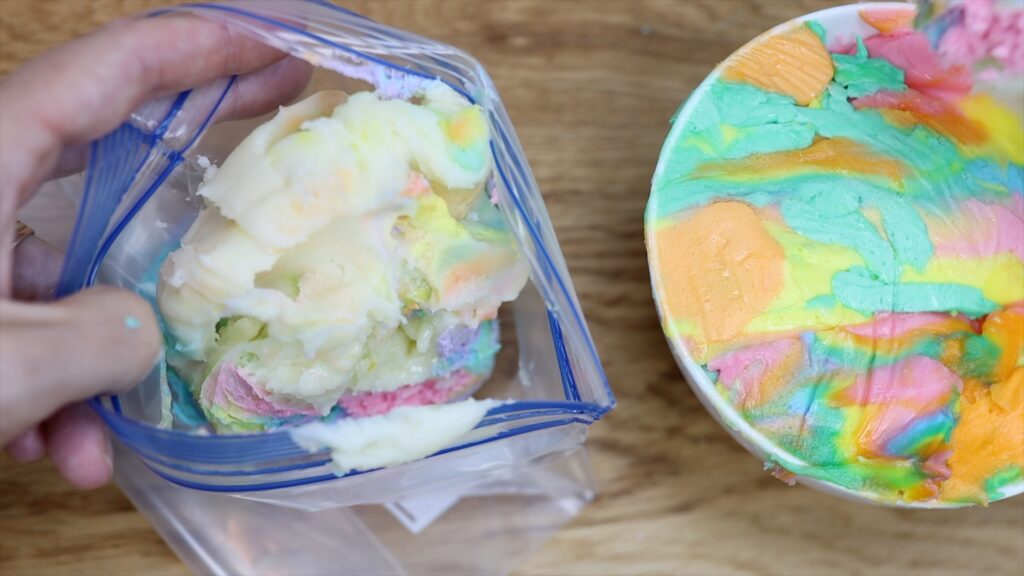
To re-use leftover buttercream, stir it until it’s nice and smooth. Then add another colour if you like before using it on another cake!
If you’re piping a design with multiple piping tips, couplers are a huge time saver. As you finish with each tip, unscrew the coupler ring and take the piping tip off from the outside of the bag. Then put another piping tip on and screw it on and you’re ready to pipe! This way you don’t have to prepare lots of piping bags with lots of piping tips.
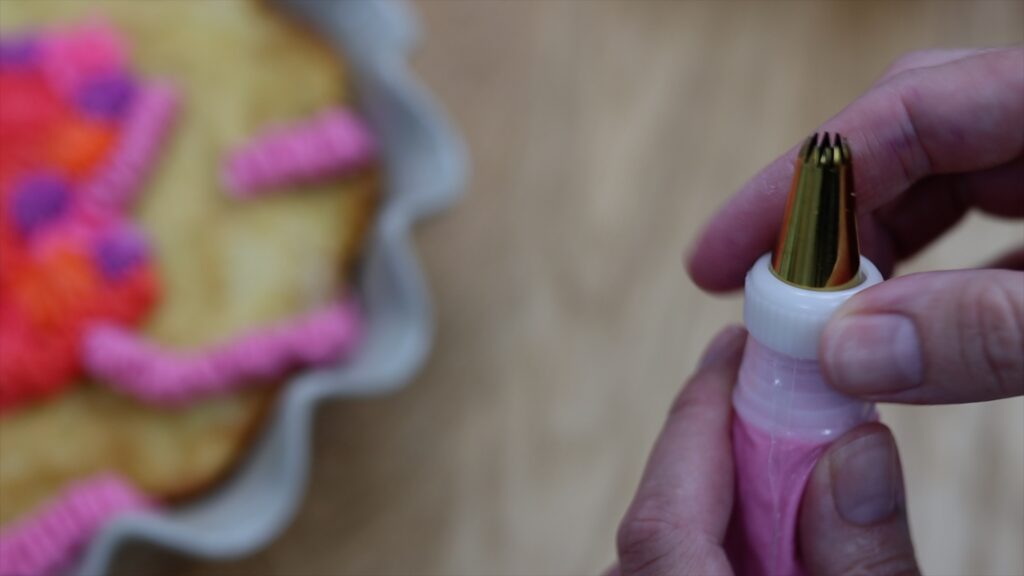
Couplers come in different sizes so make sure you choose the right ones for the sizes of your piping tips!
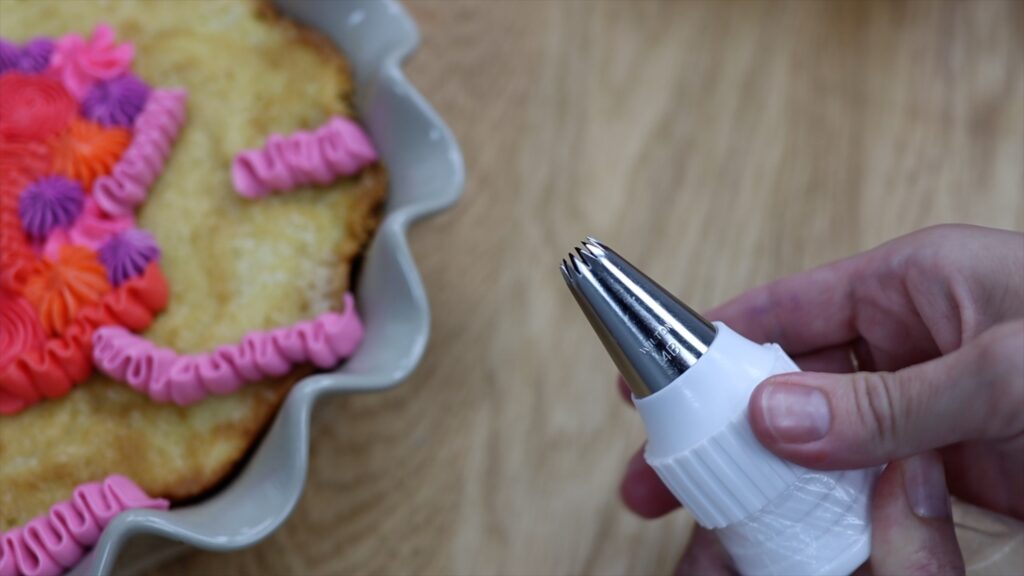
If you don’t have couplers, skip them with this hack! Use buttercream colouring to make the shades you need and spoon them into piping bags. Don't use any piping tips in these piping bags. Then take an empty piping bag and drop a piping tip into it. Now lower your first coloured piping bag into the one with the tip. When you squeeze the piping bag, you’ll push the coloured buttercream straight through the piping tip.
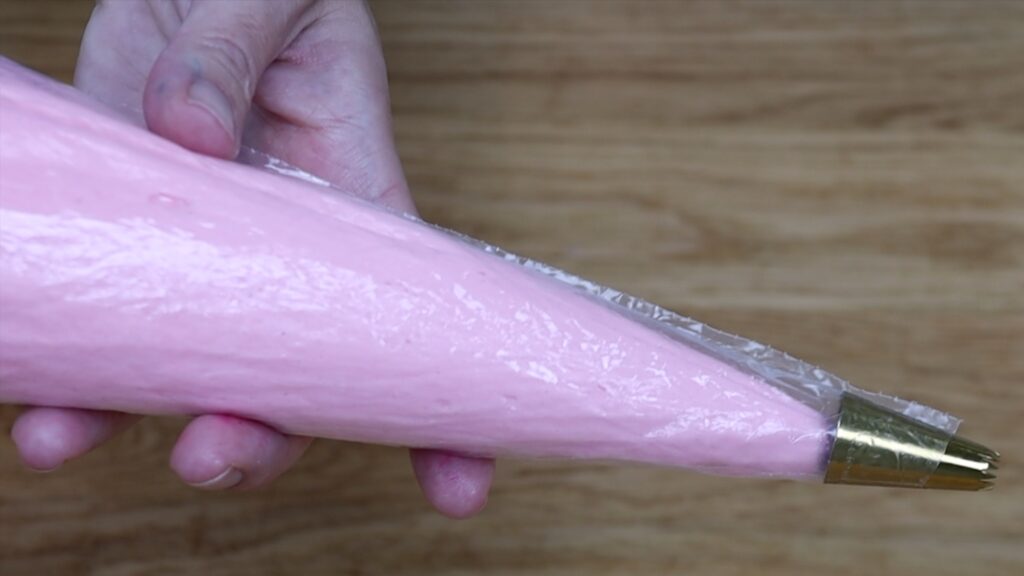
When you finish with this colour, pull it out and lower the next coloured piping bag in. Squeeze out that last little bit of the previous colour into a bowl, until you see this next colour come through on its own.
After piping with each colour, take that bag out of the outer piping bag and put the next bag in. Always squeeze the leftover colour into a bowl before piping with the next colour. By using an outer piping bag for the piping tip you can quickly switch between as many colours as you like without couplers.
I hope you’ve seen some hacks that will make your buttercream colours really POP! Click below to subscribe to my YouTube channel for a new tutorial every week and visit my cake school to learn hundreds of cake decorating techniques and designs with my online courses and membership options!
You can also watch a video on this tutorial for buttercream colouring hacks:


Thank you so much,.I have followed you for sometime now and you have greatly inspired me into this world of cake making and decorating. You are so amazing and am glad I found you. My name is Esther from Nigeria.
Hi! Welcome!