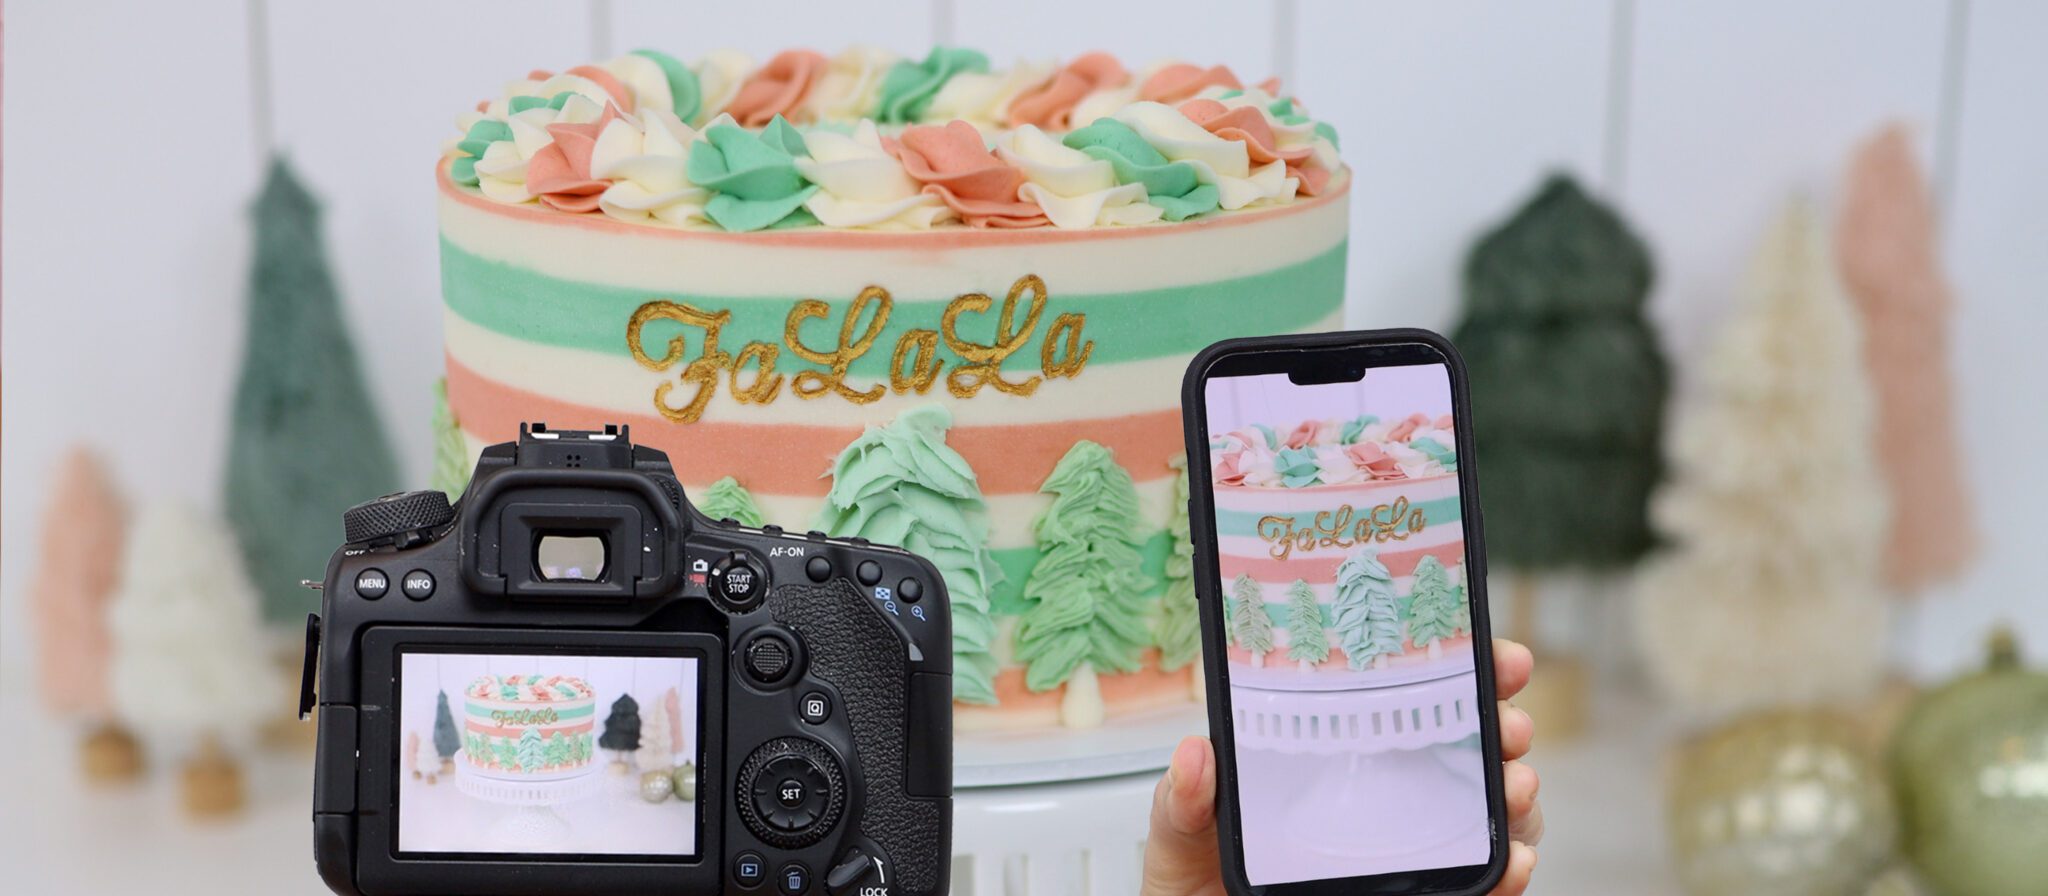
From improving the background and lighting, to adding props and more, here are 10 ways to take better cake photos!
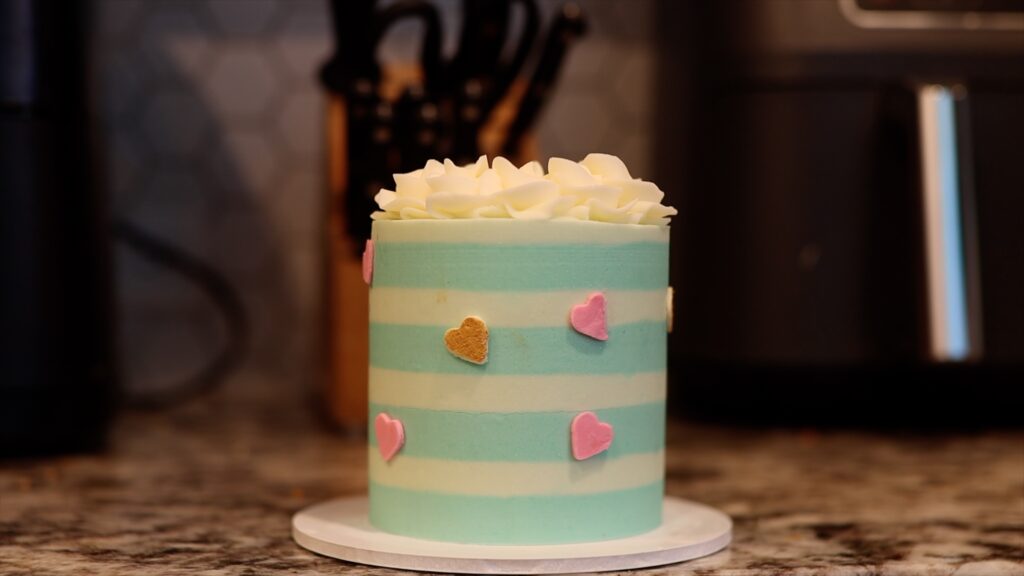
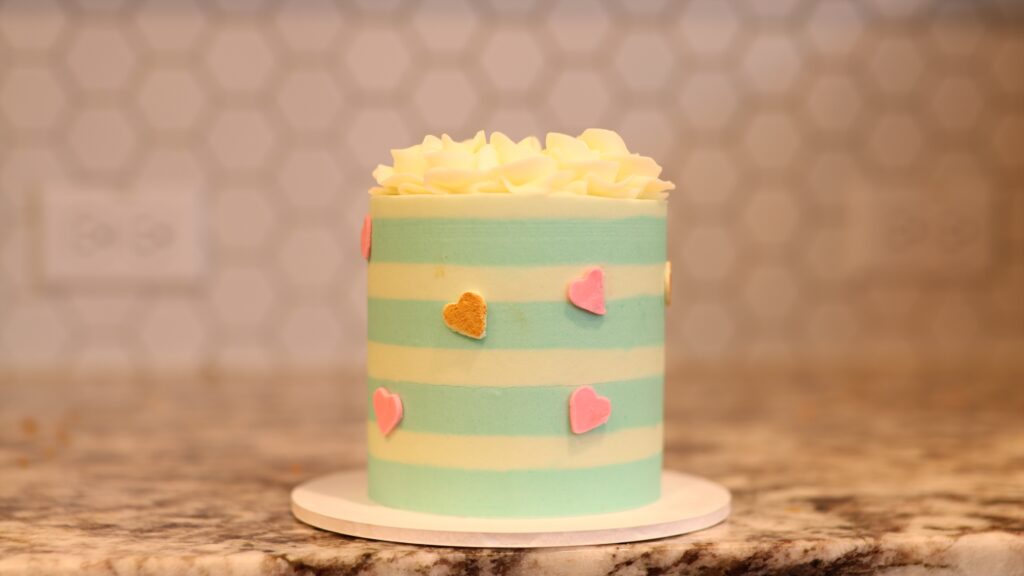
Typically, a plain background is preferable to a very busy background. It makes sure that all of the attention is on your cake. Don't let clutter distract from your cake! To take cake photos in the kitchen, move appliances so that there’s a plain background behind the cake. Look at the difference ths simple step makes:
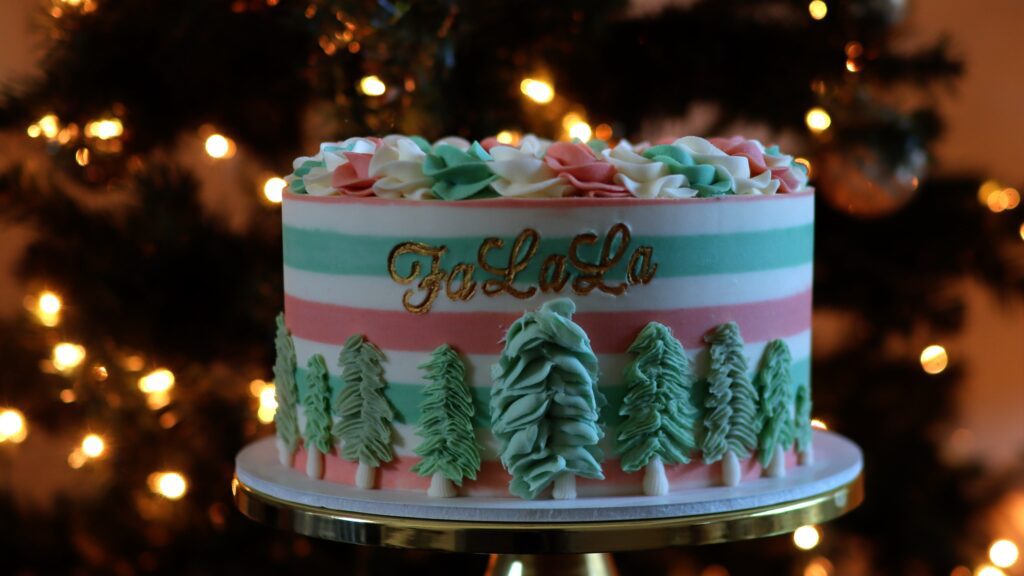
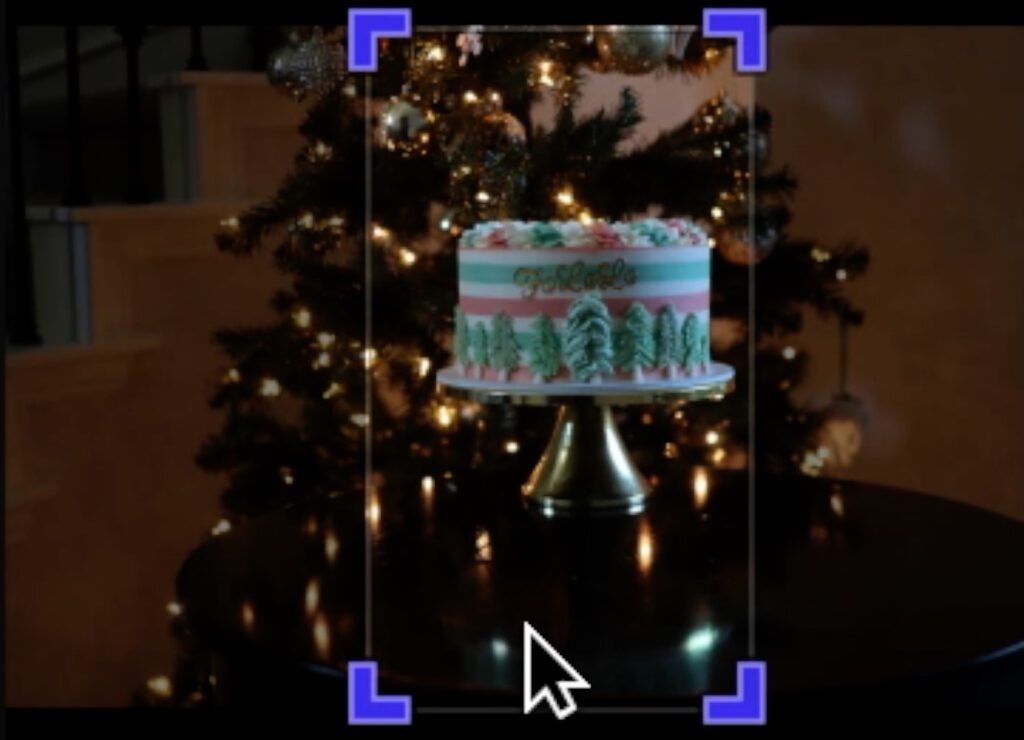
You may choose not to use a plain background if you're setting a scene for your cake photos. For example, this striped Christmas cake photo with the tree in the background. The Christmas tree background creates a very different effect to a simple white background:
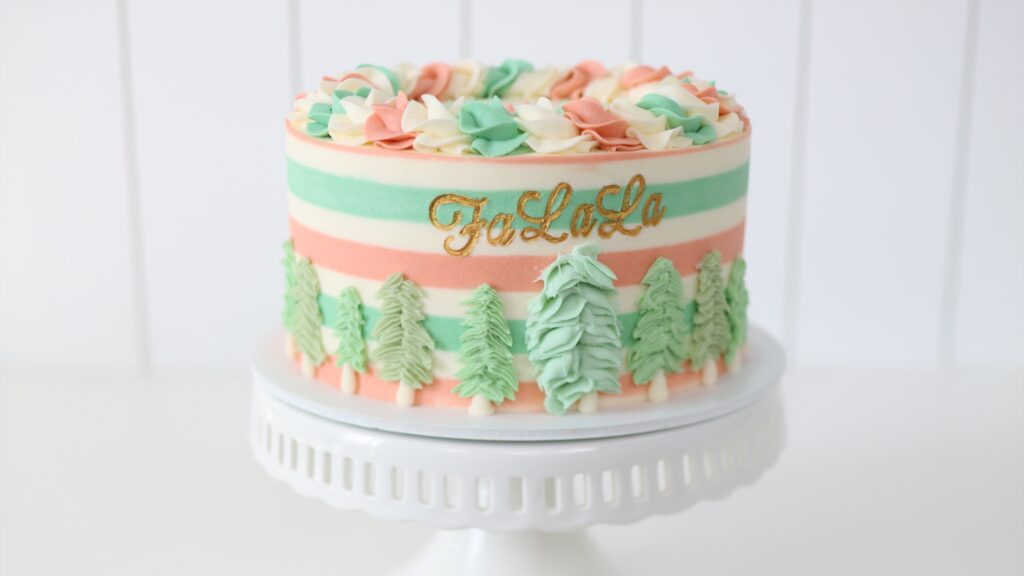
Lighting is one of the most important things to get right when you’re taking cake photos of a cake. There are three types of lighting you can choose between. Natural light is beautifully soft at some times of day and when it’s not hitting the cake directly:
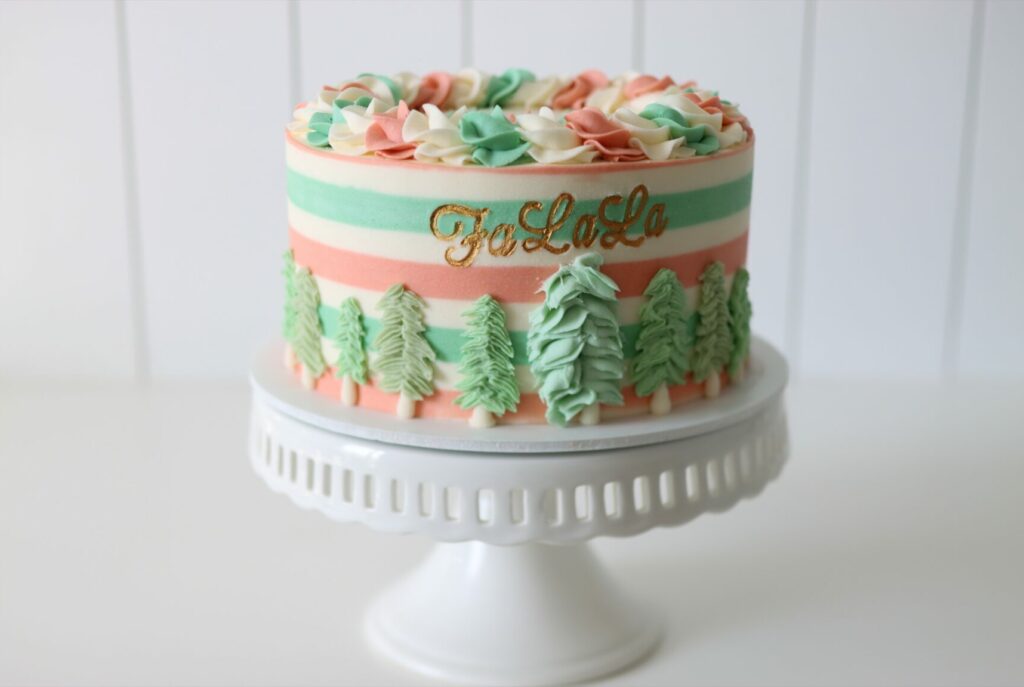
Artificial light usually has a yellow tinge and very harsh downwards shadows:
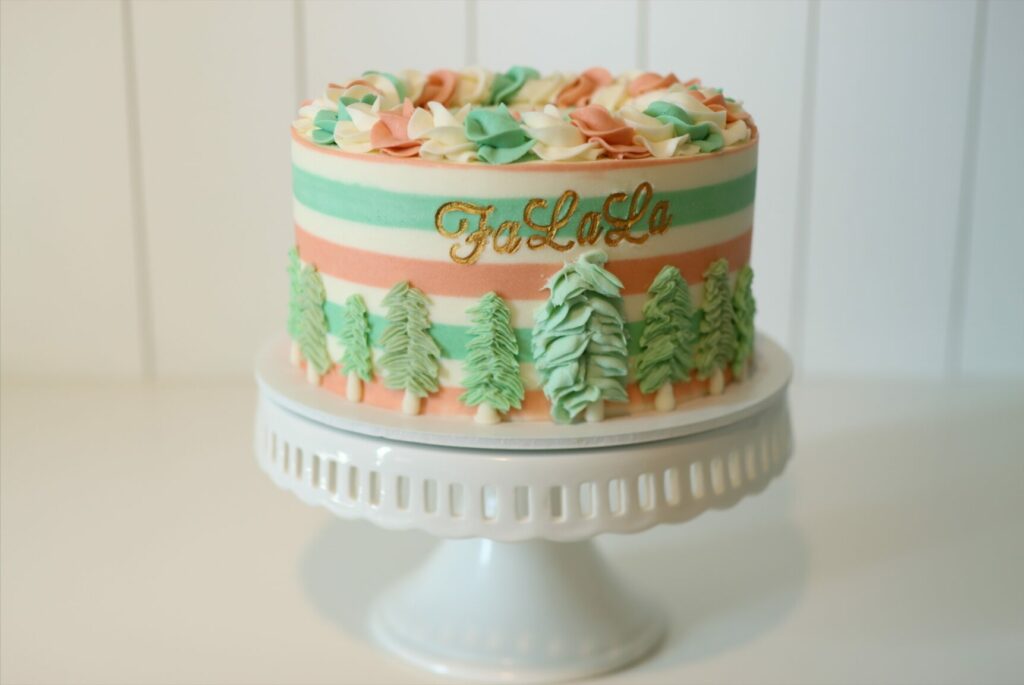
Studio lighting for photography and video provides soft shadows and even brightness everywhere:
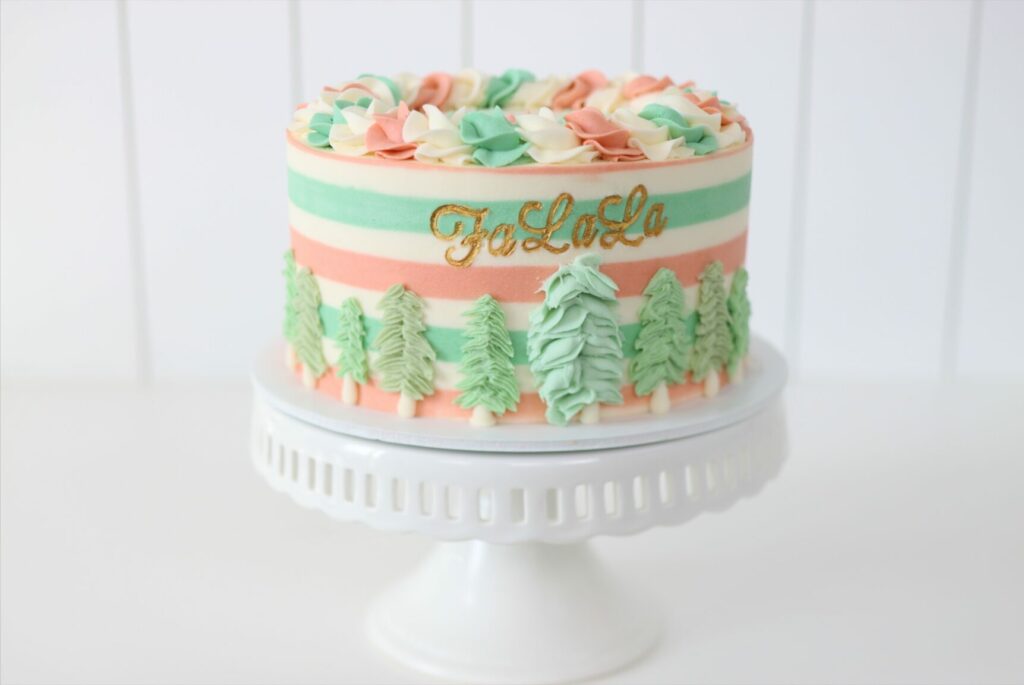
I think the best trick for great cake photos is to make the background blurry, or out of focus. This minimizes distractions to really draw attention to your cake. You can do this on both a camera and on a phone.
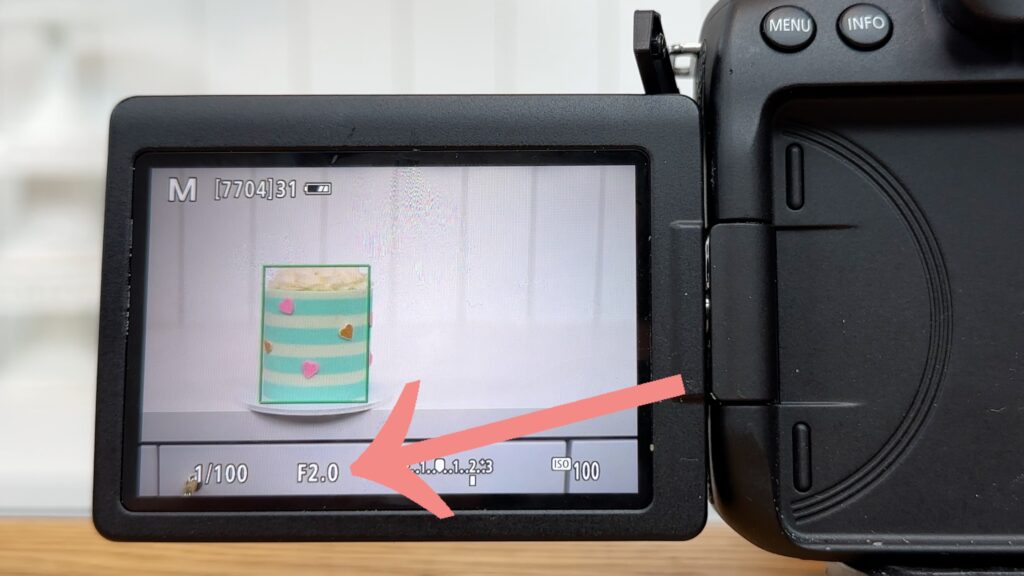
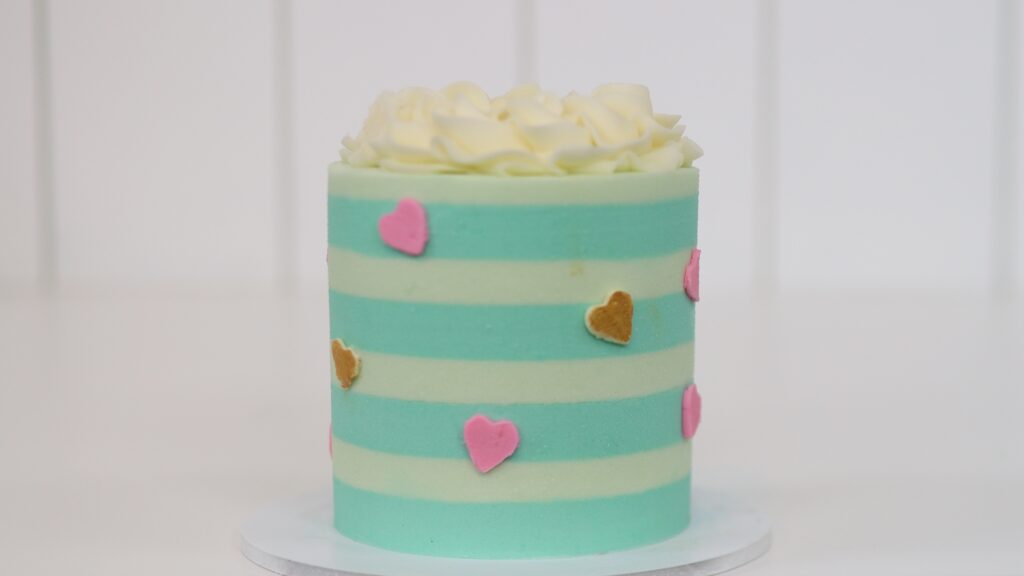
On a camera, change the focus by adjusting the F-stop or F number. For the best results, move your cake as far away from the background as possible. I like to use F2, which makes the background really blurry or out of focus:
Compare this to F11, which makes the background much sharper or in focus:
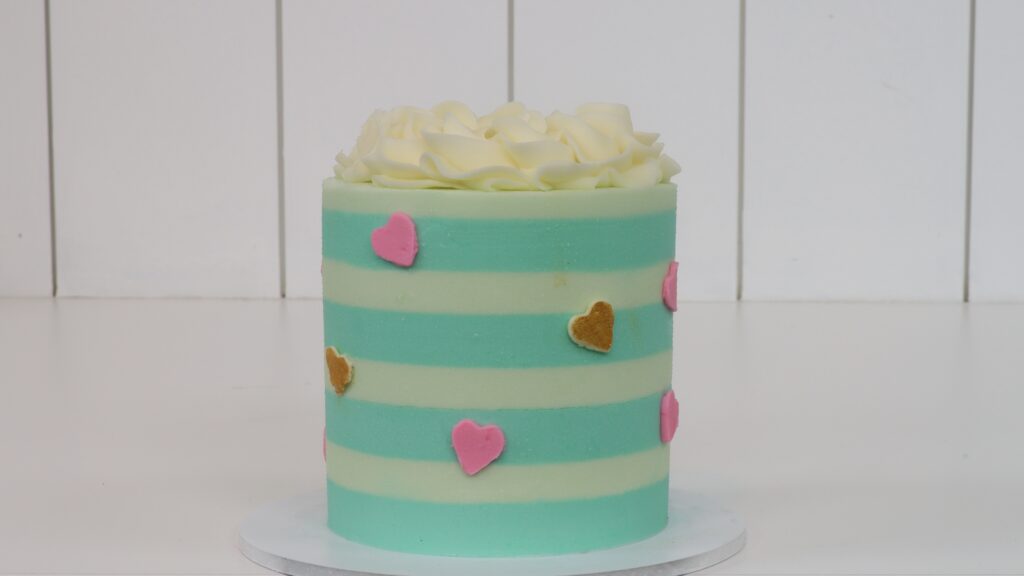
The lines on the wall are really obnoxious here. With an out of focus background, they were blurry and looked more interesting than distracting.
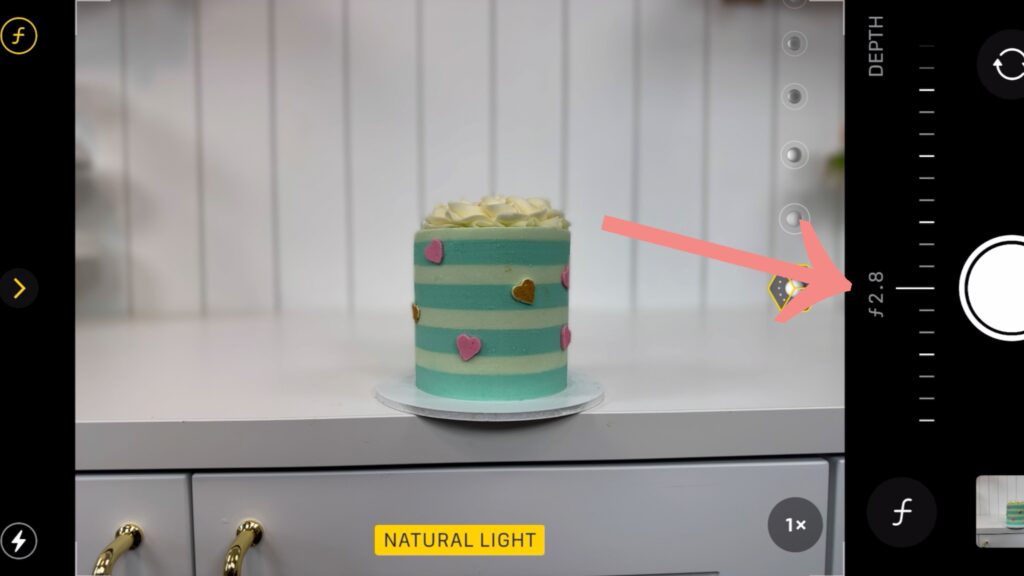
On an iPhone, choose portrait mode and tap the F at the top of the screen. This will display a bar with the F numbers. Scroll anywhere up to 16 or anywhere down to 1.4.
Adding fabric like a kitchen towel can complement the colour scheme of the cake. It can also hide the join between the counter or table and the wall. And it makes the photo a bit more interesting!
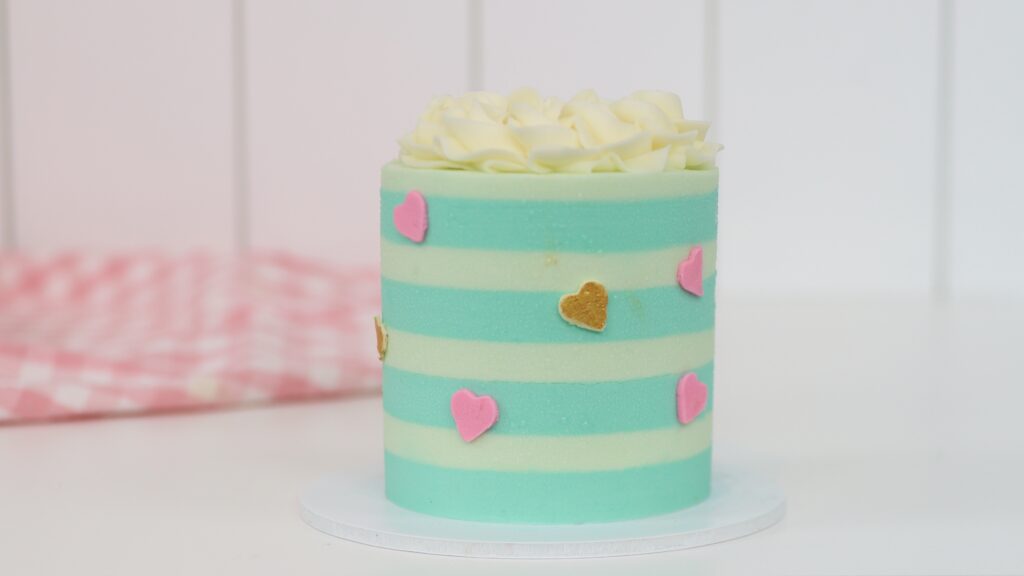
Pull the fabric towards the camera to cover up more of the background or leave it against the wall for a splash of colour.
Next, look at the difference between the previous photo of a cake on the counter and this next photo of the cake on a cake stand:
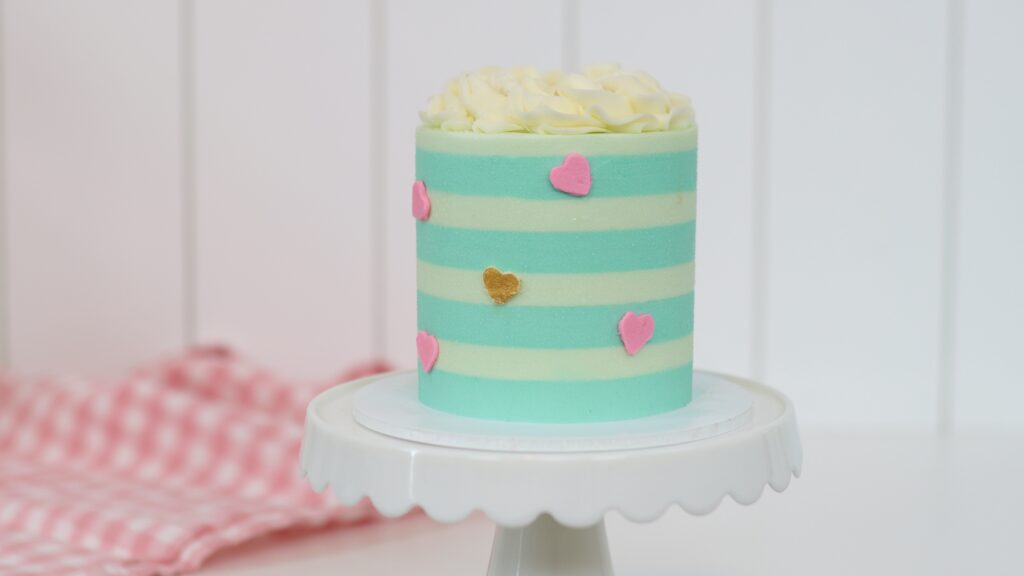
The cake stand makes the photo more interesting and makes the cake look more elegant.
For bonus points, instead of putting the cake on its cake board onto a cake stand, lift it off the cake board first!
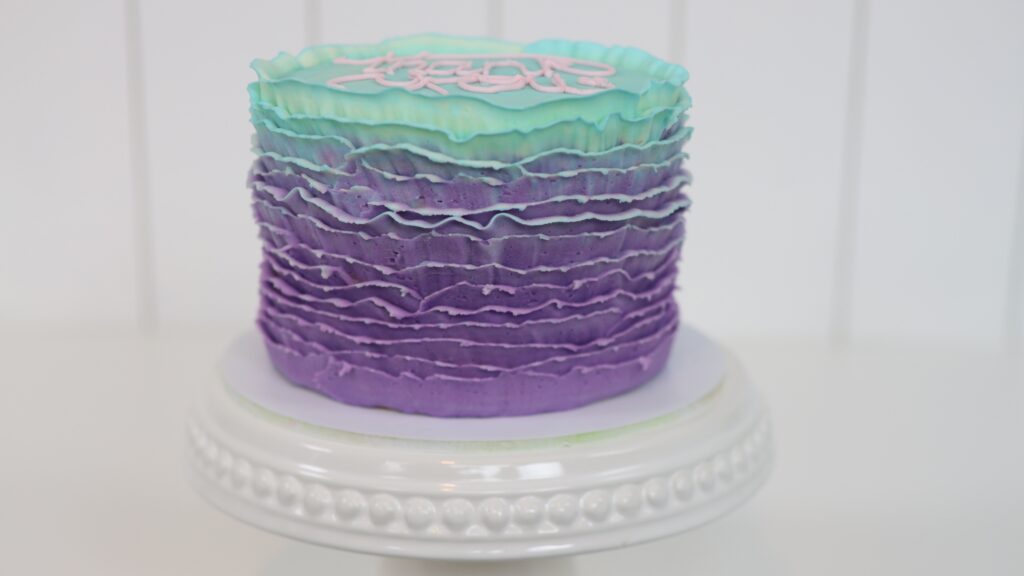
Chill the cake in the fridge for a few hours and then slice underneath it with an
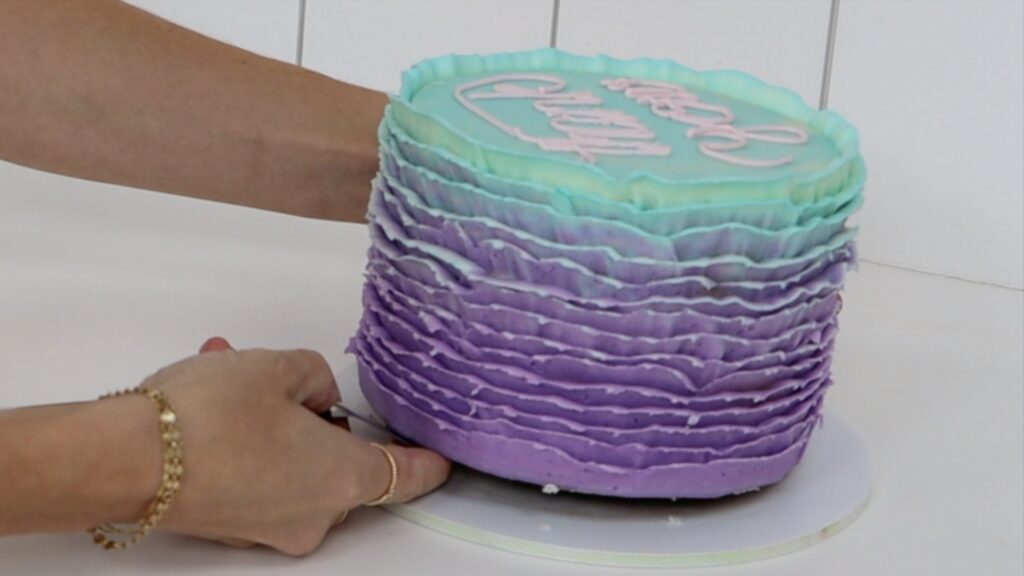
You won’t damage the frosting because it’s cold and firm.
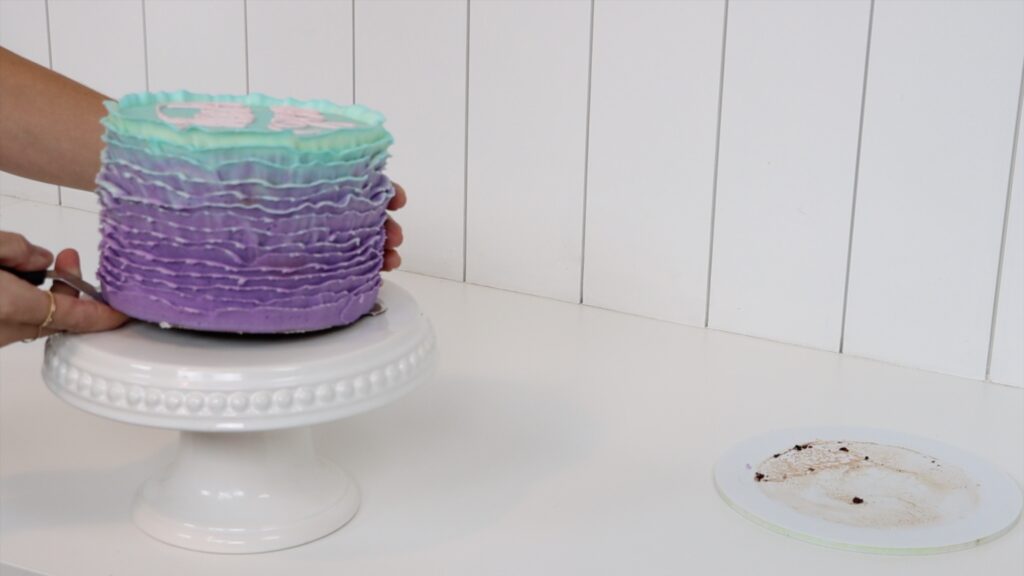
Doesn’t this look much better now, than with the cake board in the photo, too?
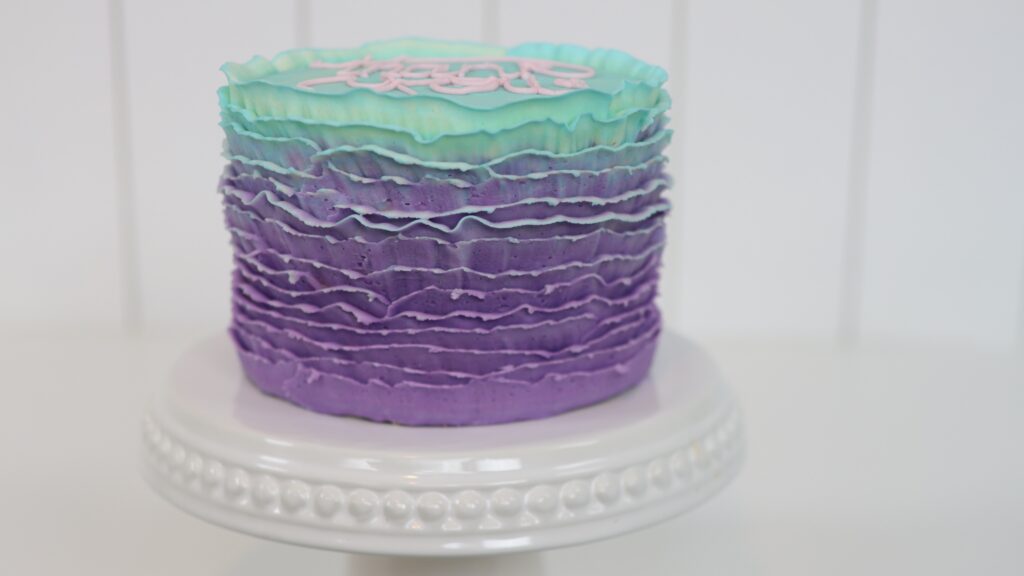
Every cake has a front and a back. Sometimes it’s obvious, for example on a cake with a message or decorations on the front side only. But often, you choose the front and back when you decorate a cake and take photos of it. The back is your least favourite side, with any imperfections, and the front is your favourite side! Make sure the front is facing the camera, and lined up straight, when you’re taking your photos.
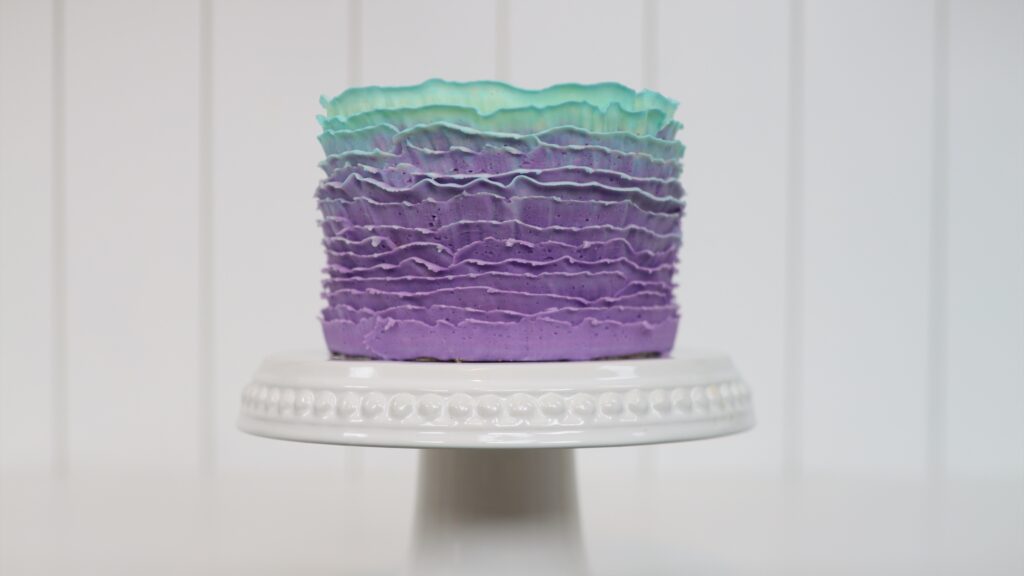
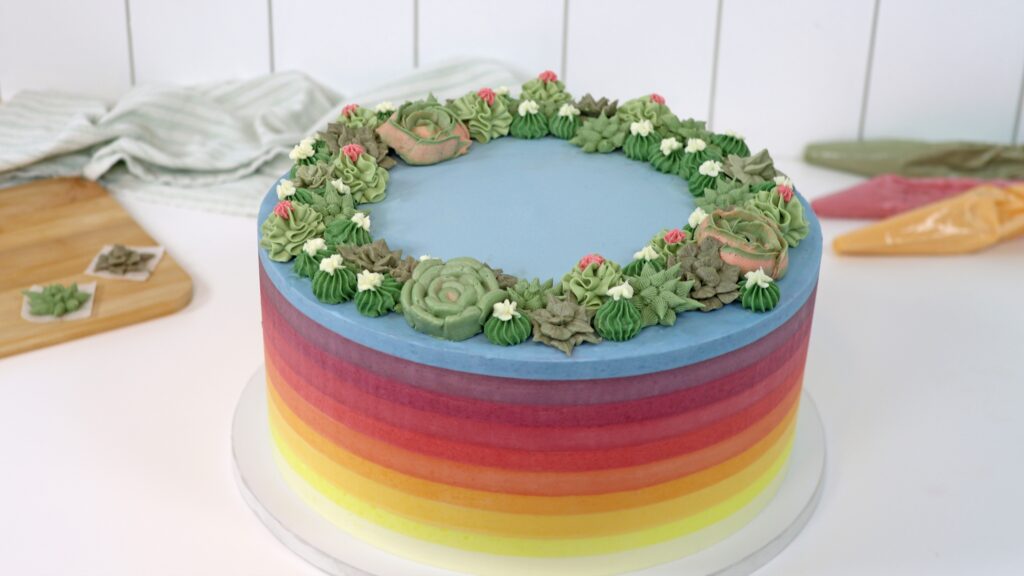
Photo props sound fancier than they are. Whatever you used to decorate the cake can be a prop, like piping bags! If they’re just enough in focus to know what they are, they can make the photo more interesting without distracting from the cake. On this cake, which I teach how to frost and decorate in my Layer Up program, I've placed piping bags and some extra piped succulents behind the cake:
Instead of decorating tools you can use things you have that match the colour scheme or theme. These cute Christmas trees from Target actually inspired this cake:
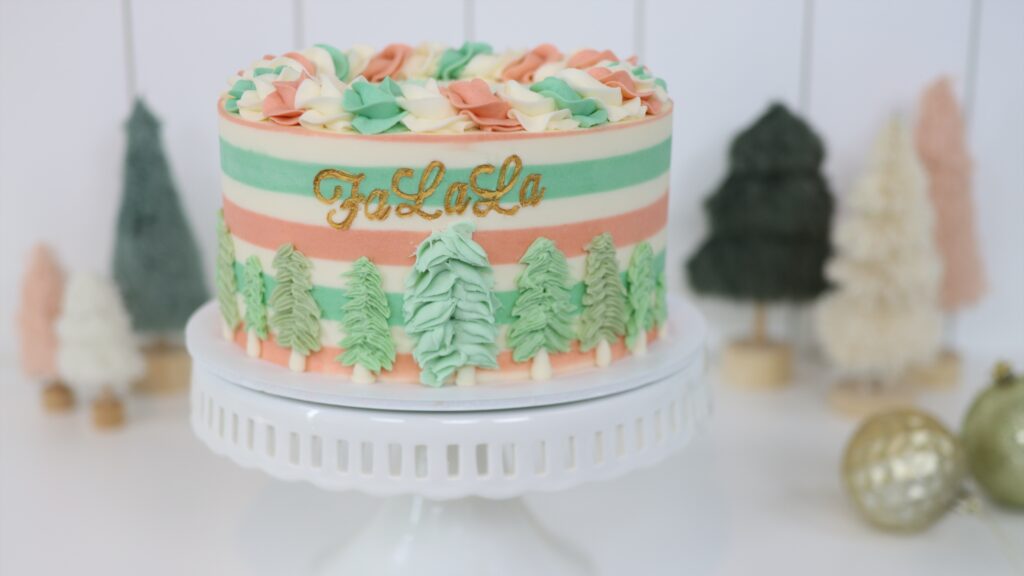
It takes a lot of time to set up your cake and lighting and props and camera or phone. Now take the time to take photos from different angles and distances and positions so that you have a variety of shots. You can choose your favourite photo angle or use them all to show off different parts of the cake. On social media you could use photos taken at different angles on different days. For your website, you might use photos of the same cake taken from different positions for different pages.
It’s also a good idea to take both landscape and portrait photos. Alternatively, zoom out so that you can crop the same photo into a landscape and portrait version. You can use landscape photos on Facebook, square photos on Instagram and vertical photos for Instagram reels, YouTube shorts or TikToks.
I hope these 10 tips will make your cake photos better! Tell me in the comments which tip you're going to try for your next cake photos. Learn hundreds of cake decorating techniques on my online cake school, where you’ll find individual courses and also membership programs to take your cake decorating from beginner to professional! I hope to see you there!
You can also watch a video of this tutorial on how to take better cake photos:
