Ever wondered how bakeries make cakes so quickly, easily, and profitably? I’m going to share 11 secret tricks that bakeries use to make cake decorating quick, easy, and more affordable, AND to make their cakes look beautiful and taste delicious!
If you prefer to watch a video of this tutorial, scroll to the bottom of the page.
Bakery secrets for speed
#1. Quick clean-up
Minimize time spent cleaning up by using a baking sheet or tray to catch falling ingredients – sprinkles are the worst so this is great for those! A non-slip mat is useful to hold the cake in place while you decorate it.
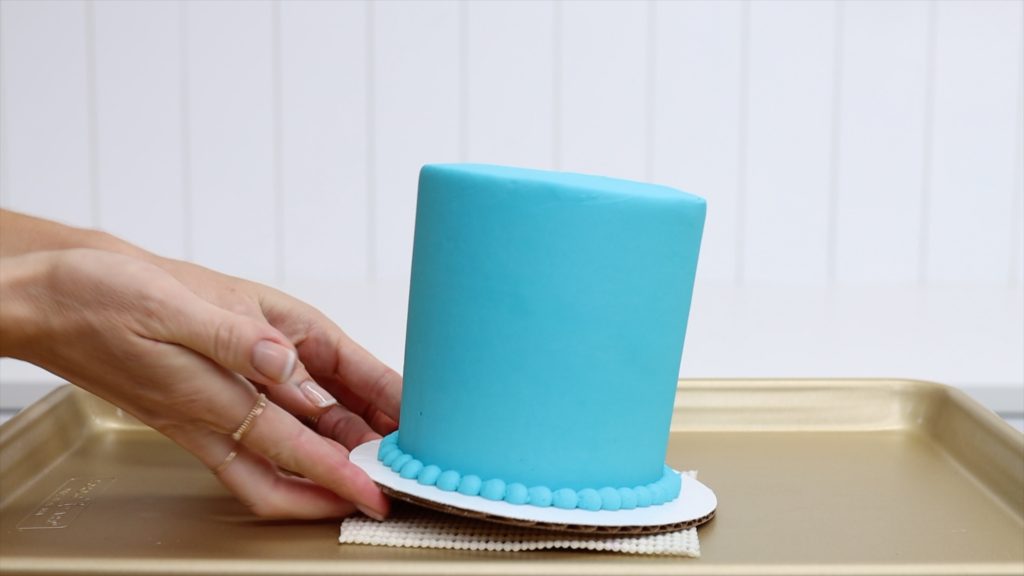
As you decorate, the sprinkles will fall down and bounce off the cake board but the rim of the tray will catch them. This way, you won’t be stepping on crunchy sprinkles on your floor for weeks!
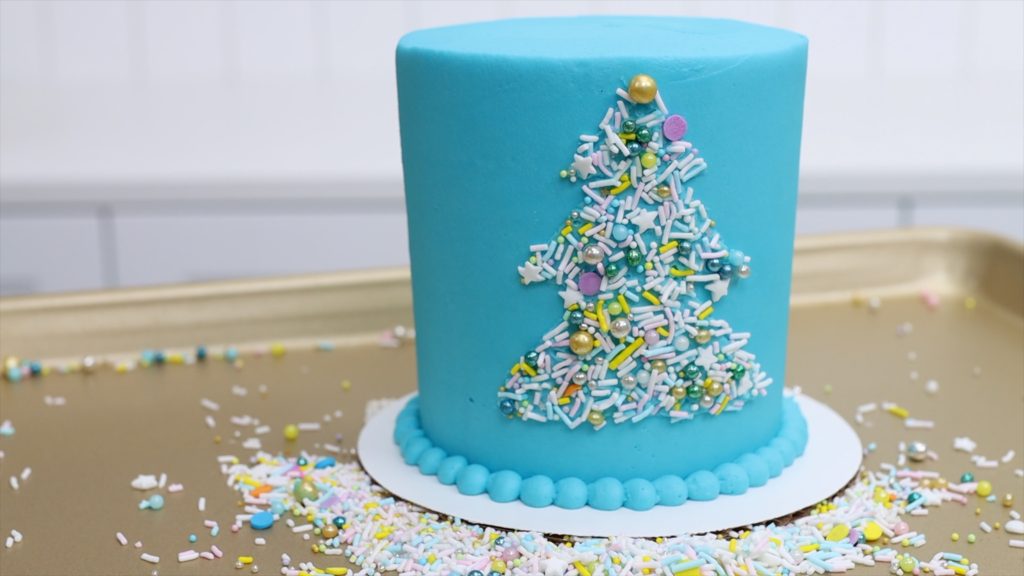
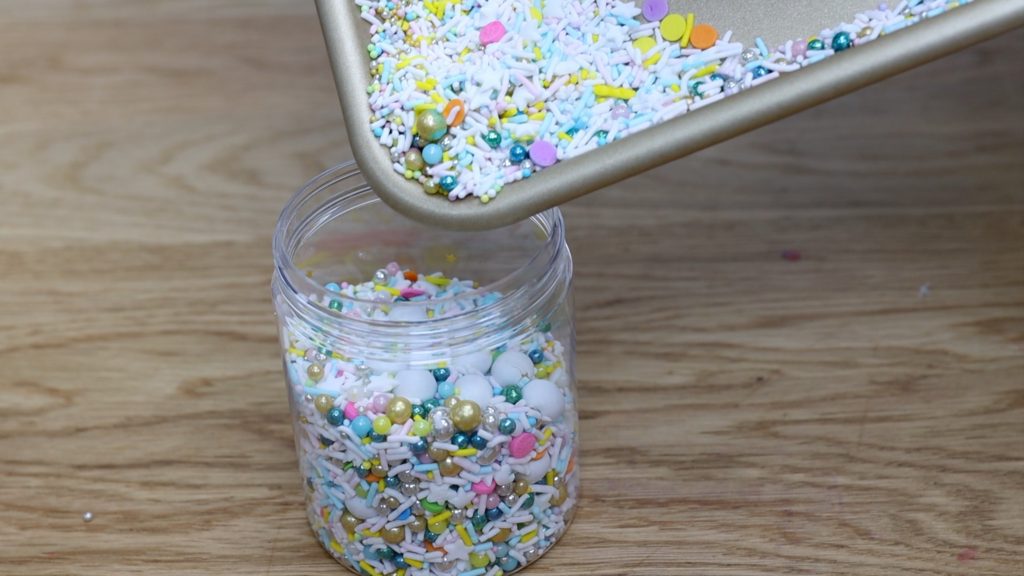
When you’ve finished decorating, tip the tray so that all of the sprinkles roll down into one corner and pour them back into the jar or packet to use for another project!
#2. Quick cake toppers
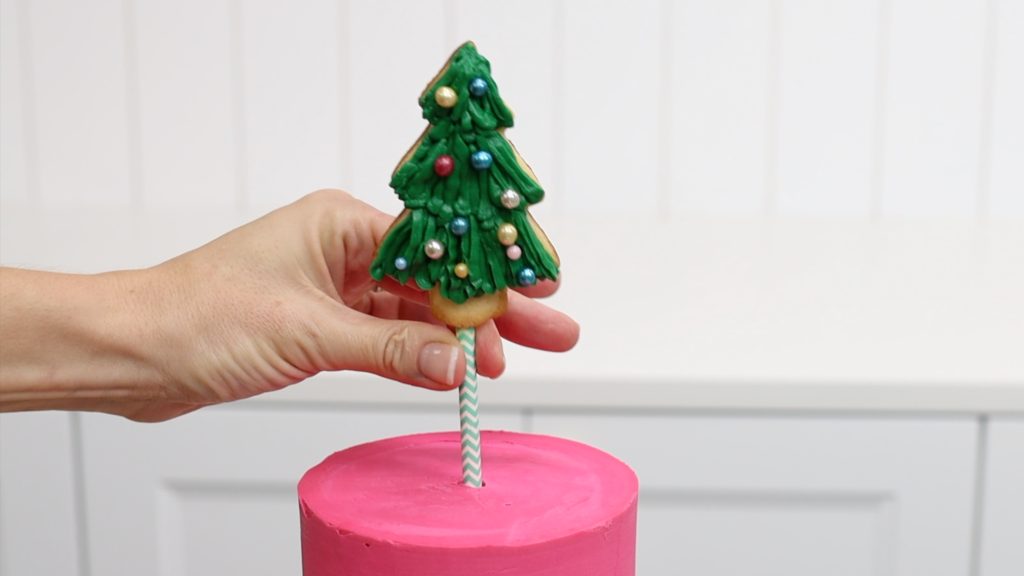
Fondant is beautiful but it’s very time consuming to work with. For a much quicker way to make cake toppers, bakeries will use cookies instead!
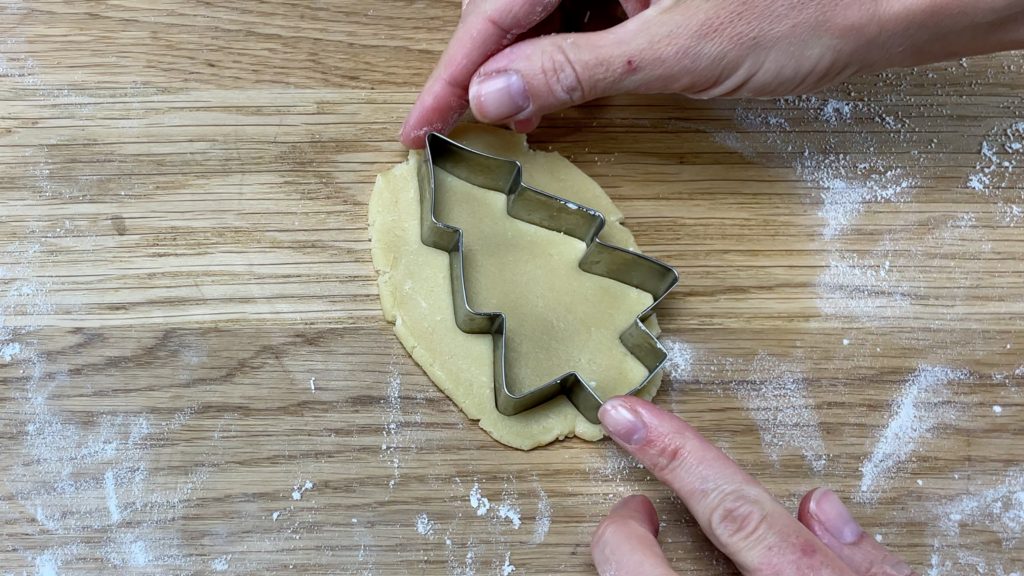
Remember to press a paper straw or cookie stick into the back before baking. This will act as support to hold the cake topper in place on top of the cake.
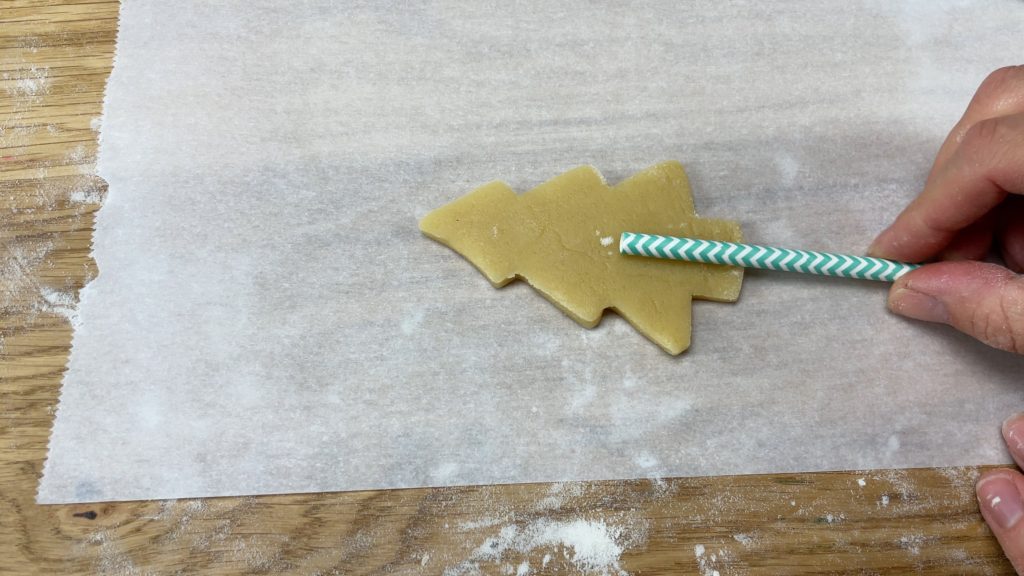
Not only are these much faster to shape and decorate with buttercream, they’re also delicious so they’re sure to actually be eaten!
Bakery secrets to make things easier for cake decorators
#3. Increase productivity
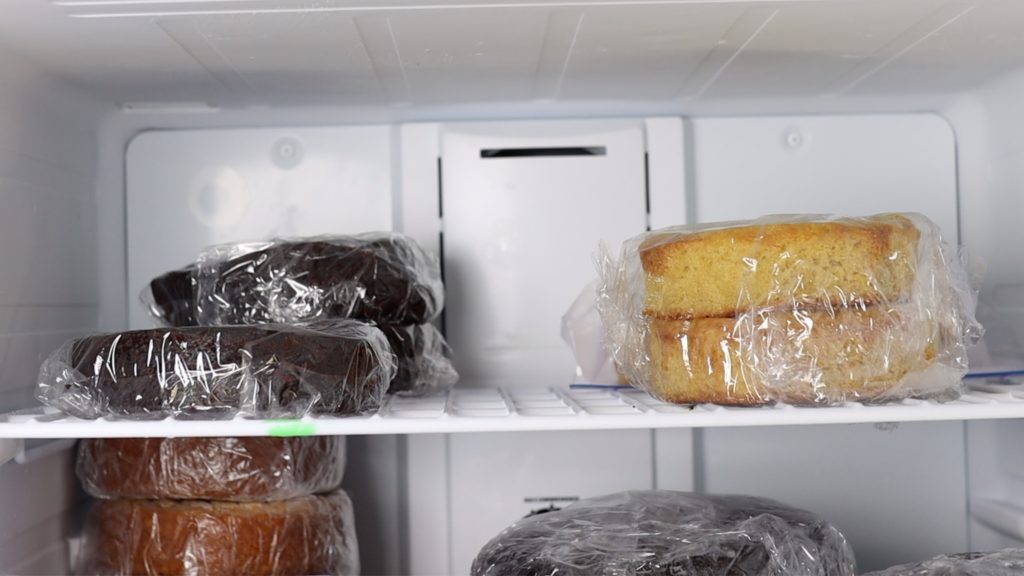
To make scheduling easier and increase productivity, bakeries hardly ever bake, frost, and decorate a cake on the same day. The secret for spreading out the stages of making a cake is the freezer. After baking cakes, let them cool and them wrap them in two layers of cling film or Saran Wrap. This makes them airtight and keeps them moist.
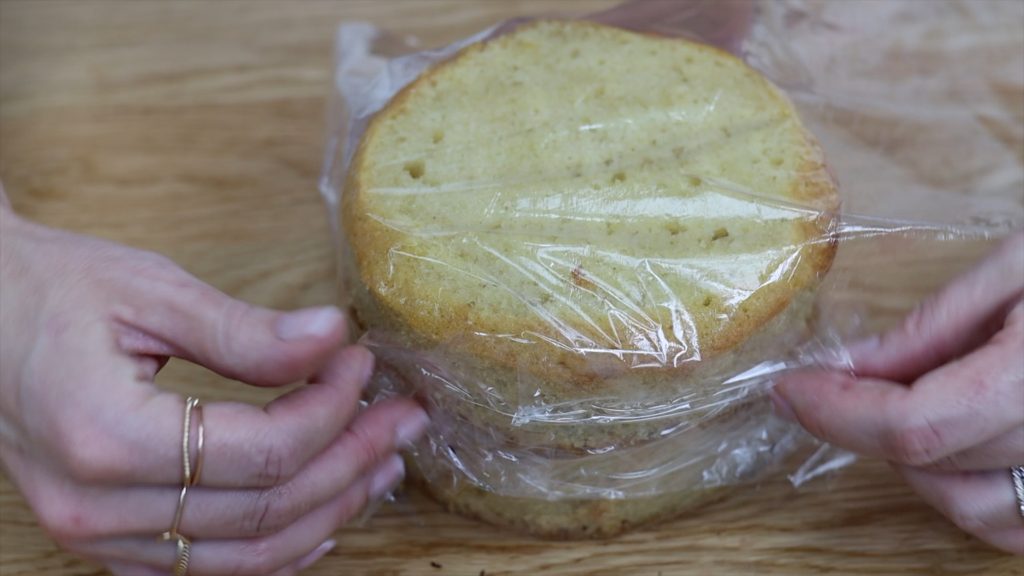
Put the wrapped cake layers in the freezer for up to a month. This means you can mix double or quadruple batches of batter to save time, bake several cakes at the same time, and then pull them out of the freezer on different dates to frost and decorate then.
#4. Cheap tiers
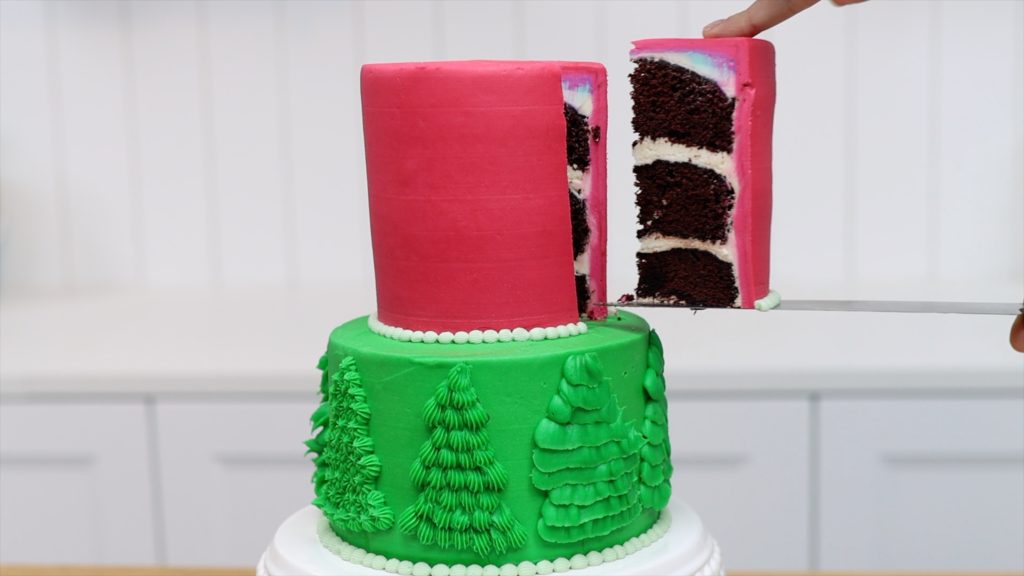
If you make cakes, I’m sure someone has asked you for a four tier cake to serve… two people. Tier cakes are gorgeous but not always practical and that’s where dummies come in.
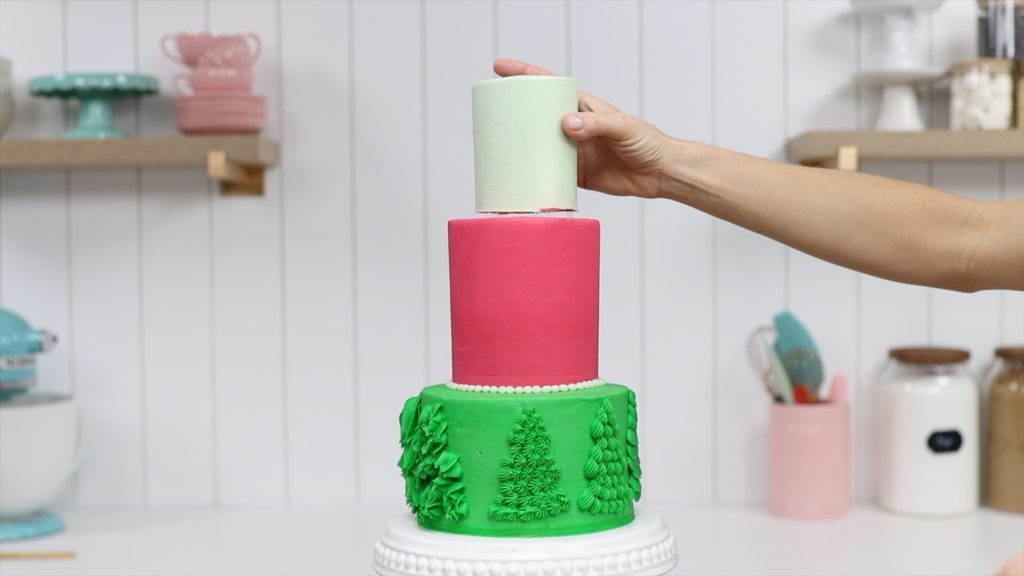
These styrofoam cylinders look just like cakes when they’re frosted and decorated. You can buy them in every size (width and height) and use them to replace one tier or several!
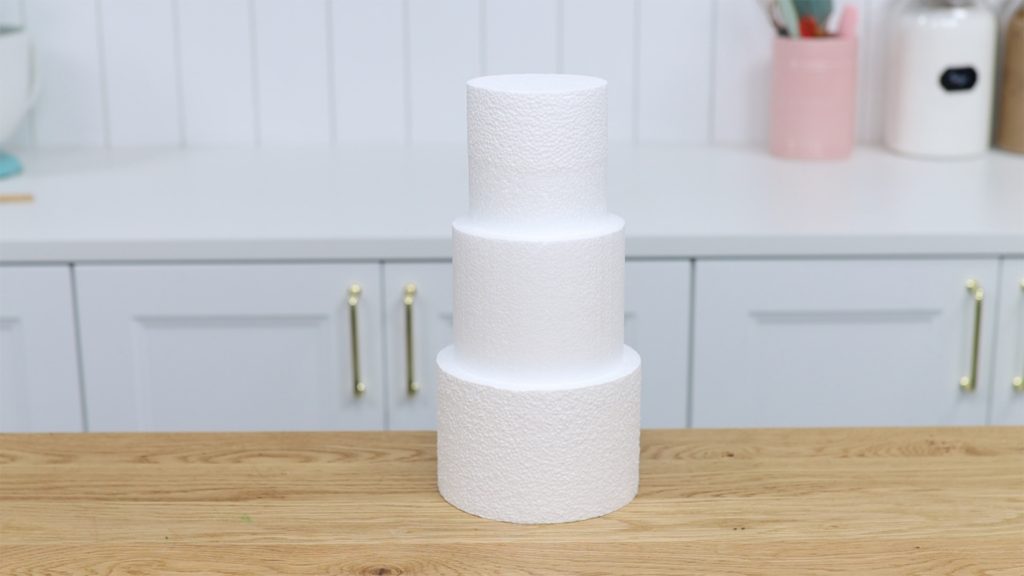
Cake dummies make it easy for bakeries and cost effective for customers to create the tier cake of their dreams without have leftover cake for weeks.
Bakery secrets to increase profits
By minimizing waste and lowering costs, bakeries increase their profits which is a priority for bakeries as well for anyone who wants to make money with their cakes.
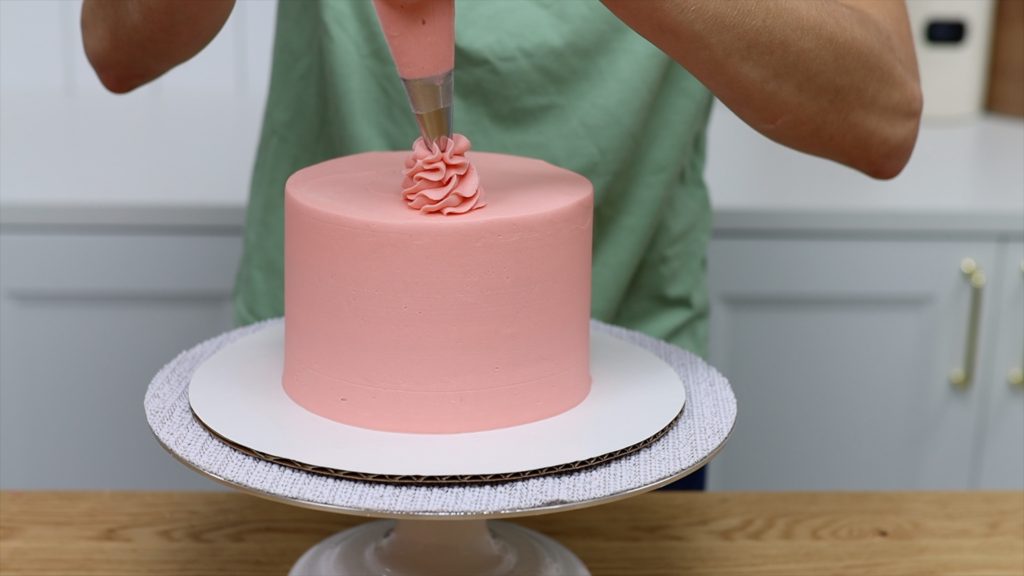
#5. Reduce waste
Wasted ingredients mean higher costs and lower profits so bakeries will re-use buttercream leftover from frosting cakes. You can use the leftover frosting as is to pipe borders around a cake or swirls onto the top of the cake.
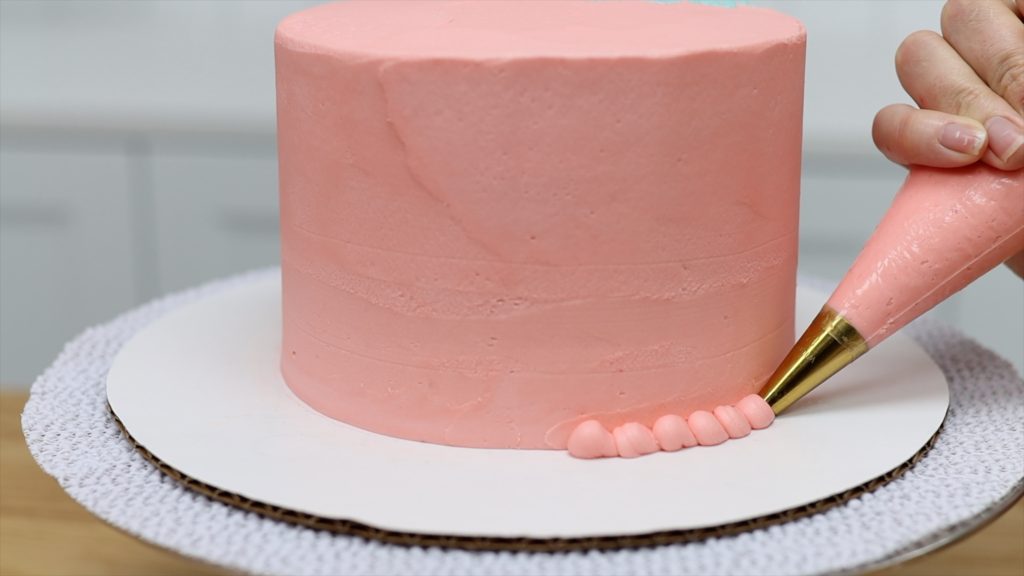
Another option is to add colour to the bowl of leftover frosting to tint it another colour to use for the decorations on this cake, or on the next cake!
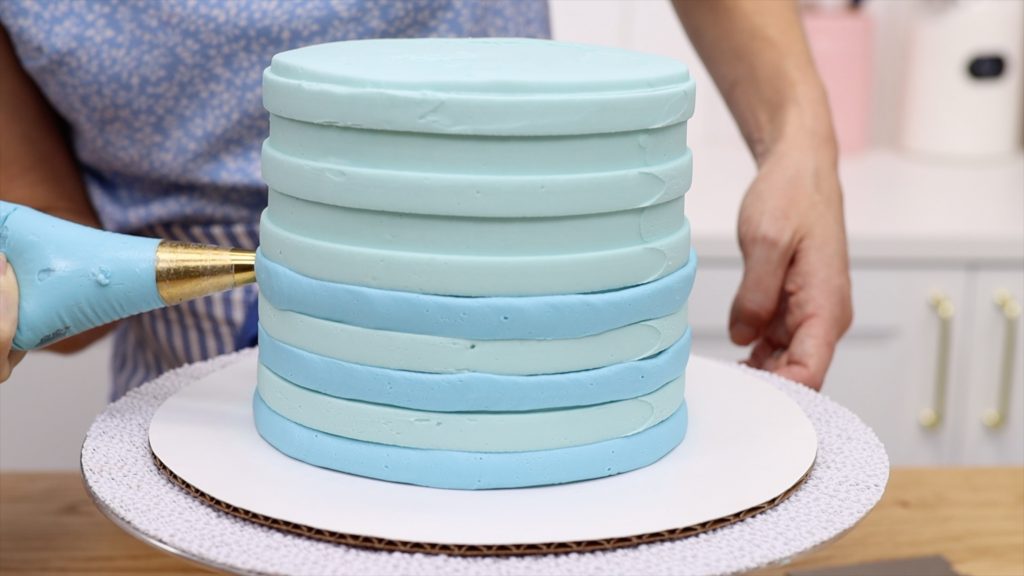
#6. Smart tool investing
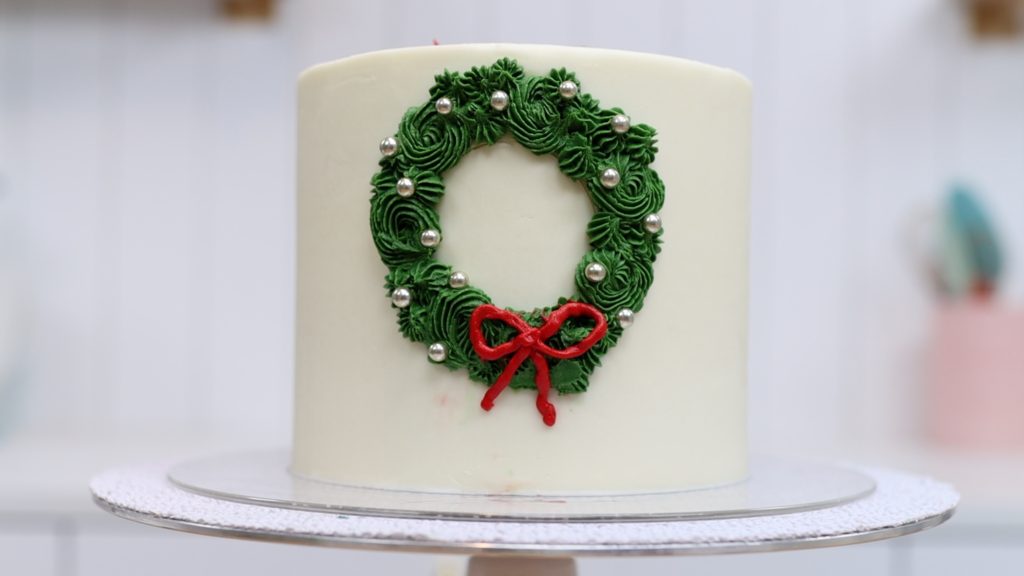
To stretch any investment in tools, use cake decorating tools for cookies and vice versa. For example, cookie cutters provide a neat outline for designs on cakes, which can then be piped onto.
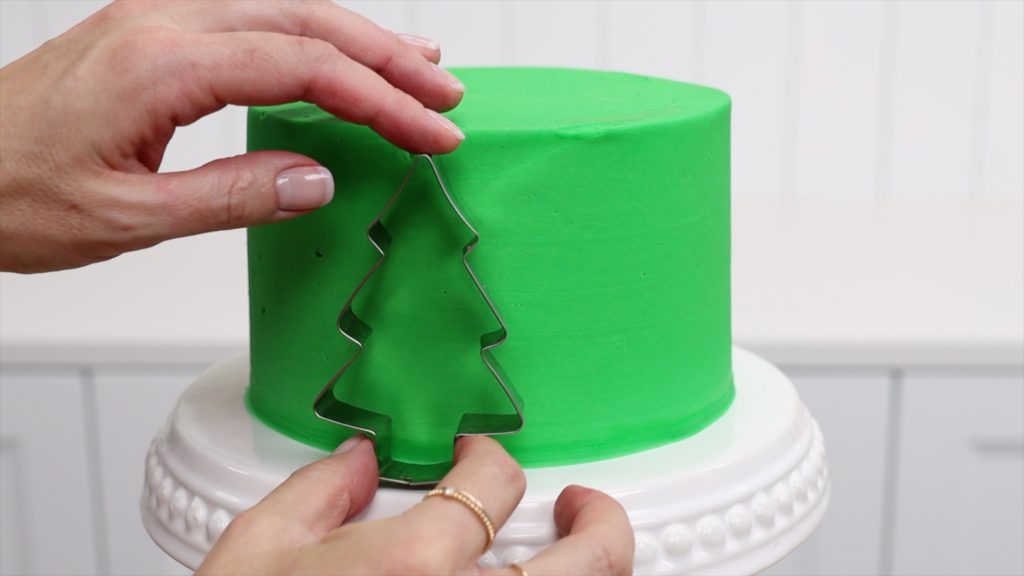
If you’re buying cookie cutters, choose shapes that can be used for lots of designs. Simple shapes are the most versatile like a set of circles or squares of different sizes.
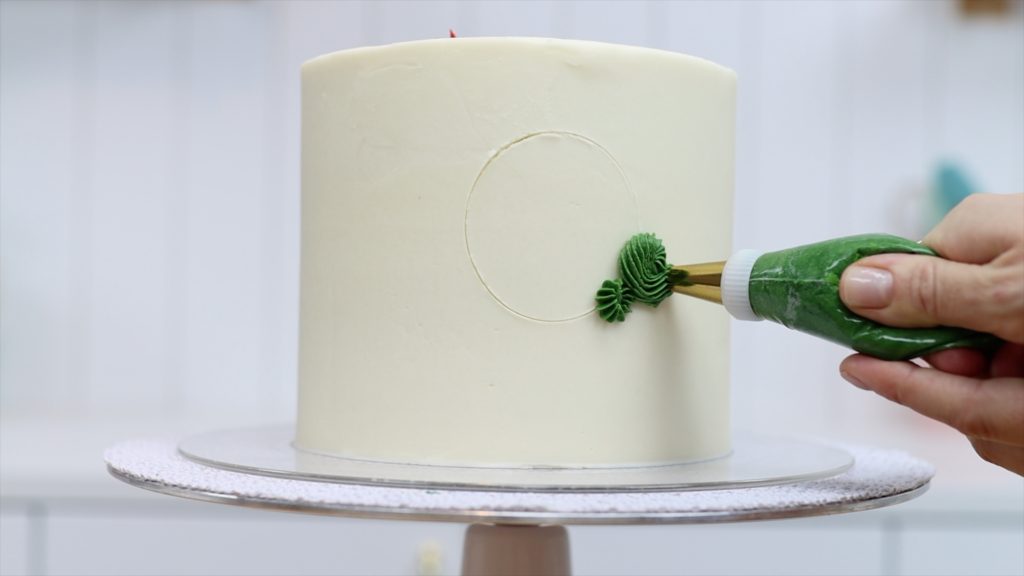
Using cookie cutters is much quicker than printing or sketching a design yourself. It also guarantees that if you’re piping a circle, that circle will be round instead of lopsided, which would probably happen if you free-handed it.
#7. Cheap piping bags
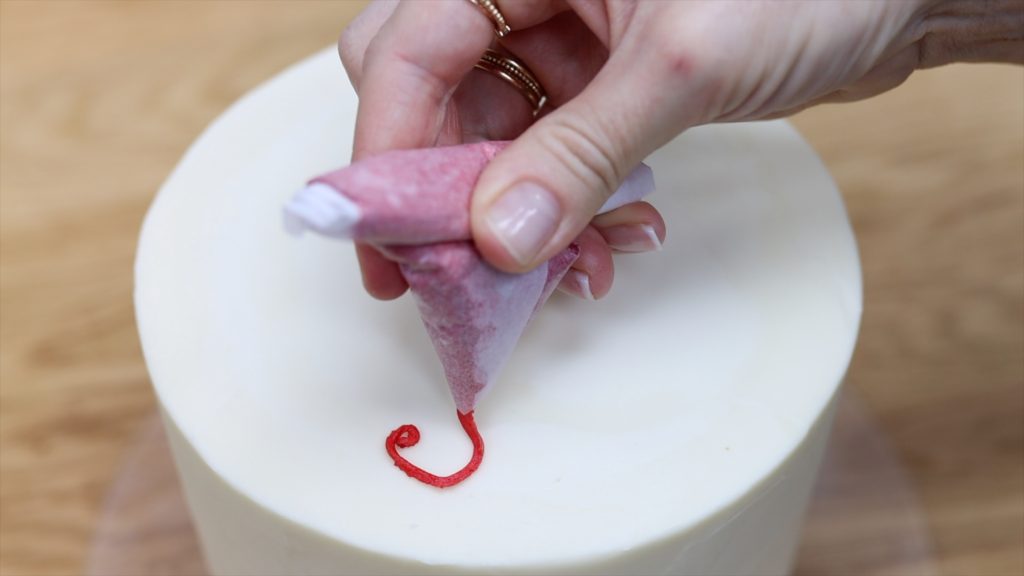
Bakeries love piping because it’s quick and easy but makes cakes look highly decorated. Piping bags are expensive but using parchment paper, you can make your own piping bags for a fraction of the price.
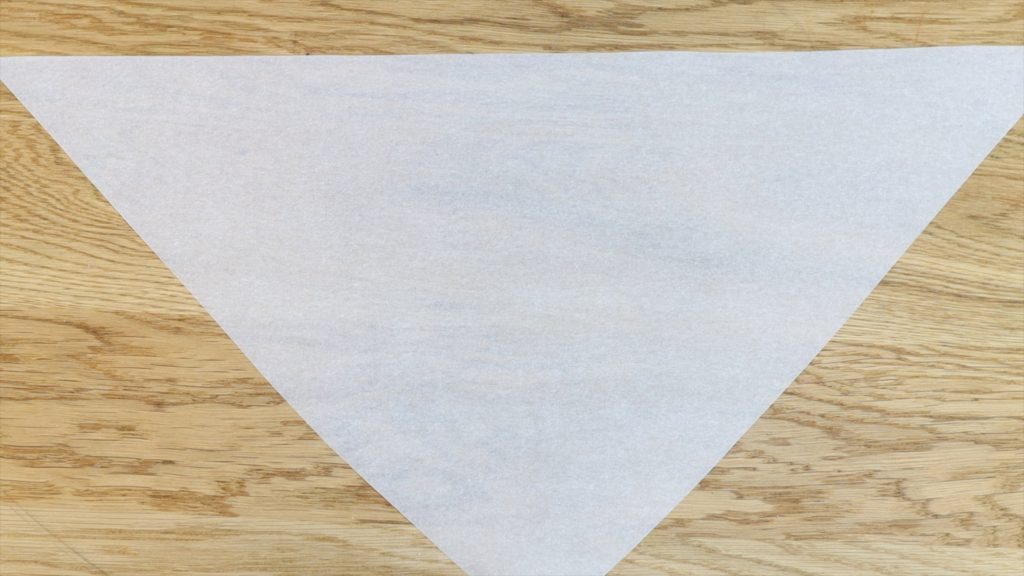
Cut a triangle and fold one corner down and underneath the bottom corner.
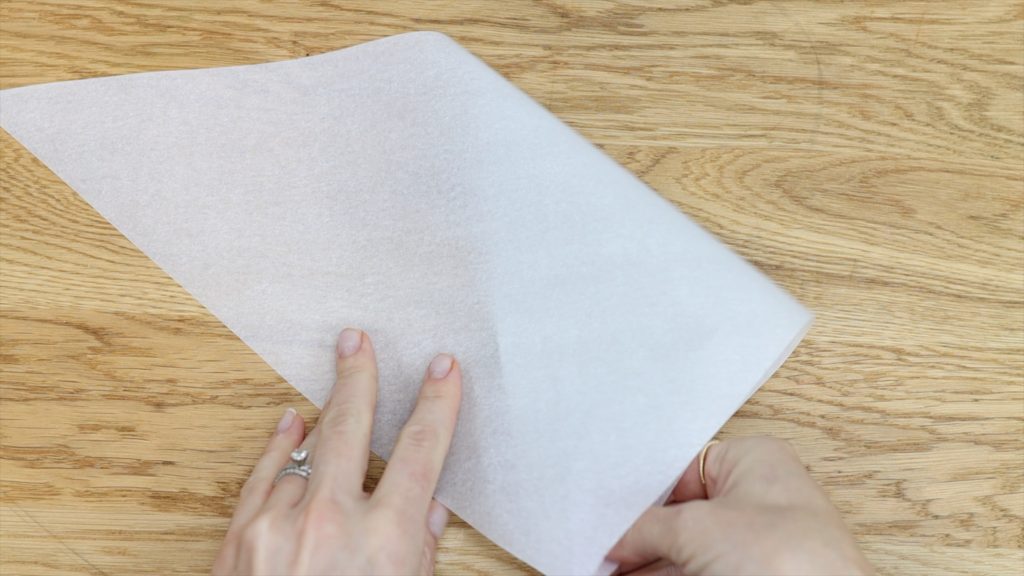
Do the same with the other corner and you’ll have three points down here at the bottom.
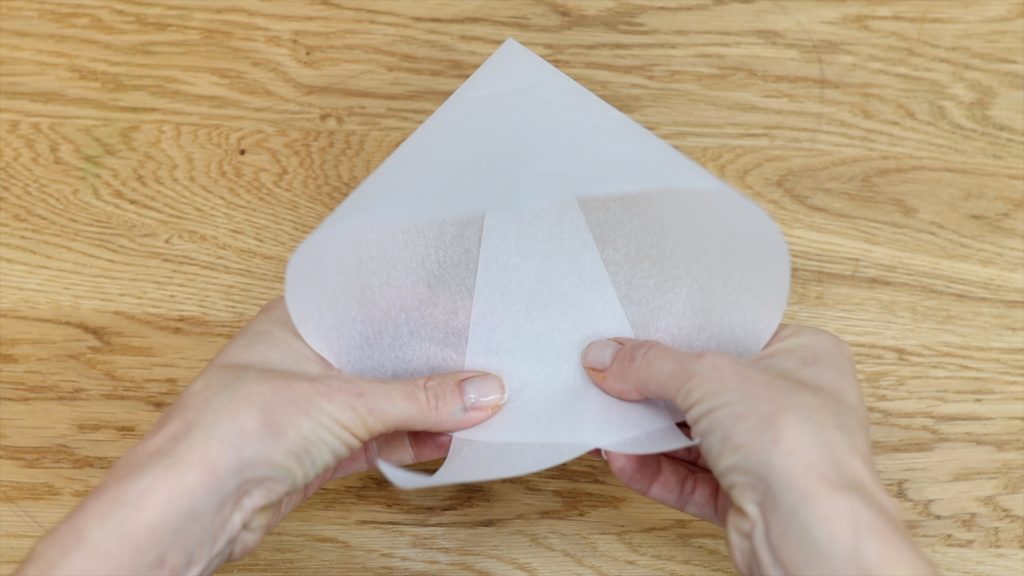
Pinch them and fold them over to make a cone, which you can fill with buttercream and then cut the tip off to pipe a message or a border or a design.
#8. Bold colours
You could use a whole bottle to tint buttercream red or black but bakeries limit how much they need to use with this trick: first, use gel, not liquid colours, because they’re more concentrated so you need a lot less.
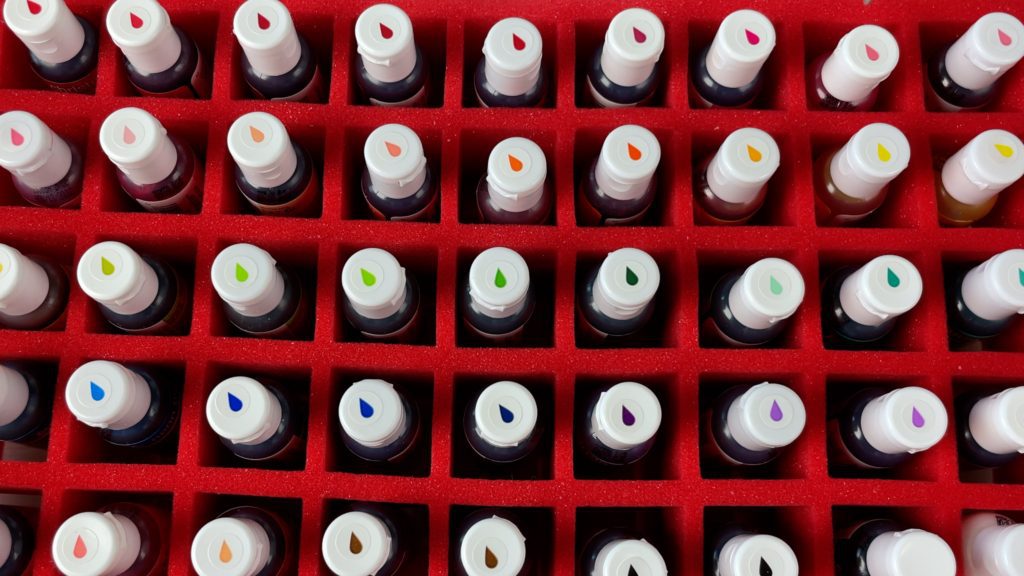
Then, add just enough to make your buttercream a dark pink or very light red. You would need almost double this amount of gel to make a bold red colour. Now put a lid on the bowl or cover it tightly with cling film or Saran Wrap.
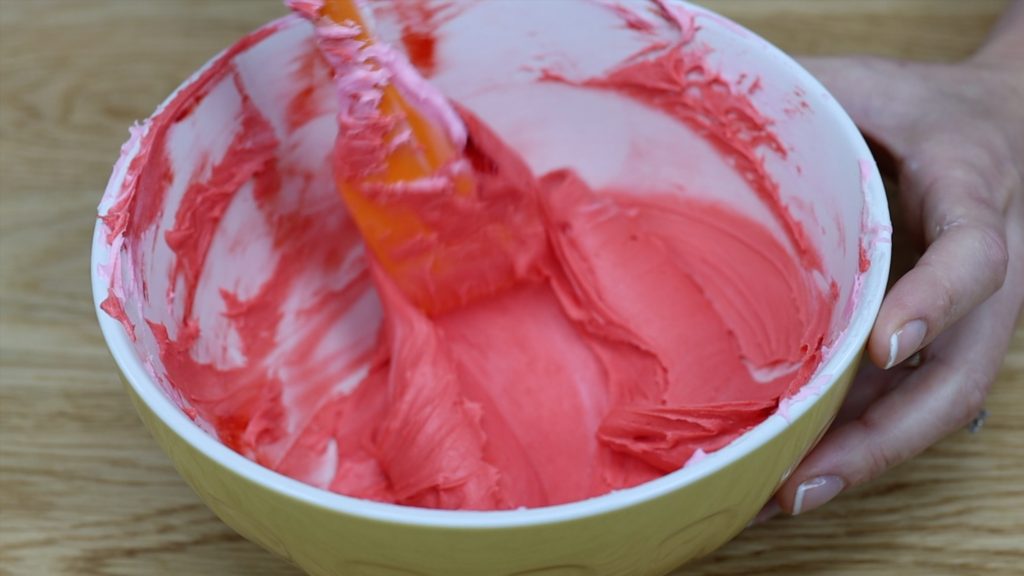
Leave it for an hour or overnight, and tada! Bright red buttercream with a minimal amount of gel!
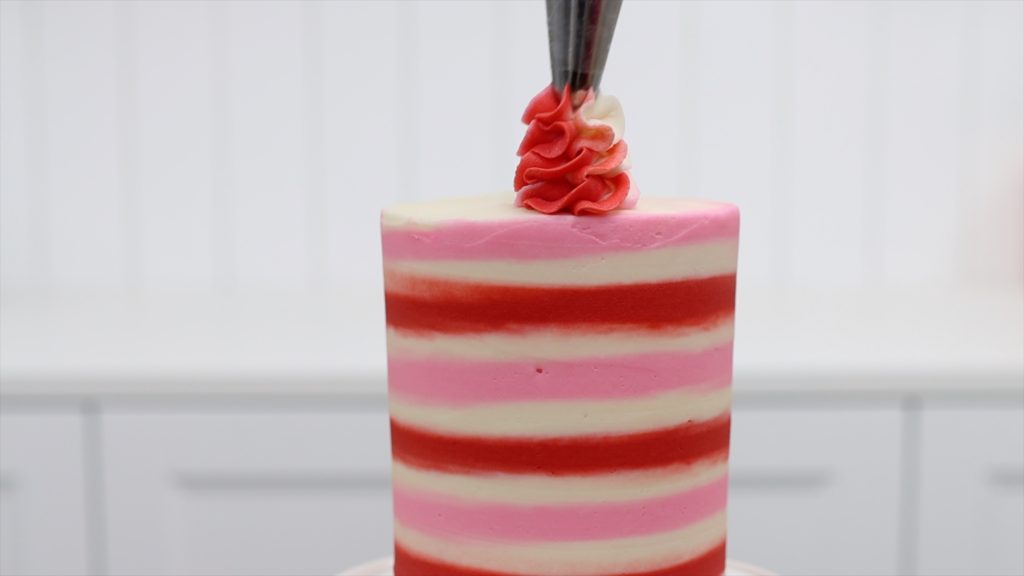
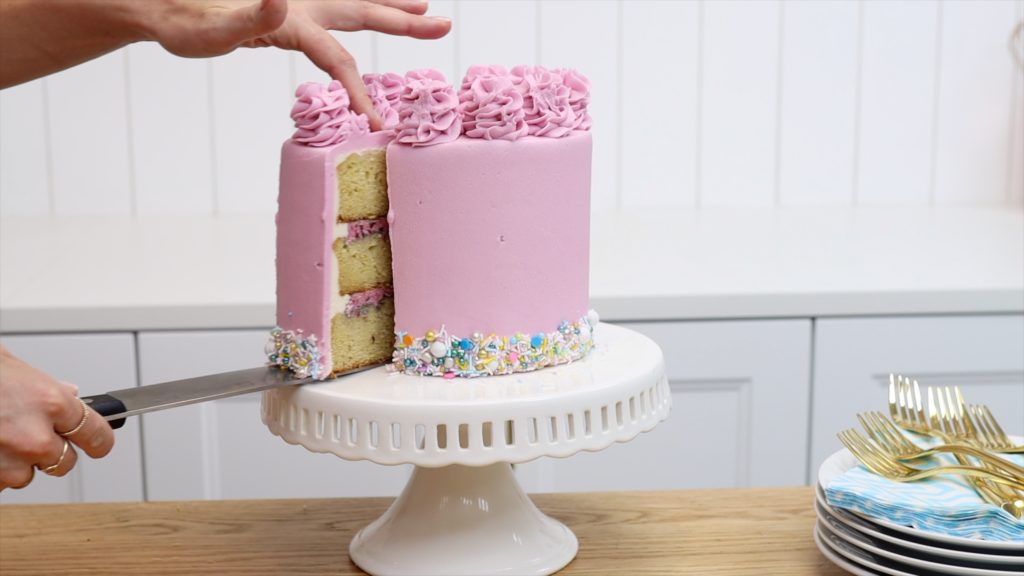
Why do people order cakes from bakeries? They’re beautiful and delicious!
Bakery secrets for beautiful and delicious cakes
#9. Smooth frosting
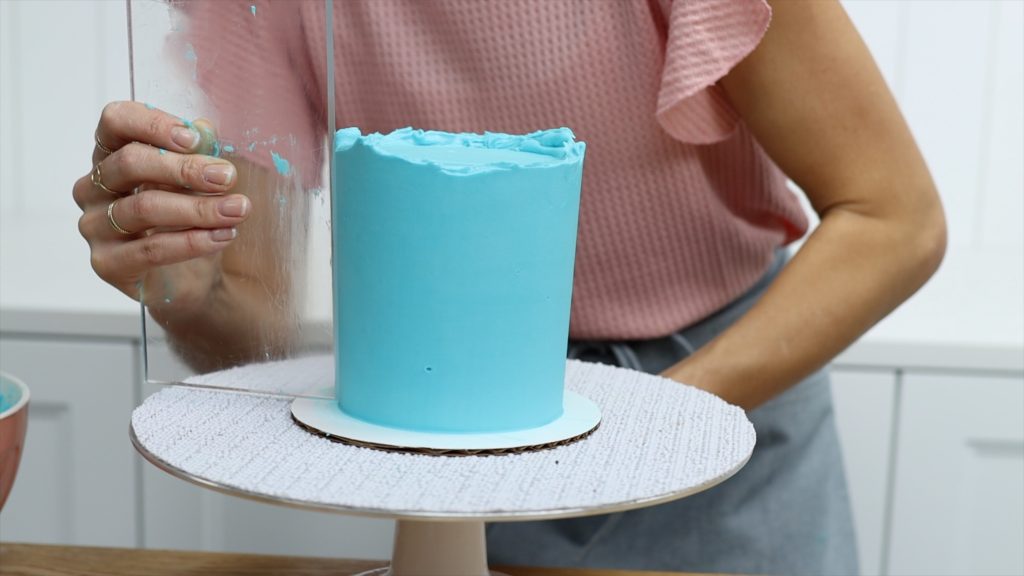
To get super smooth frosting bakeries use metal or cast iron turntables, which have a very smooth spin and that creates very smooth frosting without dents or indents.
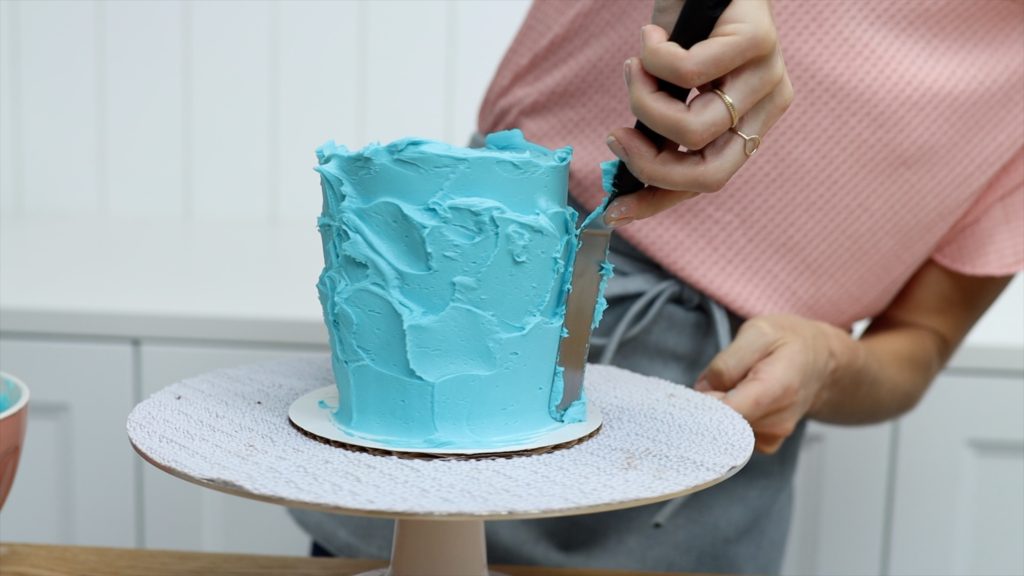
Plastic turntables are much cheaper but their wobbly spin makes it almost impossible to get perfectly smooth frosting and any cake decoration looks its best on smooth frosting.
#10. Flawless cakes
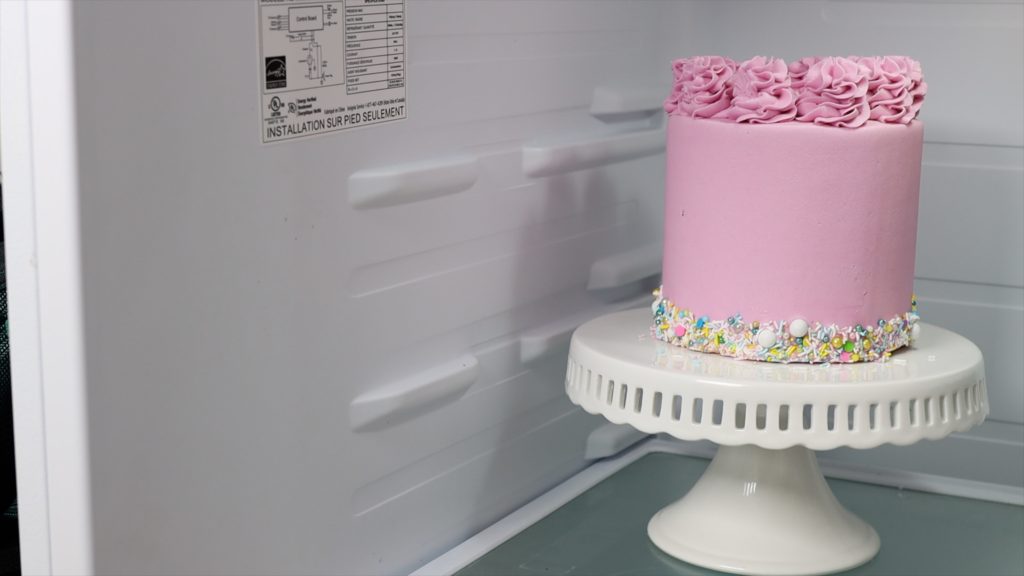
Bakeries refrigerate cakes after decorating them, until they’re picked up or delivered. When cakes are cold they’re firm and the decorations are stable so they’ll survive the vibrations of a car and sudden breaking, and the frosting won’t sink or get bulges in the sides, which happens when they sit out at room temperature for a long time.
#11. Moist cakes
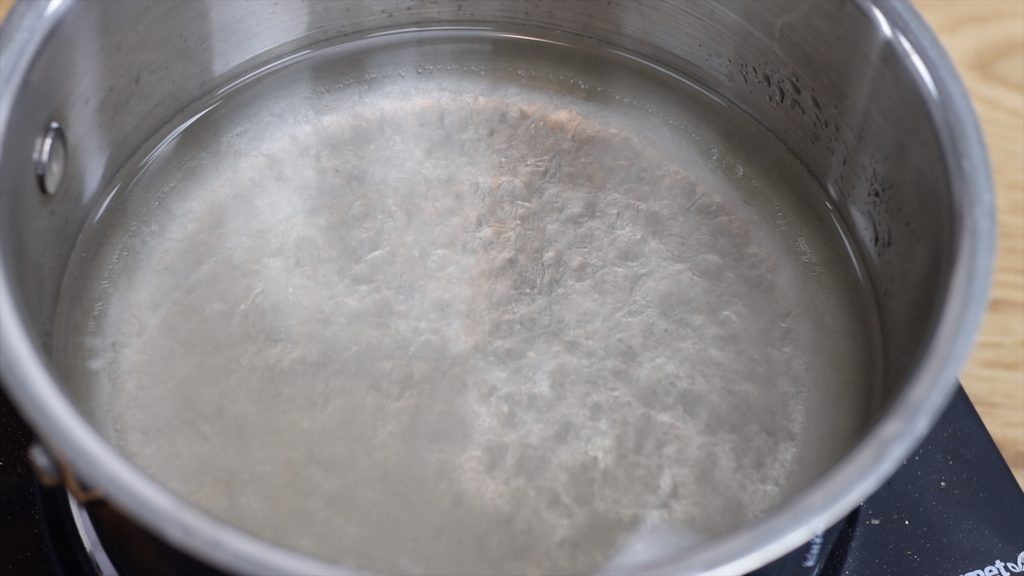
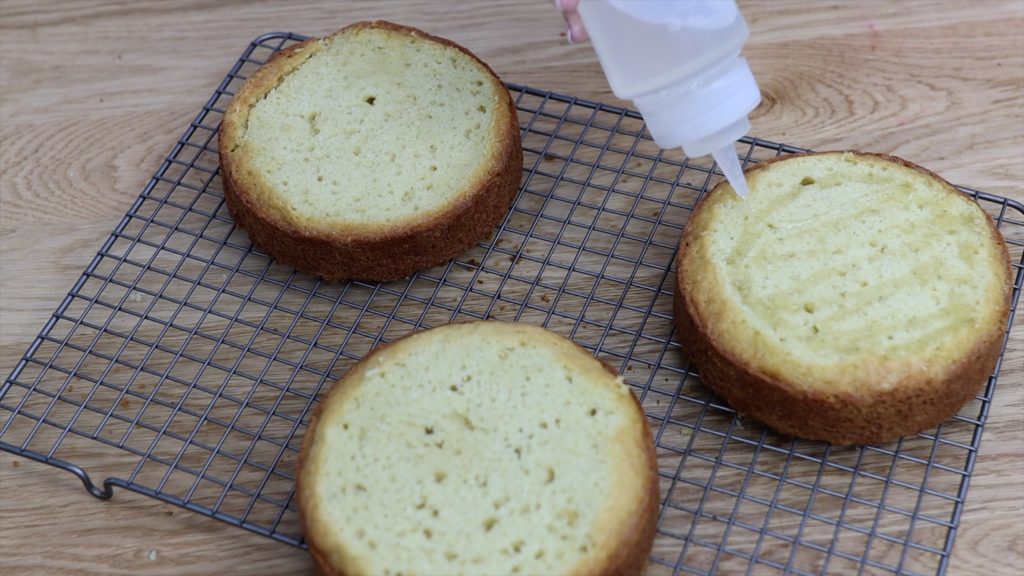
To ensure that cakes stay moist even though they’re rarely baked and decorated on the day they’re picked up, the secret ingredient used by bakeries is simple syrup. This is the formula for moist cakes, even days after baking them!
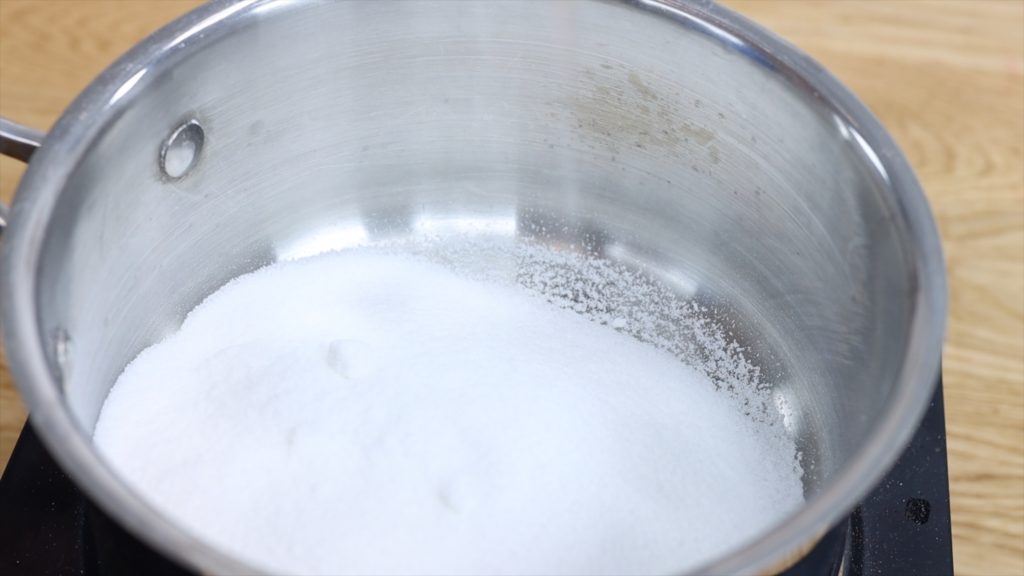
The recipe is super simple, no pun intended: put equal amounts of water and sugar into a pan, bring to a simmer over medium heat, let it cool and then pour it into a squeezy bottle.
Drizzle over cake layers, paying special attention to the edges, and this will keep the cake layers moist for several days, giving you flexibility to bake, frost and decorate cakes in stages if you want to divide the work between different days.
I hope these secrets will be useful to know! Visit my online cake school for LOTS of courses teaching hundreds of cake designs and techniques and join my ClubPLUS for access to them all!
Here’s the video version of this tutorial:
