
You don’t have to be a professional cake decorator to make cakes that look professional! In this tutorial I'll share cake decorating tips that:
Firstly, prevent bulges in the sides of your cake. As you’re assembling your cake, pipe a ring of frosting around the edge of each layer and spoon your filling into the middle.
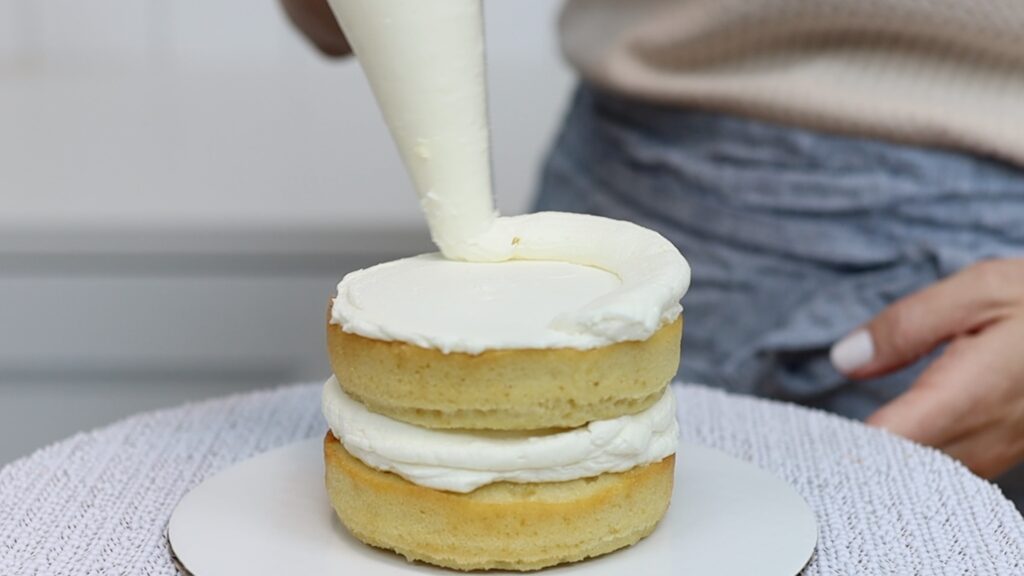
This is called a buttercream dam. It works well for lemon curd, caramel, jams… anything that’s runnier than frosting. The dam will hold the filling in so it doesn’t ooze out the sides. No cake decorating tips will fix a cake with bulges!
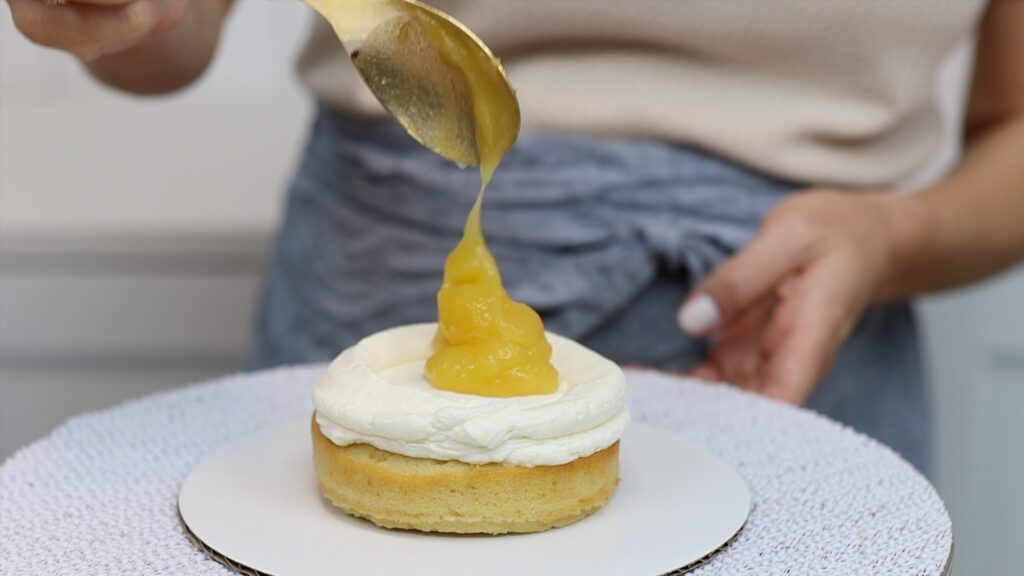
If you skip the dam you'll see bulges in the sides of the cake. Why? As you add cake layers and then frost the cake, the weight of the layers and frosting push down on the filling. As it squeezes out, it causes bulges under the frosting on the sides of the cake. Don’t worry about the dams sticking out - those will become part of the crumb coat, which is the next hack for making cakes look professional.
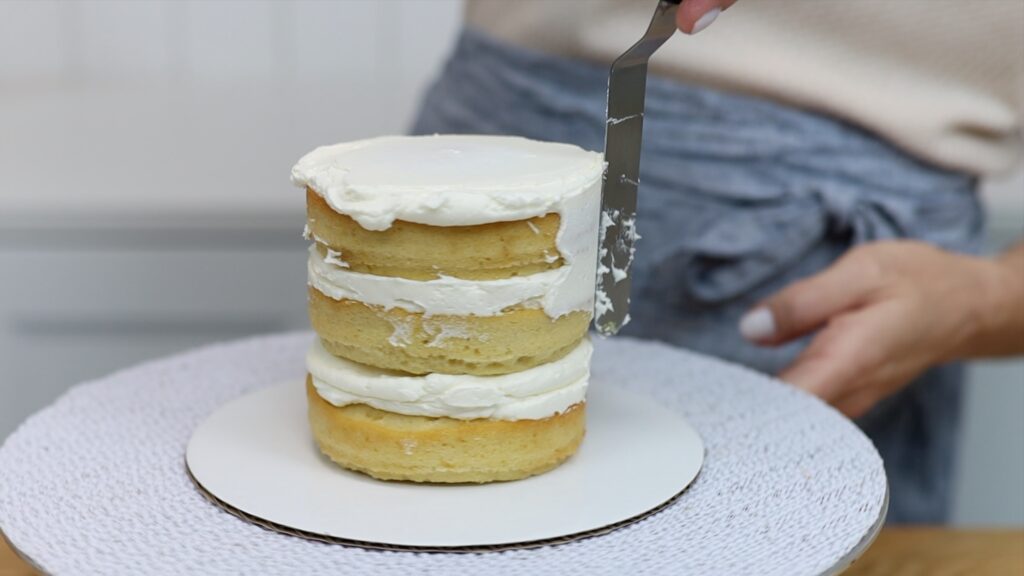
For super smooth frosting with no crumbs in it, take a few minutes to create a crumb coat. Spread frosting to cover the top and the sides of the cake and smooth it a little bit. You want fairly straight sides and a level top.
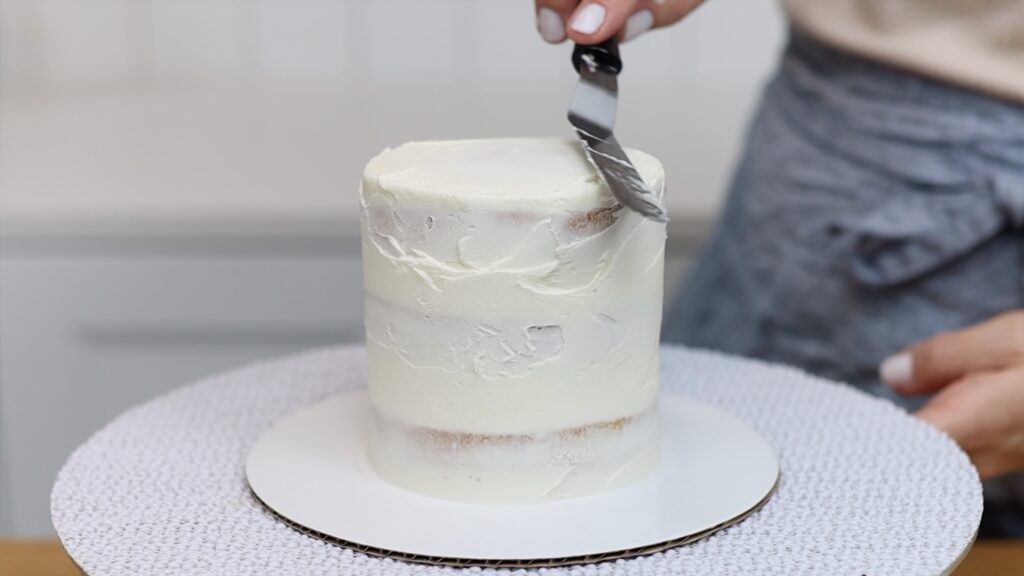
The purpose of this first layer, the crumb coat, is to trap any crumbs that come off the cake. Let the crumb coat set, which takes about 30 minutes in the fridge if you’re using my 4 Minute Buttercream. You want the crumb coat to completely cover the entire cake so that there’s no naked cake exposed.
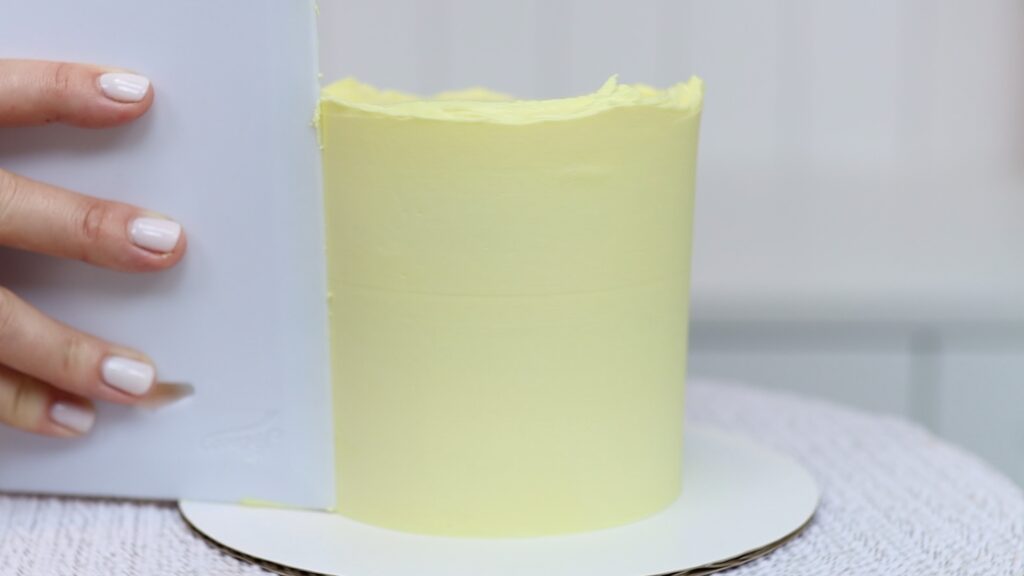
Now when you spread on your final layer, none of the crumbs that came off the cake will get into it. The frosted cake will be smooth, with no visible crumbs.
This is one of my favourite cake decorating tips or hacks! It's simple but really takes cakes to the next level. For a super sharp top edge around the cake, pour boiling water into a glass or cup. Dip a sharp knife into it to heat it.
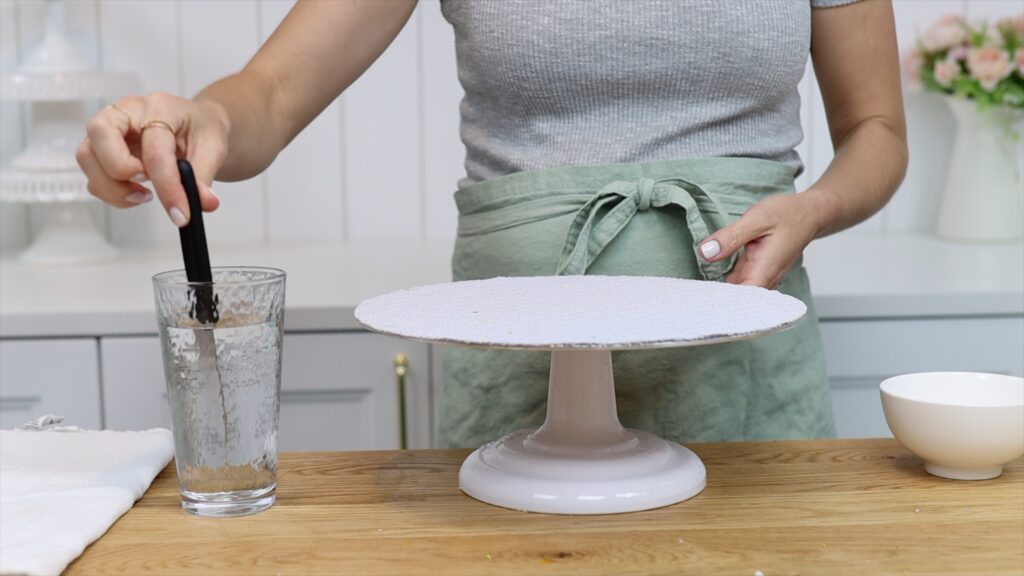
Then take your chilled cake out of the fridge or freezer. Dry the knife off and cut around the top edge of the cake. The hot knife will slice easily through the frosting.
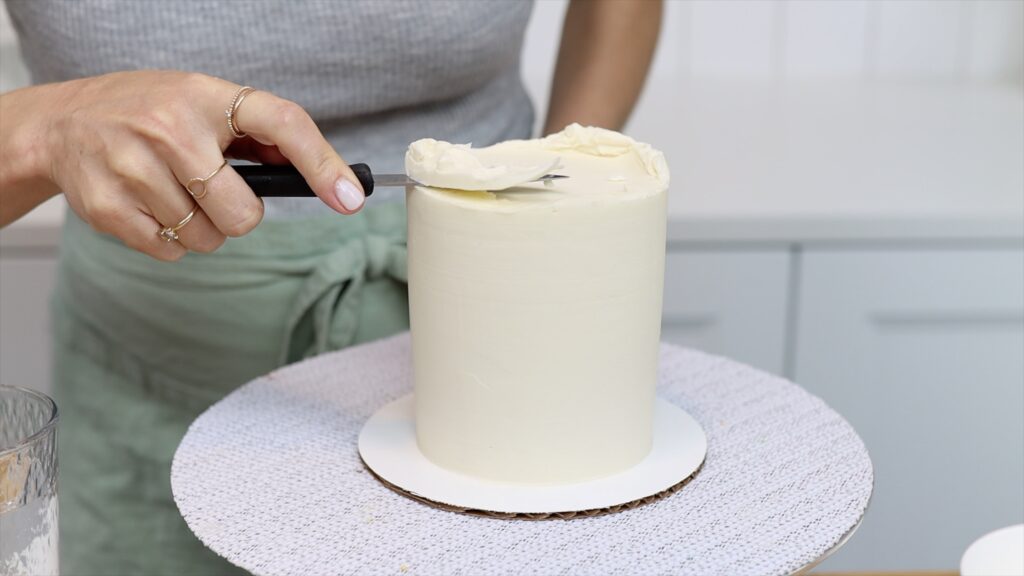
The cake only needs about 30 minutes in the freezer for the frosting to get very firm. If you prefer, put it in the fridge for an hour instead. After cutting off most of the excess, rest the knife on the top of the cake and spin the cake. This will trim off any more lumps and bumps.
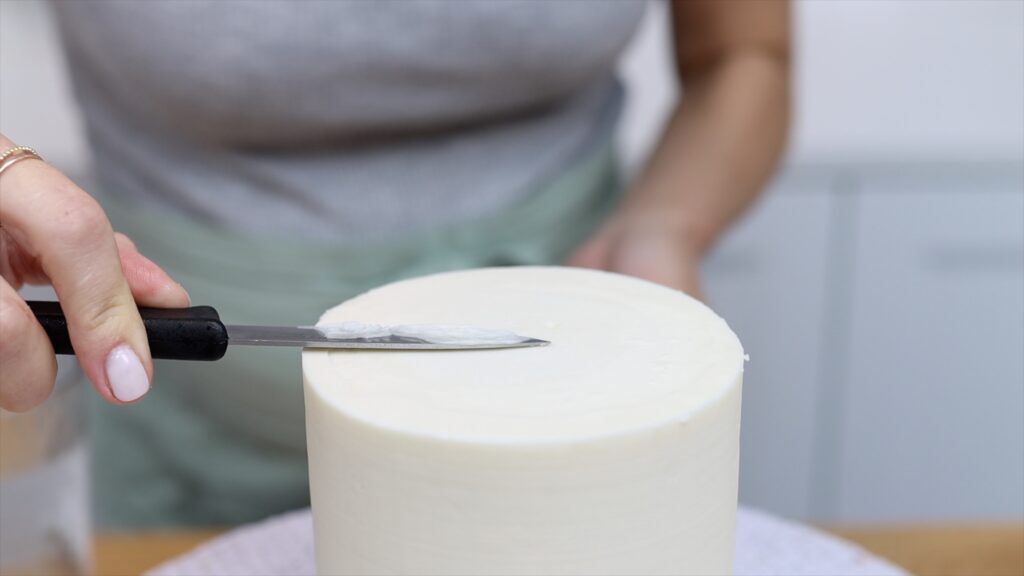
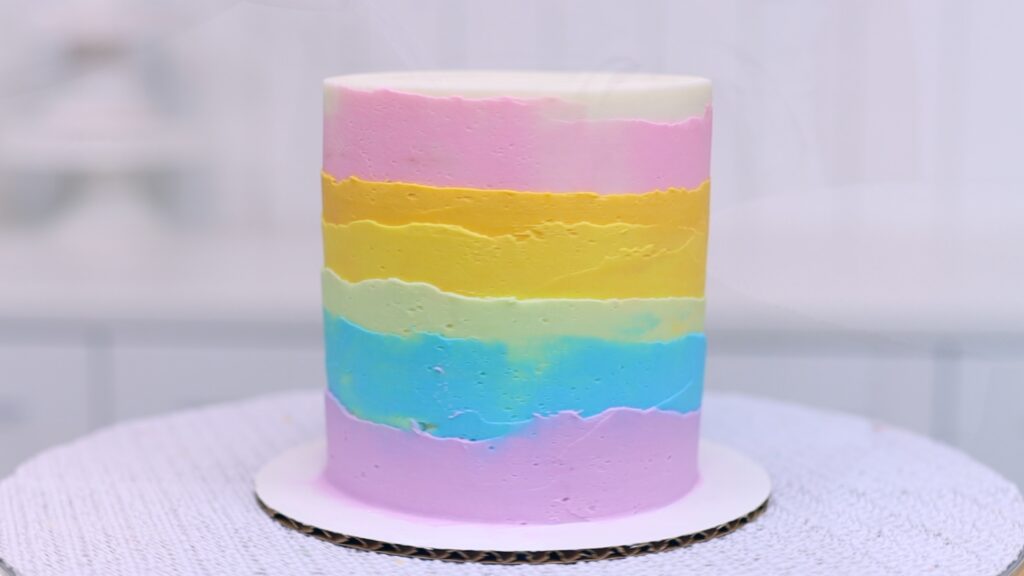
You'll leave a perfectly flat top with a sharp angle down to the sides of the cake. Look how effective these rainbow layers look on a cake with sharp edges!
However you decide to decorate a cake, a neatly piped border will make a cake look professional. A border covers the bottom edge of the cake where it meets the cake board, adding detail and texture too.
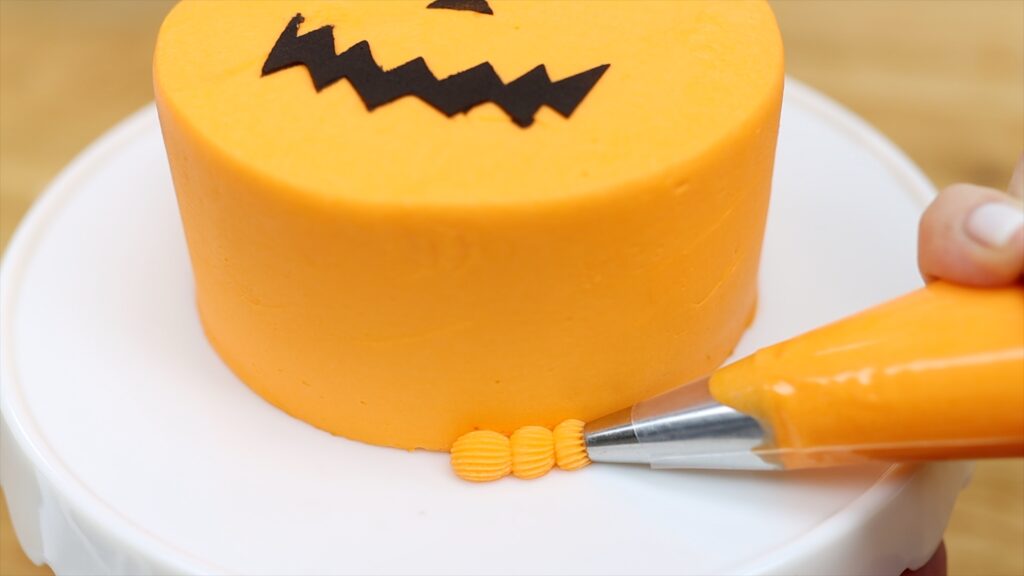
Expert cake decorating tips: Let your frosting set before piping your border to prevent any damage to the frosting. Then, choose an appropriately sized piping tip. Small cakes look silly with huge borders! For example this #199 tip is perfect for this tiny 4 inch cake.
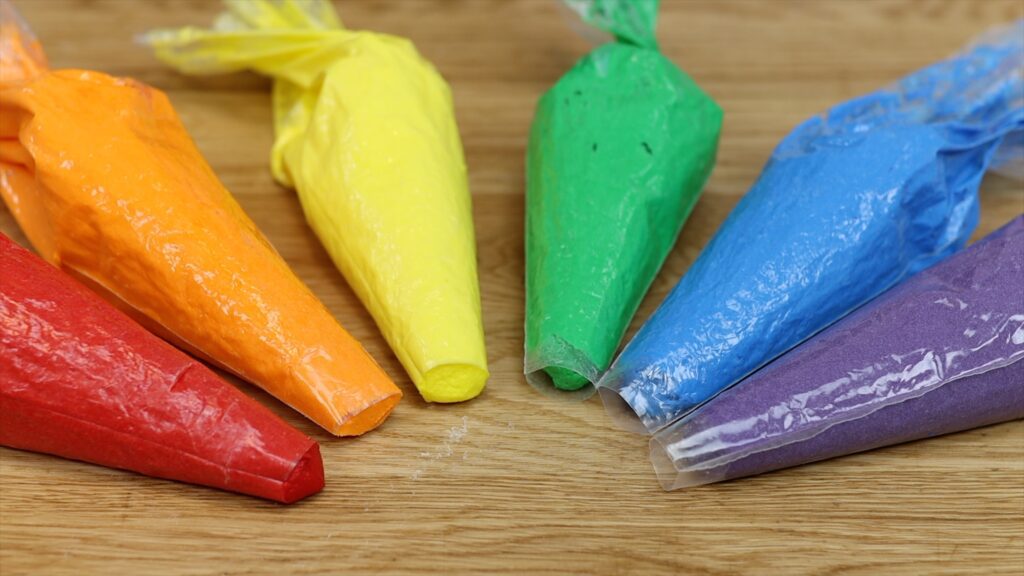
For bright red frosting rather than pinkish red or true black instead of gray I recommend using gel colours. They’re much more concentrated than liquid colours so you’ll need to use less to achieve the colours you want.
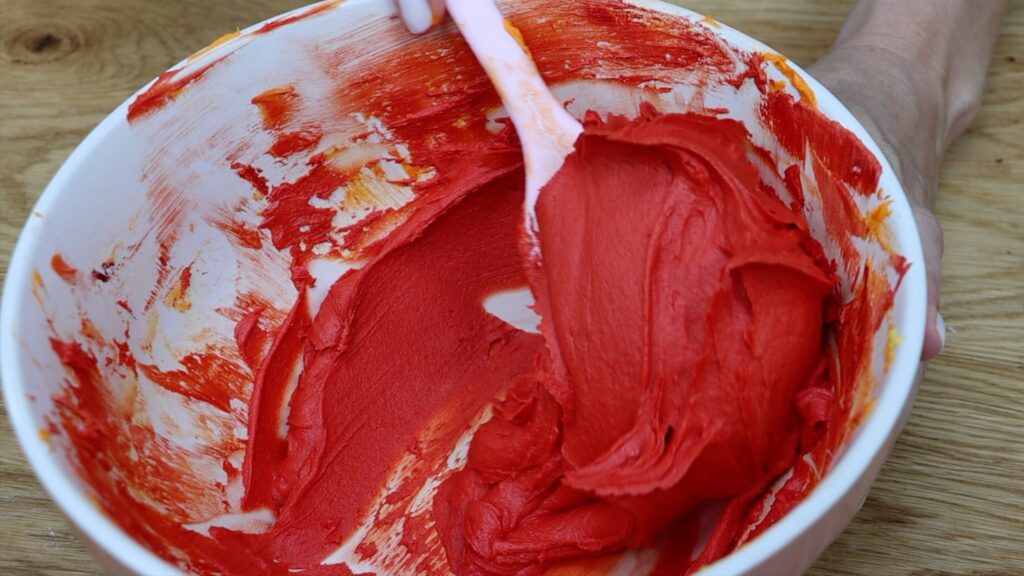
Check out my tutorial on tricky frosting colours or take my online course The Basics of Buttercream for all of my tips!
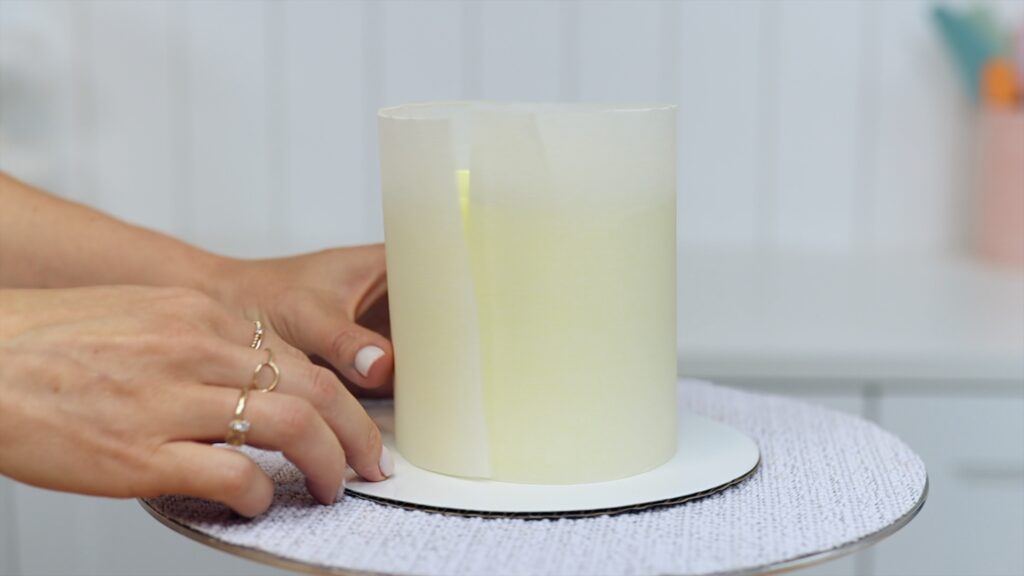
Very simple patterns can look stunning on cakes if the patterns are symmetrical. The easiest way to ensure this is to use a stencil. As with any stencil, first chill your cake to set the frosting. Then use this method to save money on expensive stencils! Wrap a piece of parchment paper around your cake. Mark the top the cake and also where the ends overlap each other.
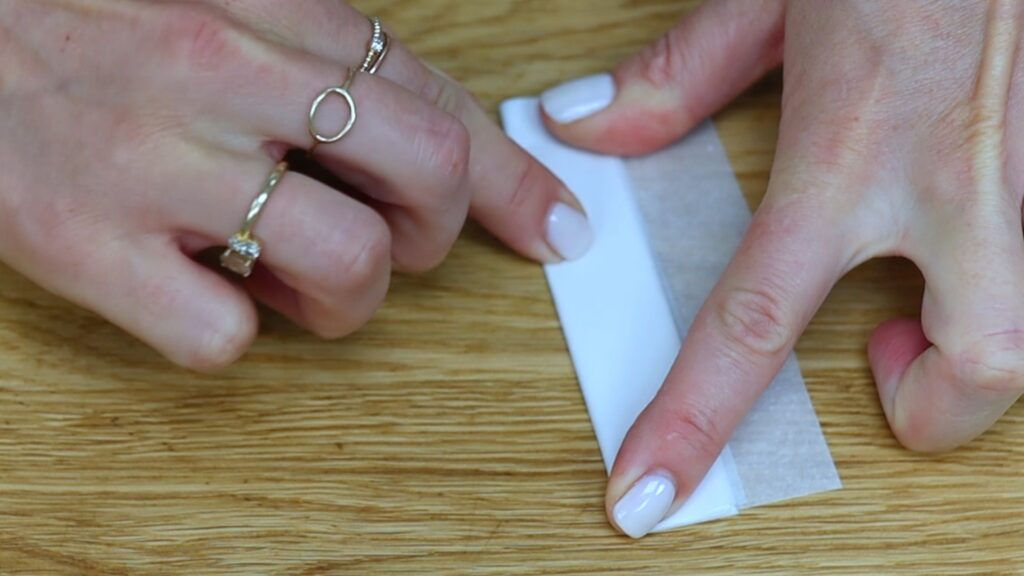
Fold the parchment in half and half again, horizontally and vertically. You'll make equally spaced creases to guide your pattern.
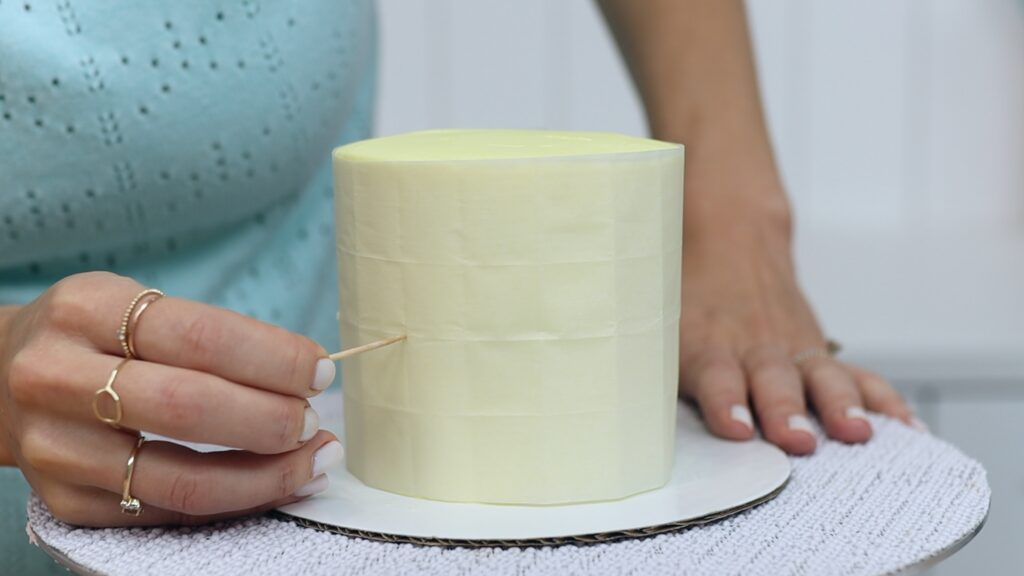
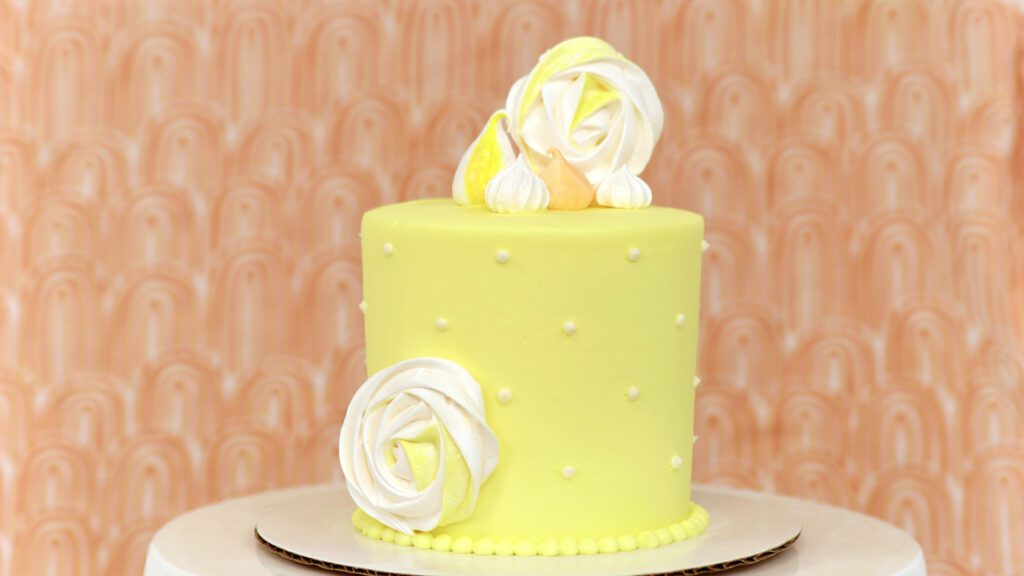
Wrap this homemade stencil around the chilled cake again and poke a pin or a toothpick through the points where the creases meet. When you peel the parchment off you'll have a perfectly symmetrical pattern to pipe onto! I love cake decorating tips like these, which don't require buying expensive tools.
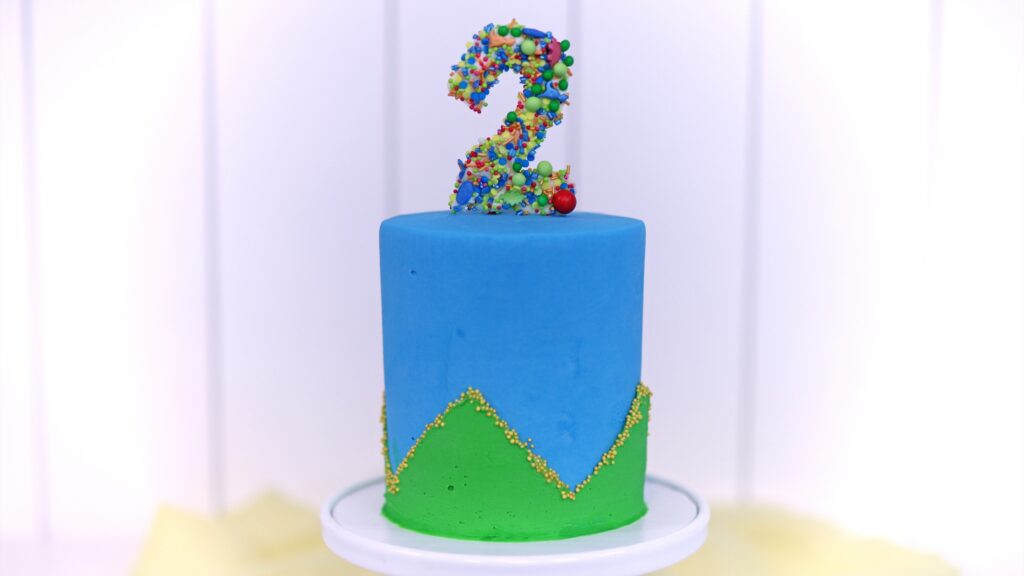
Make your own personalized and affordable cake toppers with just chocolate and sprinkles! Melt some white or semi-sweet chocolate chips and then spoon them into a sandwich bag. Cut off a little piece from one corner to pipe through.
Draw your shape or number or design and tape put a piece of parchment on top. Then trace over it with the melted chocolate. It doesn't need to be perfectly neat and smooth but try to stay within the outline. Then pour sprinkles on top and they’ll stick to the melted chocolate. Chill it in the fridge or freezer for a few minutes and then peel it off the parchment!
To turn this into a topper, squeeze some more melted chocolate onto the back and press a paper straw into it. When the chocolate sets it will be firm so you can push the straw into a cake to make a fun, colourful cake topper!
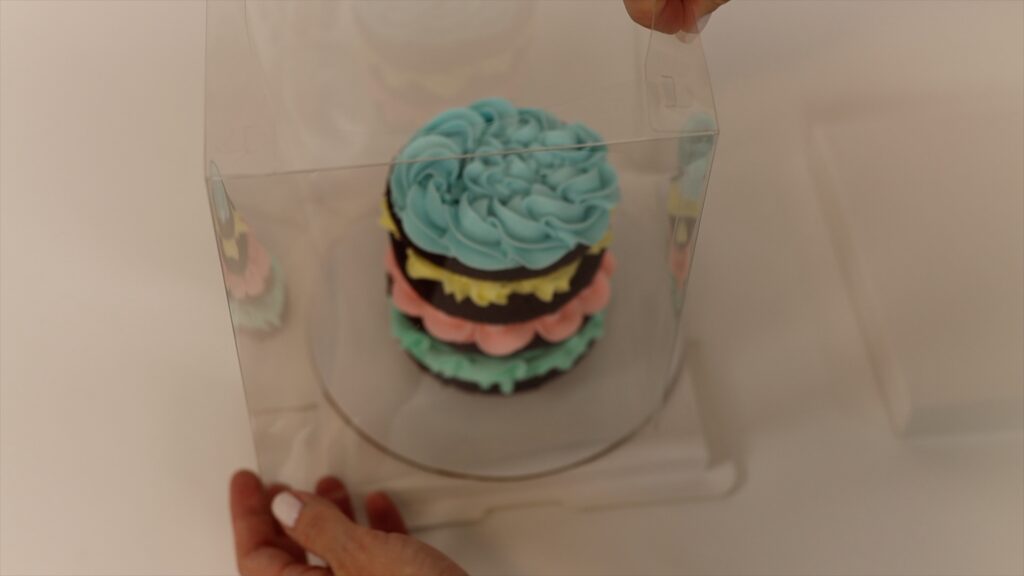
Cake decorating tips aside, let's talk about presentation. To make cakes look professional, instead of transporting your cakes in cake caddies, deliver them in pretty boxes. Choose a box with the same width as your cake board so that the cake doesn’t slide around within the box. Make sure the sides are taller than your cake so that you can fit the lid on! Wrapping a piece of colourful ribbon around the box adds a nice finishing touch. If you buy boxes in bulk they’re very affordable and really make your cakes look more professional.
Let’s compare two apparently identical cakes to demonstrate this next hack. As I’m assembling these cookie dough cakes, you can see that the layers look very different. On the left, I’ve leveled the layers so that they’re flat but I’ve left the caramelized edges on each layer. On the right I’ve trimmed the top and bottom and the edges of each layer.
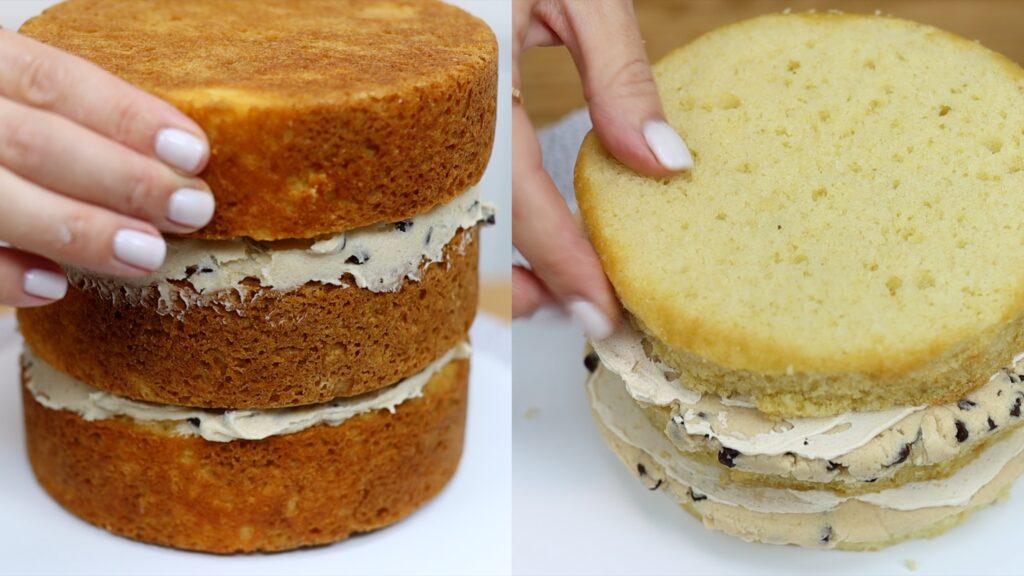
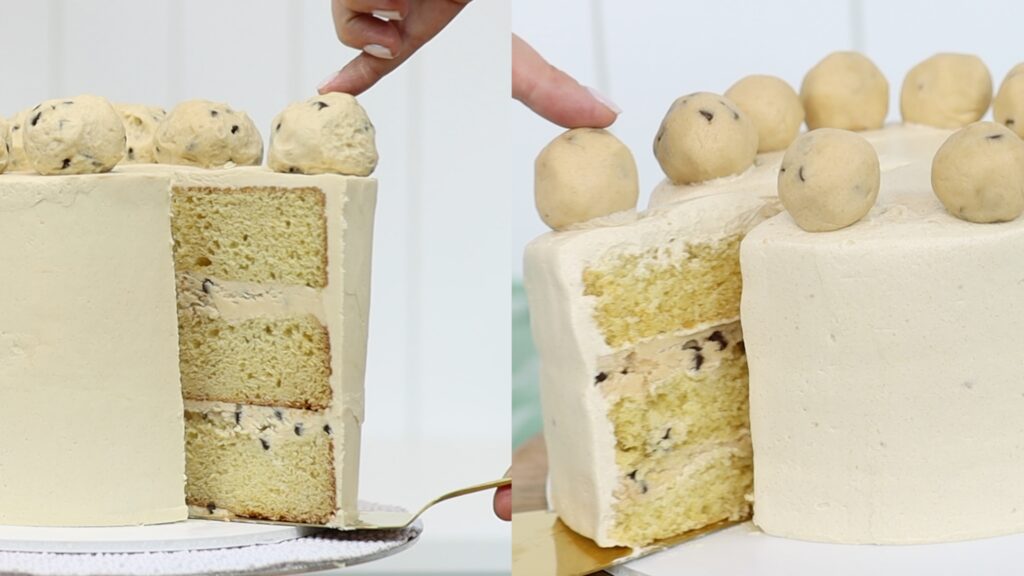
Before frosting the cake, the cake layers I didn't trim look neater. However, trimming the edges of the cake layers on the right makes a more tender cake to bite into. Also, the slices look much prettier without the darker edges around each layer.
The cake board is a very important part of your cake! Choose a cake board at least two inches bigger than the cake. This leaves space for frosting and decorations. The board in the photo below looks big enough at first...
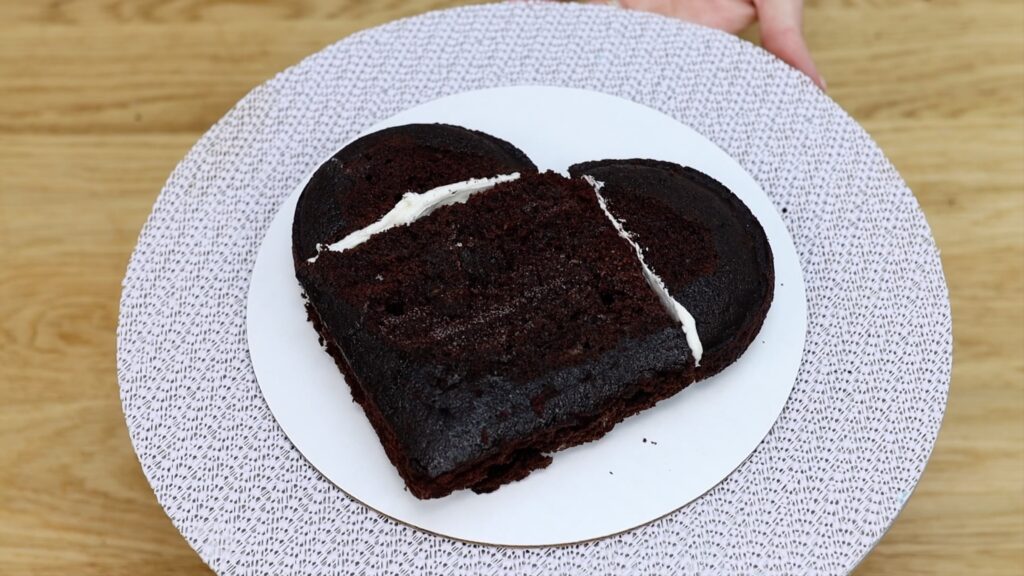
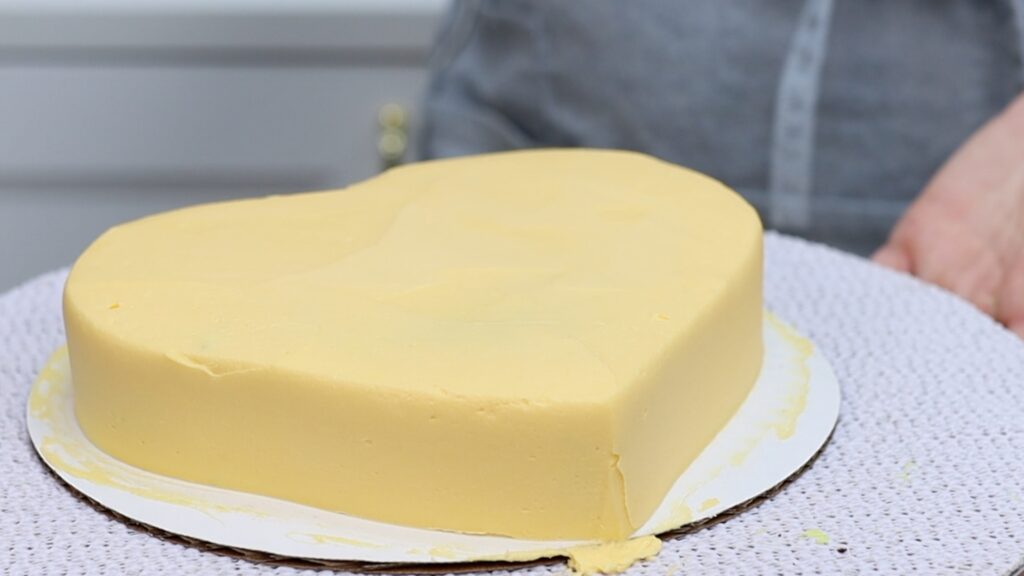
...but after frosting the cakes, the bottom tip of the heart is almost poking over the edge of the board!
Cardboard cake boards are strong enough for small 6 inch cakes or for single-layer cakes. For larger and taller cakes, use a sturdier material like foam core or acrylic to support the weight. Thinner boards will buckle under the weight of the cake and cause your frosting to crack.
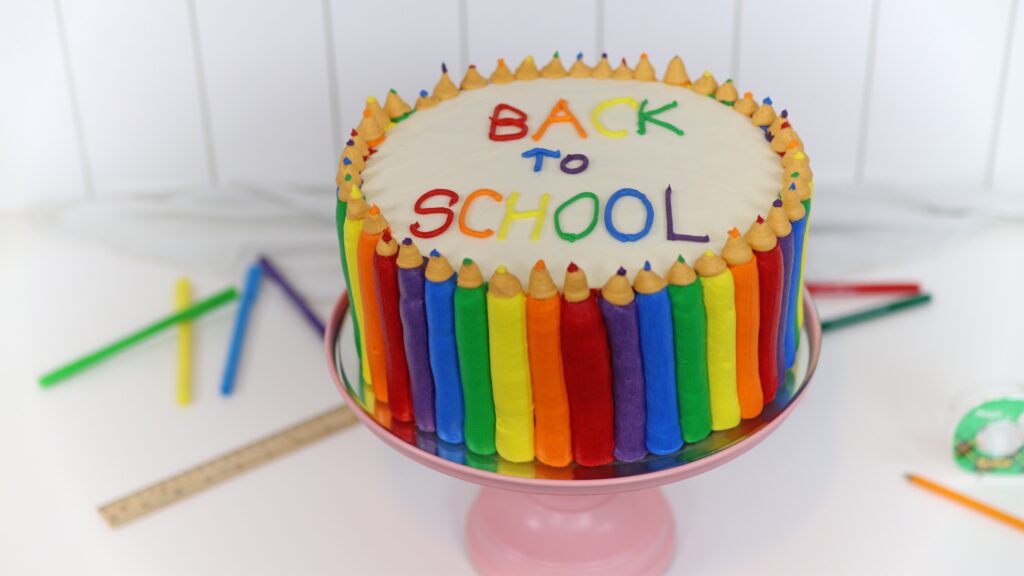
So, those are 11 cake decorating tips to make a cakes look professional. Check out my online courses for hundreds of cake designs and decorating techniques to take your cakes to the next level!
You can also watch a video on 11 hacks to make your cakes look professional:
