If your kitchen or cake decorating area is cluttered and messy, I feel your frustration! I’m going to share 14 hacks for organizing baking supplies and cake decorating tools.
If you prefer to watch a video of this tutorial, scroll to the bottom of the page.
Tired of cake pans tumbling out of your cupboards? If you start with your biggest pans and get smaller and smaller you’ll build a leaning tower of pans, which is very likely to collapse when you open the cupboard door.
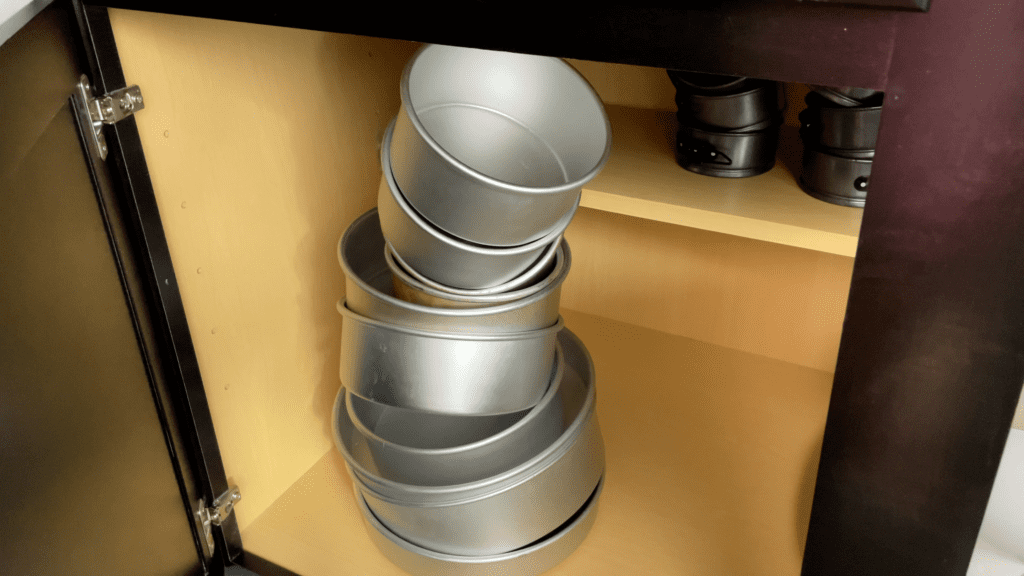
Instead, put the small pans inside the bigs ones and they’ll balance the next layer of pans.
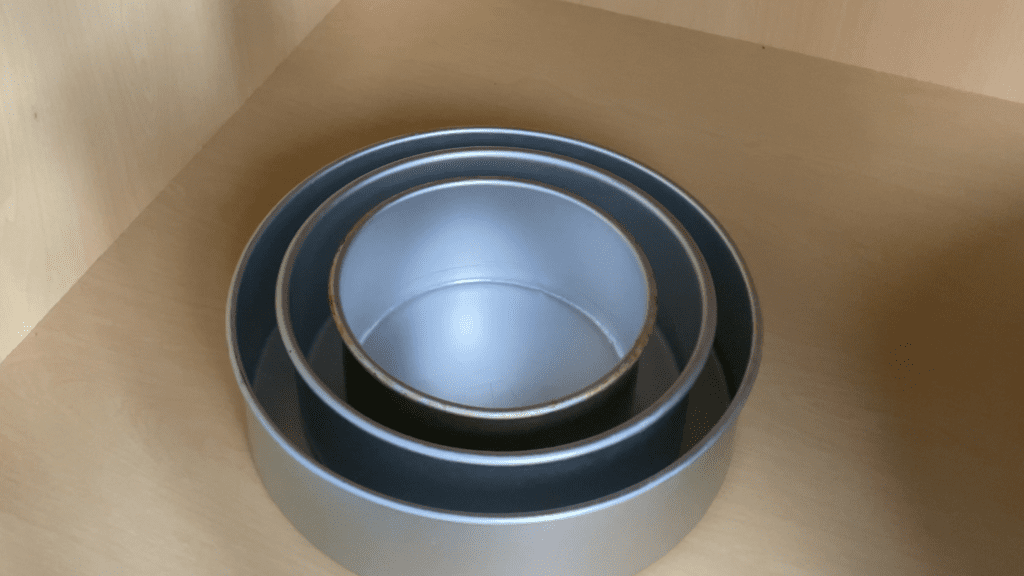
Your tower of pans will be stable and also much shorter, taking up less space!
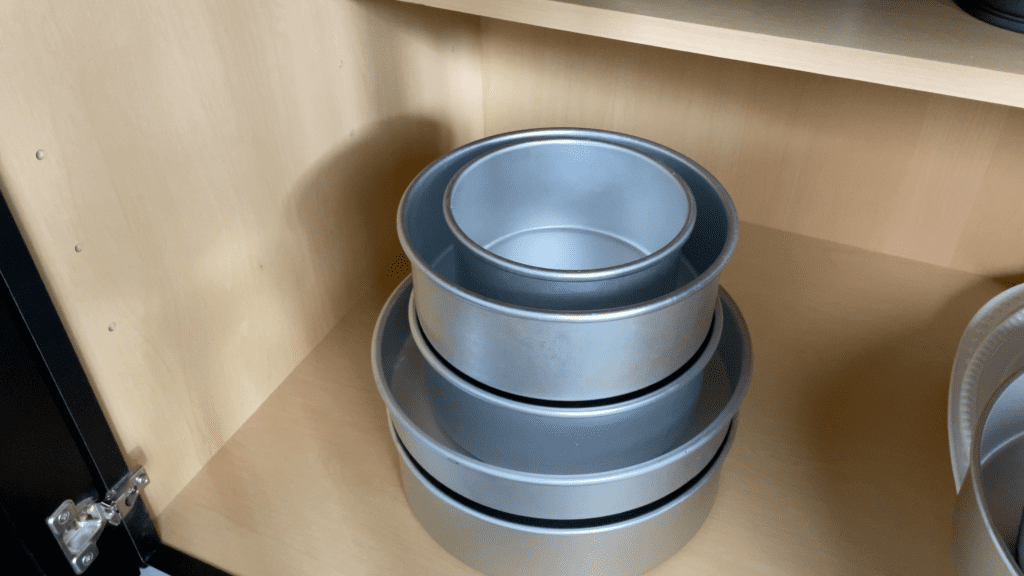
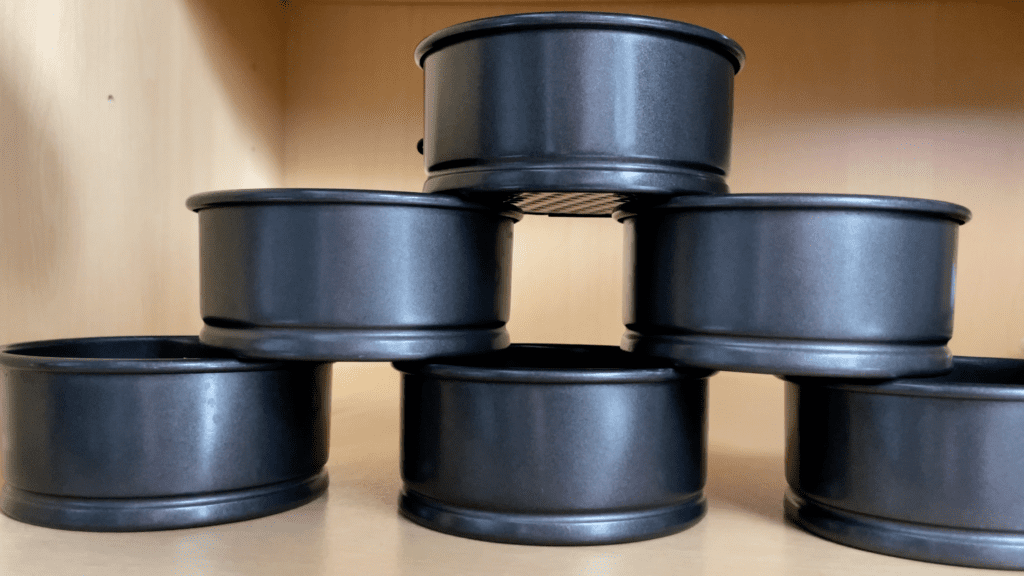
If you have several pans of the same size, instead of trying to stack them (which won’t work), build a pyramid so that all of the pans are sitting flat, and the lower pans will hold up the higher pans. Neater, more stable, and space-saving!
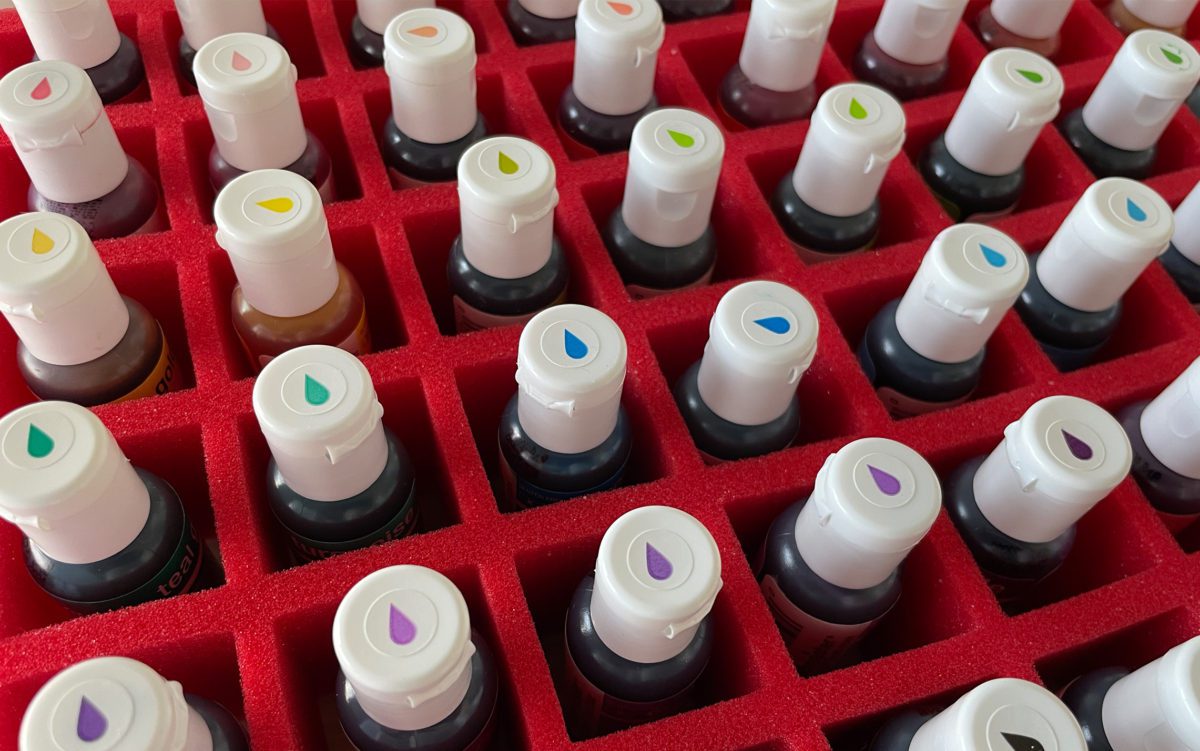
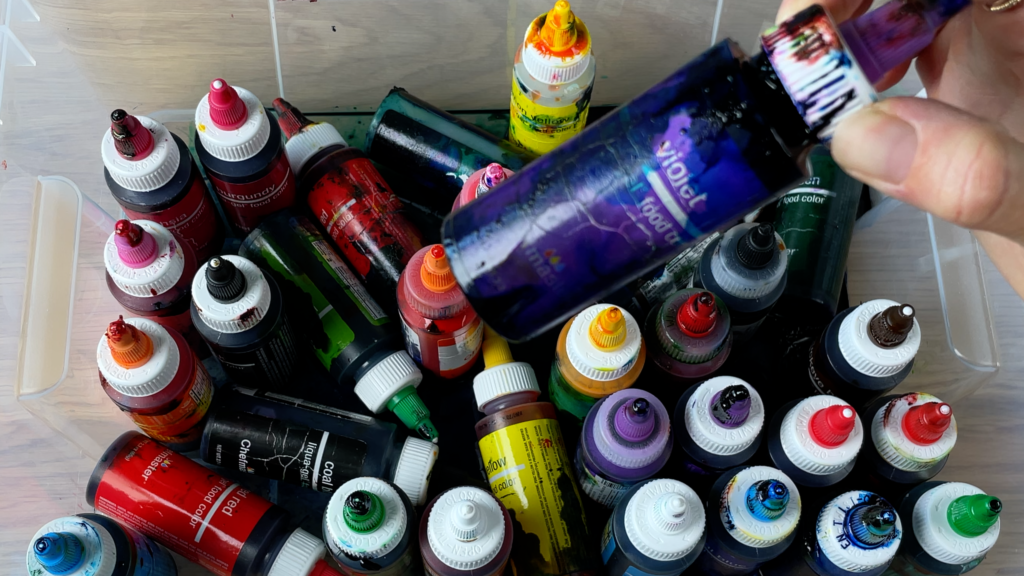
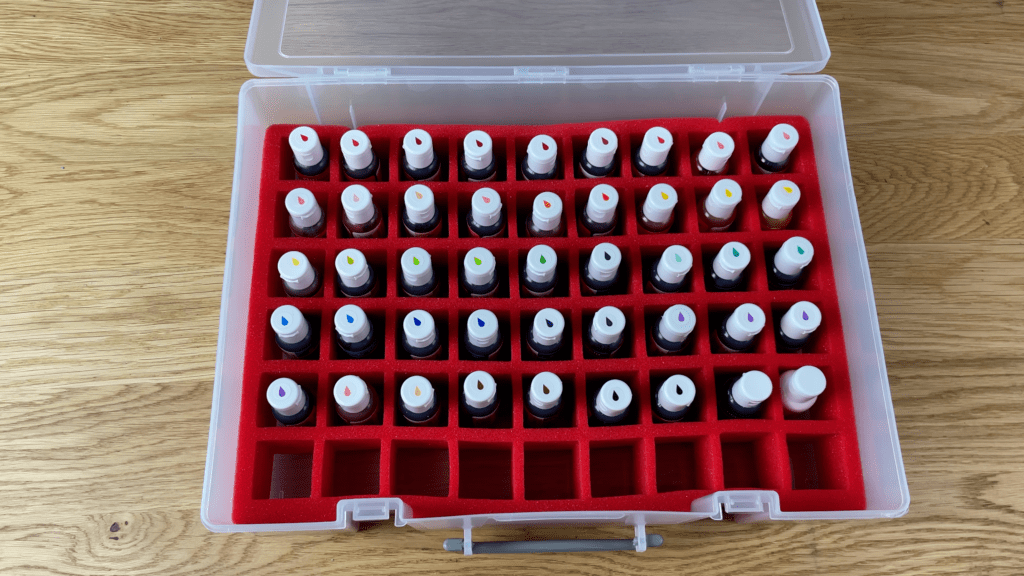
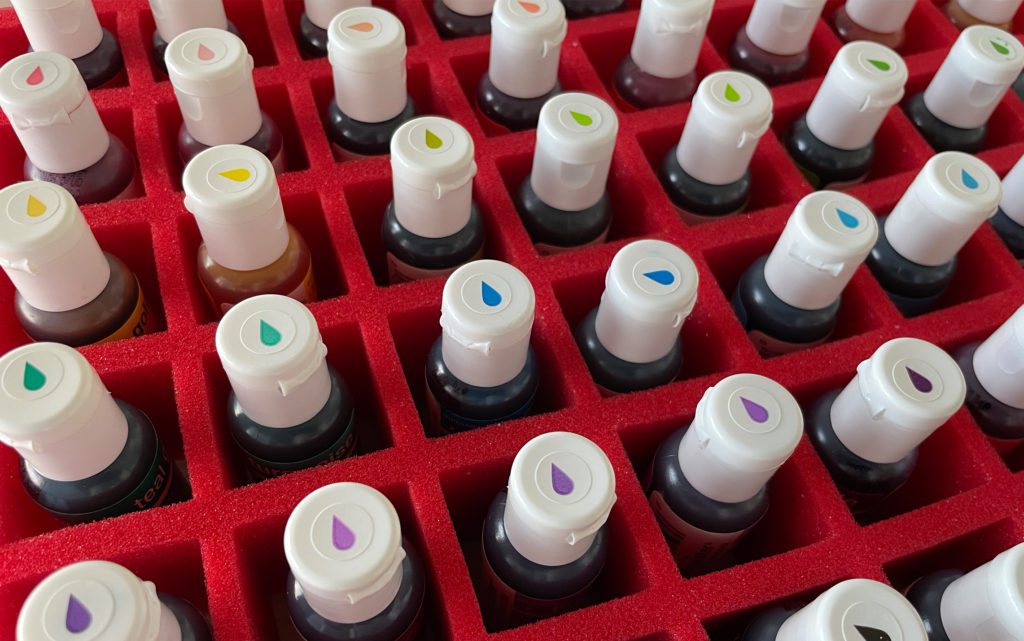
Colours are a nightmare to use after they topple over and leak, and they’ll stain your hands for days. To keep them upright I use a case intended for nail polish!
With these dividers it’s impossible for the bottles to fall over and leak. They’ll stay in place so you can organize them by colour and quickly find exactly the right shade you’re looking for. Don’t they look beautiful?!
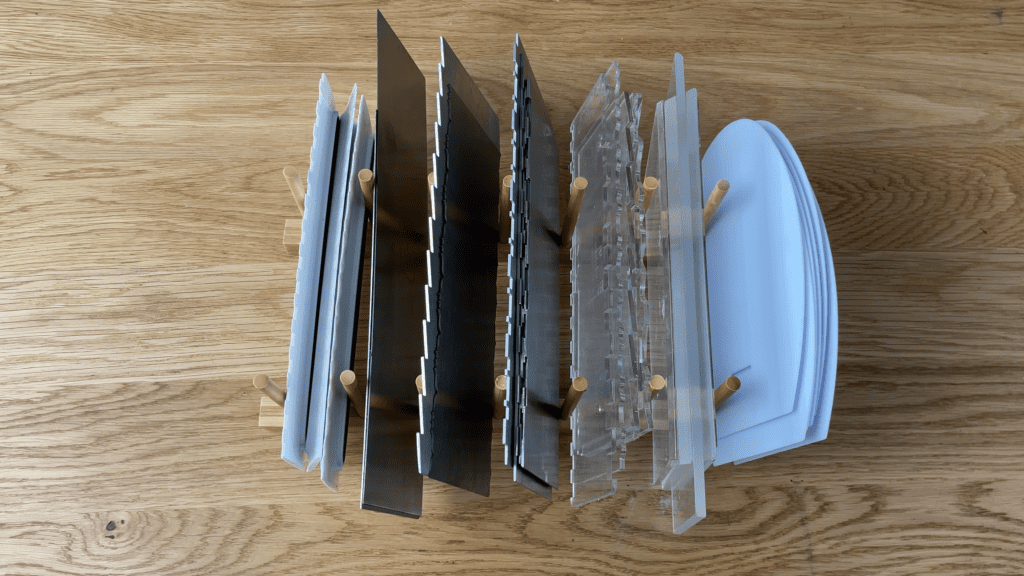
With cake combs you can get really smooth frosting and also perfectly texture frosting, but if they’re in a box or drawer it’s a pain to find the one you’re looking for.
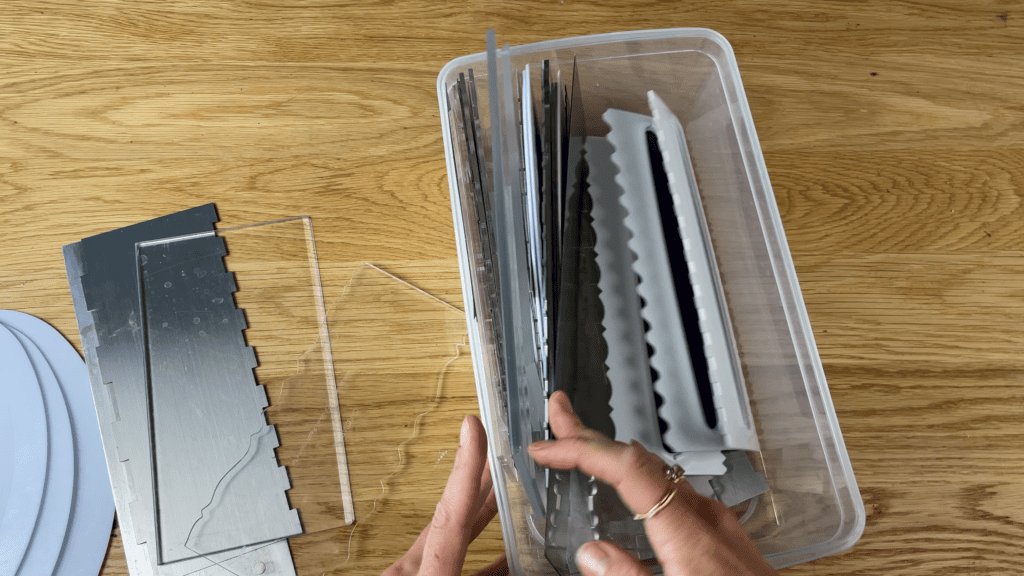
This rack is intended for the lids of pots and pans but works excellently as a divider for different types of cake combs.

The combs are organizer and easily visible so in a split second I can grab a smooth acrylic comb, or a textured metal comb, or whichever one I want.
Baking ingredients in unruly packets like flour and sugar are messy and also take up a lot of space in you cupboard or pantry.
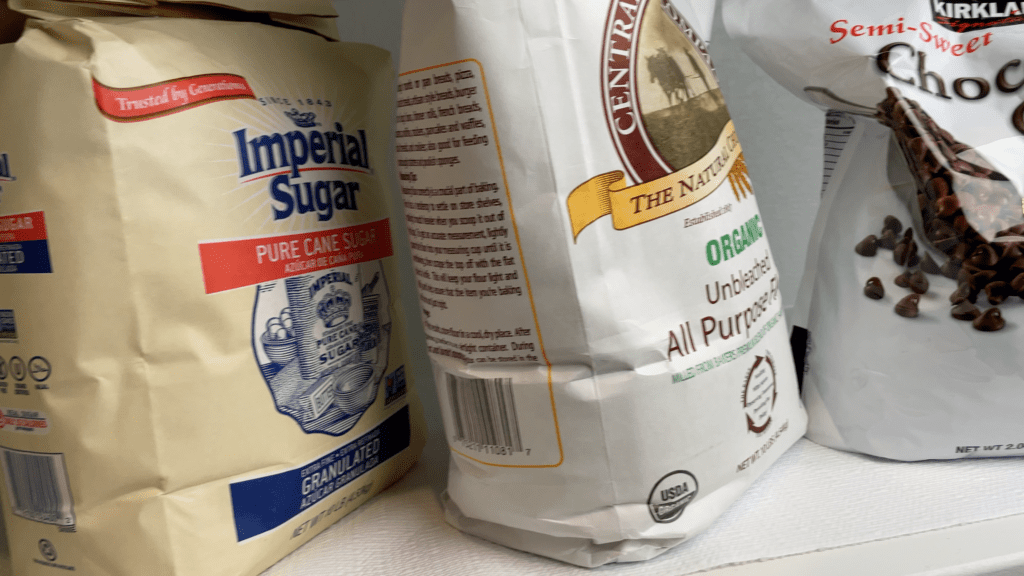
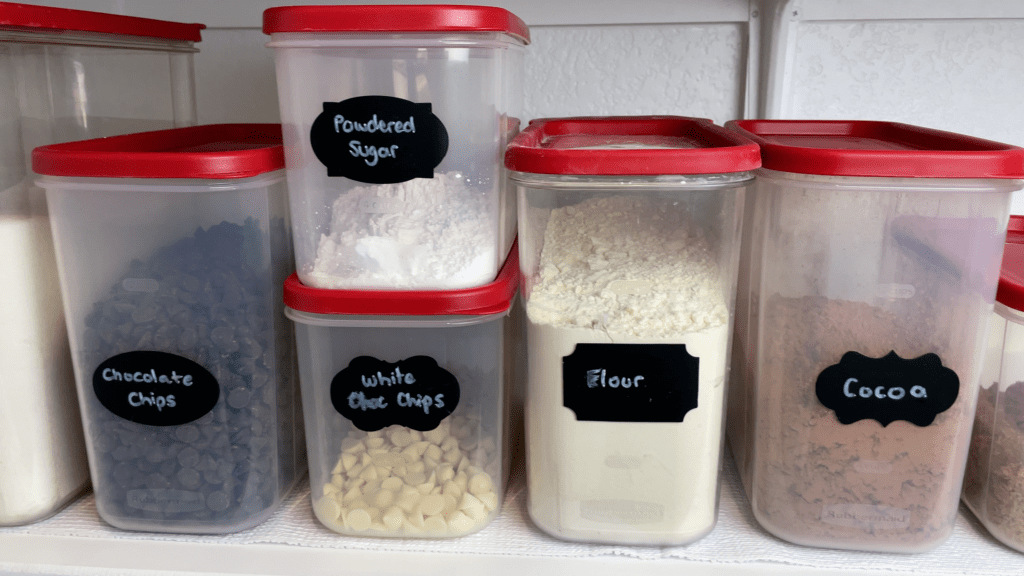
Tupperware containers will keep ingredients fresh and tidy and use up much less room.
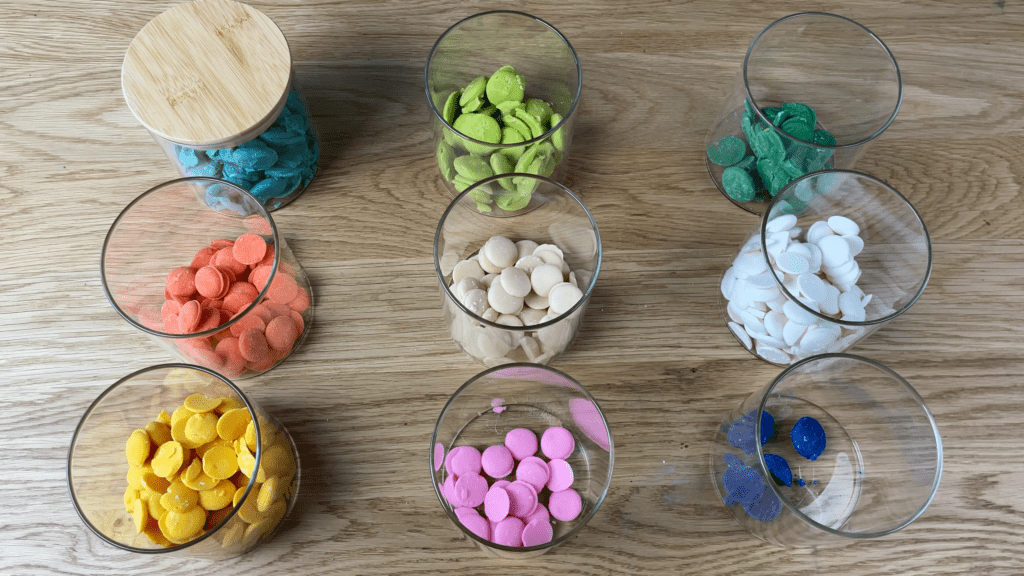
You can stuff packets of chocolates or candies, like Candy Melts, into a box or tupperware but they’ll probably spill and get all mixed up at the bottom of the box.
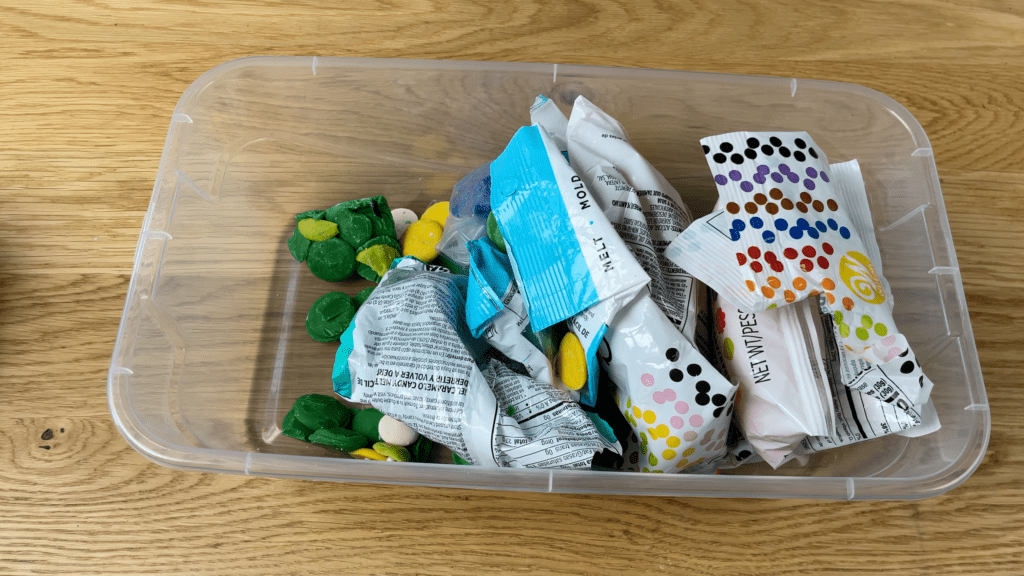
Use clear glass or plastic jars to divide them up and you’ll be able to see exactly what you have and grab it easily. As a bonus, these make a pretty display on a shelf as well!
Cookie cutters are useful for lots of cake decorating techniques but different shapes don’t stack nicely in a box.
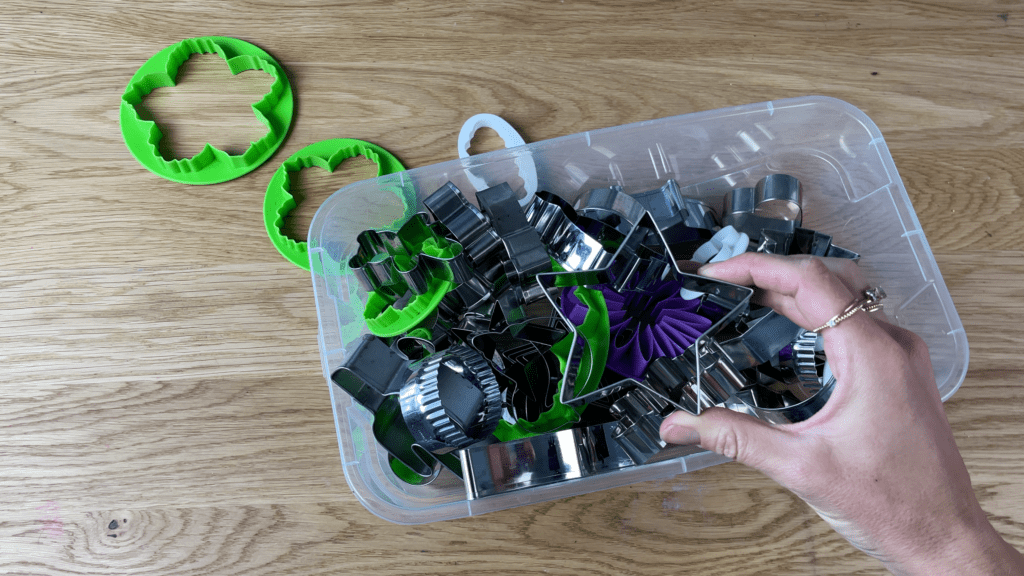
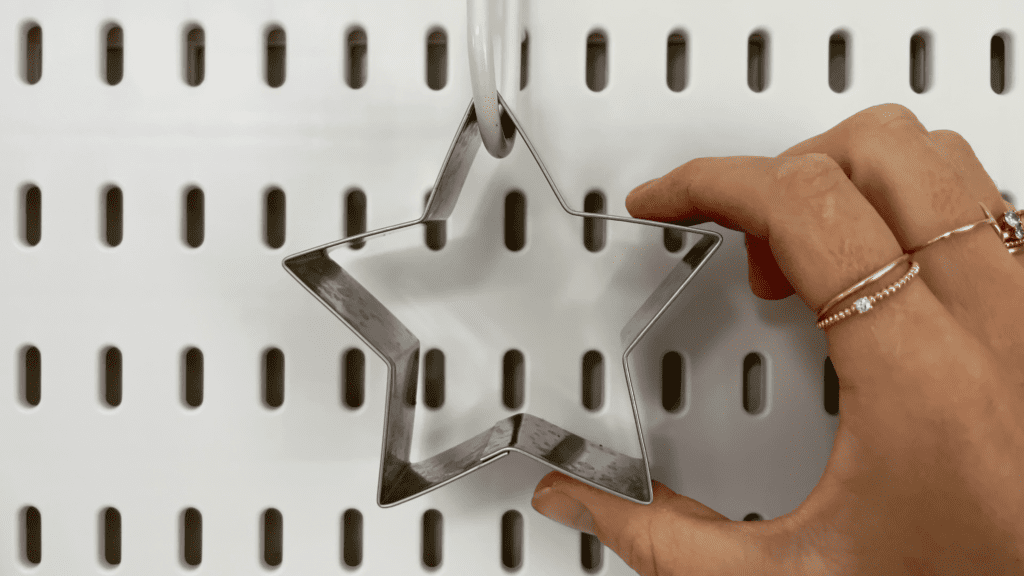
Use a pegboard with some pegs to arrange them and you can organize them based on themes, holidays, seasons… it will be easy to see what you have and to lift off just one.
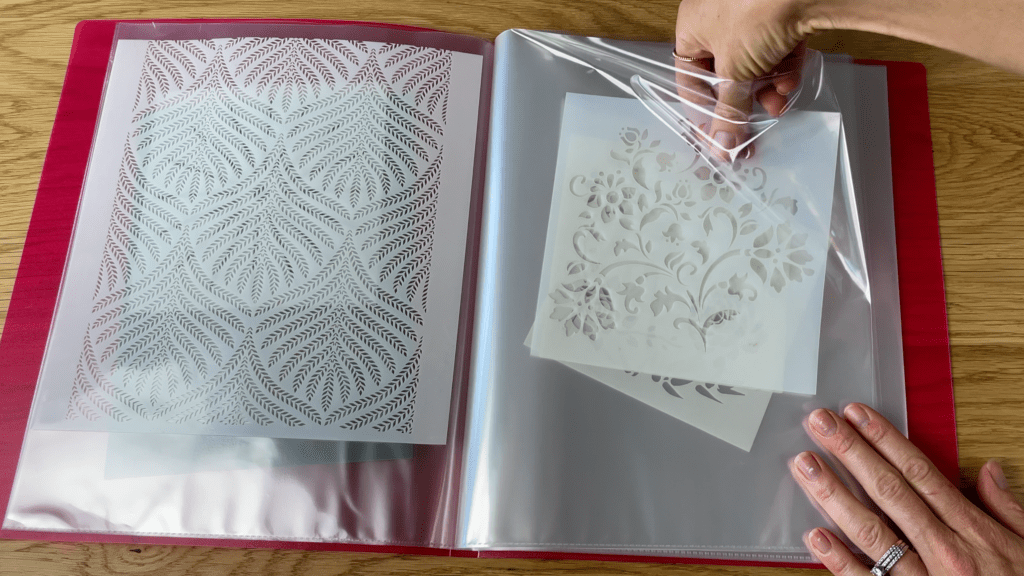
Stencils are super thin but if you have several, they end up taking up a lot of space and you have to dig around to find to one you’re looking for.
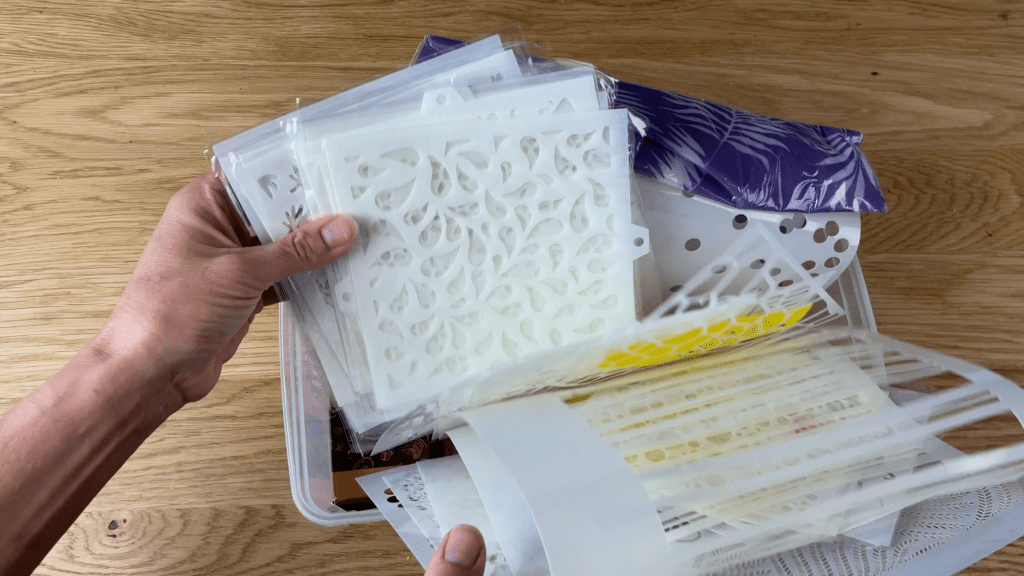
A folder with plastic wallets is an easy storage solution for these – put one in each wallet and you can label these with tabs if you want to sort them into categories like the material of the stencil or the theme of the design. Now you can flick through the folder quickly, making it quick and easy to choose and remove your stencil.
Piping tips provide the most possibilities for cake decorating and each one has a different shape at the tip to create a different texture. If they’re in a box or jar, you can’t see those shapes at the tip so you have to lift each one up until you find the right one.
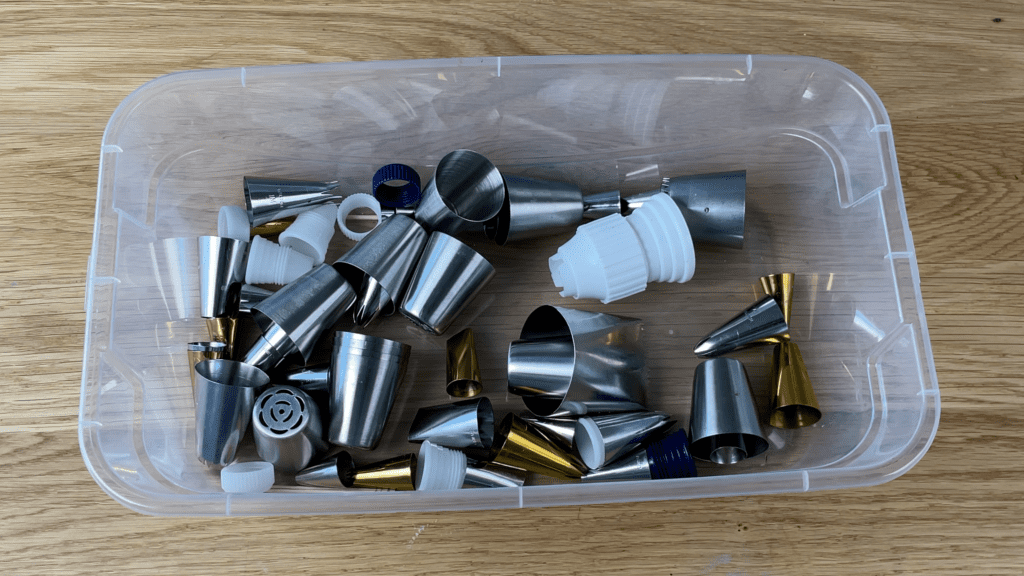
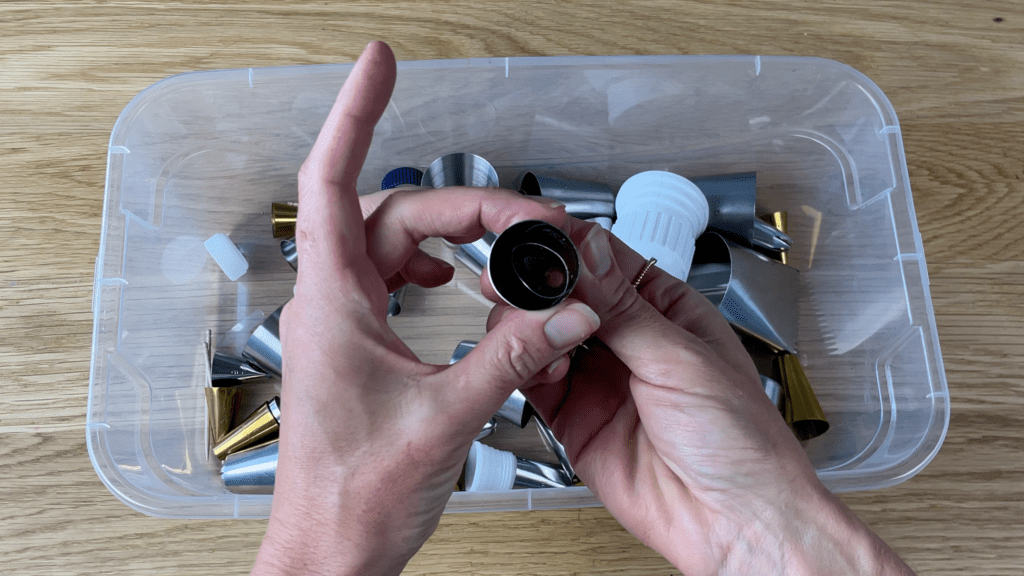
To make it even trickier, smaller ones will hide inside bigger ones, making them harder to find.
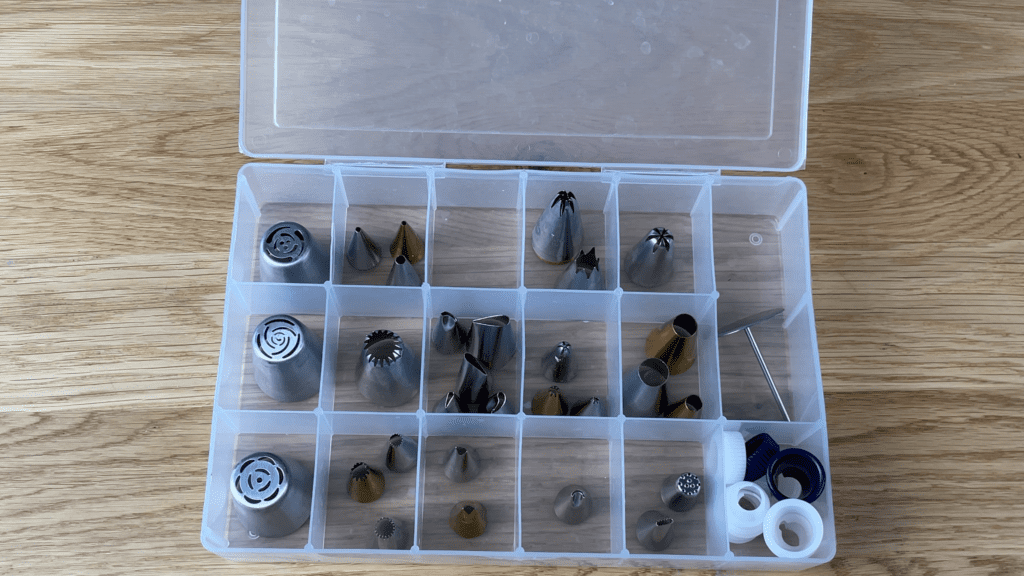
Use a craft box and ether place one tip in each section, or group them together like star tips in one section and open stars in another, and petal tips in one section, and grass and leaf tips in another.
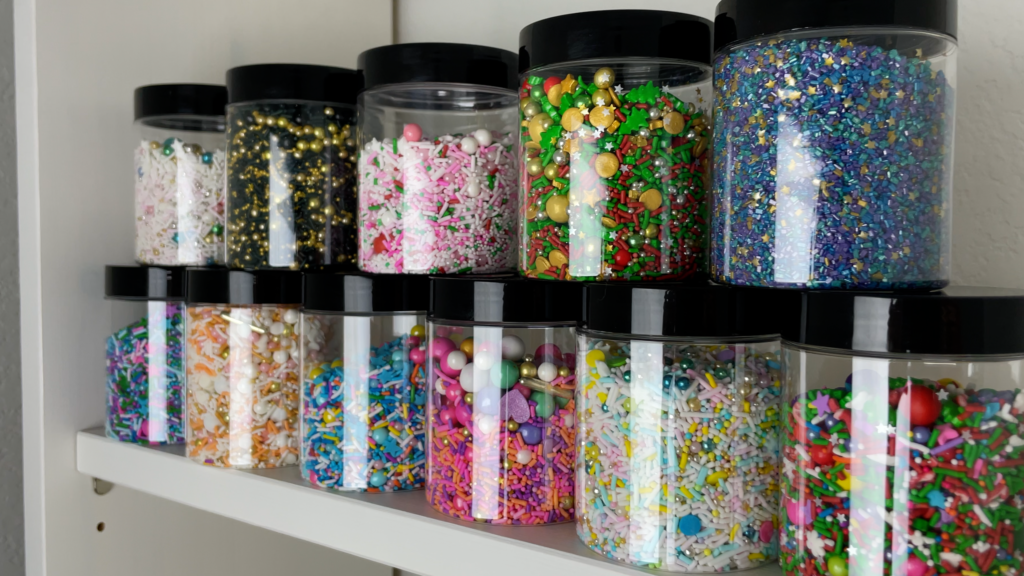
Sprinkles come in all kinds of shapes and colours and you buy them in packets or jars, but in a box or drawer it’s difficult to see what’s inside each one.
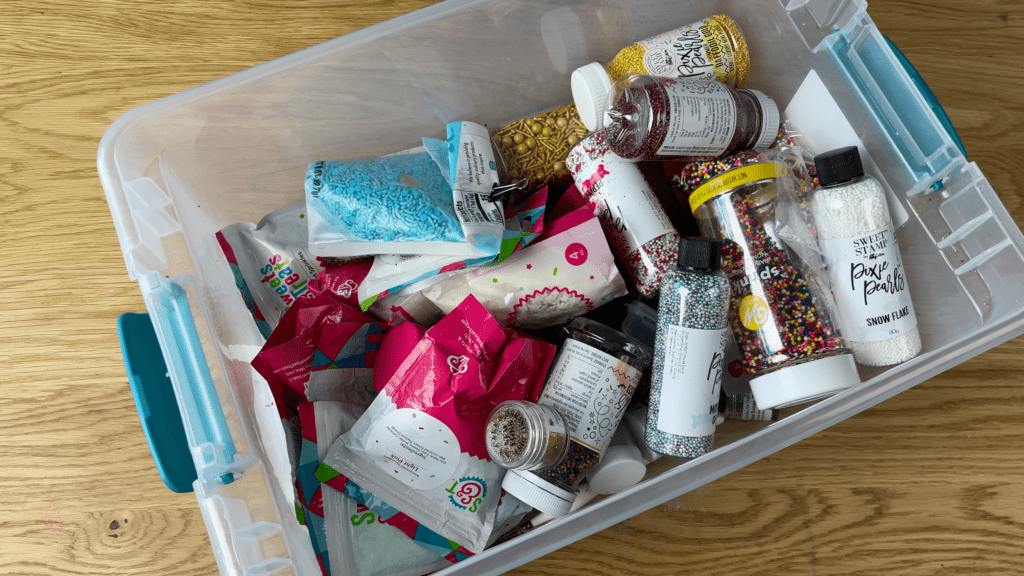
Pour your most used mixes into jars and arrange them on a shelf, adding some colour to your room as well as your cakes!
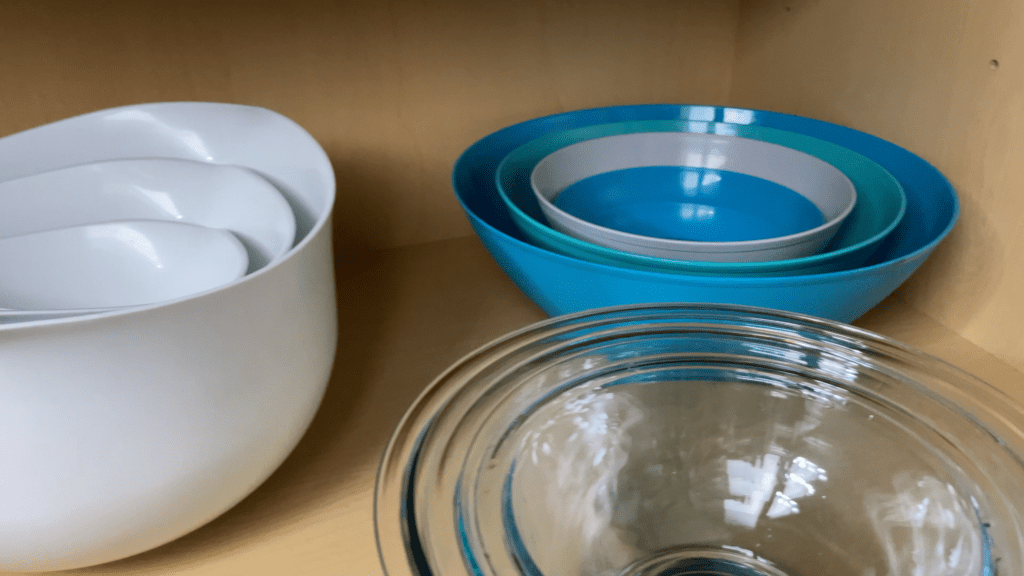
Mixing bowls are a must have for baking, preparing and coloring frosting, drips, chocolate decorations… but if you have lots of them in different shapes and sizes they’ll tower up and topple over easily.
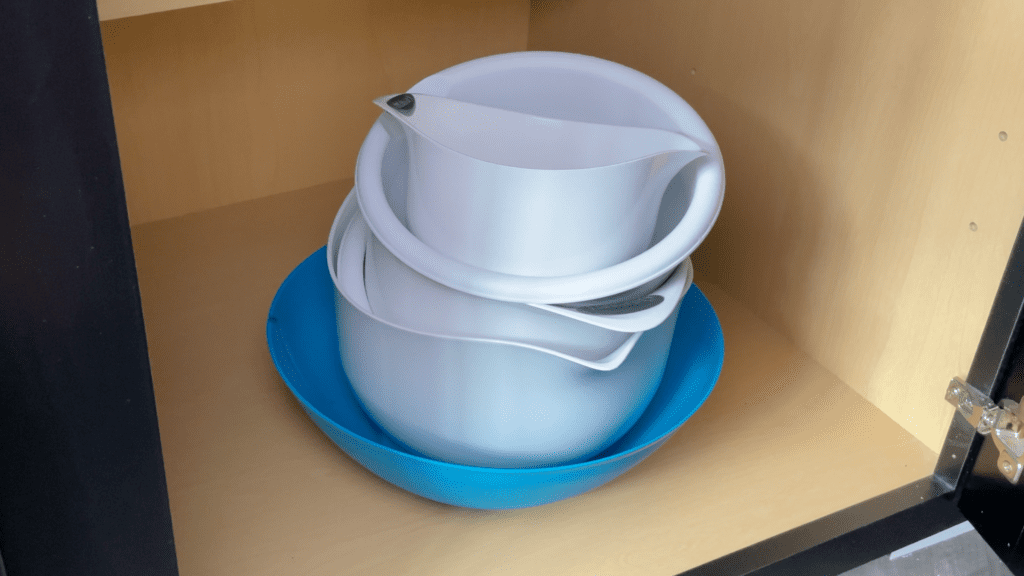
Arrange them by type instead, so that they nest neatly inside each other. They’ll be easier to see and to reach this way, compared to being in a tall tower.
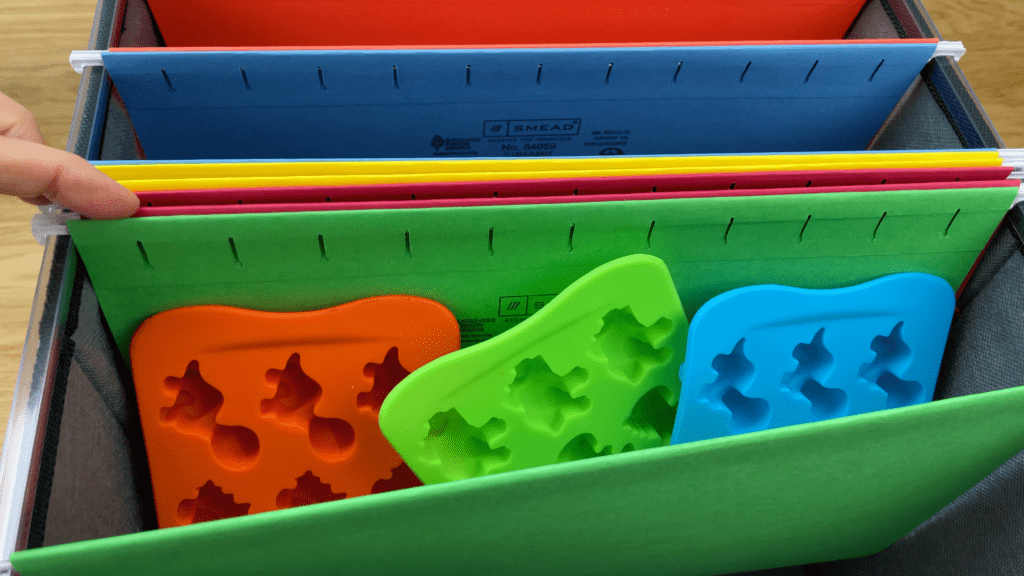
Silicon molds for chocolate, candy, gummies, and cakesicles, can be crammed into a box but you’ll have to lift them all out to find tthe one you’re looking for.
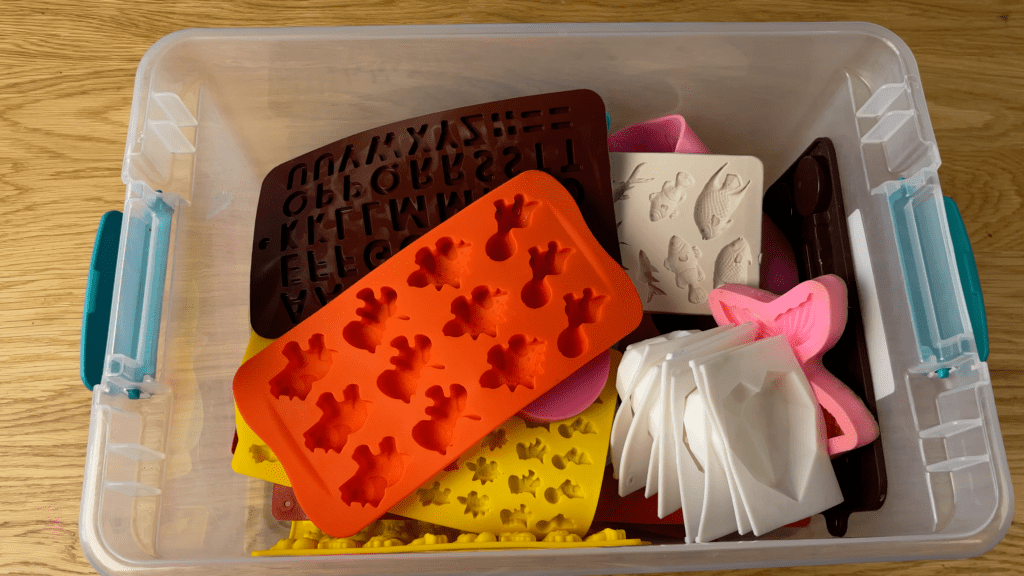
Instead, you can use hanging folders or an accordion folder and put a mold into each one, labelling them so you can find just the right one.
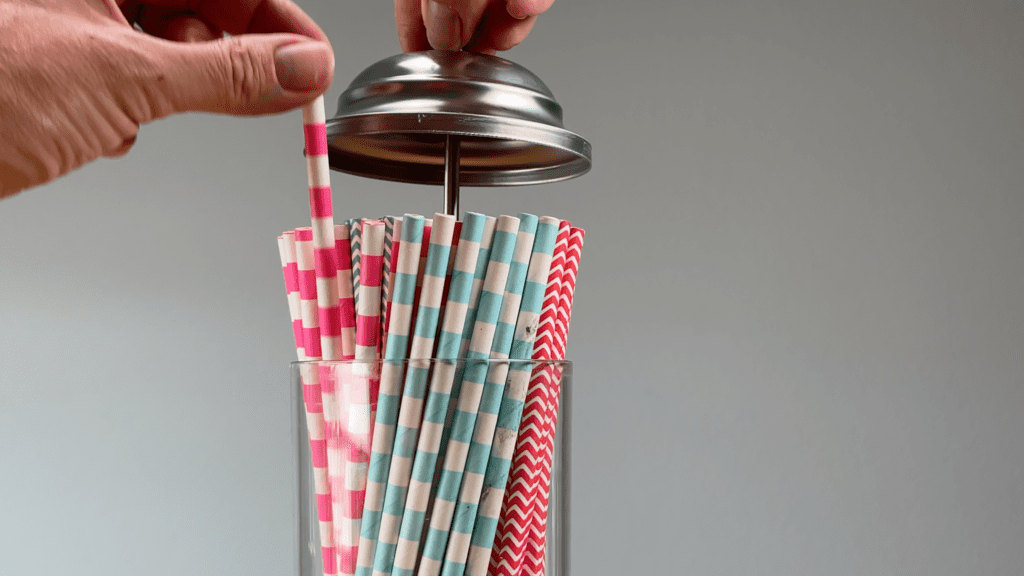
If you use straws for cake pops, lollipops, meringue pops or cake toppers, you’ll know that they don’t stay organized when you stuff them all in a drawer or a box.
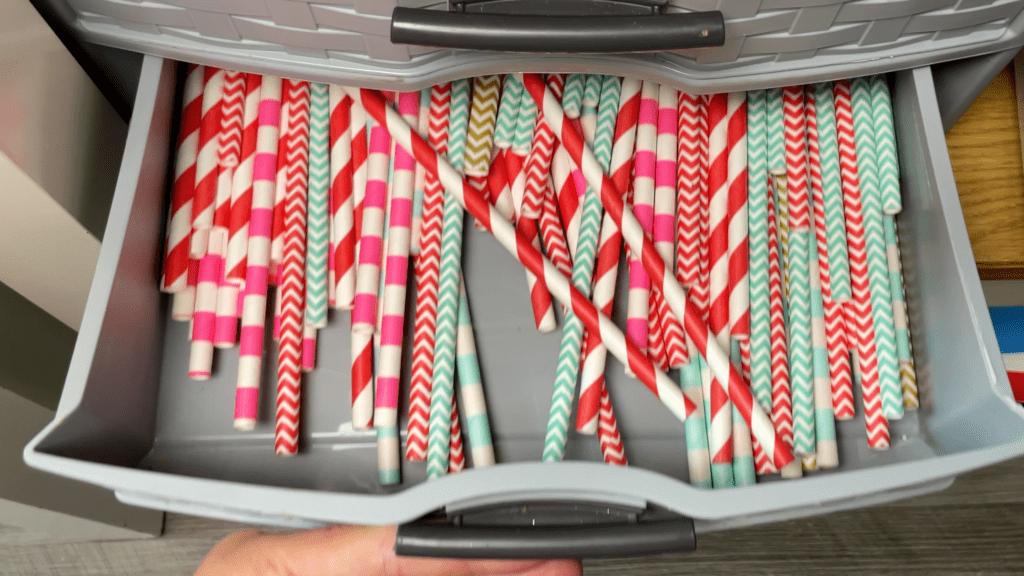
These straw dispensers show exactly which colours and patterns you have, they look pretty on a shelf, AND they make it easy to remove the one you want!
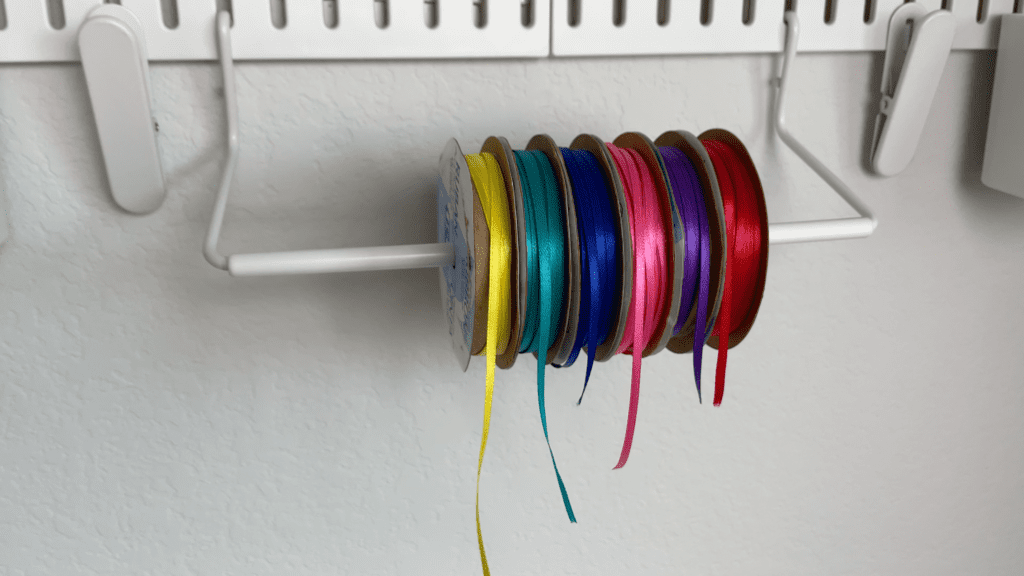
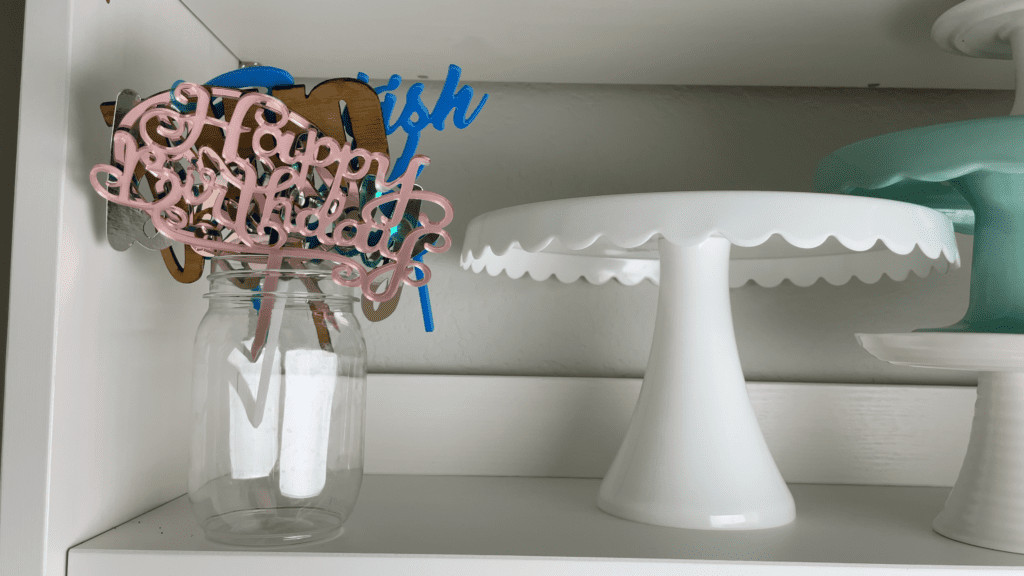
Decorations for cakes need to be stored too, like cake toppers and ribbon to wrap around cake boards.
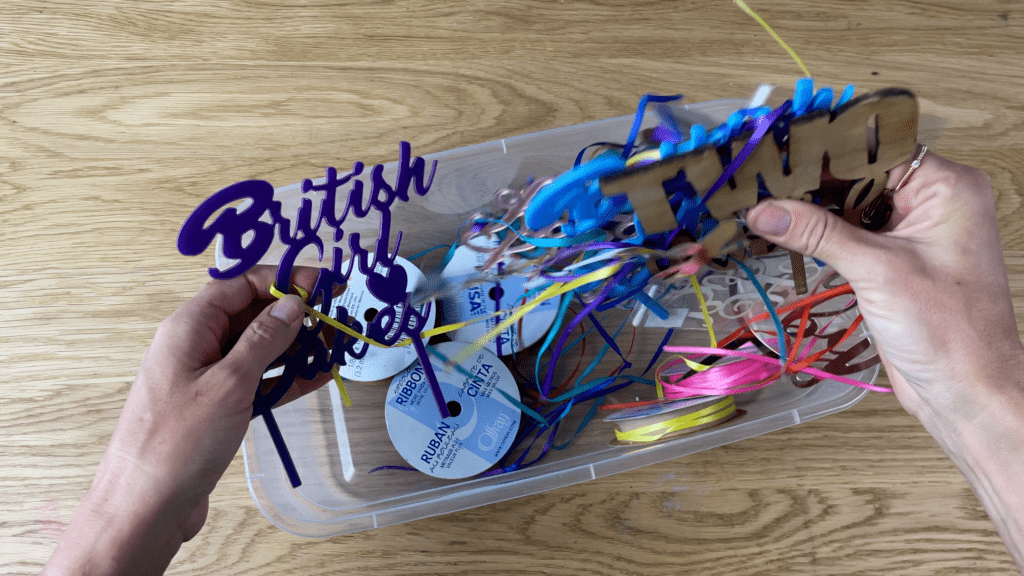
Instead of getting tangled up in a box you can use pegs on a peg board as ribbon spools, keeping each colour of rubbon separate.
Put your cake toppers into a jar or glass so they’re upright and easy to grab.
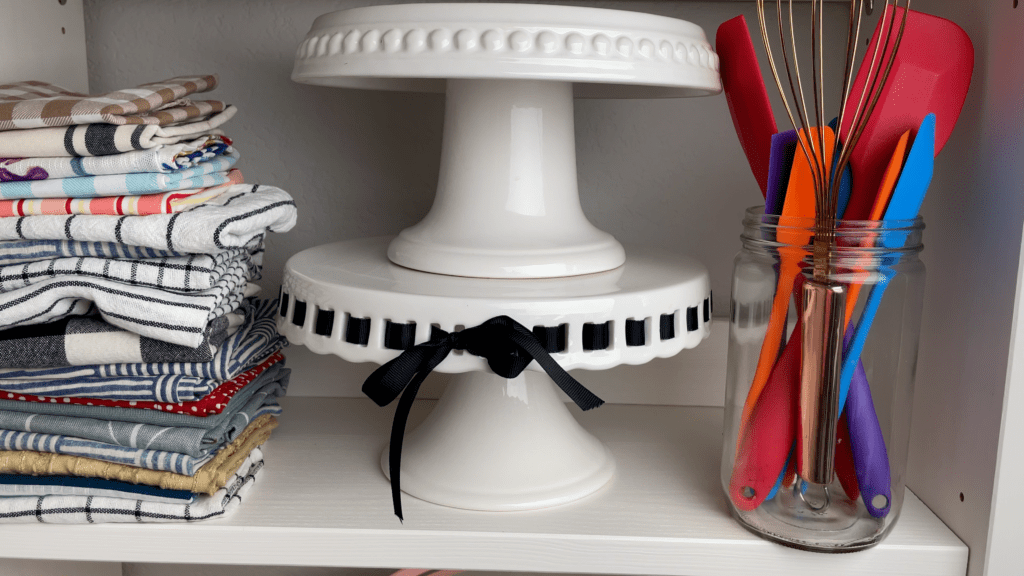
The same solution works for spatulas – instead of taking up a whole drawer, stand them upright in a jar or a glass and they’ll look pretty as well as being easy to reach.
I hope these hacks help you organize your baking or cake decorating space and without all of the clutter you’ll enjoy spending time in that room. If you have any other organization hacks, please share them with all of us in the comments!
If you’re looking for cake decorating ideas, techniques, and designs, check out my online cake school.
Here’s the video version of this tutorial:

Where did you get the organizer foam for your food coloring containers?
Love the way you organize. I have tried many things, but I am going to try your suggestions. Thanks
Wonderful! I hope they work well for you!
I absolutely loved your storage ideas! Thanks for sharing!
So glad you liked them! Thank you!