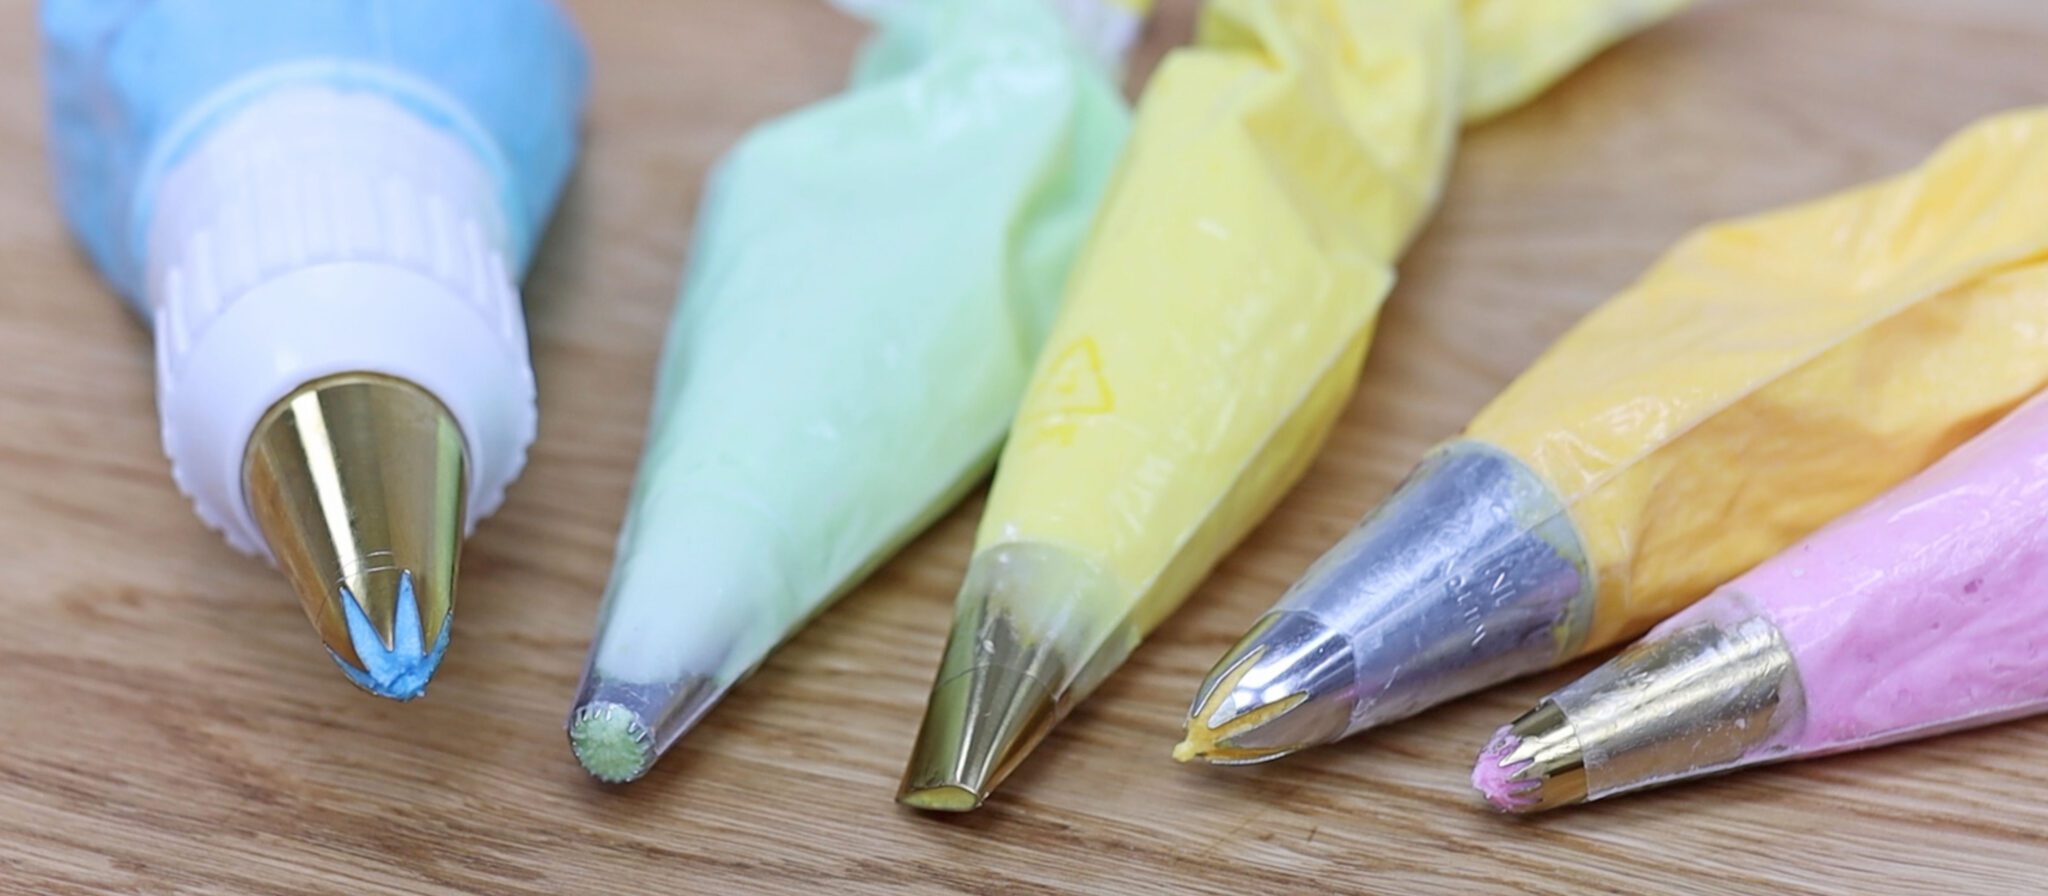
Piping onto cakes adds colour and texture and in this tutorial I’m going to share 15 piping hacks to make piping easier!
#1 How to fit a piping bag with a tip
Let’s start with the basics: how to fit a piping bag with a piping tip. Drop your tip into the piping bag and push it to the end and then use scissors to score about half way up the piping tip.
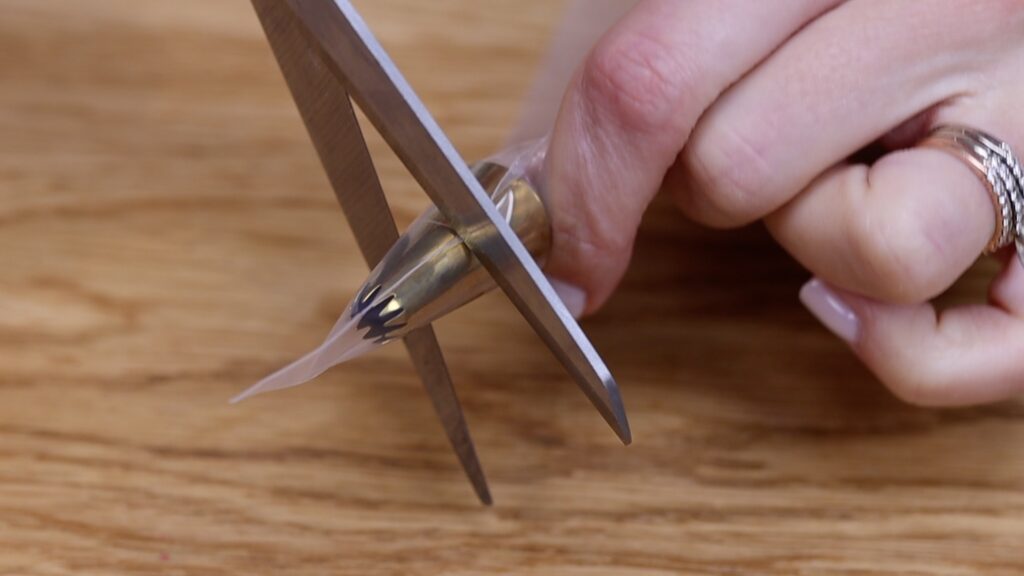
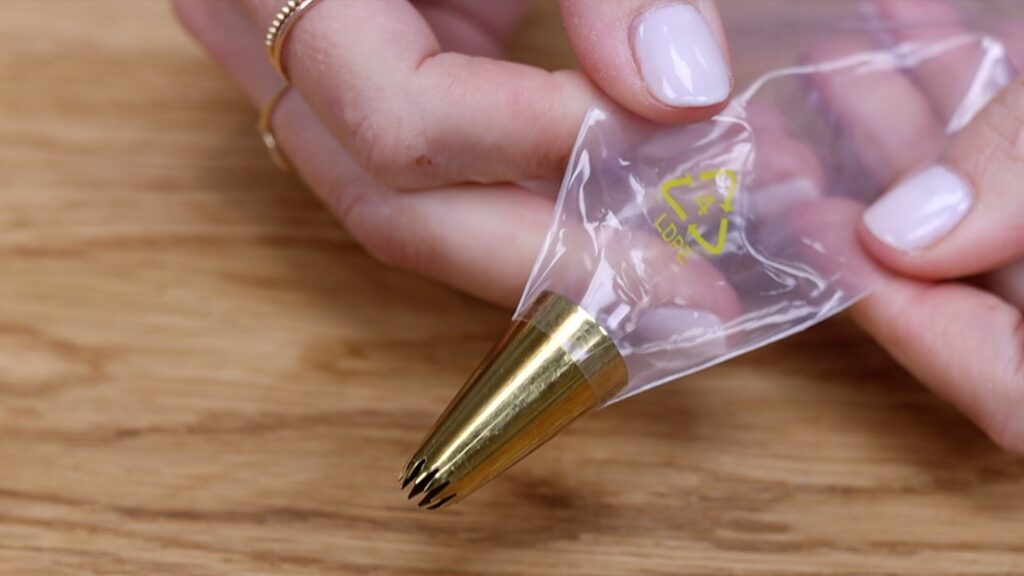
Push the piping tip out of the way, cut alone the line you scored, and then when you push the tip back down it should sit snugly within the bag.
#2 Choose the right piping tip
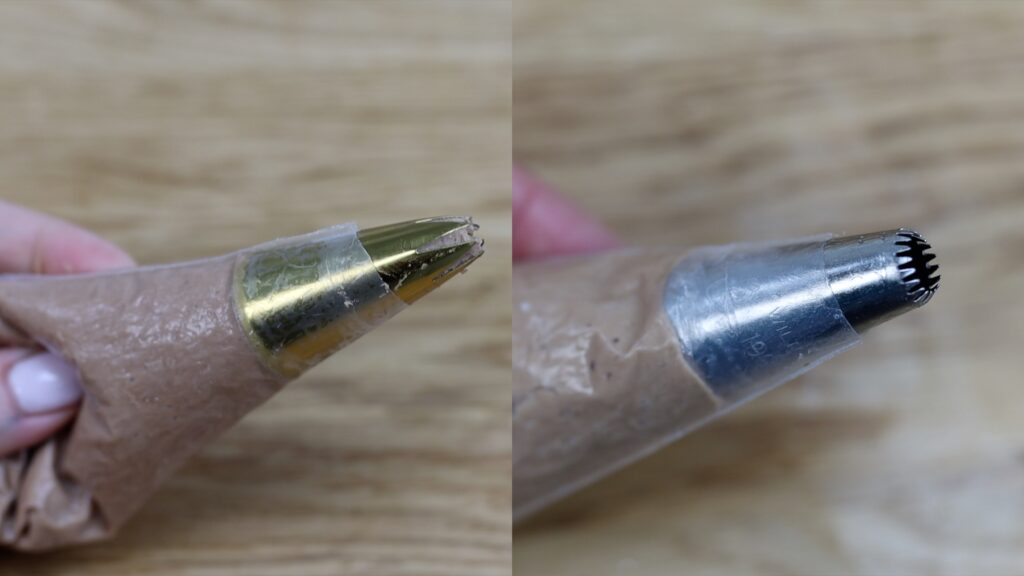
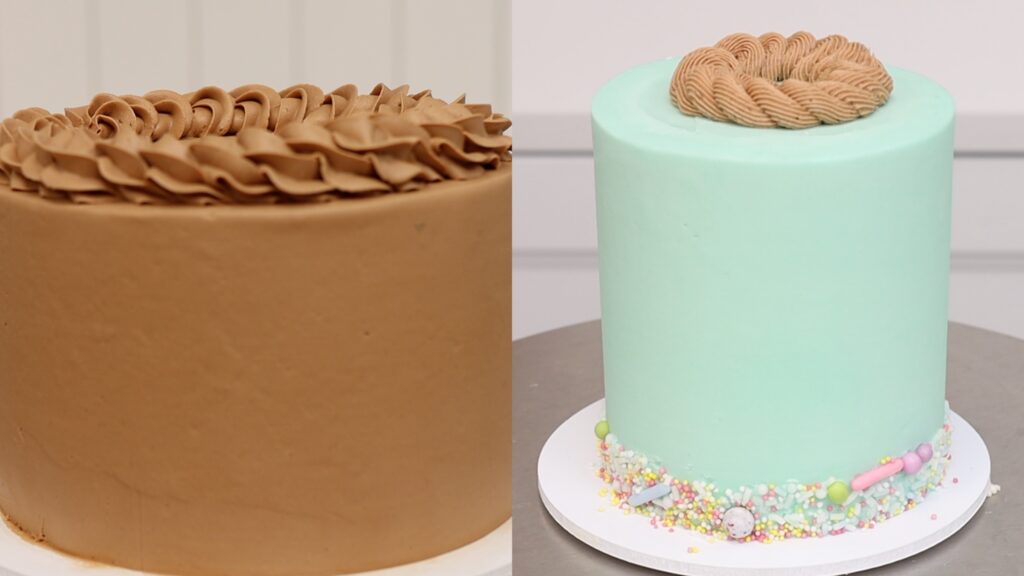
Before we go any further, let’s talk about how to choose a piping tip. They come in lots of different shapes and sizes. Keep in mind the size of your cake and the size of your decorations - for example, the 1M tip on the left is perfect for a rope border on top of an 8 inch cake but the #199 tip on the right is more suitable for a nest on top of a tiny 4” cake.
#3 How to fill a piping bag with frosting
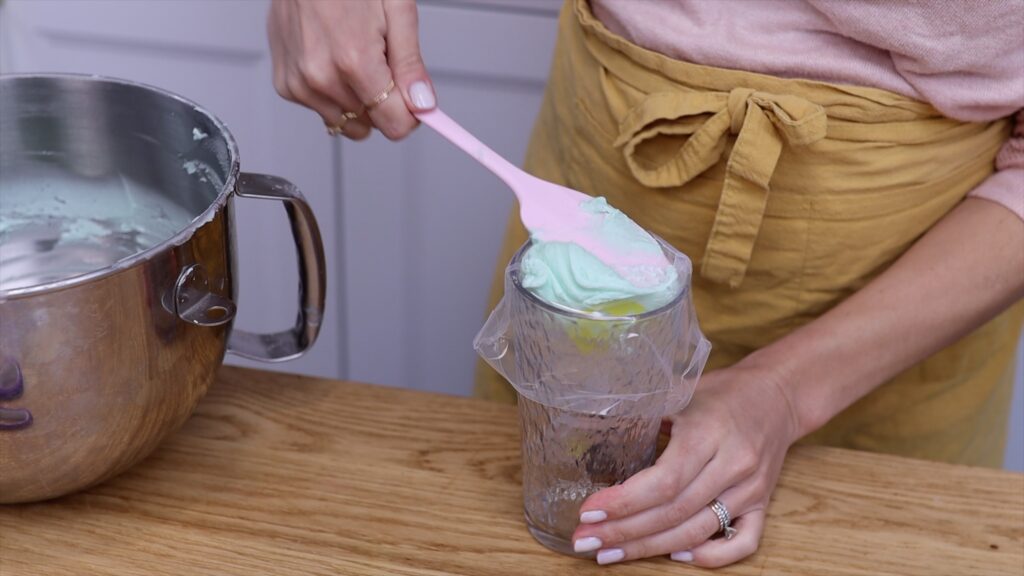
Here's another basic but useful hack: how to fill a piping bag without making a mess! You can spoon frosting straight into a piping bag but you’ll probably get frosting all over the edges of the bag and that will get all over your hands when you pipe.
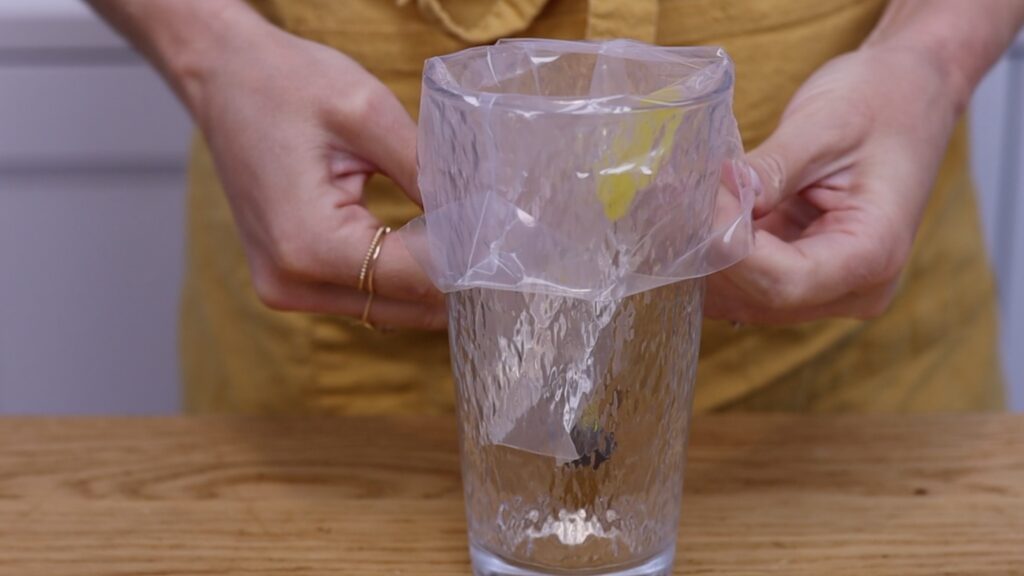
Instead, fold the top of the bag over or even better, use a glass and fold the top of the bag over the rim of the glass to hold the piping bag open while you fill it. Unfold the bag and it’ll be clean to hold as you pipe!
#4 How full should you fill a piping bag?
Don’t fill the bag more than 3/4 full or it will be difficult to grip onto as you pipe. Also, if the piping bag is very full the frosting will ooze out of the top of the bag as you pipe.
#5 How to hold a piping bag
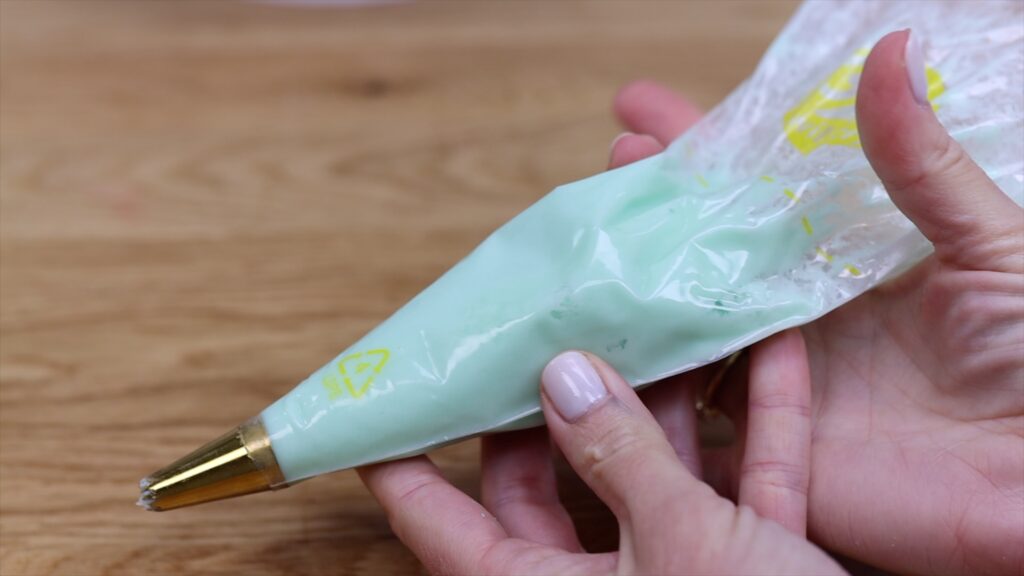
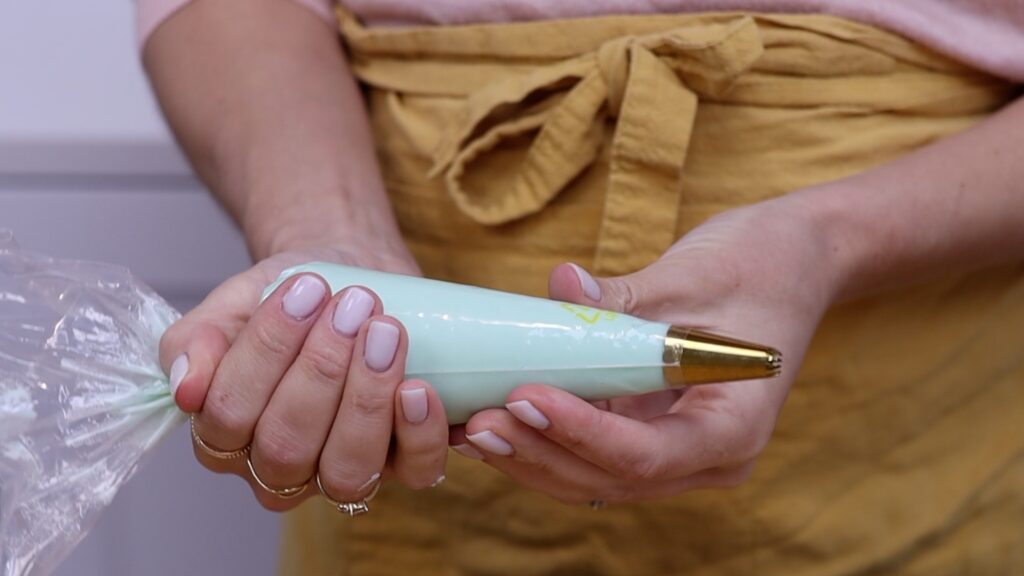
Grip the bag and push the frosting down to the piping tip. Twist the bag to apply pressure to the frosting, which makes it much easier to squeeze through the tip. This will put less strain on your wrist as you pipe so you won't get tired quickly.
#6 When to pipe onto a cake
Before you pipe onto a cake, chill it for at least an hour in the fridge to set the frosting on the cake, and that way you can rest your piping tip right up against the cake without damaging the frosting on the cake.
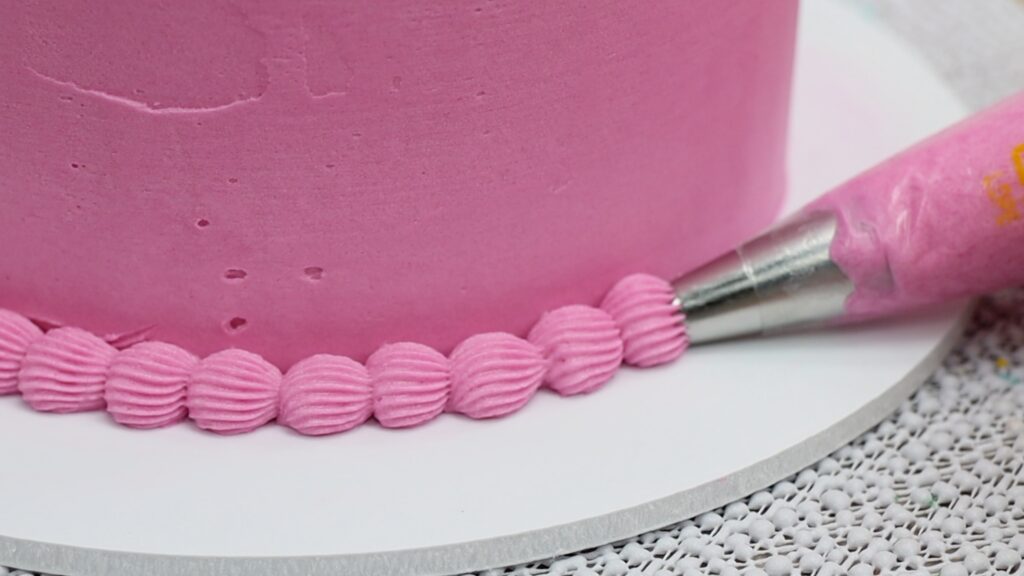
Also, since the frosting on the cake is cold and firm and not soft and sticky anymore, the frosting you’re piping won’t pick up the frosting from the cake so that it blends with the colour in the piping bag. And here's a third reason for chilling the cake to set the frosting before you pipe: piped frosting is heavy! Chilling the cake will make it firmer and more stable so that it can support the weight of the pipe frosting without sinking or drooping.
#7 Two-tone piping
For two tone swirls, put your piping tip into a piping bag and fold it over a glass to hold it open and then spoon one colour of frosting into one half of the bag. Push it against that side of the bag and then spoon another colour into the other half. As you spoon the colours in, push them down with your spatula to lower them into the bag.
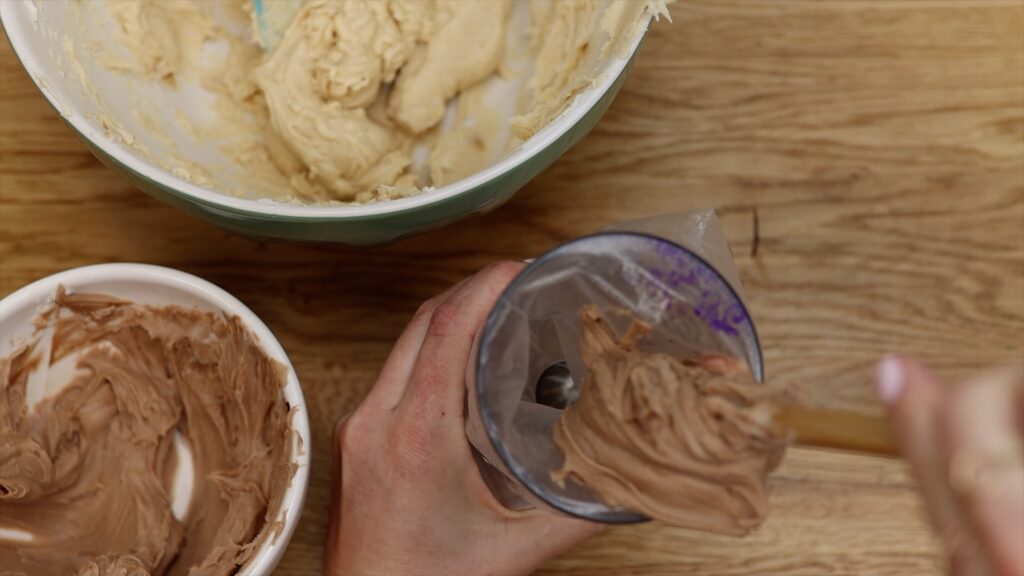
Unfold the bag from the glass and then shake the bag a few times before you twist it so that both colours go right down to the piping tip and then they’ll both come out together when you pipe.
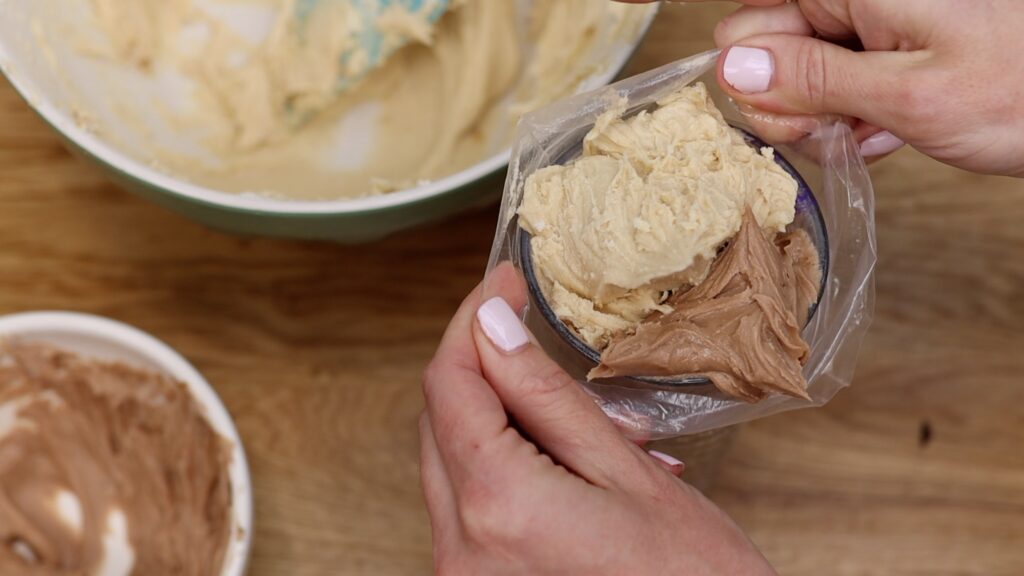
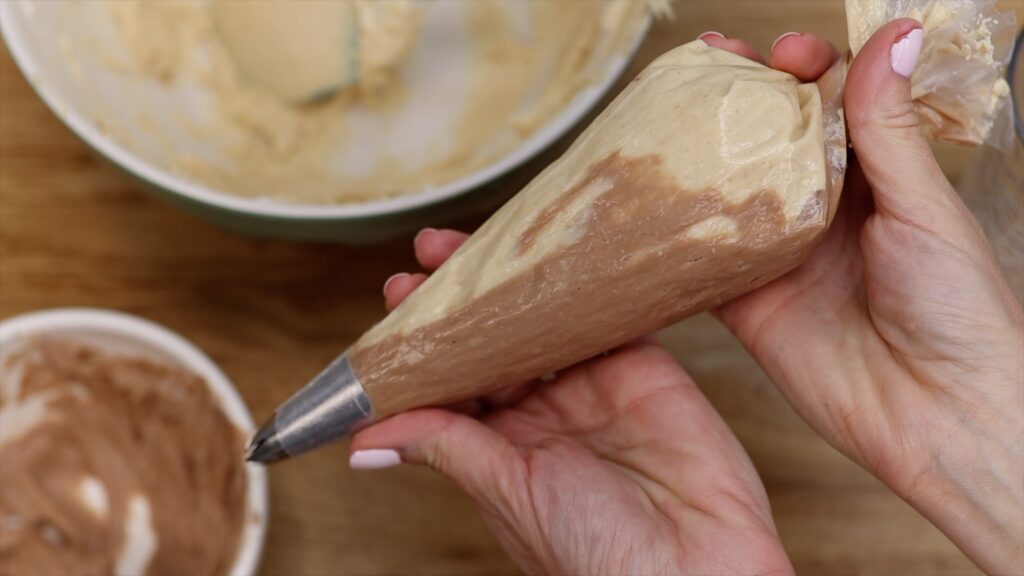
To double check you can squeeze to pipe a little bit of frosting into a bowl first, until both colours come out at the same time.
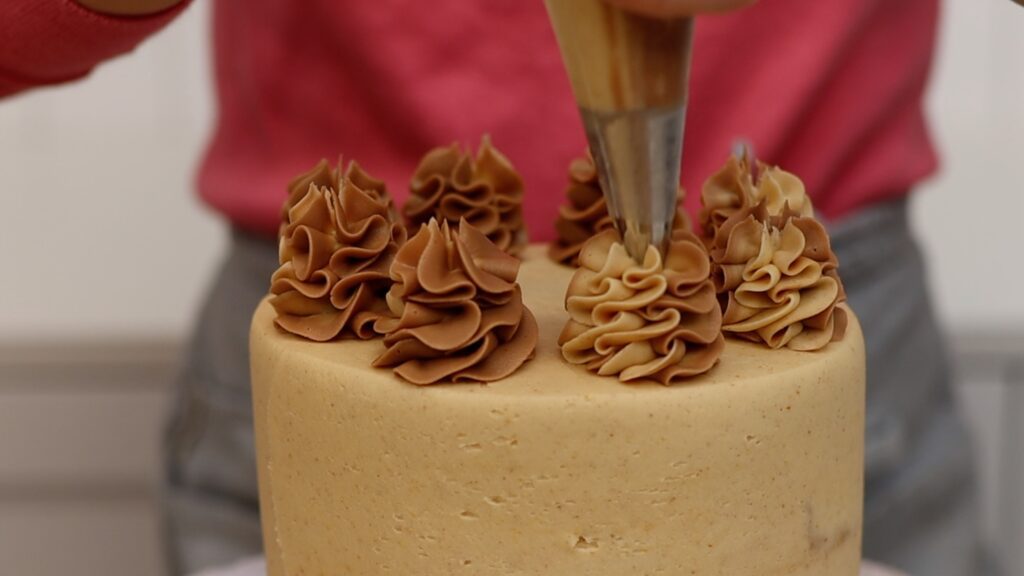
#8 Rainbow piping
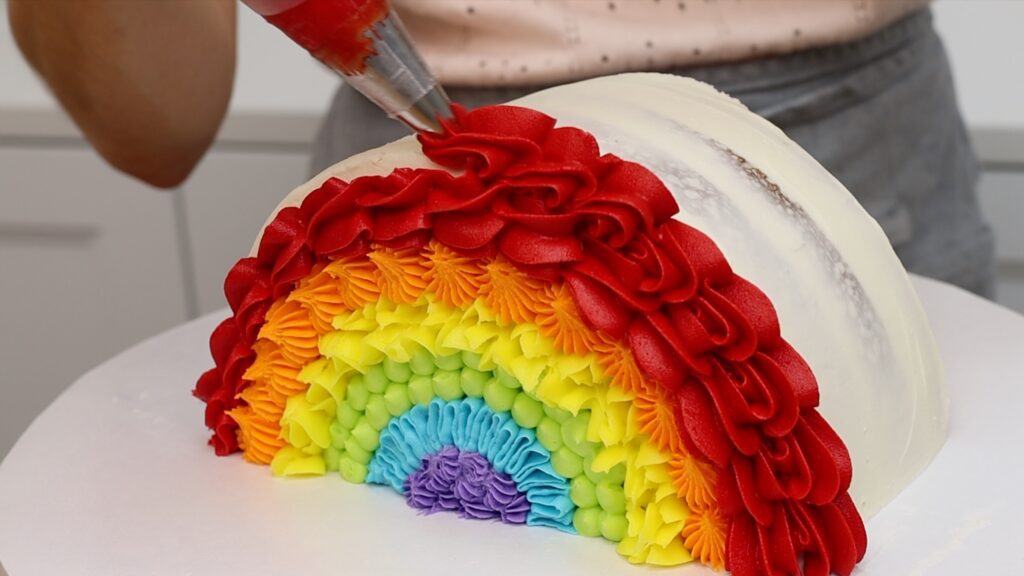
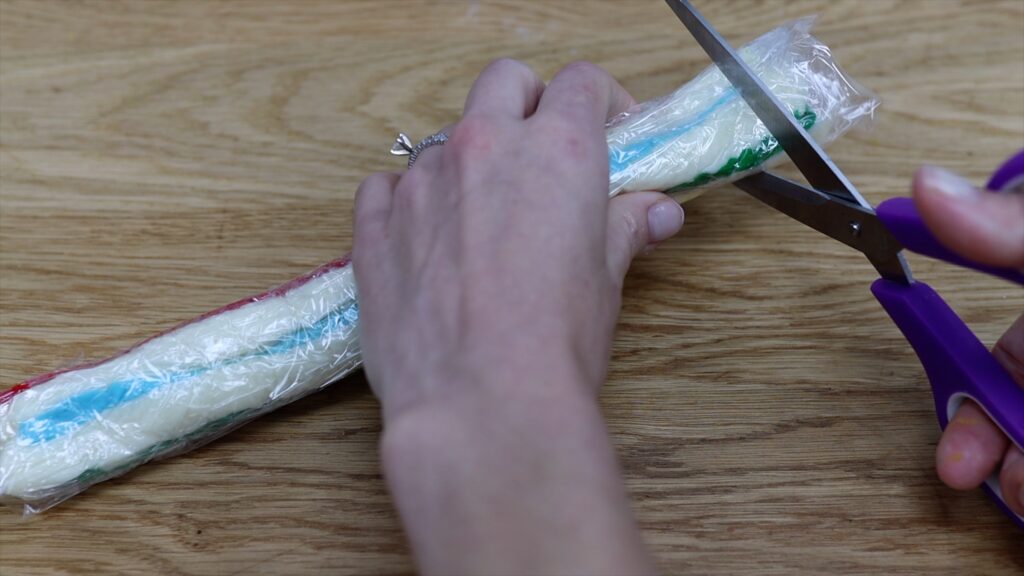
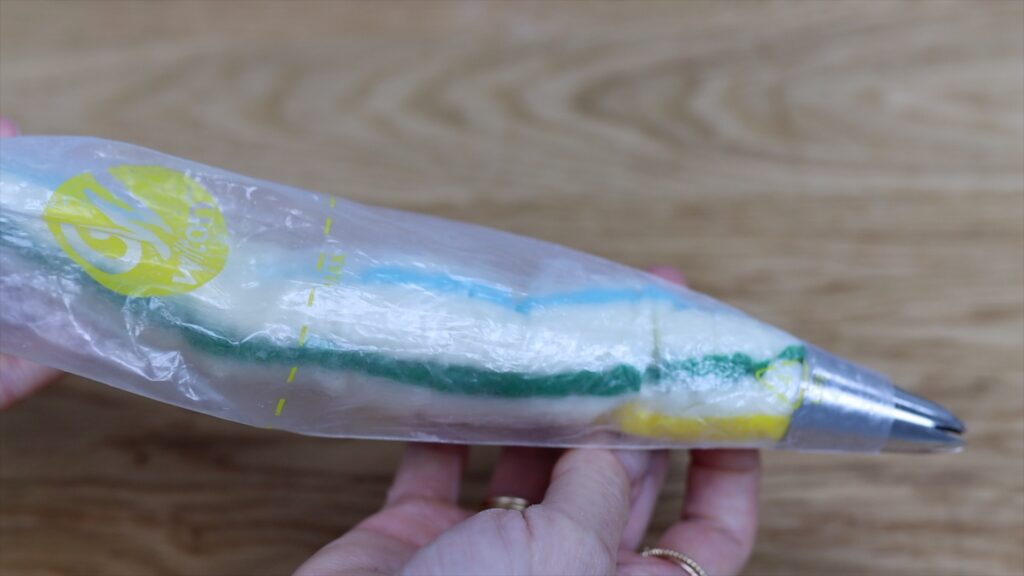
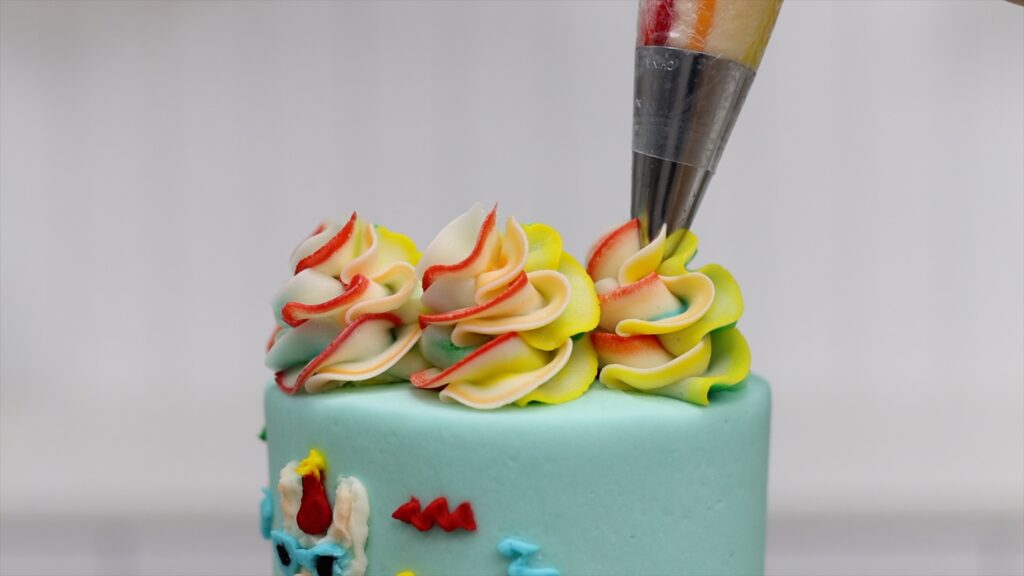
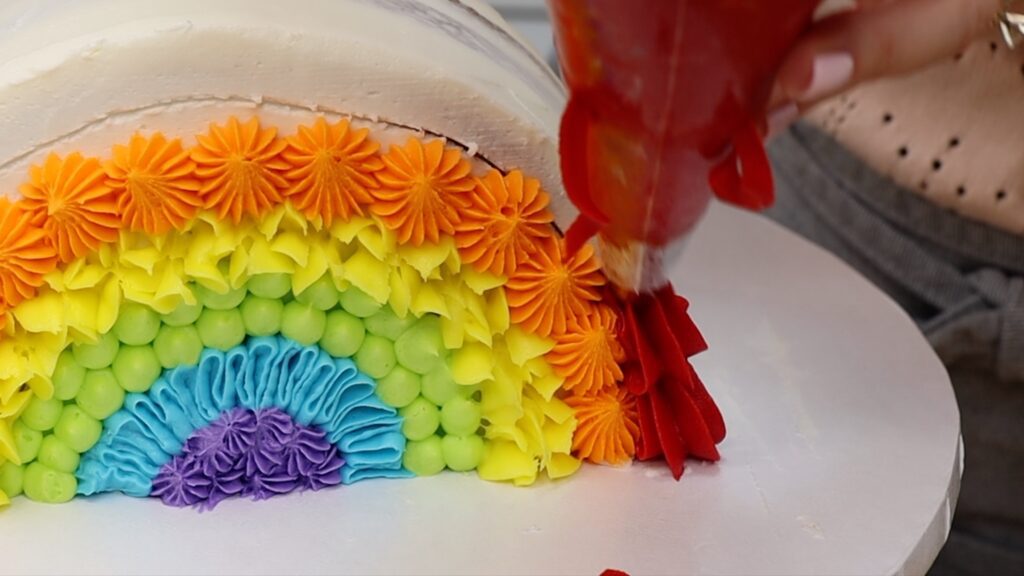
To incorporate even more colours into your piping, spread out a piece of plastic wrap like cling film or saran wrap and pipe or spread lines of coloured frosting along it. Use as many colours as you like and of course the wider and longer the area you cover with these lines, the more frosting you’ll have so the more swirls you’ll be able to pipe onto your cake.
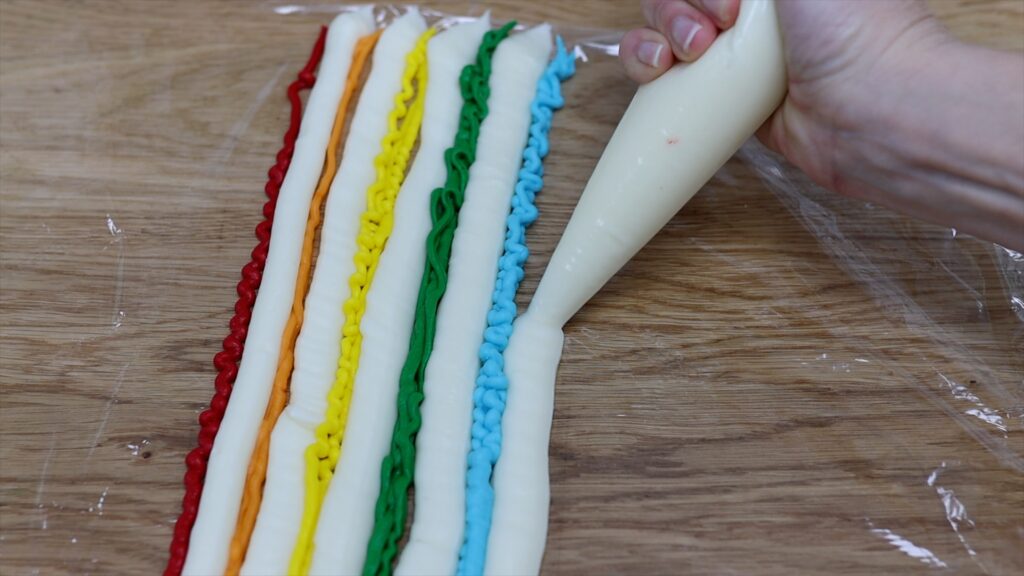
Roll it into a log and cut off one end and then push that end down into the piping bag. Cutting it means that all of the colours will come out together to pipe beautiful colourful swirls, or whatever style of piping you like!
#9 How and why to use couplers
Couplers are another way to effortlessly create designs with lot of colours or textures, or both! Couplers come in two pieces. Push the bigger piece down to the end of a piping bag and then you’ll attach the piping tip over the outside of the piping bag, screwing it on with the ring that comes with the coupler and that will hold it in place as you pipe.
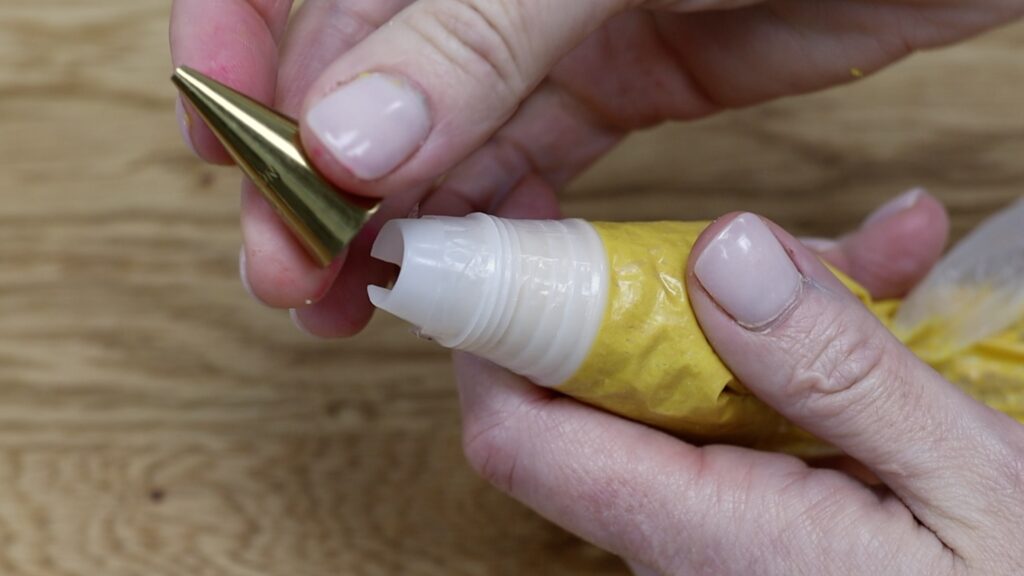
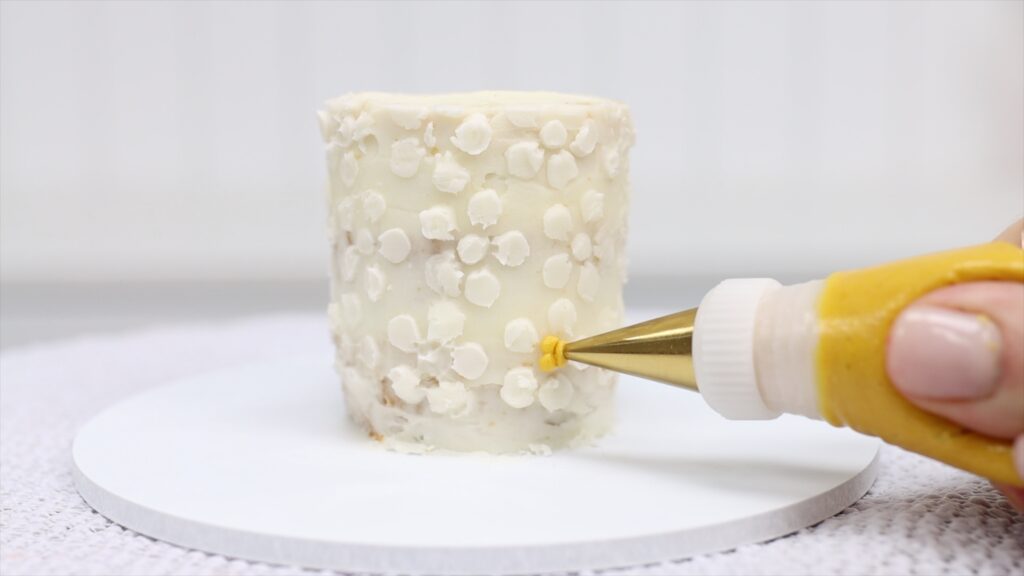
Use the piping bag as normal and when you want to use that piping tip with another colour, just unscrew the ring, pull the tip off, and attach it to another piping bag, also fitted with a coupler, to use that tip with another colour of frosting!
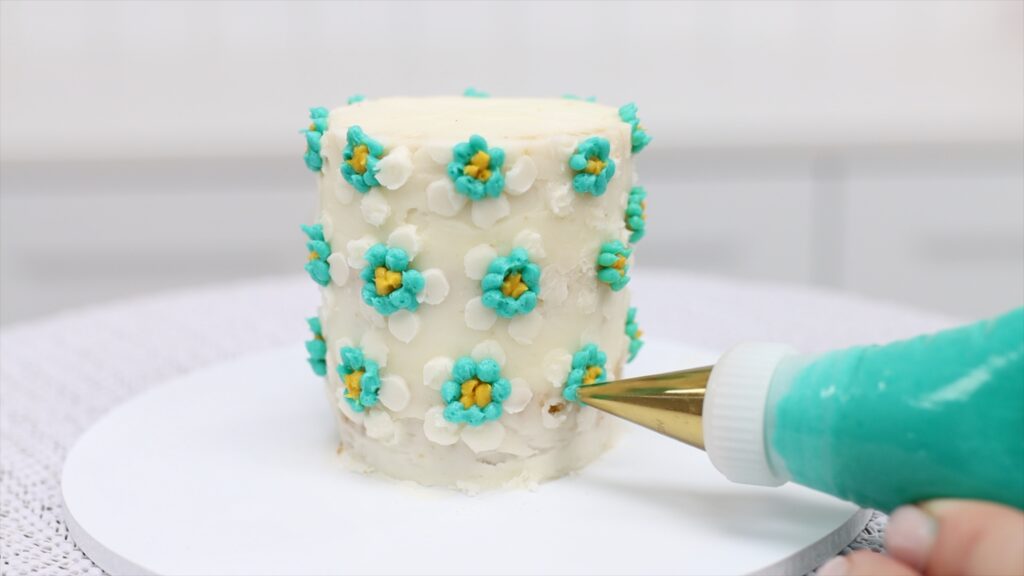
You can either wash the piping tip in between different colours or here’s a quick tip for speedy cake decorating: unscrew the tip from the first colour and move it straight onto the next bag of colour without cleaning it. Before you pipe onto the cake, squeeze the frosting out of the bag until you don’t see the cold colour coming through anymore and you’ve just cleaned the tip in two seconds!
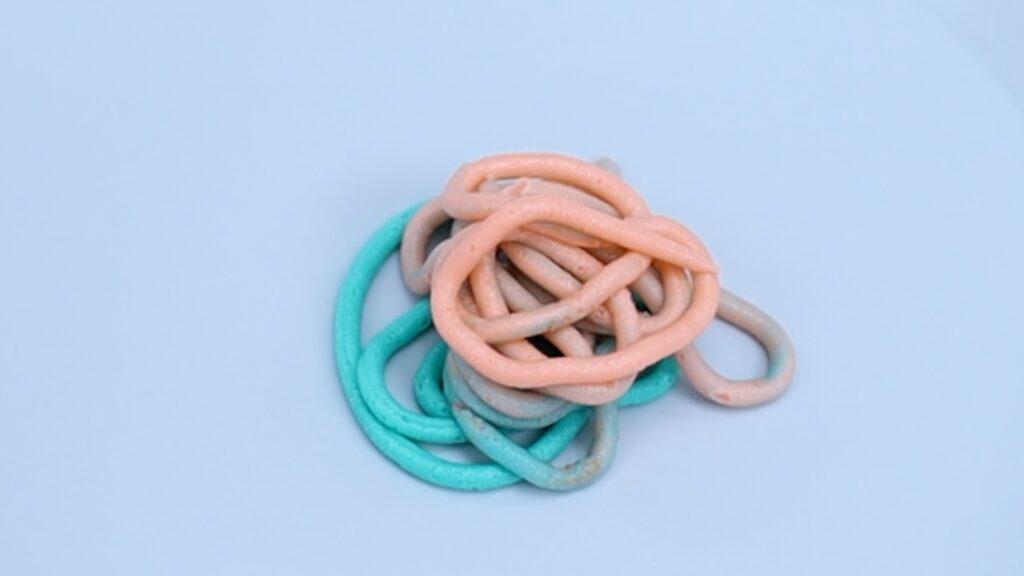
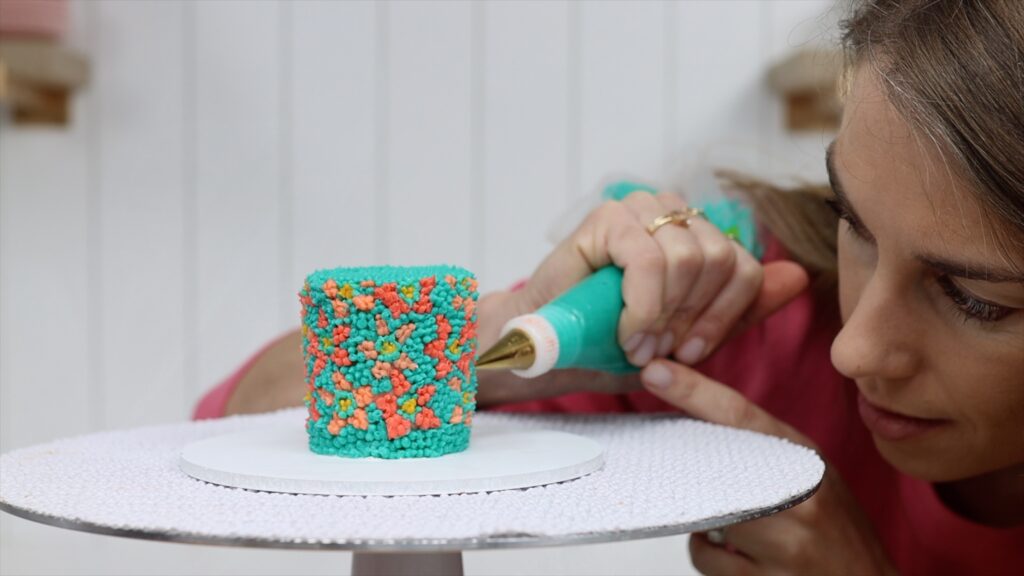
I love using couplers because you can switch back and forth between colours as often as you like. If you don't use couplers you'll have to pipe everything of one colour first, all over the sides and top of the cake, and then squeeze the frosting out of the bag to get the piping tip out so that you can wash and dry it to use with the next colour. Couplers give you creative flexibility to pipe whatever you like, whenever you like! For 4 reasons to use couplers, check out my tutorial on how to use couplers.
#10 How to store piping bags
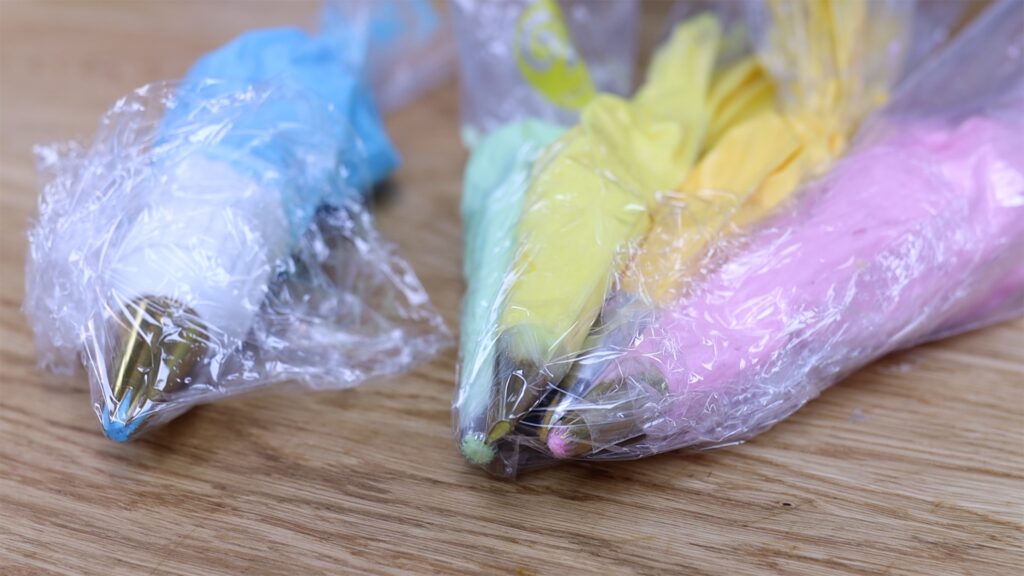
If you prepare your piping bags in advance or take a break in the middle of using them, the buttercream at the end of the piping tip will dry out and crust because it’s exposed to air. To avoid that, wrap the piping tips in cling firm or Saran Wrap to keep them airtight and that will keep the buttercream soft and sticky until you pipe with it.
#11 Make piping bags last longer
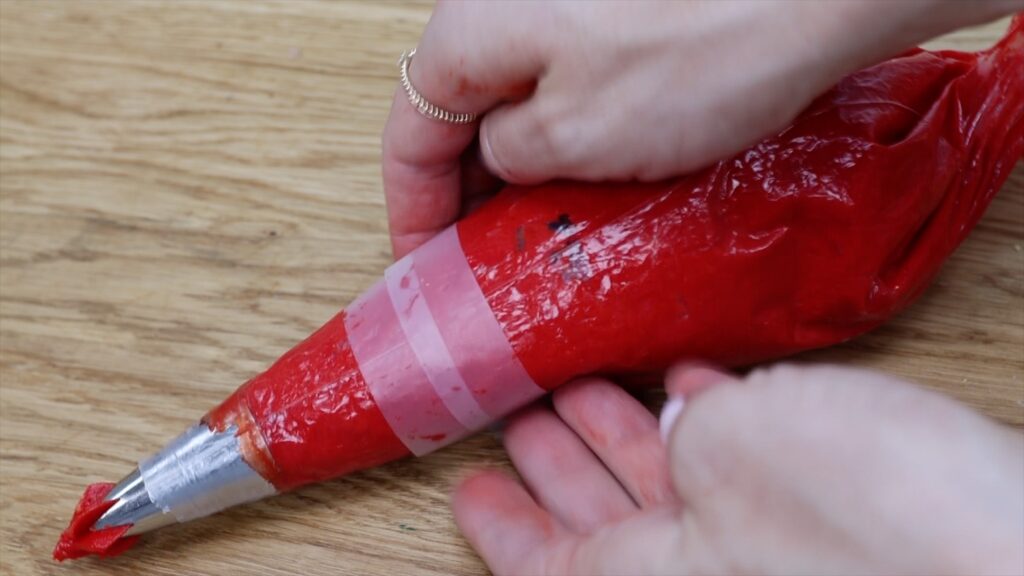
Disposable piping bags are washable so you can use them again and again and again but eventually you’ll notice holes in them and frosting will ooze out of those holes.
No problem - wipe the frosting off the outside of the piping bag and then cover the holes with tape so that you can use that piping bag to finish off your cake without dribbling frosting all over your design.
#12 How to refill piping bags
If you run out of frosting while you’re piping you can refill the piping bag but you’re likely to trap a pocket of air in between the old frosting and the new frosting.
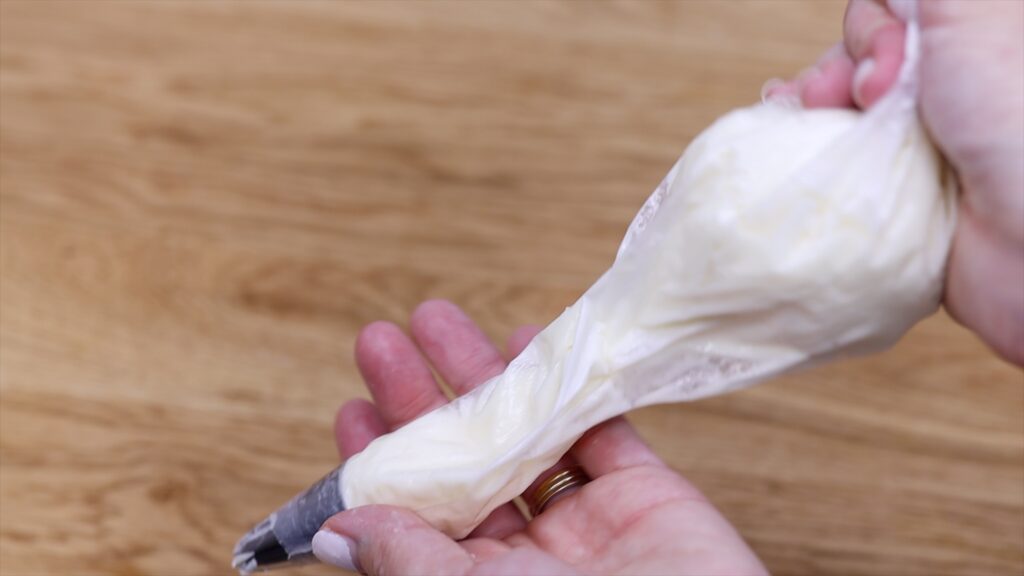
Before you use the refilled bag, squeeze that last little bit of old frosting out of the bag until you hear a "burp". You’re looking for a little explosion of air and you want that to happen in a bowl, not onto the beautiful piping on your cake!
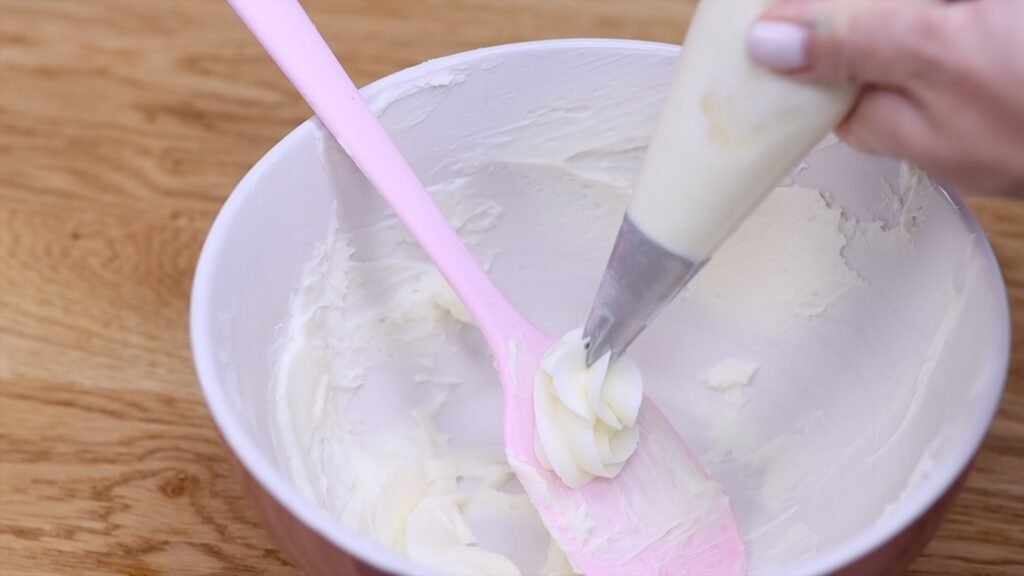
#13 How and why to pipe without piping tips
You don’t have to use piping tips for piping, which means you can save time cleaning up after cake decorating. I’ll show you two alternatives to piping tips now. The reason for using a piping bag with no piping tip is if the texture of your piping doesn’t matter, for example to apply the filling and frosting onto a cake.
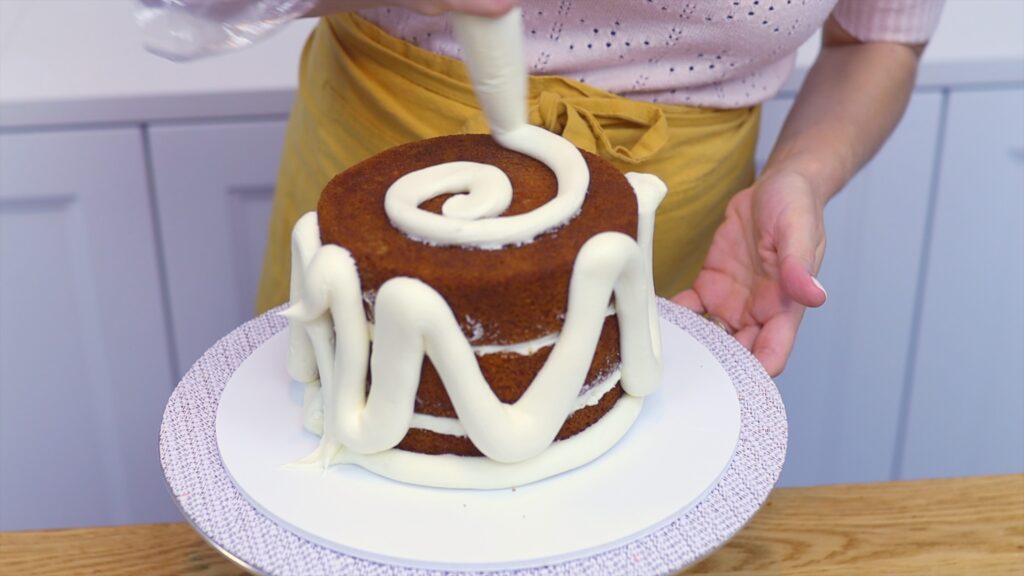
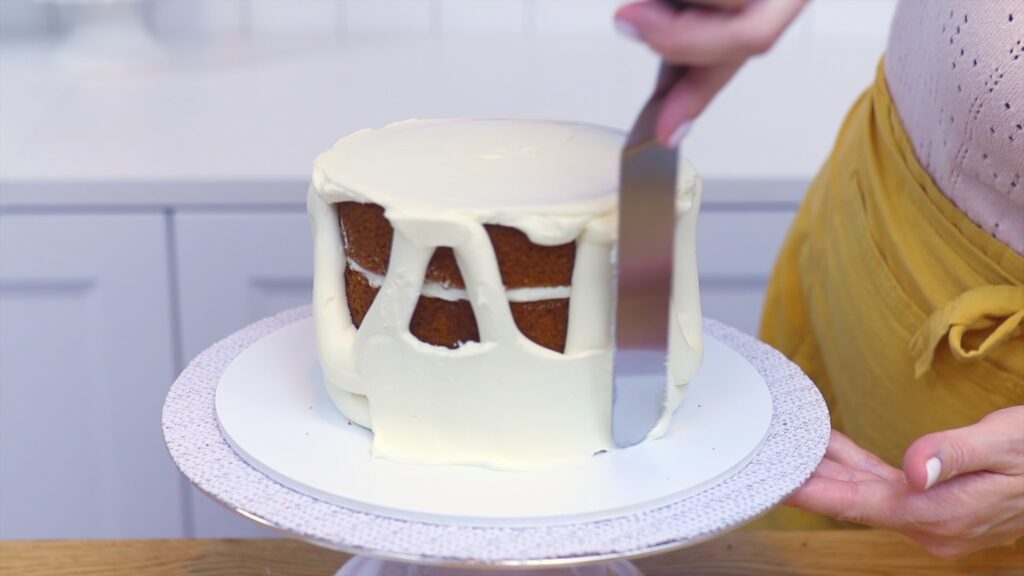
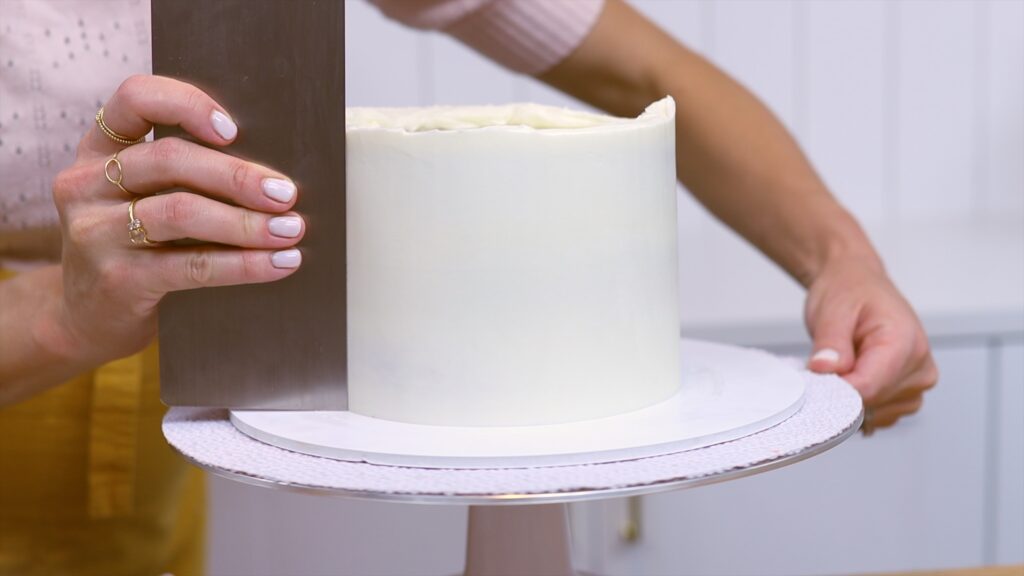
Piping frosting instead of spreading it straight onto a cake is much quicker. Also, you won’t pull crumbs off the cake if you pipe it and then spread and smooth it, so your frosting will be beautifully crumb-free!
#14 How to pipe with ziplock bags
You can even pipe without a piping tip OR a piping bag, by using ziplock bags instead. Squeeze the frosting down and cut a tiny piece off the corner to pipe through.
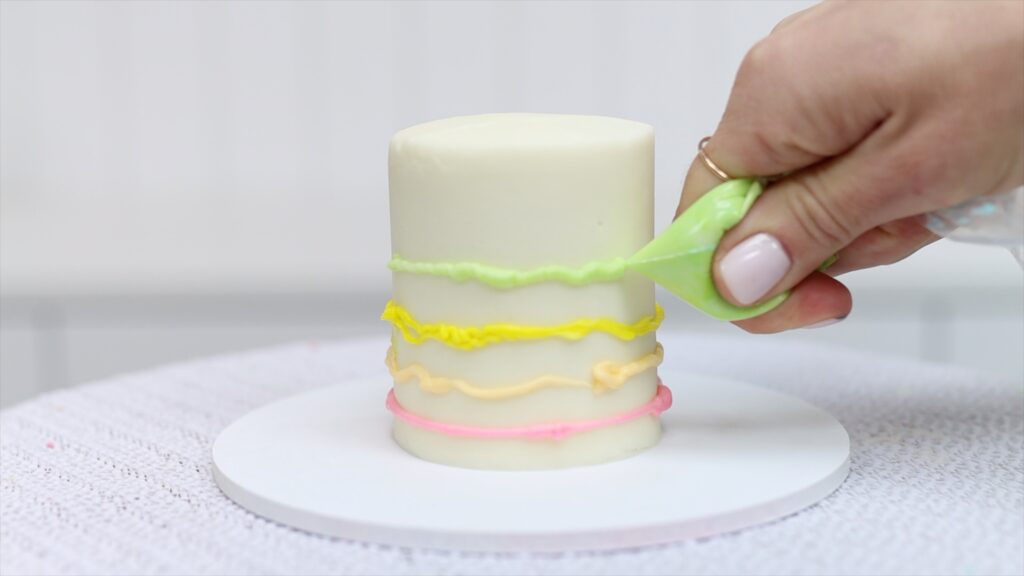
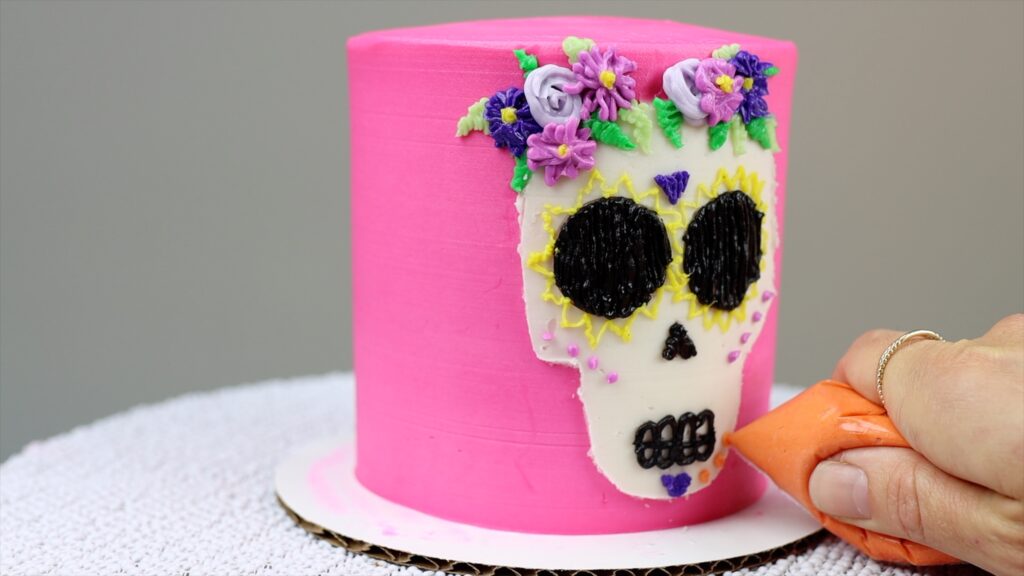
These are perfect if you want to use lots of colours but don’t have lots of piping bags. The only limitation is that you can only pipe lines or dots with them, so you won't get the texture that would come through the shapes of piping tips. But with just lines and dots you can create surprisingly intricate designs using ziplock bags!
#15 Leftovers
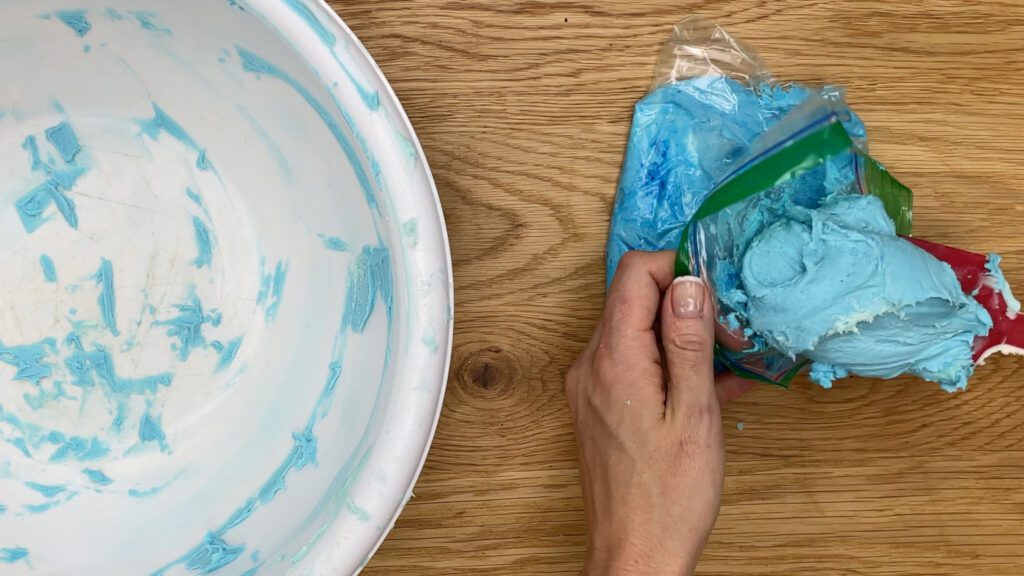
Let’s talk about leftovers. You’ll almost always have leftover frosting in your piping bags or ziplock bags. You can refrigerate it for 2 weeks or freeze it for 2 months before using it on another cake - just let it come to room temperature and then squeeze it into a piping bag and voila! Reusable for another cake design!
I hope these hacks are useful! Join my newsletter for more and visit my cake school for hundreds of cake designs and techniques. Join my ClubPLUS for access to EVERY MiniCourse and MasterCourse and Live Workshop on my cake school!
Tell me your favourite piping hack in the comments!
You can also watch a video of these 15 piping hacks for cake decorating:
