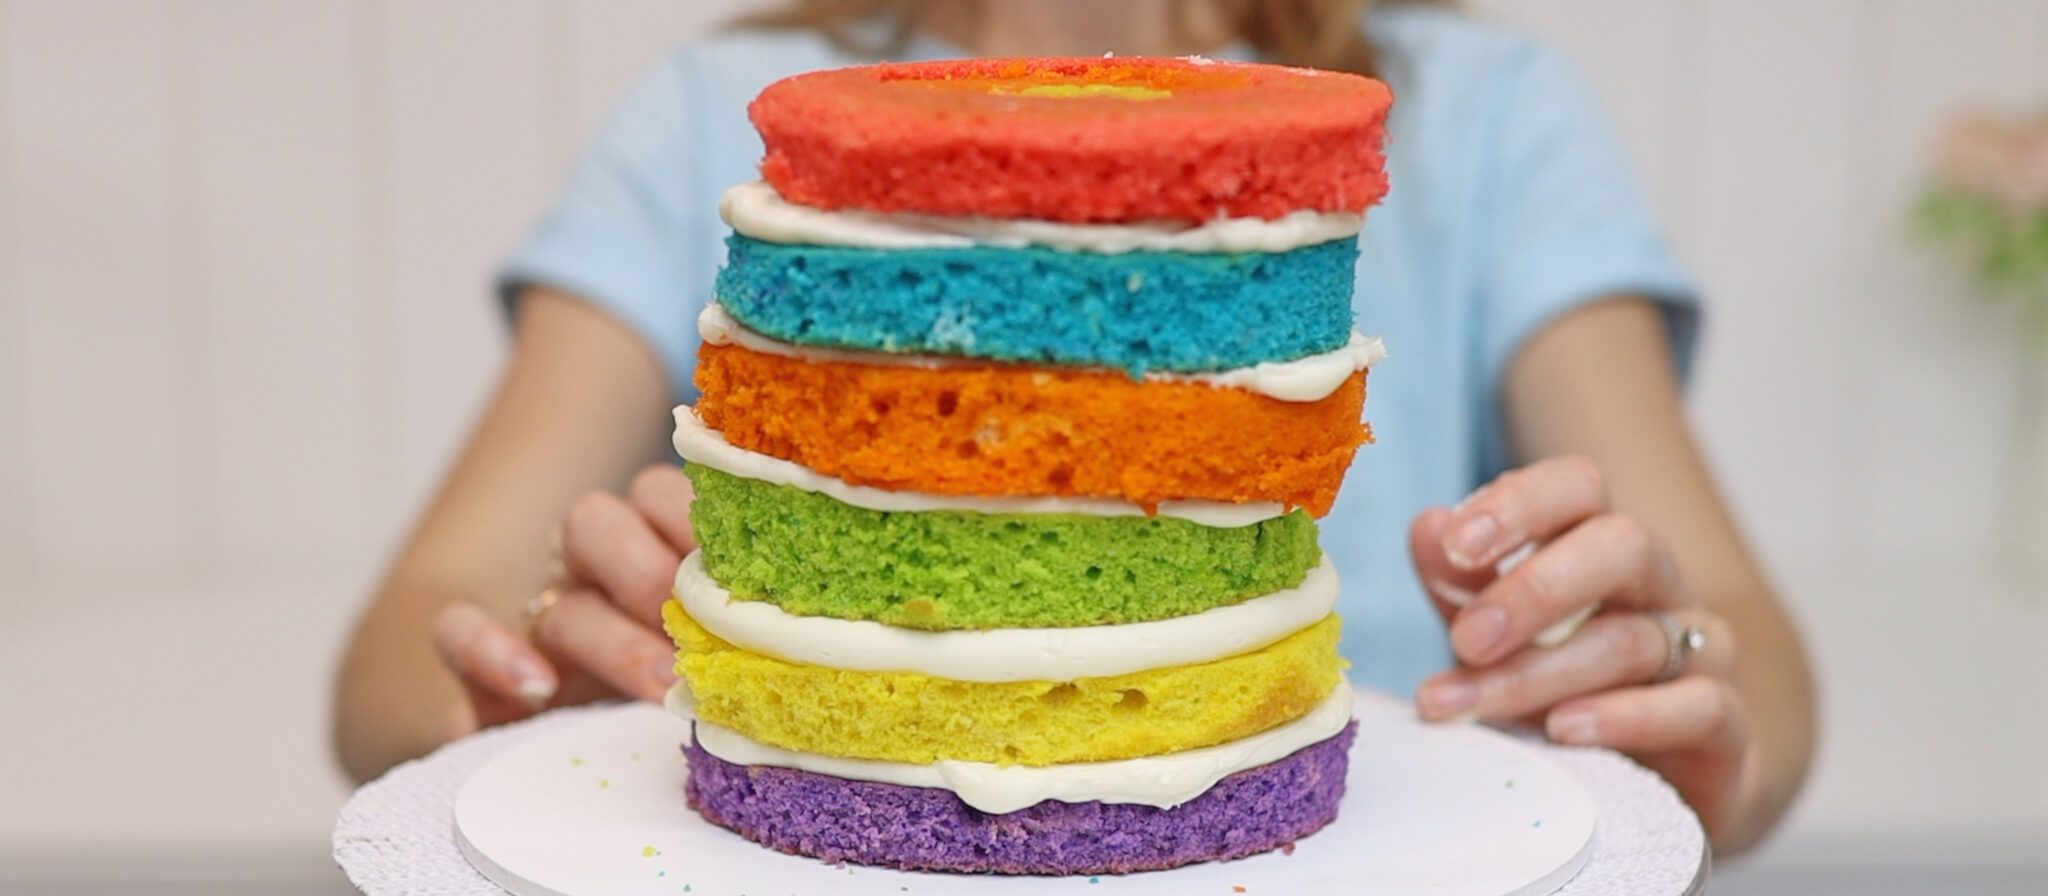
Use these three tricks to fix a leaning cake before or even after you frost it!
You might be creating a leaning cake right at the beginning of the process! As you layer your cake and filling, place each cake layer directly on top of the layer below. This ensures the sides of the cake are straight. If you position any layers off-center, the cake will lean to one side.
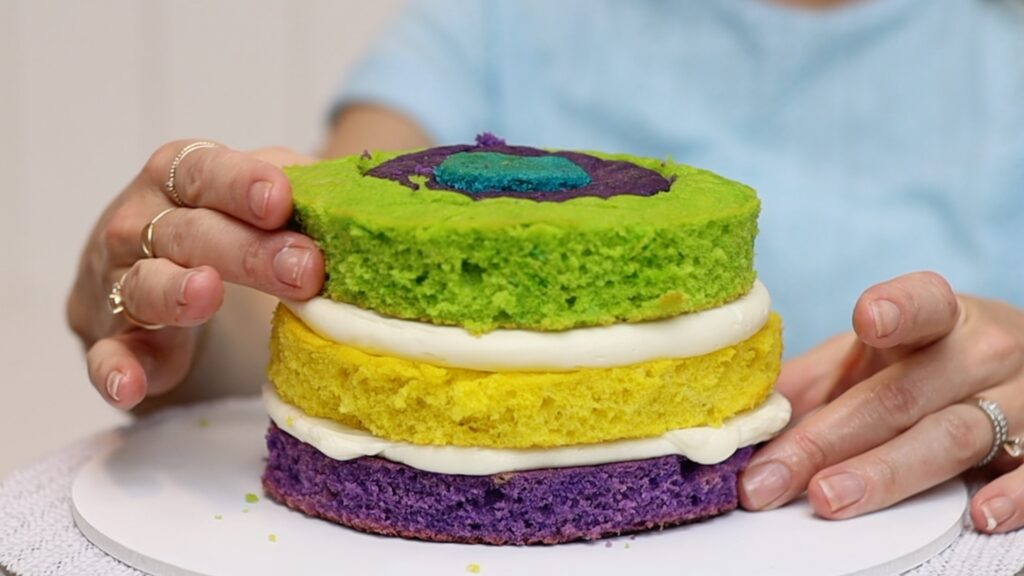
To avoid this happening, Trick #1 is to spin the cake on a
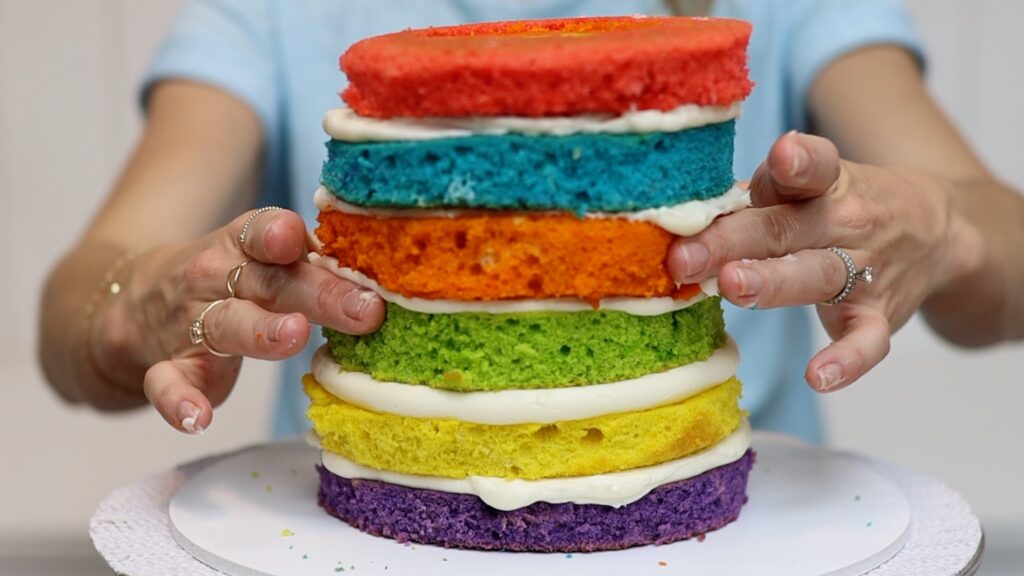
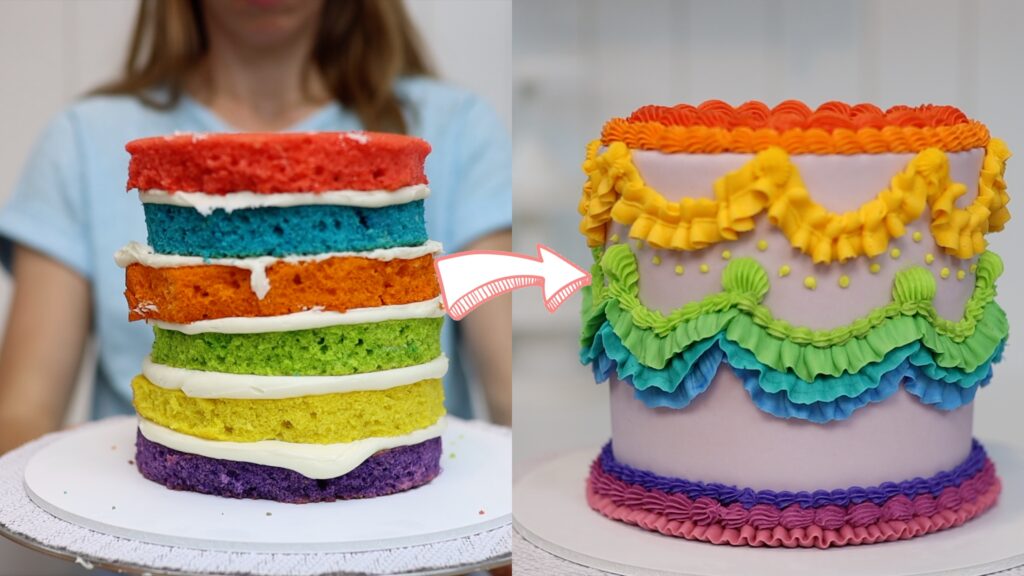
I should mention that the sides of your cake don't need to be perfectly straight! It's fine if the silhouette of the cake isn't perfect because frosting will fill in any imperfections. The crumb coat and final coat will even it out so that the final frosted cake looks perfect! What you’re trying to avoid is a lean, where the cake is tilting over to one side.
To learn how to make a vintage cake like the one in the photo above, check out my tutorial on 10 secrets for vintage cakes.
A cake might start to lean after frosting it. Even if your cake looks straight after assembling it, frosting it straight away can create a lean. The pressure of your spatula or cake comb against the cake as you spread and smooth the frosting can push the layers off center.
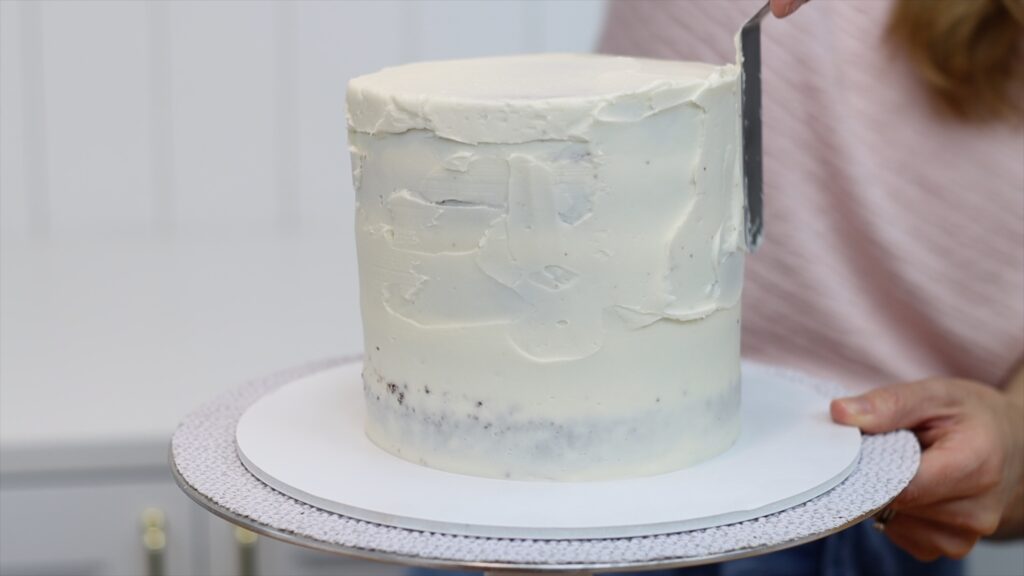
To prevent this, chill the cake after you assemble it, before you frost it. In the fridge or freezer, the filling will chill and set and hold the cake layers in place. Then when you frost the cake, the layers won't slide around.
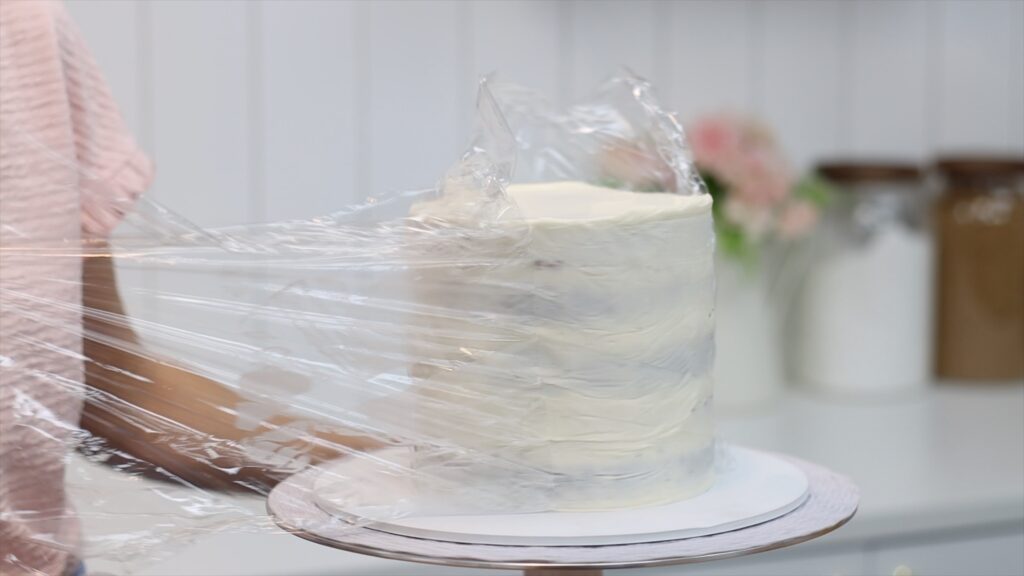
If the layers do move and you find yourself with a leaning cake, try this trick! Wrap the cake in cling film or Saran Wrap so that the sides are covered. Then gently push the cake into an upright position.
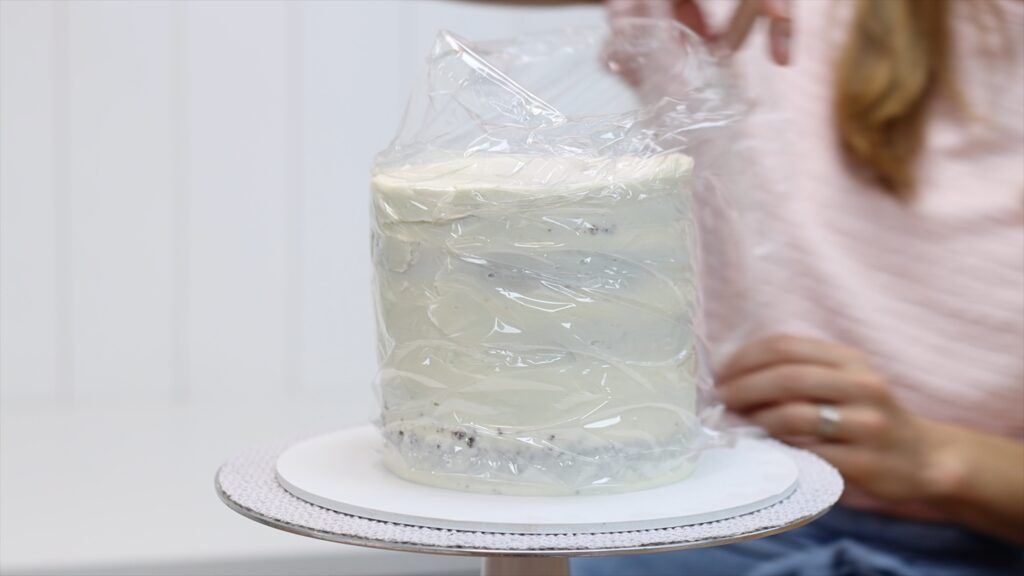
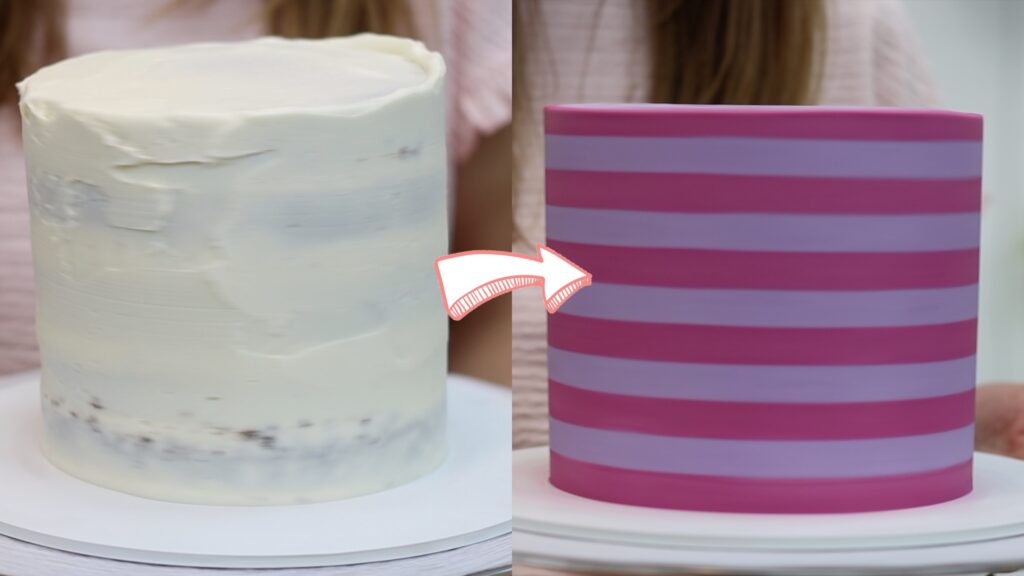
Spin it to check it’s straight from all sides. Then put the cake, still wrapped in plastic, into the fridge for an hour. The cake and frosting will set and when you take it out, unwrap it striaght away. The plastic will leave a smooth surface behind on the frosting, instead of pulling it off with it. You’ll have a straight cake, ready for the final layer of frosting.
The striped cake below is the same cake and you wouldn't guess it was leaning dramatically a few minutes earlier!
Check out my cake school to learn hundreds more cake decorating techniques and designs 🙂
If you notice a cake is leaning after the crumb coat has set, it’s too late to push it straight. Instead, use this trick! Spread more frosting onto the cake to fill in the lean. You'll need to spread it onto the bottom of one side and the top of the opposite side.
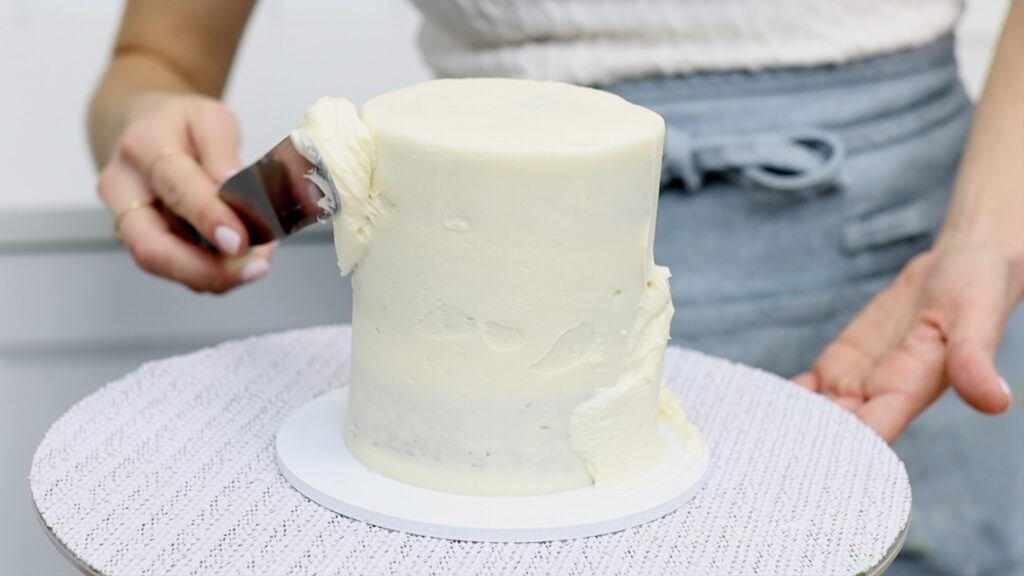
Then when you scrape around the cake, press your comb down on the cake board to line it up straight. You’ll smooth this frosting you’ve spread on to create straight sides on the cake. The frosting won’t look smooth and neat but that’s fine, the crumb coat doesn’t need to!
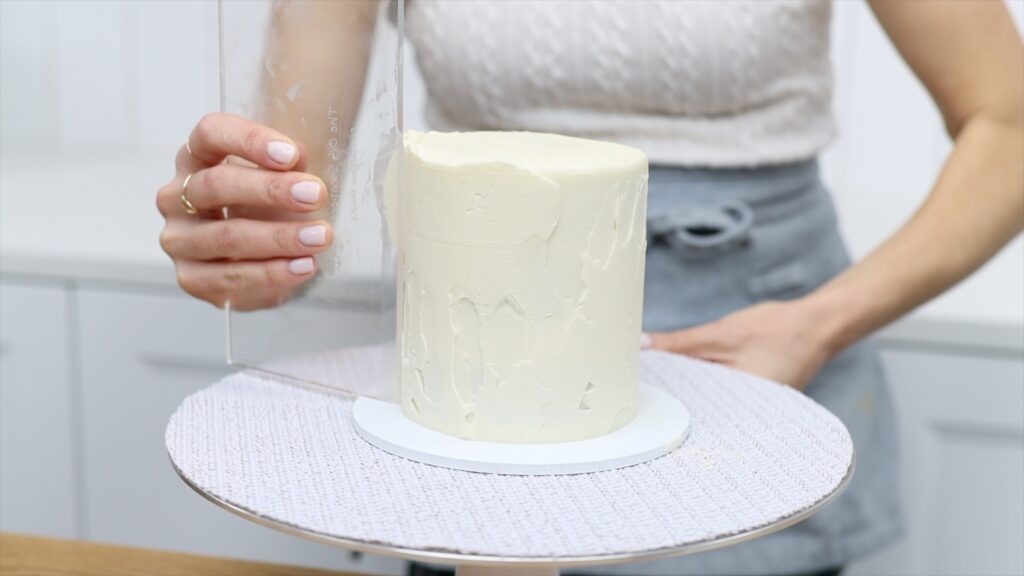
Put the cake in the fridge for 30 minutes to set this frosting before adding your final layer of frosting. Push the base of your cake comb down on the cake board as you scrape and this will help line the cake comb up straight against the cake and make the sides of the cake straight. Scrape around a few times and you'll get rid of the leaning or tilting effect!
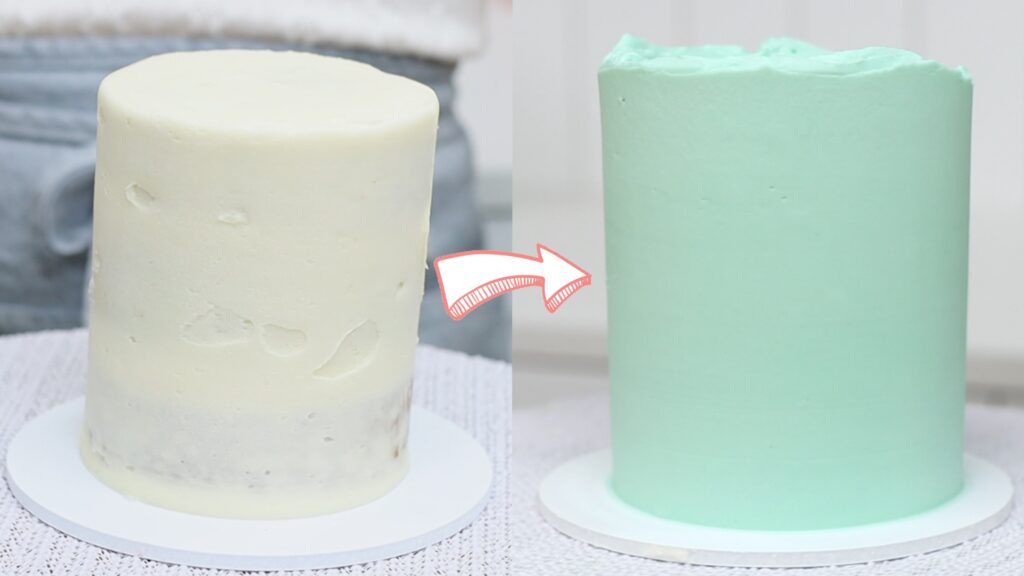
So, three tricks to fix a leaning cake:
Which one of these tricks are you going to try to fix your leaning cake? Tell me in the comments!
You can also watch a video on this tutorial on 3 tricks to fix a leaning cake:
