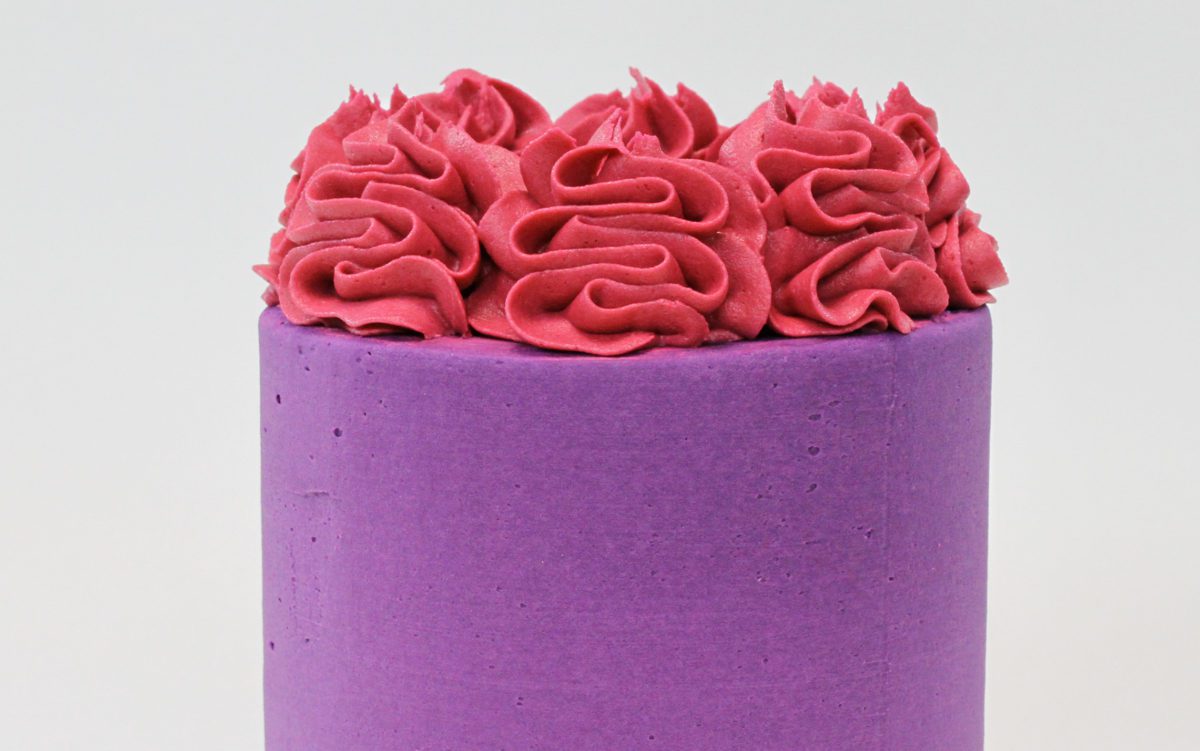
I’m going to show you 5 borders you can pipe with a 1M tip or any other star shaped piping tip. You can use buttercream, whipped cream, ganache, or meringue buttercream for all of these borders. (I’m using my 4 Minute Buttercream for this tutorial.) If you prefer to watch a video of this tutorial, scroll to the bottom of the page.
This is a rope border made with overlapping circles of frosting which look like the links of a rope. Hold your piping bag at a diagonal and pipe little C shapes, and at the end of the C loop back around to pipe another one.
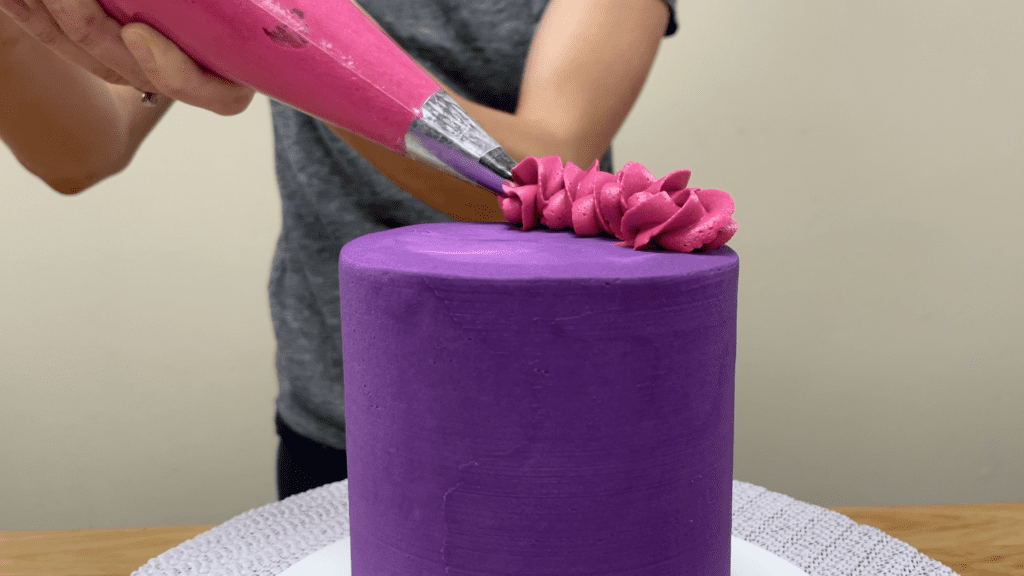
If you need to adjust your piping bag, swipe away at the end of a C shape, adjust the bag, and then start at the same place. That point will be covered up by the next C so you won’t notice the join.
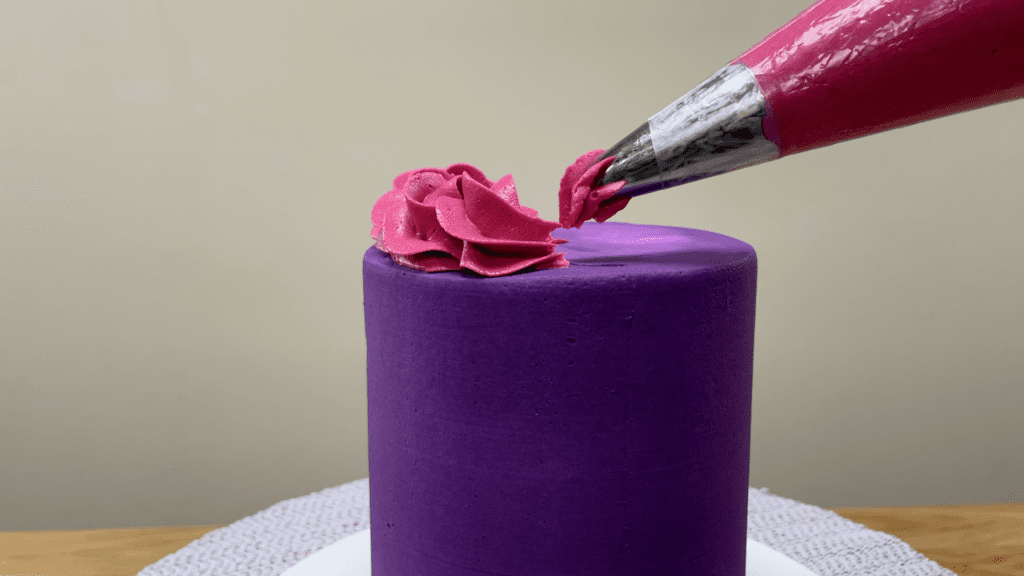
Watch the outer edge of the cake as you pipe, making sure you pipe just up to the edge of the cake but not over the edge. When you’ve gone all the way around the cake, for the final C shape swipe the piping bag away when you finish the link.

The end of the piping gets lost in the rest of the texture of the border so it’s not noticeable after you finish the border.
To pipe a wave or shell border hold the piping tip at a diagonal again and as you squeeze out the buttercream, push the bag away from you slightly to allow the frosting bulge out and form the crest of the wave, or the rounded part of the shell.
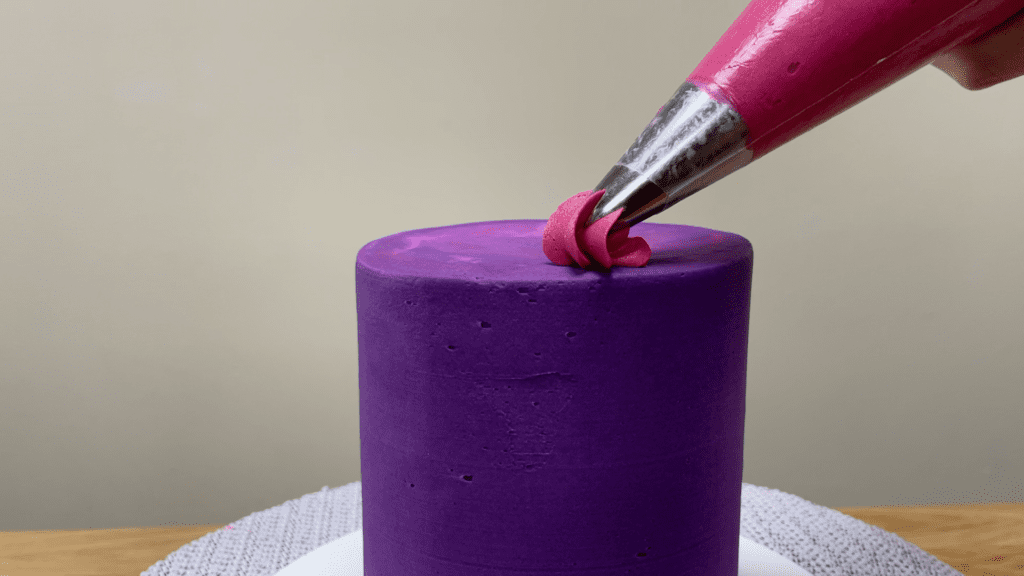
Then pull the piping bag away slowly, and as you stop squeezing on the bag, swipe the bag away. Repeat the motion but overlap the previous wave or shell so that this one begins over the top of the tail of the previous wave or shell.

Keep an eye on the edge of the cake to make sure you’re piping the same distance in from the outer edge, all the way around the cake, and overlap the piping the same amount for each wave or shell.

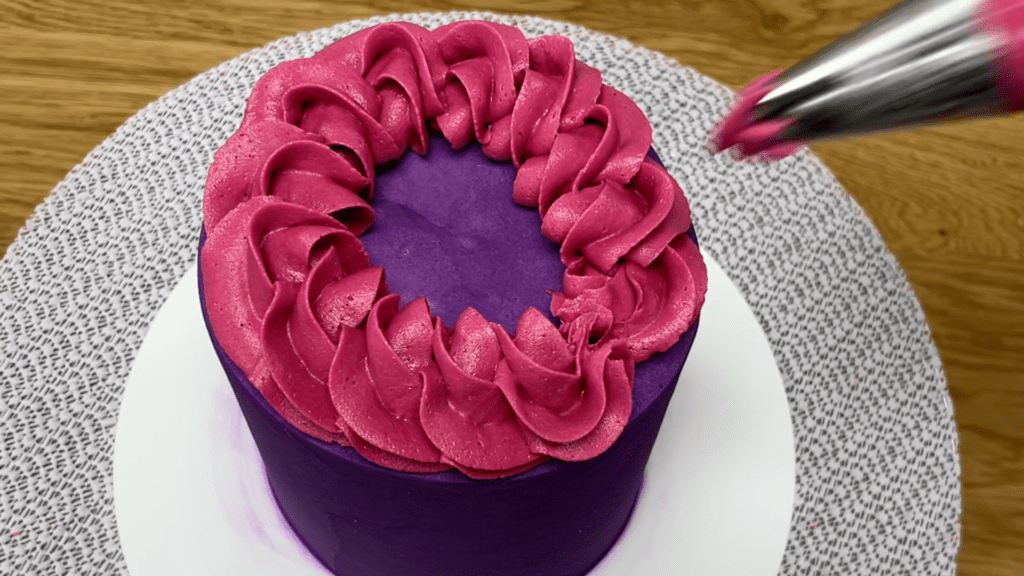
These shape shapes can be used to make rings of waves. Use the same motion to pipe the frosting, pushing the bag away to allow the frosting to bulge out and then pulling the bag away to leave a tail, but instead of piping these top to tail around the cake, pipe them side by side in a ring around the outer edge of the cake.
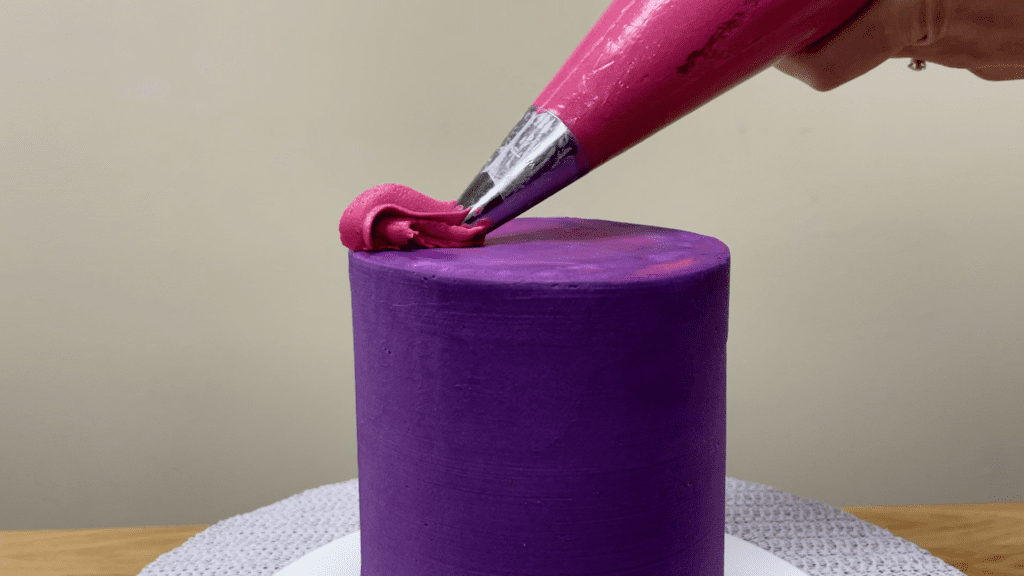
Try to start the same distance in from the edge of the cake each time, and allow the frosting to bulge out just up to the edge of the cake, not over it. Angle your piping bag as you pipe so that the tip is always pointing in the direction your wave or shell will point.
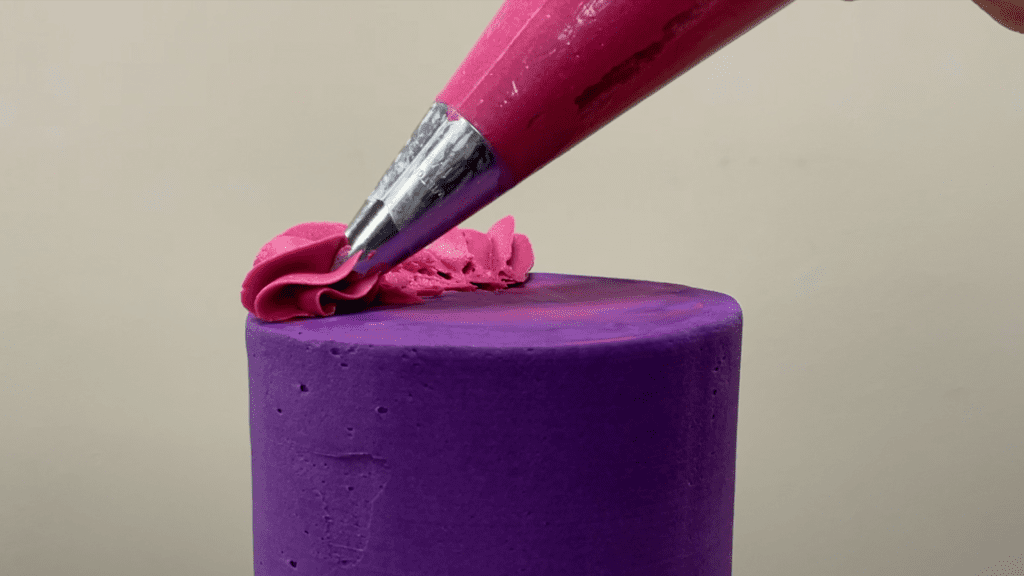
When you finish the first ring, pipe another ring within this one, overlapping the tails of the previous ring of piping. You can alternate colours for each ring of piping to add more colours to the piping, or alternate between colours for each wave or shell you pipe in the same ring.
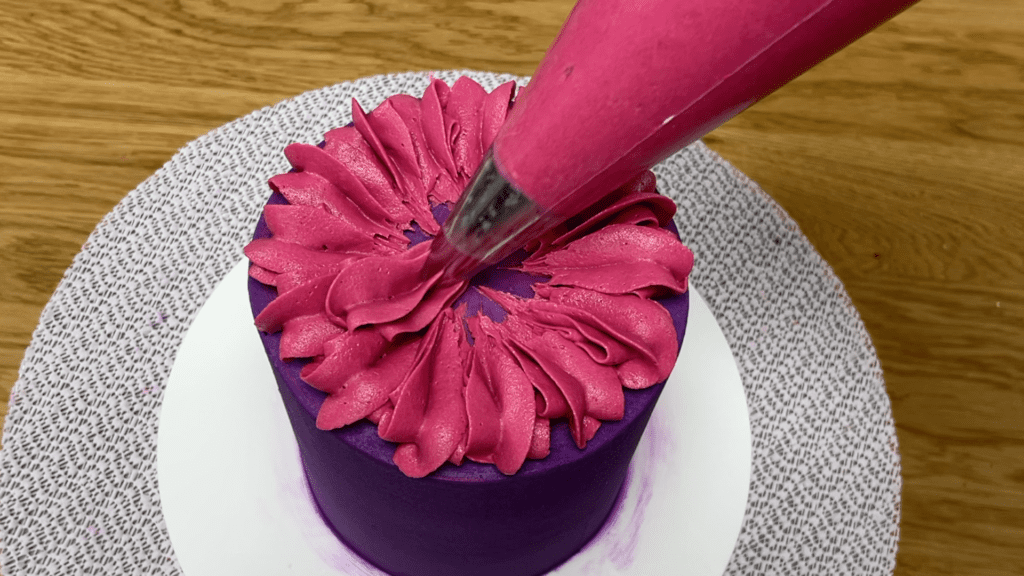
Continue piping rings of waves until you get to the middle of the cake. I like to pipe a single squeeze of frosting in the middle to cover up the tails of the last ring of piping.
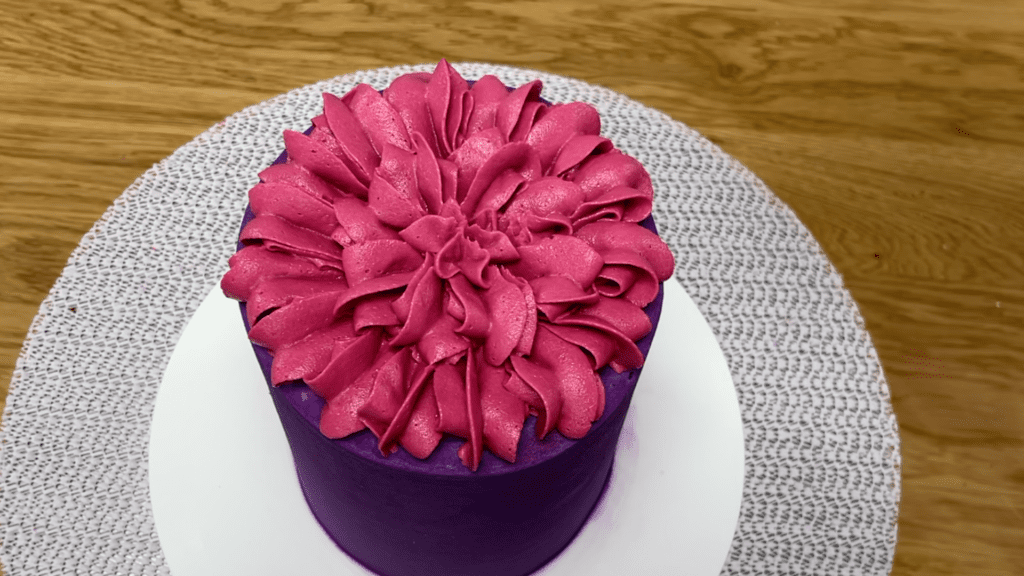
These swirls are the quickest, easiest border. Hold the piping tip about a cm in from the edge of the cake and pipe a spiral, with each ring getting smaller until your swirl comes to a peak.
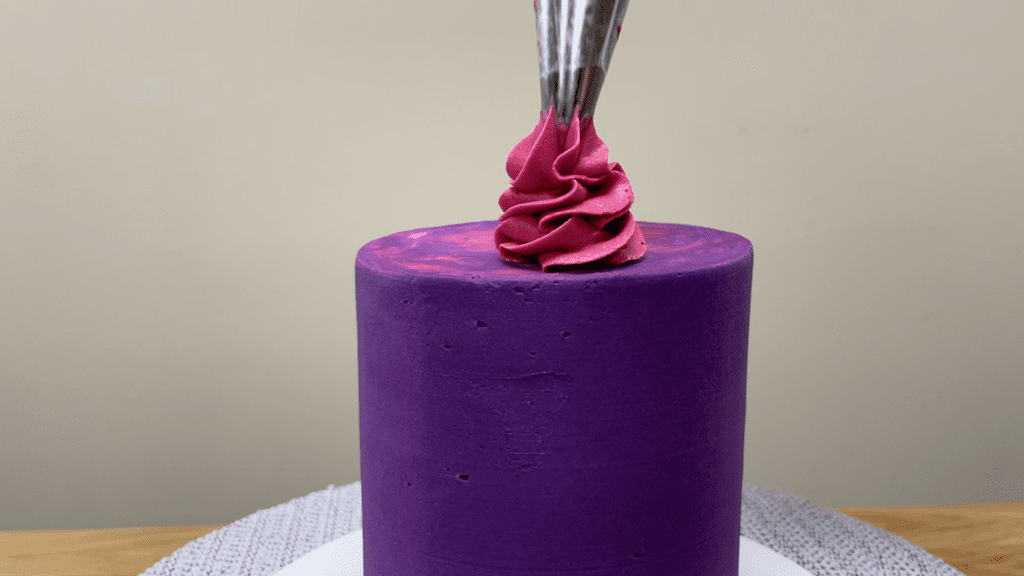
At the top of your swirl push down slightly, stop squeezing the bag, and lift the bag away and that will leave a nice neat point at the top of the swirl. If you’ve ever piped a swirl on a cupcake before, this is exactly the same motion but with a tighter spiral to make a smaller swirl.

Pipe the swirls side by side around the cake if you want them to touch each other or to space them evenly around the cake, pipe them opposite each other at 4 points around the cake and then fill in the gaps, so that there’s the same amount of space between each swirl.
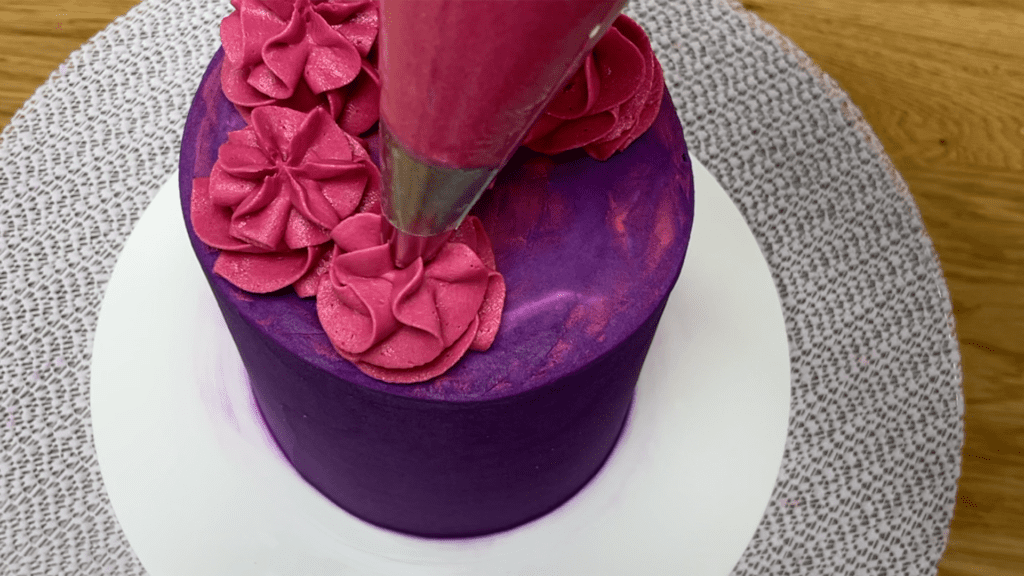
For a ruffle or wiggle border, pipe from side to side and gradually lift the piping bag so that the ruffles fold over each other a few times. Lift the bag up in the middle of a ruffle to leave a peak.
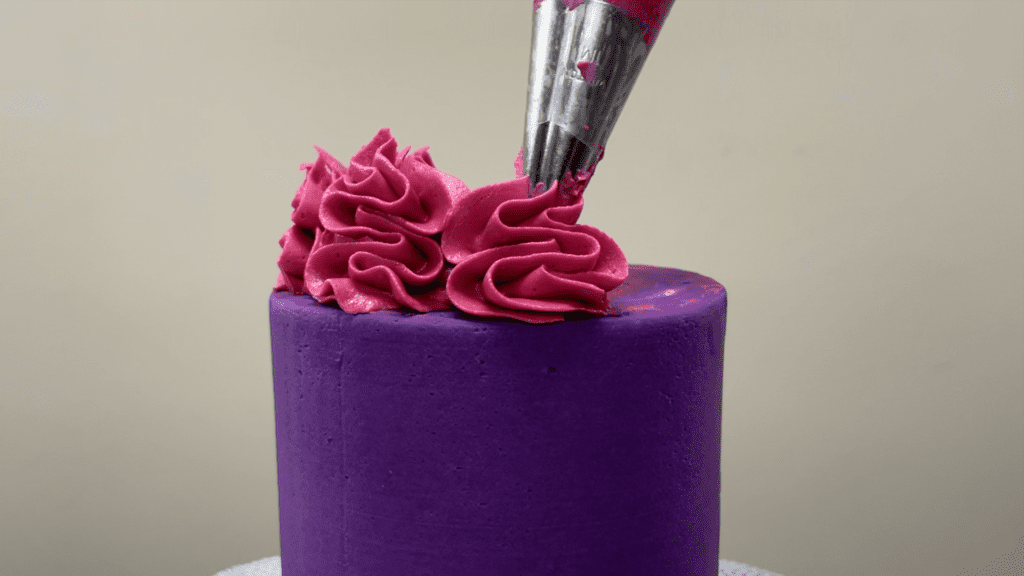
For each ruffle, start at the same side, either the left or the right, and finish all of the ruffles by lifting your piping bag while you’re piping in the same direction, either to the left or the right, so that the ruffles are identical.
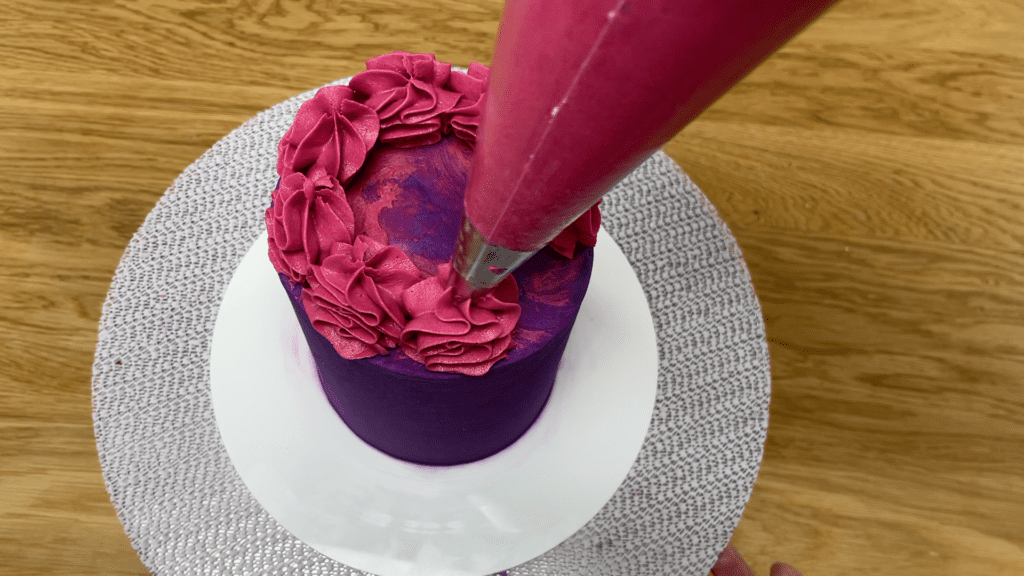
Pipe each ruffle right up to the edge of the cake and hold the piping bag directly above the ruffle as you pipe, so that the ruffle doesn’t lean in towards the middle of the cake to out over the edge.
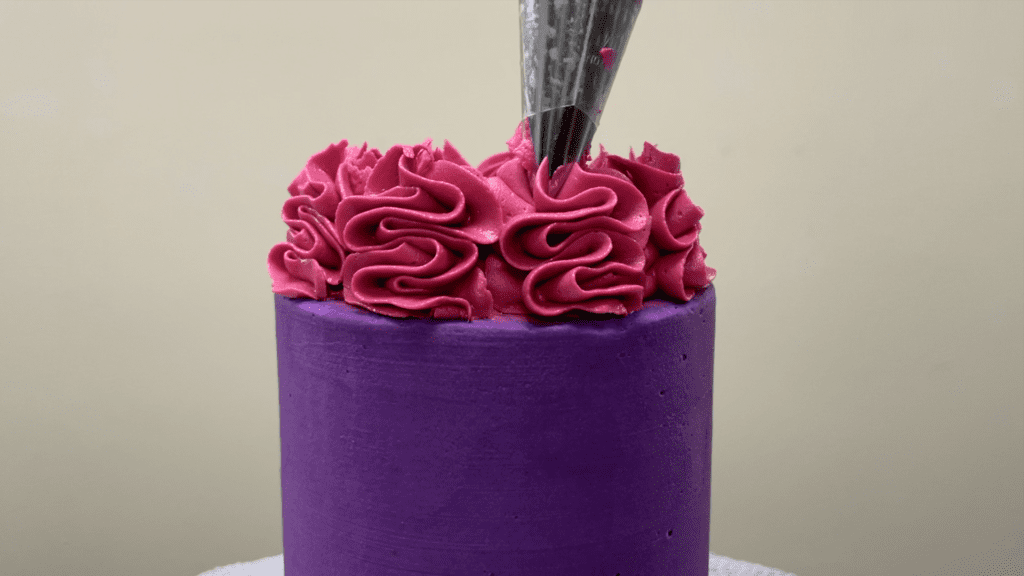
These 5 borders are all quick and easy to pipe but they all create different textures – choose a different one for each cake you decorate to make it unique! Tell me in the comments: which is your go-to border and which one do you want to try next?

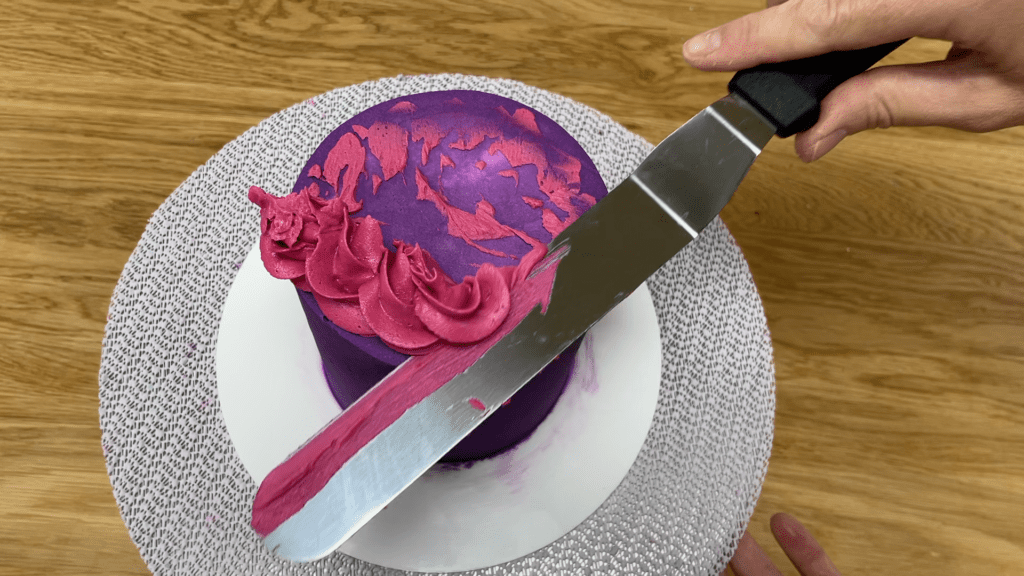
If you don’t like something you’ve piped or you change your mind and want to use a different colour or a totally different border, scrape the border off the cake just after piping it and it will come off easily.
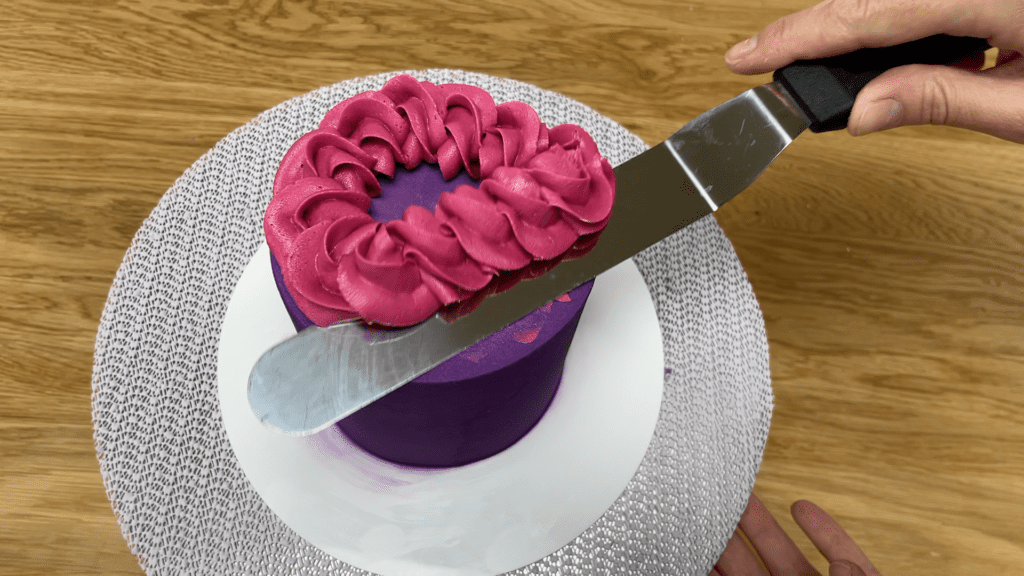
This is the most effective if you’re chilled your cake before adding the border because as you scrape the border off, you won’t damage the frosting on the cake because the base frosting is cold and hard so it will hold its shape.
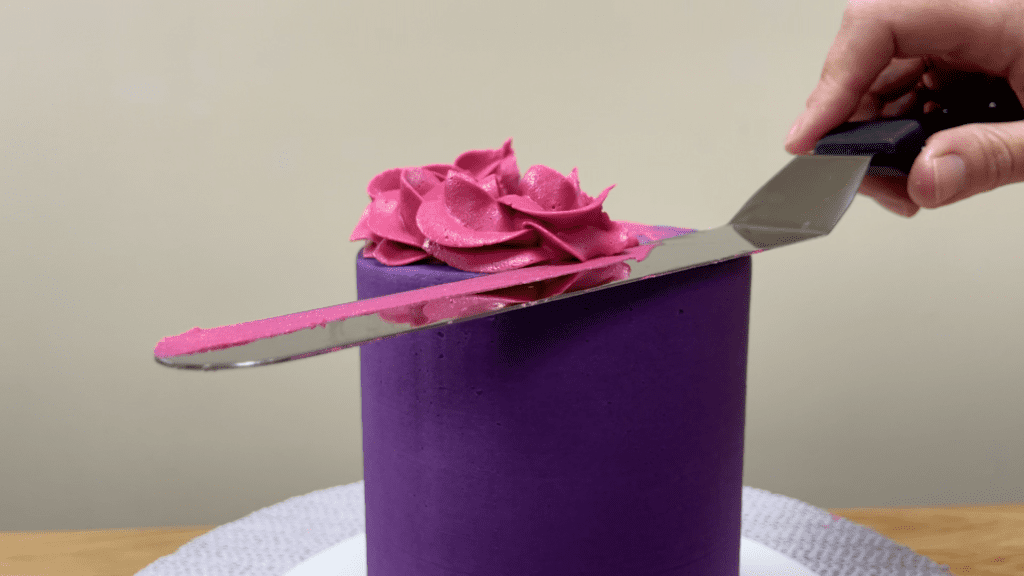
Use an
If you’re looking for cake inspiration, join my Club for access to ALL of my online classes and courses as well as live online classes and Q&A sessions for members only!
Here’s the video version of this tutorial:
