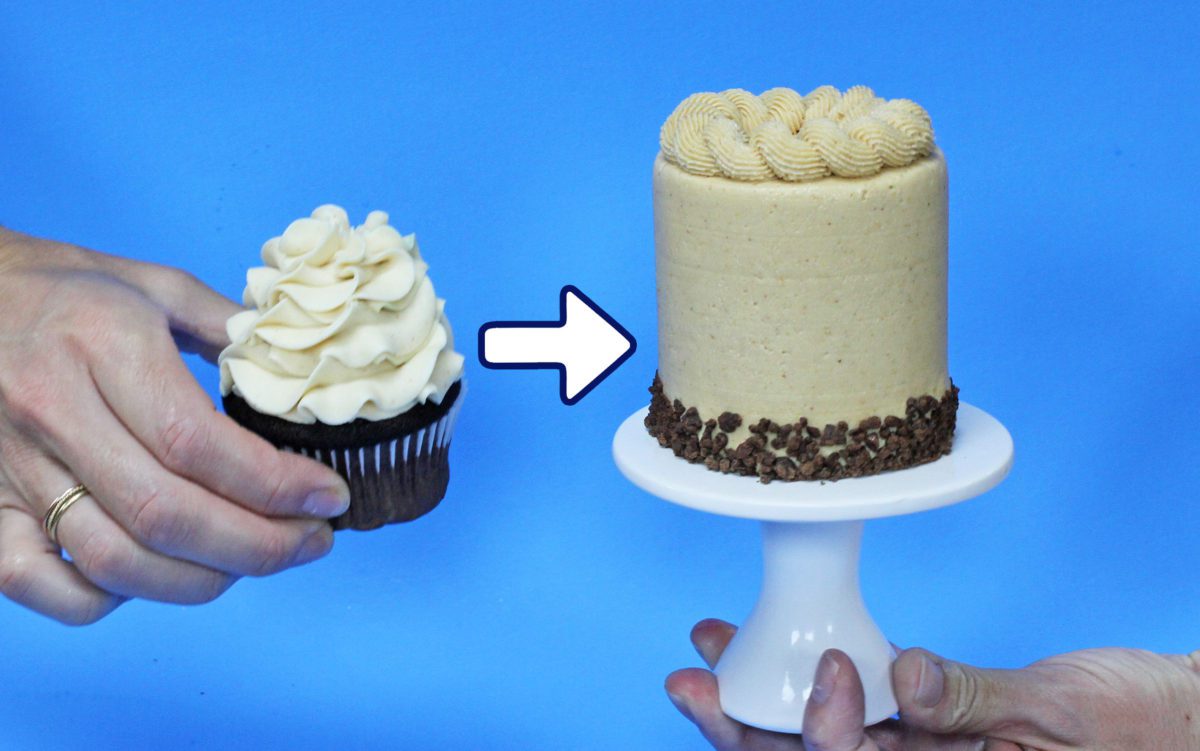
If you could have any cake superpower, what would it be? Turning cupcakes into cakes? Making cakes truly gold? In this tutorial I share 5 cake hacks to WOW your friends, family, and customers. They’ll all ask you how you achieved these cake designs and you can choose whether to tell them or leave them guessing!
If you prefer to watch a video of this tutorial, scroll to the bottom of the page.
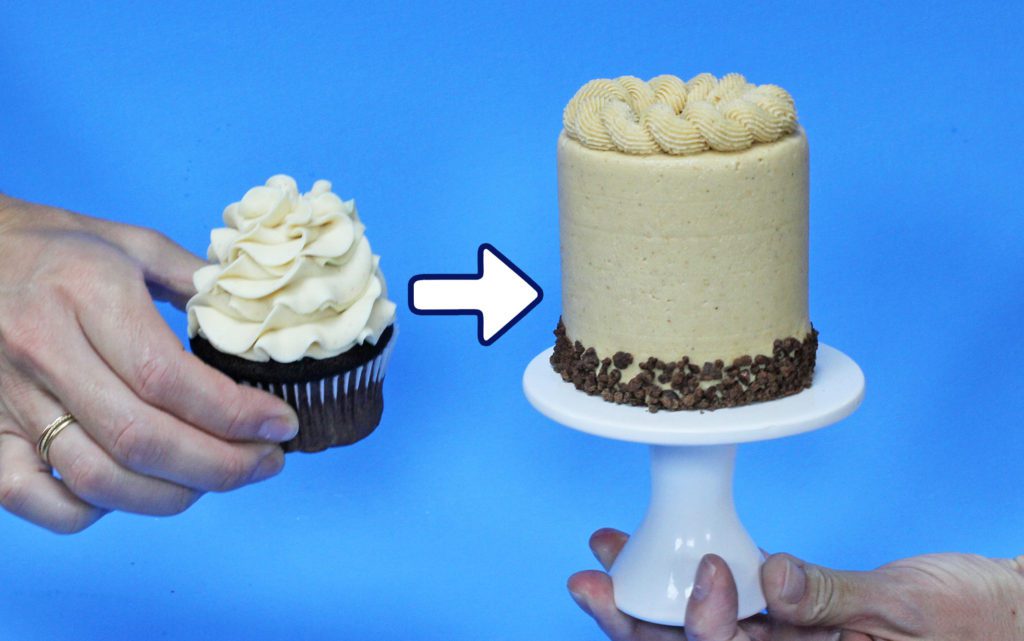
#1 Turn a cupcake into a cake with this fun trick! Peel the wrappers off two cupcakes and trim the tops so that they’re flat. Cut the cupcakes in half if you want more cake layers.
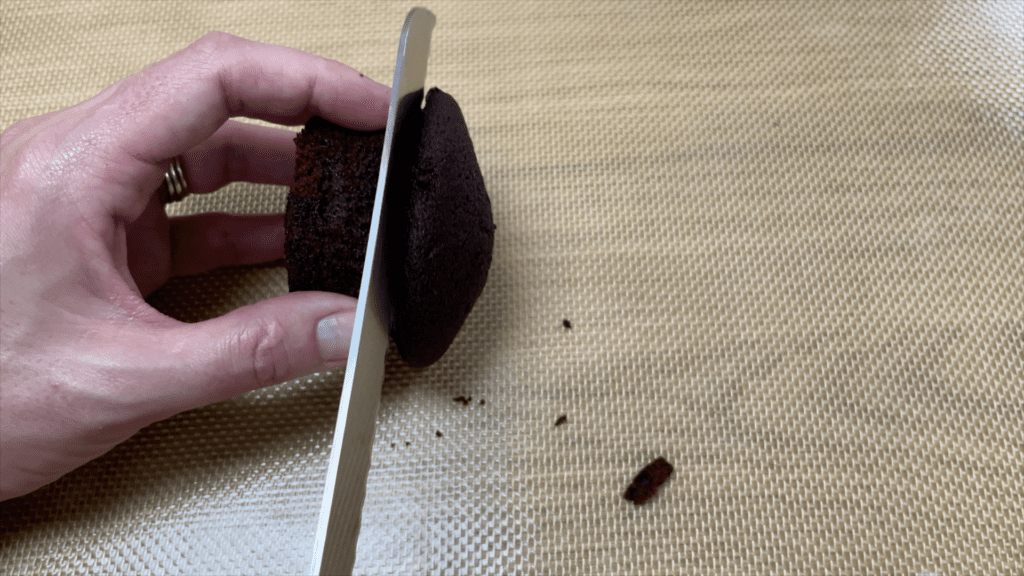
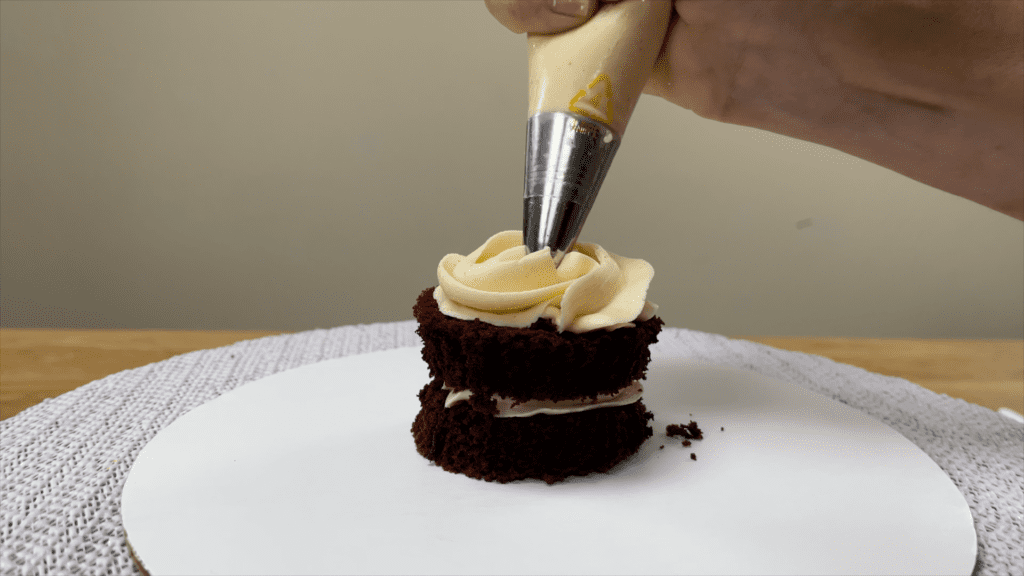
Then layer the cupcake halves with whatever filling you like, piping it like you would on a cupcake or just spread it on. Alternate between cupcake and filling to assemble a teeny tiny cake!
Put it in the freezer for 15 minutes before frosting it so that it’s more stable and doesn’t wobble all over the place. Use two layers of frosting for the neatest results, because the first layer will try any crumbs that come off the cupcake layers and then the second layer will be crumb-free.
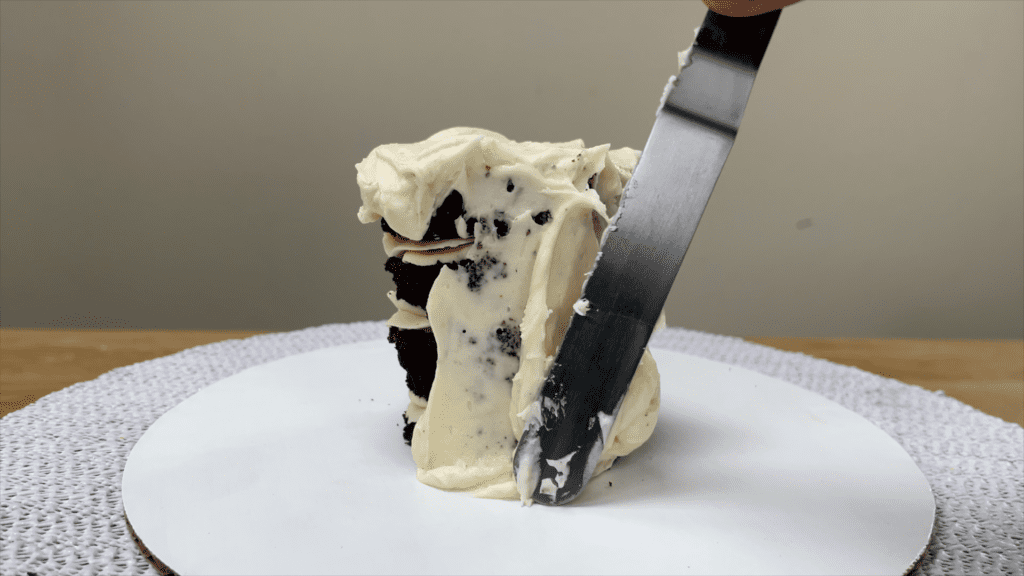
Add whatever details you like to create a dessert that looks way fancier than a simple cupcake!
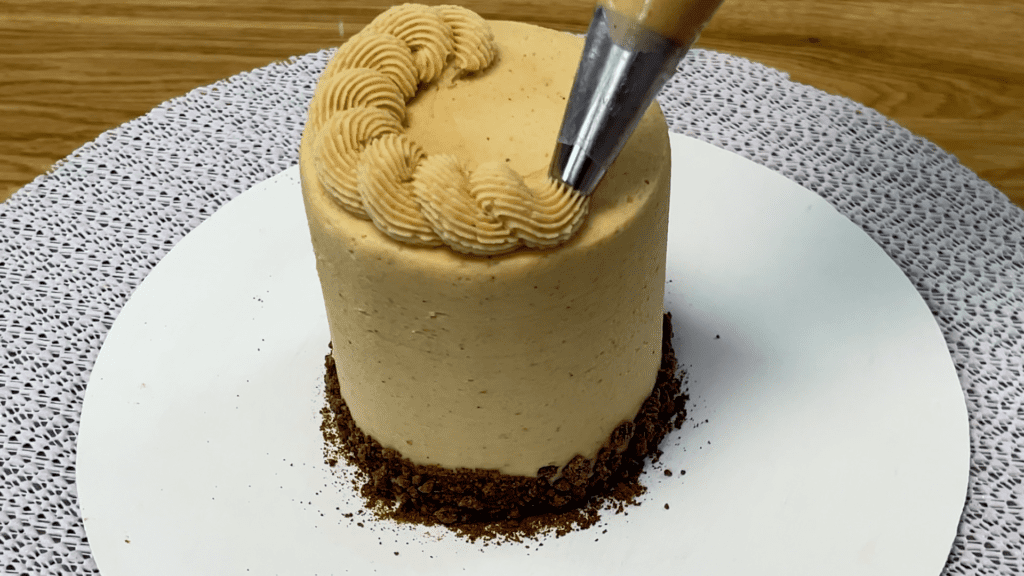
#2 Achieve incredibly intricate details with flawless designs in seconds! Buy icing sheets online in thousands of different patterns – use my code EMILYBGB for 20% off here!
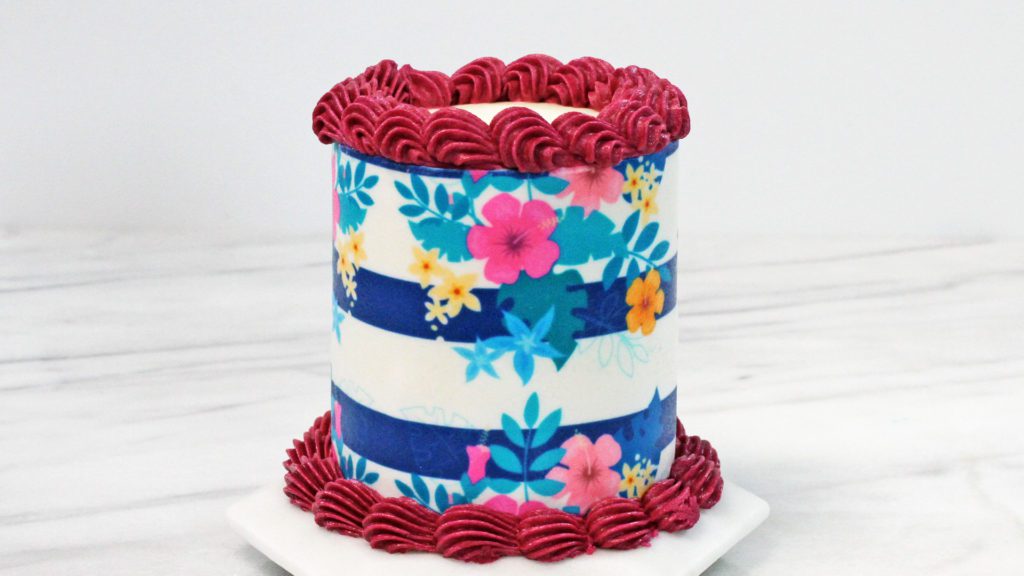
Frost a cake as normal and measure the height of the cake. Then cut an icing sheet to be the same height. If the icing sheet will wrap around the cake completely you’ll only need one strip of the sheet but if it doesn’t, you’ll need to cut two or even three strips, making sure they’re all at least as tall as the cake is.
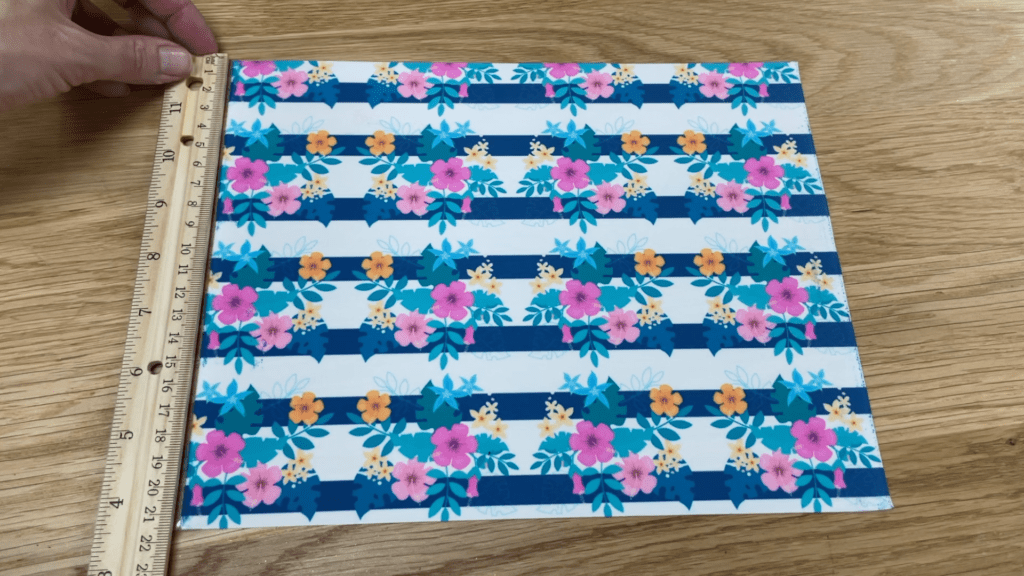
Icing sheets are attached to a plastic backing. When you’re ready to attach a sheet to the cake, peel the icing sheet off the backing and wrap it around the cake.
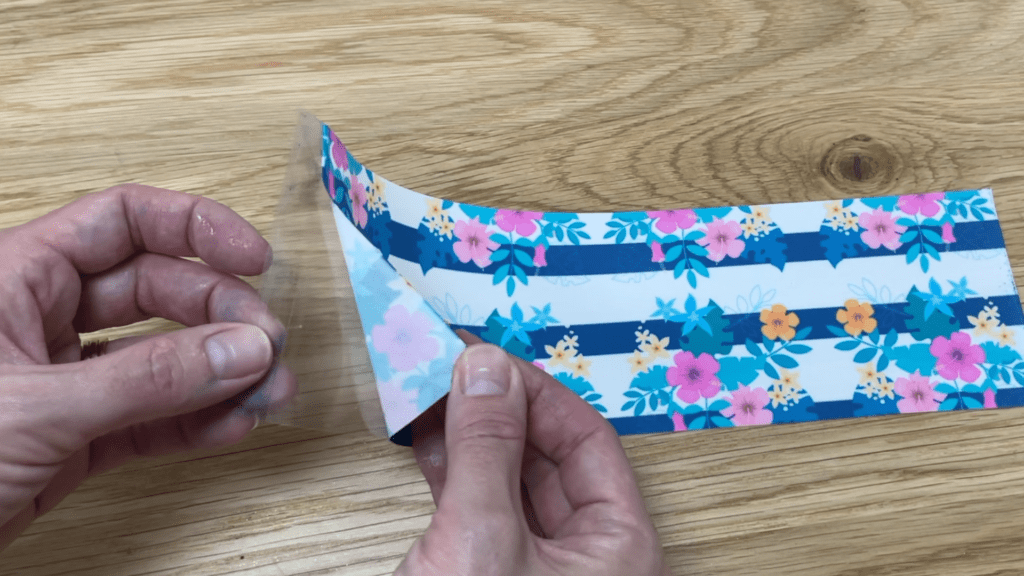
Icing sheets are slightly sticky and in my experience they are sticky enough to attach to a cake after the frosting has set. I prefer to attach the sheets at this point because the frosting is firm and you won’t risk indenting it or damaging it as you press the sheet against the cake.
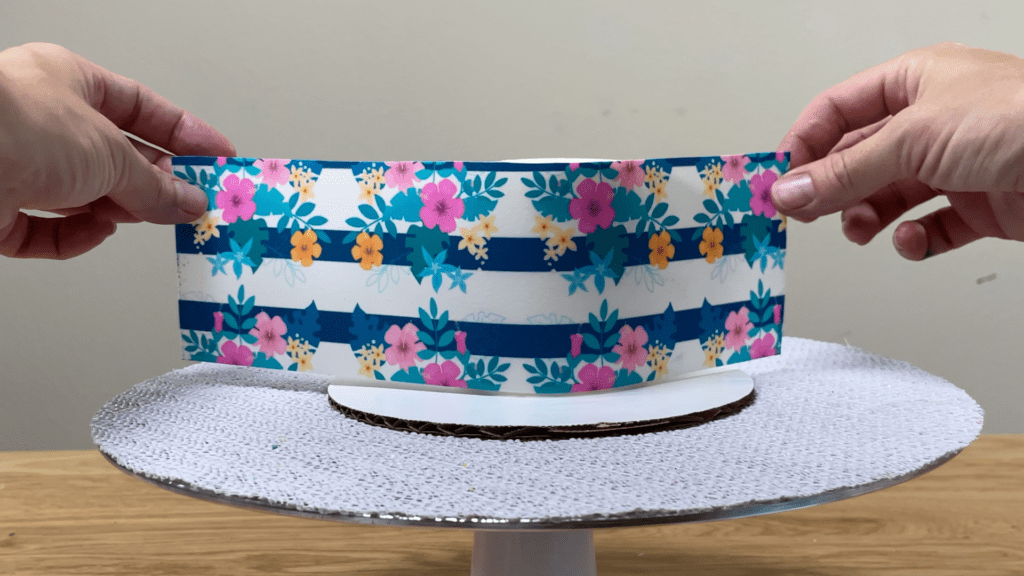
Cut the icing sheet where the two ends join so that there’s no overlap. You can also choose this side to be the back of the cake when you display it.
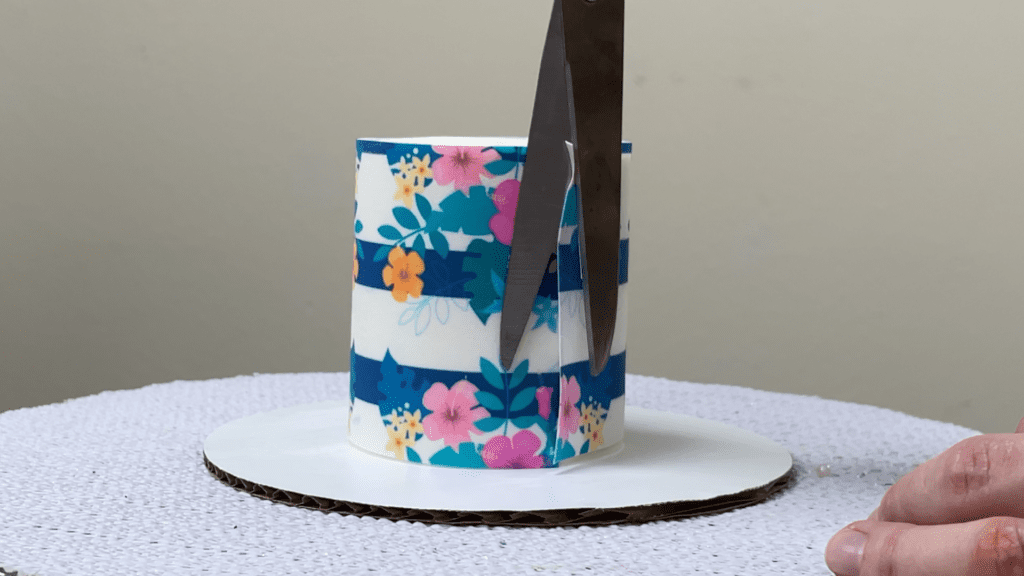
Trim the top of the icing sheet anywhere it’s sticking up above the cake. If you want to cover the top of the cake with the icing sheet you can place a piece on top and trim around it so that it fits perfectly on top of the cake.
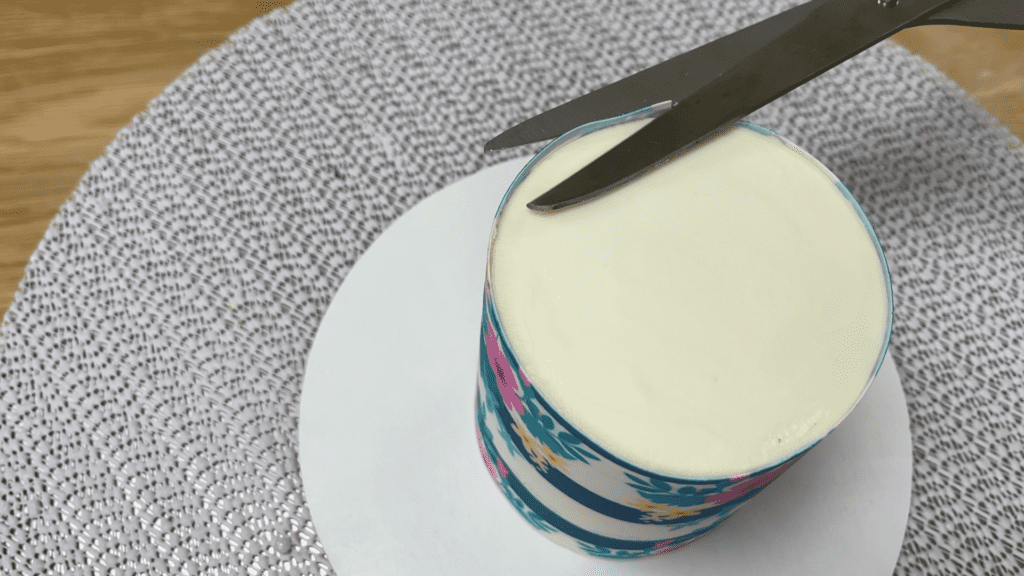
The seam where the two ends of the icing sheet meet will barely be visible amongst the busy pattern of the icing sheet. Add a pretty border on the top of the cake and around the bottom to finish it off!
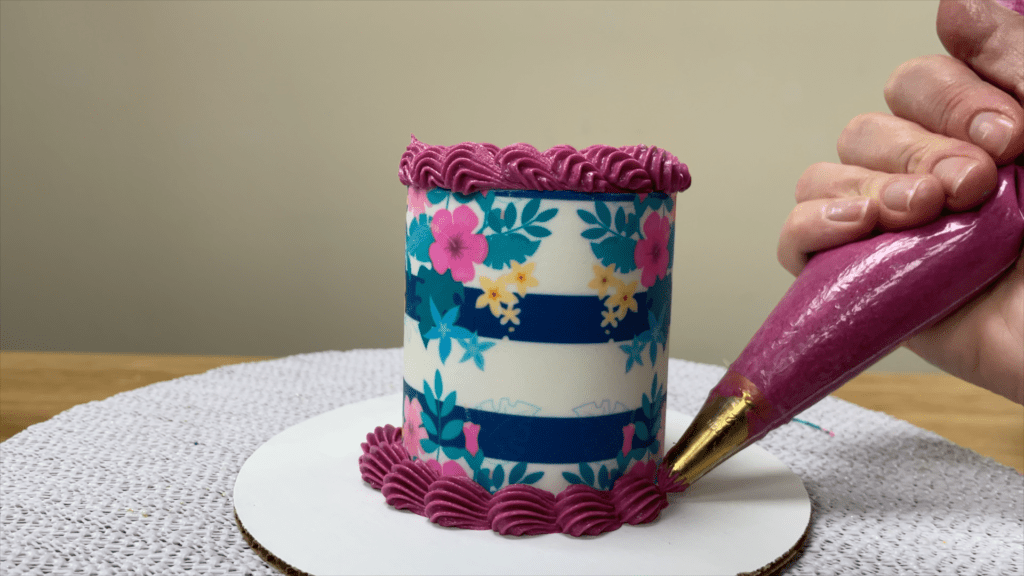
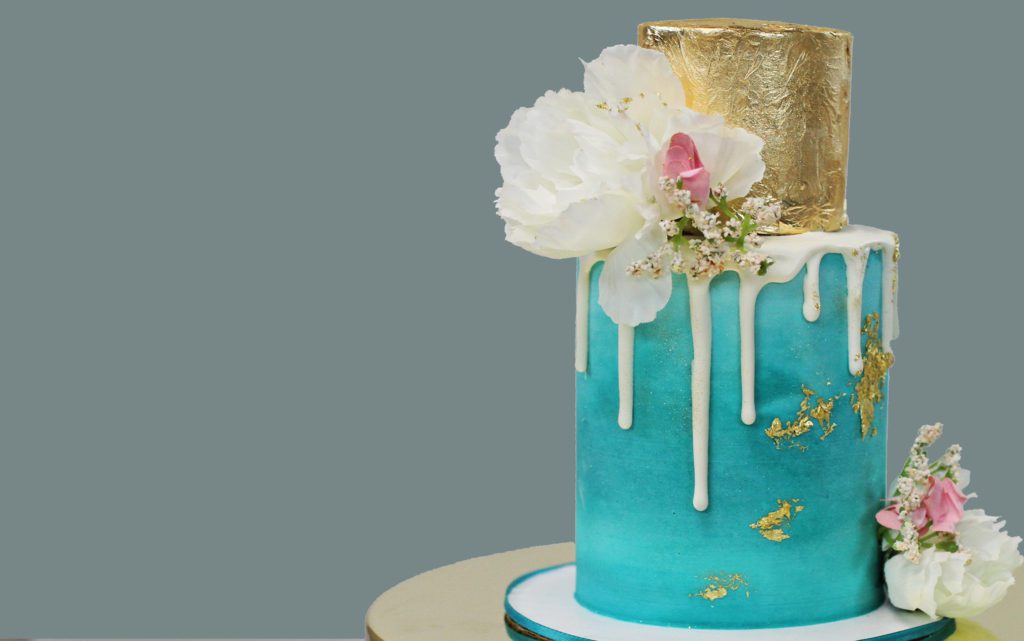
#3 Make a cake gold by letting the frosting set so that it’s firm and holds its shape. Peel open a sheet of edible gold leaf, which you can buy here, and press the gold leaf into the frosting on the cake.
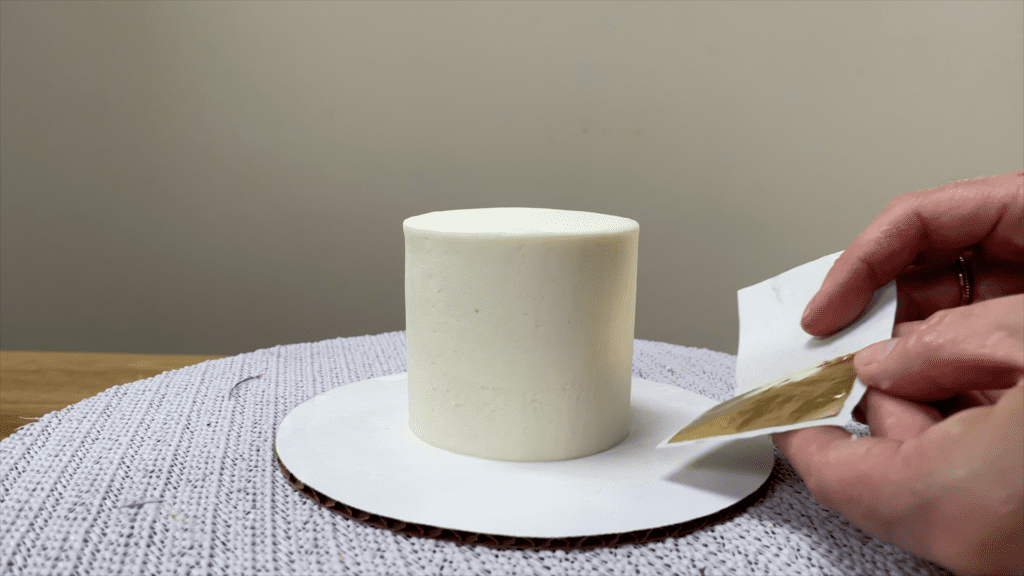
Use the backing paper to push against the cake without touching the gold leaf with your hands, since it’s very delicate and will stick to you instead of the cake.
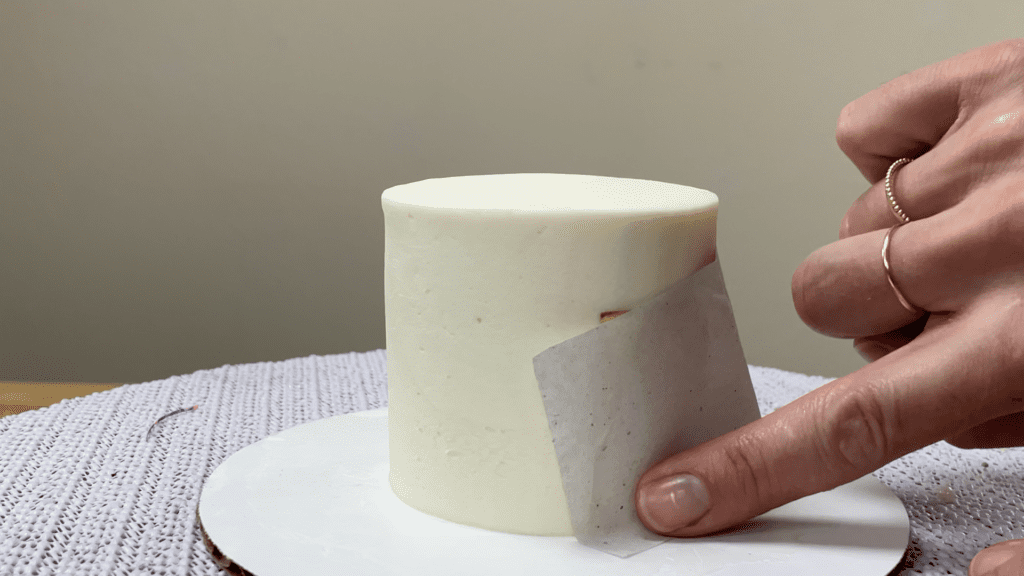
When you peel the backing paper away, the gold leaf will be left on the cake. I do this after chilling the cake in the fridge for at least an hour so that the frosting on the cake has set.
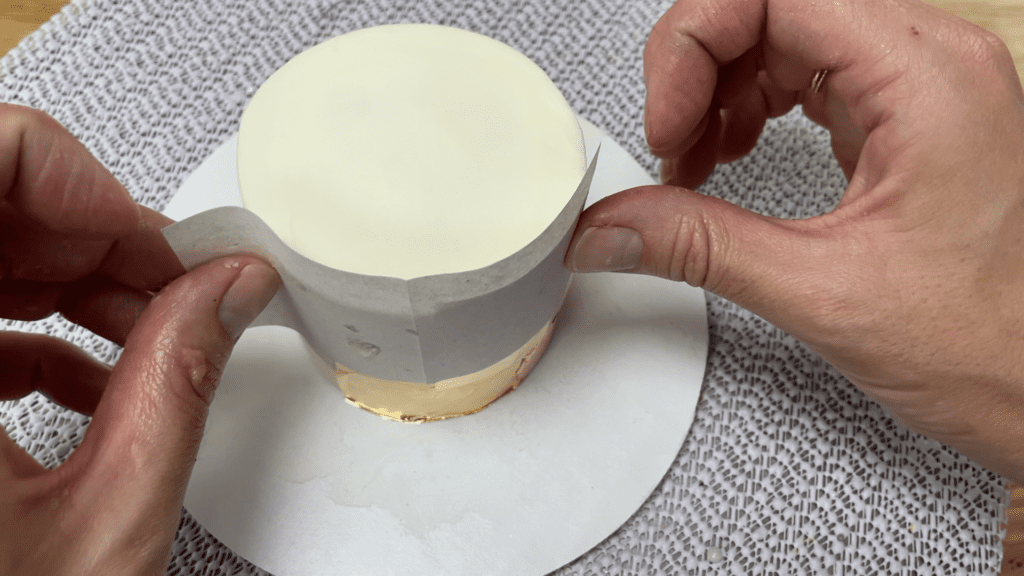
Repeat the process with several sheets of gold and they’re so thin that where they overlap they’ll blend together to form a flat layers of gold all over the cake!
#4 Make homemade lollipops with just one ingredient! Place some paper straws in a lollipop mold and add some sprinkles if you like. Then put a hard candy like a Jolly Rancher in each circle.
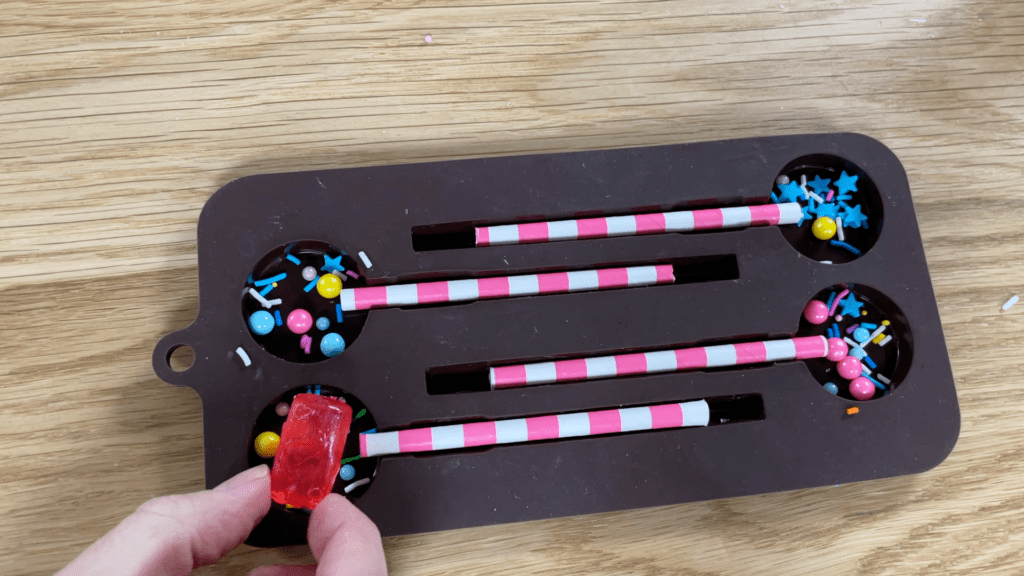
Put the mold in the microwave for 30 seconds, or until the candy is melted and bubbling. They will be HOT so be careful when you take them out of the microwave.
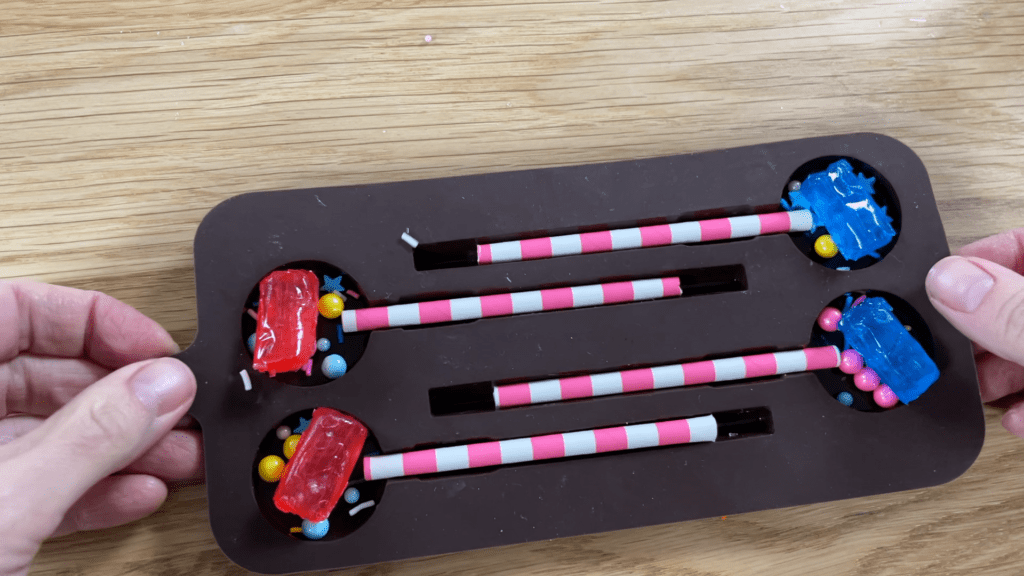
Leave them to cool for about 15 minutes and then push the lollipops out of the mold. They should release and pop out easily but if they stick to the mold, the sugar hasn’t set yet so leave them for a few more minutes before trying again.
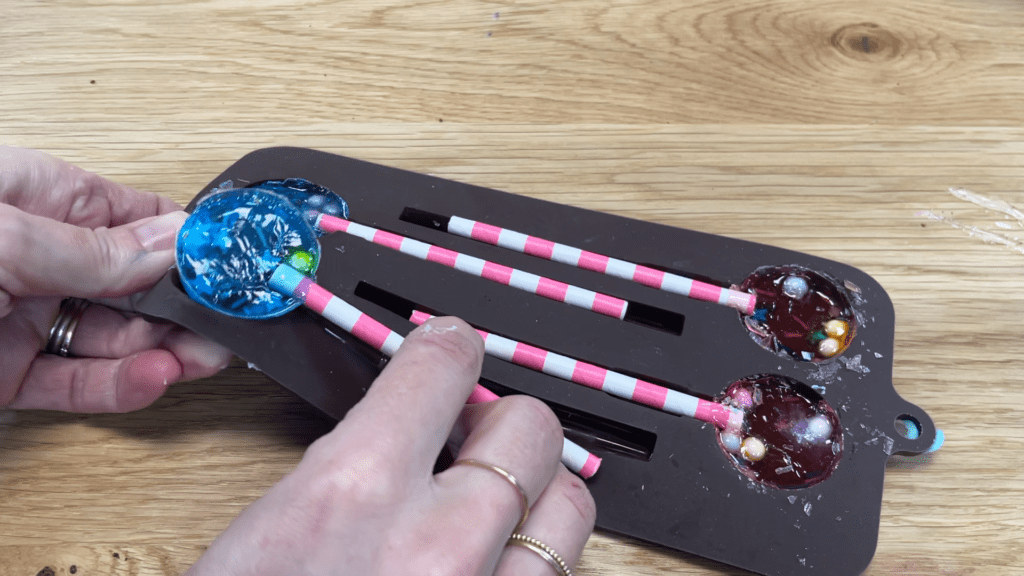
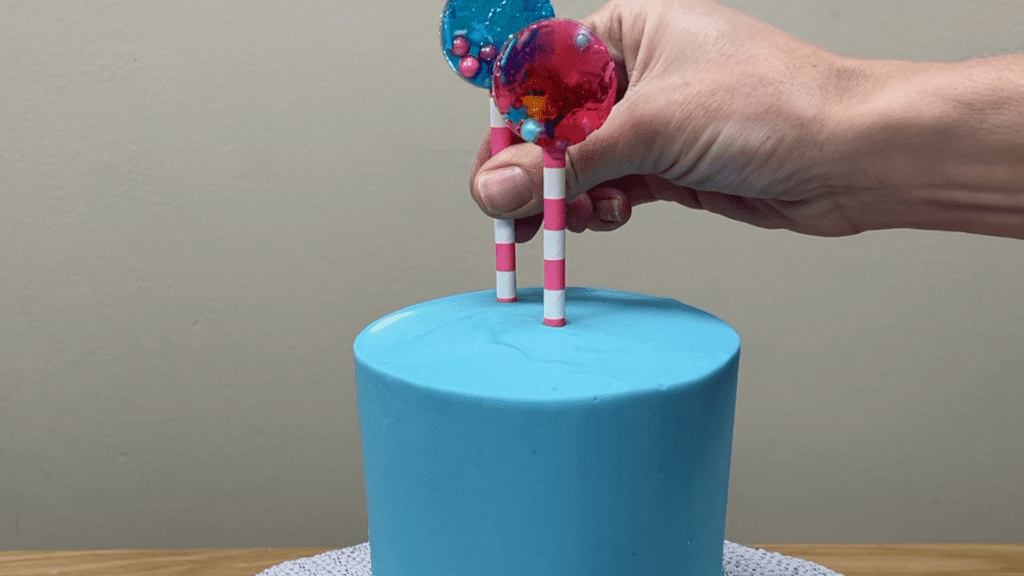
These make fun, flavoured, colourful treats or cake decorations and you can choose sprinkles and paper straws to match any colour scheme!
#5 Create REALLY bright and bold colours with chocolate by using a secret ingredient. Melt chocolate in the microwave at 80% power for 30 seconds at a time so it doesn’t overheat. Add cream if you’re going to make a drip or skip it for chocolate decorations.
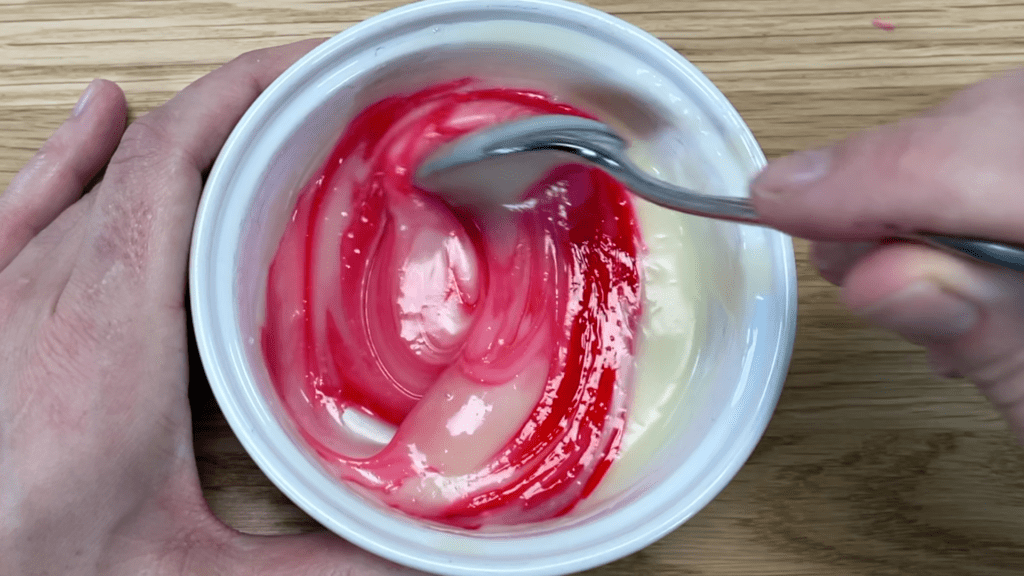
Now add colour but chocolate will seize if you use more than a drop of the gel colours intended for frostings like buttercream. Instead use OIL based colours, sometimes called candy colours, which have no water in them so they won’t make the chocolate seize up.
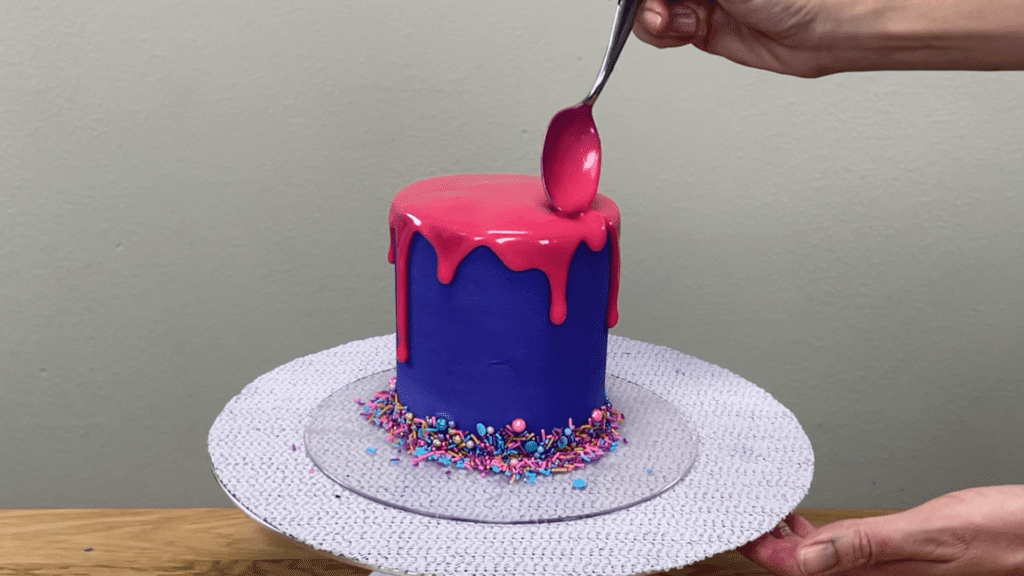
You can add as much of these colours as you like to make shades like these! This will work for chocolate drips, chocolate spheres, sails… any chocolate details on cakes!
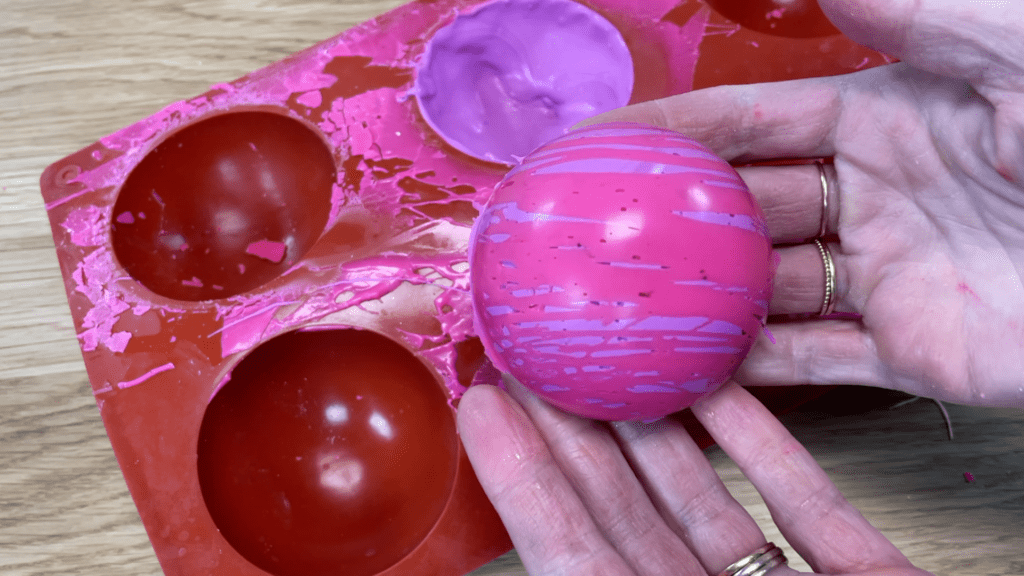
So now you can turn cupcakes into cakes, make cakes gold, create jaw droopingly bright and bold colours with chocolate, turn candy into cake toppers, and achieve flawless, intricately patterned designs!
What cake superpower do you wish you had? I’d love to be able to decorate at timelapse speed! Tell me yours in the comments!
If you’re looking for inspiration or want to learn new cake designs and techniques, join my Club+ for access to ALL of my online classes and courses as well as live online classes and Q&A sessions for members only!
Here’s the video version of this tutorial:
