I’m going to share my tips for efficient cake decorating so you can really maximise your time and spend it decorating rather than cleaning up afterwards!
If you prefer to watch a video of this tutorial, scroll to the bottom of the page.
#1 Bake in bulk
Efficient cake decorating starts with baking your cake layers and to save time, bake in bulk, even if you don’t need that much cake at the moment. Let the cake layers cool completely, trim and level them if you want to, and then wrap each layer in cling film or Saran Wrap so that it doesn’t dry out.

Put the cake layers in the freezer and they’ll be fine for 2-3 months! That way, the next time you want to make a cake you can pull your layers out of the freezer a few hours before you need them and they’ll thaw and be ready to assemble and decorate!

Once the cake comes to room temperature I guarantee you won’t be able to taste the difference between these layers and layers that have just cooled after baking.

#2 Make and store extra buttercream
When you’re making your frosting, make the biggest batch that fits in your mixer. If you’re going to take the time to make frosting, you might as well make as much as you can and use the same batch for several cakes. Buttercream stores very well in the fridge or freezer, as long as it’s in an airtight container.

I like to put my leftover buttercream in a large ziplock bag and press it flat so that it hardly takes up any space. Buttercream will be fine for 2-3 weeks in the fridge or 2-3 months in the freezer!

When you’re ready to use it, take it out the fridge a few hours before or if it’s in the freezer, take it out the night before and let it come to room temperature.

Put it in the bowl and stir it a few times before using it to knock out any air bubbles and it will have the same texture and taste as fresh buttercream!

#3 Save leftover coloured buttercream
It’s almost impossible to tint exactly the amount of coloured buttercream that you need for your cake, but those leftovers are actually useful!

Spoon them into a ziplock bag and save them in the fridge or freezer for future cakes, when you need just a little bit of that colour for decorating. Using leftovers is MUCH faster than tinting another bowl of frosting from scratch.

#4 Refrigerate cake layers
When you assemble your cake always use cold cake layers. Cold cakes are less crumbly to move around and when you spread on your filling you won’t pull off crumbs.

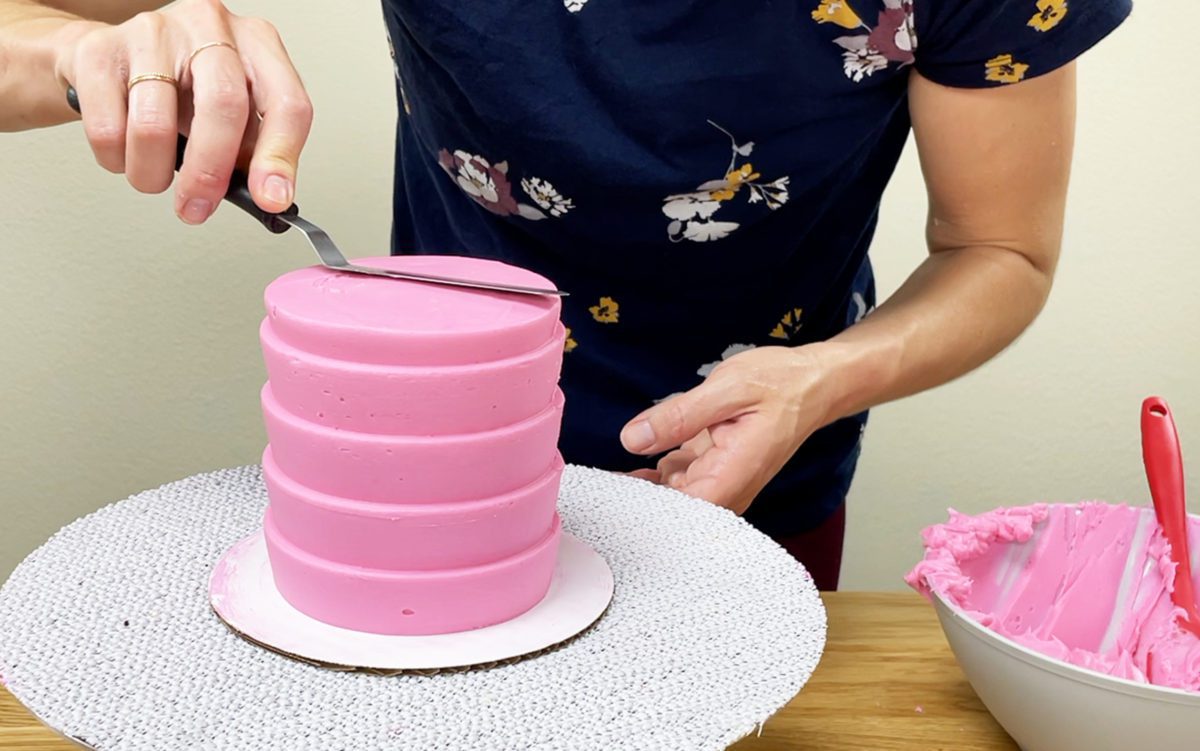
Also, when the cake is cold the frosting you spread onto it will set very quickly, so but the time you finish spreading on a crumb coat and smoothing it, the frosting will have set and you’ll be able to move straight on to your final coat without having to wait for the crumb coat to set in between!

#5 Be prepared!
Before you start decorating a cake, take out all of the tools and materials you’ll need. Ideally to this at least a day in advance to give you time to go and buy anything you realize you don’t have. When it’s time to decorate, you’ll be able to dive straight in and once you start, you won’t have to waste time looking for things you need, or rushing out to buy them.

#6 Clean as you go
However you choose to decorate your cake, you’re going to start with clean tools and finish with dirty tools. If you’re not working close to a sink, have a box or tray or bucket where you can toss anything you need to wash, like a dirty

Have a sponge or cloth handy to wipe up frosting spills or smudges as you frost and decorate, and throw things away as you go, like the ends you cut off piping bags. That way you’ll keep a clear workspace and won’t have lots of picking up to do when you finish.

I have an online course called Fabulous Cakes, Fast! where I teach how to decorate 10 cakes in 30 minutes each. I’ll tell you the most efficient way to decorate each of the cakes in that course but these are some basic tricks that will help you save time on all of the cakes you decorate. Just for fun, tell me in the comments: what’s the longest time you’ve spent decorating a cake?

Here’s the video version of this tutorial:


I spent 5 hours yesterday trying to copy the Rolex letters and crown in 1” size to end up with the R, O and L, and the R broke. So I tossed them and used a mold that had a different font, figuring neatness beat actual font hands down. It took about 2 hours to fill, ice and decorate this morning.
Ufff that sounds frustrating! Happy you found a workaround with a different font!