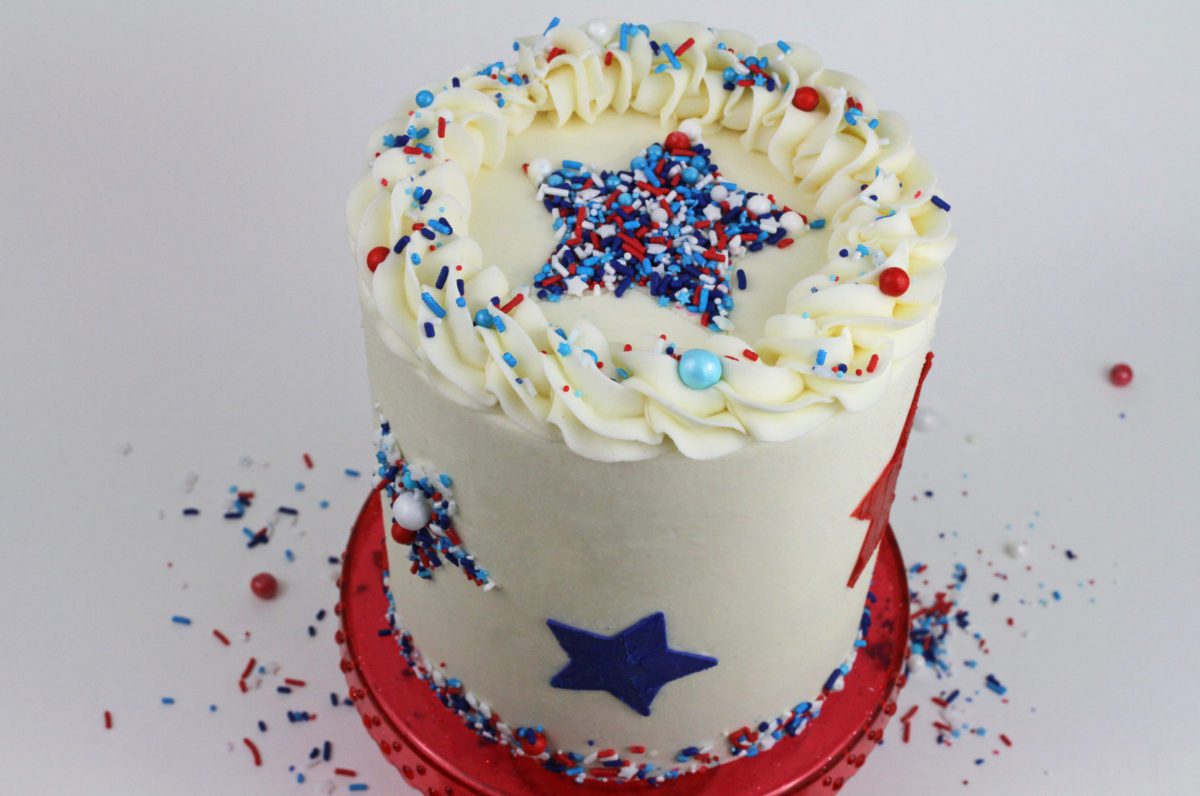
Cookie cutters are wonderfully versatile tools which can be used for much more than just cutting out cookies! In this tutorial I’m going to show you 6 ideas for cake decorating with cookie cutters, using them to cut shapes out of cake, chocolate, and candy melts as well as cookies. These techniques will change the shape of cakes, decorate the frosting, or create cake toppers. If you prefer to watch a video of this tutorial, scroll to the bottom of the page.
To make mini layer cakes, use cookie cutters to cut shapes out of larger sheet or round cakes. You can use round cookie cutters or shapes, like stars. Press your cookie cutter into a cake layer, arranging it to get as many shapes out of each layer as possible. The layers should be thinner than the height of your cookie cutter for the neatest shapes.
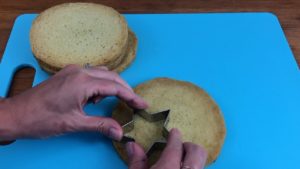
Attach the bottom layer to a cake board or a plate with a dollop of buttercream. When the buttercream sets it will act like glue, holding the cake in place even if you move it around.
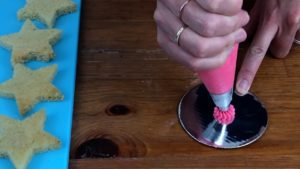
You can spread or pipe filling onto each layer. Here I’m using a 4B tip to pipe little open stars of my 4 Minute Buttercream as filling between each layer of cake.
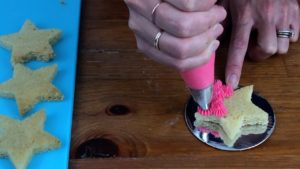
I’m leaving this cake naked, without frosting on the sides, so that the pretty piped filling is visible. A few sprinkles on top add a nice touch of colour and texture.
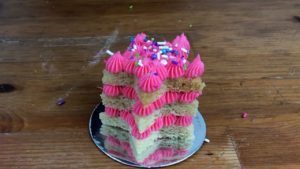
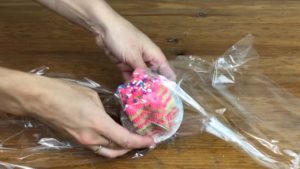
To prevent a naked cake from drying out, put it in the freezer for 30 minutes just until the frosting has set and will hold its shape and then wrap the whole cake in cling film. Put it in the fridge until 1 hour before serving and then take the cling film off as soon as you take it out of the fridge so that when the frosting softens, the cling film won’t damage it. It’s best to keep it in something airtight until serving it, like a Tupperware.
Smooth frosting is tricky on shaped cakes, especially when they’re this small so if you want to frost it, it’s easier to pipe the frosting on. If you’re looking for ideas, I have a tutorial on 8 Ways To Use A 1M Piping Tip and 8 Ways To Use A Petal Tip.
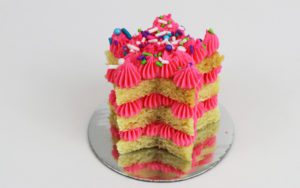
Another way to cut cakes with cookie cutters is to create a piñata or sprinkle explosion cake. After your cake layers are baked and cool, use a round cookie cutter to cut a circle out of the middle of all of your cake layers except the top one.
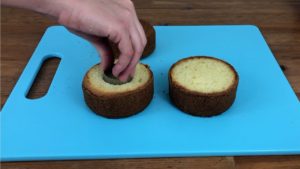
Attach your first layer of cake to a cake board or place using a dollop of buttercream to secure it. Spread or pipe your filling onto your first layer, going around the hole in the middle. Press you next layer of cake on top and repeat.
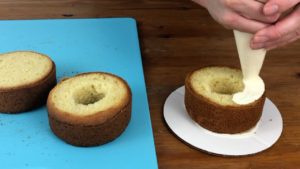
Before placing the final layer on top you’ll have an open chamber in the middle of the cake. Pour sprinkles or candy into it, going right up to the top to fill it, and then place the final layer of cake on top. This layer seals the chamber to provide a flat surface to frost over.
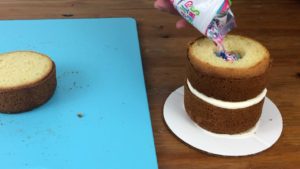
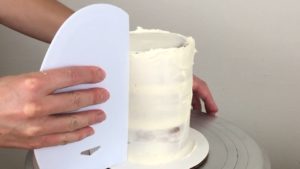
Frost the cake as normal and decorate it however you like. Pink or blue sprinkles are fun for a gender reveal or you can match the colours of your sprinkles to the colour scheme of the cake.
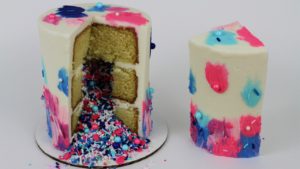
Use a sharp knife to cut into the cake, making sure your slice reaches all the to the middle of the cake. When you lift the first slice out the sprinkles will explode out of the cake.
You can make delicious chocolate shapes using cookie cutters and there are two ways of doing this. The first is to melt chocolate and you can tint it by adding gel colours. I melt chocolate at 50% power in the microwave for 1 minute at a time so that it doesn’t melt or seize.
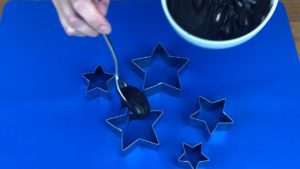
Arrange your cookie cutters on a silicone mat or parchment paper and spoon the chocolate into the cutters, pushing the chocolate right up to the edges. The thicker the chocolate is, the less fragile the shapes will be when you push them out of the cookie cutters later.

To add some quick colourful detail to the chocolate shapes, scatter some sprinkles or edible glitter onto them straight away, before the chocolate sets. Leave them for a few hours to harden or put them in the fridge to set more quickly.
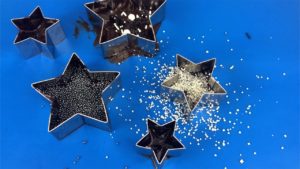
Push each chocolate shape out of the cutter, pressing all over the shape to ease it out little by little so that it doesn’t snap. It’s a good idea to make a few extras, just in case!
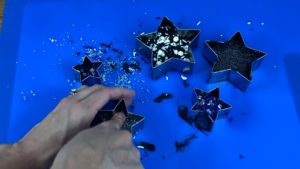
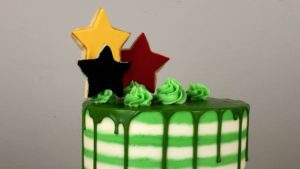
These thick chocolates make sturdy cake toppers and you can attach them to a cake by piping swirls onto the cake with buttercream. When the buttercream sets it will secure the toppers in place.
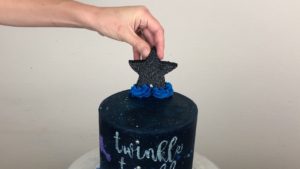
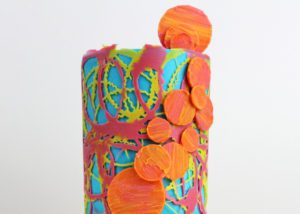
To decorate the sides of a cake with chocolate shapes it’s best to use thinner shapes which don’t weigh as much. You can use the same technique as for the stars in the example above but if the shapes are then thin they’re more likely to snap when you push them out of the cookie cutters.
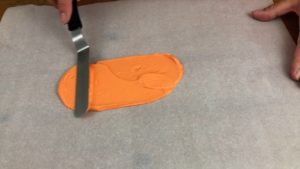
Spread the melted chocolate or candy melts onto parchment paper or a silicone mat using an
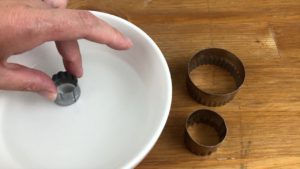
If you dip your cookie cutters into hot water before cutting out the shapes you’ll need less pressure and you’ll get a smoother outline on your shapes.
Press a cookie cutter into the chocolate or candy melts once they’ve set and twist it to cut the shape out. The shapes might lift up with your cookie cutter and if that happens, just push them back out and set them aside. Cut out a few more shapes than you need in case any break and dip your cookie cutter in hot water before each cut.
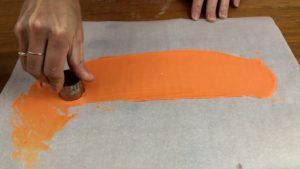
If your shapes stay attached to the parchment paper or silicone mat, lift up the surrounding chocolate or candy melts to leave just the shapes behind. Then pick those up or slide an
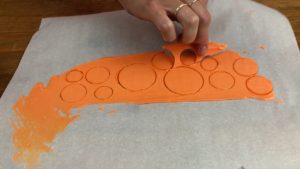
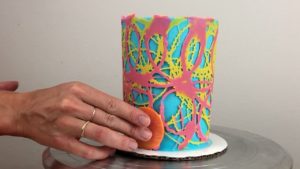
Attach the shapes to your cake by piping or spreading dots of buttercream onto the frosting and pressing the shapes into them. You could use melted chocolate to attach them if you prefer. Once the buttercream or melted chocolate sets, the shapes will be secure on the cake while it’s chilled and for a few hours after coming out of the fridge.
To add some height to your cake you can make cookie toppers on sticks. I’m using sugar cookie dough for these but you can use whatever recipe you like, as long as it will hold its shape. I leave the baking powder out of my recipe so that they don’t spread out while they’re baking.
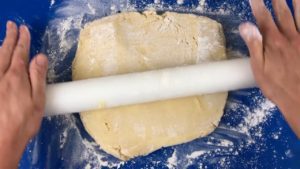
Roll out the dough and cut out shapes with cookie cutters. Arrange them on a baking tray lined with parchment paper, leaving about an inch between cookies in case they spread out while they’re baking.
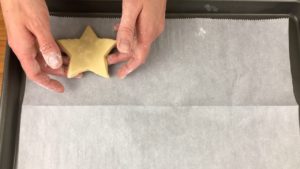
Push a paper lollipop stick or cookie pop stick into each cookie, going in only about a centimeter or half an inch. I freeze the cookies before baking them and this also prevents them from spreading out as they bake.
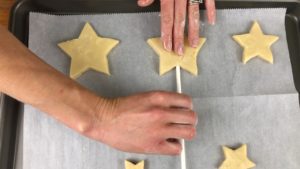
Once the cookies are cool you can decorate them with royal icing or make a glaze with powdered sugar and a few drops of milk. You can tint this with gel food colours if you like.
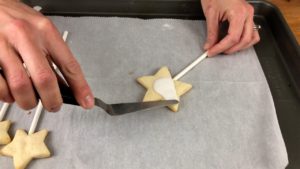
For a fun sparkly effect, after spreading royal icing or a sugar glaze onto a cookie you can dip it in a bowl of edible glitter or sprinkles.
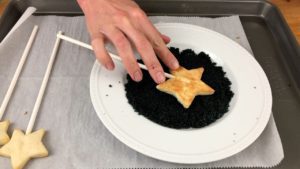
Another way to decorate the cookies is to use the same cookie cutters that you use to cut the cookies, to cut out thinly rolled fondant. Stick the shape to a cookie by brushing the back of the fondant with a paintbrush dipped in water.

The sticks you baked into the cookies will support the cookies if you push them into a cake, so that they stand upright without falling over.

To decorate your cake with the cookies, make sure the sticks are shorter than the height of the cake and push them straight down into the cake.
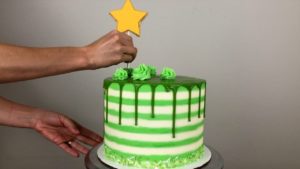
You don’t have to push the sticks all the way down to the bottom of the cake. Try varying the height of the cookie toppers so they’re all visible.
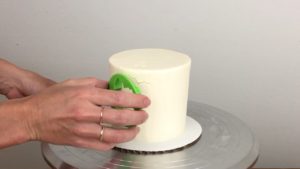
Use cookie cutters as guides for piping shapes onto cakes. After frosting your cake, press a cookie cutter into the frosting to leave an imprint. You can do this on the sides and the top of the cake.

I like to do this after chilling the cake so the frosting has set and you don’t accidentally damage it by smudging it with your finger. Also, the outline you leave when you pull the cookie cutter off will be neater if the frosting has set.
Pipe over the imprint of the cookie cutter, using it as a guide to trace over. This works best with buttercream that has been thinned out with a bit more milk or cream than normal. Use a piping bag fitted with a small round tip like a #2 or #4, depending on how thin and intricate you want the design to be.
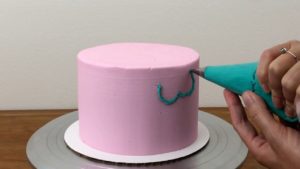
For this design wiggled the piping bag slightly as I piped to give the impression of lace. You might choose to only pipe the outline of the shapes or you can fill it in with freehand patterns.
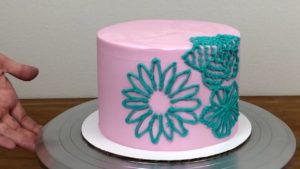
For this cake, after piping over the outline of the cookie cutters I’m using an
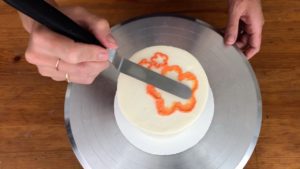
You can pipe onto the top and sides of the cake and even make shapes fold over the top edge of the cake to cover both the top and the sides. Try adding sprinkles or edible glitter for more detail!
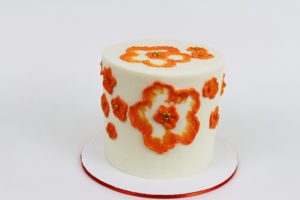
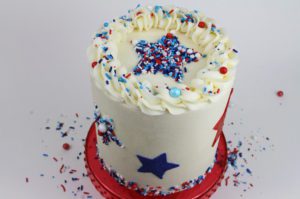
With cookie cutters you can create stencils to make these perfectly neat coloured shapes or sprinkled shapes on cakes.
Trace around cookie cutters onto parchment paper or wax paper. If you trace more than one shape or size of cookie cutter, leave a few inches around each shape so that you can make separate stencils.
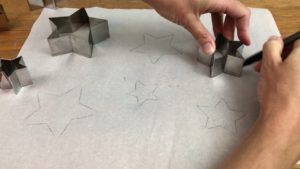
Cut the shape out, folding the shape down the middle so that you can make a small cut and then stick one of the blades of your scissors through that cut to reach the outer edges. Leaving the paper intact beyond the outline of the shape, which you’ll use as a stencil.
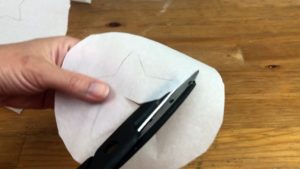
Chill your cake for at least an hour in the fridge so the frosting sets and holds its shape. When you take it out of the fridge, if the room you’re decorating in is warmer than the fridge you’ll get a tiny bit of condensation on the frosting which will allow the parchment stencils to stick to the sides of the cake. Use an
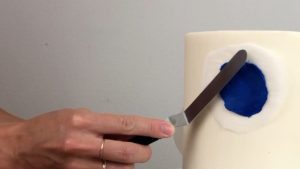
When you peel the parchment off you’ll leave behind perfect coloured shapes!
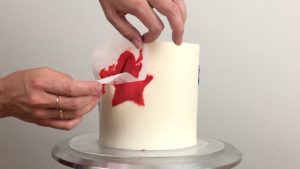
To make sprinkled shapes, spread frosting over the stencil and then scoop up handfuls of sprinkles to press onto the frosting so that they stick.
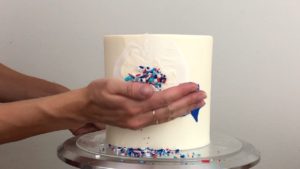
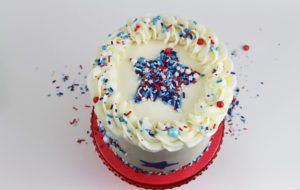
For sprinkled shapes on the top of the cake you don’t need to use parchment paper. Place a cookie cutter on top of the cake, pour some sprinkles into it and press the sprinkles down so that they stick to the frosting
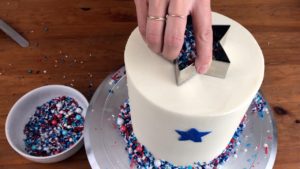
Lift the cookie cutter up to leave the sprinkled shape behind!
I hope this tutorial has been helpful! If you use any of these techniques to decorate your cakes, please tag @britishgirlbakes in any photos you share on Instagram so I can see your creations! For more ways to decorate cakes check out my online course on 10 Cake Decorating Techniques.
Here’s the video version of this tutorial:
