I’m going to share 6 ideas for patriotic red, white and blue cakes. I'll show you the techniques for each design and also give you tips on making your frosting bright blue and really red.
For this first cake, all you need is an
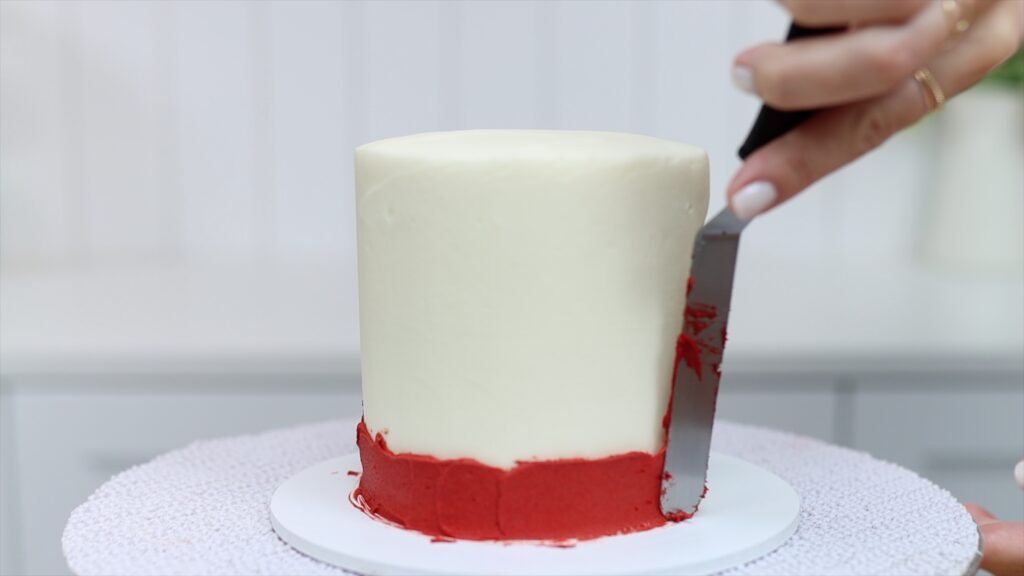
Use the tip of your
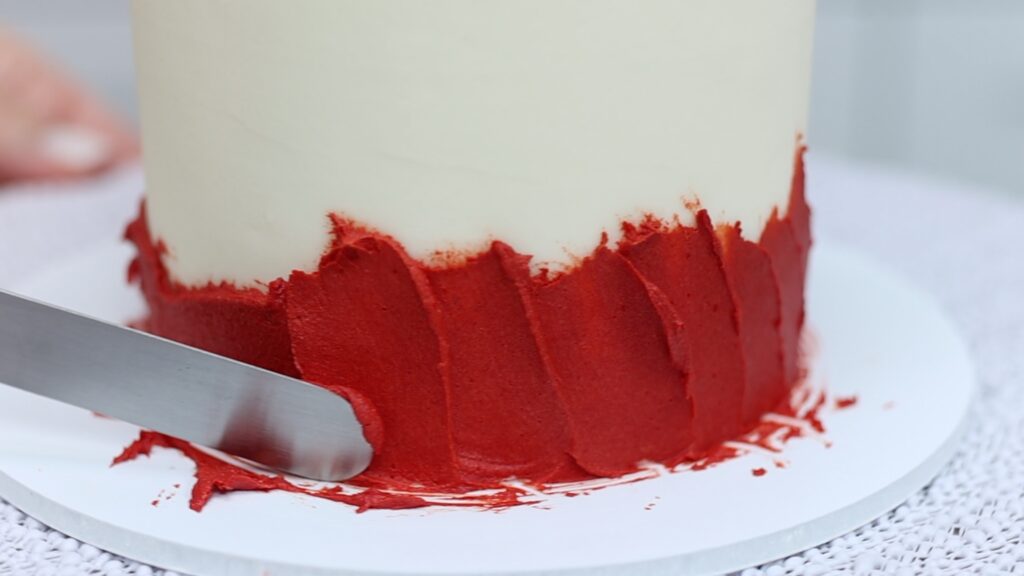
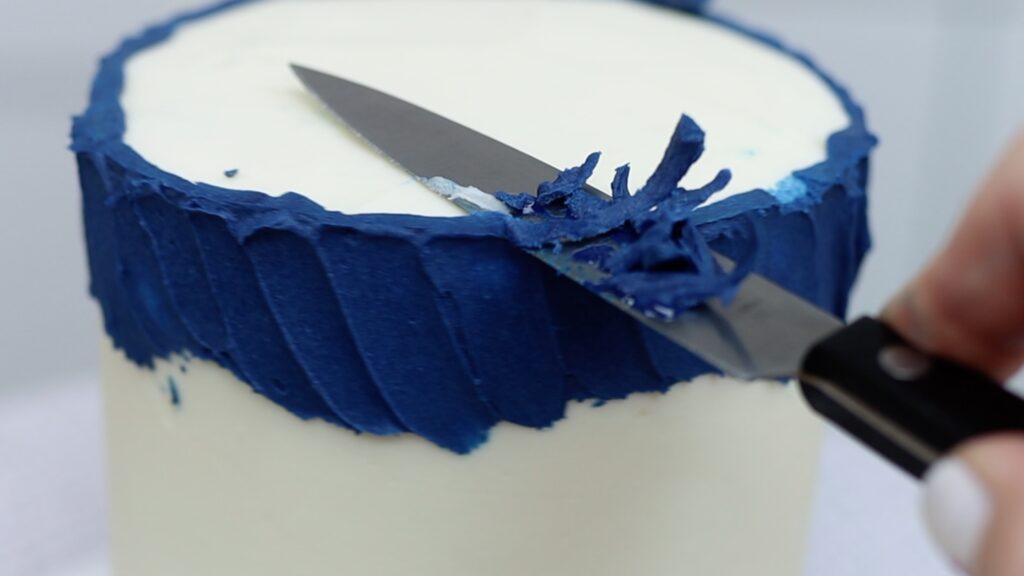
Spread a thin layer of frosting around the top of the cake and pull the tip of your
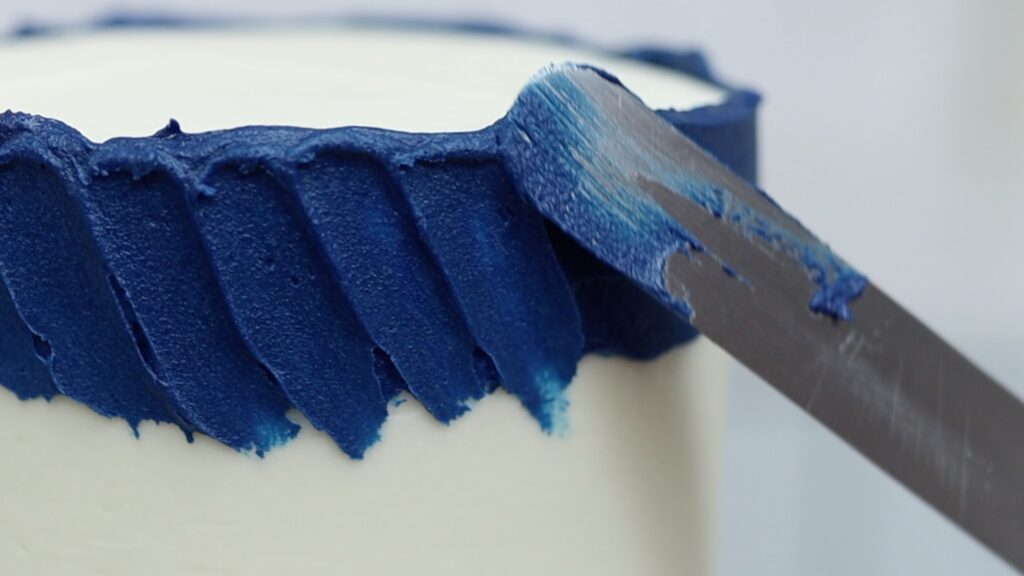
I love the uneven top edge of this frosting but if you want it to be straight, put the cake in the freezer for 15 minutes to set the frosting. Pour boiling water into a glass and dip a knife into it to heat the knife blade. Trim around the top edge of the cake, slicing off the uneven top edge of the frozen frosting and leaving a neat, straight edge behind.
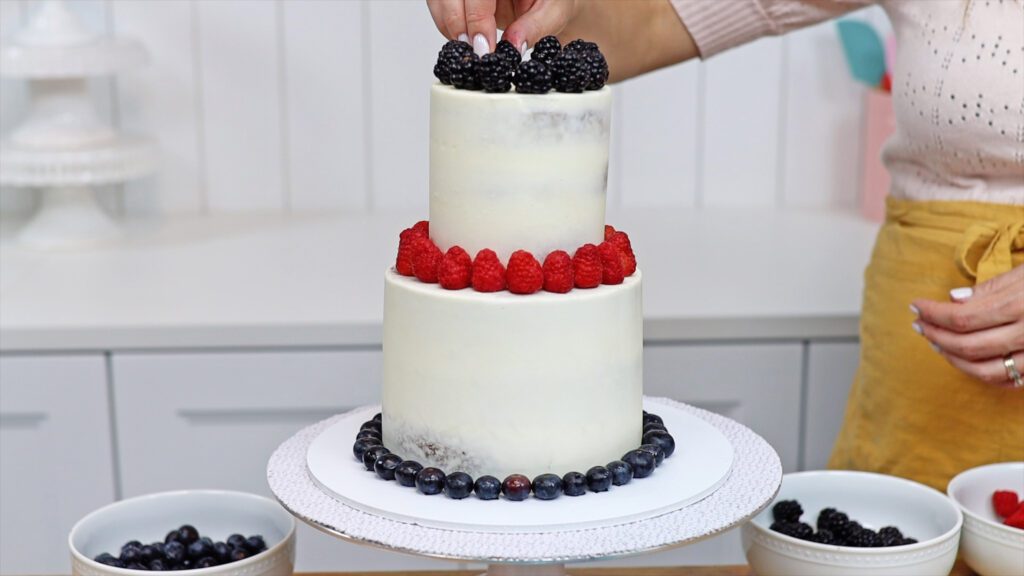
Berries are naturally red and blue and make pretty and delicious decorations. You can line them up around the bottom or top of a cake to add a colourful border.
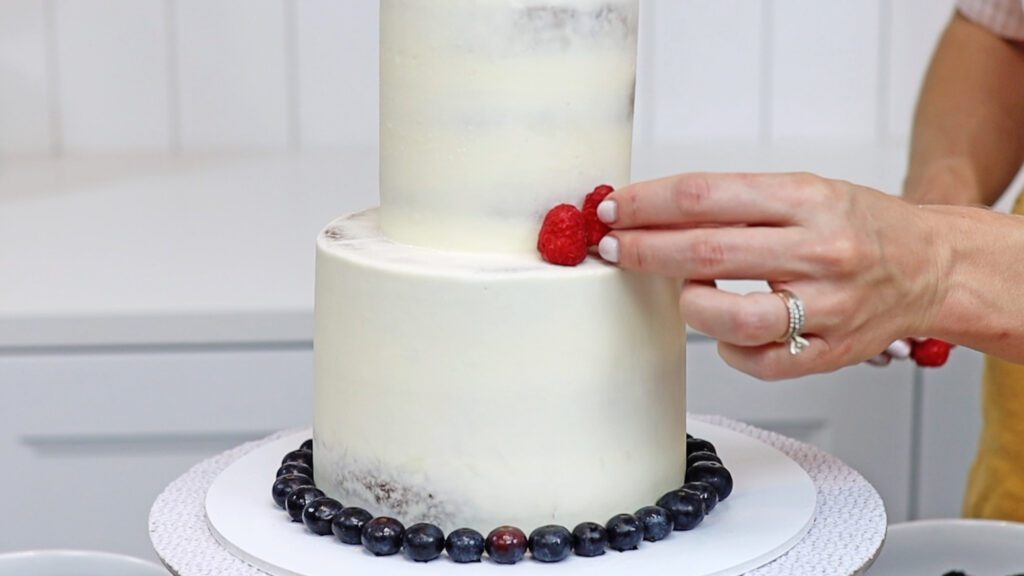
If you’ve just frosted the cake and the frosting is still soft, the berries will stick to the frosting easily. If the frosting has set so it’s firm, you’ll need to spread or pipe a little bit of fresh frosting over the area where you want to put the berries. Then press the berries gently into that frosting to attach them. When that frosting sets, the berries will be held securely in place so you can move the cake or transport it worry-free.
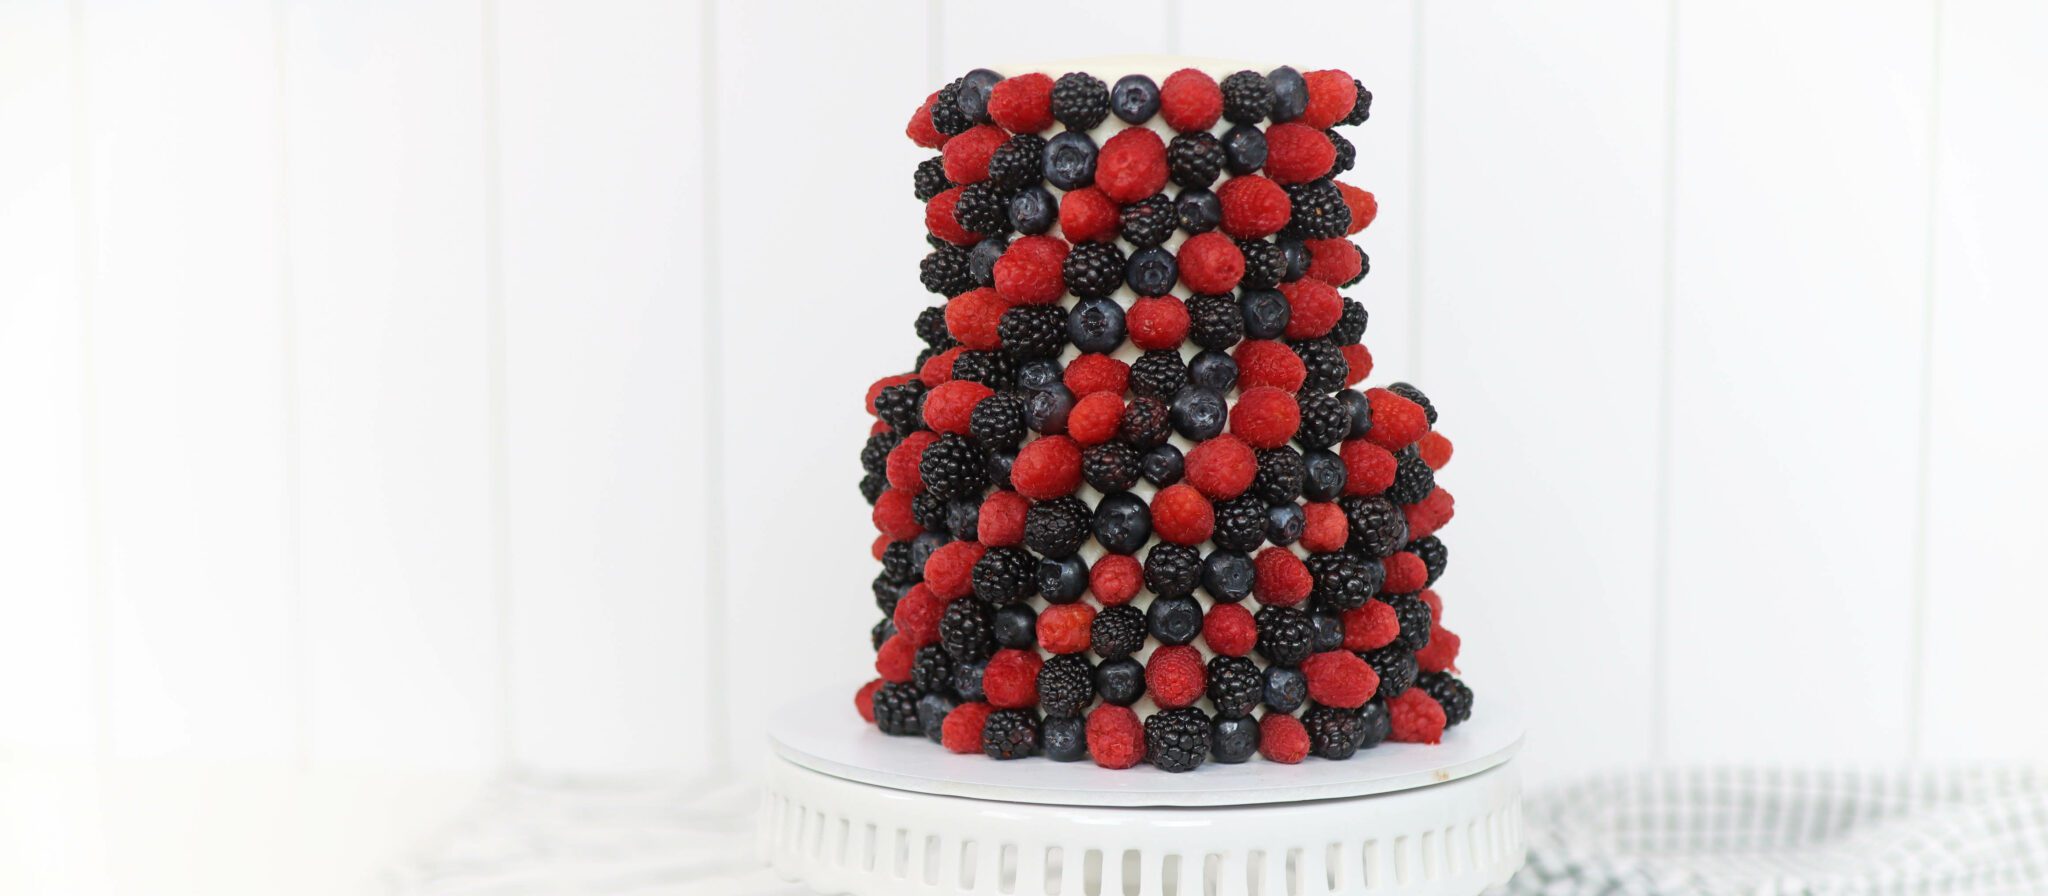
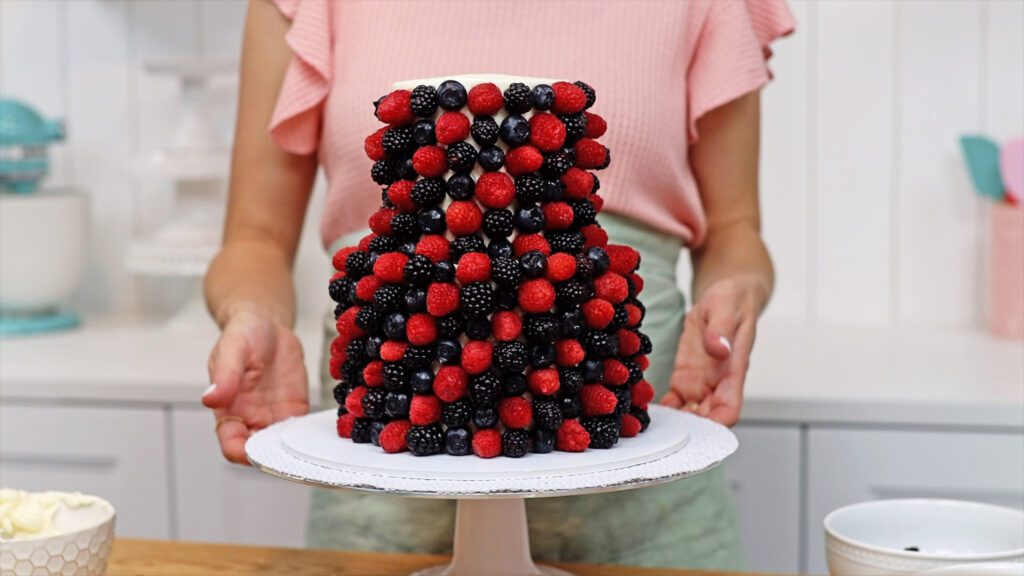
If you want to be more dramatic with your berry placement, arrange them in diagonal rows to completely cover the cake. The neatest way to do this is to choose an order, in this case raspberry, blueberry, blackberry, and press the berries one layer at a time into the frosting on the cake.
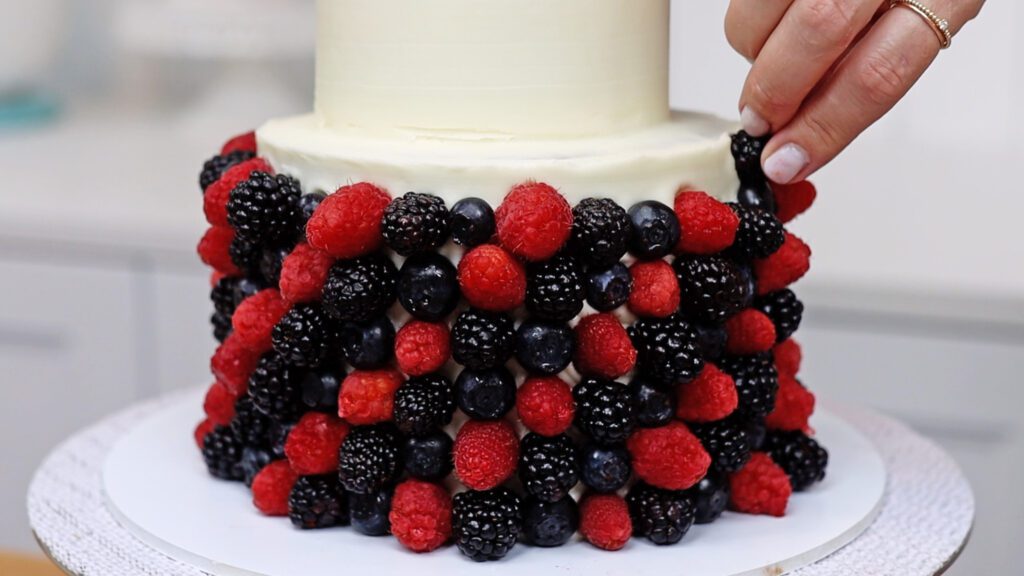
I’m not using strawberries because they're much bigger than the rest of my berries. If the berries are a similar size, like these raspberries, blackberries and blueberries, they’ll support each other as you layer them. Also, using similar sized berries will create the clearest diagonal lines on the cake. This design makes a red white and blue cake with so much fruit on it that it’s almost healthy!
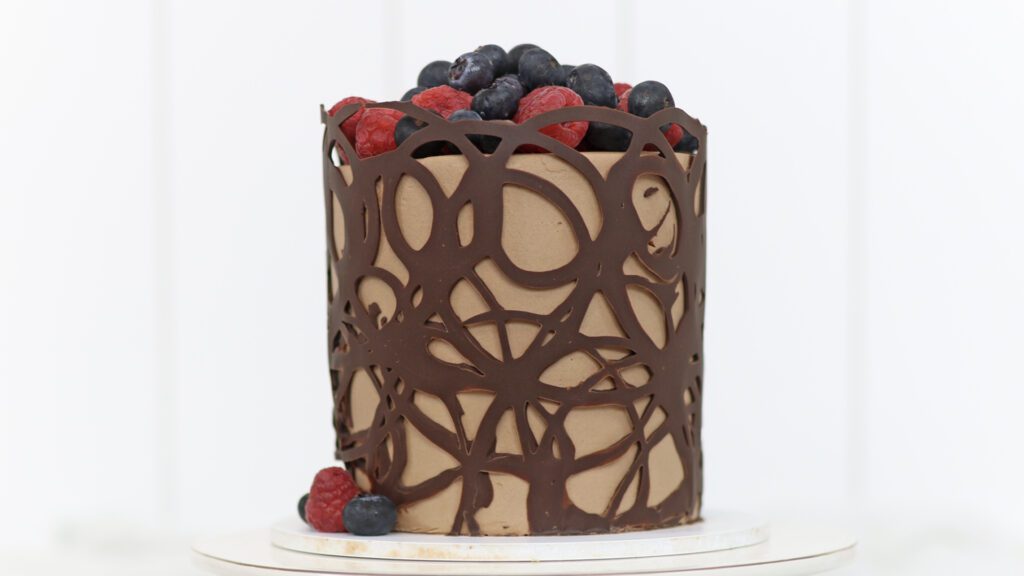
You can use berries to add red white and blue to any cake, like this chocolate cake, which is perfect is you want to make a cake look patriotic but still keep the focus on the flavour.
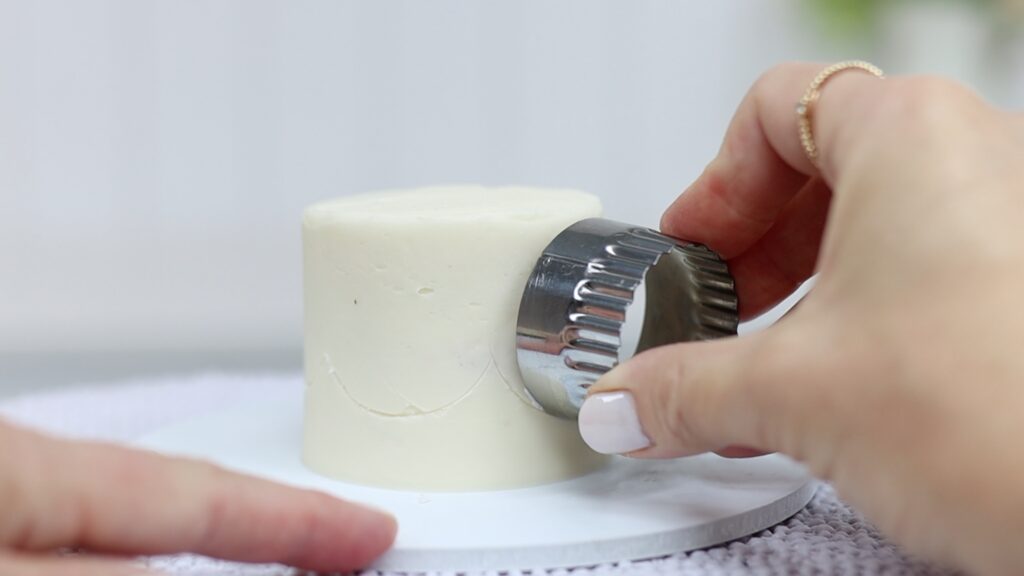
For a vintage look, use piping to add lots of texture and colour to a cake. Use a round cookie cutter to push the bottom half into the frosting to imprint semi-circles around the cake as a guideline before you start. For my design I want the top of the semicircles to be about halfway up the cake.
This is a #102 petal tip which is tiny because this is such a tiny cake! You’ll find a mini cake course and hundreds of other cake designs and decorating techniques on the British Girl Bakes cake school and if you join my ClubPLUS you’ll get access to them all!
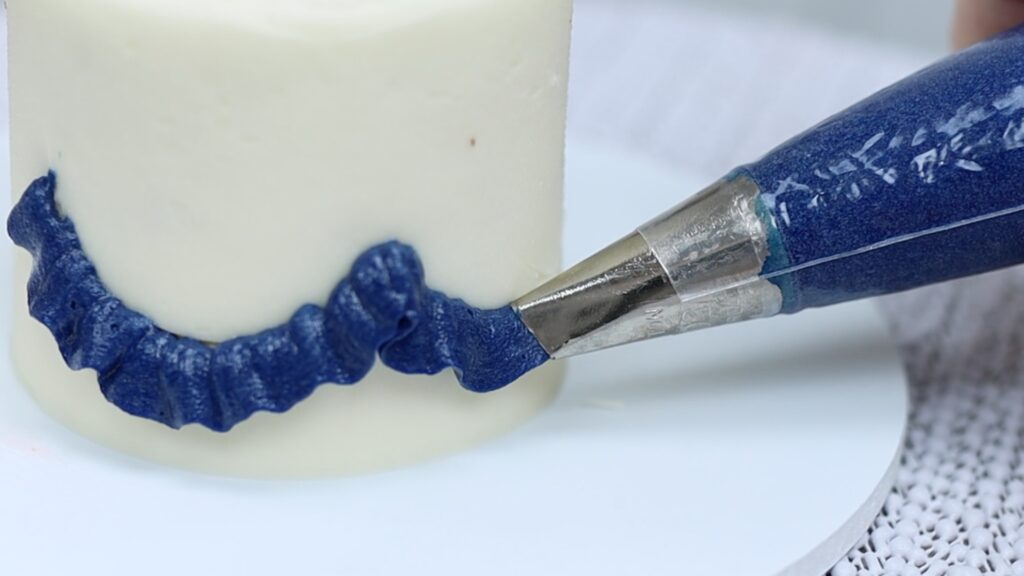
The trick for these ruffles is to hold the wide end of the petal tip pressed against the cake and point the narrow end downwards. By wiggling your wrist slightly as you pull the piping bag you'll creates ruffles in the piping.
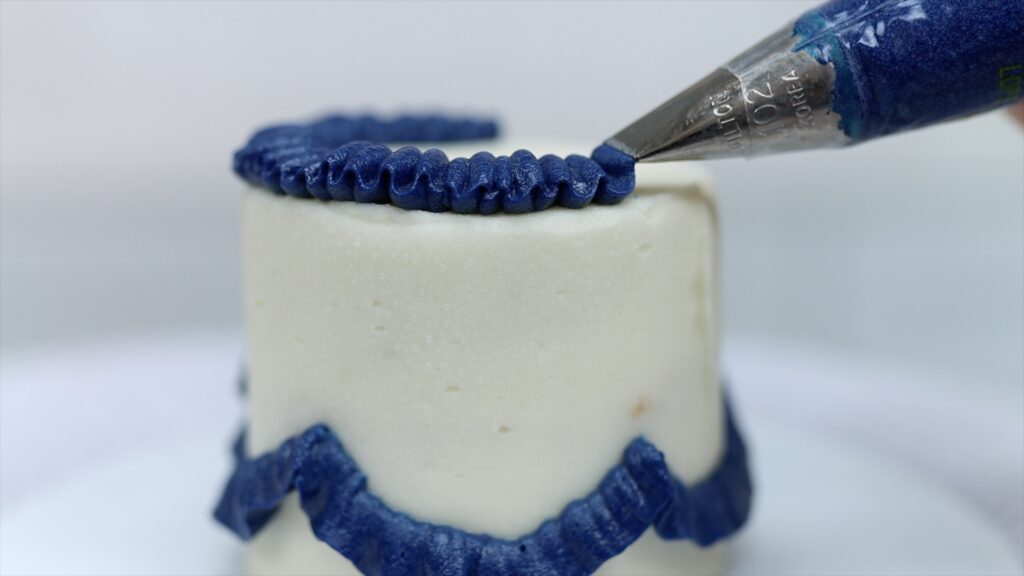
Another way to use a petal tip is to make these wavy ribbons. You’ll need the wide end of the piping tip to be pointing towards the middle of the cake with the narrow end pointing out to the edge of the cake. As you squeeze the piping bag and pull it around the cake, move it quickly up and down to make the waves. This looks pretty at the top of the cake and also around the bottom.
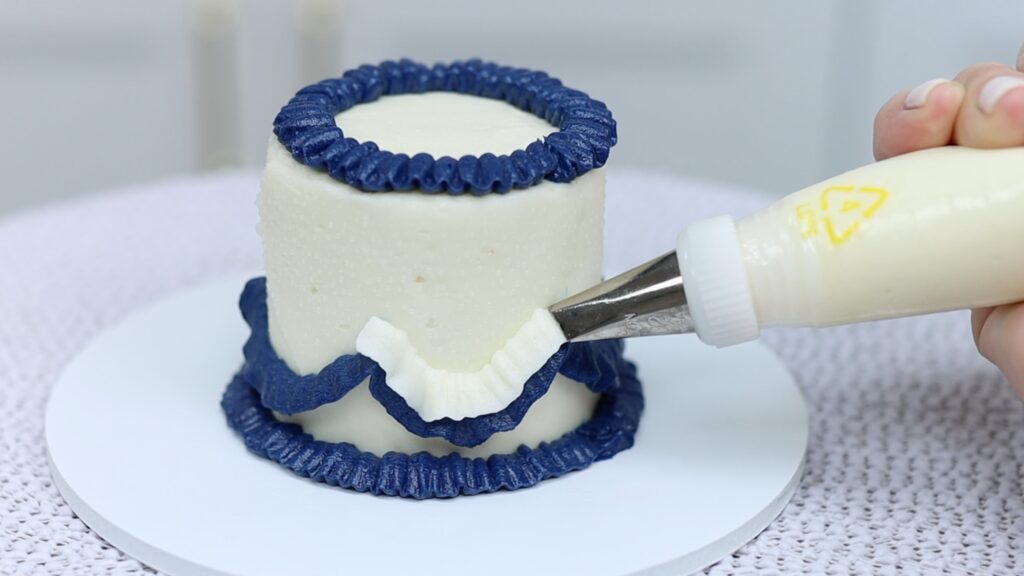
Pipe another ruffle using white over the top of the first ruffle, layering them around the cake. Keep the top of the piping tip, the wide end, pressed against the frosted cake to attach the top of the ruffle to the cake, so that it doesn’t droop. You can pipe these ruffles and this wavy ribbon onto the cake straight after piping the blue buttercream, or if you want to do it in stages you can do it after the first colour sets.
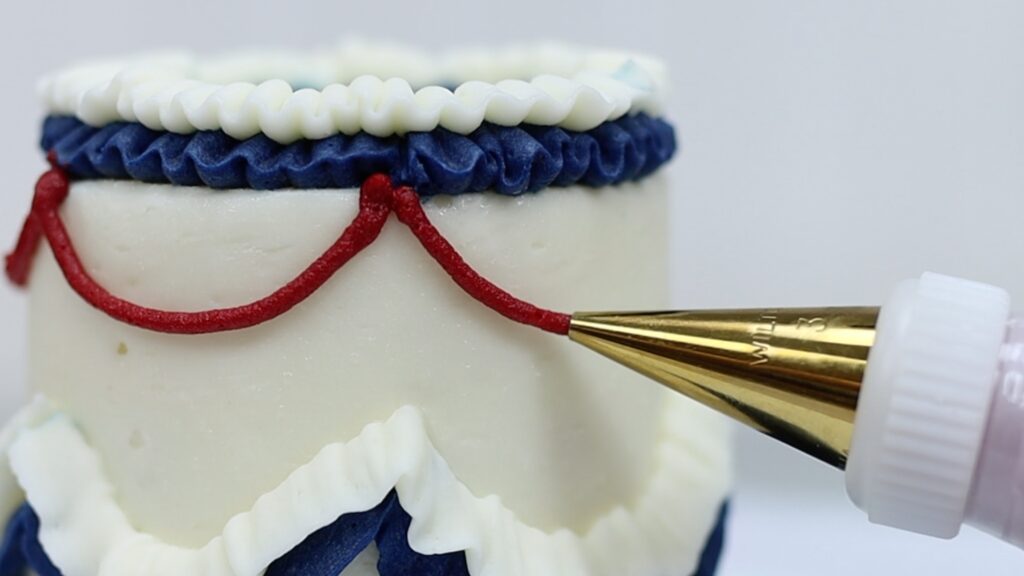
Now to add red I’m using a small round #3 piping tip to pipe strands of frosting around the cake. If the line breaks you can use a toothpick to touch it up. My hands are really shaky so if I can pipe these lines, you definitely can! Keep an eye on the ruffles below so that your lines mimic that curve and line up above them.
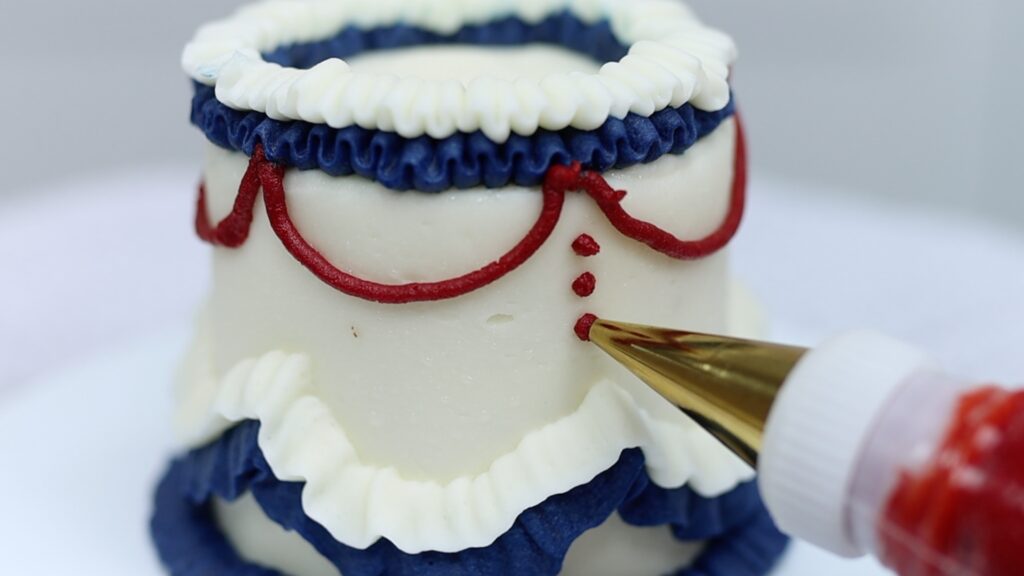
Then pipe three tiny dots down from the join of each of the curved lines. If your buttercream isn’t coming out of the piping bag easily it can be for one of two reasons. The first is that your buttercream is too stiff so you need to add more milk to thin out the consistency. The second is that you need to twist the top of the piping bag to put more pressure on the buttercream so that when you squeeze the bag it comes out effortlessly.
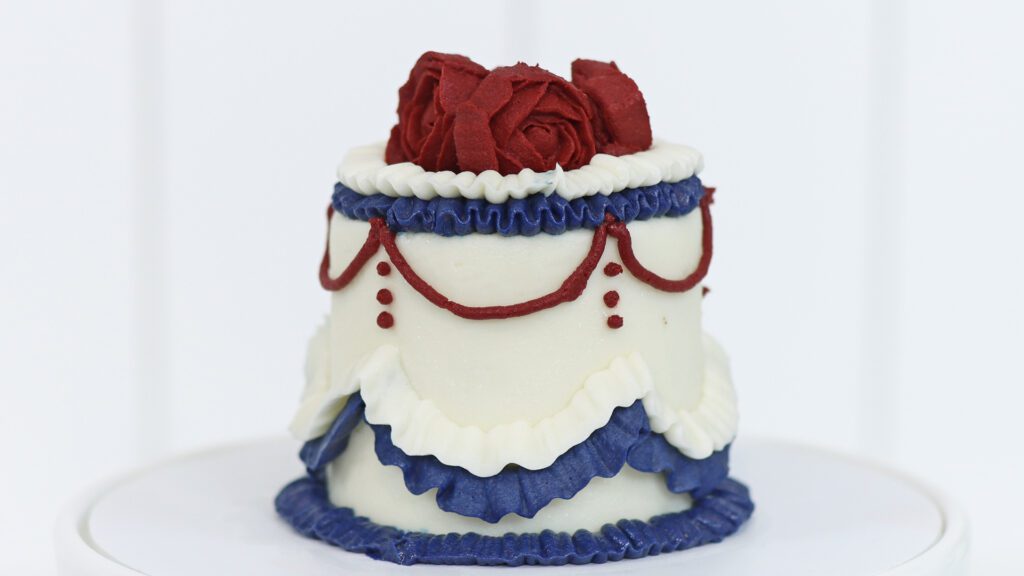
I’ve placed some buttercream roses on top of this cake and you’ll find more ideas in my tutorial on homemade cake toppers.
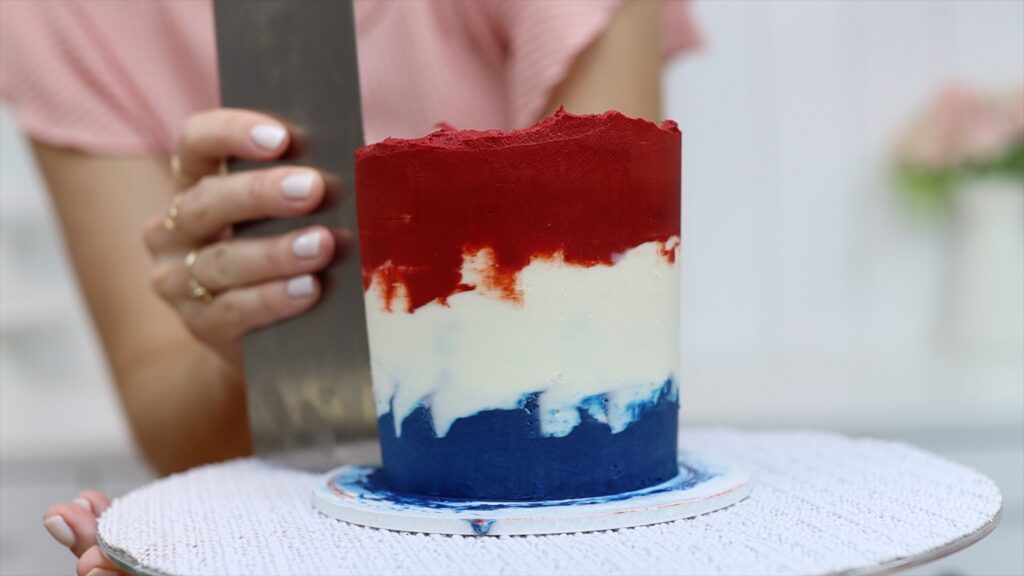
This cake design is the quickest because instead of frosting and then decorating the cake, the frosting is the decoration. After crumb coating a cake, spread red white and blue frosting in layers around the cake to completely cover it.
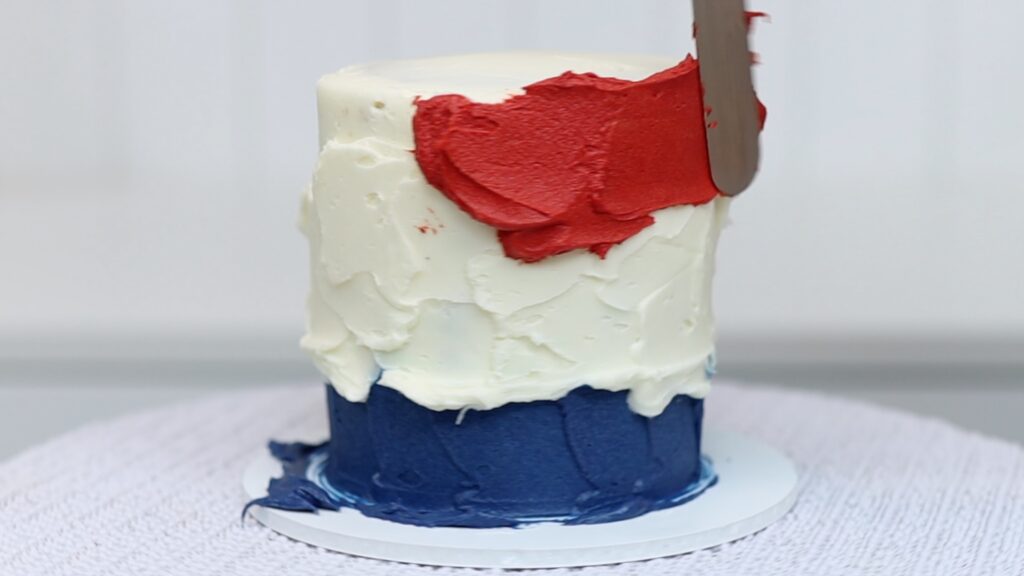
Use a cake comb to smooth the frosting. You can use a textured cake comb if you want to add texture instead. The colder the cake is, the less the colours will blend together so the bolder the separation will be. This cake has been in the freezer for a few minutes so the edges of each colour are quite dramatic.
Here are a few tips for colouring buttercream. For a really bright red, start with white or pink buttercream and add a generous squirt of red gel colour. You need more than you think! I recommend using gel colours because they're much more concentrated than liquid colours so will make your buttercream bolder.
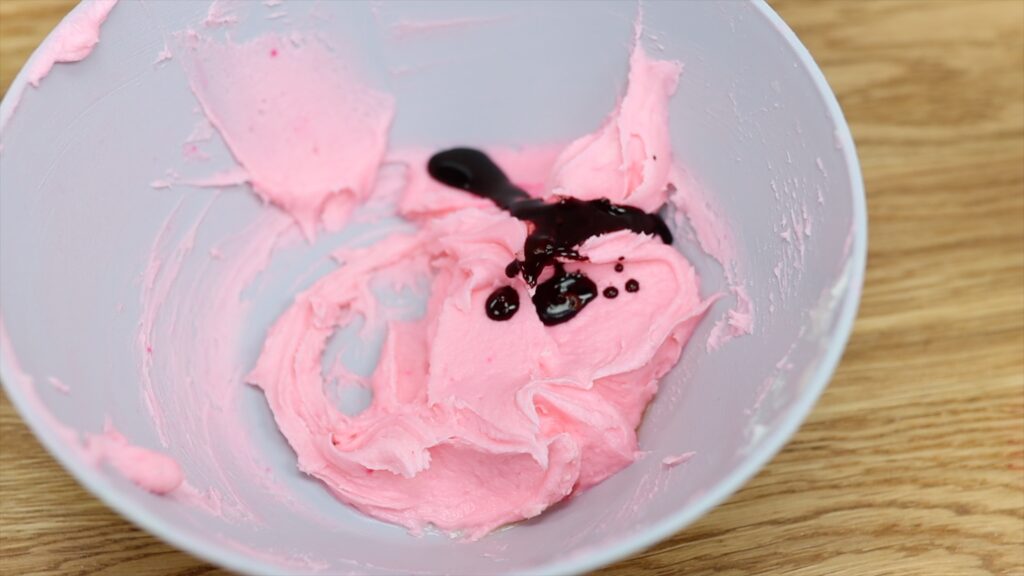
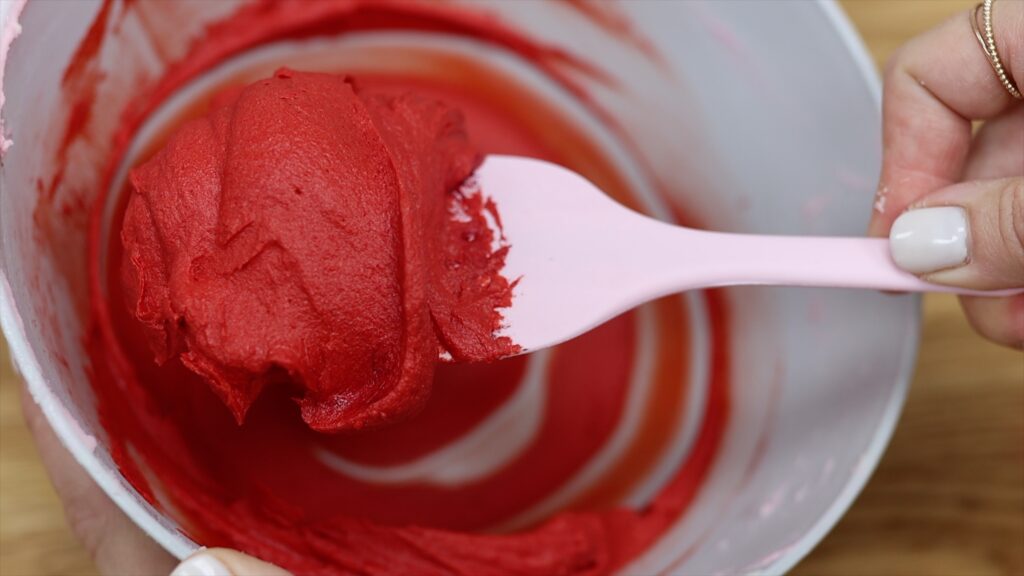
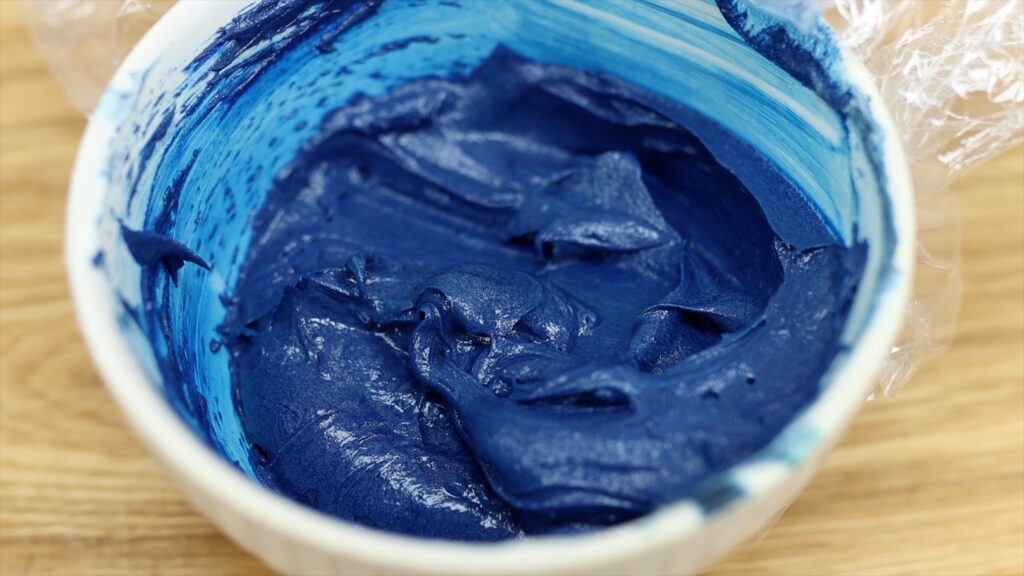
All gel colours will develop and darken with time so you can make the buttercream a bit lighter than you want it to be. Then cover it with cling film or Saran Wrap or a lid and wait about an hour and you’ll have an even bolder colour.
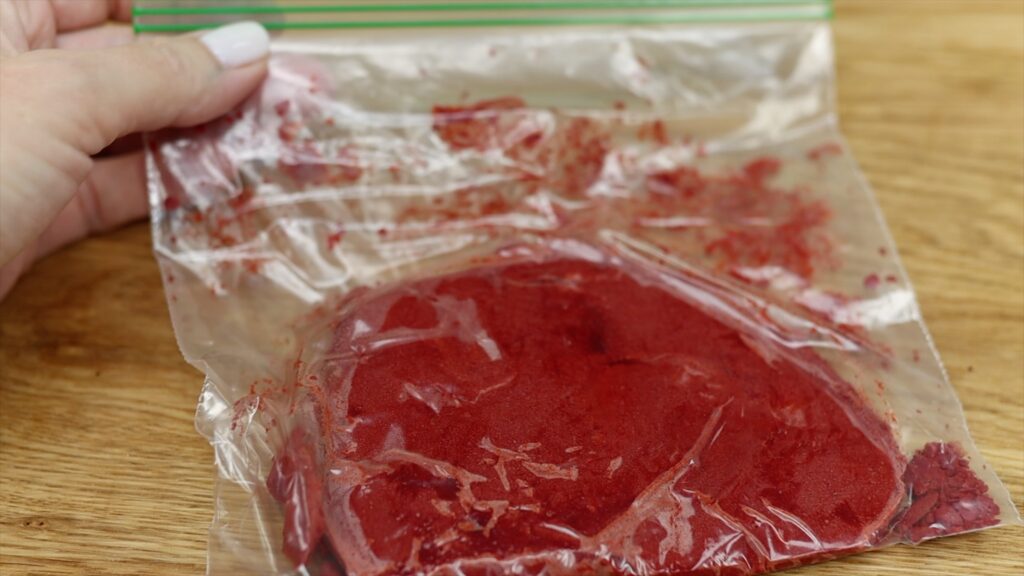
You can also put it in the fridge overnight, covered or in a ziplock bag, to allow the colour to develop.
Which red white and blue cake design is YOUR favourite? Tell me in the comments! You can also watch a video of this tutorial on 6 red, white and blue cakes if you prefer:
