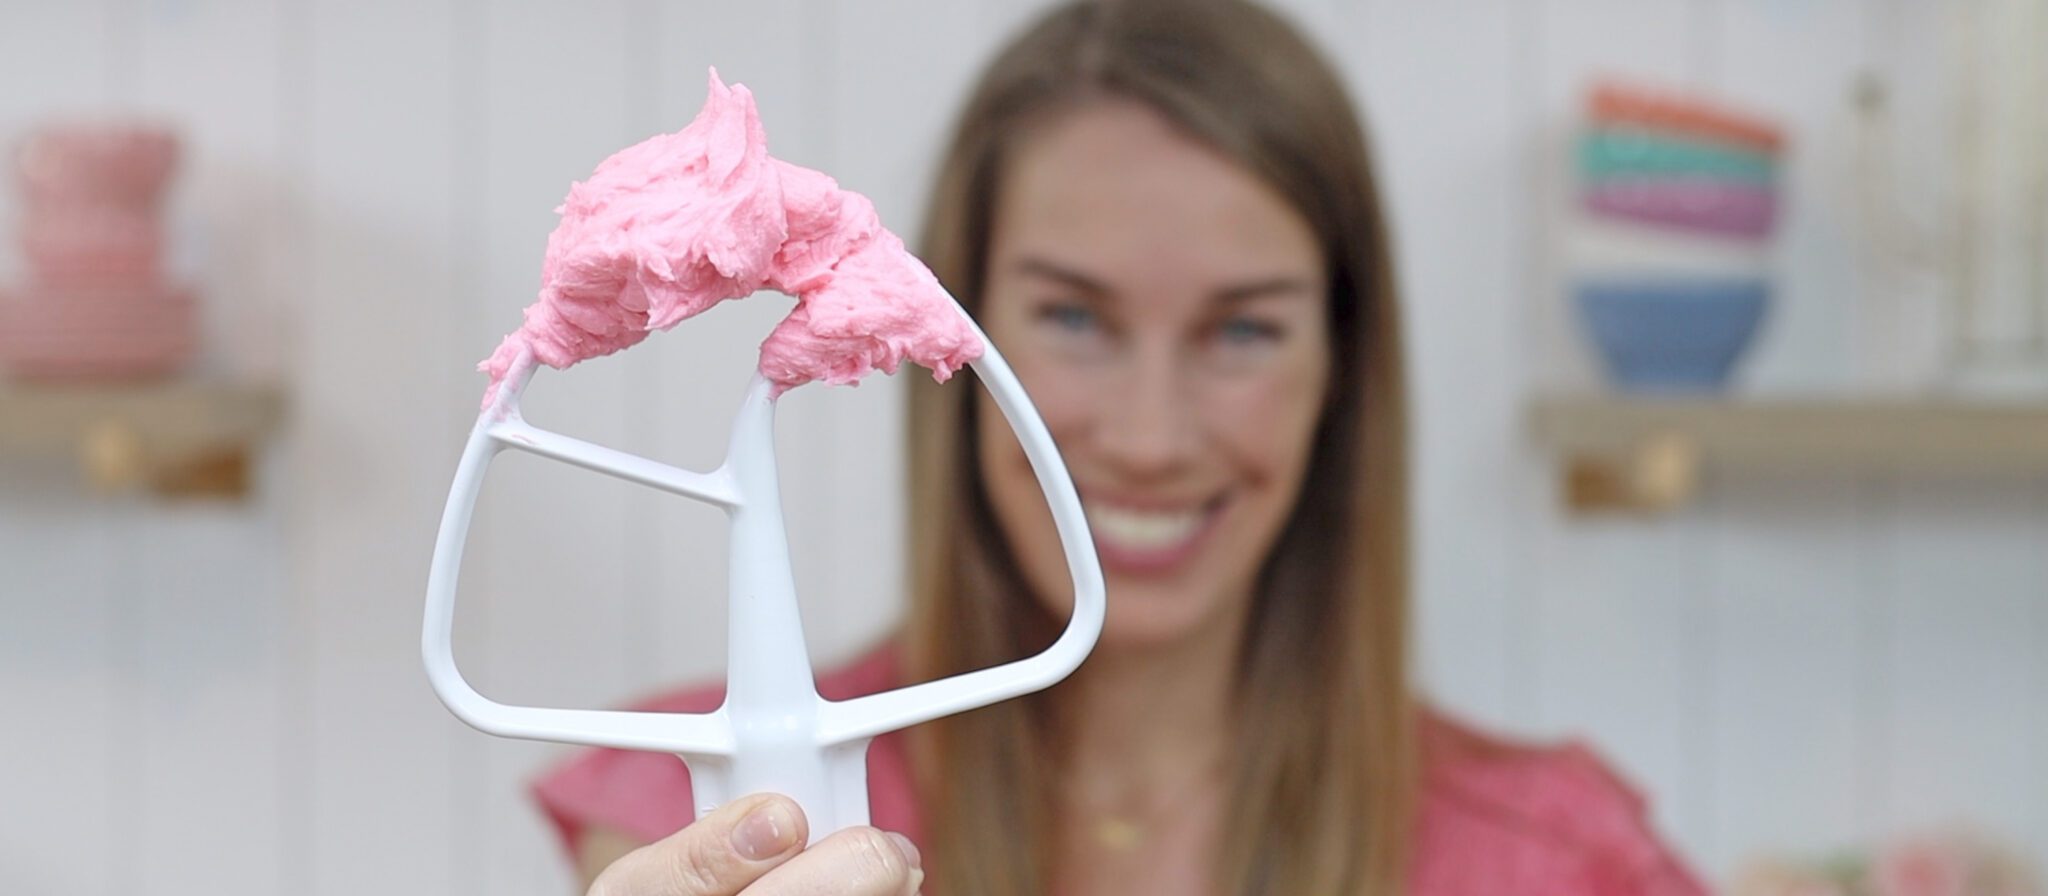
With the right buttercream consistency you can achieve smooth frosting and neat piping on cakes and cupcakes. The perfect buttercream consistency really is the key to cake decorating so here are all of the dos and don'ts!
You'll need butter to be at room temperature before you start making buttercream. For the best results, take it out of the fridge at least two hours before you use it. If you forget you can unwrap the butter and microwave it for 10 seconds to take the chill off. Flip it over and microwave another 5 to 10 seconds until it's soft. Beat it for a few minutes until it's smooth, to check that it's not still cold in the middle. Starting with smooth butter can help prevent lumps.
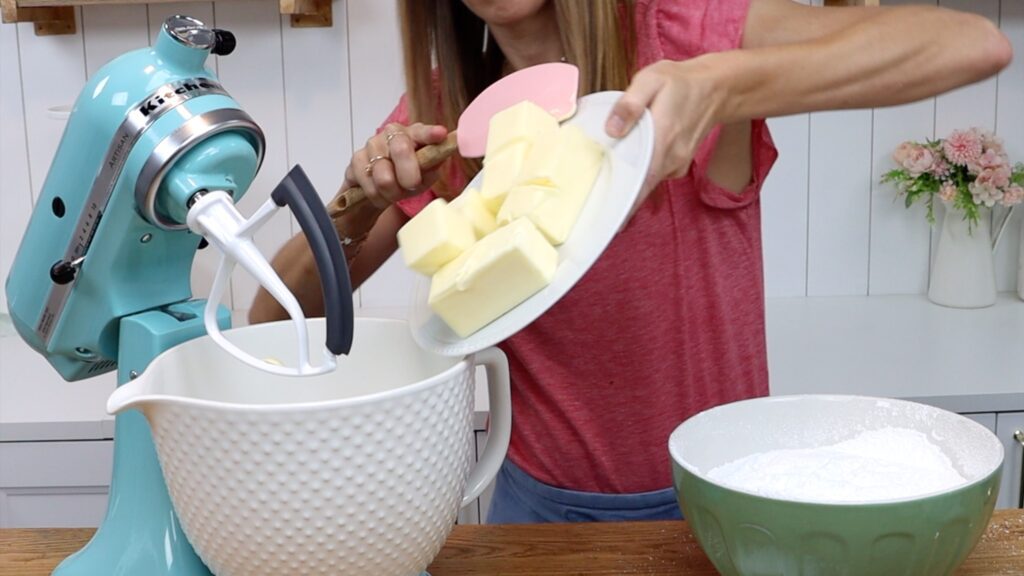
You'll need a paddle or beater attachment to make buttercream, not a whisk. Either a stand mixer or a hand mixer is fine. You can use just a bowl and a spatula if you're very strong and very patient!
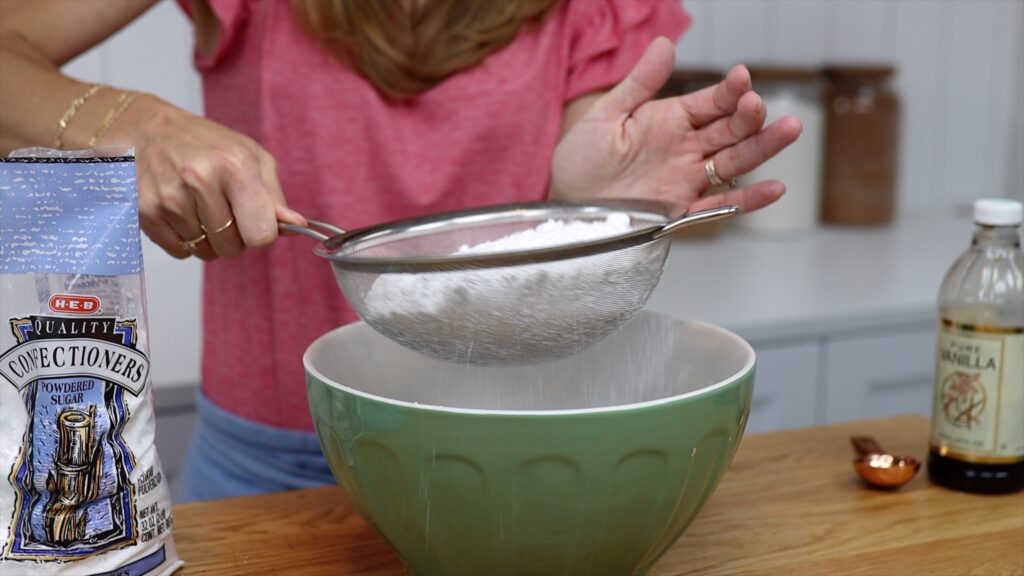
Follow your buttercream recipe - I'm using my 4 Minute Buttercream. Add the icing sugar or powdered sugar, sifted to prevent lumps and graininess. If it feels like it's taking forever to sift and your arm gets tired, try this! Use the handle of a spatula or wooden spoon to stir the sugar around in the sieve.
I add only half of the sugar to the mixer so it doesn't explode out of my mixer when I turn it on. Also, I cover my bowl with a towel to prevent a big cloud of sugary dust. Once the first half of the sugar is mixed in, add the rest and mix again.
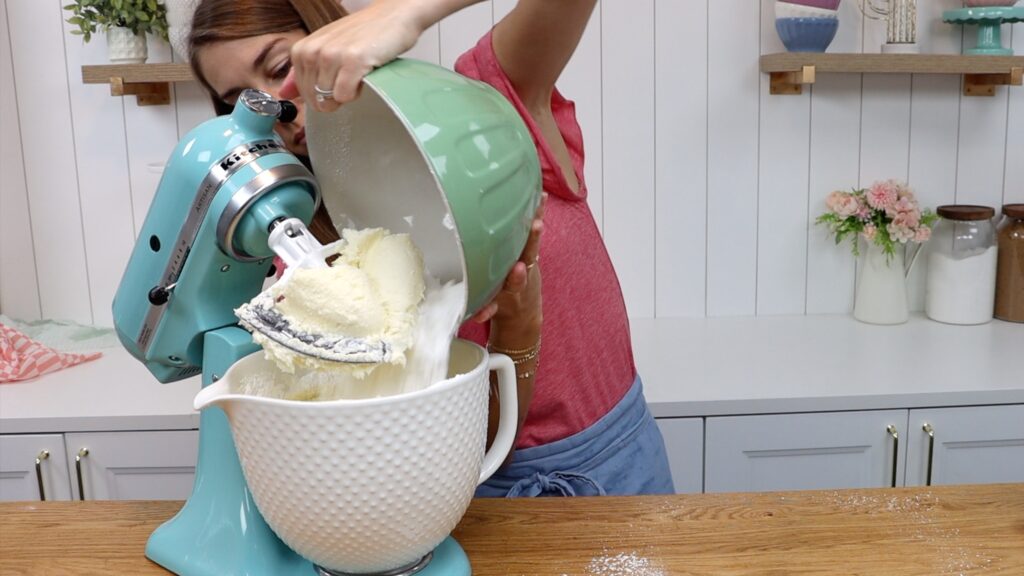
Always mix at the lowest speed because using a low speed prevents air bubbles in the buttercream. If you use a whisk or a high speed you'll aerate the buttercream, creating lots of air bubbles.
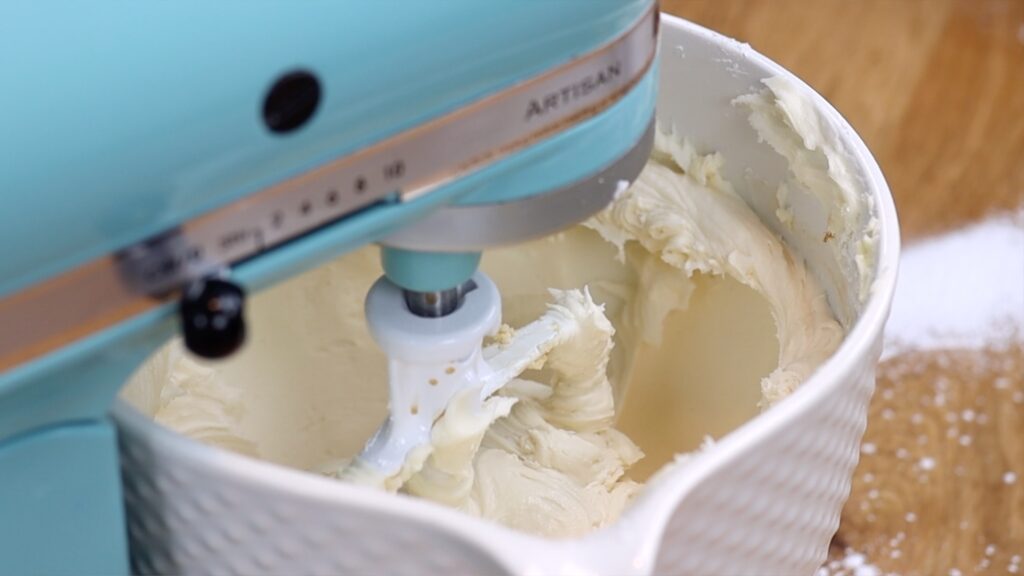
After adding salt and vanilla for flavour, add a few tablespoons of milk or cream. This will make the buttercream richer and thin it out slightly. Add milk or cream one spoonful at a time, checking the consistency after mixing in each spoonful. If you add too much, to thicken the buttercream you'll need to add more sugar.
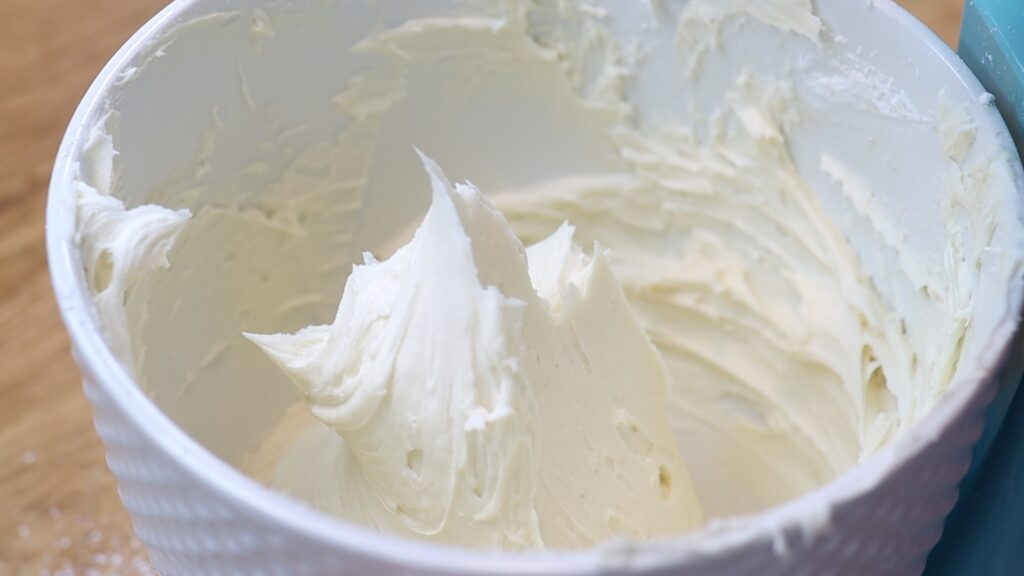
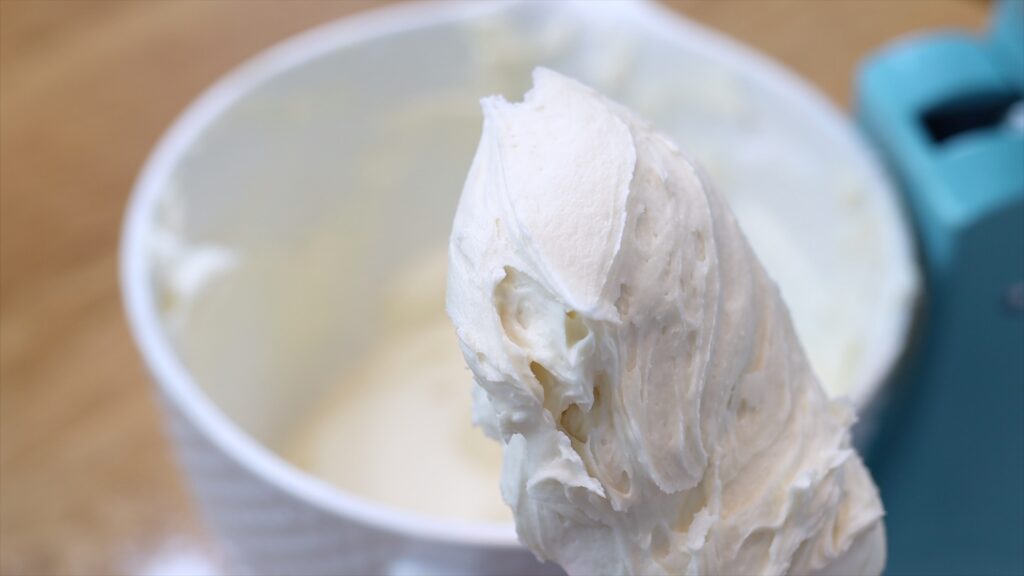
The buttercream in the photo below has stiff peaks that stand up when you pull a spatula out of the bowl. You'll notice very distinct texture in the buttercream wherever you've pulled a spatula through it. This buttercream has a stiff consistency. A stiff consistency is great for piping that needs to hold its shape, like petals on a flower.
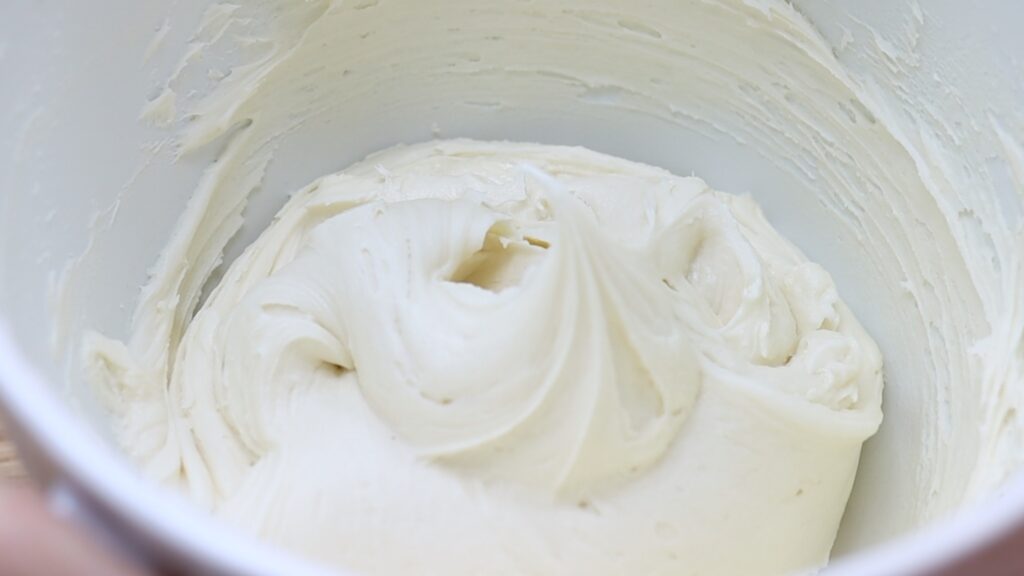
To ice or frost a cake you need the buttercream to have a looser consistency. This means it is less stiff, with peaks that droop over. You'll notice your spatula leaving behind less texture in the buttercream as you stir it. To make the buttercream consistency less stiff, like in the photo below, simply add more milk or cream.
If you see any grains of sugar or tiny lumps in your buttercream, don't throw it away and start again! Instead, use an immersion blender to blitz it to remove any icing sugar lumps.
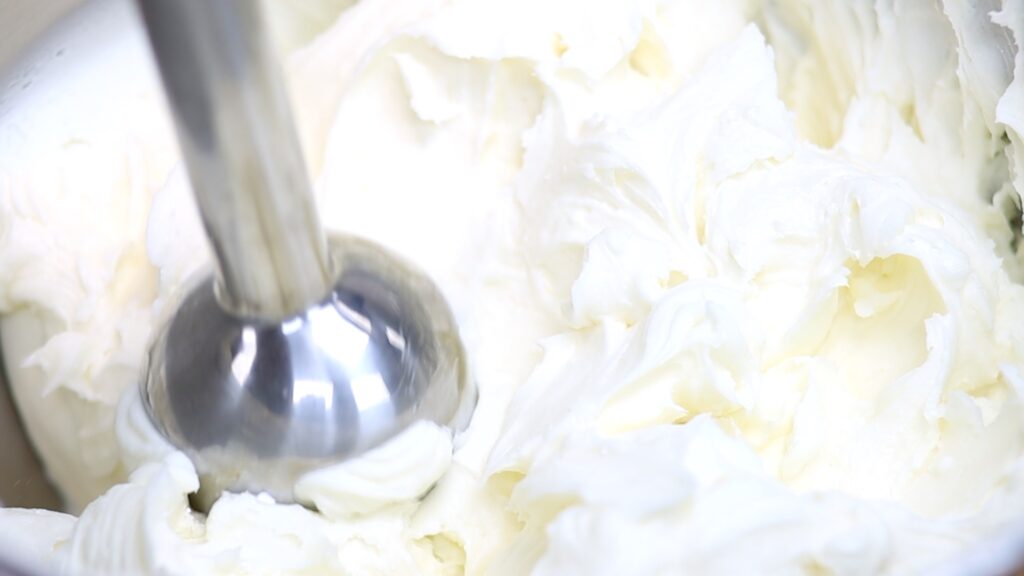
Any liquid you add to the buttercream will affect the consistency. Add liquid colours and flavours before doing a final buttercream consistency check. Stir the buttercream quite aggressively to knock out any air bubbles.
If the buttercream is still too stiff or has air bubbles, use this microwave hack. Scoop a third of the buttercream into a microwave safe bowl and microwave it for 10 seconds. Then pour this back into the main bowl of frosting and stir it all together.
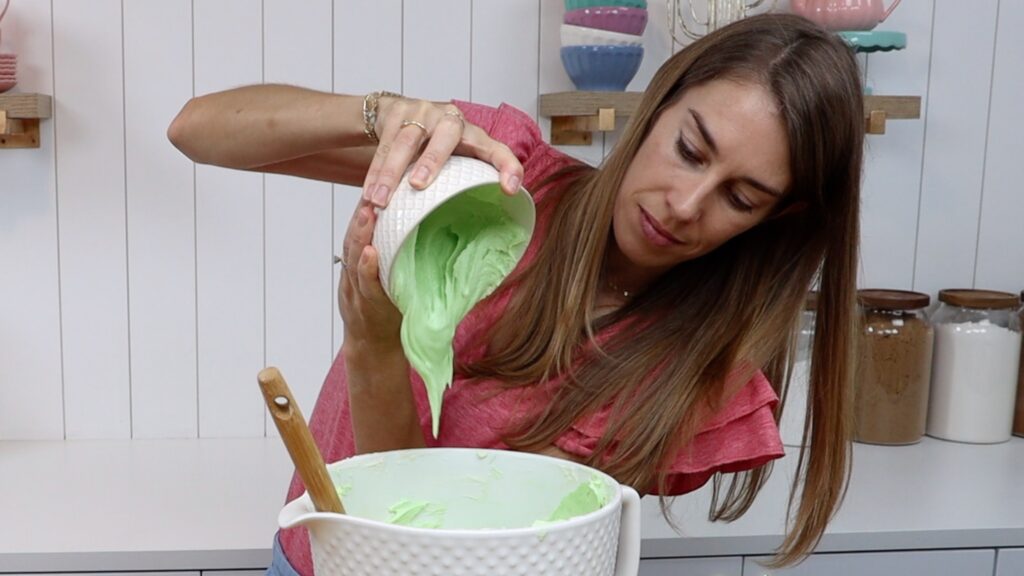
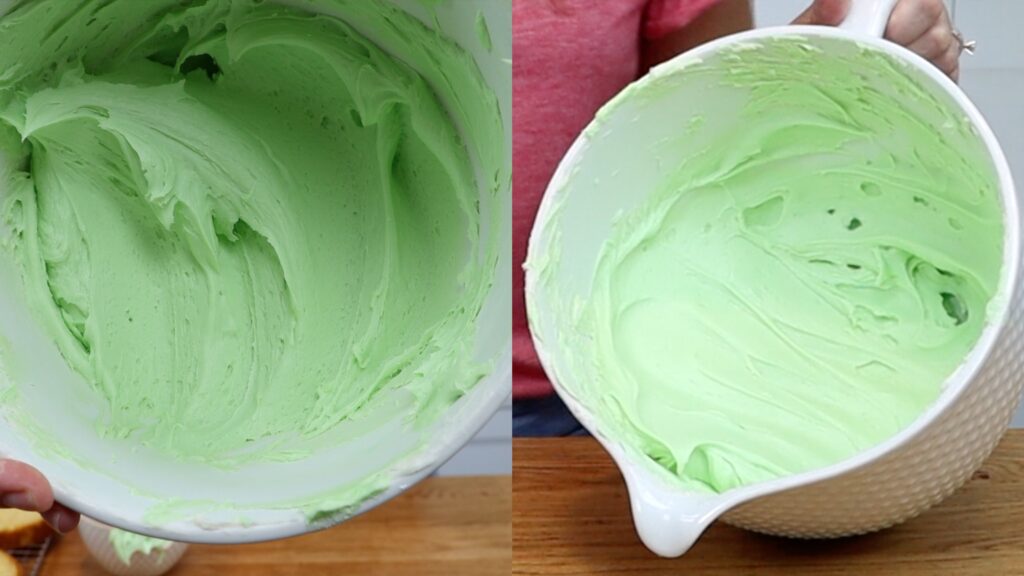
Your buttercream will be silky smooth, the perfect consistency for frosting a cake and with no air bubbles. Look at this buttercream consistency and number of air bubbles before and after using the microwave hack:
Ask me any questions you have about buttercream consistency in the comments! To learn hundreds of cake decorating techniques and designs visit my cake school.
You can also watch a video of this tutorial on 6 tricks for the perfect buttercream consistency:
