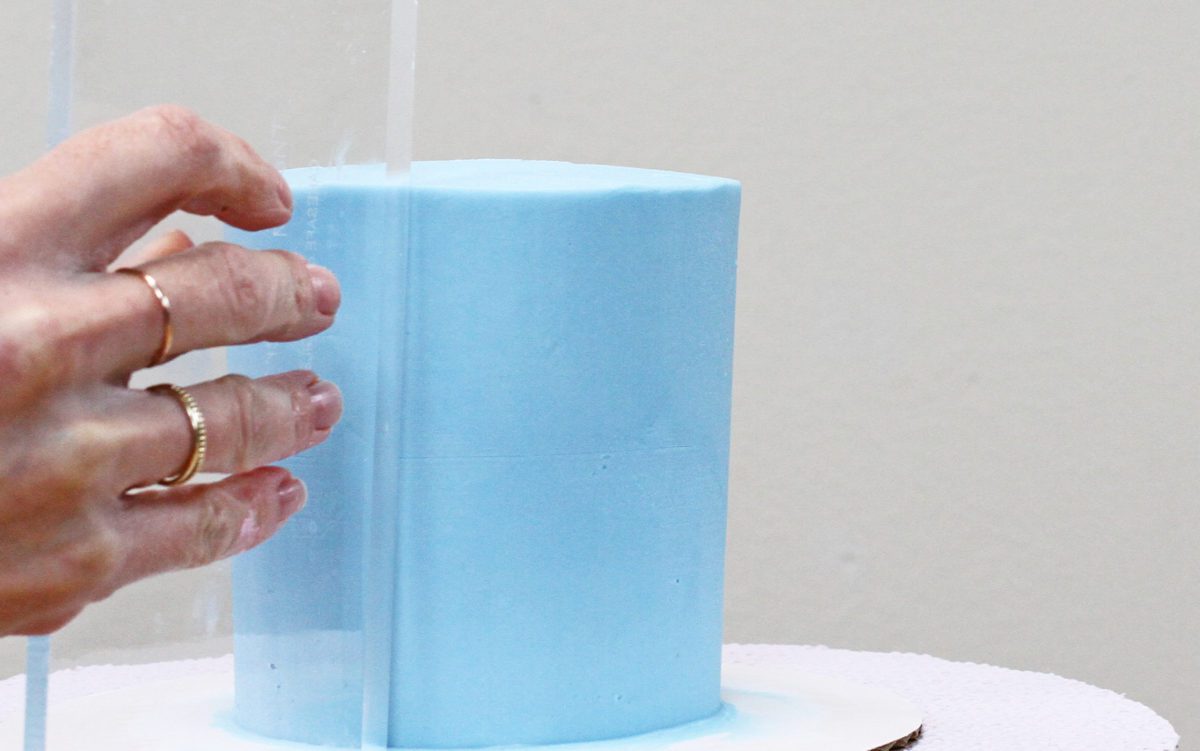
I’m going to share seven secrets to get perfectly smooth frosting on your cakes. The process begins much earlier than when you use your frosting smoother, so we’ll start at the very beginning. If you prefer to watch a video of this tutorial, scroll to the bottom of the page.
#1. Chill your cake layers
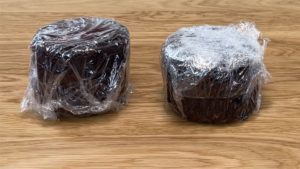
After I bake my cakes and let them cool, I level them and then wrap them in cling film or Saran Wrap. I put them in the fridge for at least 1 hour or in the freezer for at least 30 minutes. Now the layers will be firm and more stable as you assemble your cake.
#2. Attach your cake to a cake board
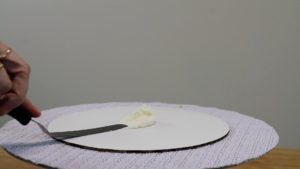
Pipe or spread a little bit of frosting on the middle of the cake board, which will act as glue to secure the cake there. This means it won’t slide around as you’re frosting it, which makes it impossible to smooth the frosting!
#3. Assemble a straight and level cake
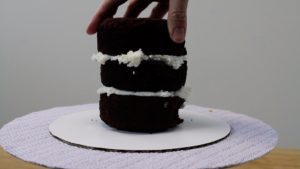
As you alternate between your cake and filling, assemble a straight cake by placing each layer directly above the previous layer, so the cake isn’t leaning to one side. By cutting any domed tops off your cake layers first, your layers will be level so your cake will be level. Your cake layers don’t have to be perfect because you’re going to cover them up with frosting but the sides of the cake do need to be straight.
#4. Have the right consistency of buttercream
Before you start frosting your cake, make sure you have the right consistency of frosting. For buttercream, like my 4 minute buttercream, it needs to be easy to stir and a spatula dragged through it should leave a smooth trail behind with no air pockets, which is what happens when buttercream is too stiff and it pulls away from itself.
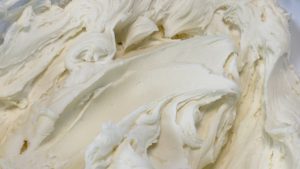
To learn how to make perfect buttercream every time and how to troubleshoot any issues like air bubbles, graininess, lumps, yellow buttercream, or melting buttercream, take my online course on the Basics of Buttercream, where you’ll also learn how to create absolutely any colour of buttercream!
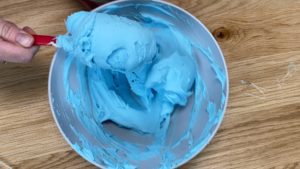
#5. Apply a crumb coat
For smooth frosting with no crumbs in it, start frosting your cake by applying a crumb coat. This is a thin layer of frosting that completely covers the cake from top to bottom to catch any crumbs that come off the cake and trap them in that layer of frosting, so that they don’t get into your final layer of frosting.
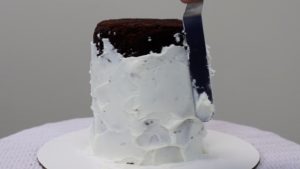
You need to let the crumb coat set before moving on to your final coat of frosting. Chilling your cake layers earlier makes them less wobbly and less crumbly, which is helpful when you’re frosting the cake.
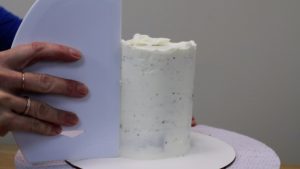
#6. Be generous with your frosting
The more frosting you spread onto the cake now, the easier it will be to smooth it next. You’re going to scrape a lot of it off, which you can use for touchups and for decorating like piping borders or swirls, or you can freeze it and use it for another cake.
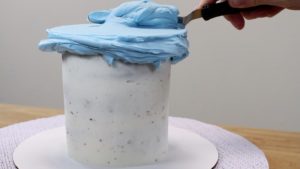
#7. Perfect your technique
Everyone’s technique is slightly different and yours will develop with practice. Personally, to scrape around the cake I reach as far as I can around the cake with one hand to spin the
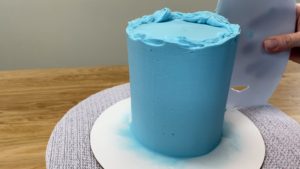
Then I spread more frosting over air pockets or indents in the frosting and smooth again and I do this several times until the frosting is nearly smooth. Then I move onto the top of the cake, using my
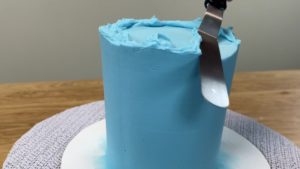
I wipe the
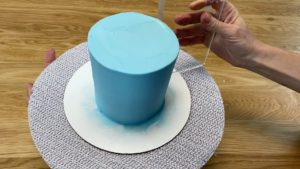
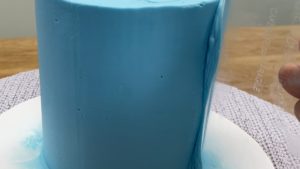
I switch to my acrylic frosting smoother for this final stage because it gives me the smoothest results – use the code BRITISHGIRLBAKES to get a discount on yours here! I finish by tidying up the top edge one last time, and then my frosting is smooth and ready to decorate!
If you’re looking for cake inspiration I have a free online course on 10 Frosting Techniques and LOTS of other courses on my online cake school. Join my Club for access to all of my online classes and live cake demonstrations for members only!
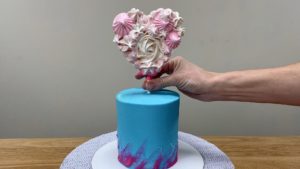
Here’s the video version of this tutorial:
