What are your biggest cake problems or cake FAQ? Broken cake layers, trying to undo a decorating mistake, air bubbles in your icing or frosting, leaning cakes, sloping cakes, bulges? In this tutorial I’ll share why these things happen AND how to fix them!
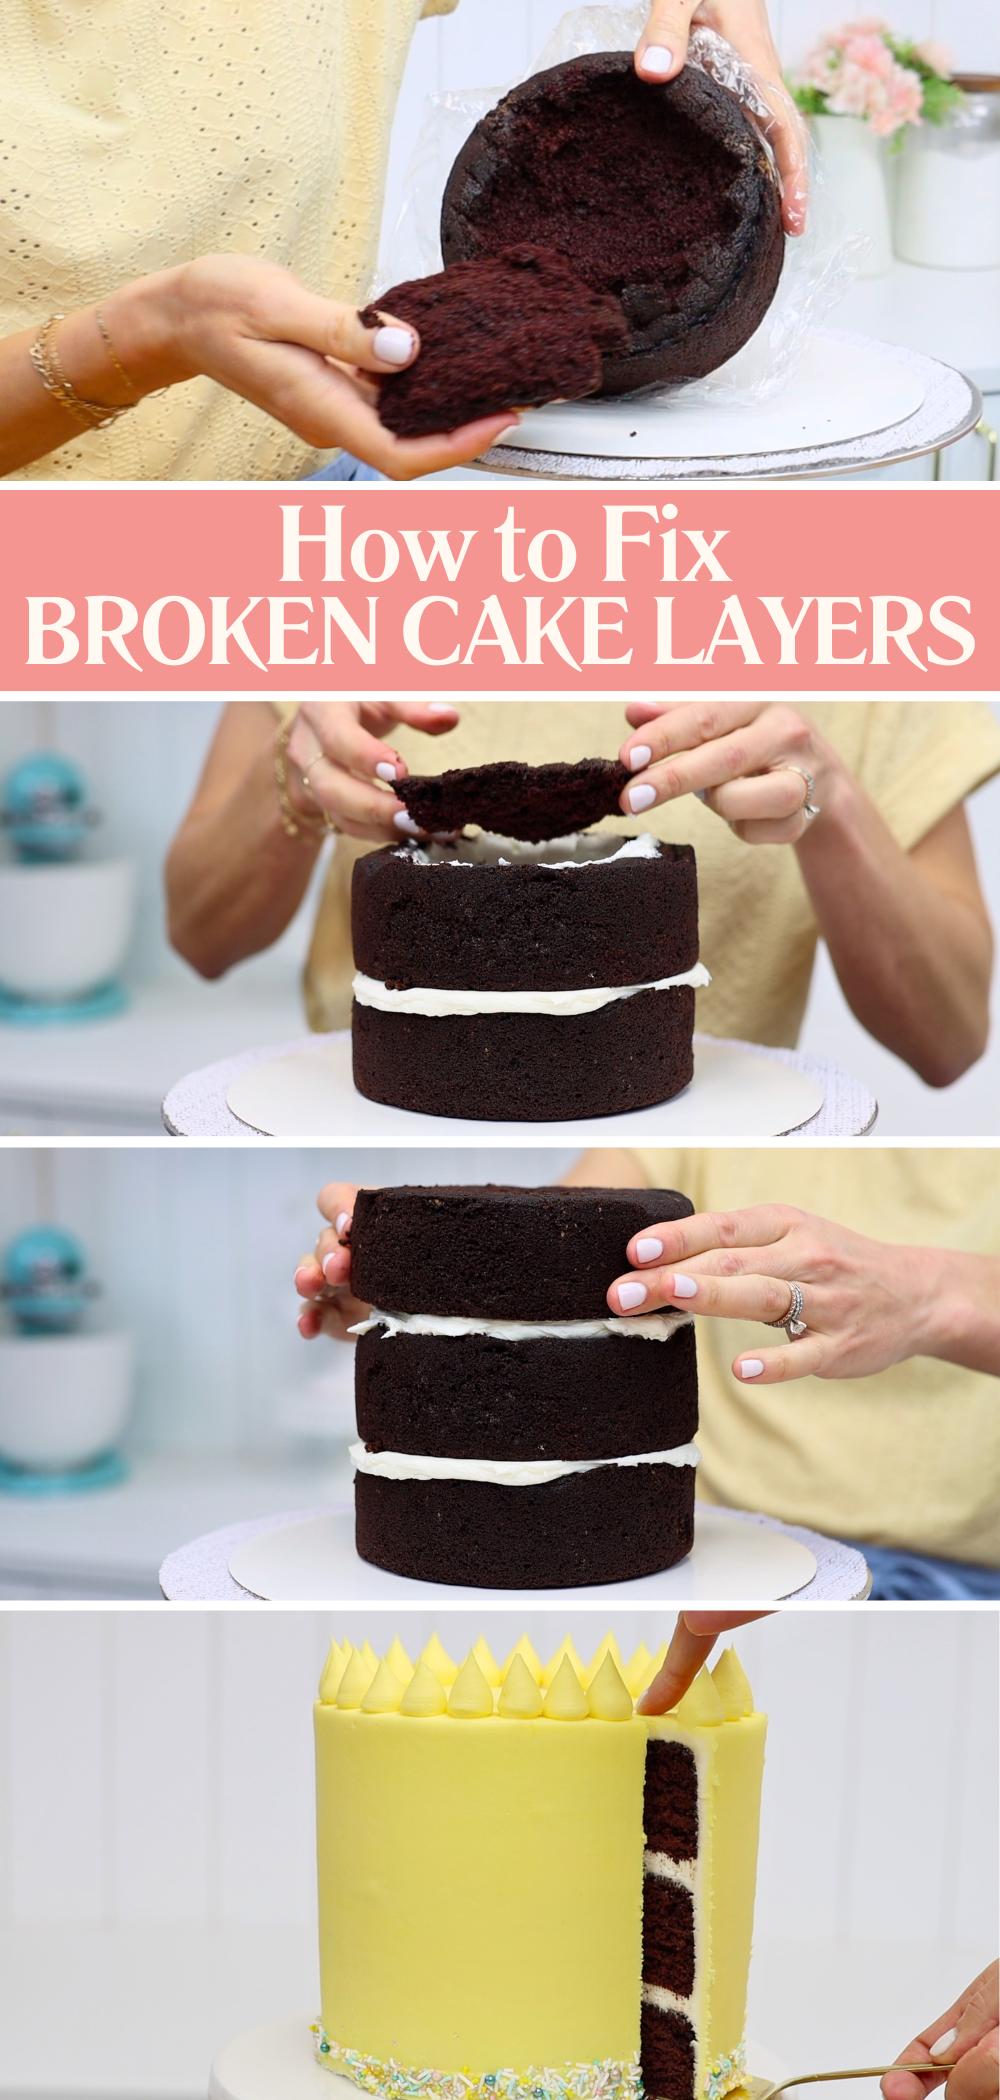
If a cake falls apart when you turn it out of the pan, don’t throw it away! Wrap it in cling film or Saran Wrap and put it into the fridge. As it chills, it gets less crumbly. Then when you put your cake together, use buttercream as glue to attach the broken pieces together. When this buttercream sets it will hold the layer firmly together. It's best to use the broken cake as a middle layer with the intact layers above and below it. That will keep the cake stable.
After frosting or icing the cake, and decorating it, you’d never know it was at one point broken! The buttercream will even hold the slices together when you serve the cake.
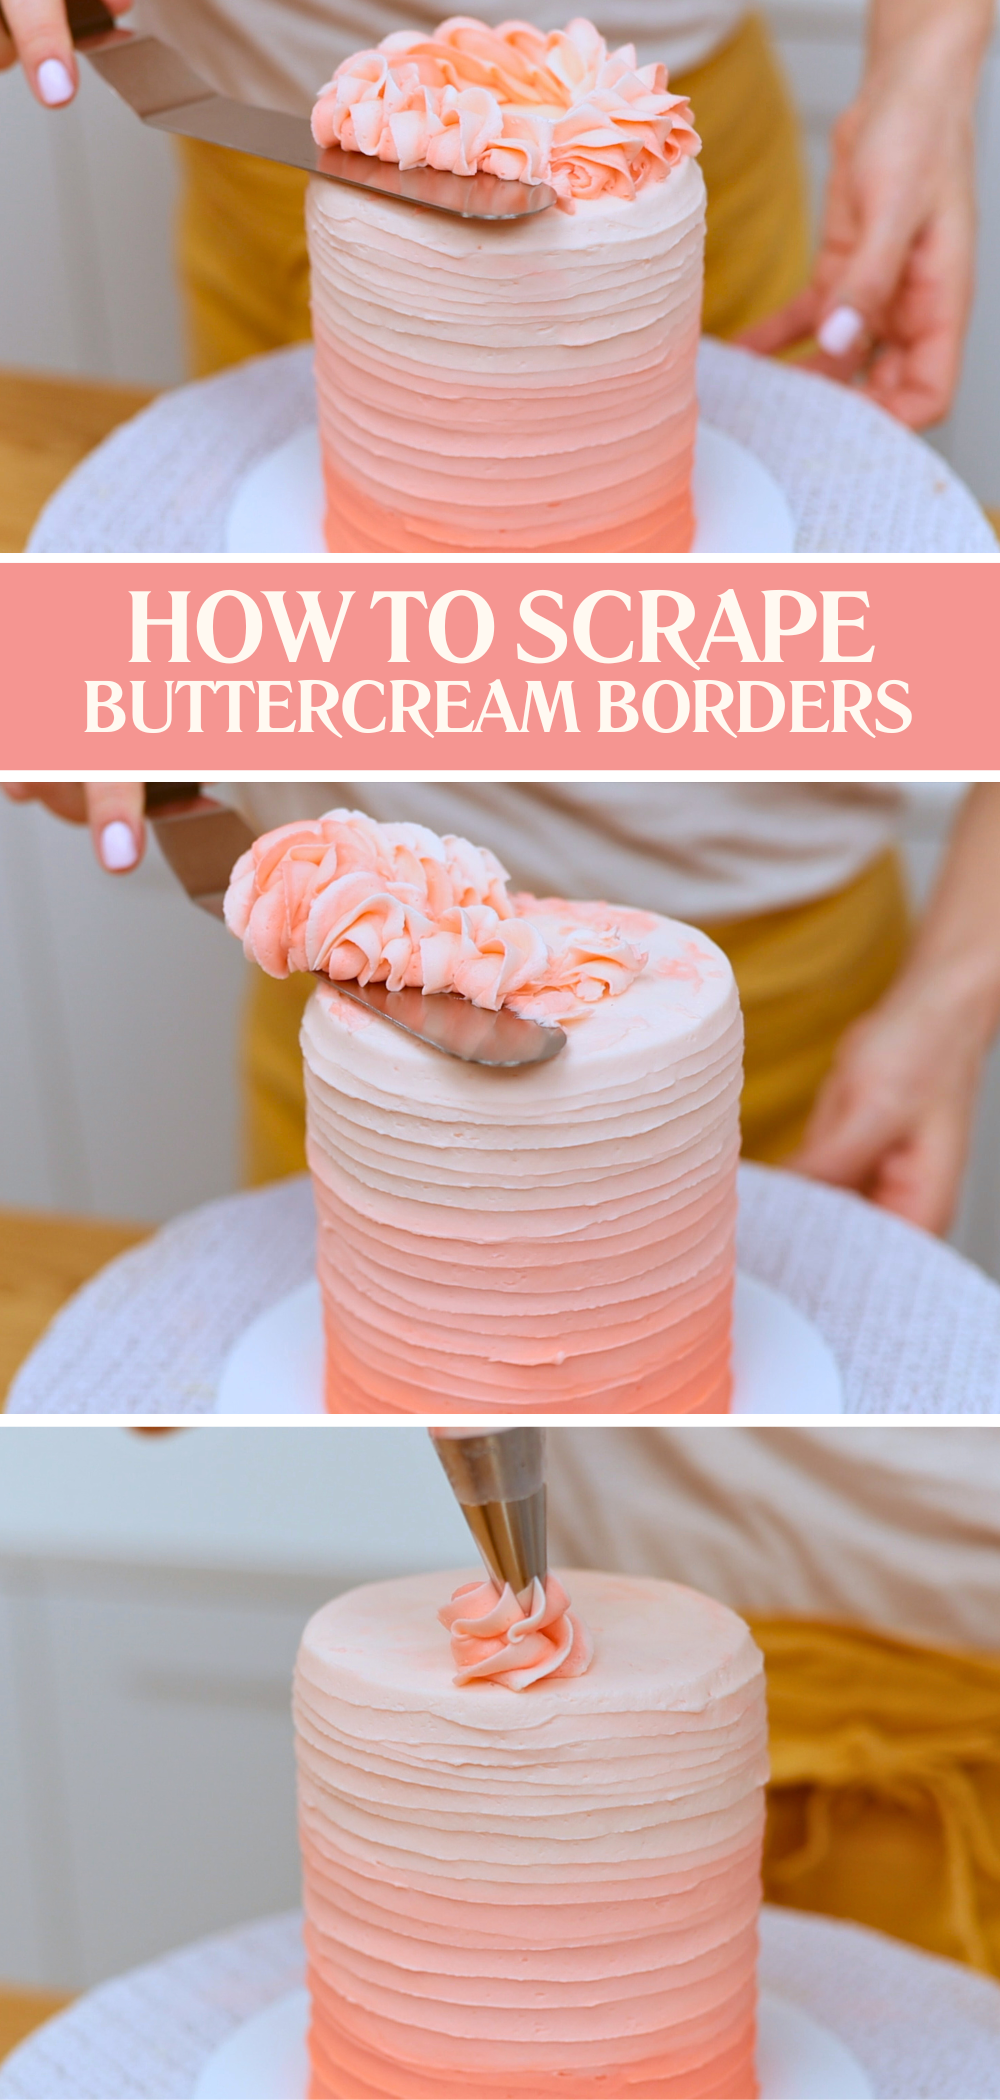
If you’re intimidated by piping you’ll love this next quick fix! Before piping onto a cake, always chill it in the fridge to set the frosting. This way, if you don’t like your piping you can scrape it off without damaging the frosting on the cake, since that buttercream is cold and firm and will hold its shape. Now you can pipe again, practicing the same technique again or try something different. Check out my tutorial on 15 Piping Hacks for more tips and tricks!
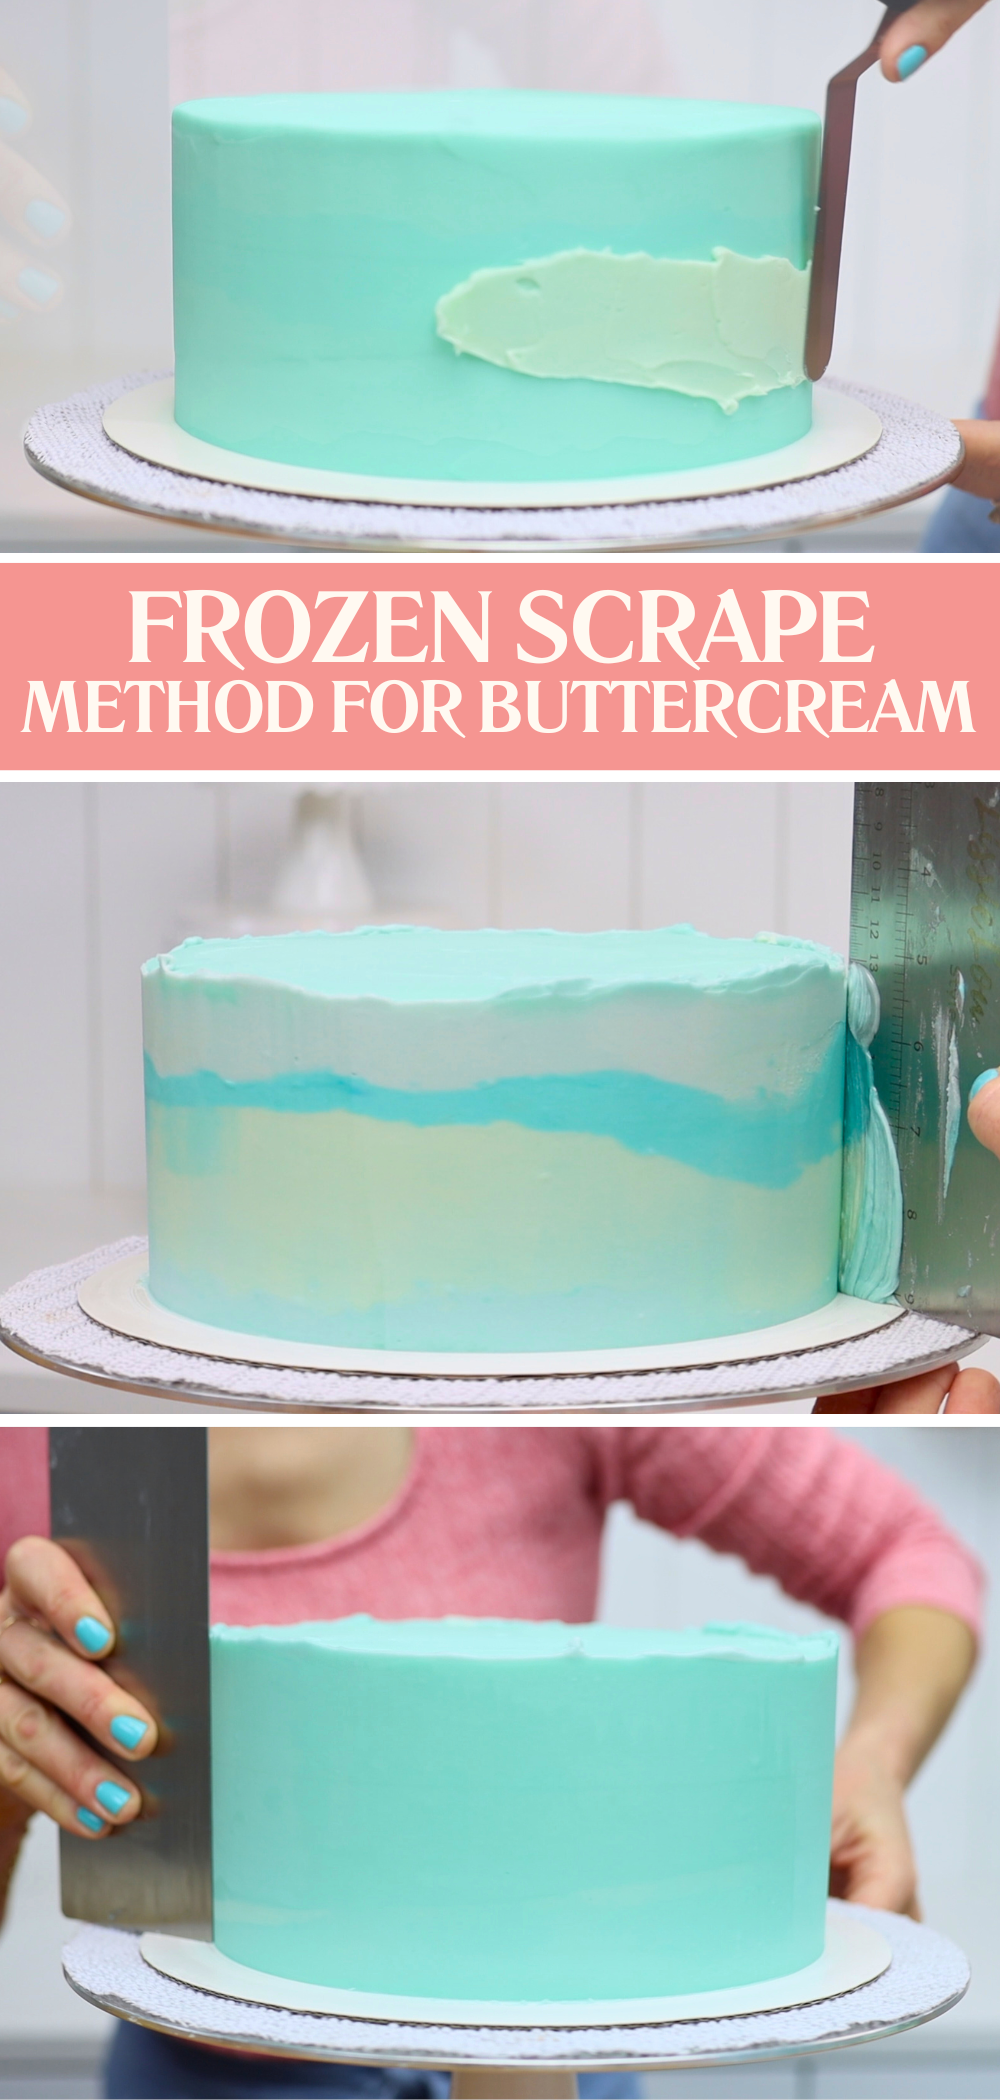
You can scrape decorations off the sides of a cake, too. By chilling the frosted cake before decorating it, the frosting will be cold and firm and will hold its shape. If you decide you don’t like your decorations you can scrape them off straight away, while they’re still soft, without damaging the cold, firm buttercream frosting underneath. For the easiest scraping, dip a metal cake comb into hot water or warm it with a blowtorch or hair dryer. The warm metal will scrape the soft buttercream off effortlessly!
Next, here are three ways to get rid of air bubbles in your buttercream. I'm using my 4 Minute Buttercream here and that's what I use for all of my cakes.
The first way to remove air bubbles is to stir buttercream quite aggressively in the bowl. Knock your spatula against the sides of the bowl to push any air out of the buttercream.
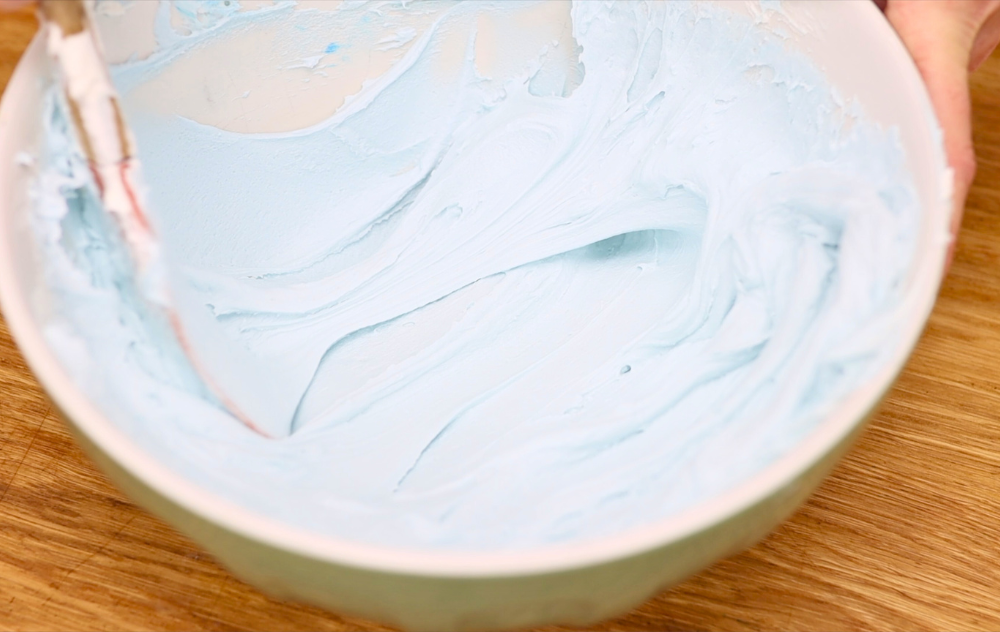
Next, the second way is to scoop out about a third of the buttercream and microwave it for 10 seconds. Stir this melted buttercream back into the main bowl of frosting. As it mixes with the room temperature buttercream it will create the perfect consistency for spreading and smoothing it onto a cake. AND it will get rid of any stubborn air bubbles!
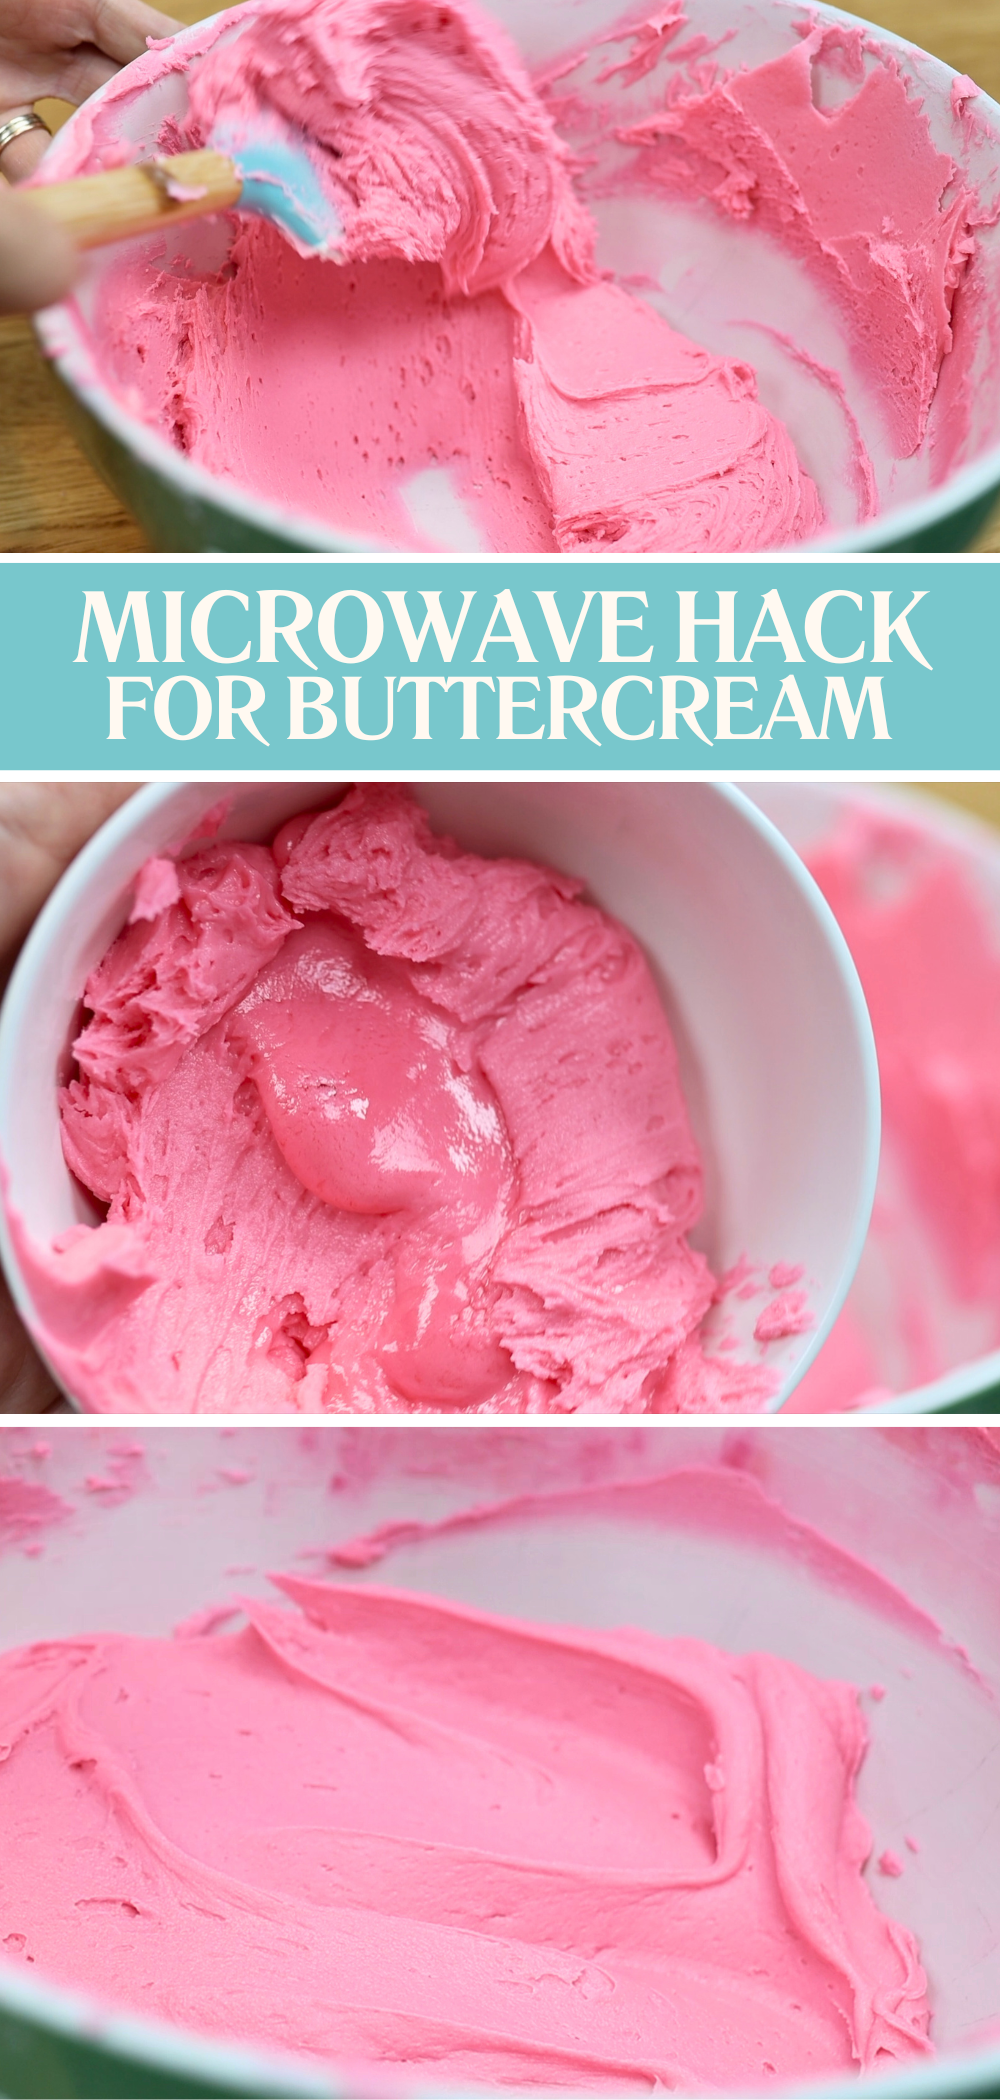
If you notice air bubbles appear as you smooth the frosting on your cake, use this third way to get rid of them. Heat the edge of your cake comb with a blowtorch or hair dryer or hot water. Rub it with a towel or paper towel and pinch it to check it’s warm, not hot. Then scrape around your cake. The warm metal will glide over the surface of the buttercream, dragging it around the cake to fill in any air bubbles or shallow indents or imperfections. The result will be impossibly smooth buttercream! This tutorial on smooth frosting has more tips on the technique for smooth frosting.
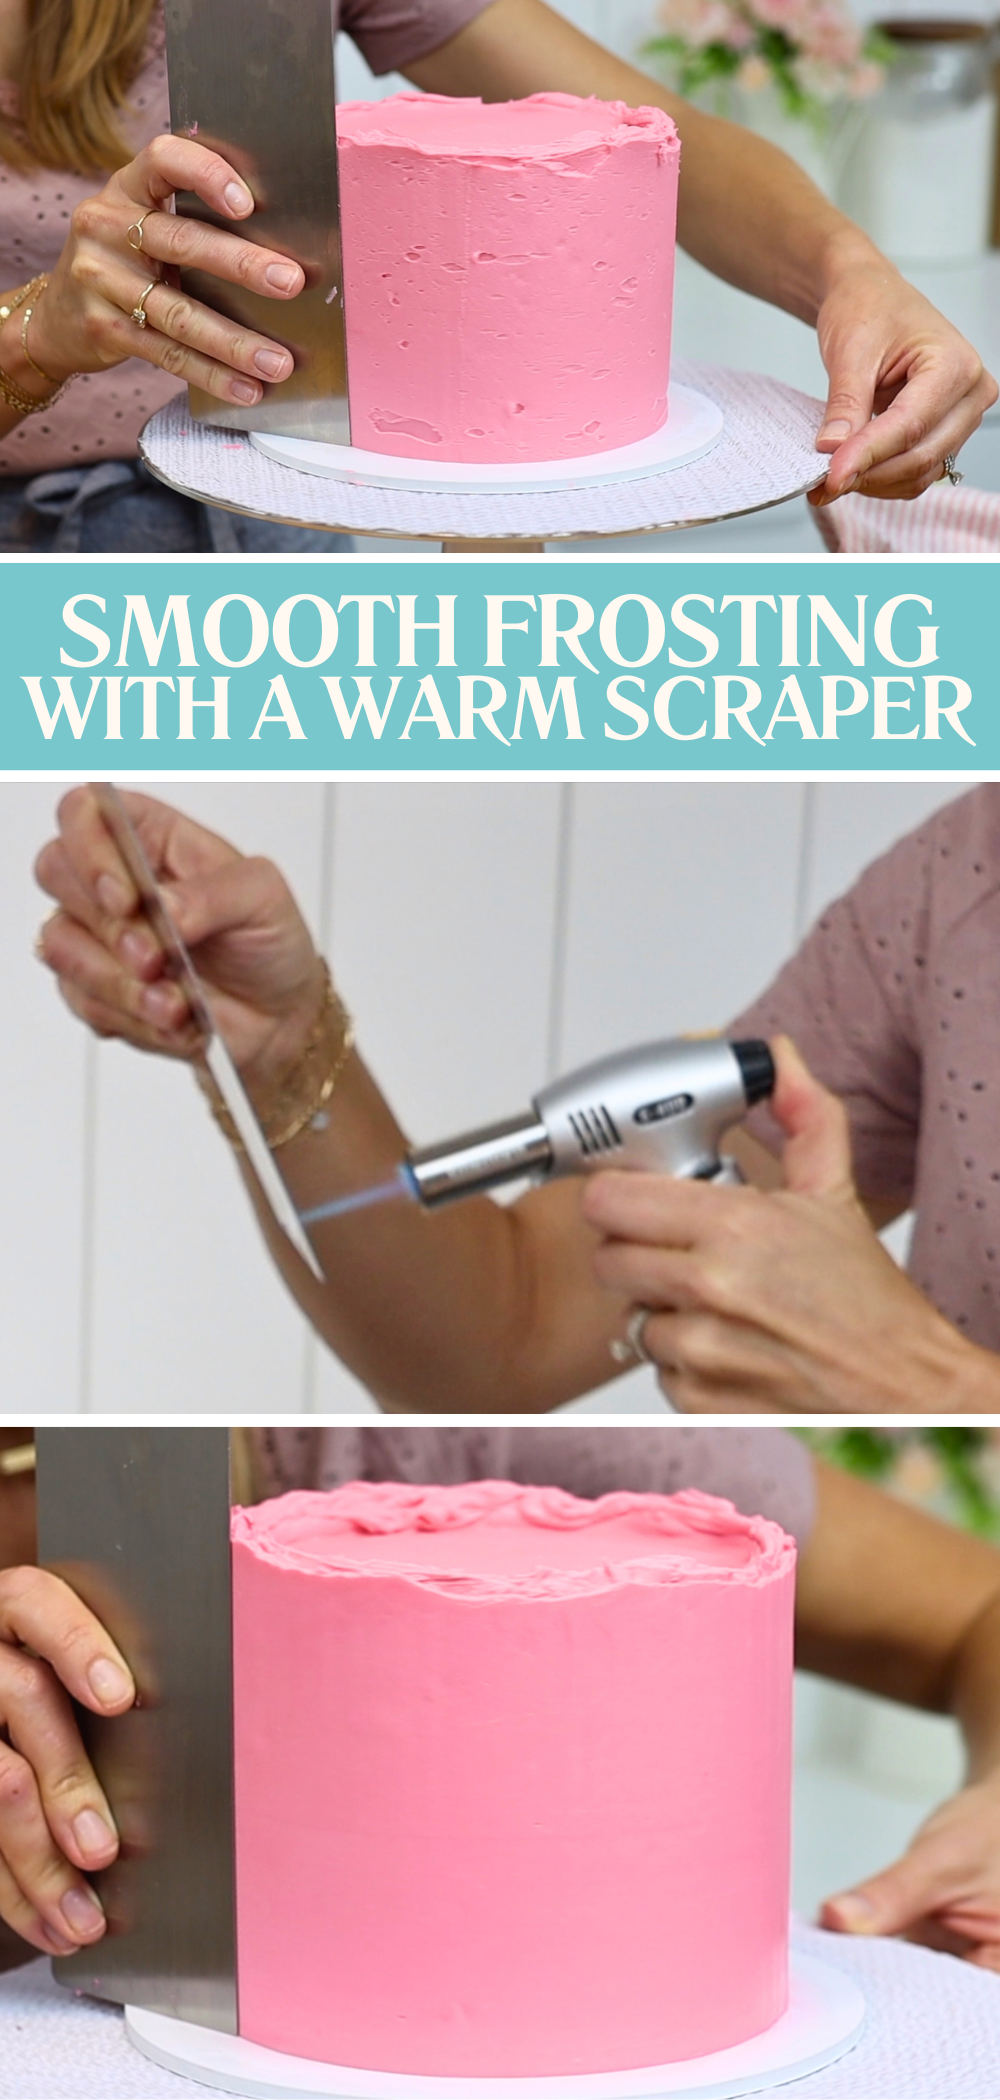
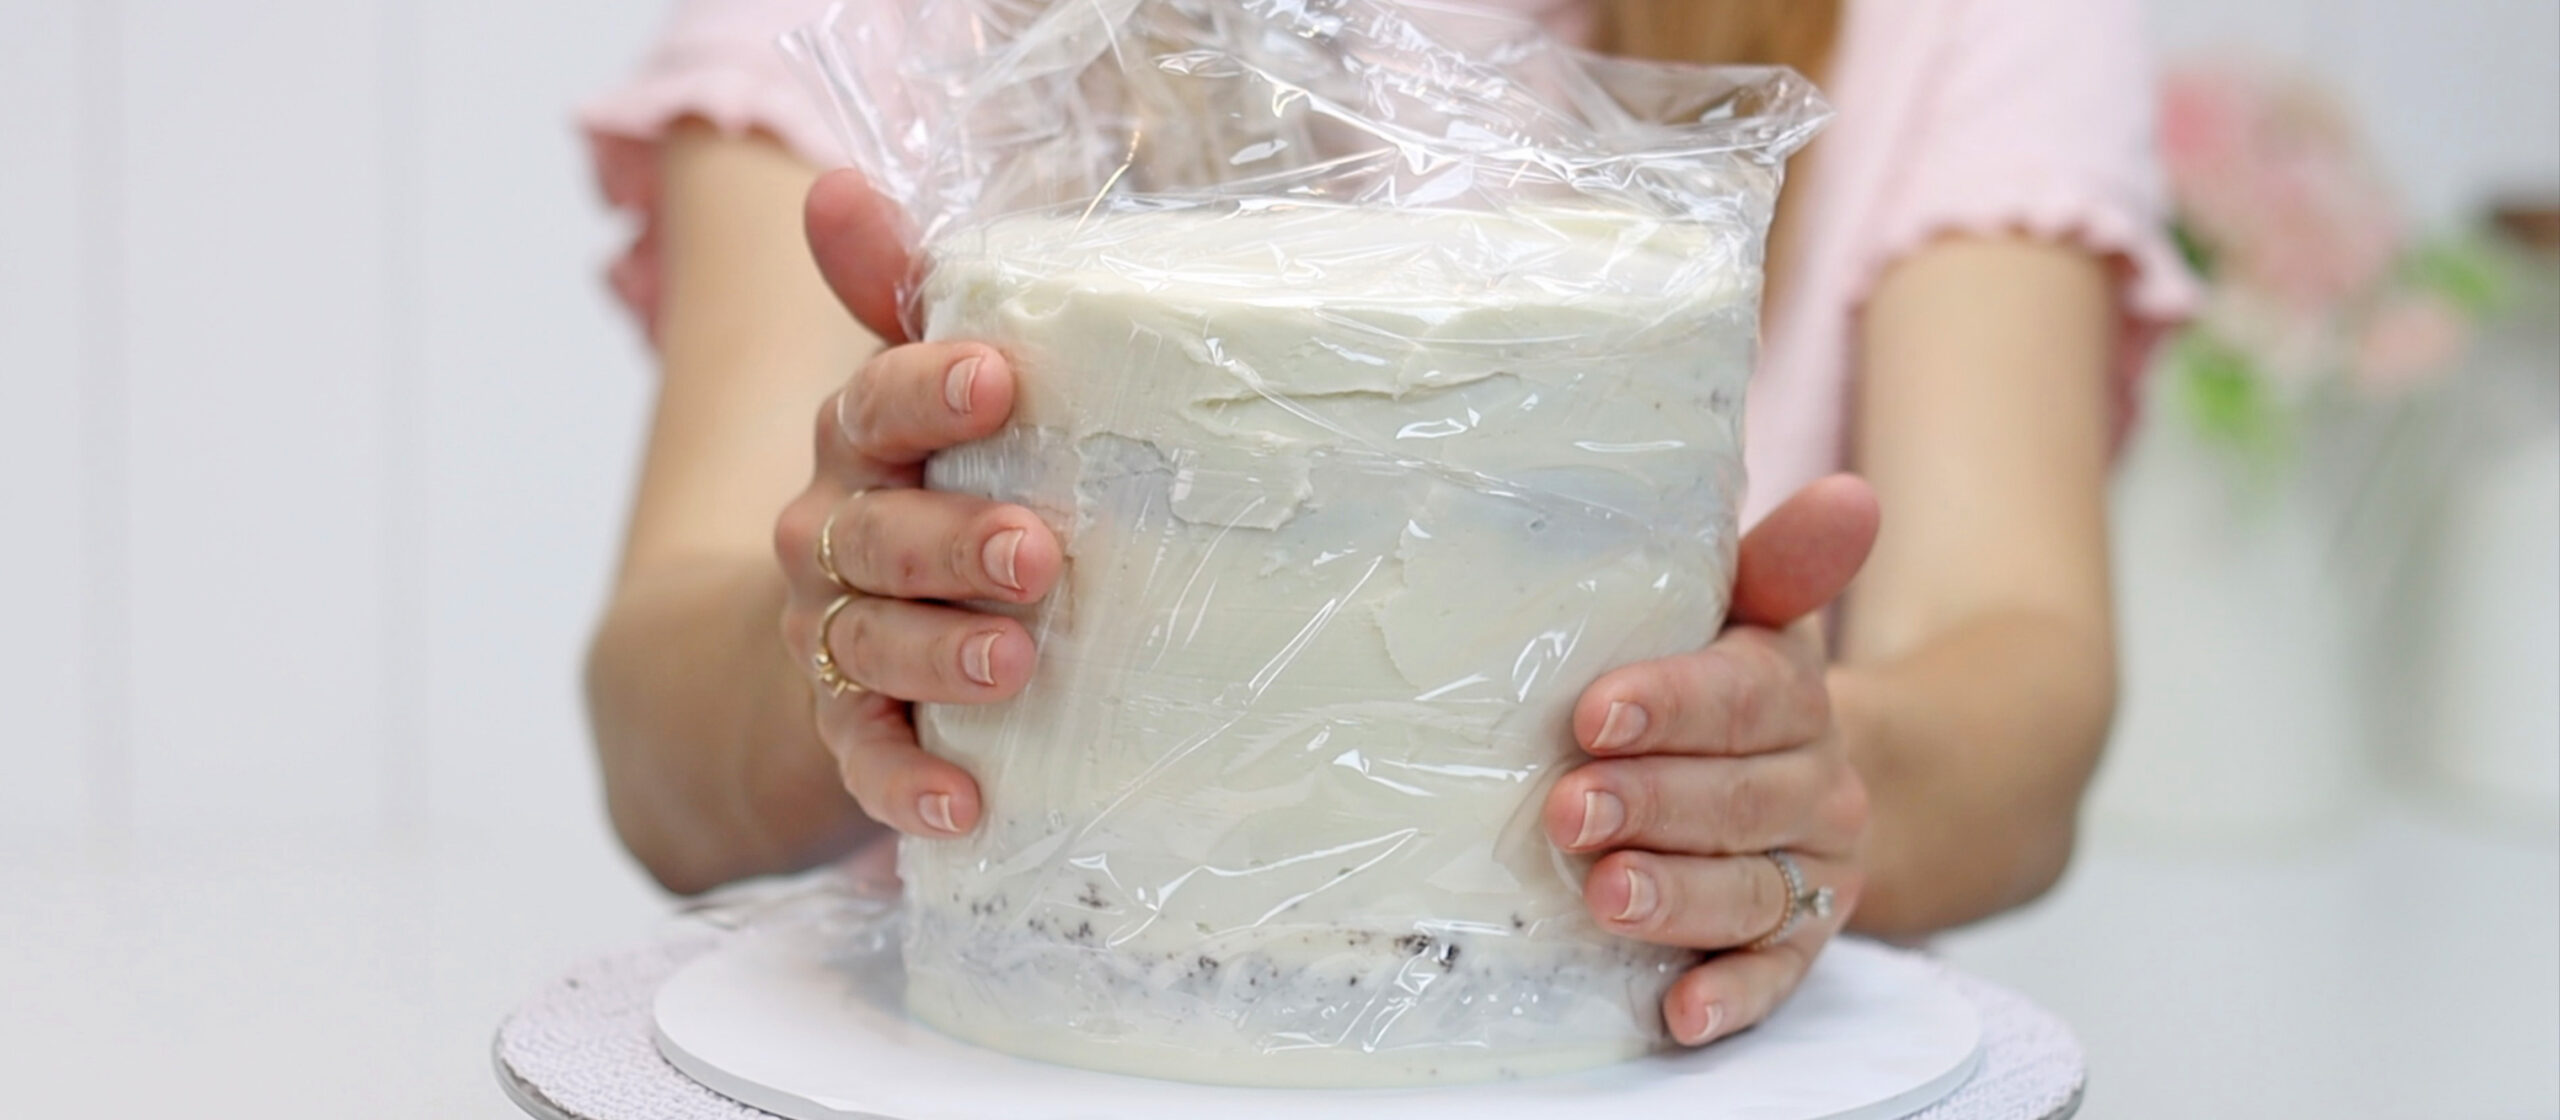
Leaning cake? Here’s a quick hack to straighten it. Wrap the cake in cling film or Saran Wrap and then push against the lean to center all of the cake layers on the cake board. Now put the cake into the fridge to set the filling and frosting. Once chilled, the buttercream will hold the cake in its new, straight, position. When the frosting is cold it will be firm, not sticky, so now you can peel the plastic off without pulling the buttercream with it!
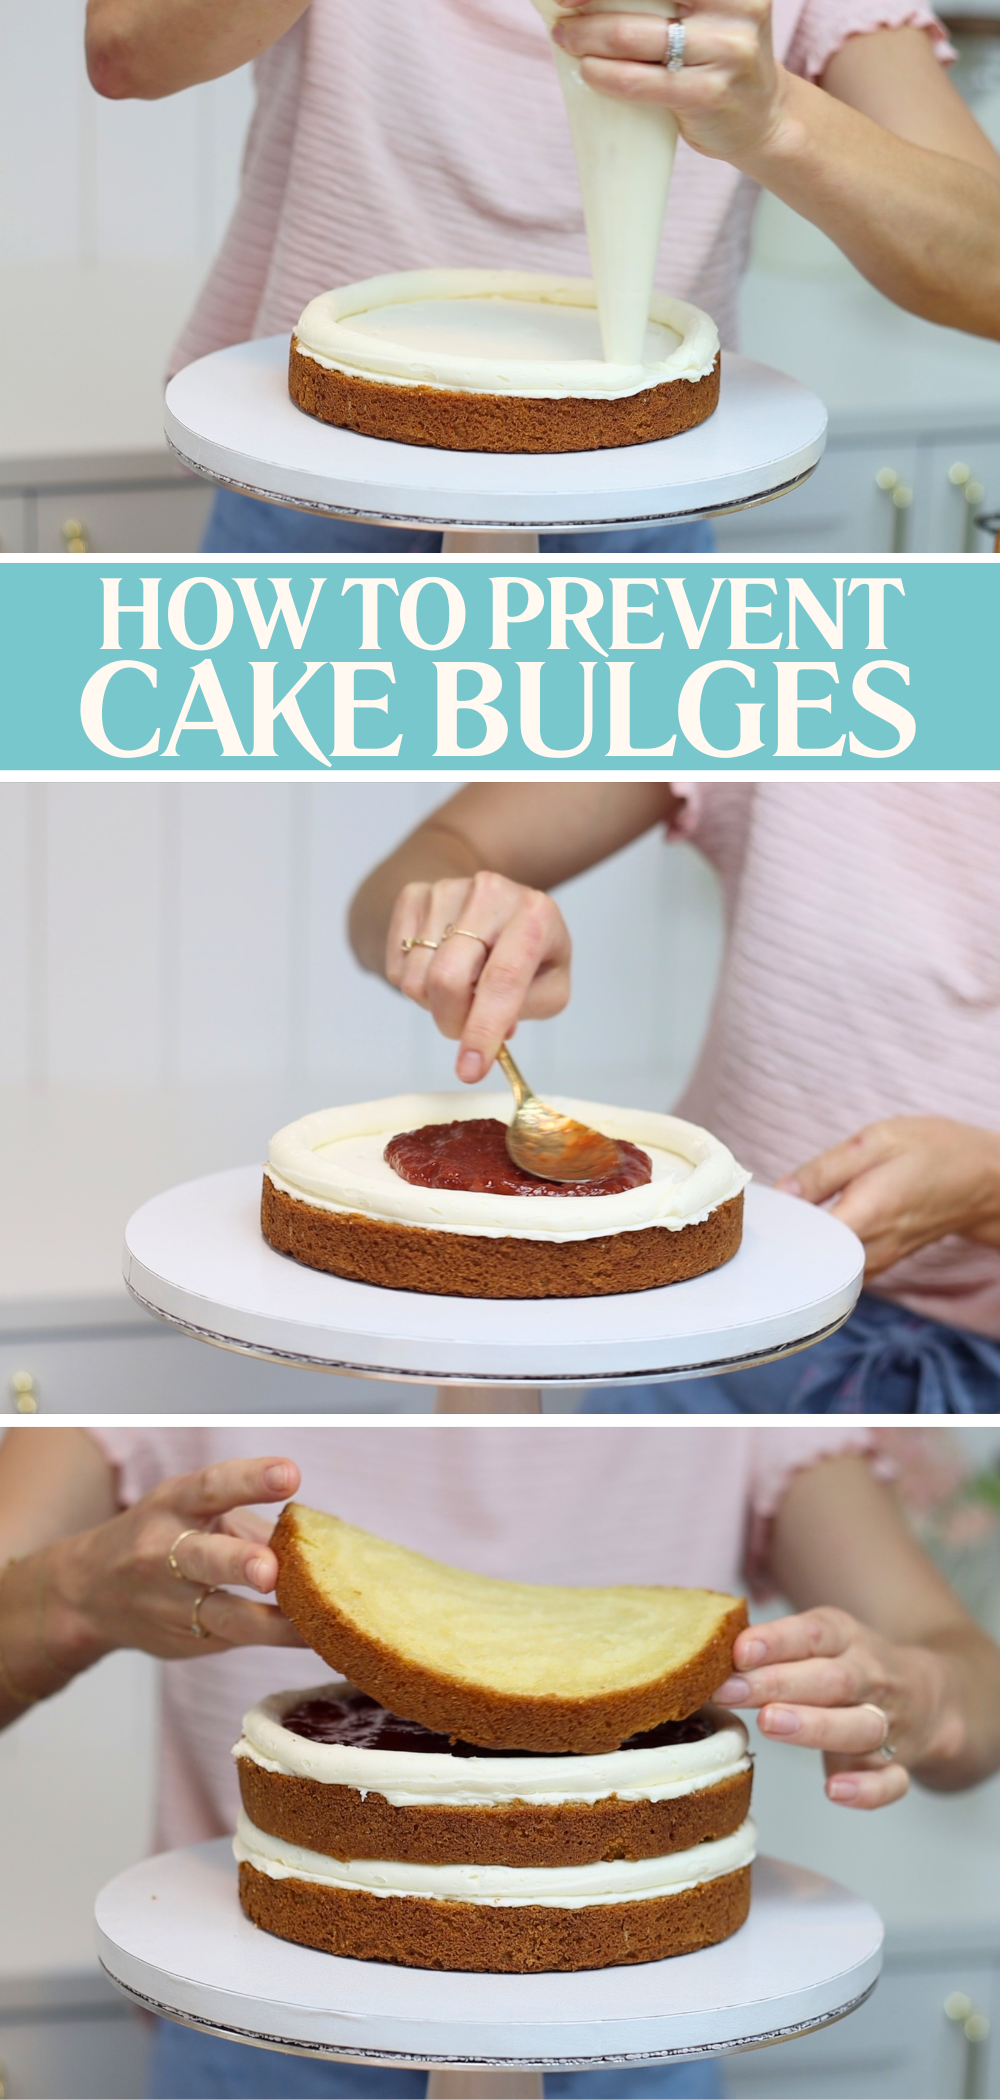
If you can see a cake’s filling bulging out through the frosting it’s because the filling is too runny and the weight of the upper layers of cake is pushing it out.
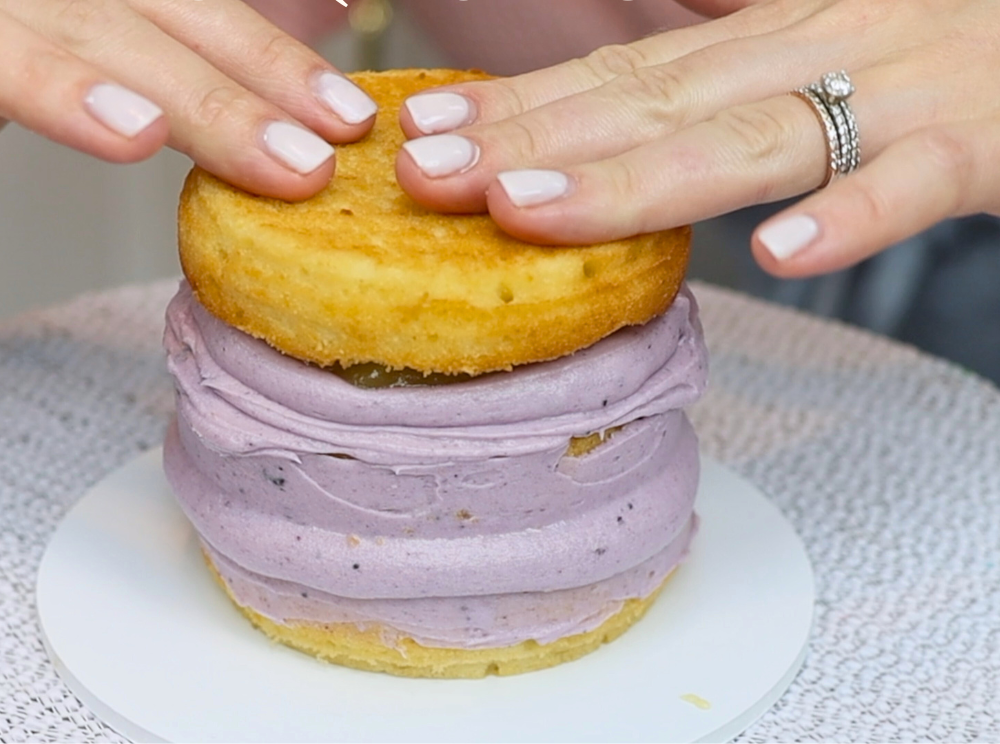
For runny fillings like jam or caramel or lemon curd you need what’s called a buttercream dam. This is simply a ring of buttercream piped around the edge of each cake layer. It acts as a wall to hold the runny filling in, so it doesn’t ooze out.
After you’ve assembled your cake, put it in the fridge to set the buttercream dams. When they get firm they'll secure the cake layers in place. Now you can frost the cake and as you spread and smooth the frosting, the filling will stay where it’s supposed to and you shouldn’t see any bulges in the sides of the cake.
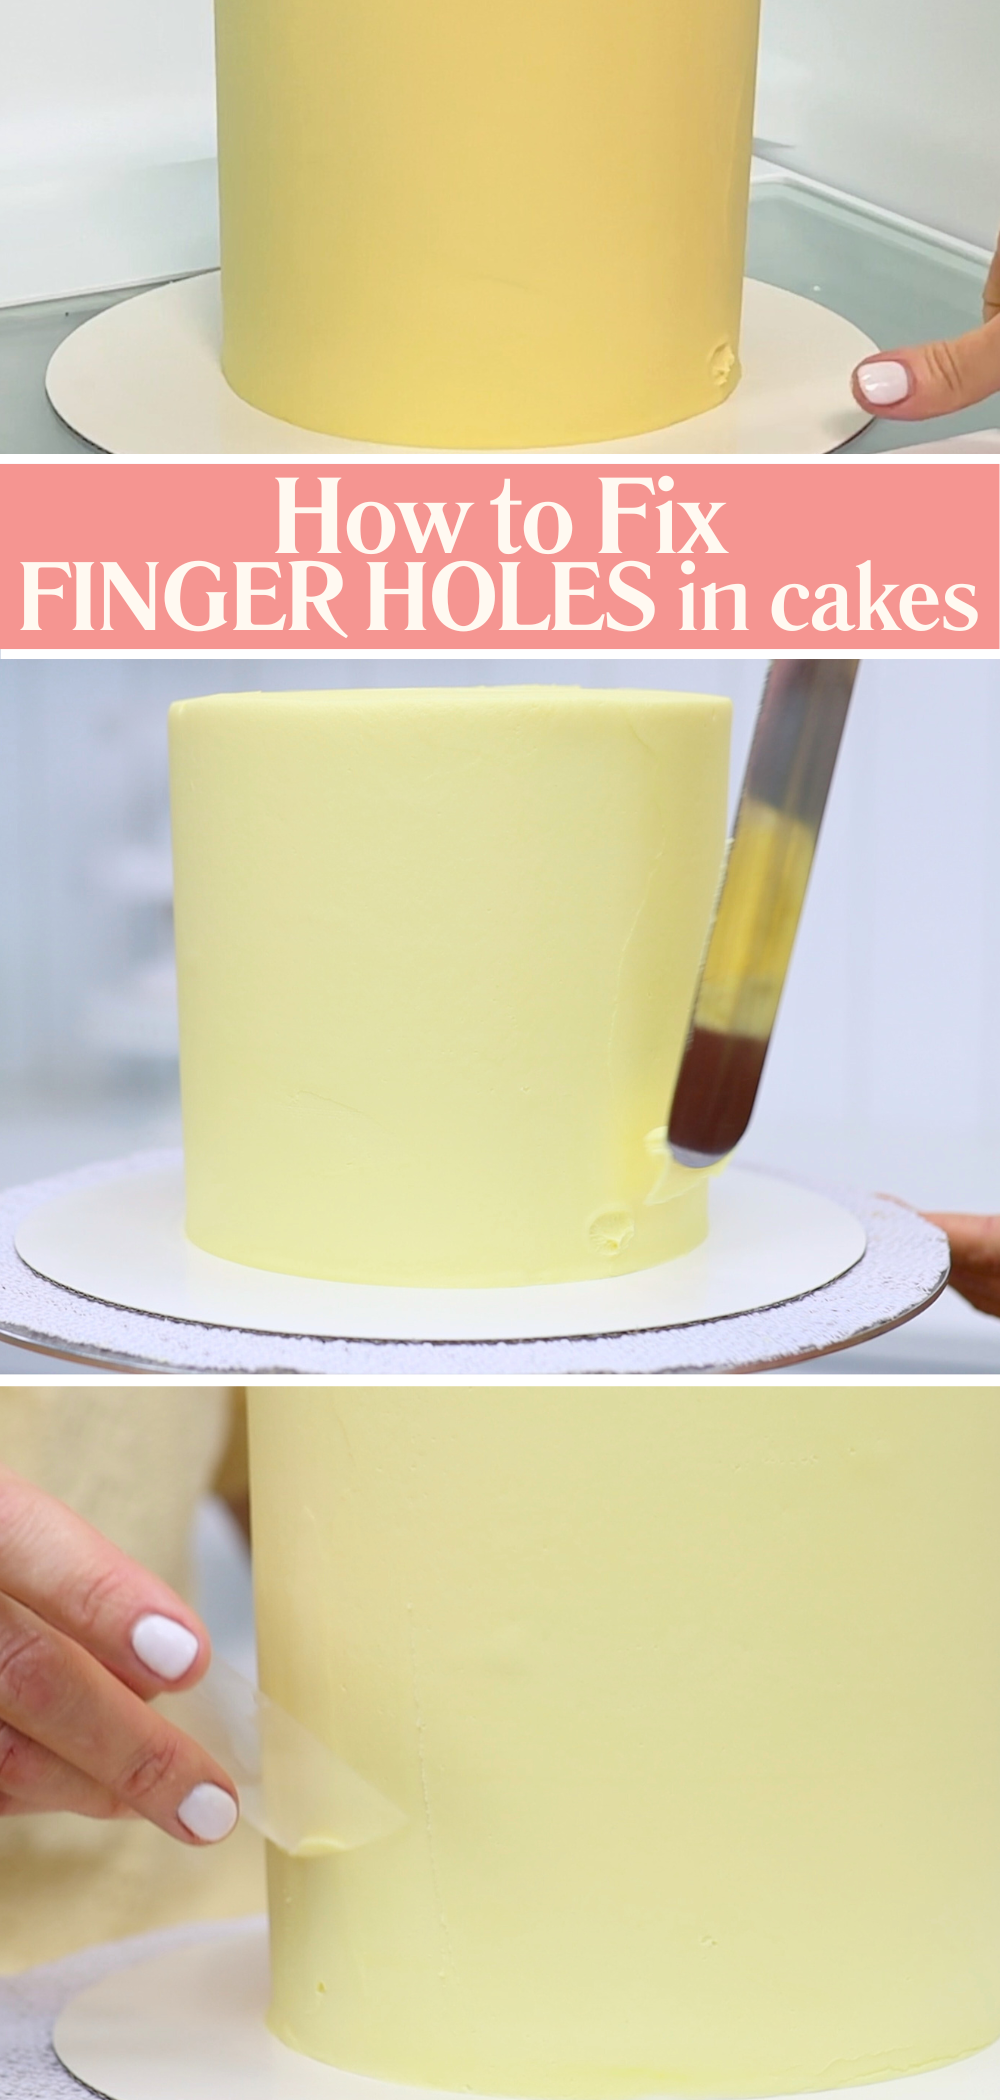
After taking all the time and effort to smooth your frosting, this has probably happened to all of us - poking a finger into the frosting or knocking the cake against something else. Don’t panic, this is easy to fix whether the frosting has set or not. Just spread a bit more buttercream over the wound and instead of smoothing it with your spatula or a cake comb, use a little piece of acetate. This is flexible plastic that will curve around the cake to match the curve of the frosting. It will smooth this new buttercream without damaging the frosting that’s already on the cake.
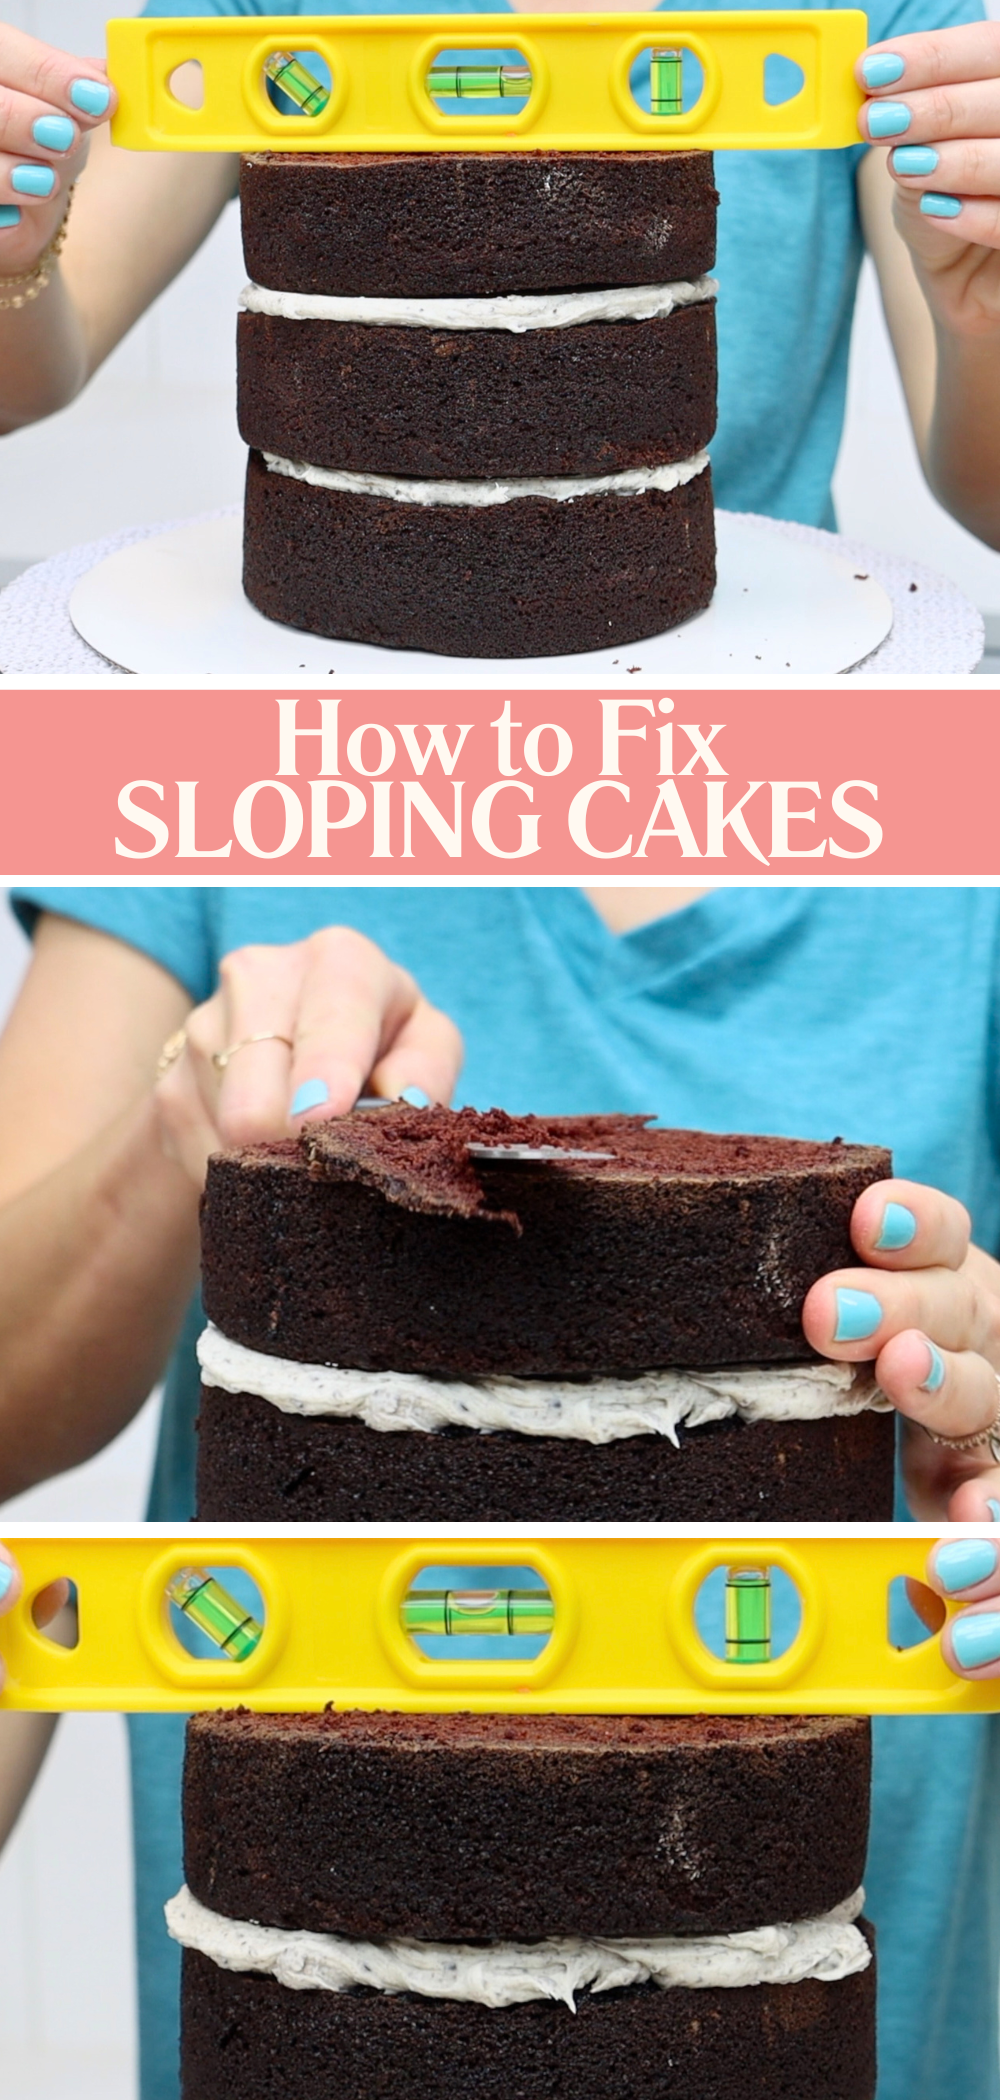
After filling and layering your cake, if you notice the top is sloping it’s not too late to fix it! A spirit level is useful to show you if it really is sloping. Use a serrated knife like a bread knife to trim off the top and then check with a spirit level if you’ve corrected the slope. If the bubble is in the middle, the cake is level! Now you can frost and decorate your straight, level cake! This is my Oreo Chocolate Cake - yum!
I hope these hacks have answered your cake FAQ and will help you fix these common cake challenges. To learns hundreds more cake decorating techniques and designs and practical tips and tricks visit my cake school and join my All You Can Cake membership for access to EVERYTHING on my cake school! Start a free 7 day trial to try it out - I'm that confident you’ll love it!
Watch a video of this tutorial on 8 Cake FAQ:
