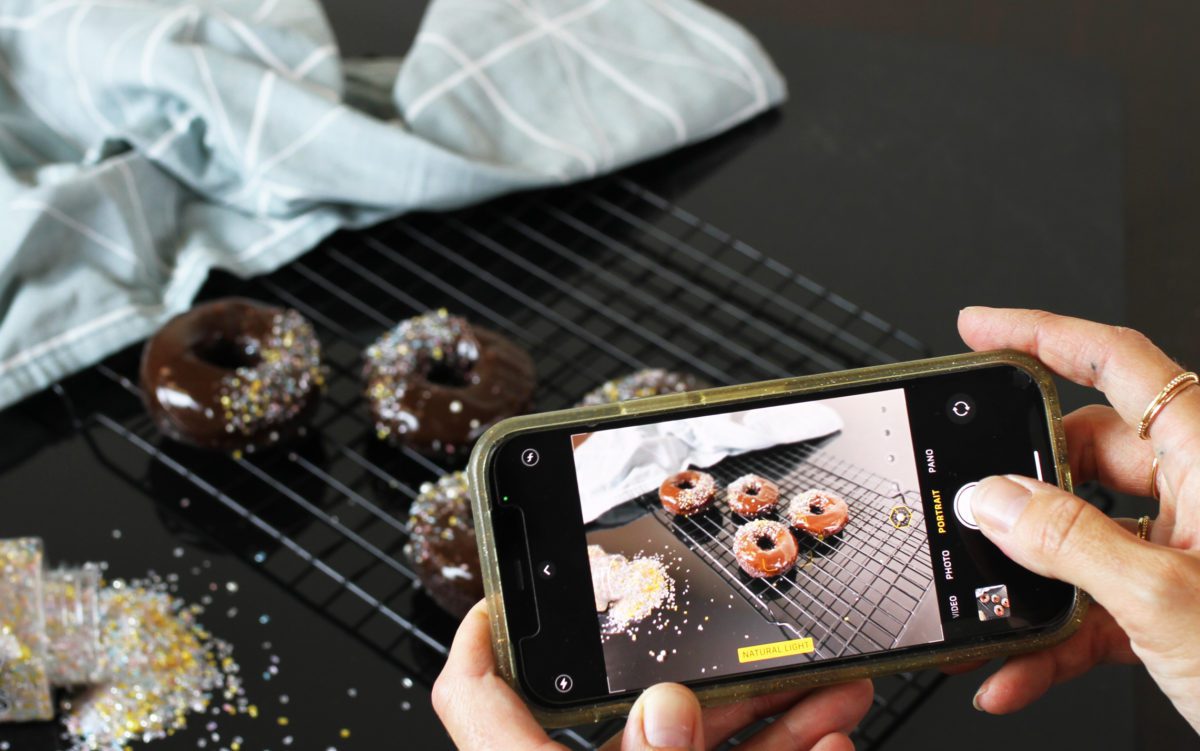
I’m excited to share these nine tips with you so you can dramatically improve your cake photos, or any food photography!
If you prefer to watch a video of this tutorial, scroll to the bottom of the page.
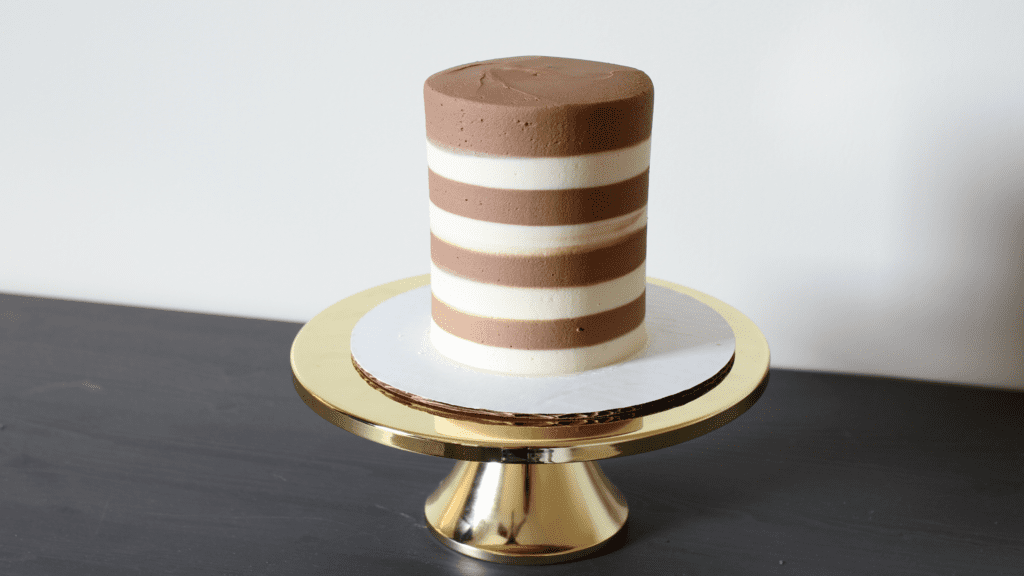
#1 Let’s start with the cheapest, easiest background option: a piece of paper! Place it flat, put your cake or other food up at the front edge of one of the long sides, and use a box or something tall like a cake caddy to prop the back of the paper up.
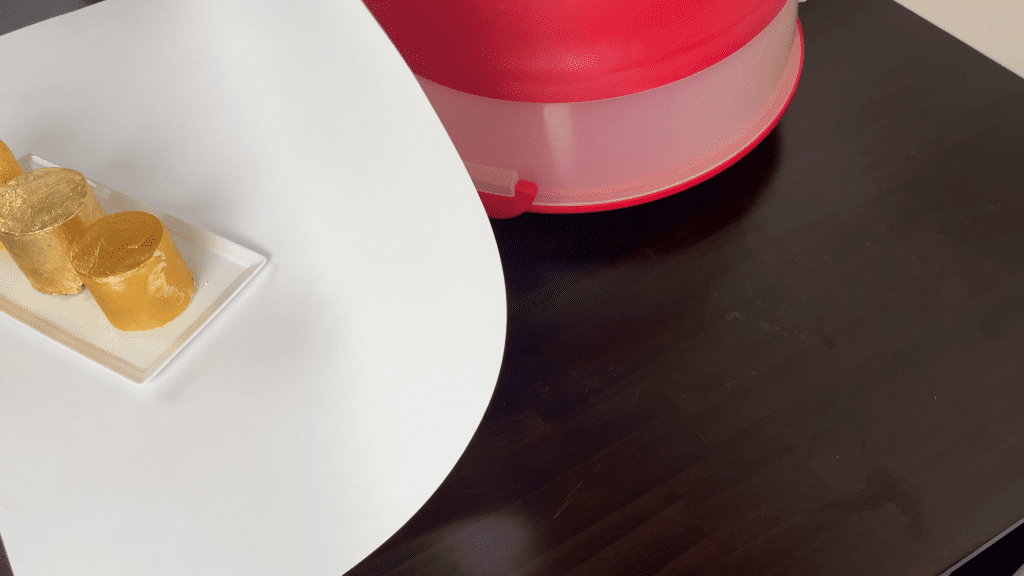
You’ll have a uniform background with no seam or join or distractions, so there’s nowhere to look other than at your cake!
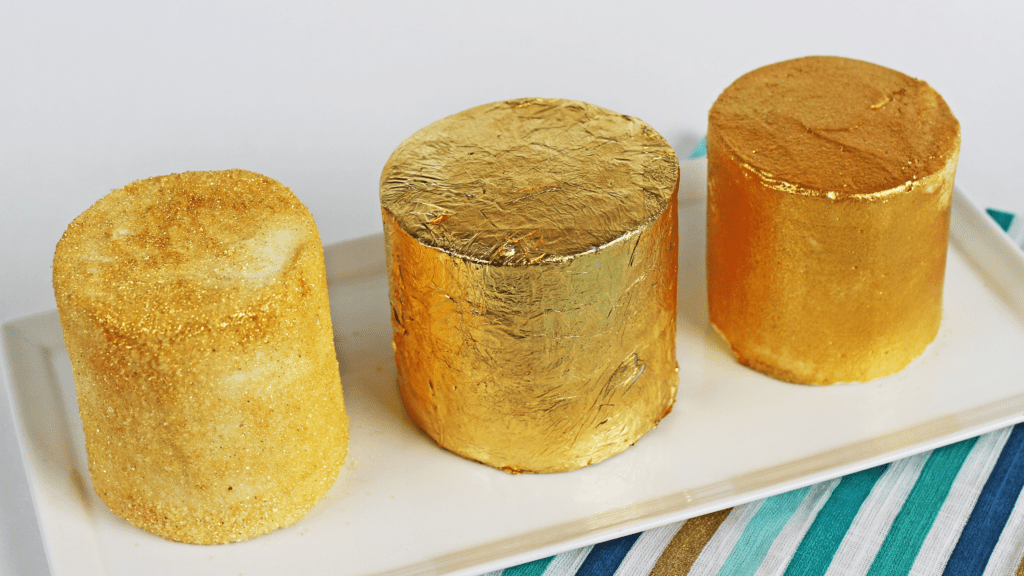
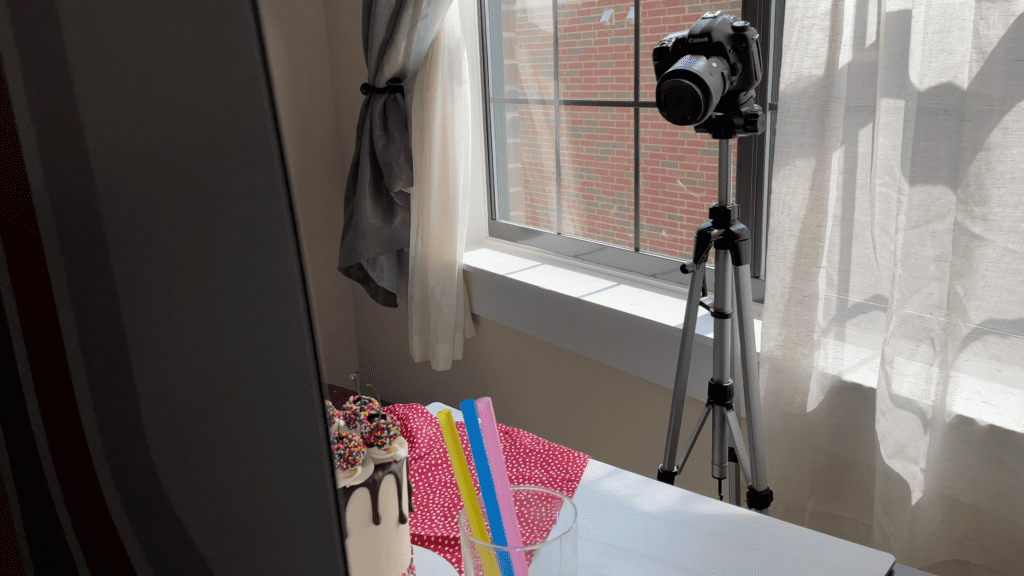
#2 The most important aspect of photos is lighting. Good lighting can really make or break a photo. For a free option, use natural light but avoid direct sunlight, which can cause unwanted shadows.
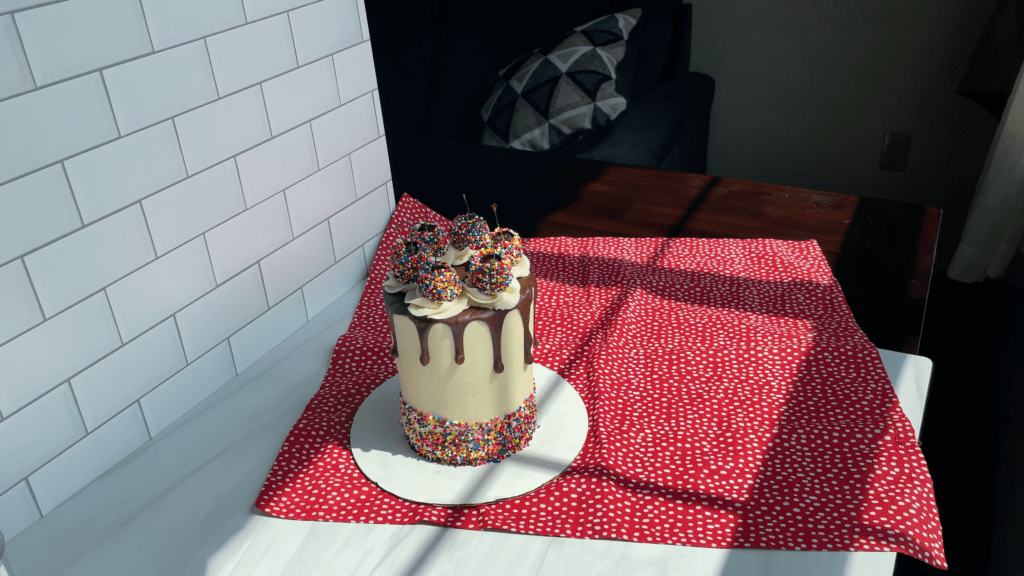
Instead, pull your setup so that sunlight doesn’t shine directly on it, or arrange your setup at an angle to block direct light and that way you won’t have to deal with shadows.
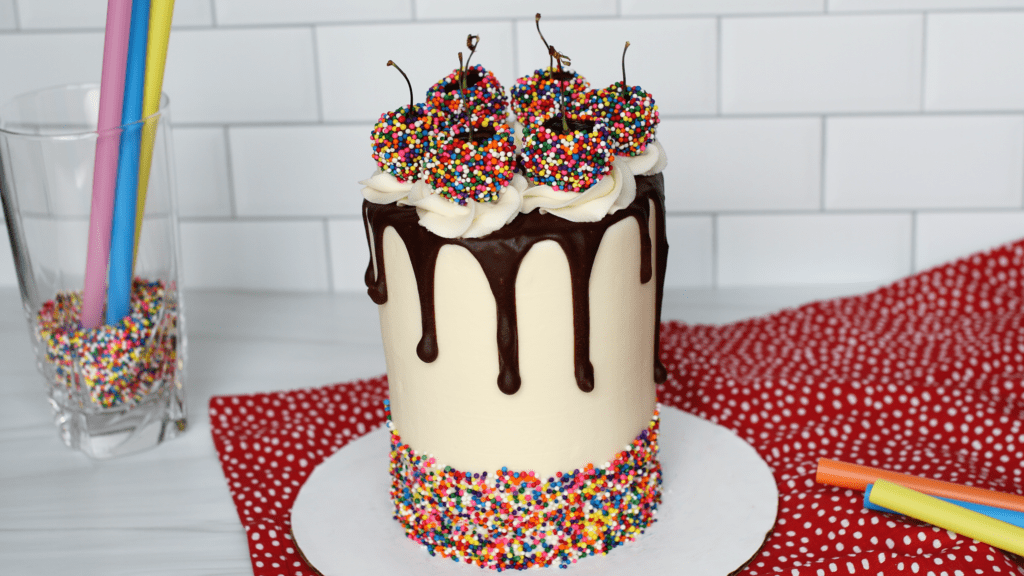
#3 If you want more control over your lighting, umbrella lights are really cheap, less than $50 for a set, and you’ll be able to create perfect lighting at any time of day, with no shadows.
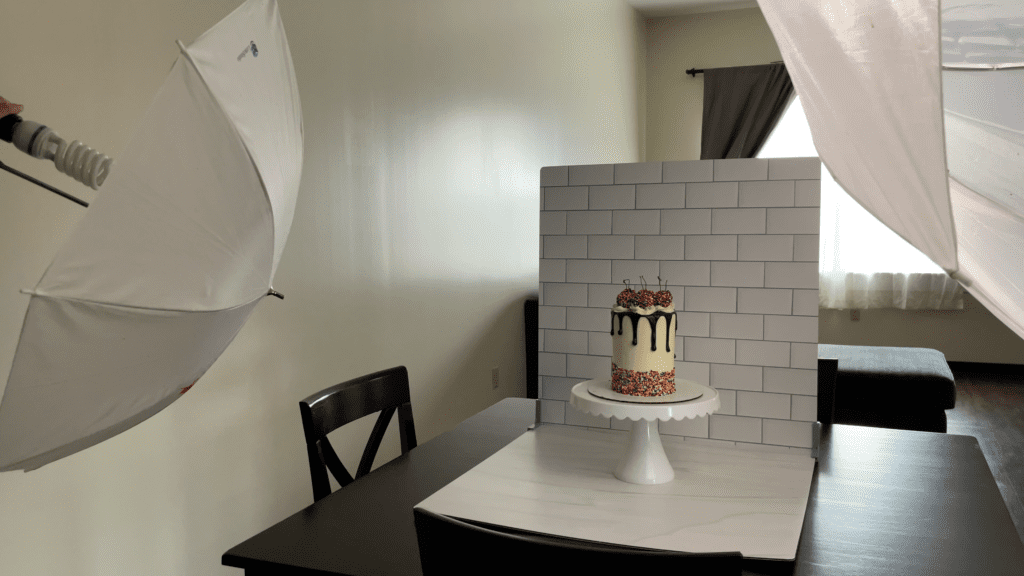
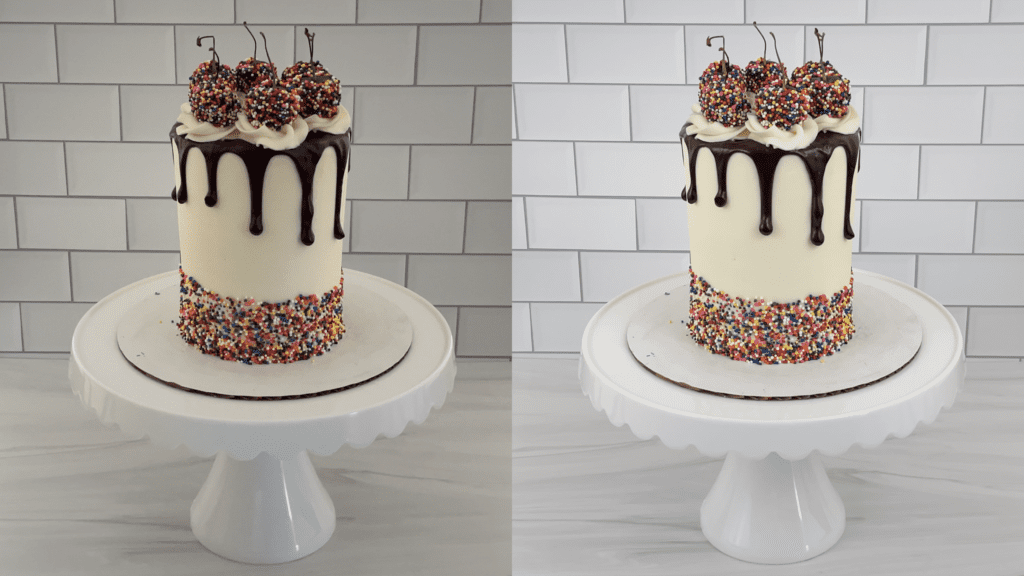
Look at the difference between the cake on the left, with natural light, and the right, using two umbrella lights.
#4 A photo of a pretty cake with a nice background and good lighting is great, but to take it to the next level, add some props. You can use the ingredients of whatever you’re taking a photo of, or tools you used to create it, or show how you’re going to serve and enjoy it when it’s time to dig in.
To choose which types of props to use, consider the purpose of the photo. I teach different purposes and arrangement of props, as well as winning shots and photographic theories to make your photos grab and hold everyone’s attention, in my online course on Cake Photography Like A PRO! The course also covers backgrounds, lighting, photos for social media and video, photography with a phone and with a camera, action photos and editing. Click here to find out more!
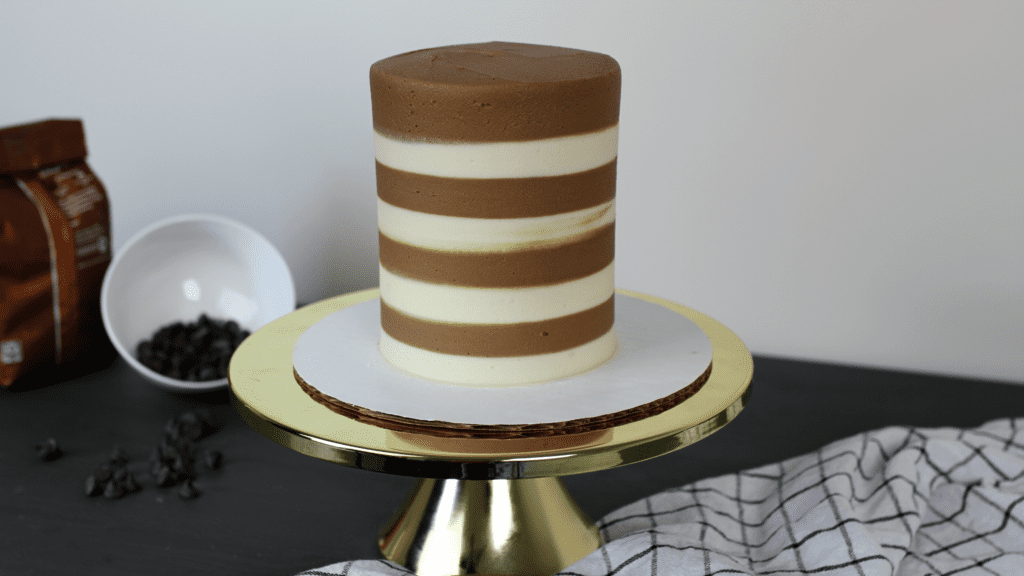
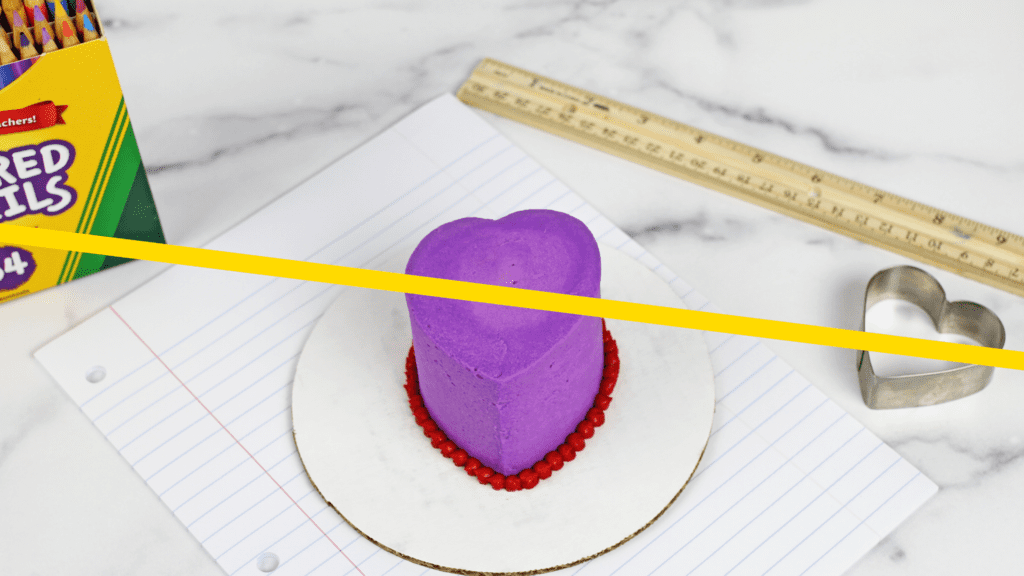
#5 As you’re arranging your props, aim for a straight line across the shot. This guides your eyes from one side of the photo to the other, and the different distances of each item from the camera will make the photo more interesting to look at.
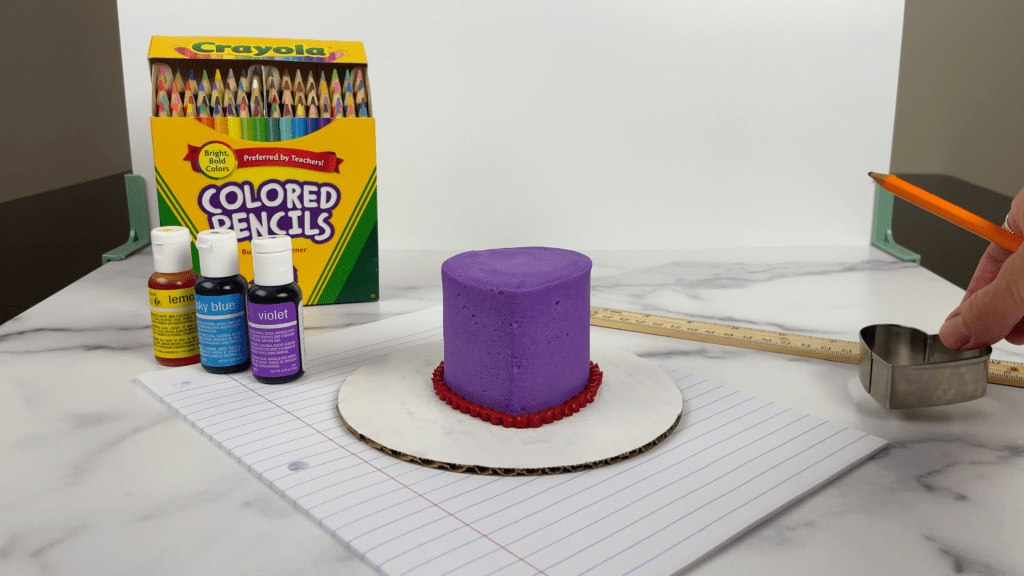
Scroll up and down and you’ll notice the lines in all of these photos, and any food photography that catches your attention on social media!
#6 Get messy! Drizzle some chocolate sauce, scatter some sprinkles, knock a bowl over, or let some crumbs linger in your photo.
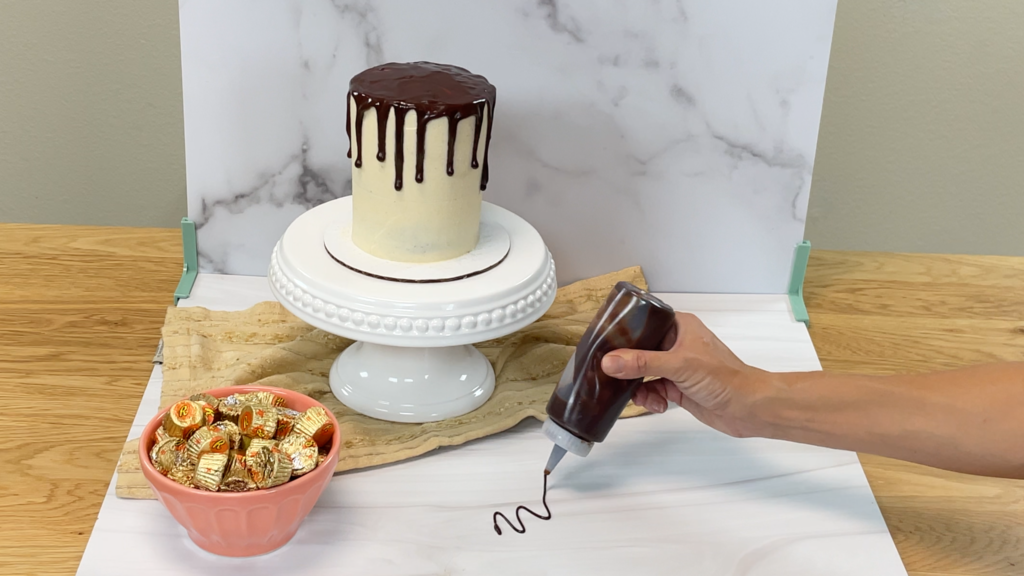
These messes make your photo more interesting to look at but also make it more sensory and appealing, which is the goal with food photography!
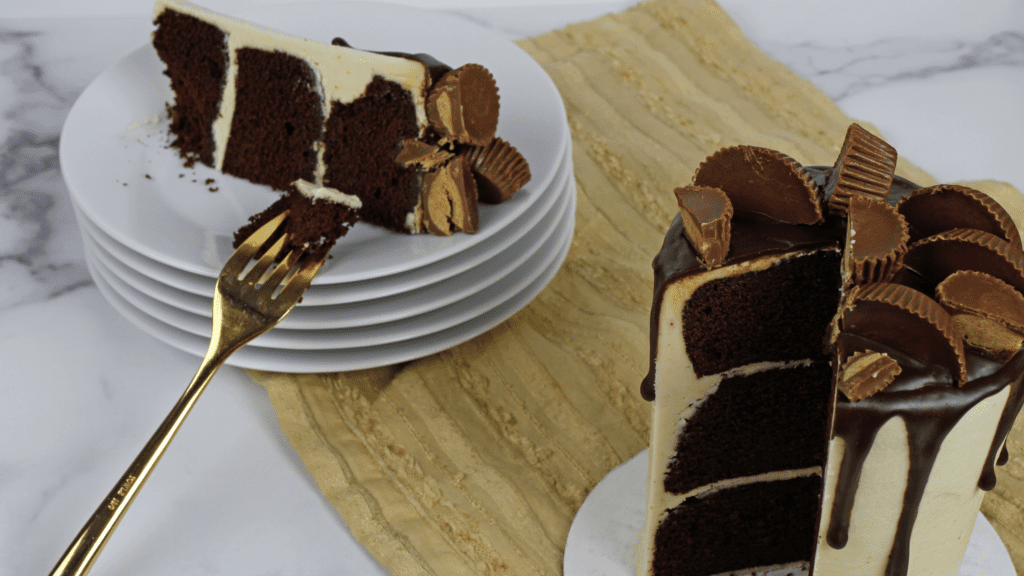
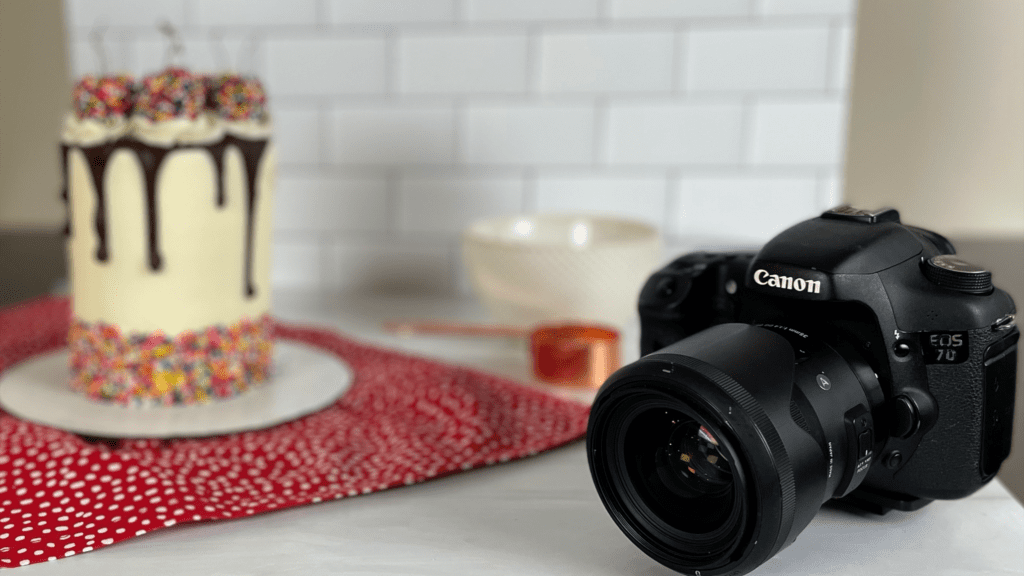
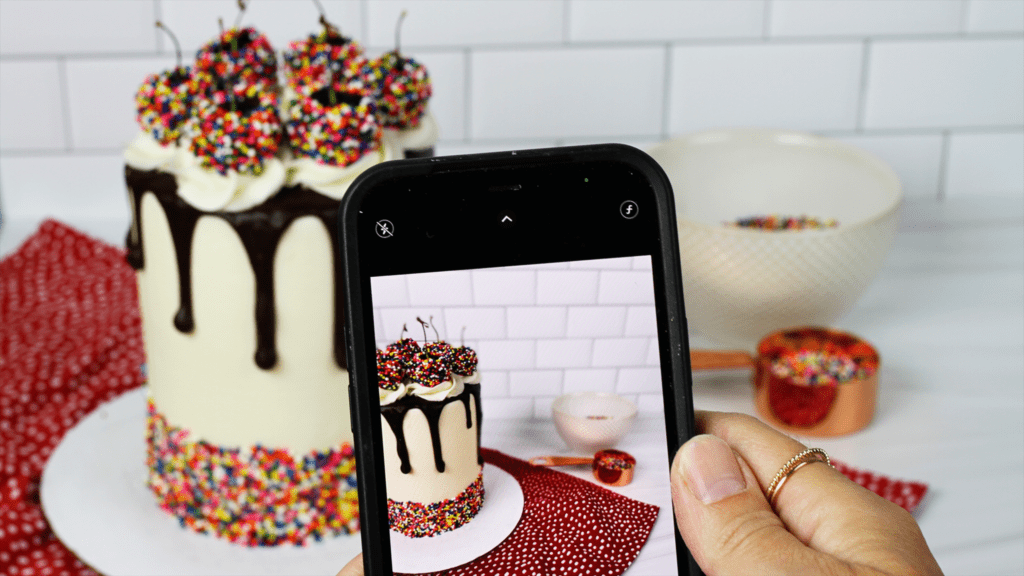
#7 Adjust the focus of your photo. On a phone you can do this with portrait mode, so that the background is out of focus and draws much more attention to the subject of your photo. On a camera, turn the Fstop to a number like 2.8 to push most of the background out of focus. I go into these adjustments in a LOT of detail on my online course on Cake Photography like a PRO.
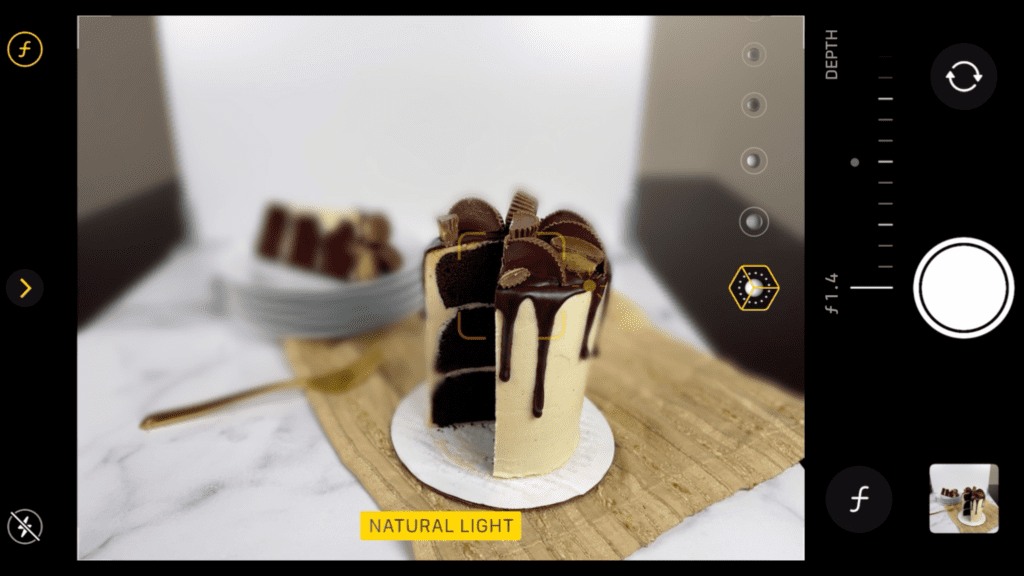
On a camera, turn the Fstop to a number like 2.8 to push most of the background out of focus. I go into these adjustments in a LOT of detail on my online course on Cake Photography like a PRO to give you the knowledge and confidence to adjust the focus and lighting in your photos.
#8 Don’t make the background brighter than the subject. Your cake will look dull in comparison and your eyes will go straight to the background instead of noticing the cake!
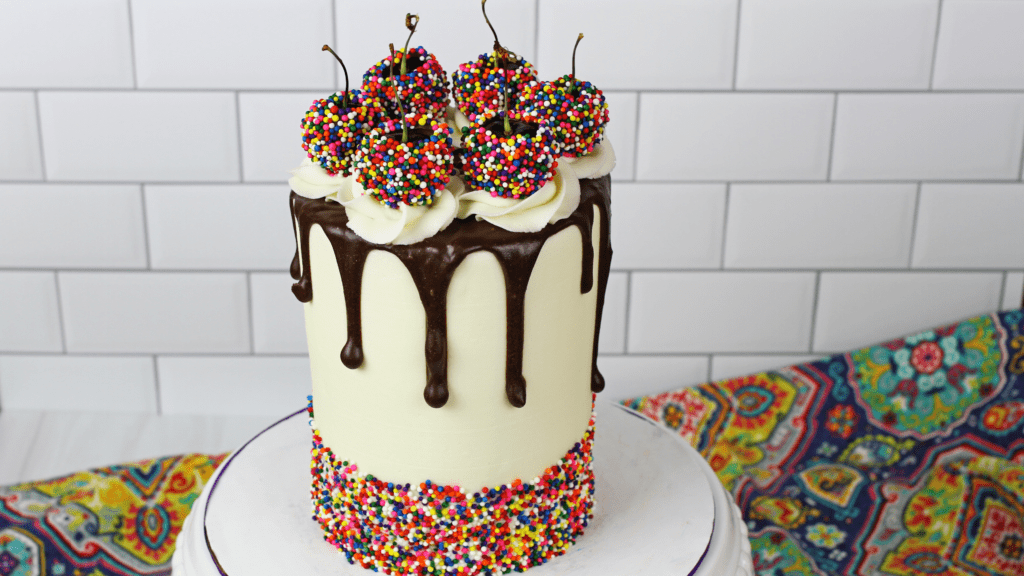
To captivate people with your food, stick to neutral colours for the background and use bright pops of colour, like small props, or keep everything fairly neutral and just let the food be the star!

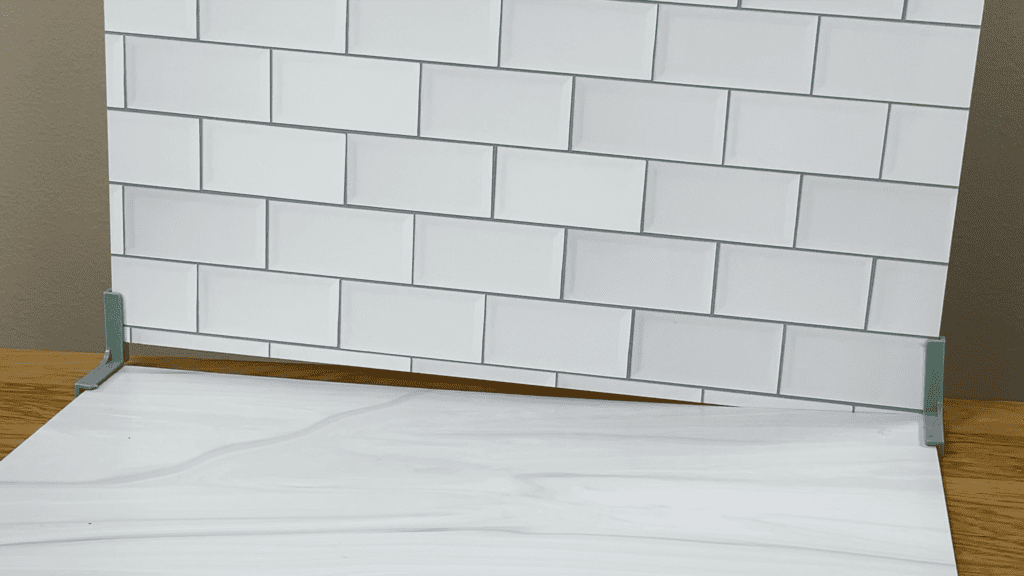
#9 To make your photos more eye-catching, without distracting from your beautiful cakes, add some detail to the background. Instead of a plain coloured background, try photo backdrops like these ones by Replica Surfaces. You’ll be able to create a cake studio for fantastic food photos wherever you go!
You can use their stands with two backdrops to create a setup underneath and behind your cakes, and mix and match the backdrops to create realistic scenes for your cakes without having to spend a lot of time setting the scene and staging the photo.
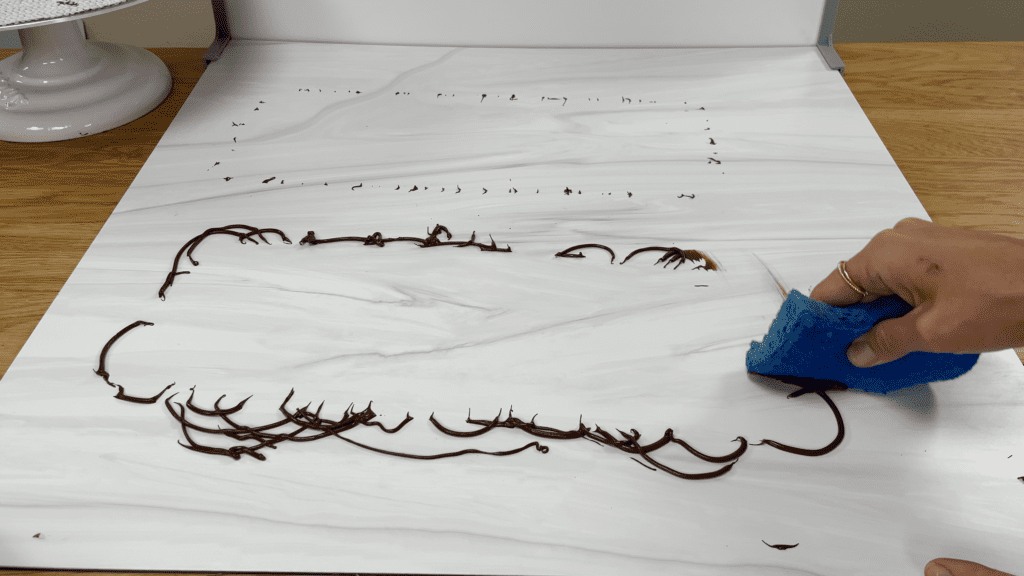
You can even pour ingredients onto them and wipe them clean later, for deliciously messy food shots! Check out their huge selection and choose your favourites here!
I hope these tips have been helpful! To dive deeper into seamless backgrounds, creating excellent natural or artificial lighting, using your phone or camera settings to adjust focus and lighting, achieving action shots without motion blur, staging photos with props, shot angles and photographic theories to grab anyone’s attention, creating and using photos to boost your engagement and following on social media, and editing options for photo perfection, check out my online course on Cake Photography – Like A PRO!
Here’s the video version of this tutorial:
