Here are 9 ideas for cakes for anyone who loves the colour pink! I’ll share different patterns, textures, and styles of cakes and of course, all of these frosting and decorating techniques can be applied to a cake using any colour palette, not just pink ????
If you prefer to watch a video of this tutorial, scroll to the bottom of the page.
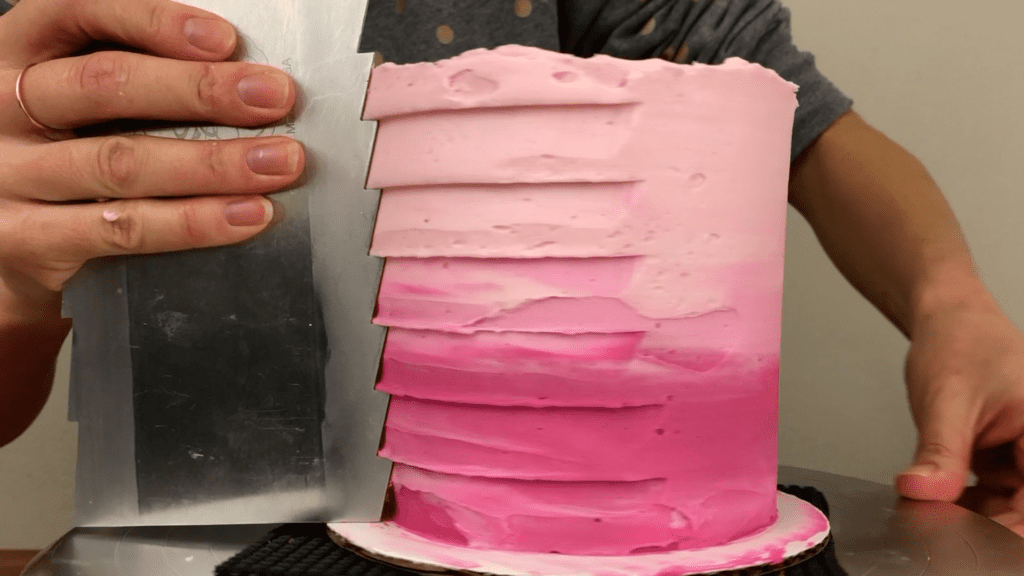
#1 Ombre Frosting
This is easy to create with just three shades of pink frosting. Spread the colours in bands around the cake so that the pink gets lighter or darker as you go down the cake. I’m using my 4 Minute Buttercream but any frosting will work for this, like whipped cream or meringue buttercream.
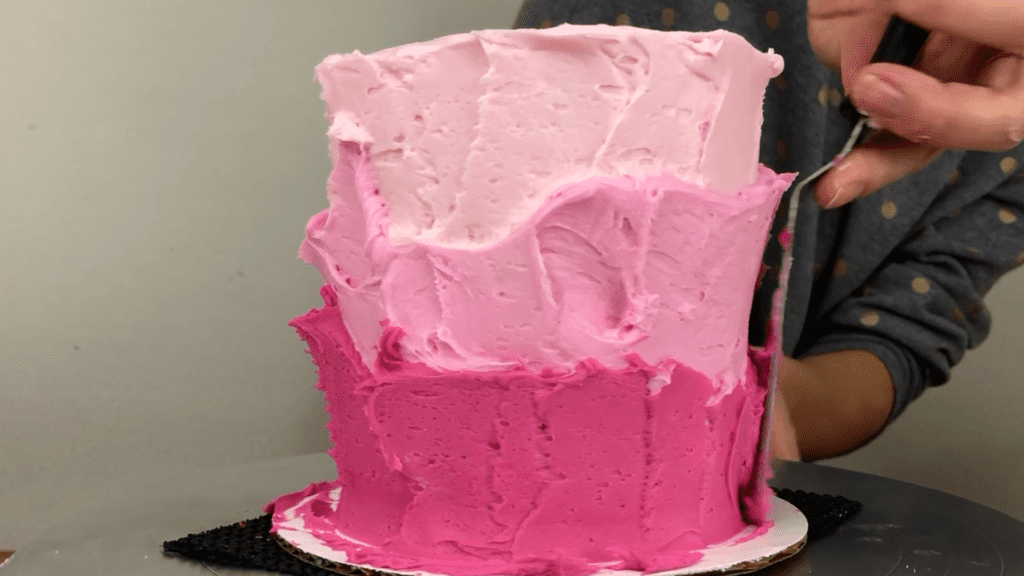
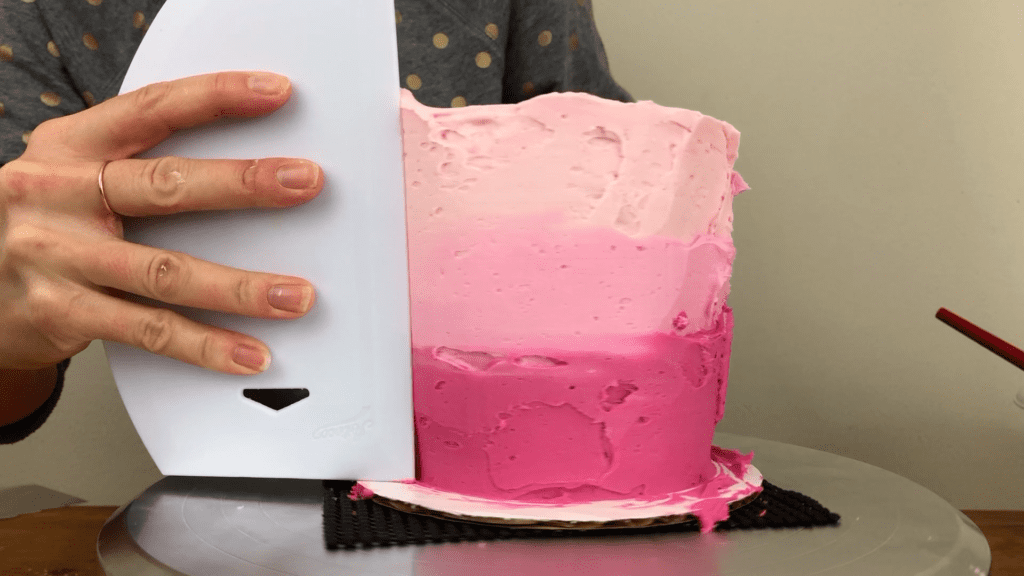
Scrape around the cake with a frosting smoother to smooth it. Just like on any other cake, the frosting won’t be perfectly smooth after just one scrape! You’ll tidy. upany indents or gaps in the frosting next.
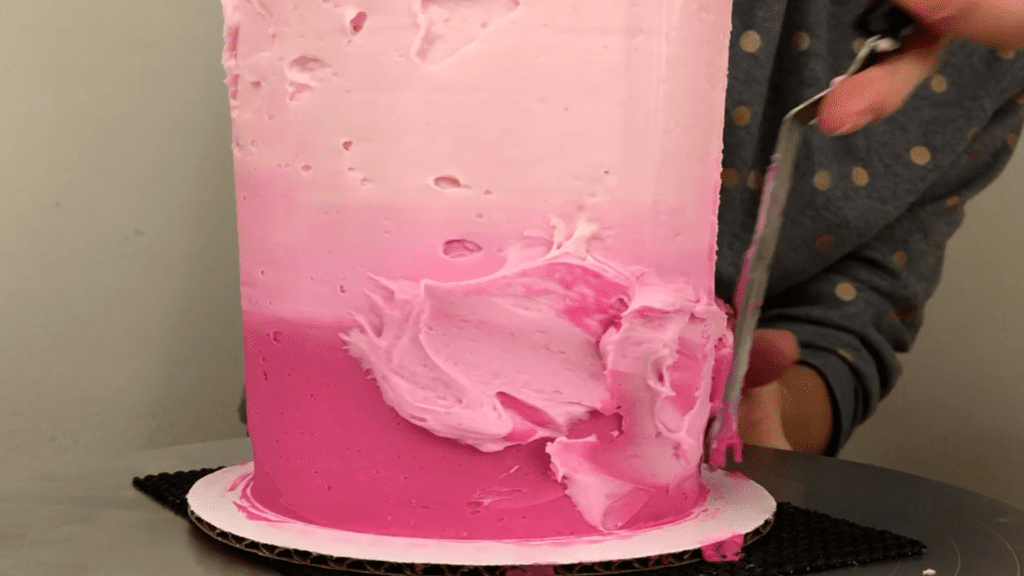
Spread more frosting over any areas of the frosting that aren’t as thick as the rest, where it looks like there’s an indent or gap in the frosting. To make the blending of the shades of pink more gradual and subtle, do these touch-ups using a lighter or darker shade than the frosting where you’re spreading it.
Continue to smooth the frosting with a frosting smoother OR use a textured cake comb to add pleats or waves or any other pattern!
#2 Watercolour
To create a watercolour effect, spread dollops of different shades of pink over a cake, on top of frosting that’s already set. I left this cake in the fridge for an hour before adding the pink.
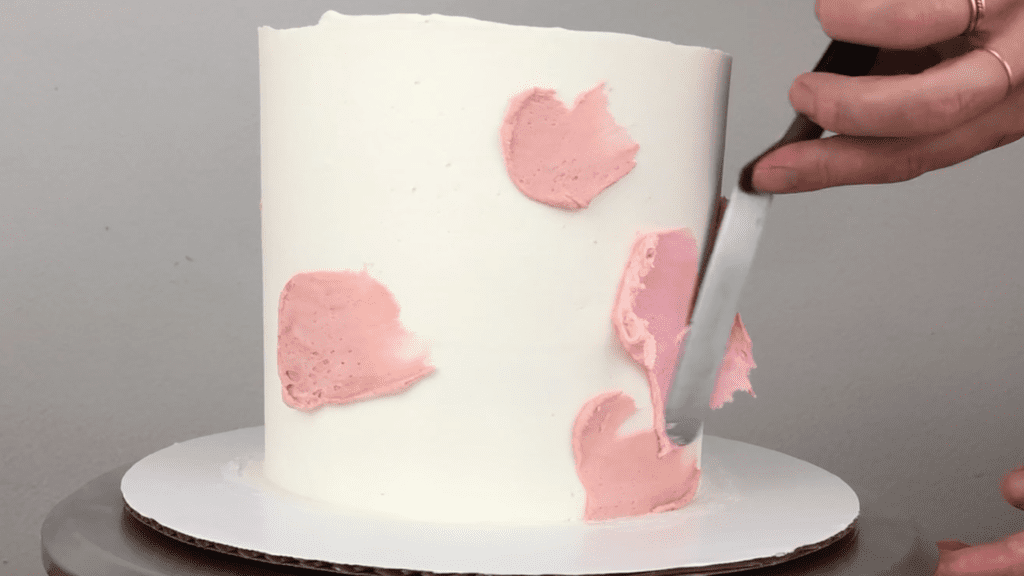
Scrape around the cake with a frosting smoother to spread the pinks, blending them together. Spread on some more frosting anywhere that you can still see the white frosting underneath.
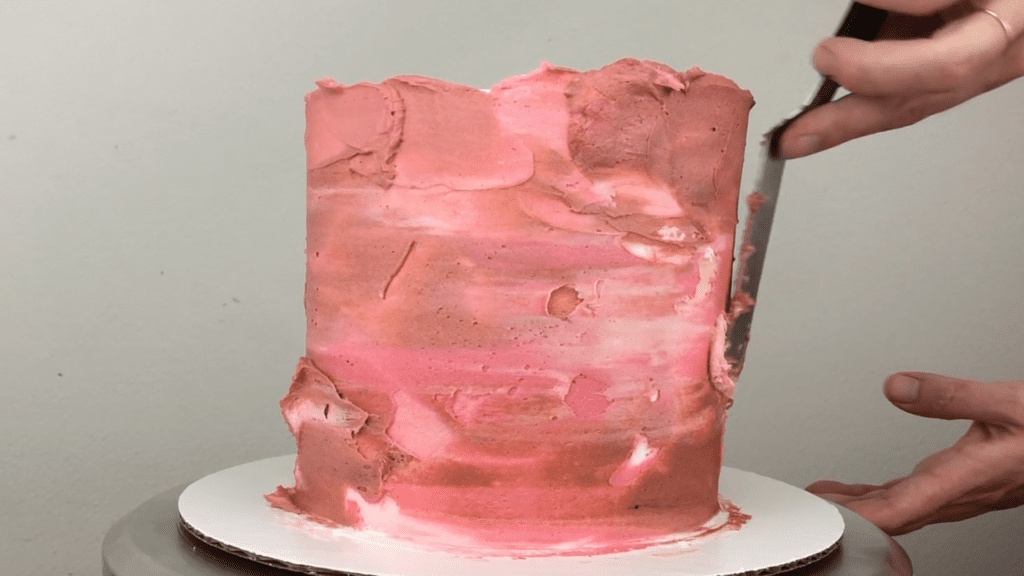
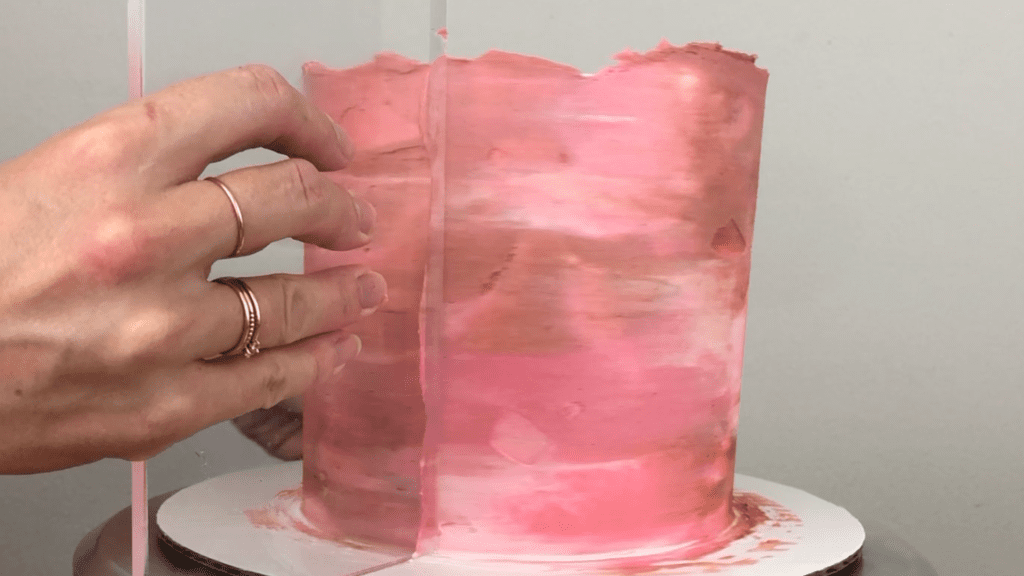
Smooth again to completely cover the cake with different shades of pink! This is my favourite frosting smoother and you can get 10% off with the code BRITISHGIRLBAKES here!
#3 Piped Stripes
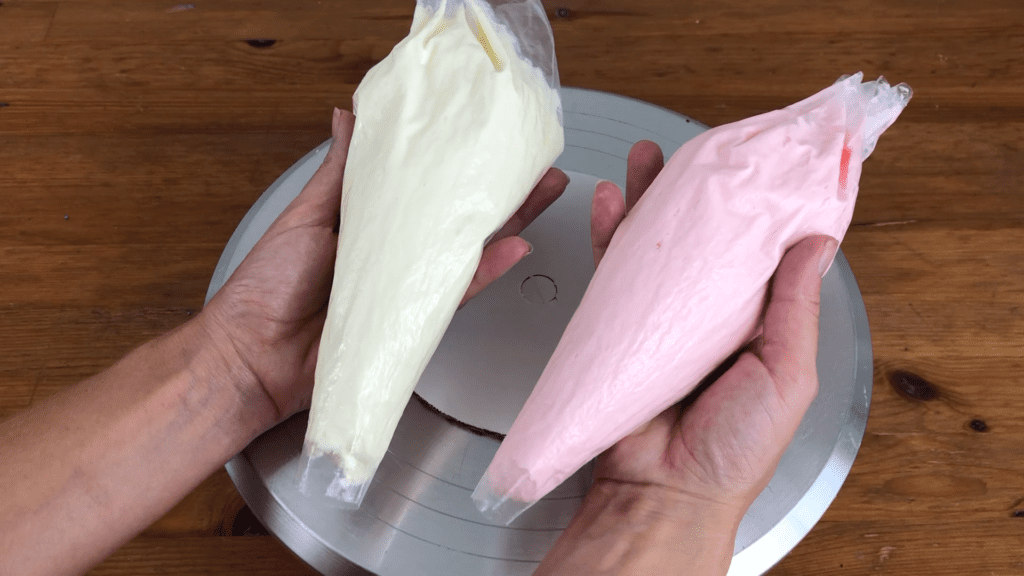
You can create pink stripes with just two piping bags and you don’t even need piping tips!
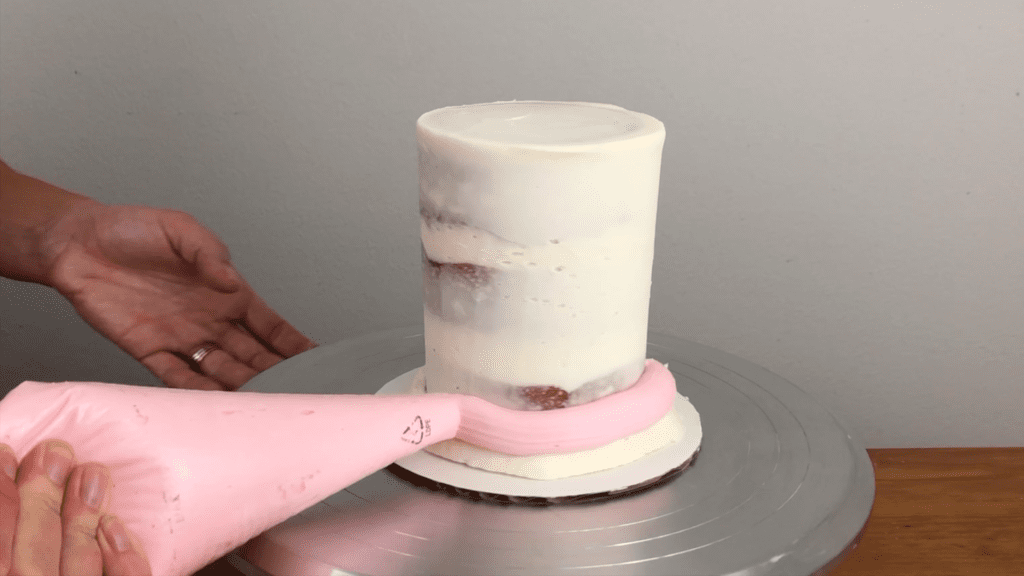
After assembling your cake and covering it with a thin layer of frosting, a crumb coat, pipe rings of colour around the cake, alternating between your two piping bags.
If you want your stripes to be the same thickness, it’s important that the holes you cut at the end of your piping bags are the same size.
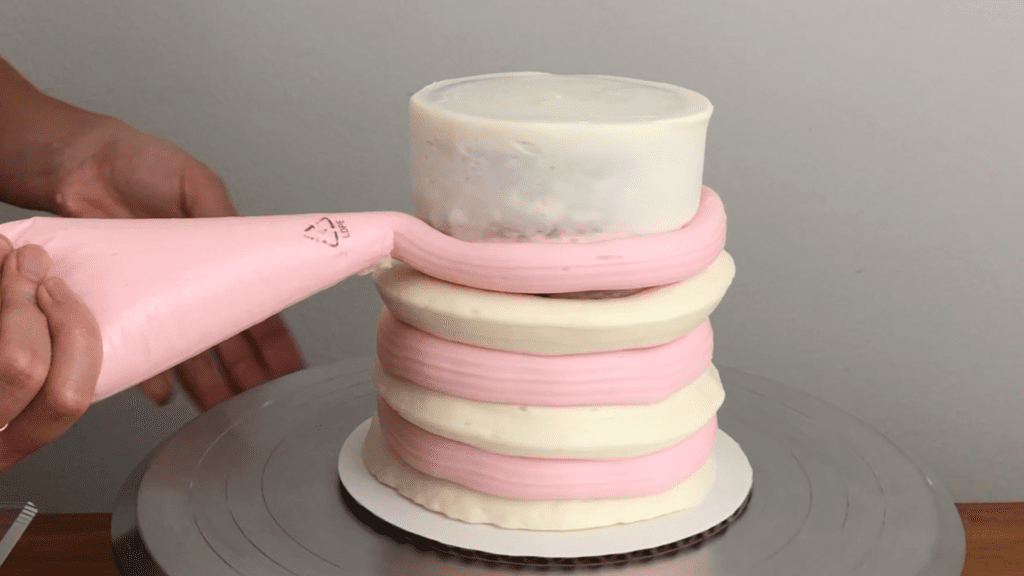
Spread or pipe frosting onto the top of the cake, too, pushing it all the way over the edges of the cake to avoid air gaps or a domed top later. Smooth the frosting on the top of the cake first, using your
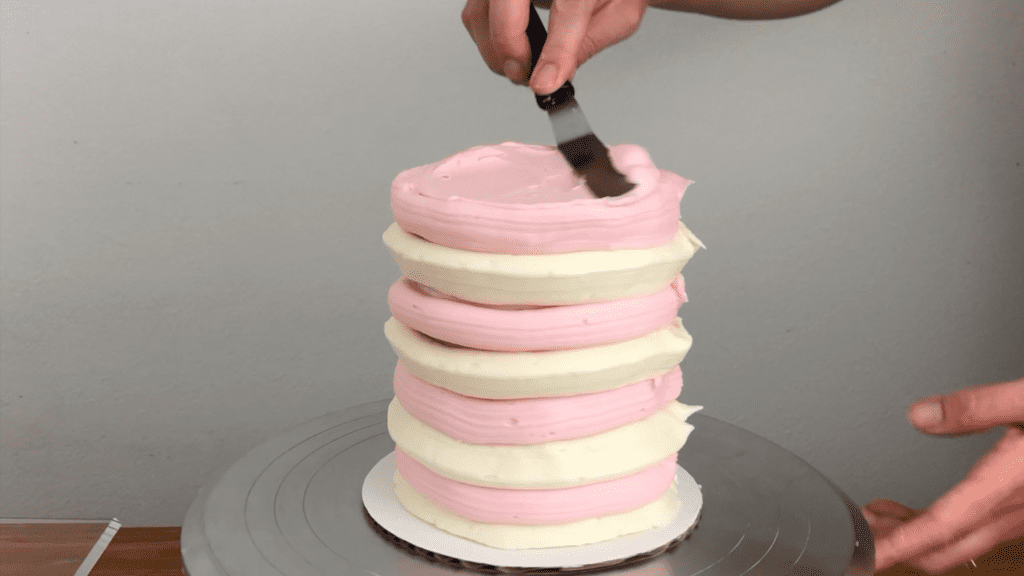
Then scrape around the sides with a frosting smoother. As you scrape again and again, you’ll flatten the frosting which will make it spread out to fill any gaps in between the stripes.
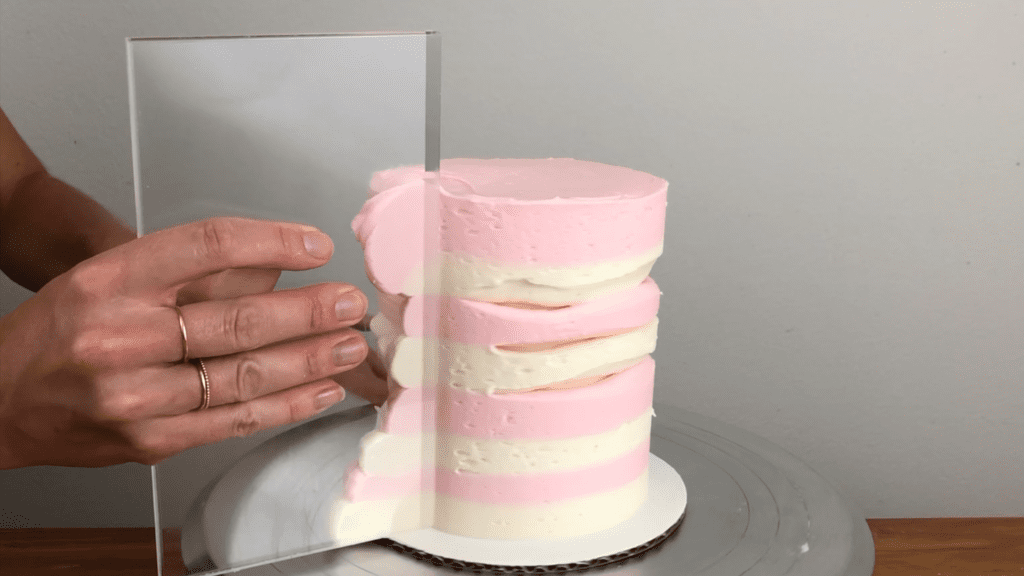
When you’re happy with the sides of the cake, tidy up the top edge by swiping inwards with your
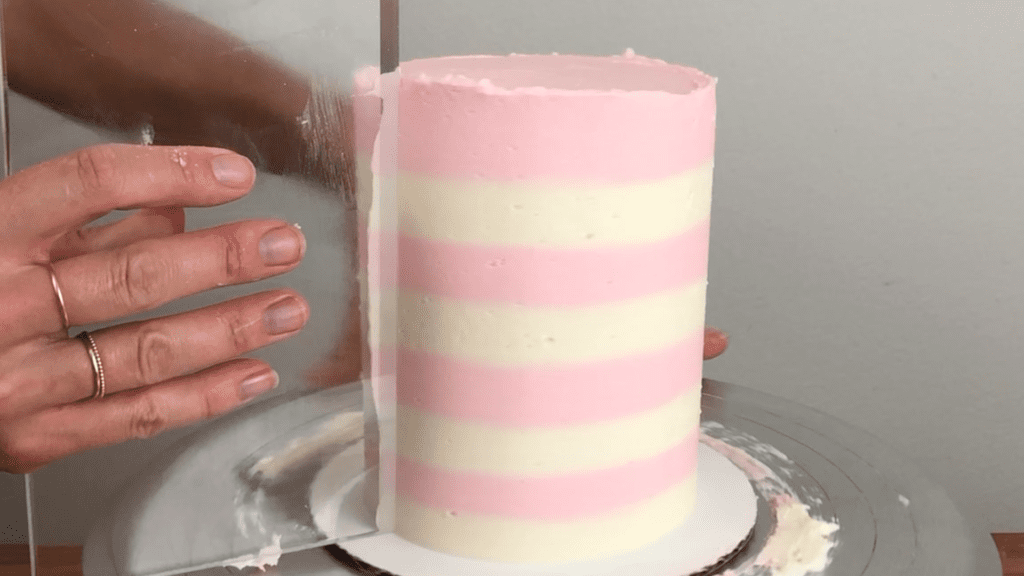
#4 Cake Comb Stripes
You can create stripes with a cake comb. The stripes will be neater but it’s a bit more time consuming. Spread your first color thickly all over the cake and then scrape around the cake with a frosting smoother to check the sides are straight.
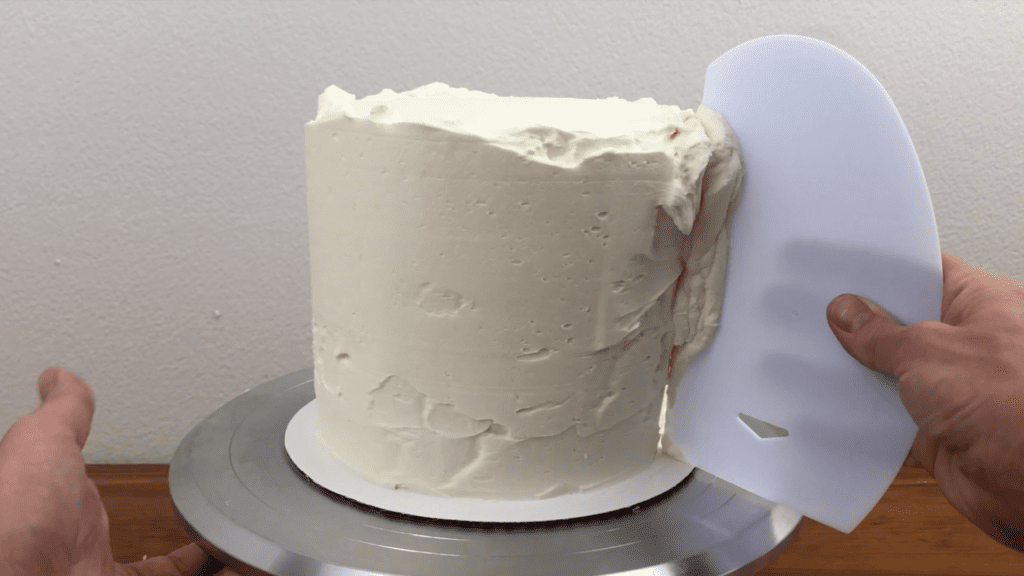
Then use a striped cake comb, pressing the base down on the cake board to line it up straight and then pulling it around the cake to imprint stripe grooves.
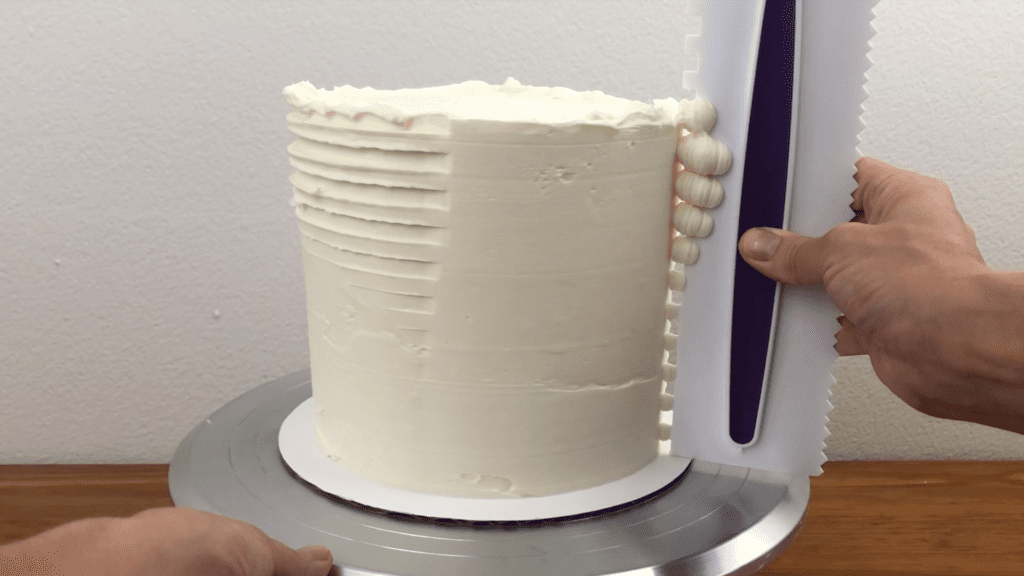
You’re aiming for neat edges to the stripe grooves and smooth frosting on the outer edge of the stripe grooves. You’ll probably have to scrape around the cake several times until you achieve this.
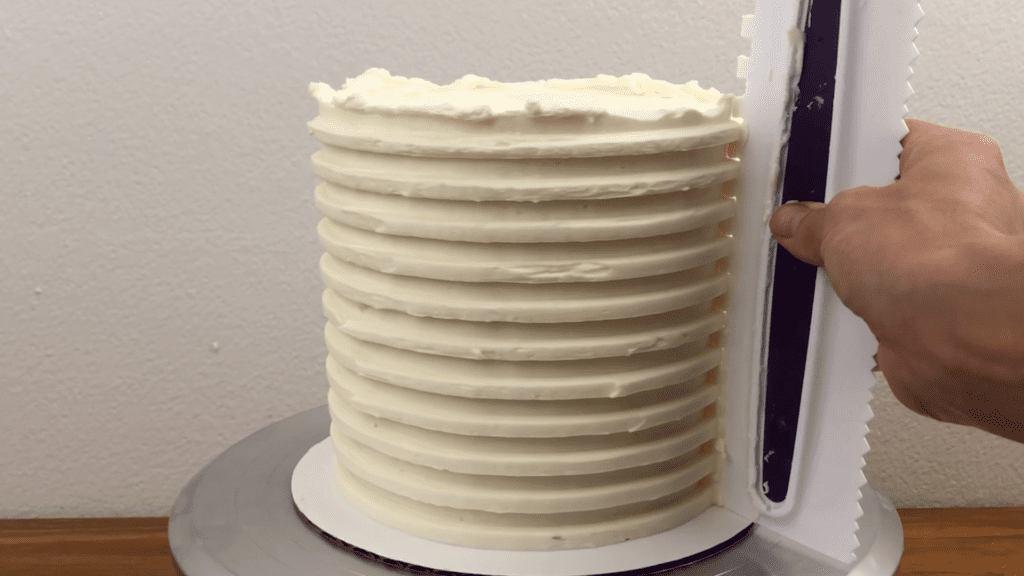
Put the cake in the freezer for 15 minutes to chill the first colour of frosting and then spread pink frosting all over it, or pipe it into the grooves using a piping bag if you prefer.
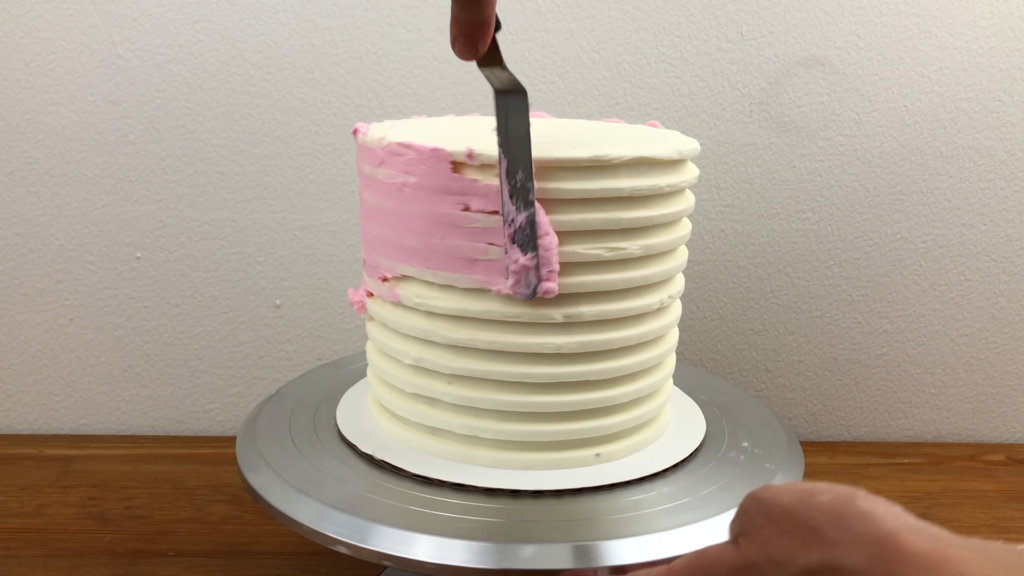
Scrape around the cake to take off the excess pink frosting, which will spread it everywhere and it will look messy but keep scraping!
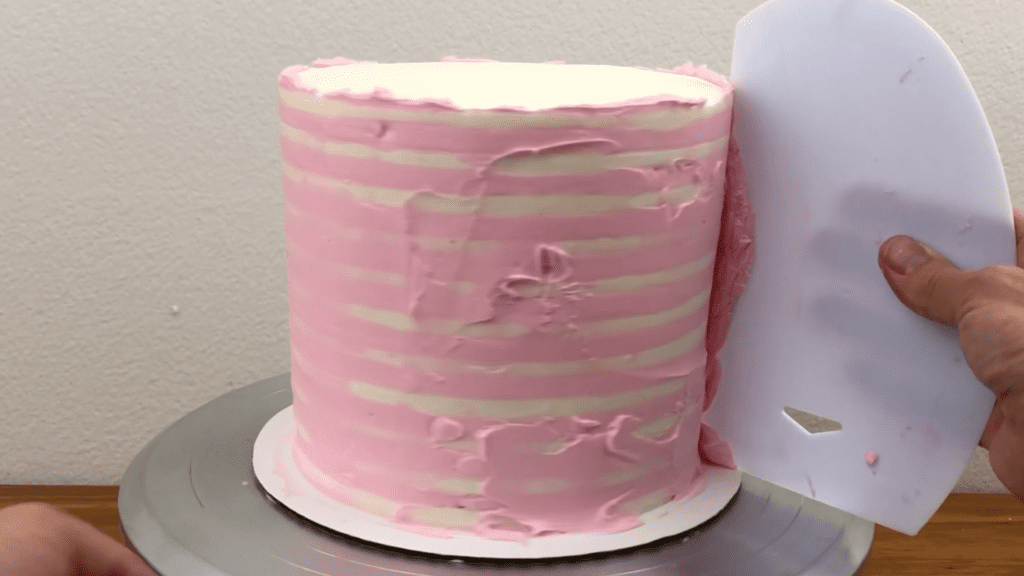
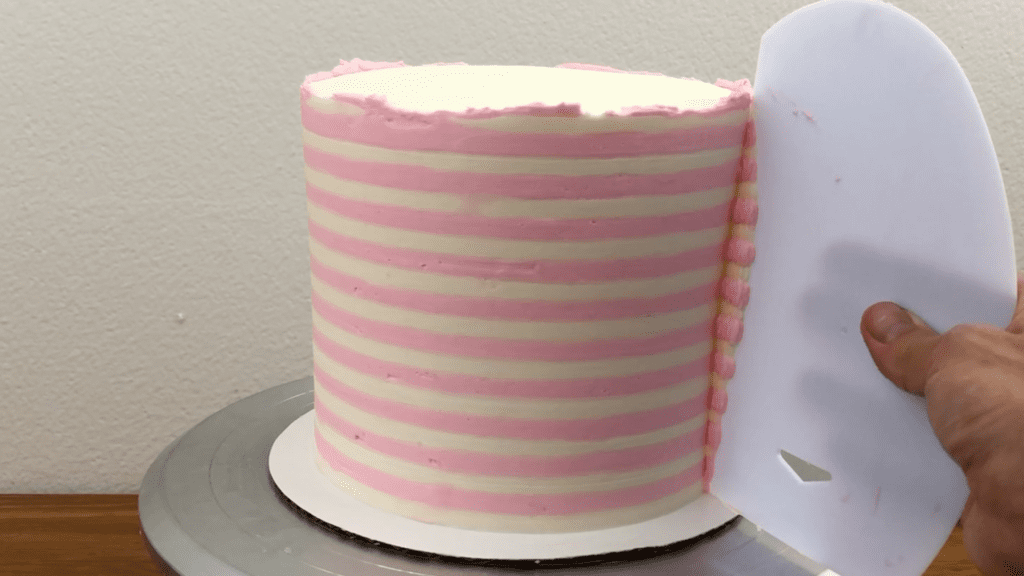
The stripes will get clearer and neater with every scrape of your frosting smoother until all of the excess frosting is removed and the stripes look perfect!
#5 Bubbles
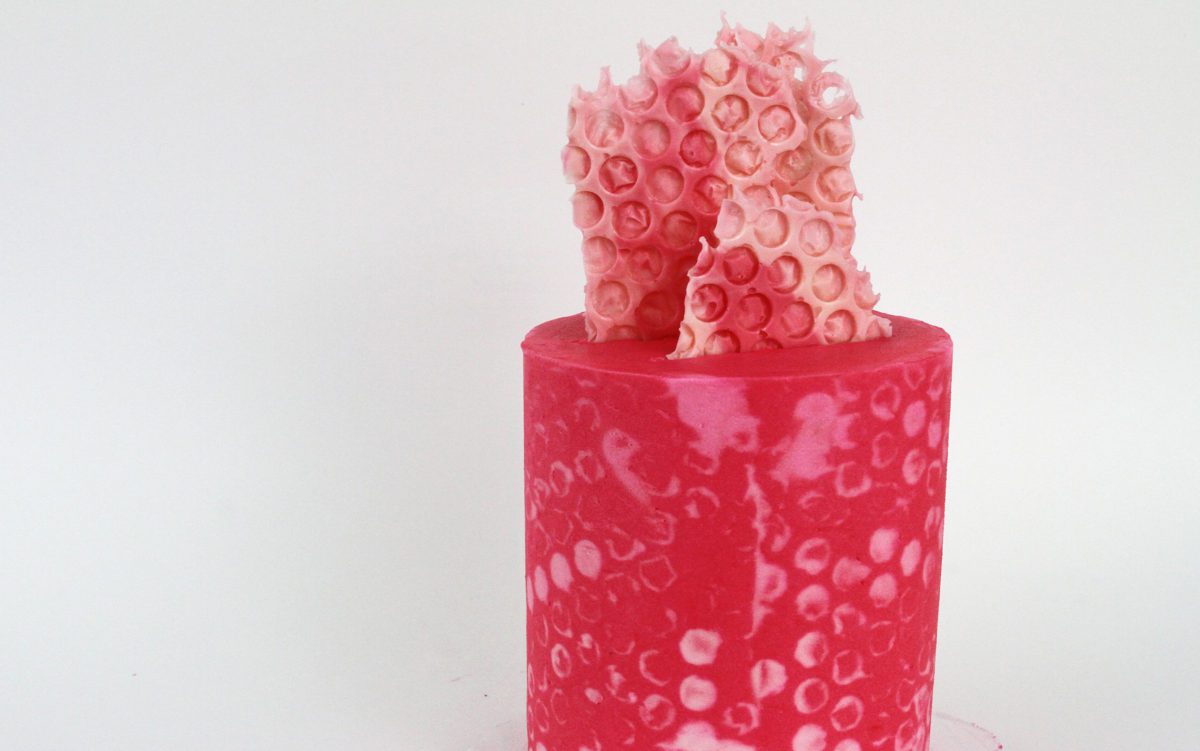
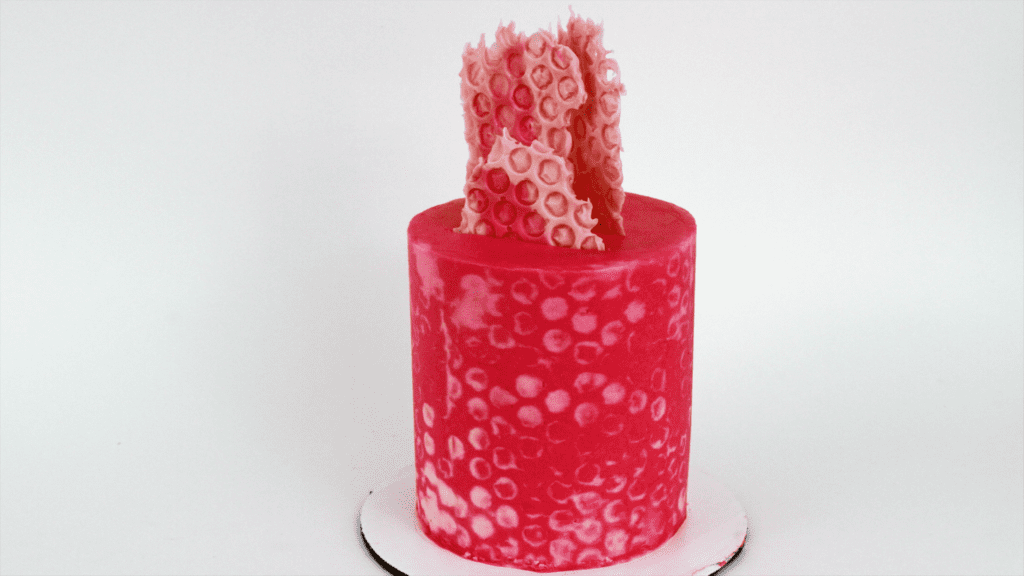
Add a reallyinteresting pattern using bubble wrap! Taping it onto acetate makes this easier but it’s not essential.
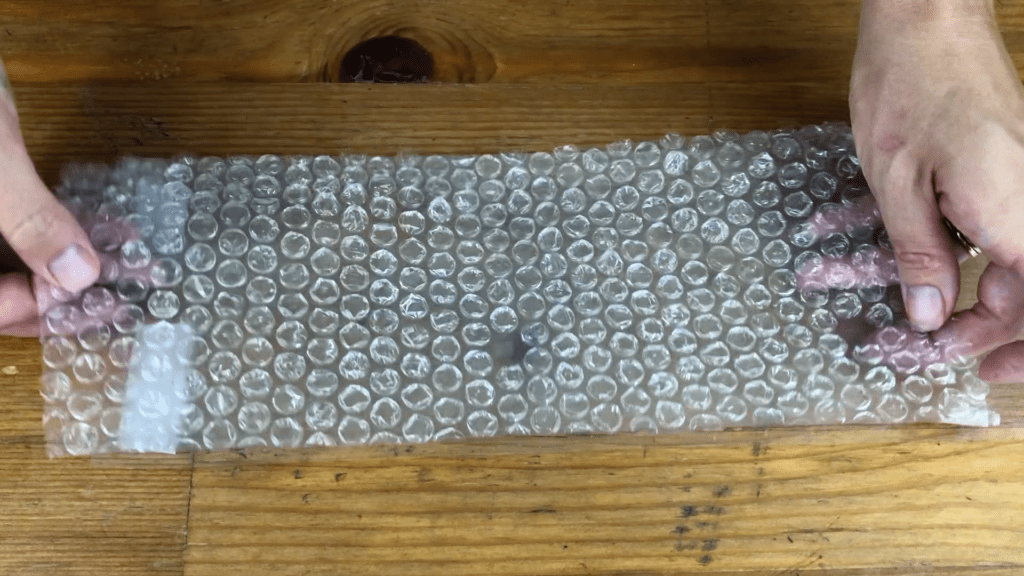
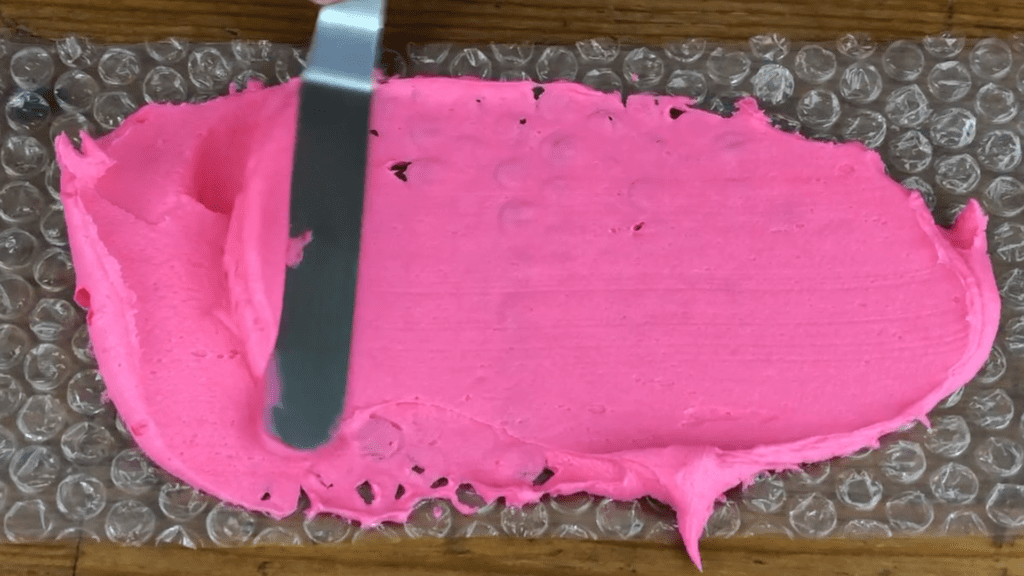
Spread pink frosting over the bubble wrap, after washing it of course. The frosting will need to be thick enough to completely cover the bubbles on the bubble wrap and it will also need to go right up to the edges of the bubble wrap.
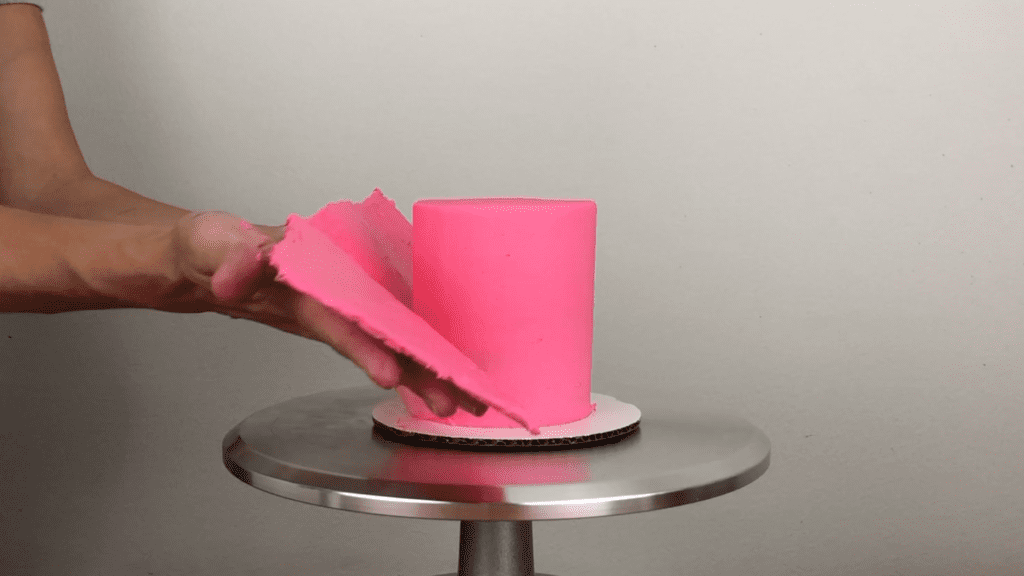
Lift the bubble wrap up and lower it down towards the cake, angling it so that one of the long sides rests down on the cake board to make sure the frosting goes all the way down to the bottom of the cake.
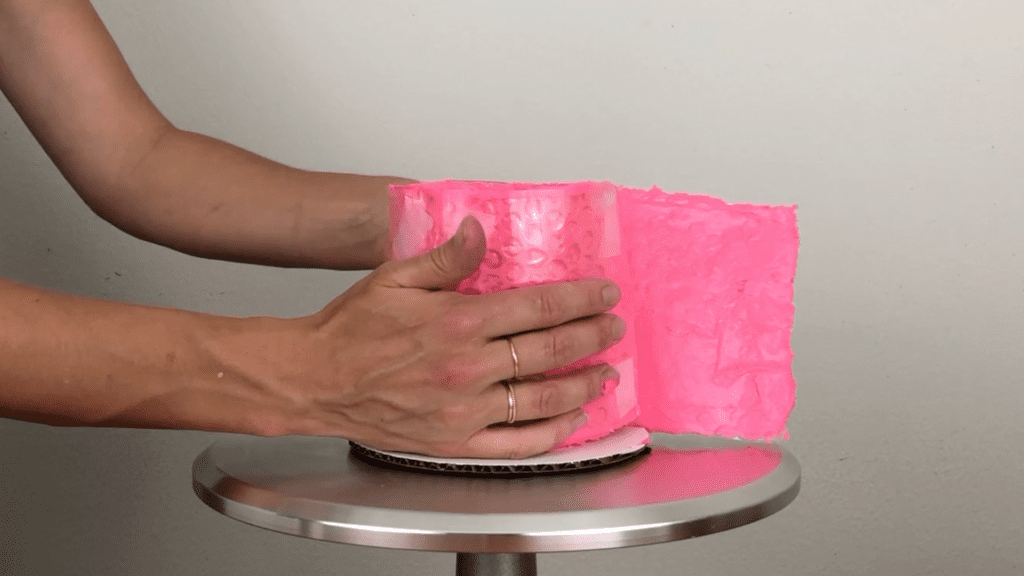
Wrap the bubble wrap around the cake with the frosting pressed against the cake. Press it firmly against the cake to attach it and then chill the cake in the freezer for 15 minutes to set the bubble frosting.
Peel the bubble wrap off and if the frosting has chilled and set, it will stay behind on the cake and only the bubble wrap will peel off the cake.
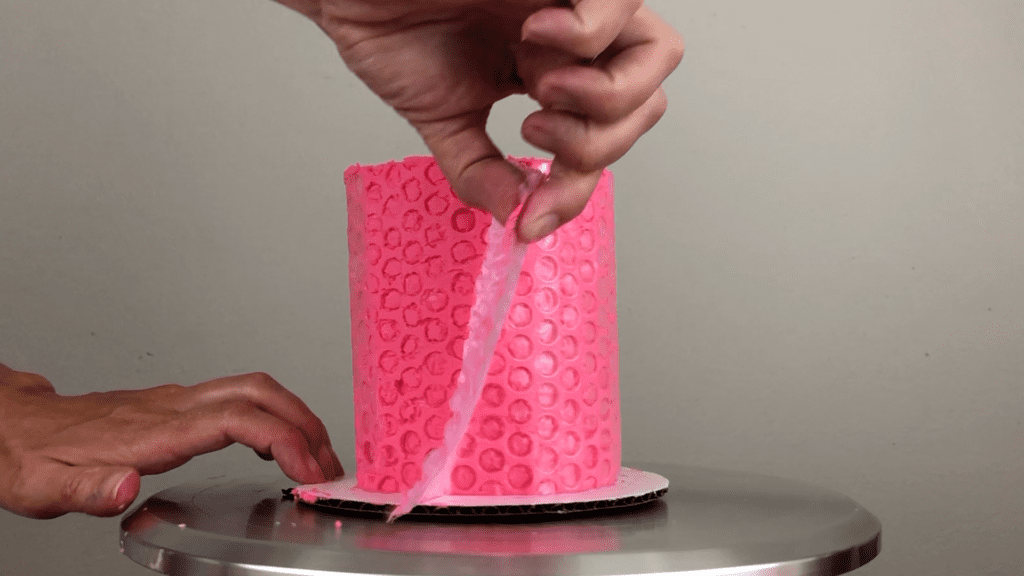
You can leave the texture as it is or spread different colours of frosting over the cake. This new pink frosting will fill in the holes from the bubble wrap.
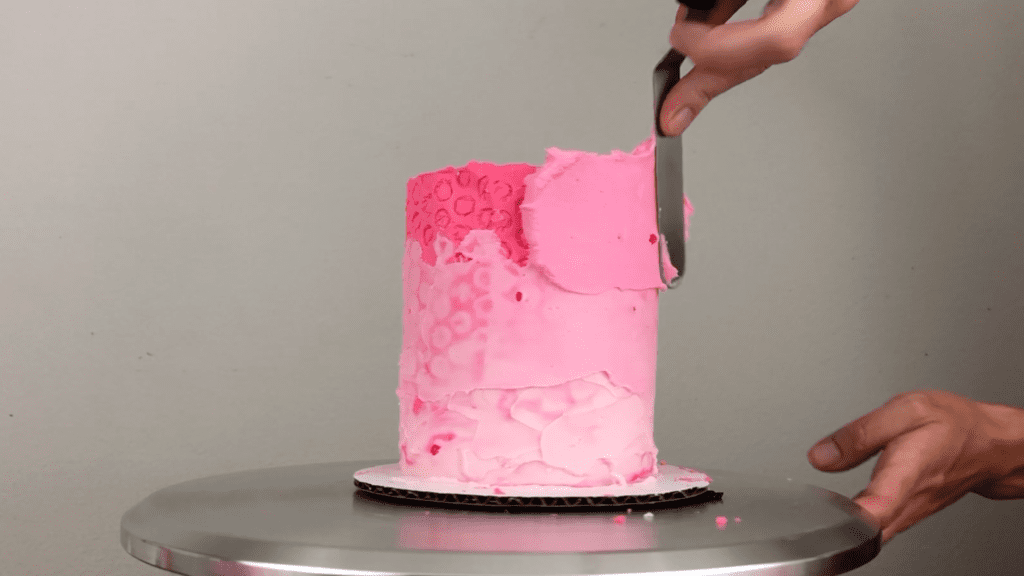
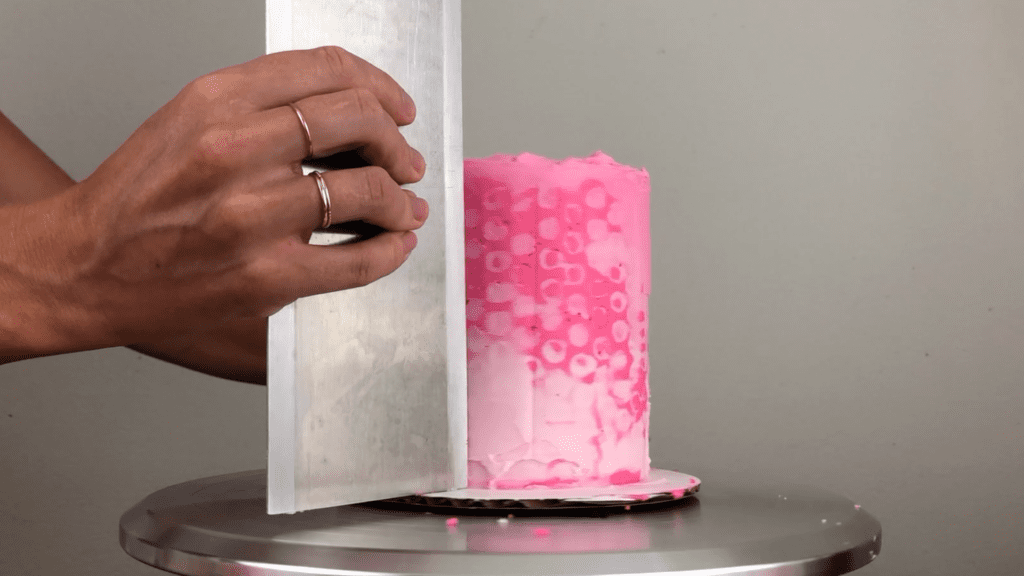
Scrape around the cake a few times to take off the excess frosting. Freezing the cake for a few minutes will have made the bubble wrap frosting firm, so it won’t blend together with this new pink frosting.
To make bubble cake toppers, spread melted chocolate onto bubble wrap and chilling it to set it.
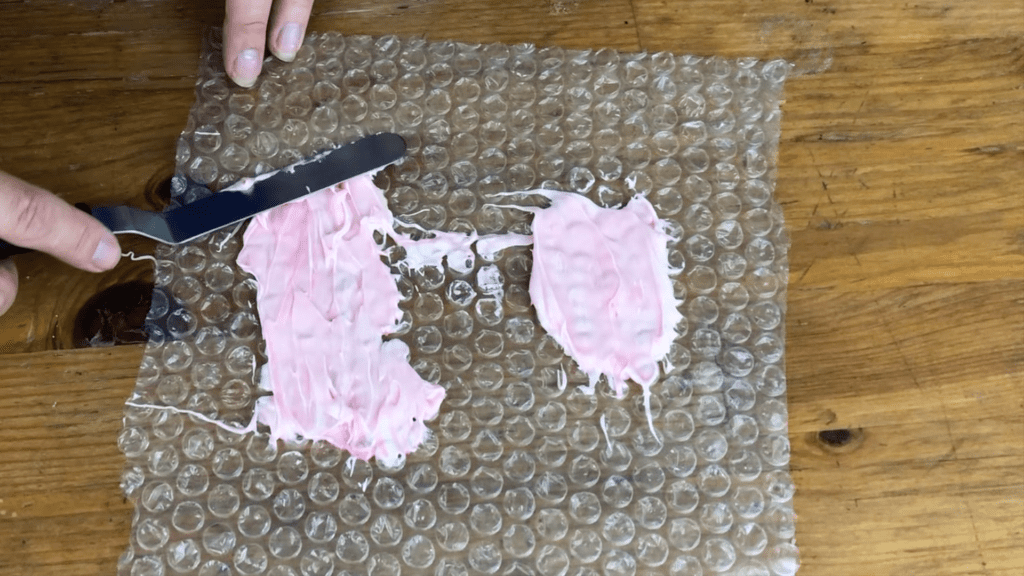
Peel the chocolate off the bubble wrap and push them into the frosting on the top of the cake for a fun bubble wrap patterned cake!
#6 Roses
Cover a cake with roses using a star shaped tip like a 1M tip. You’ll need as many of these piping tips as the number of colours you want to pipe.
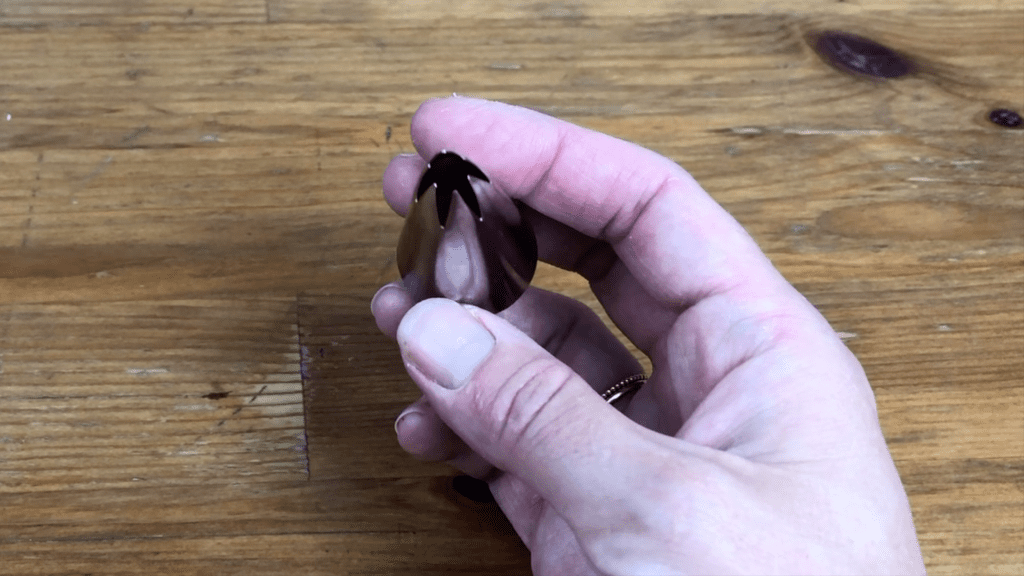
Fill piping bags with different shades of pink buttercream, or whatever frosting you’re using. Cover a cake with a crumb coat and let it set before continuing.
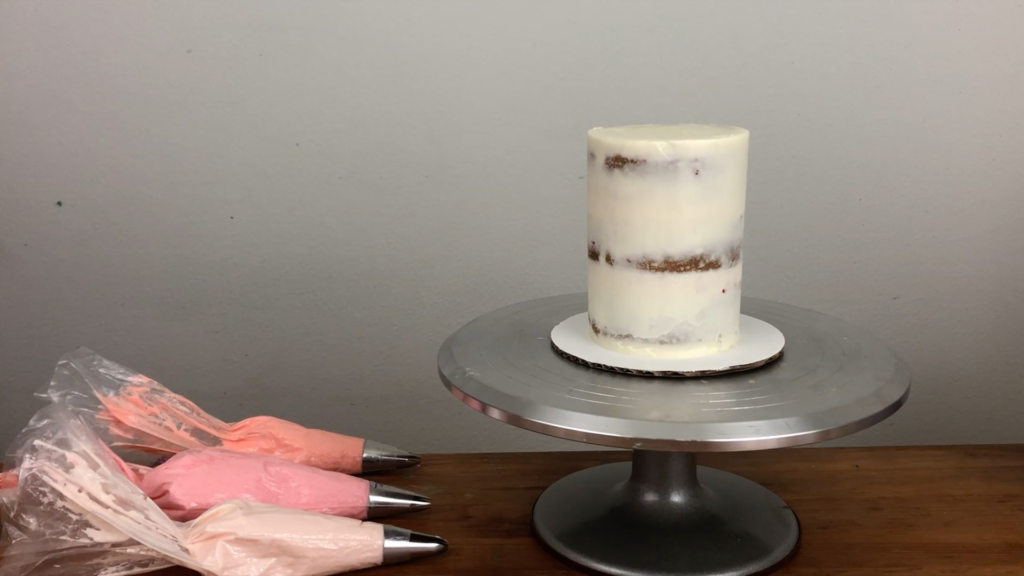
Starting at the bottom of the cake, pipe rosettes of frosting onto the cake, starting in the middle of each rose and spiraling outwards.
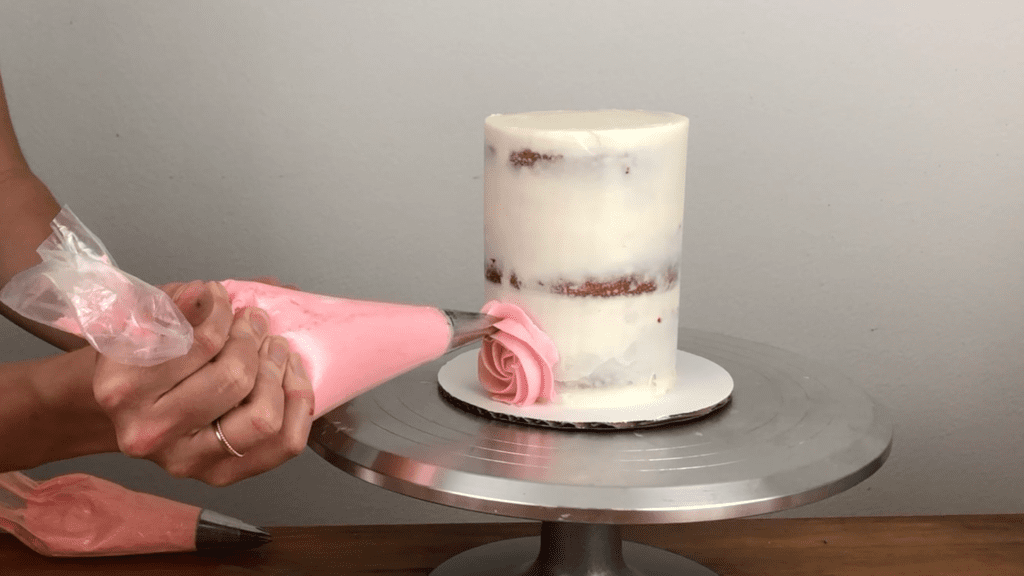
For neat ends of the rose spirals, at the same time as you stop squeezing the piping bag swipe the bag away from the cake. Pipe rows of roses to cover the sides of the cake and if there are any gaps in between roses, squeeze a little dot of frosting with the same piping bags and tips to make star blossoms to cover up the gap.
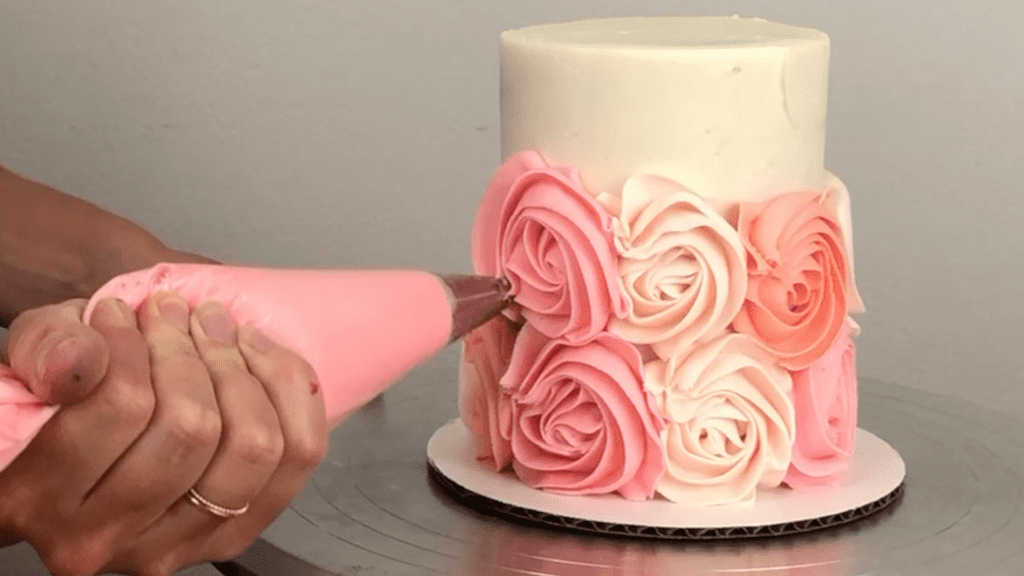
You can leave the top of the cake plain or pipe roses onto the top, too!
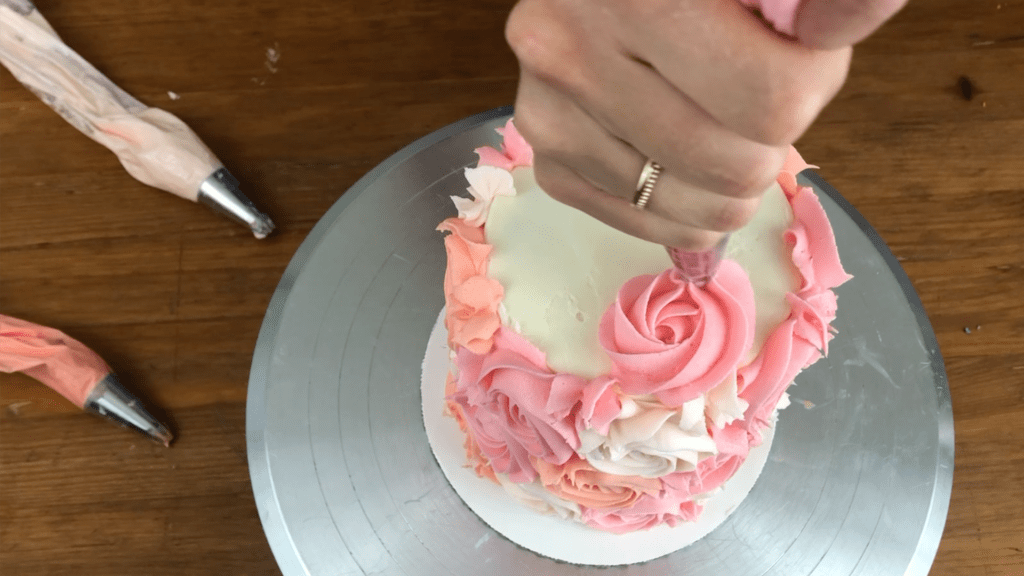
This rose frosting looks beautiful with just one colour for the roses, or you can layer different colours in rows or arrange them randomly like this. I added some gold leaf to finish off this cake.
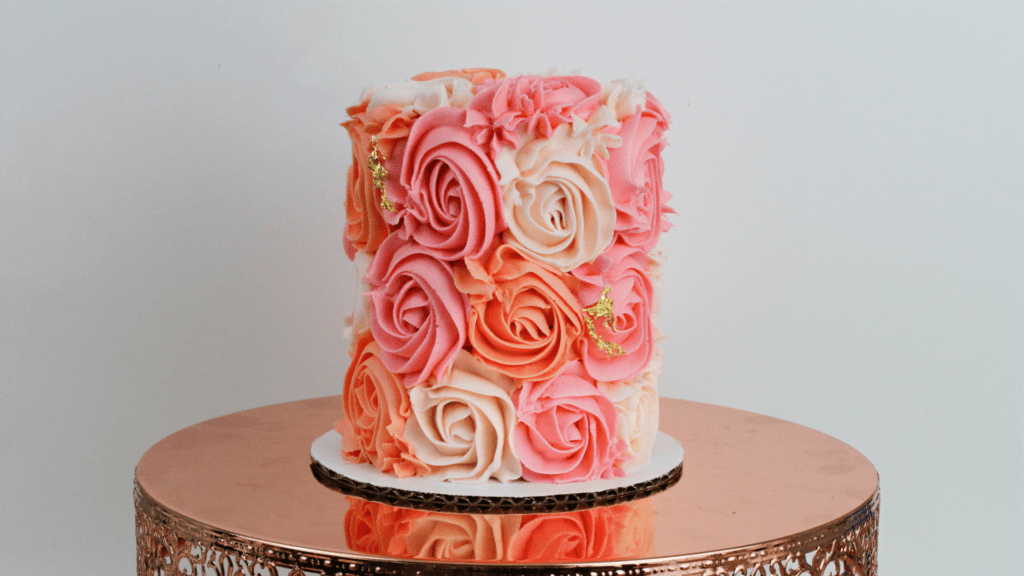
#7 Russian Tip Flowers
Another way to pipe flowers onto a cake is to use flower nozzles or Russian tips. Place a piping bag (fitted with any flower shaped Russian tip) into a glass to hold it open and spread pink frosting around the inside of the bag.
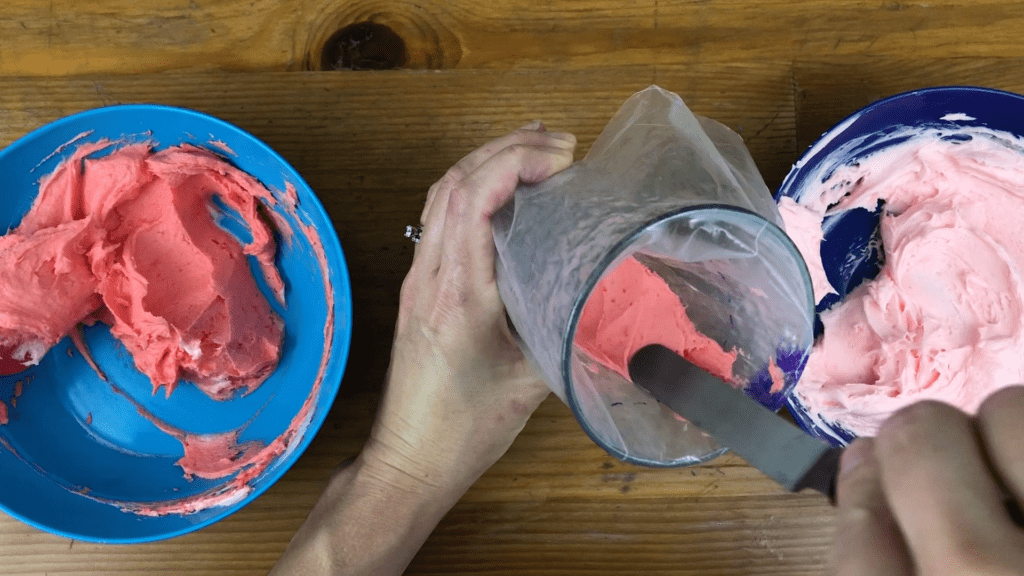
Then fill the middle of the piping bag with another shade of pink. This will create two-tone flowers.
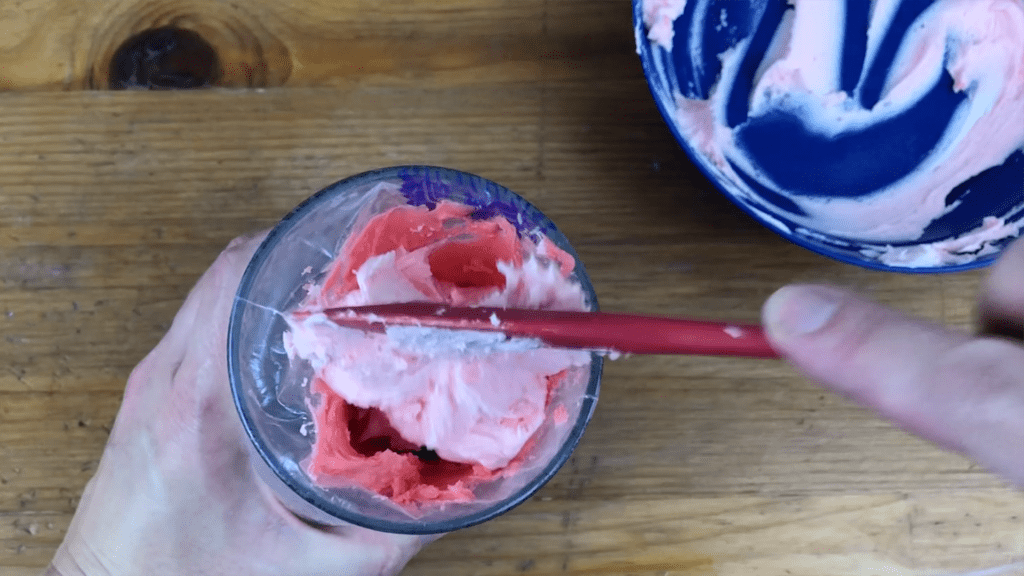
Hold the piping tip against the side of a frosted cake and squeeze the piping bag, letting the frosting bulge out slightly before slowly pulling the bag away to to pipe a flower. Every petal of the flower will be created with just one squeeze! The flowers will look really eye-catching with a variety of colour combinations and different tips.
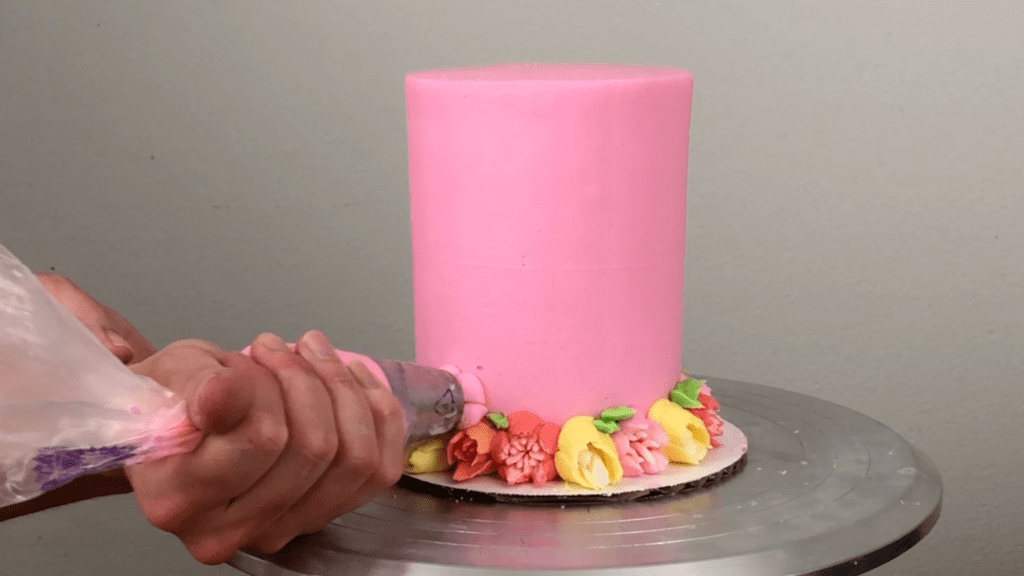
You can add leaves with a leaf piping tip like a #352, pressing the end of the tip against the cake before you start squeezing the bag so that the leaf attaches to the cake.
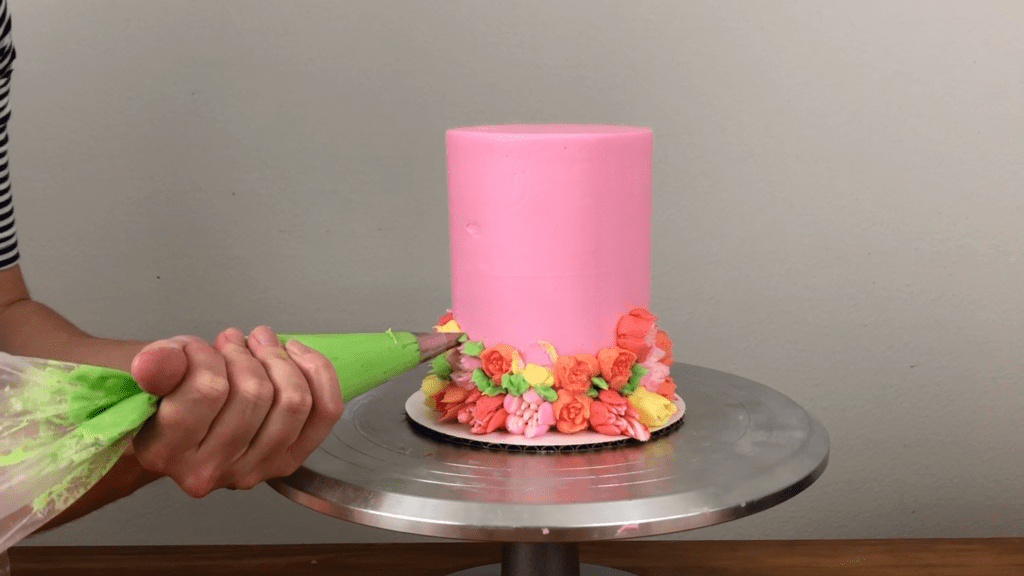
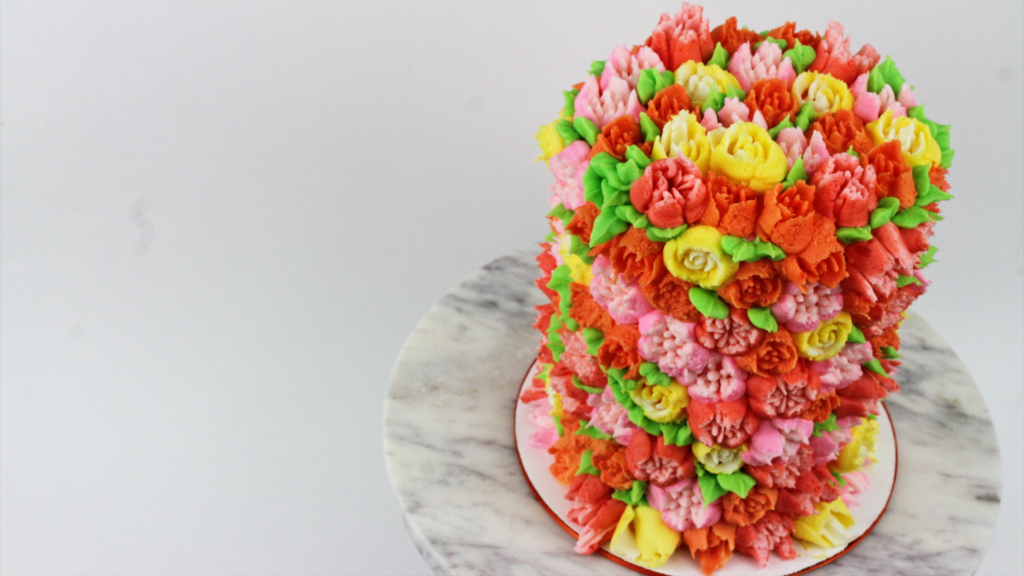
You can pipe just a few flowers for some colour and texture on your cake or cover the entire cake with flowers!
#8 “Naked” Filling
Pipe pink texture onto the inside of a cake by using the piping as filling between cake layers. To shape your cake, use a cookie cutter to cut shapes out of larger cake layers.
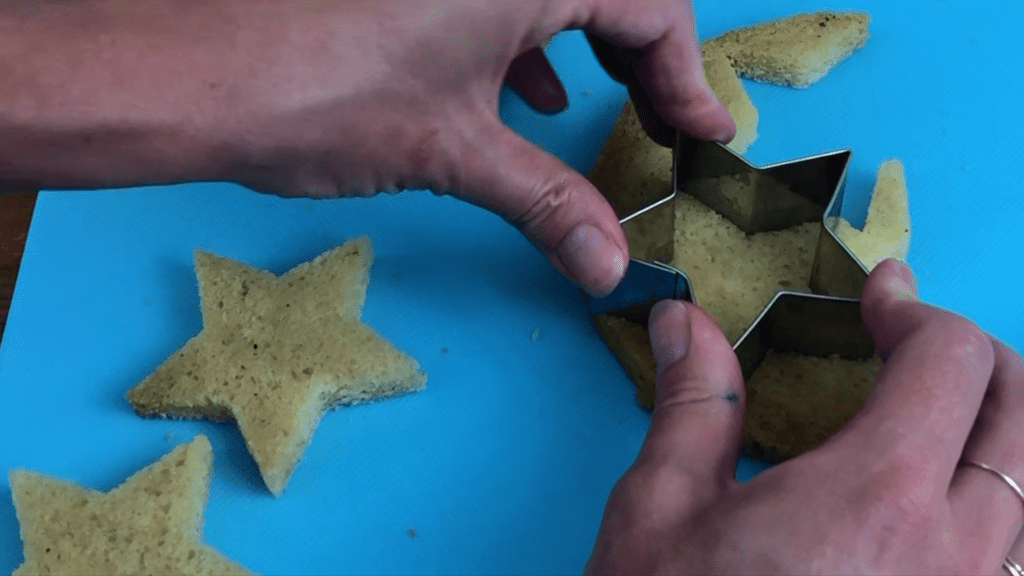
Pipe frosting onto each layer using whatever piping tip you like – my favourites are large round tips or open star rosettes like 4B tip.
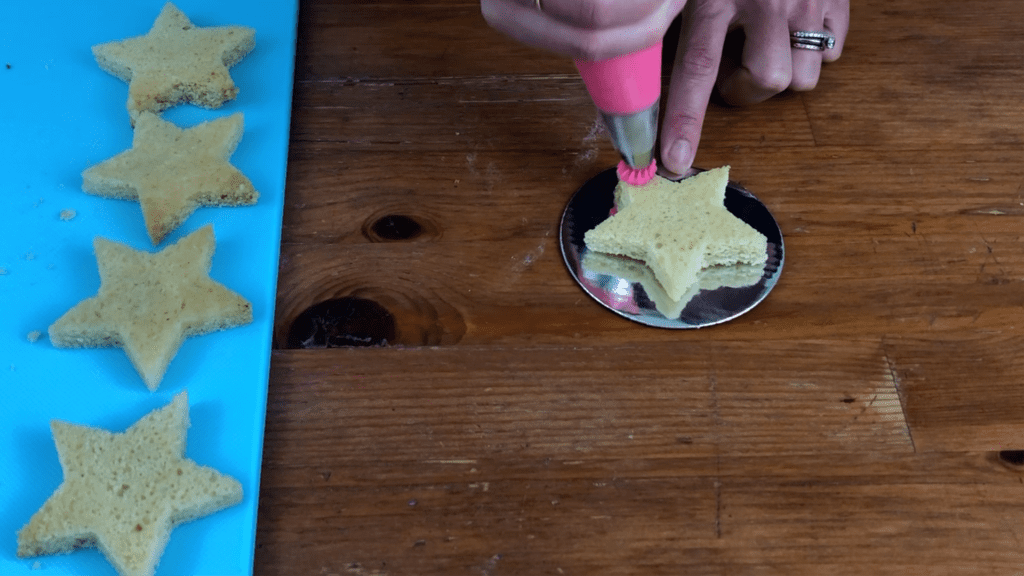
Alternate cake layers and filling to assemble your cake. This is called a naked cake because there won’t be any frosting on the outside, which means it’s REALLY easy and quick to make!
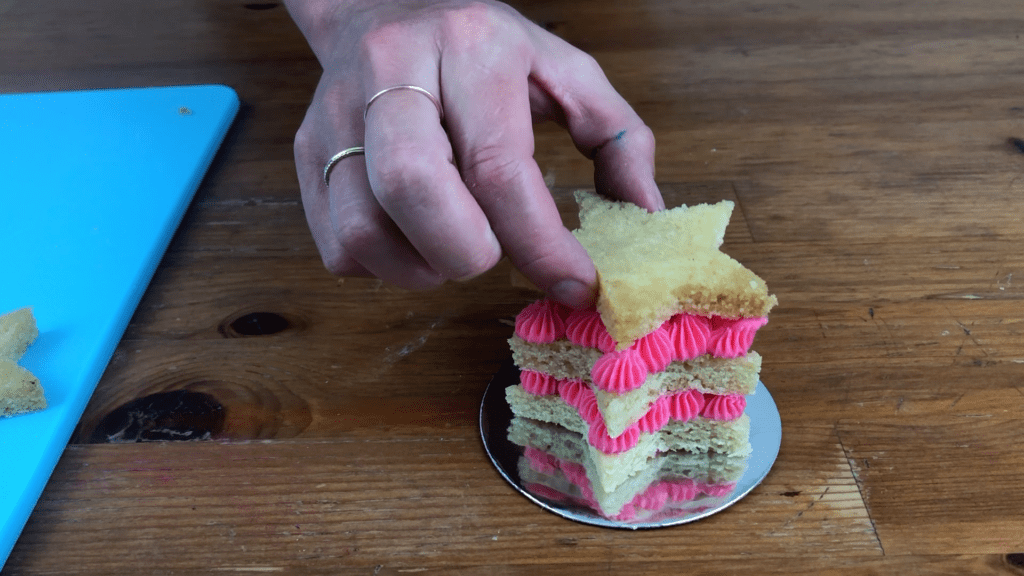
The pretty piping provides color and texture so you don’t need any other decorations on the cake, but sprinkles on top can add a nice finishing touch.
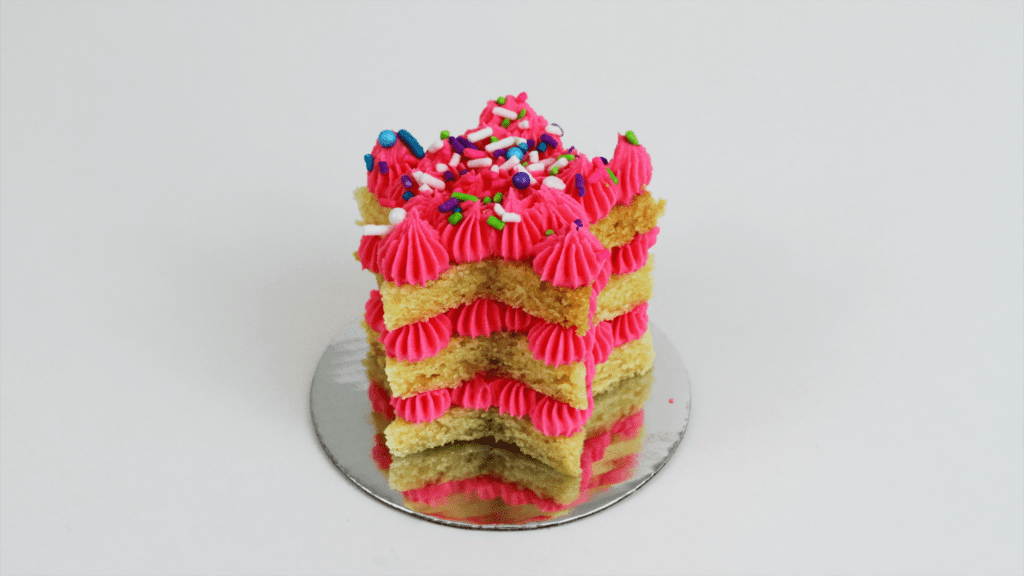
#9 Number Cake Filling
Using a similar technique to #8 , create a pink number cake by carving a number out of a rectangular sheet cake, twice, to make two layers of cake. I like to cut a piece of parchment paper to be the same size as my cake layer and fold it in half, so that I know exactly how much space I have to draw my number. Cut the number out of the parchment paper and place it on the cake to trace around with your knife.
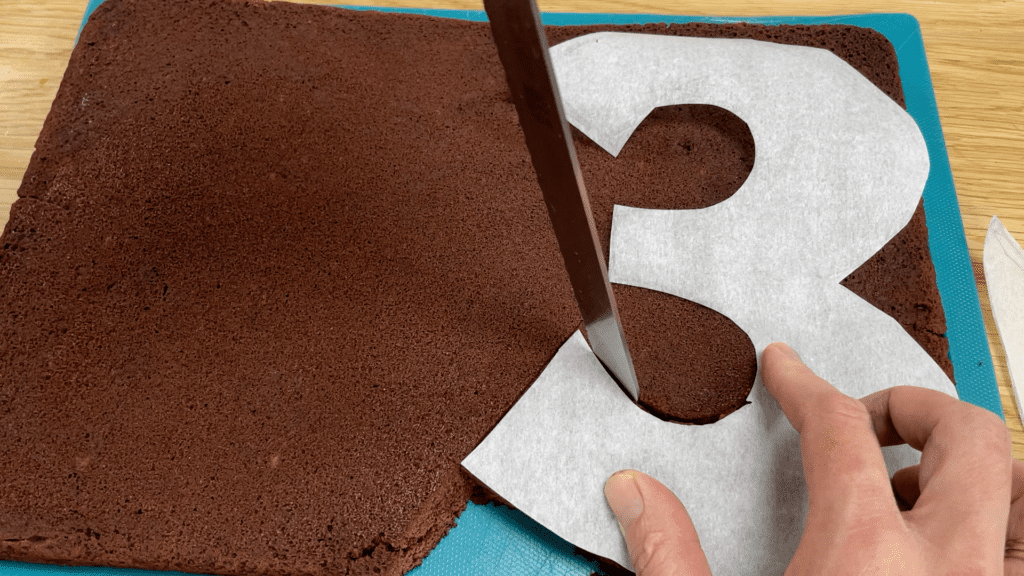
Remove all of the excess pieces to leave two identical number cake layers! I recommend drizzling them with simple syrup to keep them moist if you won’t be frosting the outside of the cake.
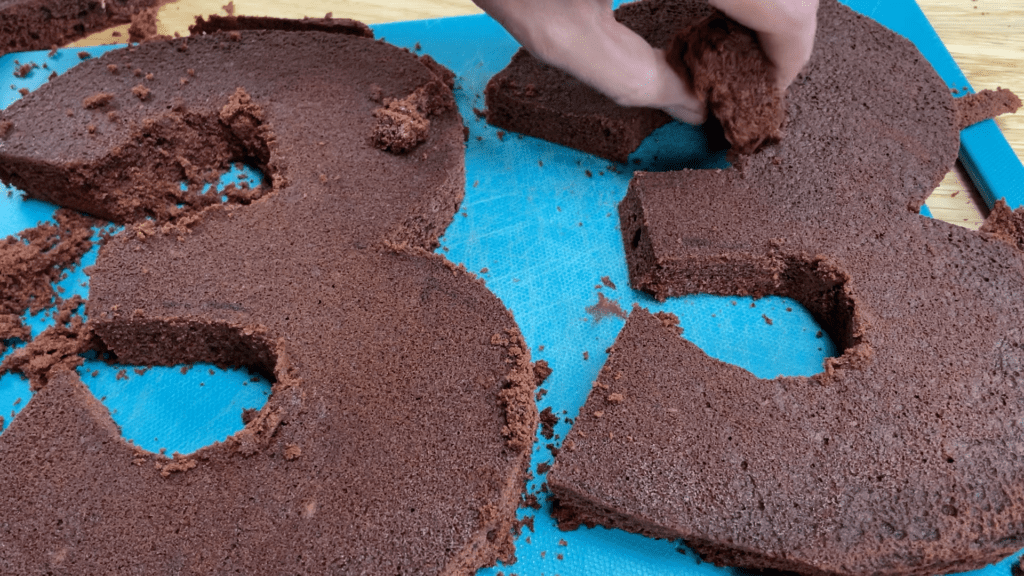
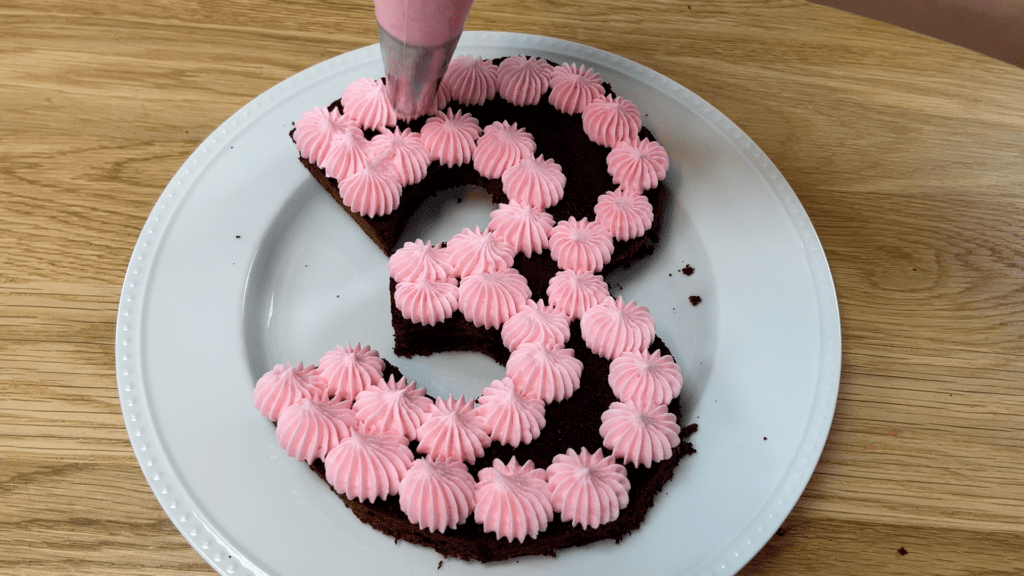
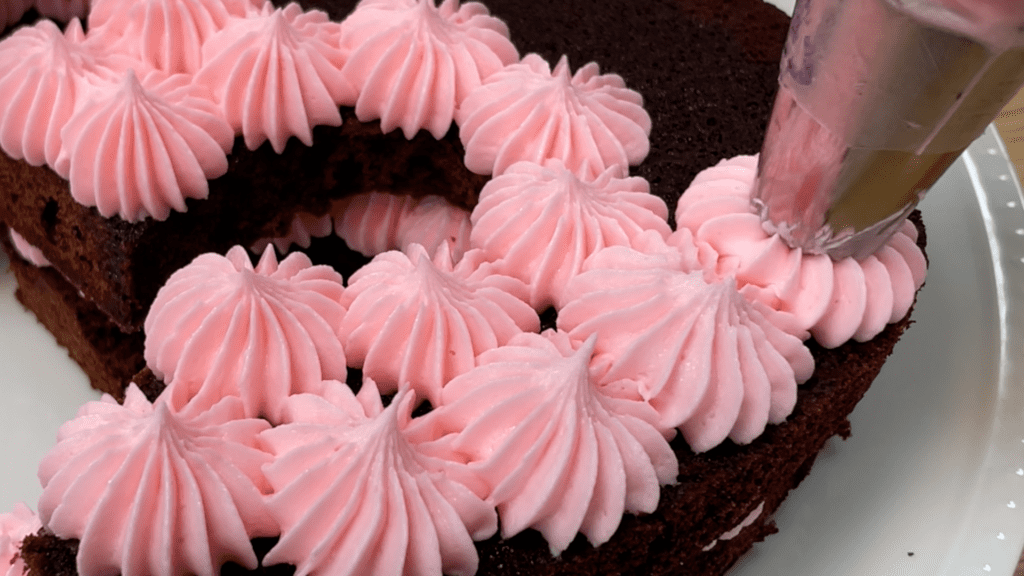
Pipe frosting onto the first layer of cake, starting at the outer edge of the cake so that that part is the neatest, since it’s the only part that will be visible once the cake is assembled. Then fill in in the area within the outline with more piping. I’m using an 8B open star tip for this cake.
Place the next layer of cake on top , arranging it so it’s directly on top before pushing down gently to secure it onto the sticky frosting you’ve just piped, which will act as glue to fold the cake in place.
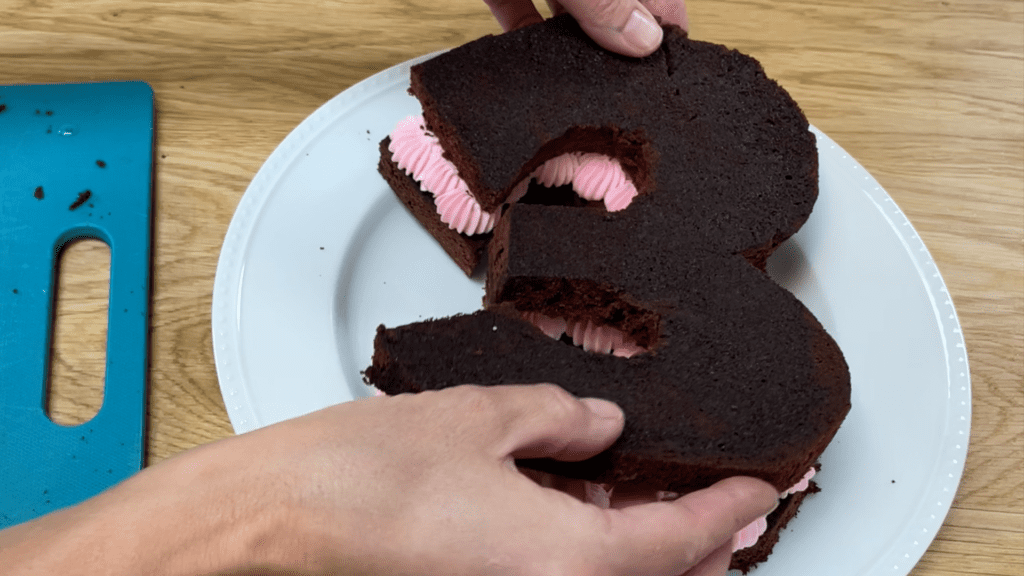
Cover this layer with piping too, again starting with the outline and then filling it in.
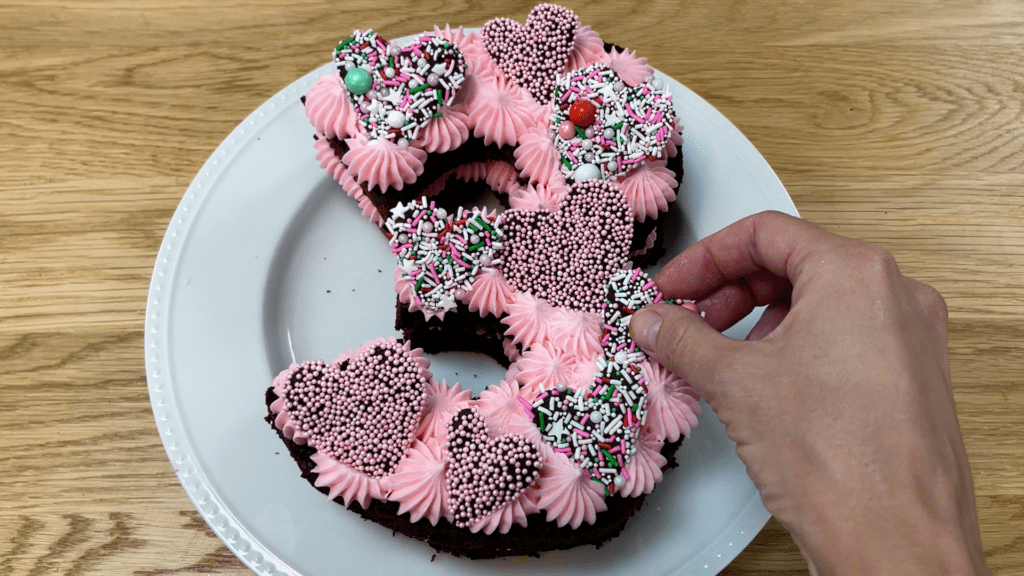
You can add any decorations you like on top like these chocolate hearts. Add them immediately after piping, while the frosting is still sticky so the decorations will attach easily.
Visit my online cake school for a LOT more cake design ideas and techniques and join my Club for access to ALL of my classes as well as live online classes and Q&A sessions for members only!
Here’s the video version of this tutorial:
