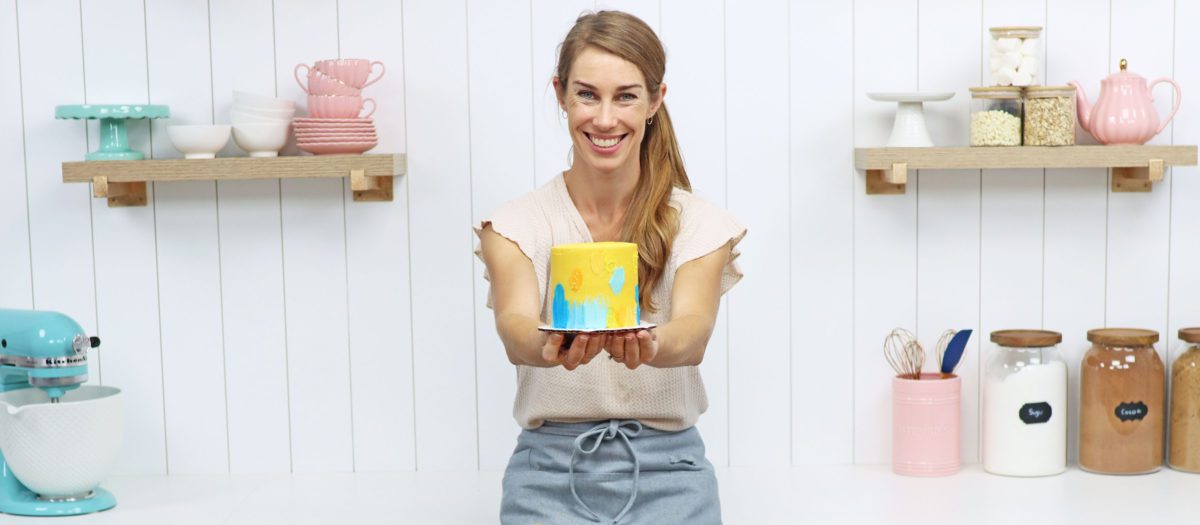
Let’s decorate a cake in five minutes! Use a simple technique with just an
If you prefer to watch a video of this tutorial, scroll to the bottom of the page.
First, prepare your colour palette. Your “paint” will be buttercream! Check consistency of your buttercream before you start mixing and it should be easy to stir and spread. This is my 4 Minute Buttercream.

I like to use a cupcake pan as a pallet because it keeps all of the colors separate and it’s easy to mix them in one of these. You don’t have to use all 12 cups – I’m just going to use nine for this cake. Since you only need a very small amount of buttercream for each colour, just one drop of gel will create very bright and bold colours.

I tend to gravitate to the same colours for my cakes so choosing a color palette online by googling “colour palette” forces me out of my comfort zone to try new colour combinations, which I almost always end up loving!

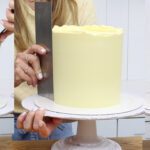
Now that your colours are ready, it’s time to paint a cake! The frosting on your cake needs to have set, so that you can apply pressure to it without damaging it. I put this cake in the fridge for an hour to chill and set the frosting.

You’ll need an

Press the tip of the

Before changing colour, wipe your

What’s nice about painting onto a cake when the frosting has sent is that if you paint anywhere you don’t want to paint you can scrape that off with your

Paint onto the cake again and again to go all the way round the bottom of the cake. Always start with the tip of your

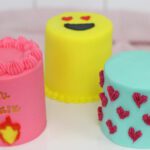
To add even more texture you can press sprinkles into the paint, and it’s easiest to do this straight after you’ve painted the cake so that the buttercream “paint” is still soft and sticky and then the sprinkles will attach easily.

The quickest way to add sprinkles is to dip your finger into water, shake off the excess or dab it on a paper towel so your finger is just damp, not wet, and then press your finger into the sprinkles and they’ll stick to the moisture on your finger. Press your finger into the paint and the sprinkles will stick to that instead of your finger.

For my next 5 minute cake decorating video I’m going to choose a tool chosen by YOU – comment below with your tool suggestions and I’ll pick one to get creative with!
If you’ve enjoyed this tutorial you’ll LOVE my classes, where I teach unique cake designs broken down into four manageable steps in less than 20 minutes of video modules. Join my ClubPLUS for access to every class and course on my online cake school!

Here’s the video version of this tutorial: