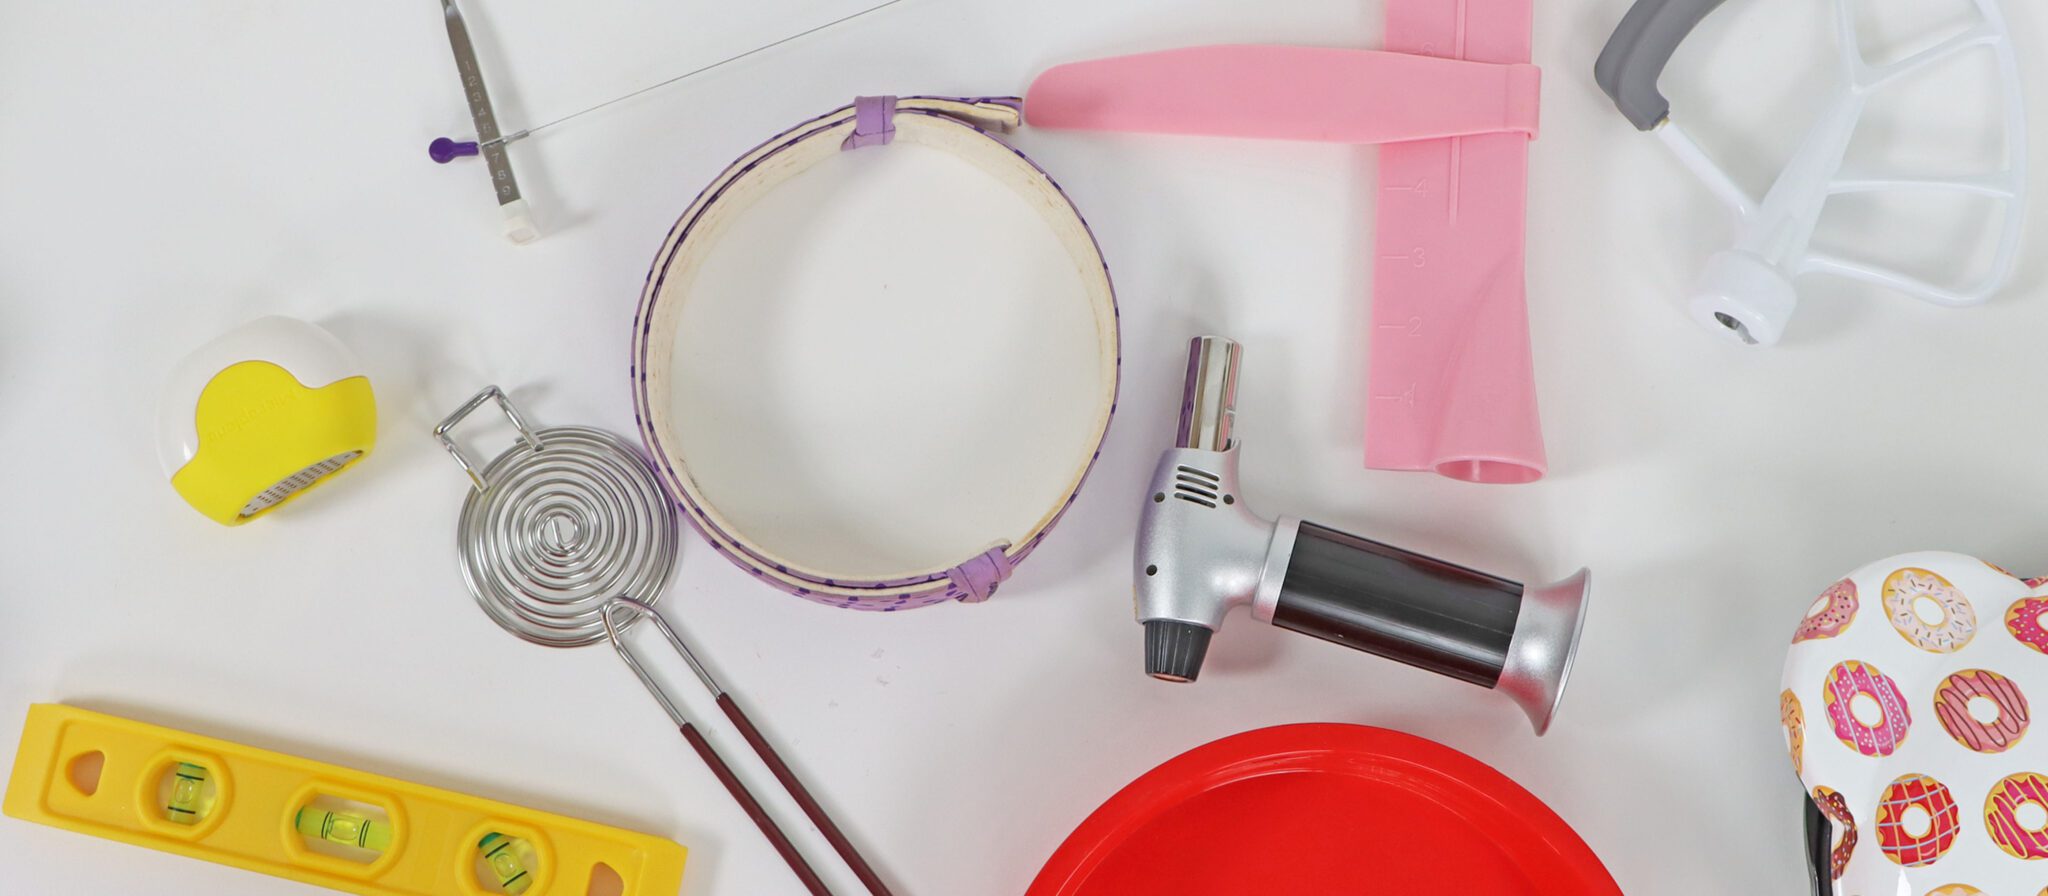
I’m going to test 10 cake decorating tools I bought on Amazon: seven tools that work and three to stay away from!
I’m testing this adjustable cake smoother first because I’m the most excited about it. If it gets results as good as I hope, then surely everyone would be using one, right? It’s easy to set up by adjusting the horizontal bar to fit into the notches on the vertical bar.
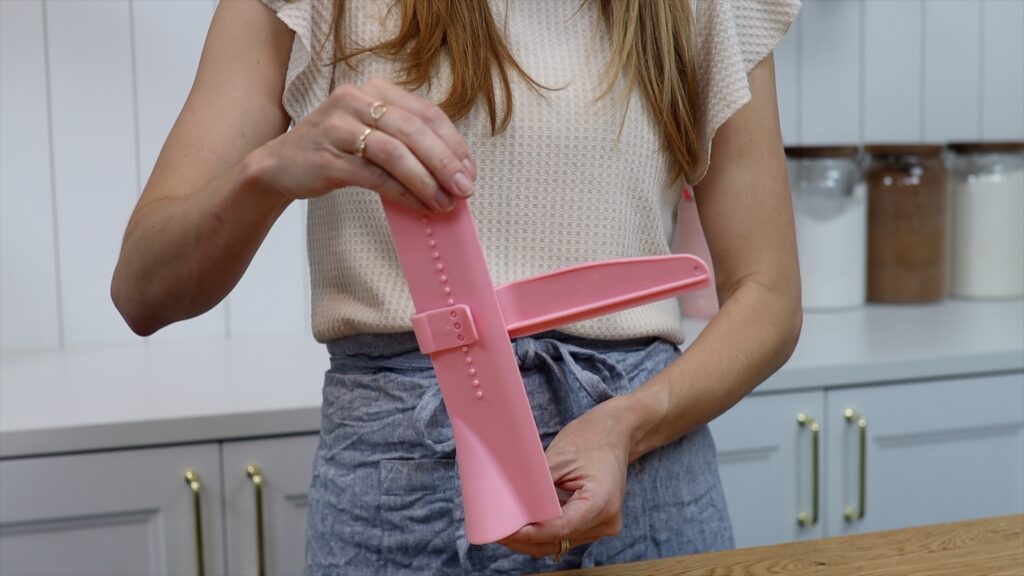
But the height notches are more spaced out than I’d like so I can’t get the exact height I need. It either leaves a very thick layer of frosting on top of the cake or scrapes off too much and exposes the crumb coat.
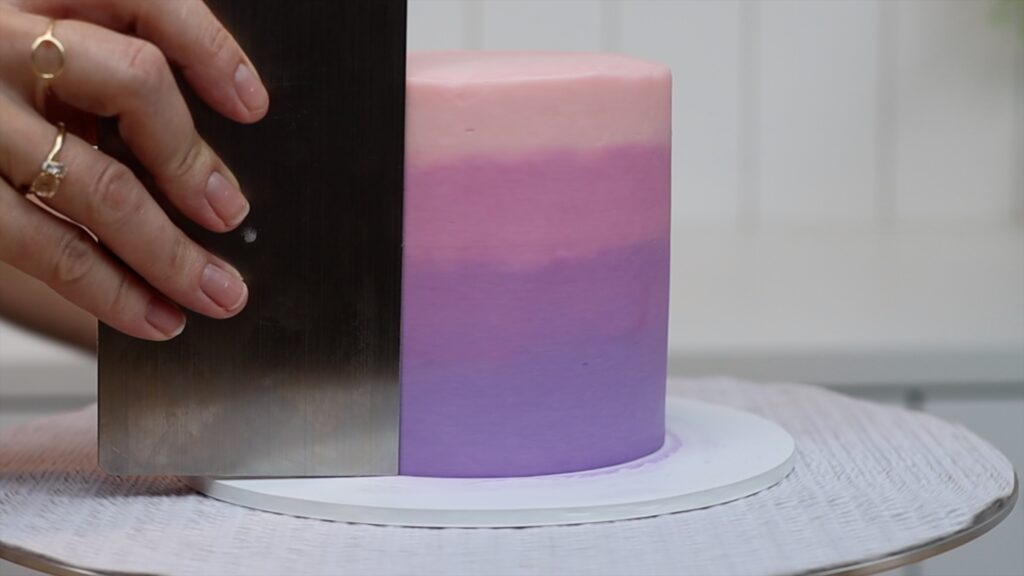
The results aren’t great so far but let's move on to the sides of the cake. I scrape around again and again, maybe 20 times, touching up in between, and the frosting still isn’t smooth.
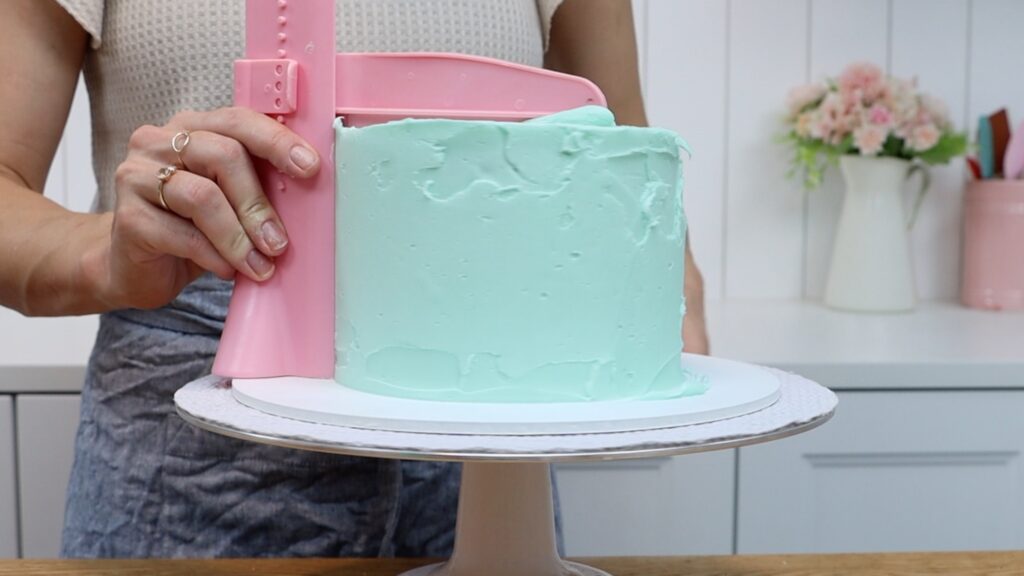
Also, there’s a wide base on this smoother so it should be easy to hold it straight. But the sides of the cake are sloped and it looks like the cake is leaning. I could do a better job of getting straight sides with a basic cake comb. So eventually, I give up. The adjustable frosting smoother is a big disappointment.
Before getting to the cake decorating tools, let's test another baking tool. This is another one I’ve wanted to try for a while. You wrap a strip around a cake pan and tighten it to fit snugly. Then take it off and soak it in water for 5 minutes. Squeeze out most of the excess and put the strip back around the pan.
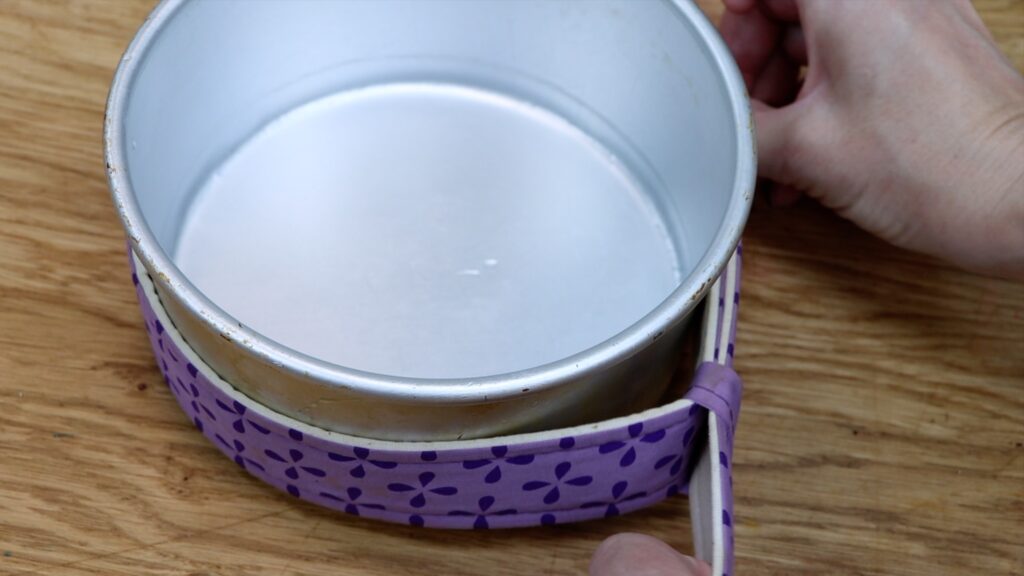
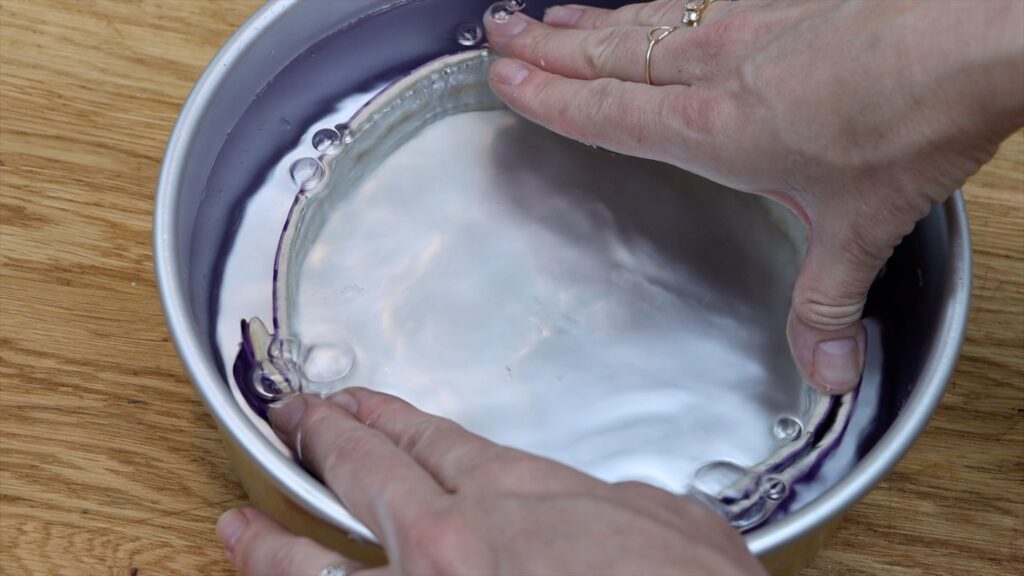
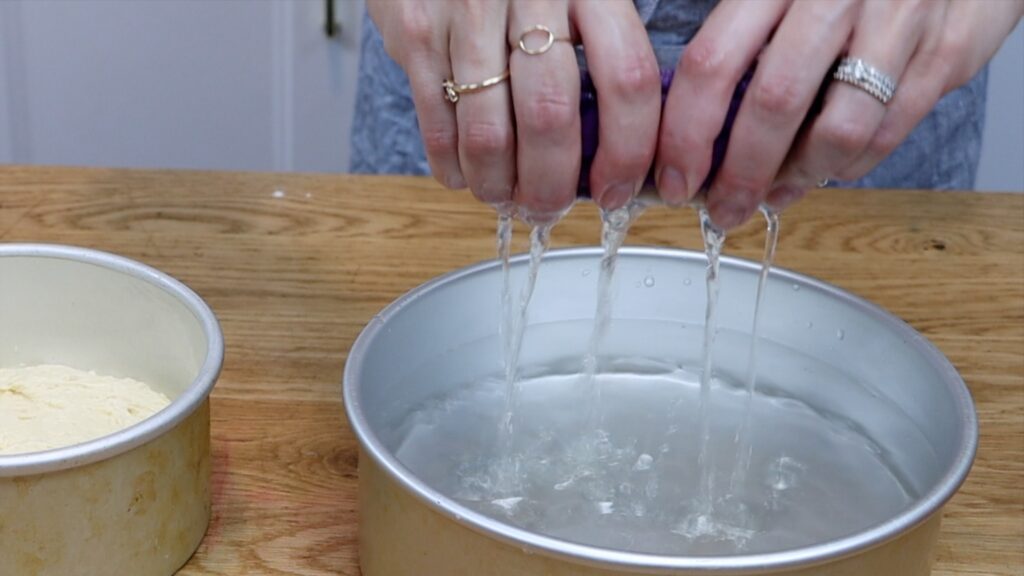
After wrapping the pan with a wet bake-even strip, bake as normal. I’m going to test my Very Vanilla Cake and my Perfect Chocolate Cake with and without the strips. I found that the cakes I baked with the bake-even strips took about 15 minutes longer to bake than the pans without the strips.
Now for the results.
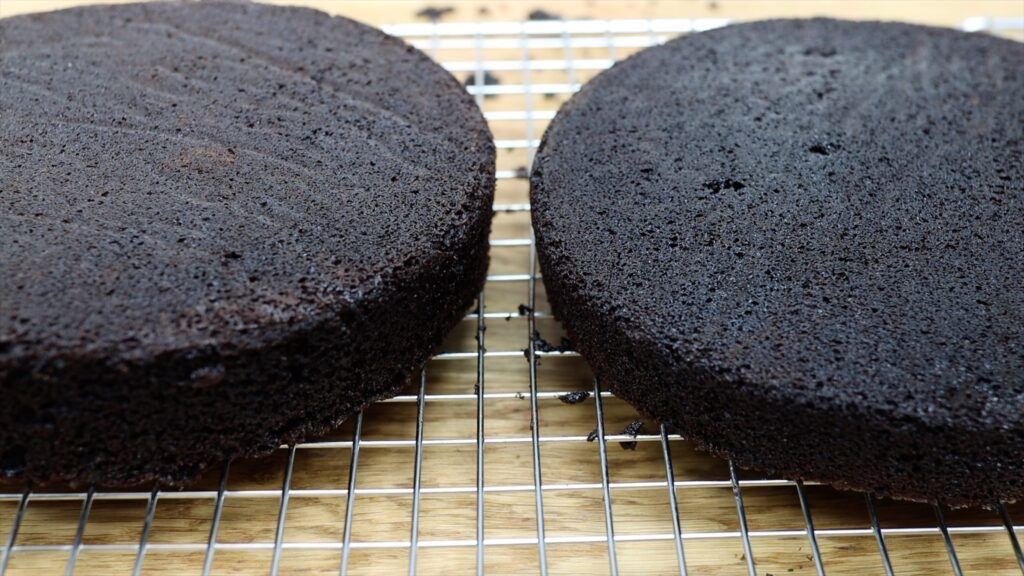
My chocolate cake baked with the bake-even strip rose higher than the cake in the pan without a strip. Both layers baked flat, without domes, and the colouring was even.
There was a bigger difference for my vanilla cake. The cake baked with a bake-even strip really did bake more evenly. It didn't have the typical dark golden edges and it had a flat top.
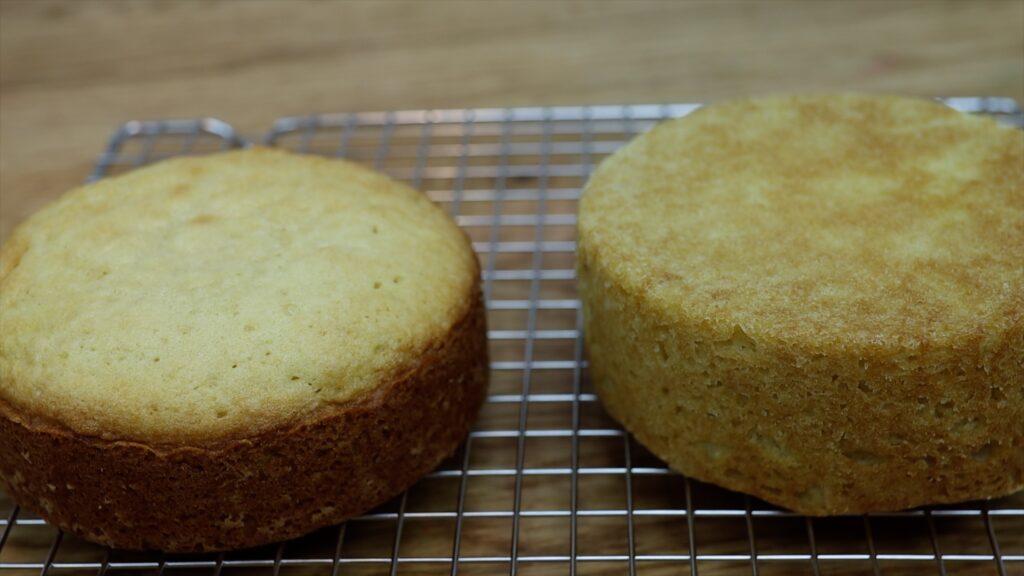
The strips take a bit of time to prepare and make baking time longer but if your schedule can accommodate that, I think the baking strips are worth it. I used these bake-even strips (affiliate link - as an Amazon Associate I earn from qualifying purchases.)
This is another tool I’m really excited about. When you’re mixing cake batter or frosting, ingredients always get stuck on the sides of the mixing bowl. They don’t incorporate properly so you have to constantly turn off the mixer and scrape around the bowl.
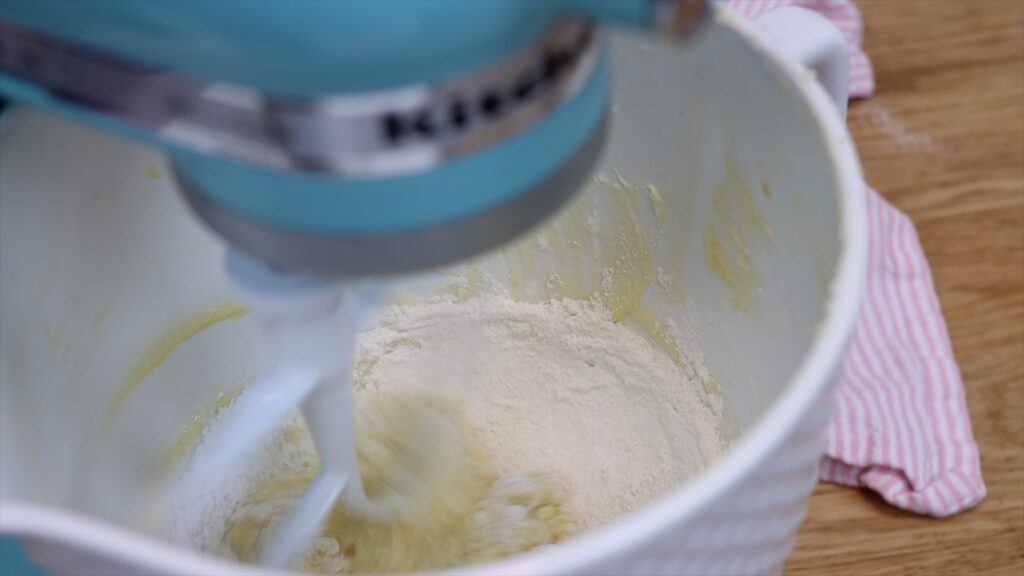
A paddle with a scraper goes right up to the edge of the bowl so it catches every little bit of each ingredient and mixes it all together. That way, you don’t have to stop mixing every few minutes to scrape the bowl. This tool is a big time saver and gets a thumbs up from me!
Are silicone pans really worth it? I understand the appeal: they’re lightweight, won’t get scratched or dented, and should be non-stick. I sprayed mine with oil just in case, to make sure the cake didn't stick.
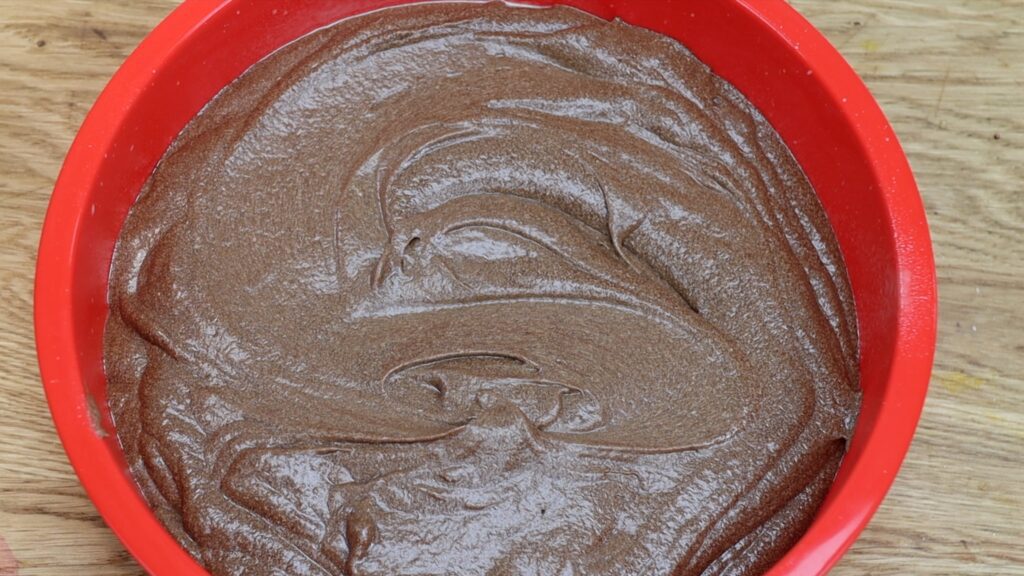
After pouring my batter in, I tapped the pan to spread the batter evenly. I found it was much trickier to tap a silicone pan than a metal pan. After baking I saw that the batter wasn’t level because the cake was lopsided.
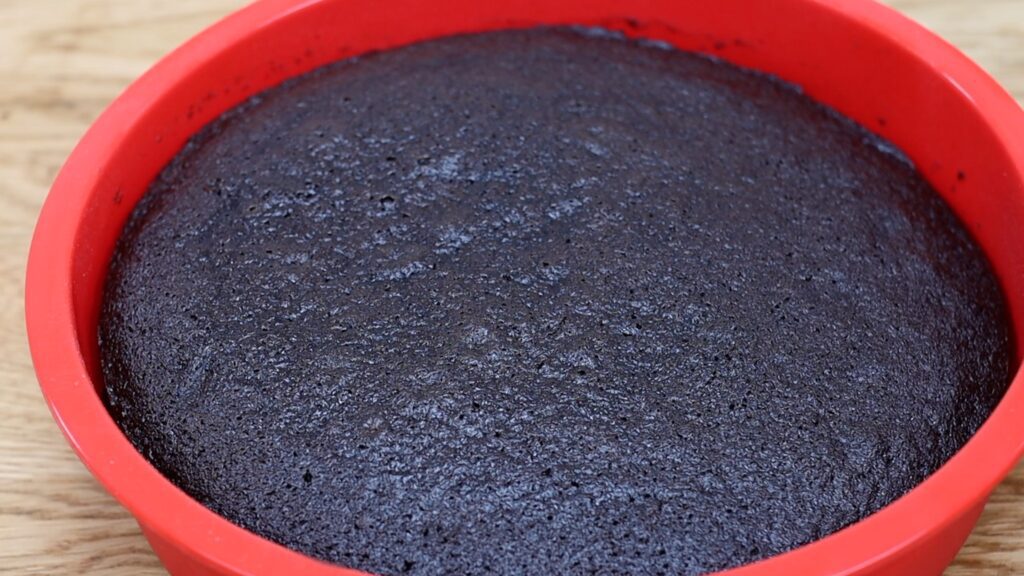
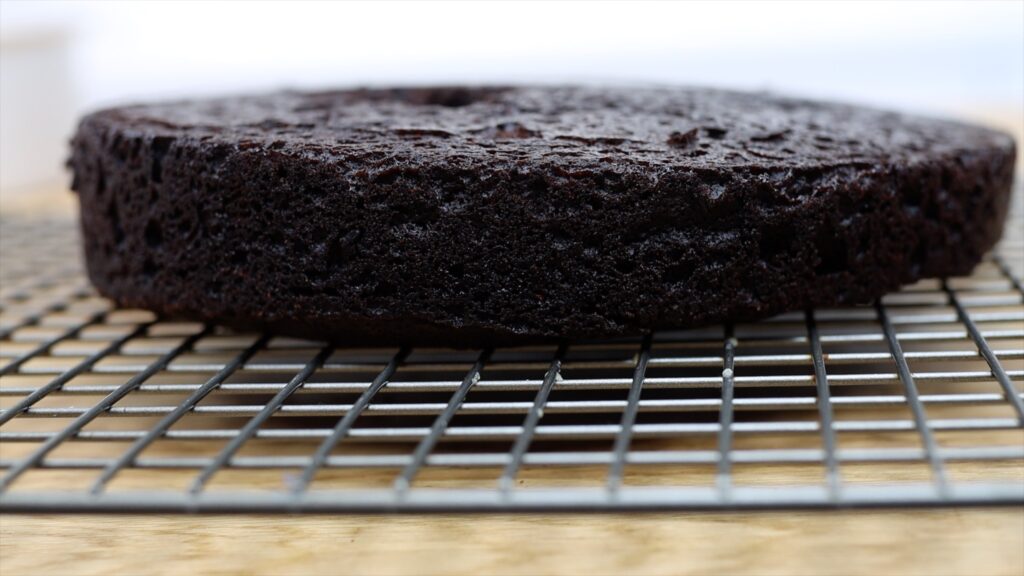
Also, the pans weren't as non-stick as I’d hoped because some chunks of cake stuck to the bottom.
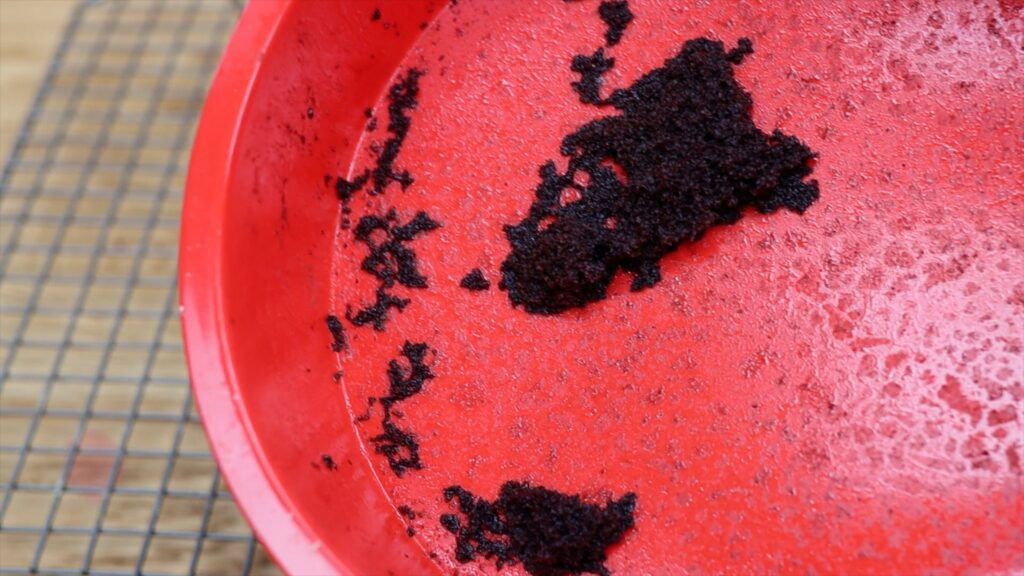
Compared to the same cake batter baked in a metal pan, the silicone pan cake didn’t bake nearly as well. I don’t think silicone pans are worth buying so I’ll stick to metal pans.
This adjustable cake leveler is supposed to create perfectly flat layers but it looks a bit tricky to use. Let’s try it! This comes up early in any online searches for baking and cake decorating tools so I'm curious about how useful it is.
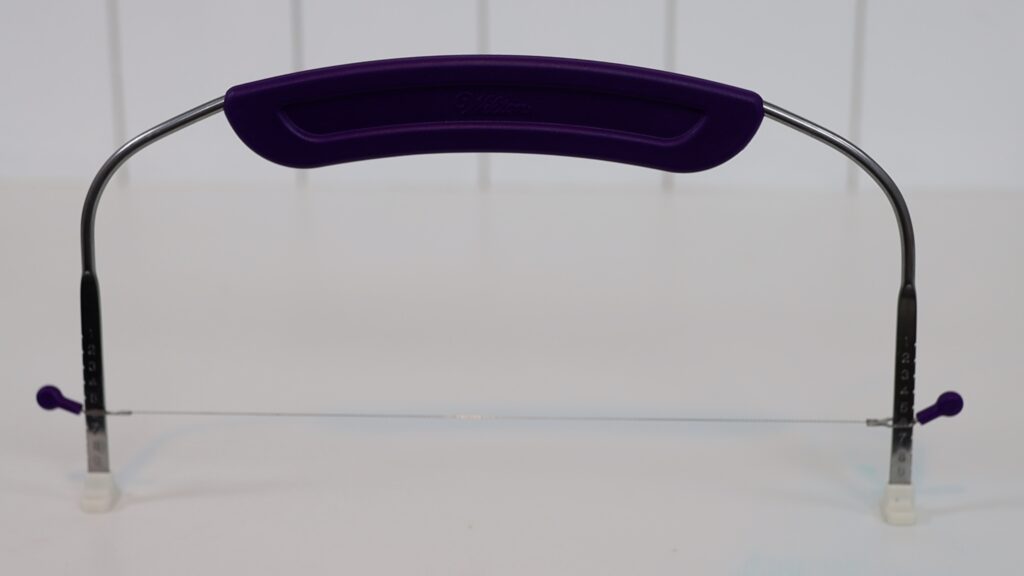
If your cakes are domed or lopsided you can level the tops to make them flat. This ensures a straight cake with a neat cross section when you slice it. The wire can be adjusted to different heights and it cuts surprisingly easily through a cake, until the end.
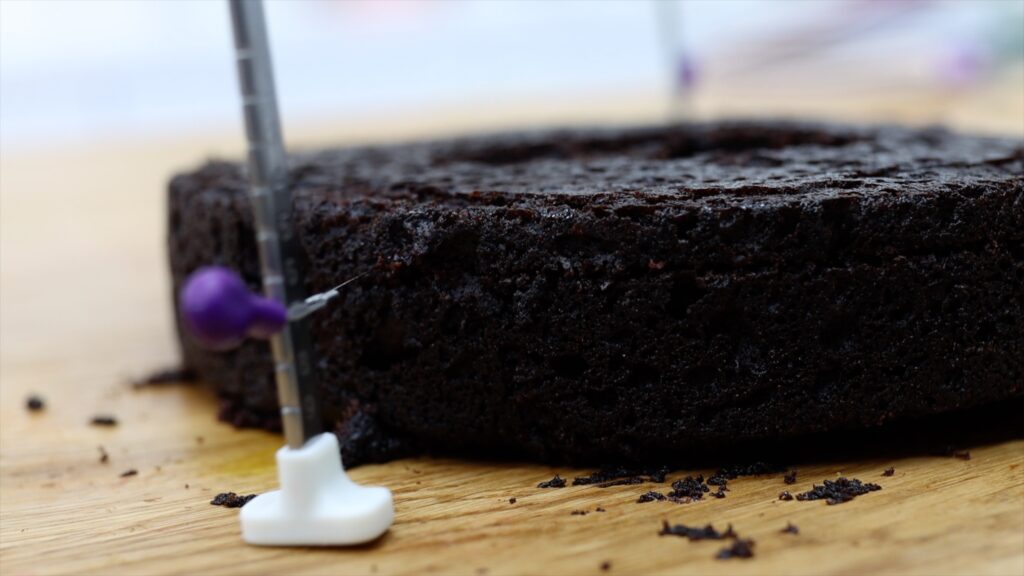
It’s tricky to get through the last part of the cake without a chunk of cake crumbling off. The most effective way to use a leveller is to go from one side to the middle of the cake and then from the other side to the middle. Alternatively, you can spin the cake as you slice.
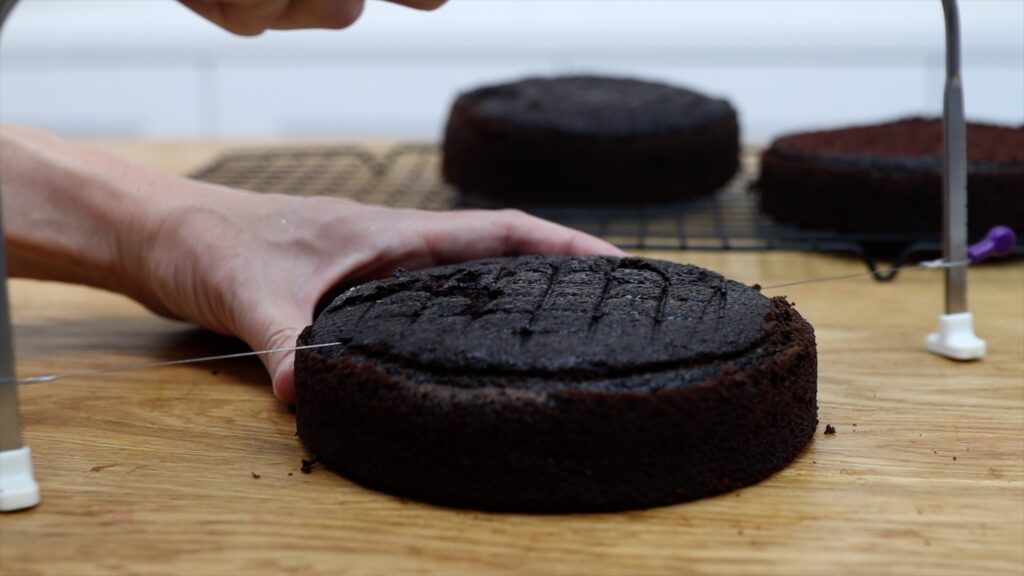
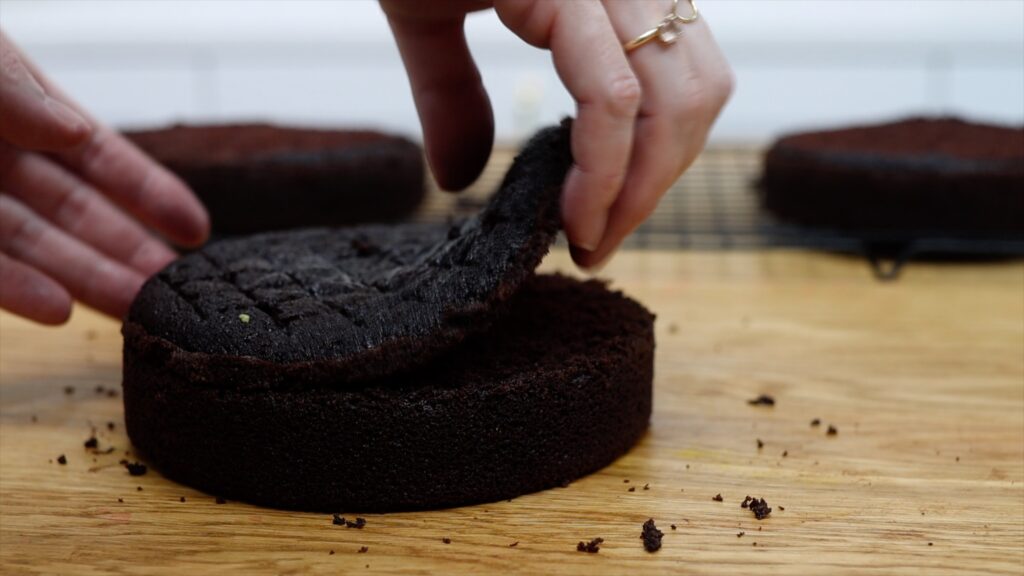
The leveler makes cake layers perfectly flat BUT does it do a better job than using a serrated knife? It’s quicker to use a knife but the results aren't quite as level as with the wire. If you bake cakes professionally and level several in a day, using a serrated knife to do this is second nature and you’ll save time by not needing to adjust the wire, which can take a while. I’m impatient so I’ll reach for my knife first but if you struggle to get level cake layers, this is a must have.
I know this looks like it belongs in a toolbox but could it become part of your collection of essential baking and cake decorating tools? Let’s use this spirit level to assemble a straight cake! You can use this after placing each layer or after assembling your cake. If the bubble isn’t in the middle, between the two lines, your cake top is sloping.
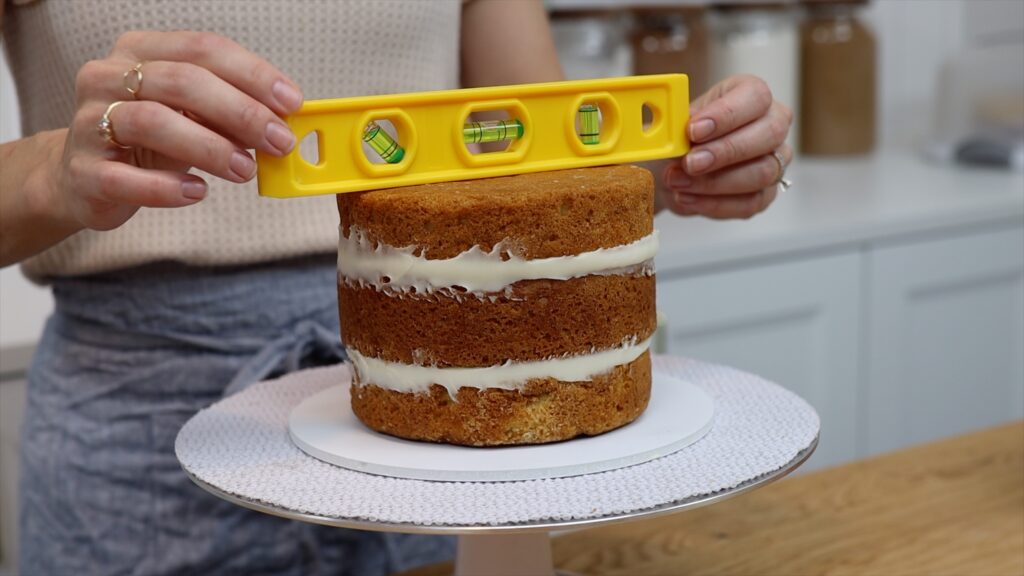
You can trim the top of the cake or just push down on whichever side is higher, which will push that side lower into the filling and level out the top of the cake.
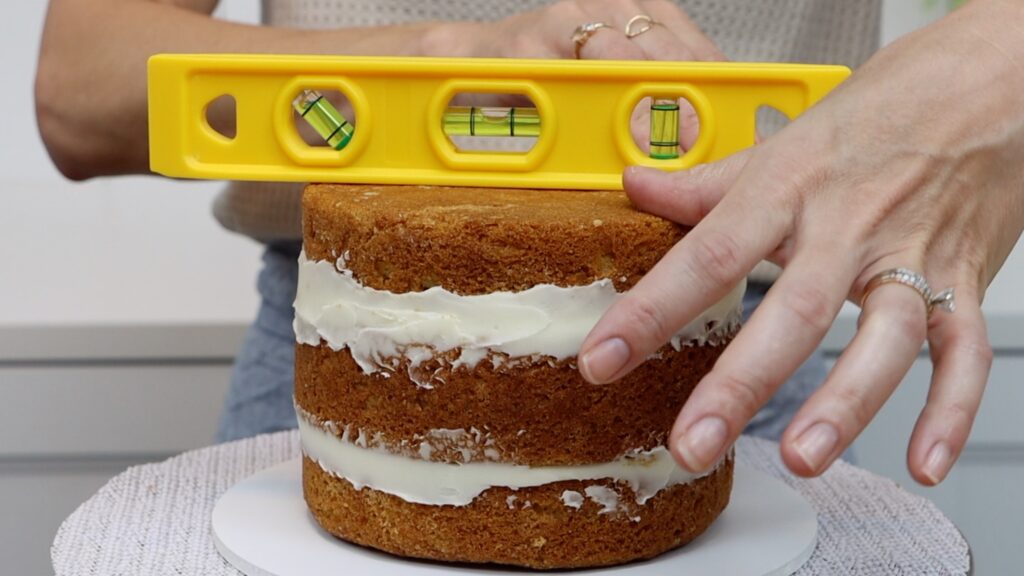
Unless you have a huge slope across the top of a cake, it’s typically not a problem. With most cakes you can use frosting to fill in any imperfections and even to level the top. That's not an option if the frosting on top needs to be a very thin layer, like for semi-naked cakes, or the actual cake itself needs to be perfectly level for support, like for tier cakes, when I’ll definitely be using a spiral level from now on.
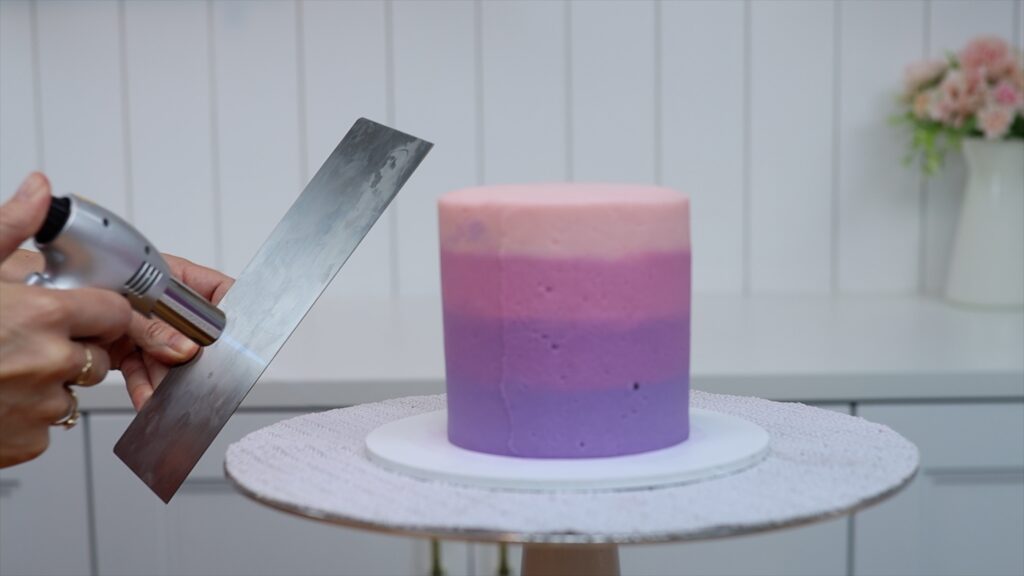
A blow torch is another tool that seems better suited to DIY than cake decorating. Wondering what this could be for? It can make your frosting super duper smooth! Air pockets are usually caused because the frosting has started to set while you’re still smoothing it but a hot metal cake comb can fix that. You can run the cake comb under very hot water or, much easier, use a blowtorch to heat the edge of the comb. The hot metal will melt the very outer layer of frosting and then the comb will drag it around the cake. It will fill in any tiny air pockets or air bubbles, smoothing the frosting. A blow torch might be my favourite addition to my cake decorating tools because smooth frosting makes every cake look better!
For recipes using only egg whites or egg yolks or using them both but separately, this egg separator seems like a good idea. Most of the egg white slips through it quickly, leaving the yolk behind. But there’s still quite a lot of sticky egg white that just won’t go through this.
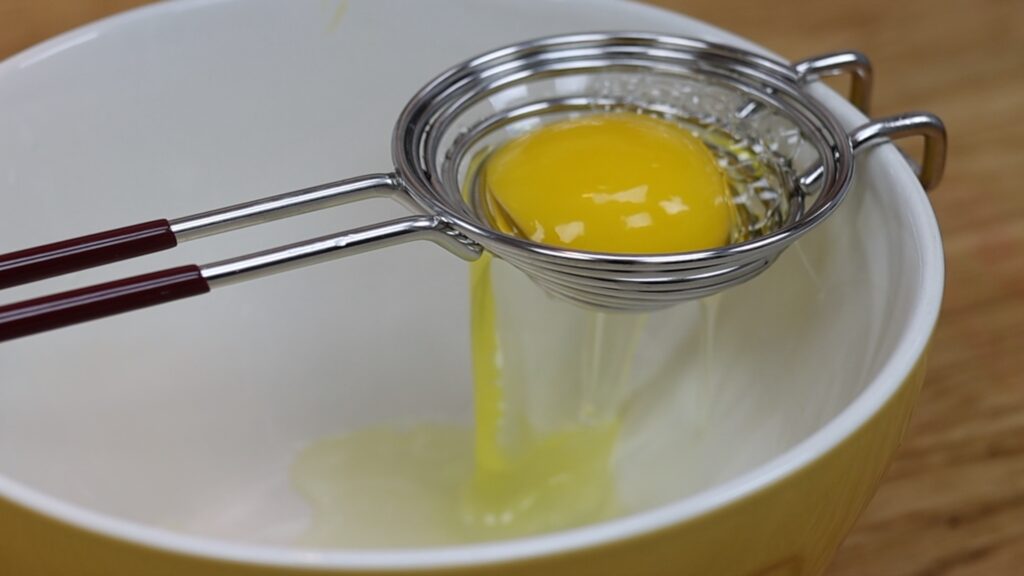
I thought it might be a particularly stubborn egg but I had the same problem with the next egg. Also, a drop of yolk got through which ruins egg whites for meringues. It takes longer to use this gadget than passing the yolk from egg shell to egg shell to separate it the traditional way and it’s not even a reliable way to keep the yolk and egg white separate. I give this cake tool a thumbs down.
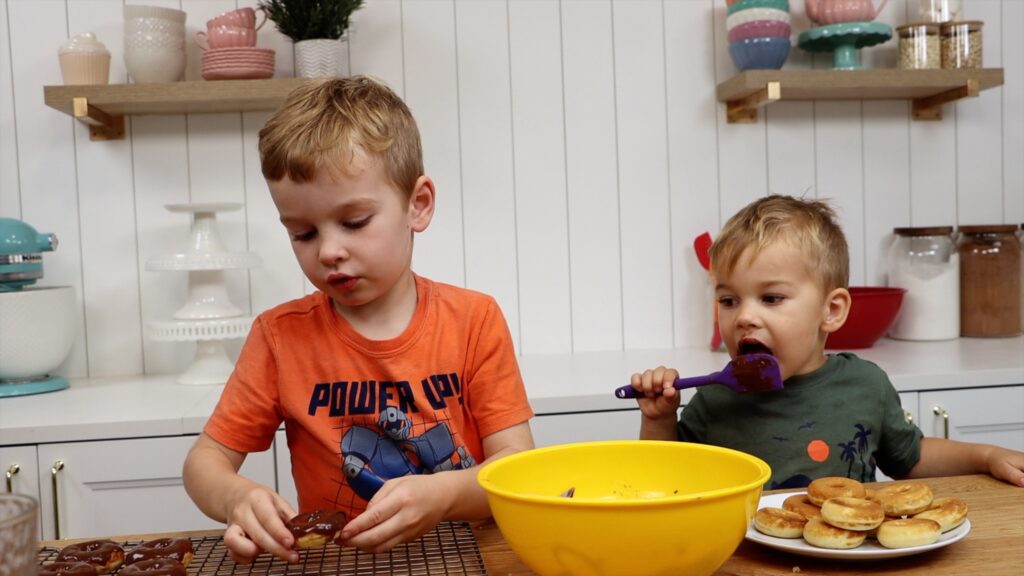
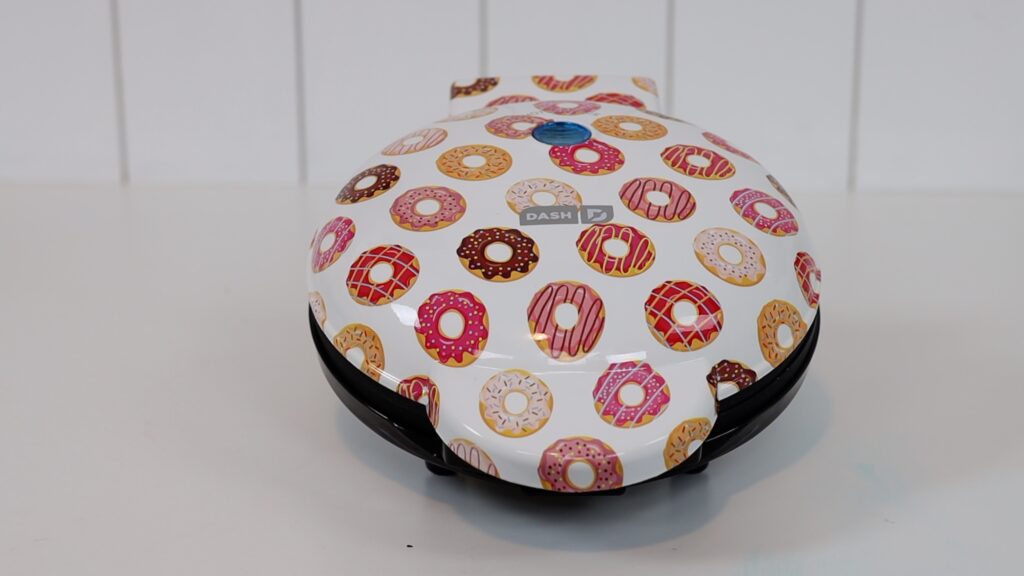
Donuts are a fun cake decoration but they’re a hassle to make. This mini donut maker makes the process much easier. You can make donut batter or use leftover cake batter instead. For the neatest results, spoon the batter into a piping bag and pipe it into the mini donut maker. If you won't have a piping bag, use a sandwich bag with one of the bottom corners cut off. Close the donut maker lid, wait two minutes and then flip the donuts out with a toothpick. This was easy to use and my two and four year old loved helping me decorate the donuts.
You can use these mini donut to decorate a cake, poking toothpicks or wooden skewers into them so that you can stand them upright on top of the cake.
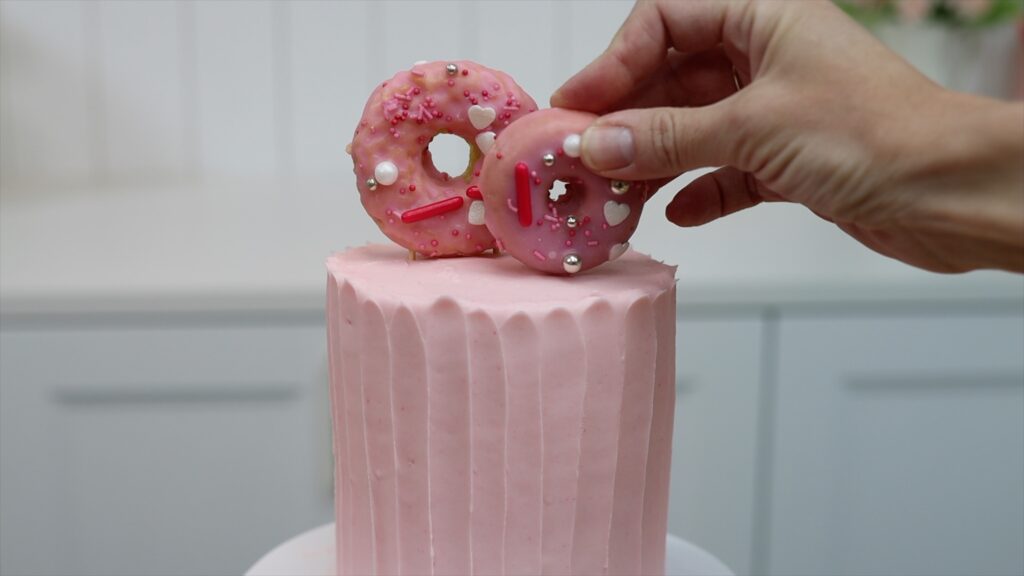
Although I’m a classic fried donut fan, I do love the look of these perfectly rounded donuts on a cake so I’m giving the donut maker a thumbs up! I used this one by Dash:
This mysterious gadget is a lemon zester or chocolate grater. The grater blade is attached to the lid of a little container, which catches the zest.
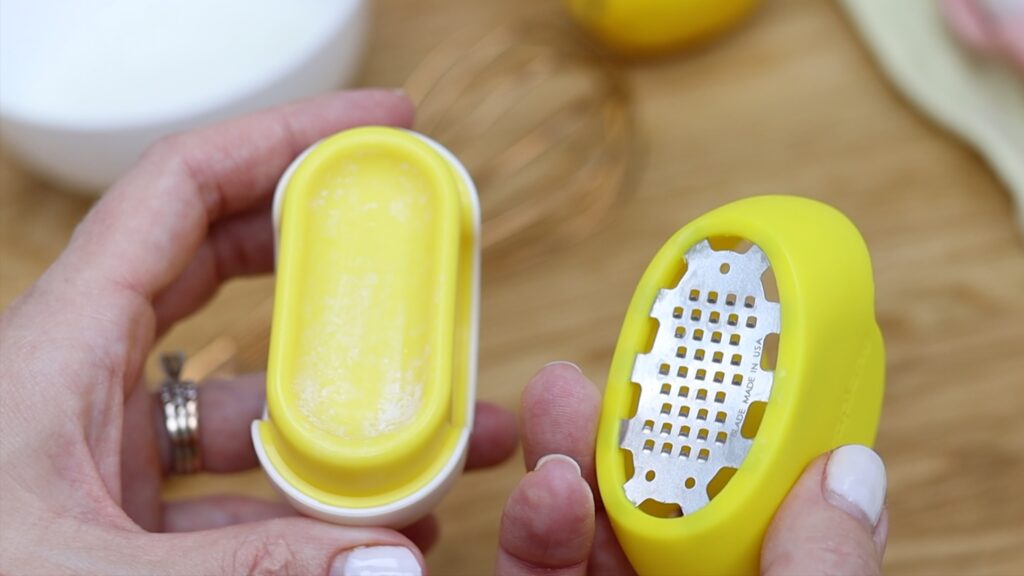
It can take a really long time to zest a lemon using a traditional grater. Also, it’s awkward to hold the grater so that the zest falls onto a plate or into a bowl. This zester is easy to grip, quick to use, and it catches every piece of zest in its handy compartment. It's a game changer if you need a lot of lemon zest, like for this Lemon and Raspberry Cake.
So, there are 10 cake decorating tools: seven that work and three to stay away from. Which of these tools are you going to try? Tell me in the comments!
Check out my cake school for hundreds of cake decorating techniques and designs and join my ClubPLUS membership for access to every MiniCourse, MasterCourse, Live Workshop and 5 Minute Fridays!
