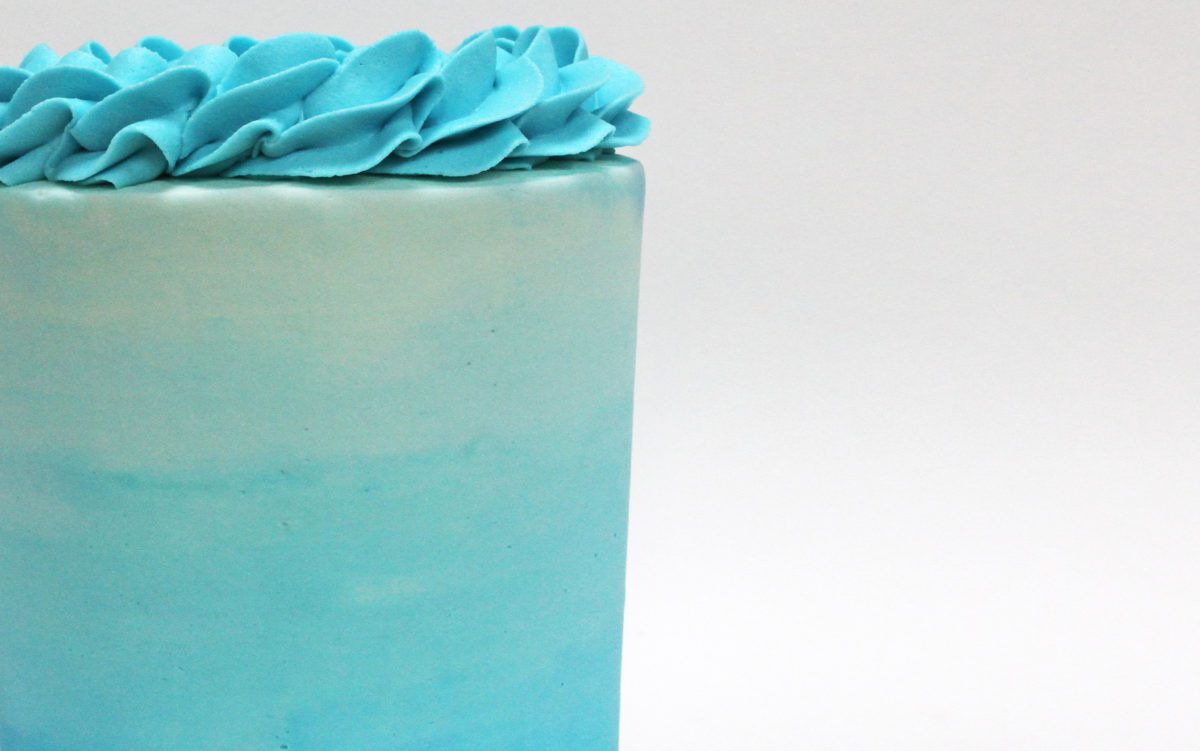
In this tutorial I’m going to show you how to make gorgeous ombre frosting that blends from light to dark gradually, instead of in distinct bands or stripes of colour around the cake. If you prefer to watch a video of this tutorial, scroll to the bottom of the page.
Start with two bowls of frosting, one with twice as much as the other bowl. I’m using my 4 Minute Buttercream but this will work with whipped cream or meringue buttercream, too.
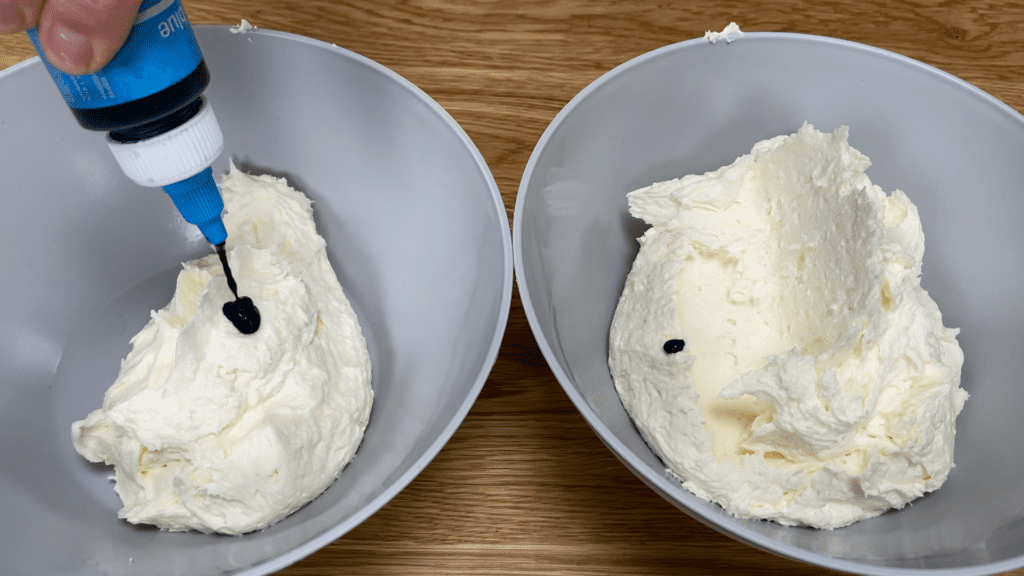
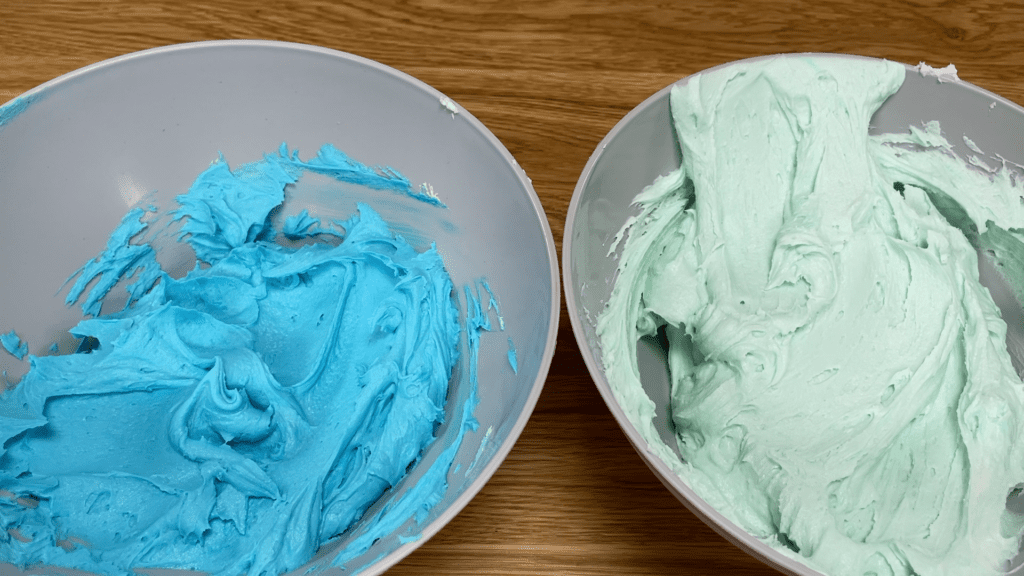
Tint the big bowl of frosting with the lighter colour and the small bowl with the darker colour, using gel colours for the most vibrant shades.
Place your cake on a non-slip mat on a
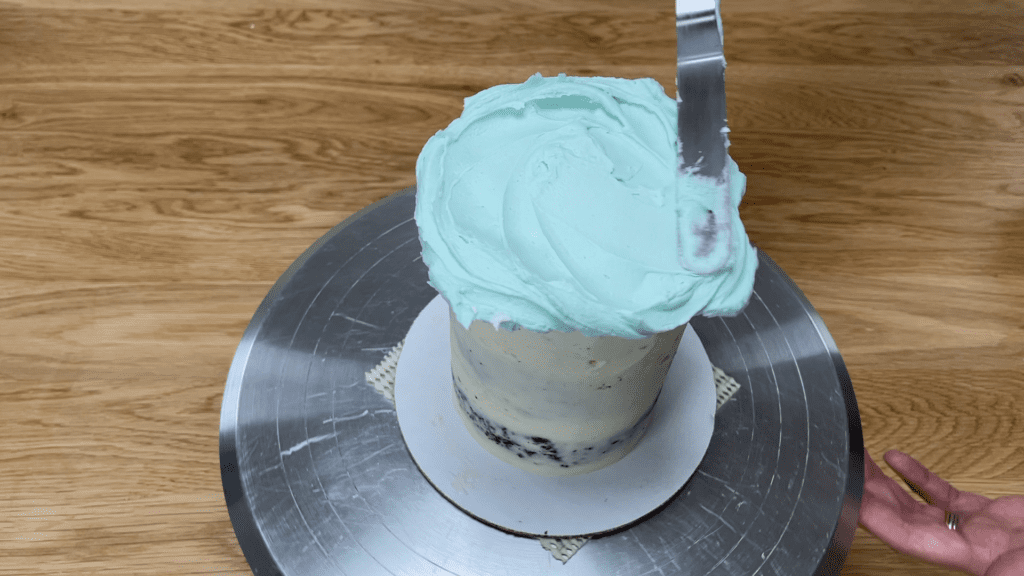
Smooth the frosting on the top of the cake by holding your

Then move onto the sides of the cake, only spreading this lightest colour around the very top of the sides of the cake. Let it stick up above the top edge of the cake, which will allow you to create a very flat top of your cake instead of a domed top.
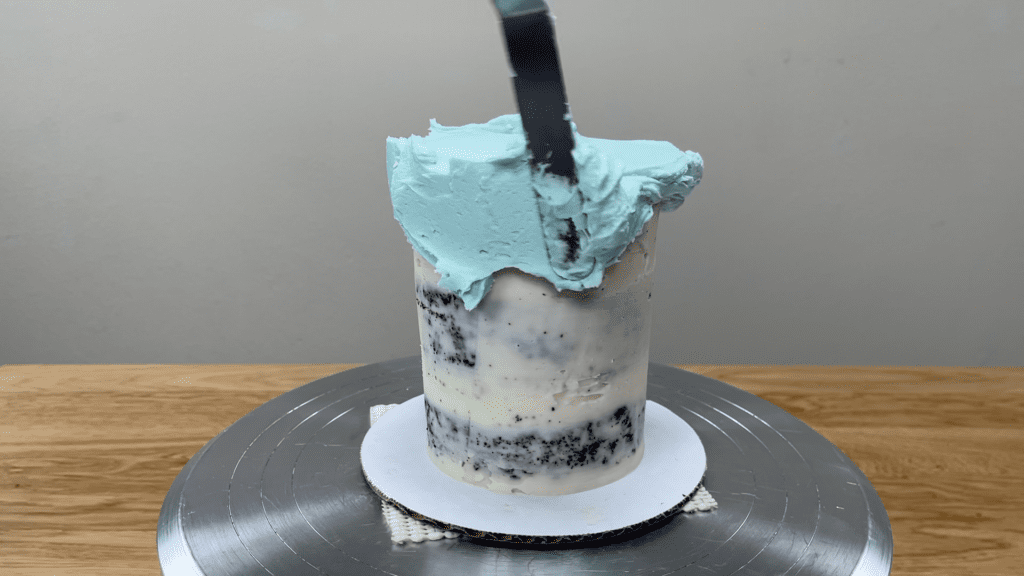
Now scoop up a bit of the darker colour and add it to the lighter colour, stirring it together to create a shade a little bit darker than the original colour that was in this bowl. Leave some of the lightest colour on the side fo the bowl to use for touchups later.
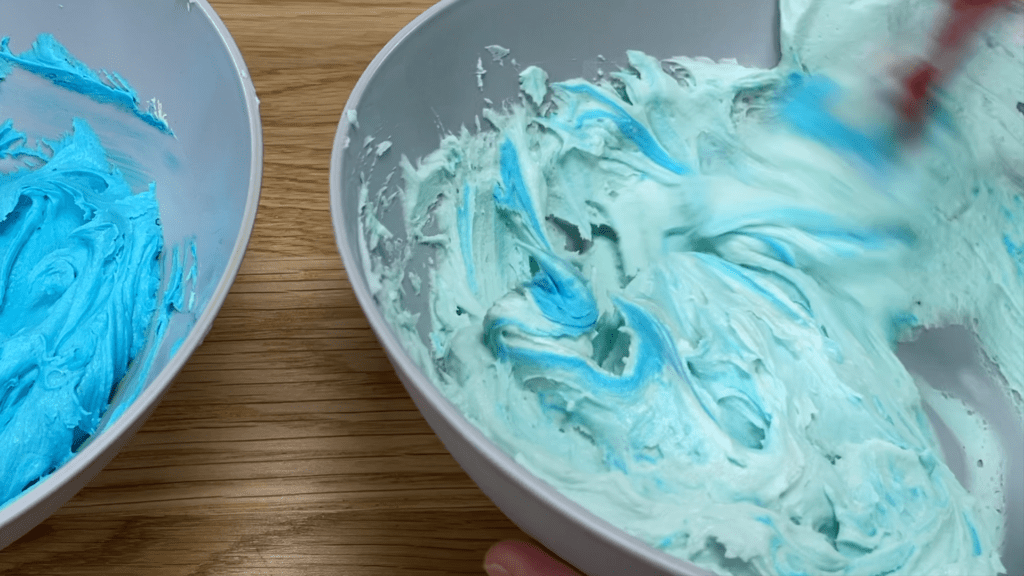
Spread the new colour just below the first colour on the cake, spreading it on as thickly as the previous colour. It’s fine if you spread it over the previous colour because it’s all going to blend together in a minute.
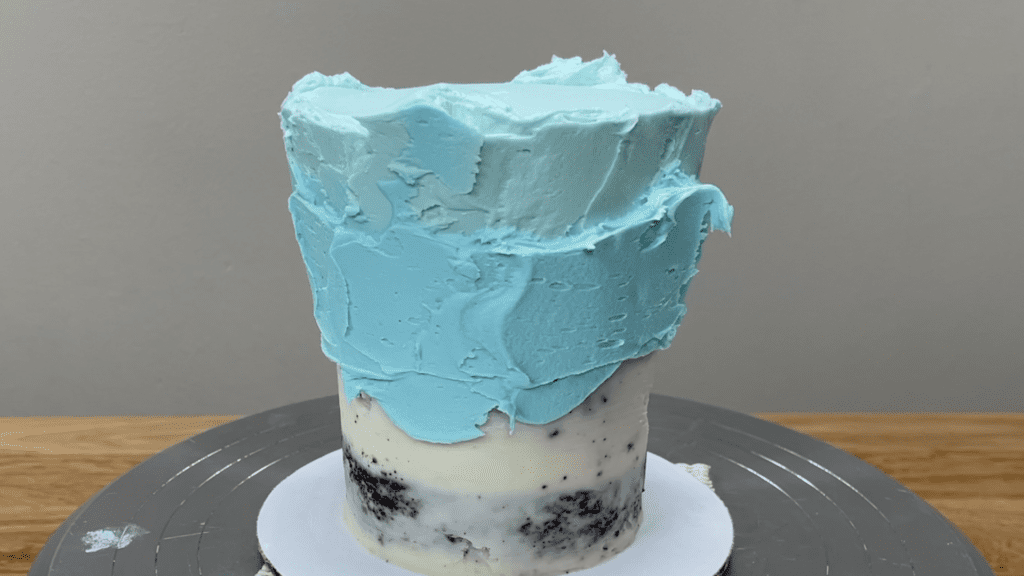
Add more of the darkest colour to the bowl to make a darker shade of the lighter colour. Mix the new colour together, leaving a bit of the previous colour on the side of the bowl to use later. Spread this onto the cake immediately below the previous colour.
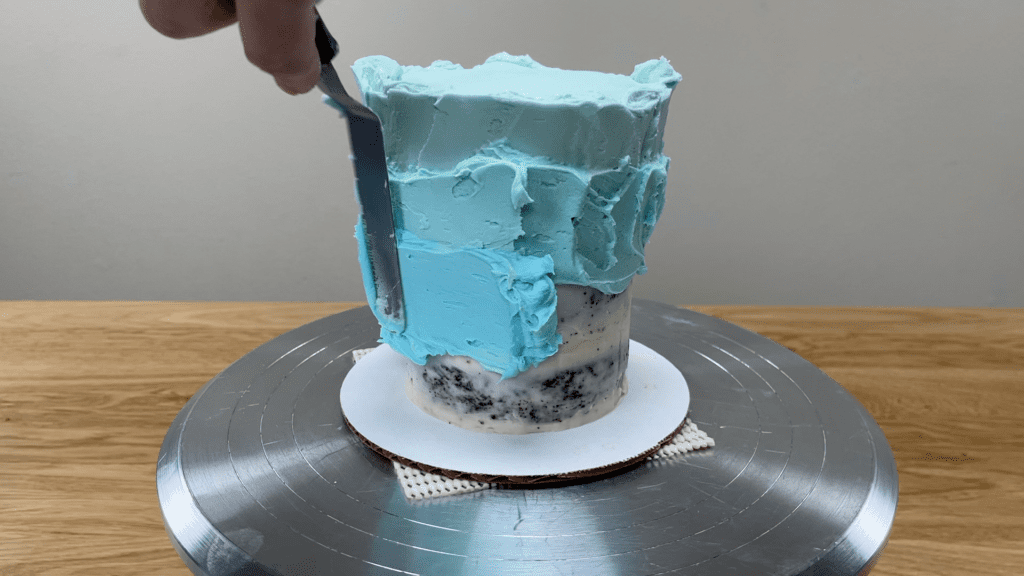
The wider the band of colour you spread on, the fewer shades you’ll fit onto the cake so for an ombre with more shades within the gradient, spread very narrow bands of colour onto the cake. This means you’ll be able to fit in more shades.
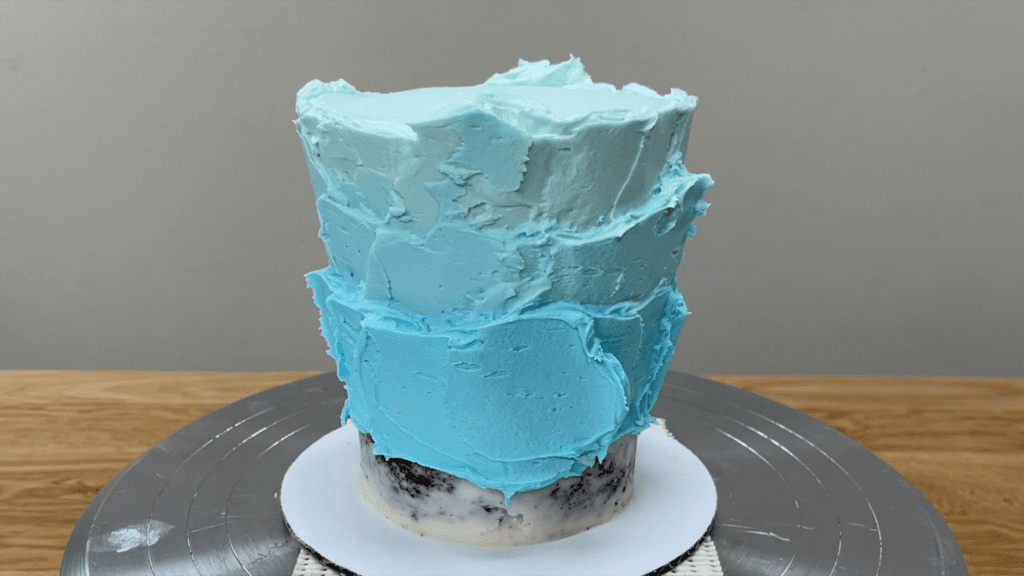
After spreading each shade onto the cake, add more of the darkest colour to the bowl, mix it together leaving a bit of the previous colour saved on the side of the bowl for later, and spread the new colour onto the cake.
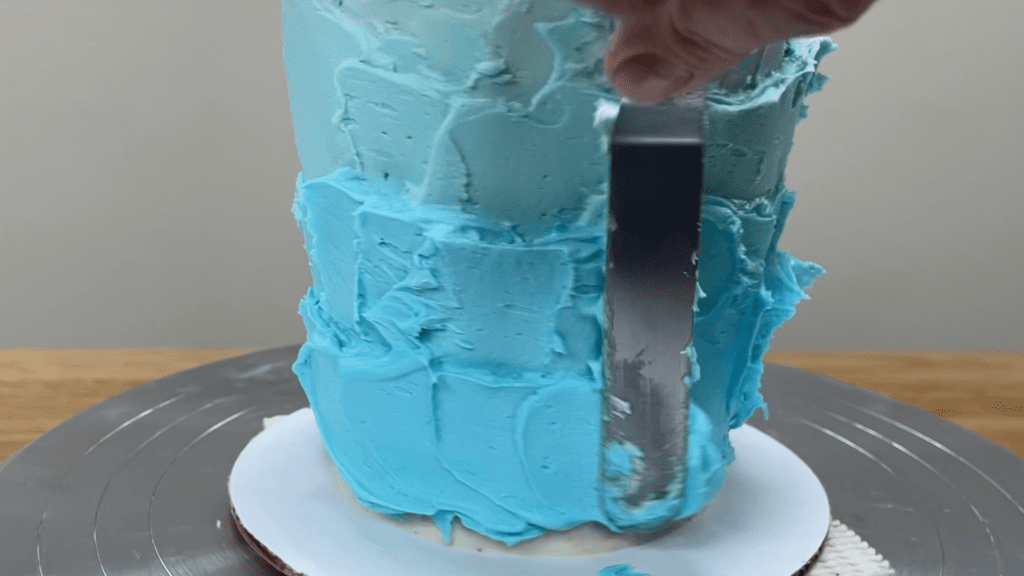
When you get to the bottom of the cake, use only the darkest colour to spread on the final band of colour. Make sure you spread it all the way down to the cake board so the crumb coat is completely covered up and you won’t have any gaps at the very bottom of the cake.
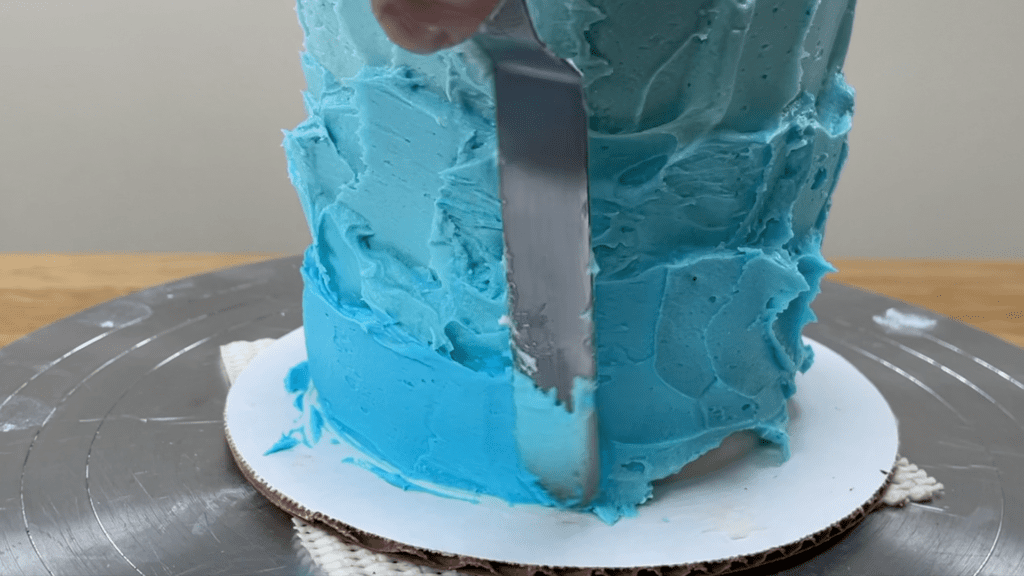
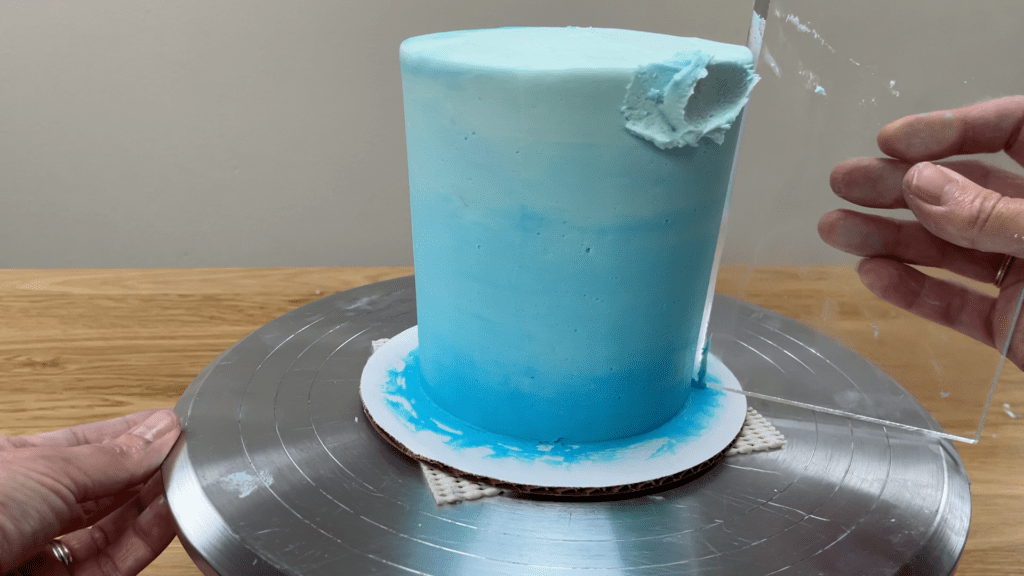
Now use a frosting smoother and scrape around the cake once, resting the frosting smoother down on the cake board to line it up to create straight sides on the cake.
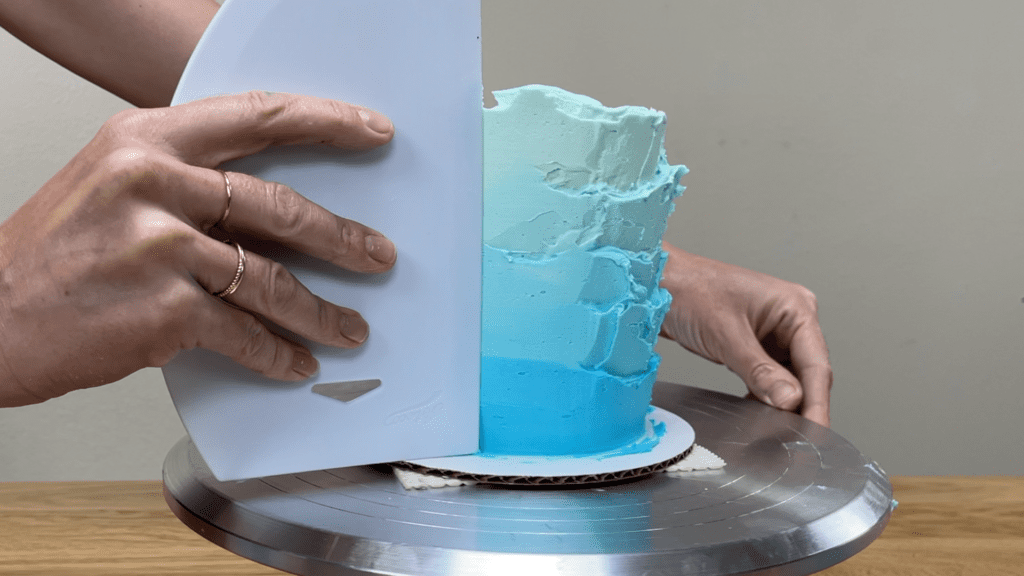
Remember the small amounts of each shade of frosting you saved on the side of the bowl? Here’s where they come in. Scoop them up to spread onto the cake to fill in any indents in the frosting.
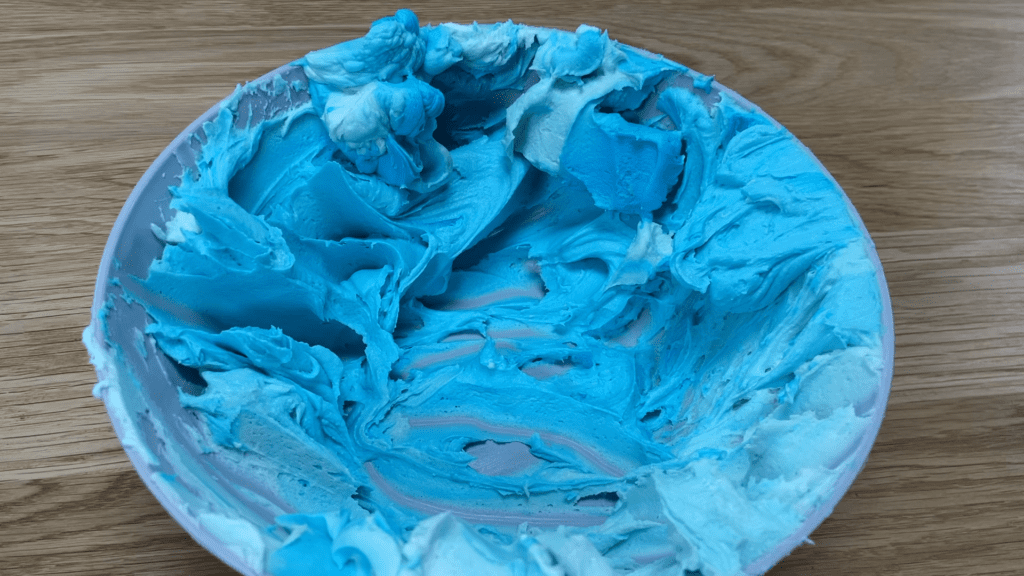
You can use the darker shades to fill in indents lower down on the cake and the lighter shades to fill in indents at the top, or do the opposite: here I’m using darker shades at the top to make the blending more gradual. It’s fun to play around with the different shades as you do touchups,
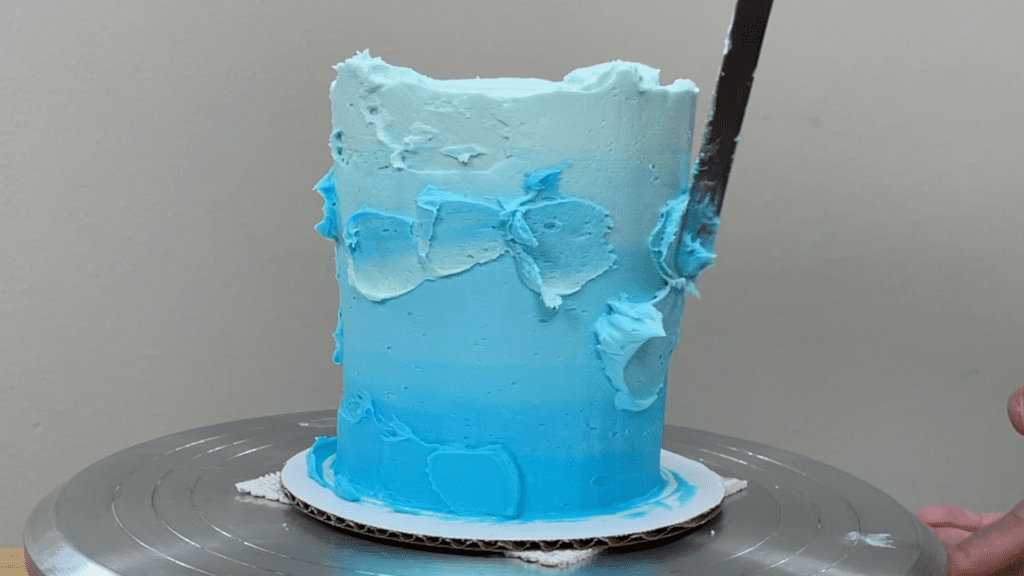
Once the sides are as blended and as smooth as you want them to be, move onto the top of the cake. Scrape the overhanging frosting towards the middle of the cake with your
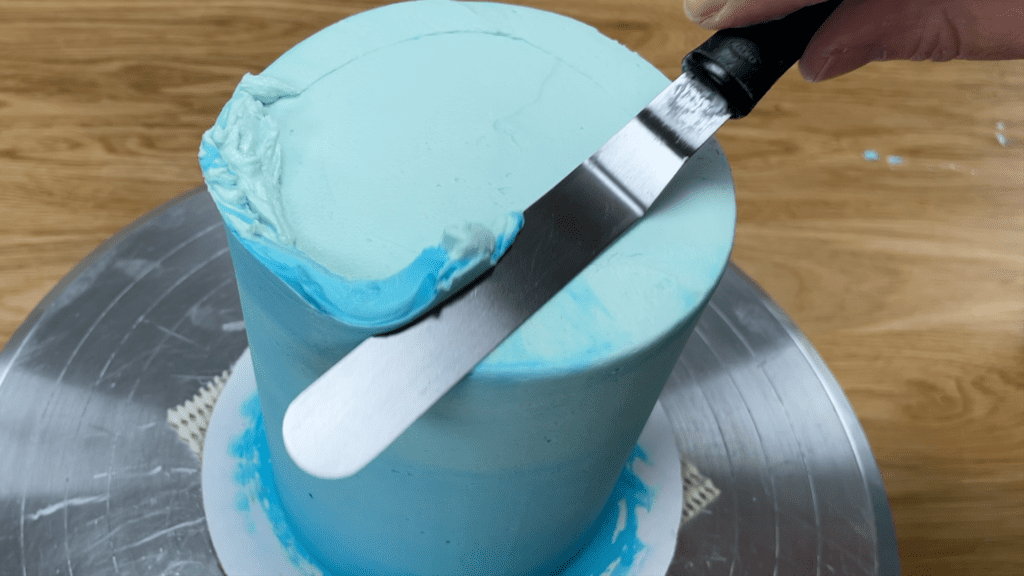
Scrape that frosting into your bowl and wipe the spatula clean and repeat around the top edge to leave sharp edges and a flat top surface of the cake.
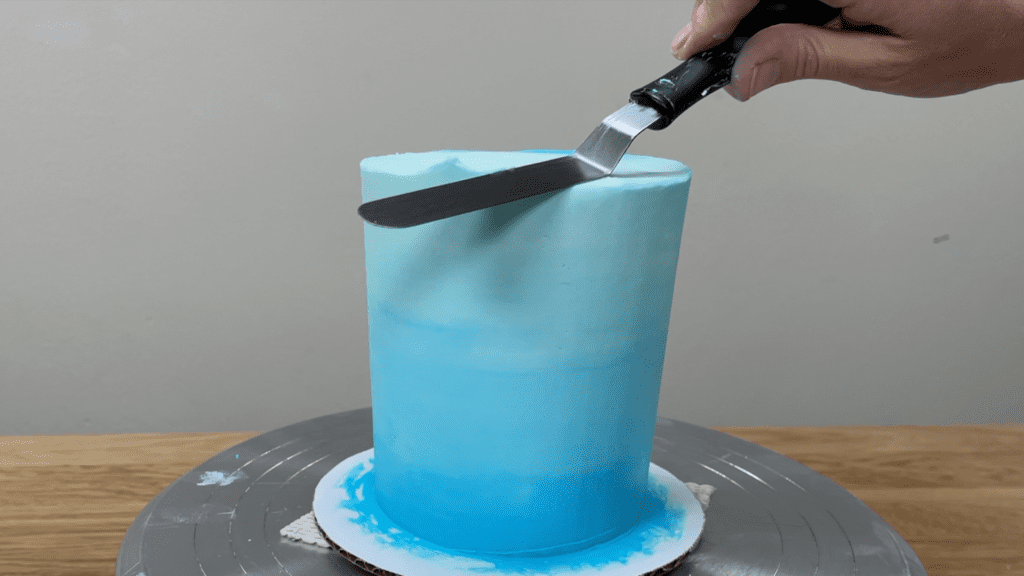
When the top is finished, check the top edge for indents and if you have any, spread more frosting onto those, choosing form the shades you have in your bowl. Scrape around the cake again with your frosting smoother and tidy up the top edge of the cake again.
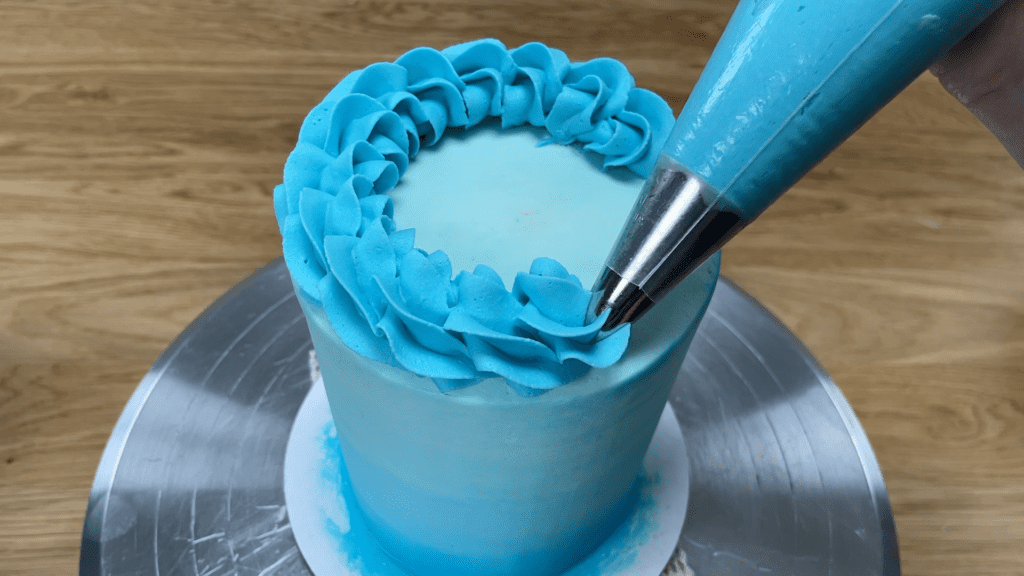
If you want to use up the leftover shades of frosting you have in your bowl, add a border on top of the cake by mixing the colours together and spooning them into a piping bag. For this cake I’m using a 1M star tip and for more ideas check out my tutorial on 5 borders you can pipe with a 1M tip.
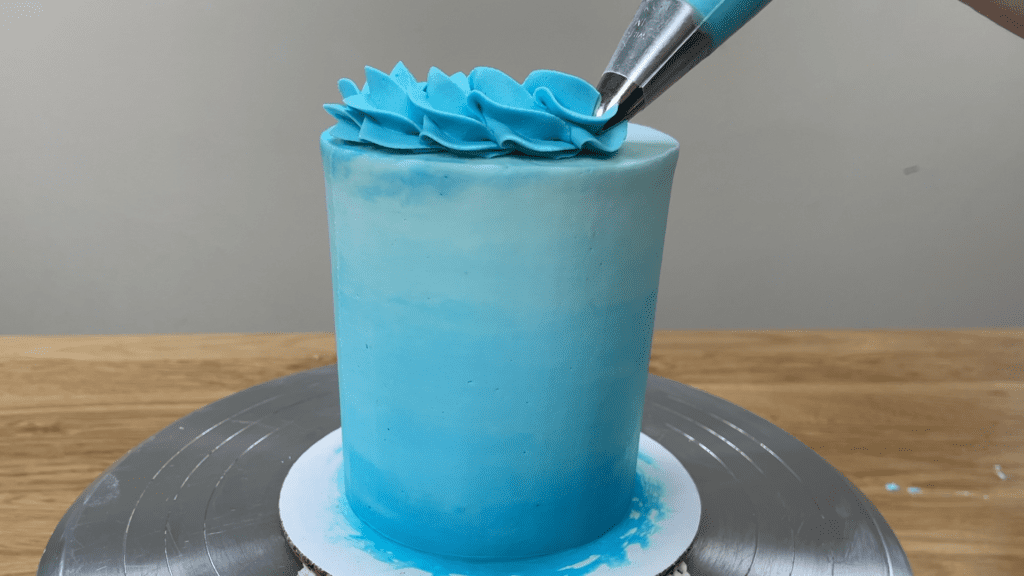
This is a “rope border” with overlapping links of buttercream around the top edge of the cake. For frosting techniques, decorative details, more borders, cake toppers, and different ways to write on cakes, check out my online course on 50 Easy Cake Decorating Techniques or join my Club+ for access to ALL of my online classes and courses as well as live online classes and Q&A sessions for members only!
Here’s the video version of this tutorial:
