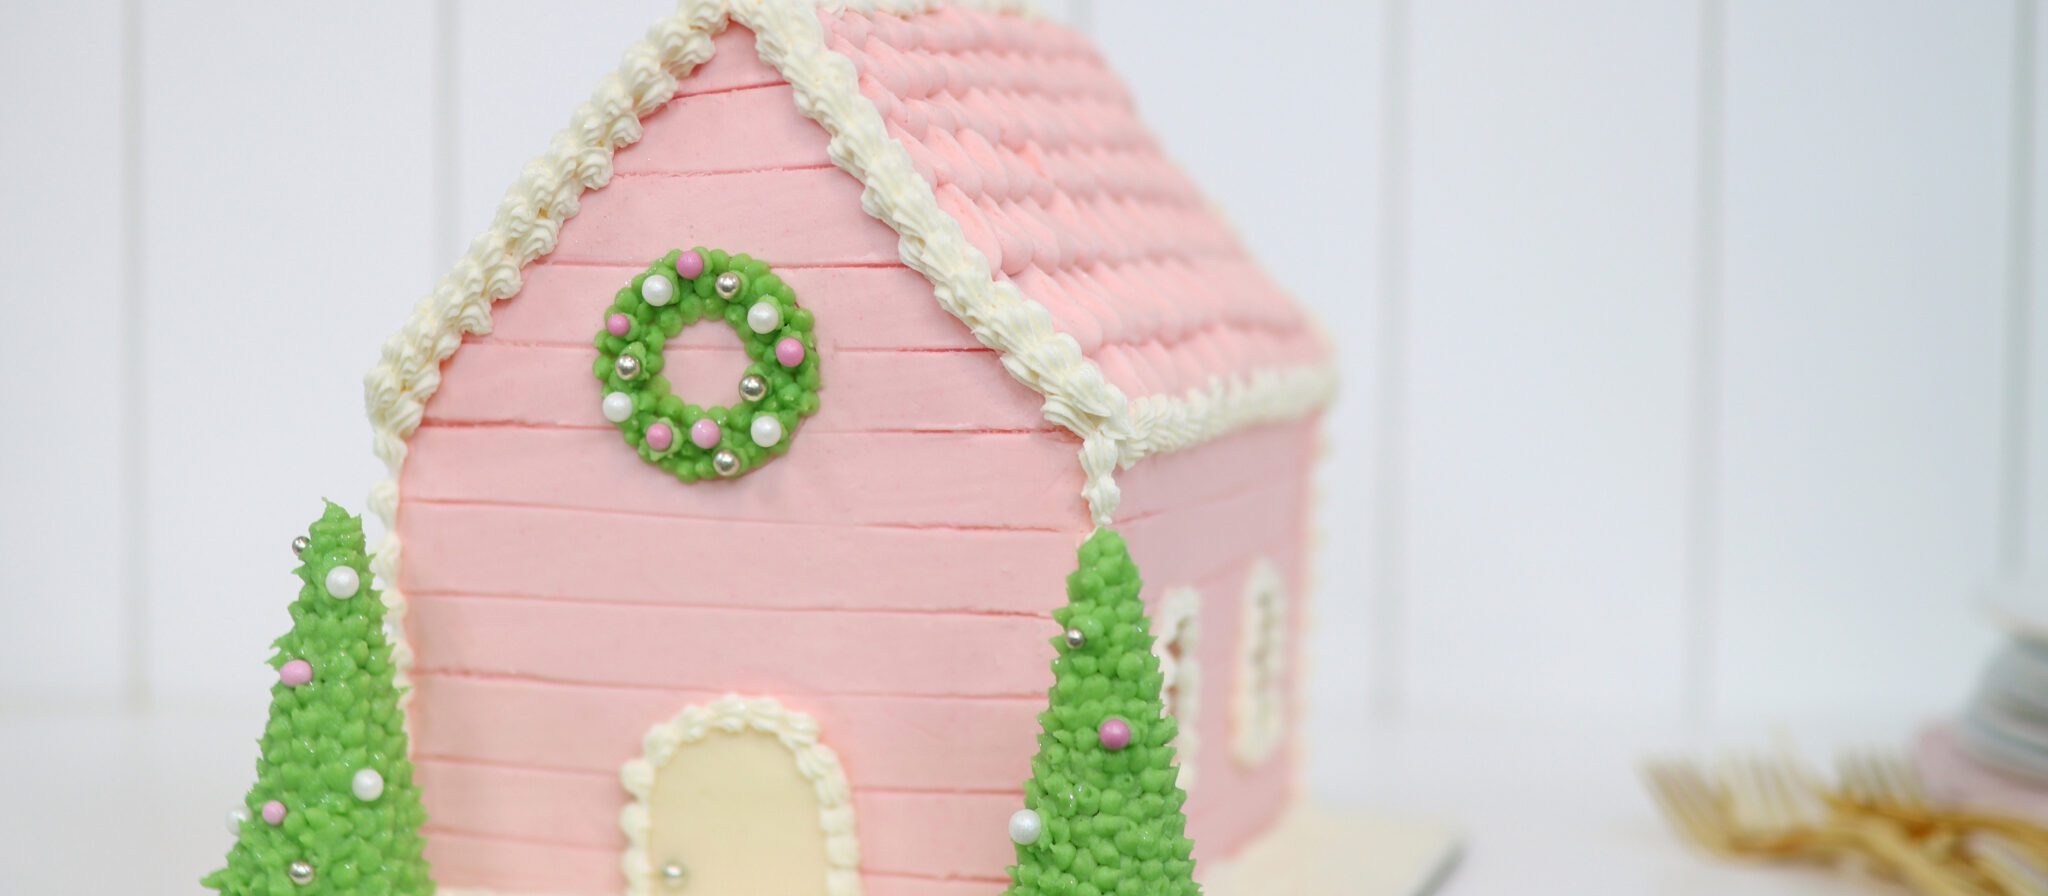
Mission: make a gingerbread house cake using only cake and buttercream! Traditional gingerbread houses can take forever to make and lining up gingerbread walls is tricky. Using cake and buttercream is less fiddly and spoiler alert: it’s delicious to eat at the end!
Although this gingerbread house cake looks complicated to make, you only need minimal tools. You’ll need a rectangular pan to make 3 sheet cakes of whatever size you choose. This is my Perfect Chocolate Cake and the cakes 9 x 13 inches.
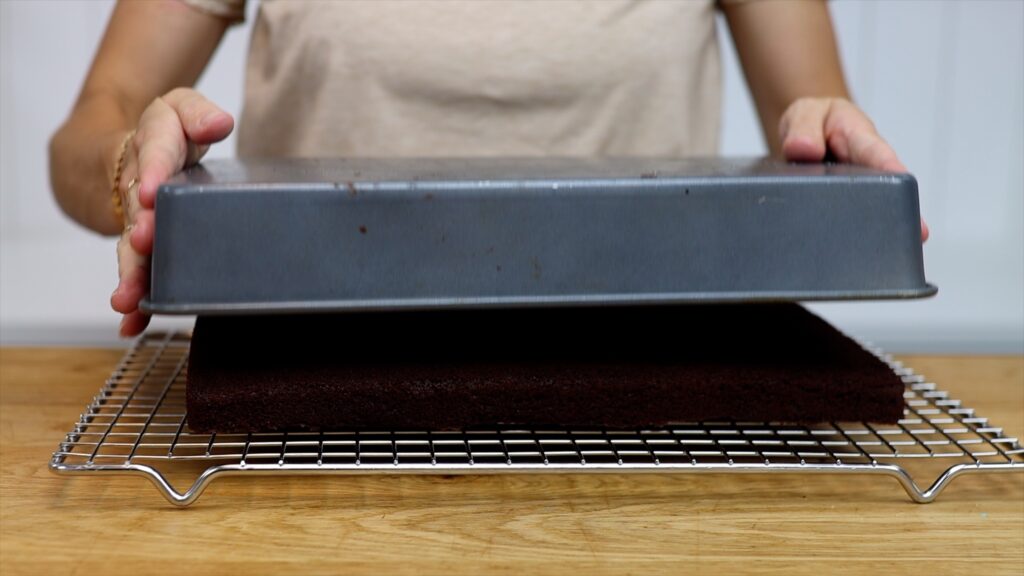
Wrap the cakes in cling film or plastic wrap and refrigerate them for at least an hour. When they're cold, they’re easier to work with. Meanwhile, choose two cardboard cake boards at least as big as your cakes. Mine are rectangular and measure 10 x 14 inches. On the first one, measure out your cake draw it onto the board. Divide it in half along the longest side to make two identical rectangles, each one half the size of your cake.
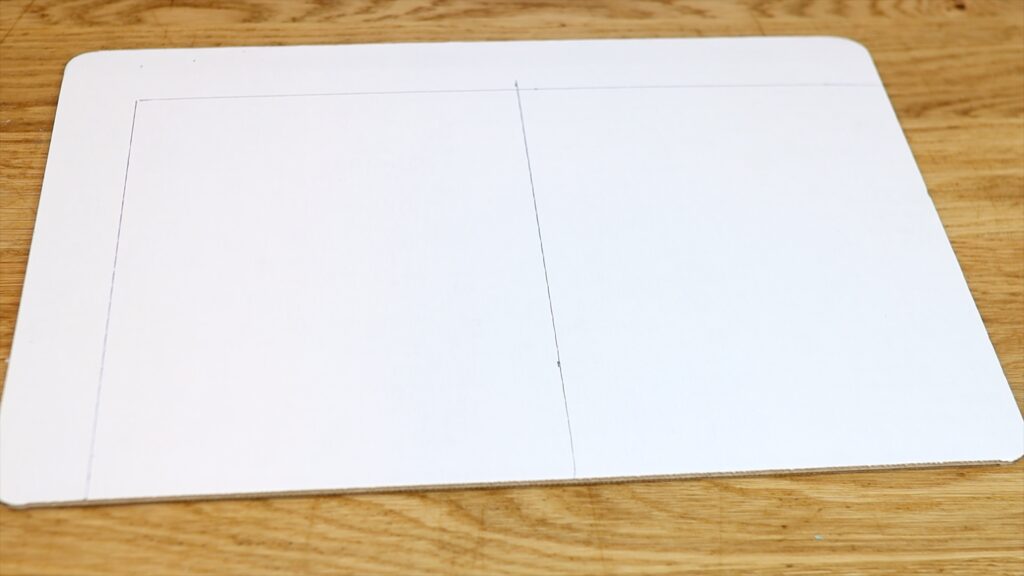
Cut these out and these will be the cake boards for the house and roof of your cake. I’ll explain why they’re really important in a minute.
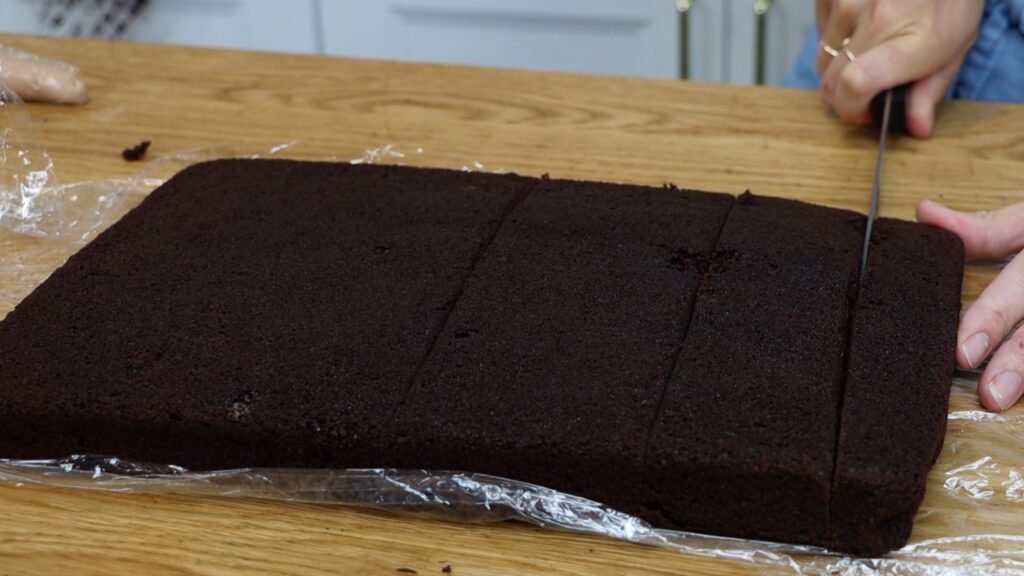
Start by unwrapping two of your cakes. Use a serrated knife like a bread knife to cut them both in half along the longest side to make two identical rectangles. You'll four half cakes now, which will make up the body of the gingerbread house cake.
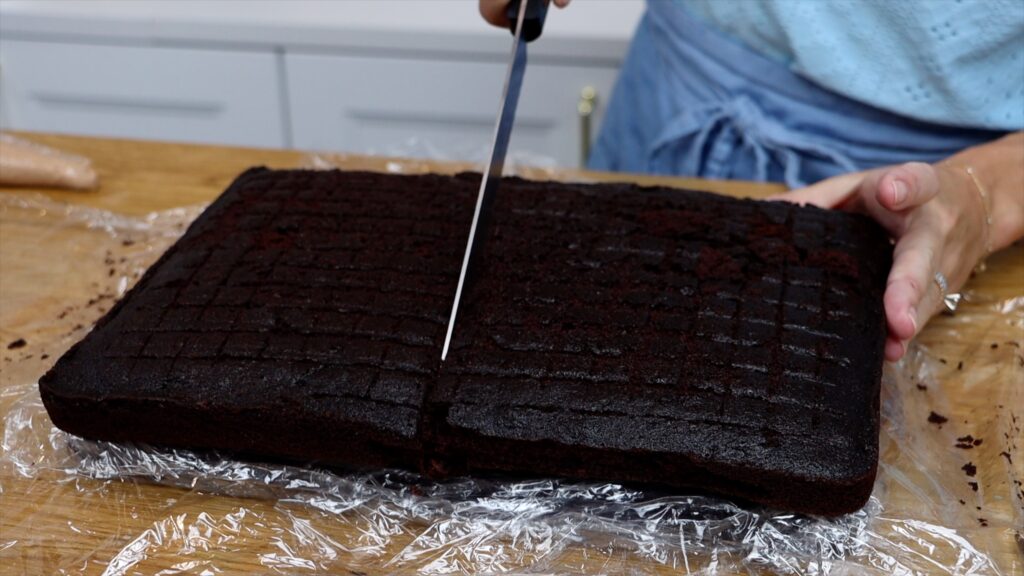
For the third cake, cut it in half. Then cut one of those halves in half again, and half of that into two pieces, one a bit bigger than the other. These four pieces will all be the roof.
Prepare your filling and your icing or frosting. I’m using my 4 Minute Buttercream, stirring in some melted chocolate chips. This makes a rich and creamy chocolate buttercream, which goes really well with my Perfect Chocolate Cake.
The easiest way to fill your cake is with a piping bag because it's much quicker and neater than spreading. Use a dot of buttercream in the middle of each of your cake boards to attach the first layer of cake. This will be one of the halves you cut out.
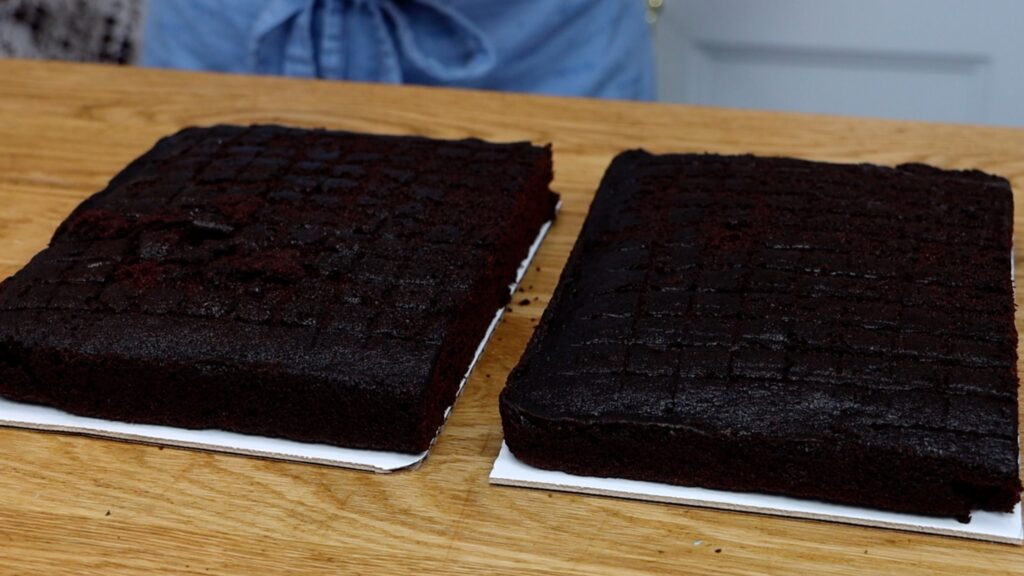
Let’s build the body of the house first. Pipe a border of filling around the cake and fill that with some zig zags. Spread it around to completely cover to top of the cake. Lower another half of cake down on top, adjusting it so it’s directly on top of the cake layer below. This will give your gingerbread house cake straight sides. Repeat, alternating cake and filing and finishing with a fourth half of cake.
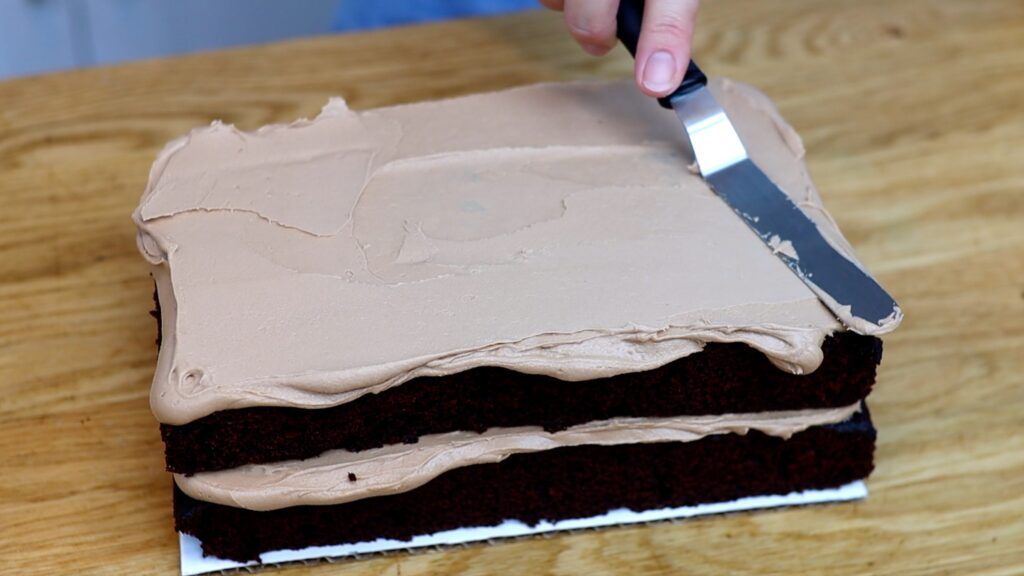
Trim down each side to take off any pieces that are sticking out, leaving four flat sides on the cake.
If your cake layers are still cold you can ice or frost them straight away. Place the cake on a cake board that's ideally as large as your
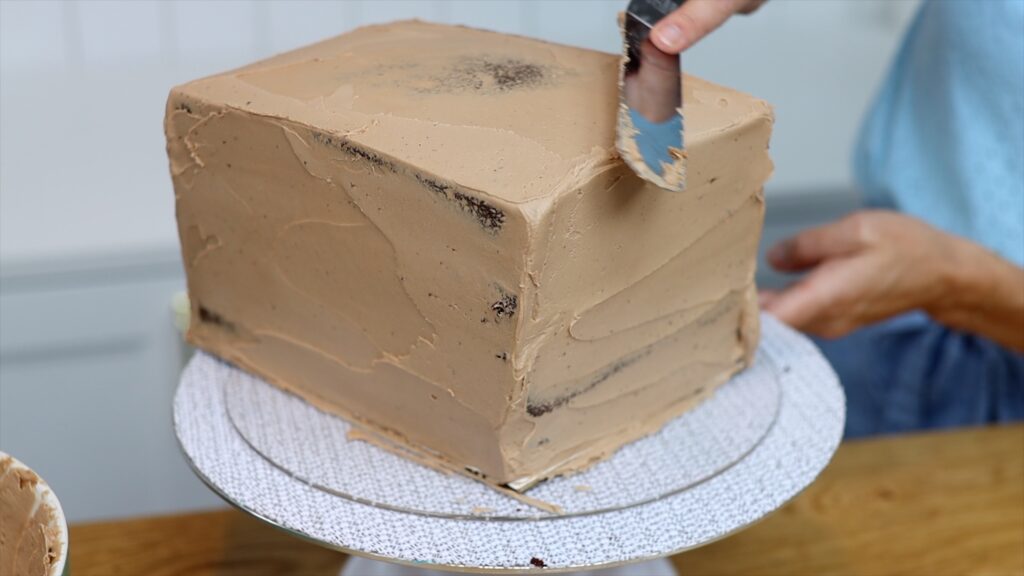
Put this into the fridge while you finish building the roof.
Now you'll need the other cake board that has one half of cake on. Pipe filling along the middle of that first cake layer and put the next biggest piece of cake of that. Add more filling and then the smallest or narrowest piece. For the final piece, cut it in half but slice diagonally downwards, to make two triangles.
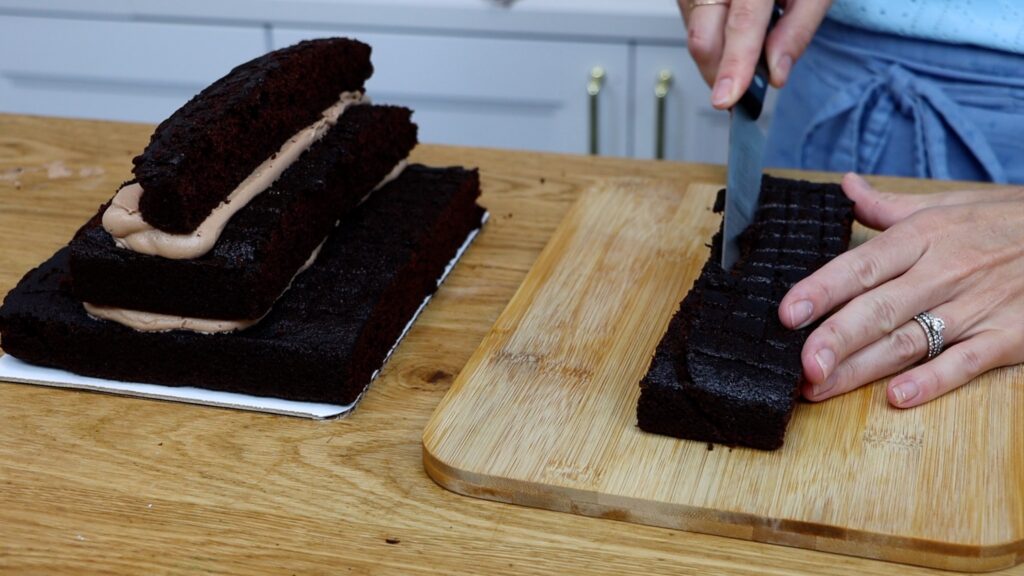
Pipe or spread some buttercream along each of the sides of the middle layer of cake and along the cake just below that. This buttercream will stick on the triangular wedges of cake to make a slanted roof.
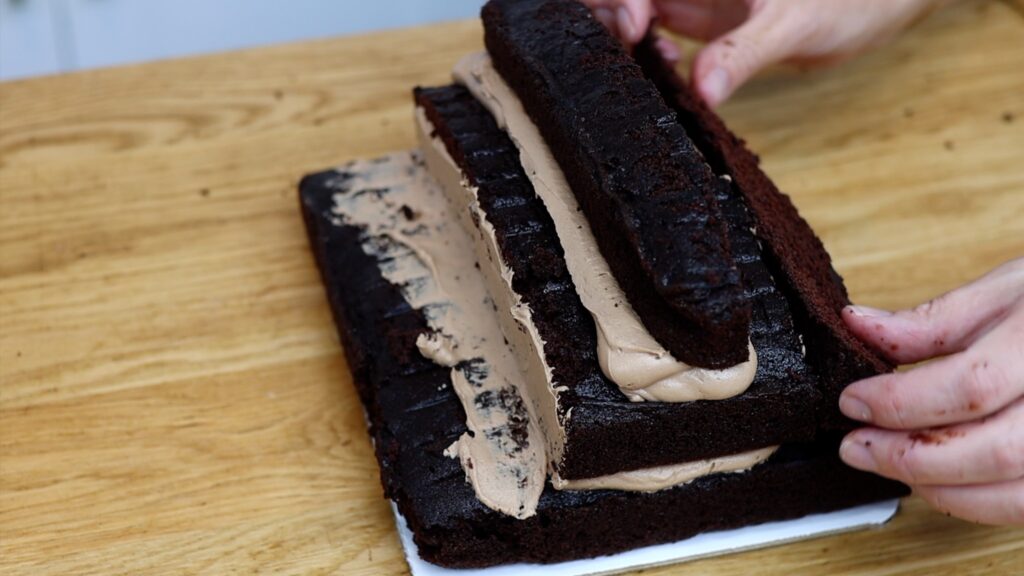
You’ll need to trim the rest of the cake to make a smooth straight slope going down on each side of the roof. Also trim the other sides of the roof so that they go straight down, with no cake or filling sticking out.
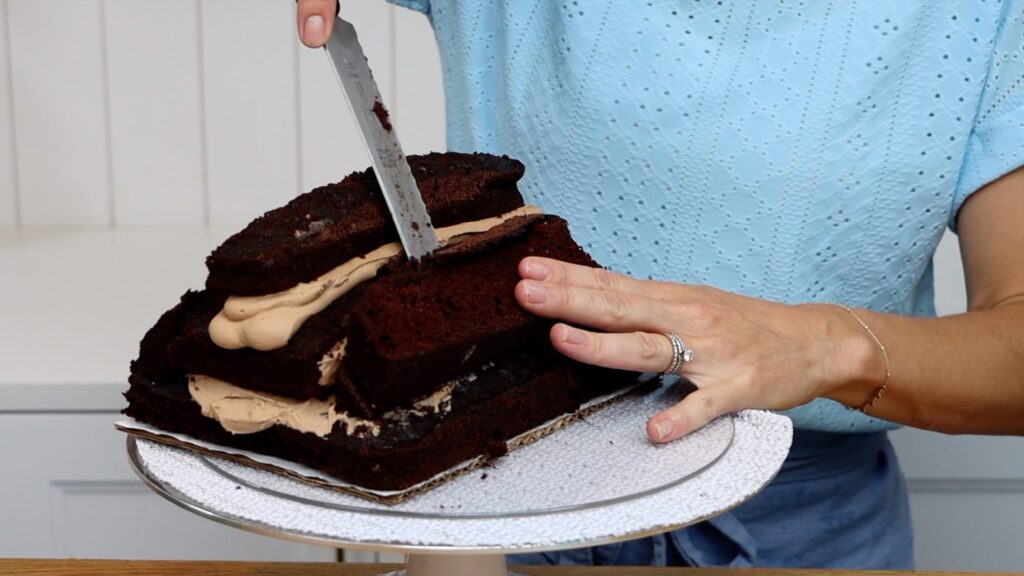
Your carving doesn’t have to be perfect because next you’ll cover it with frosting to fill in any imperfections. This first layer of buttercream is called a crumb coat and it traps any crumbs that come off the cake. This means they won’t get into your next, final layer of frosting.
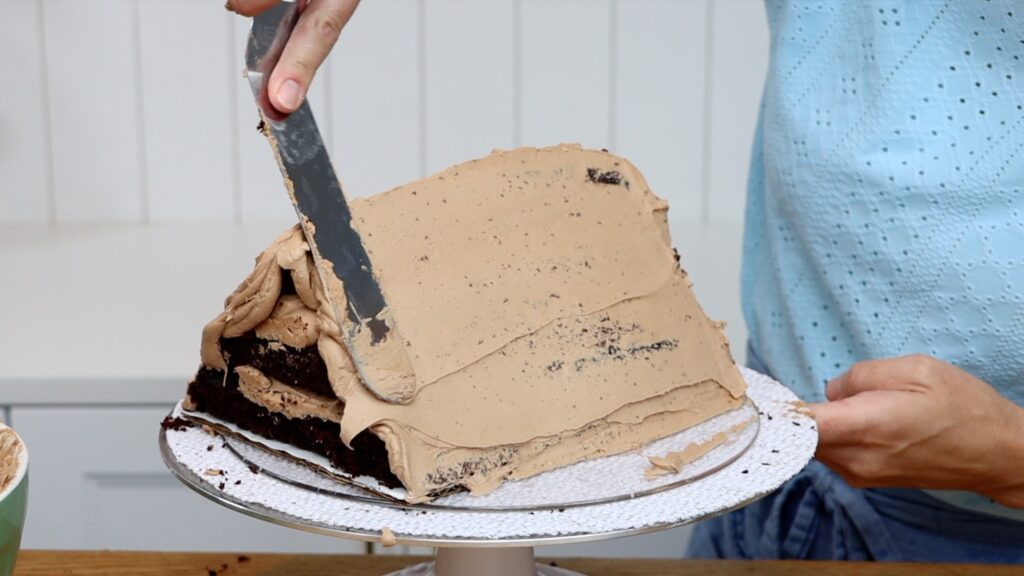
The crumb coat doesn’t need to be perfectly smooth and pretty but it needs to cover up all of the cake. You don't want any cake to be visible because that will allow crumbs to escape later. Put this roof of the gingerbread house cake into the fridge and take out the bottom part of the house.
It’s time to add some support to this house so that it can hold up the roof. I like to use boba straws, which are thicker and wider than normal straws. Wooden dowels work really well too.
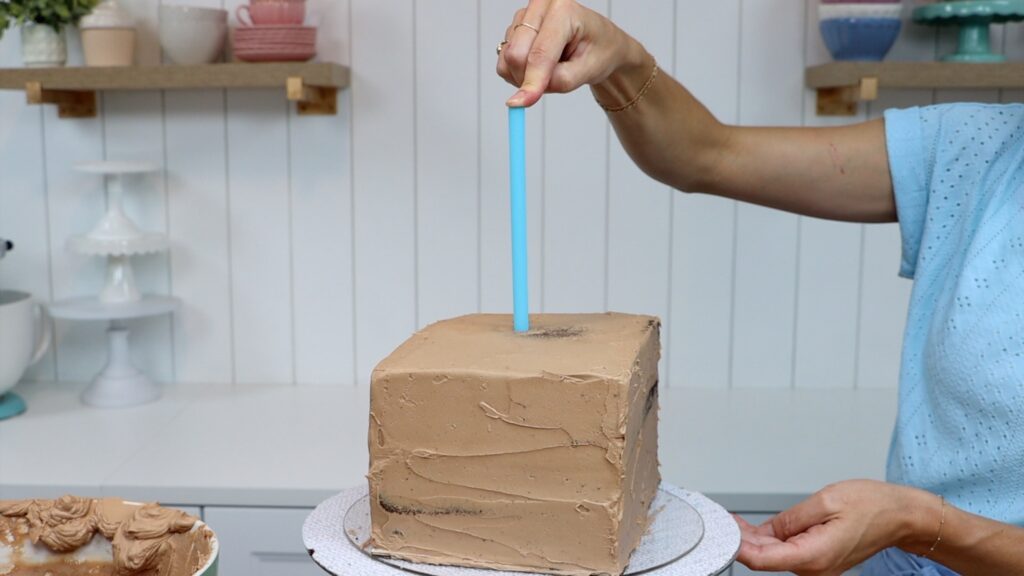
Push a straw or dowel into the middle of the cake, pushing down until it hits the cake board at the bottom. Pinch it where it sticks out above the cake, pull it up and cut it where you pinched it.
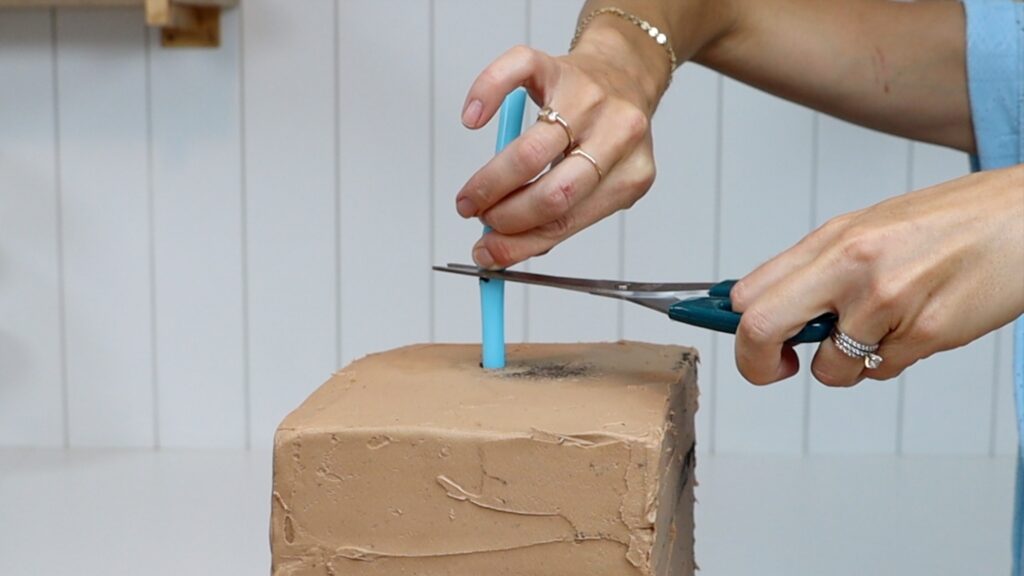
Hold this straw or dowel against four more, cutting each one to be the same height. Then push the middle one back in. Push the other four into the cake in a square, spaced evenly around the cake. These supports will hold up the cake board that the roof is sitting on, so that that roof cake doesn’t sink down into this bottom cake. That’s the reason for building the roof on a cake board. Without it, the roof cake would sink down onto these supports and crush the cake below.
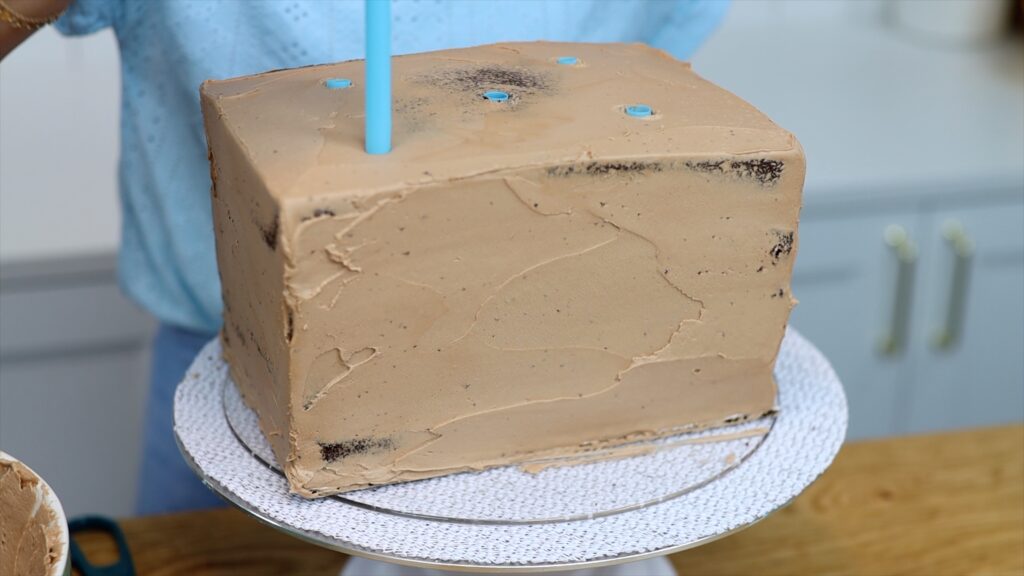
Spread some more buttercream on top of this cake to acts as glue. Then lift the roof cake on its cake board and lower it down onto the bottom cake.
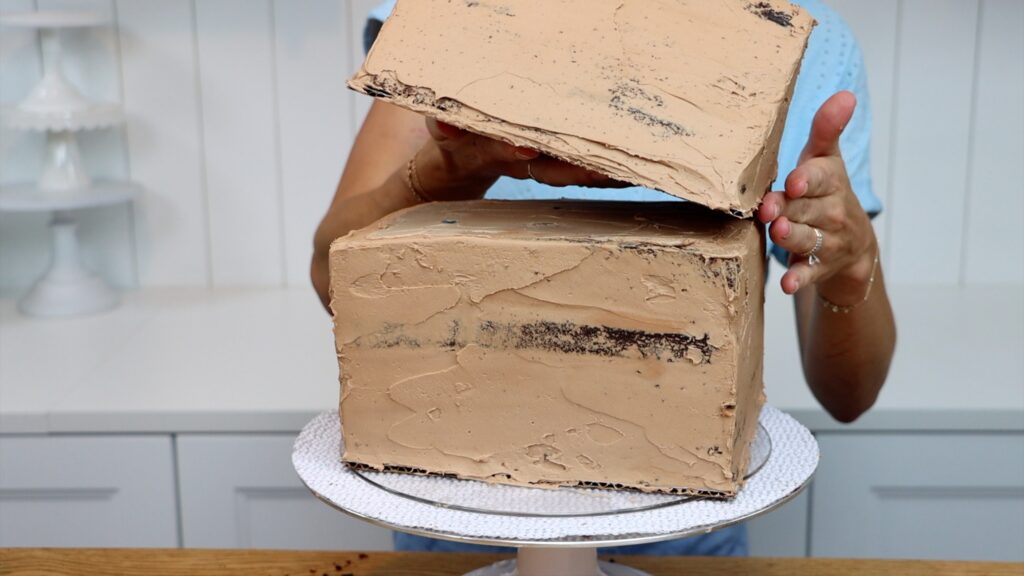
Adjust the roof to center it and push down to attach it to the buttercream 'glue'. You can touch the buttercream without damaging it because it’s been in the fridge so it's cold and firm.
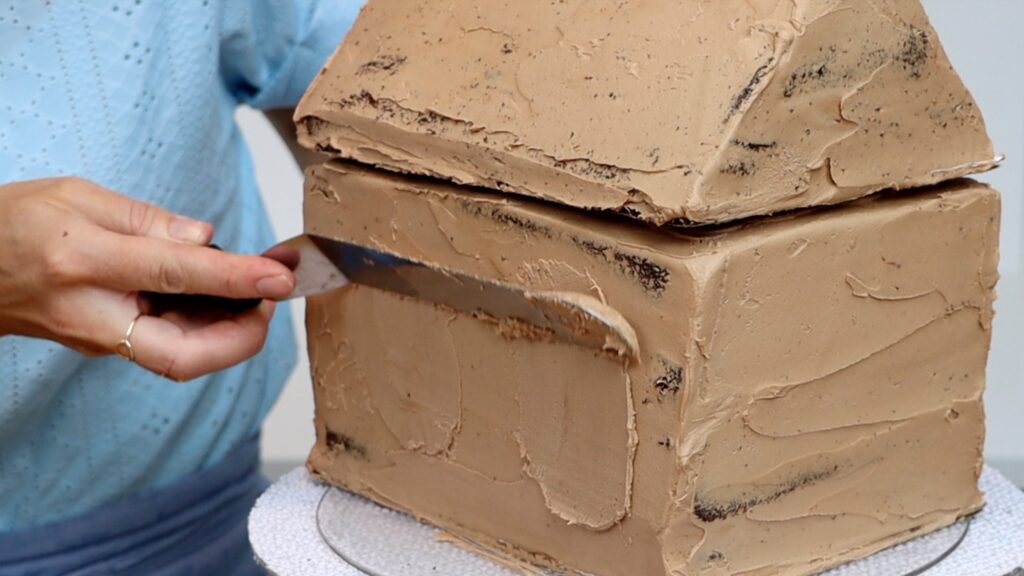
Before frosting the cake, position the windows on the cake. Spread more buttercream wherever you want them to go and scrape off the excess. This will look smoother and prettier through the windows than the crumbly layer of buttercream underneath.
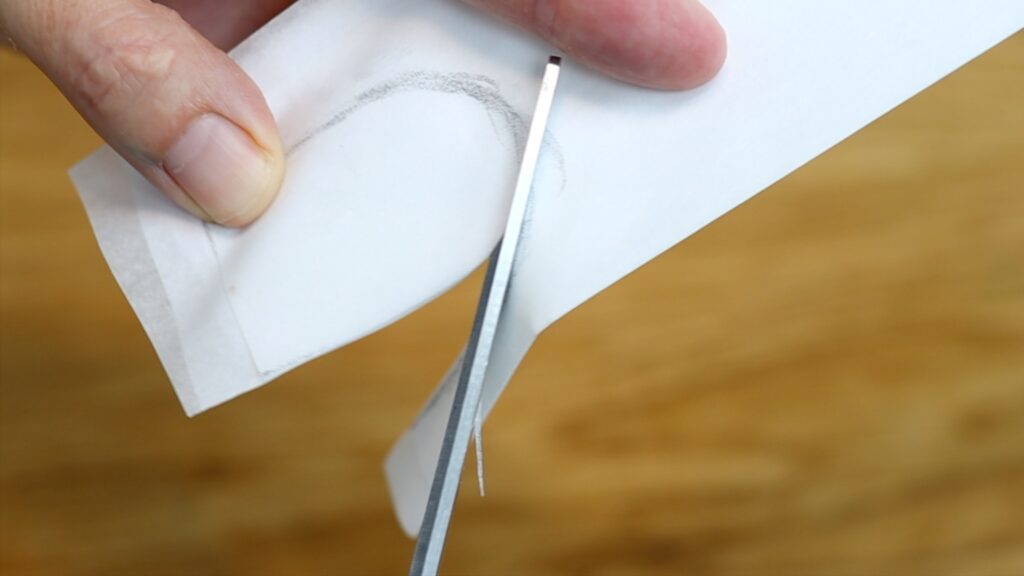
Draw a window onto a piece of parchment or wax paper or baking paper. The window can be rectangular or square or arched like this. Fold the paper in half a few times and cut around the first window to make as many as you need. I’m using five for my cake. Very important: cut a slit in the middle of each one and I’ll show you why in a moment.
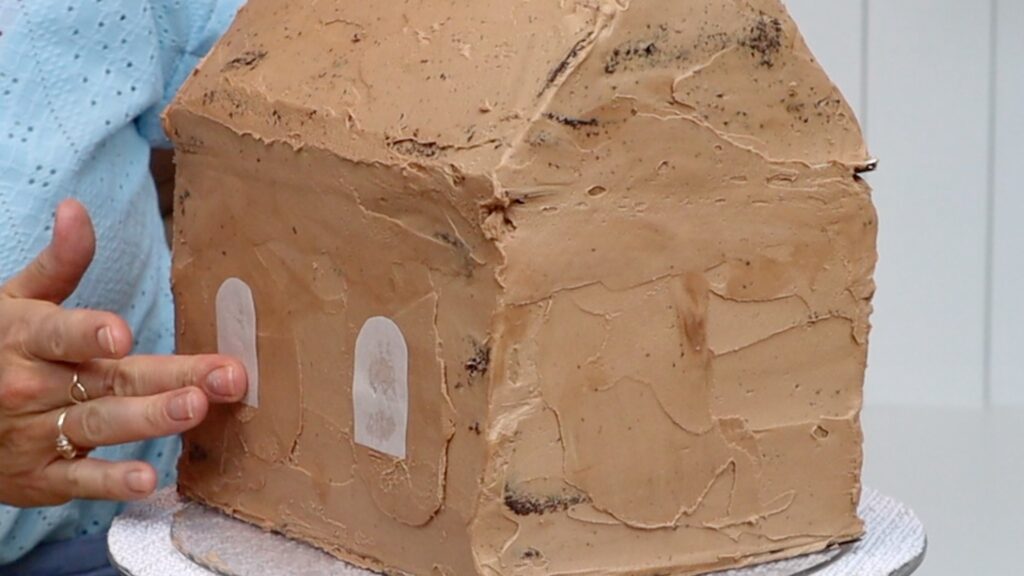
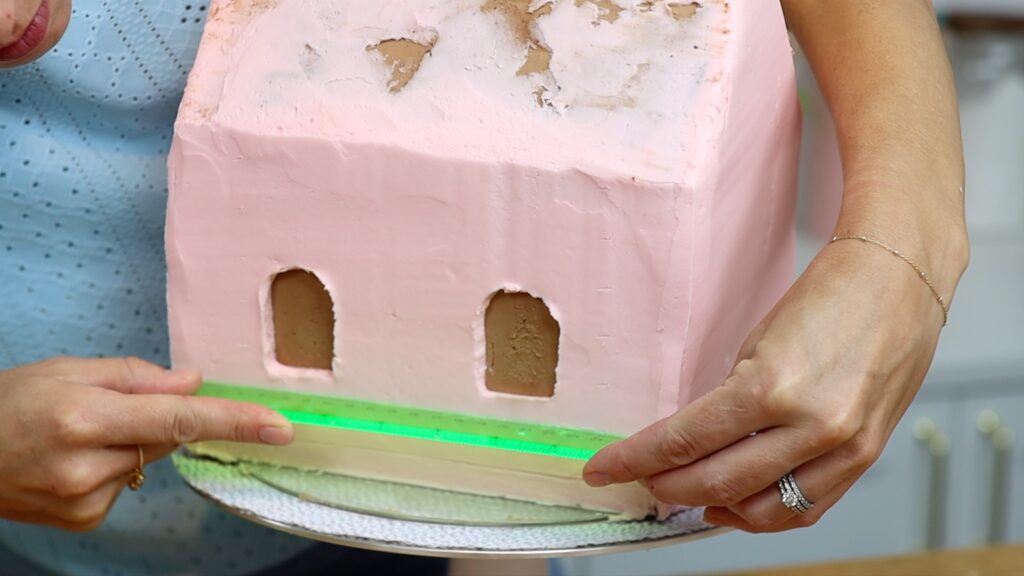
Press the paper windows onto the smooth buttercream patches on the cake. You can measure the height of the windows if you want to make sure they’re all positioned evenly. Although the buttercream will have set against the cold cake so it will be firm, not sticky, some condensation will have formed after taking the cake out of the cold fridge. If you press the paper gently against the buttercream, it will attach to those condensation droplets.
I’m making a pale pink gingerbread house, because… why not?! You can use orange food colouring with chocolate buttercream to make a gingerbread colour if you like. Spread or pipe the buttercream over each side of the cake, scraping over it with a cake comb. Spread more buttercream over any indents or air pockets and scrape again until it’s smooth.
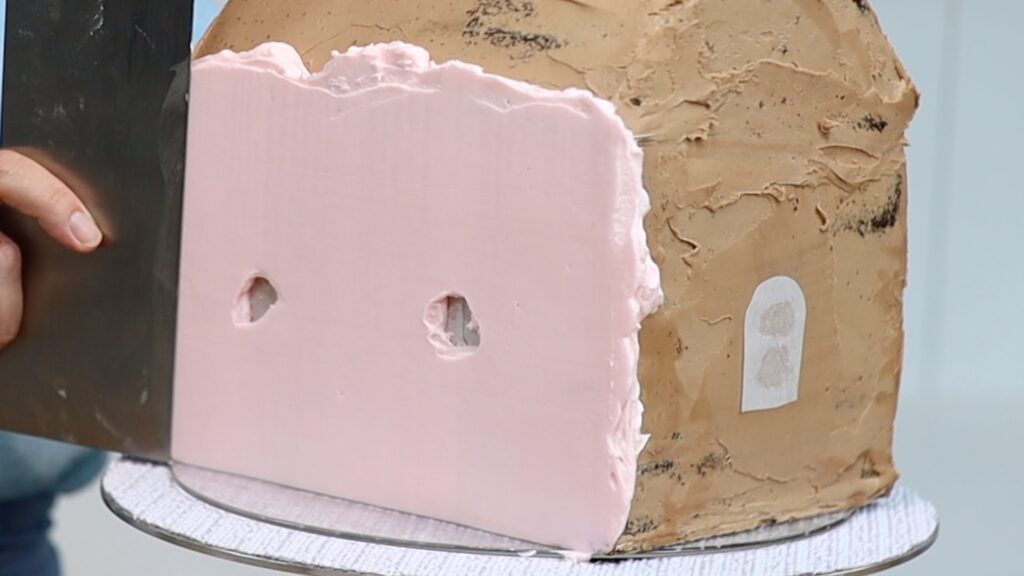
Then use a toothpick to peel the paper windows off. Slide the toothpick into the slit in the window and pull outwards slowly. This is the reason you cut those slits in the middle of each paper window.
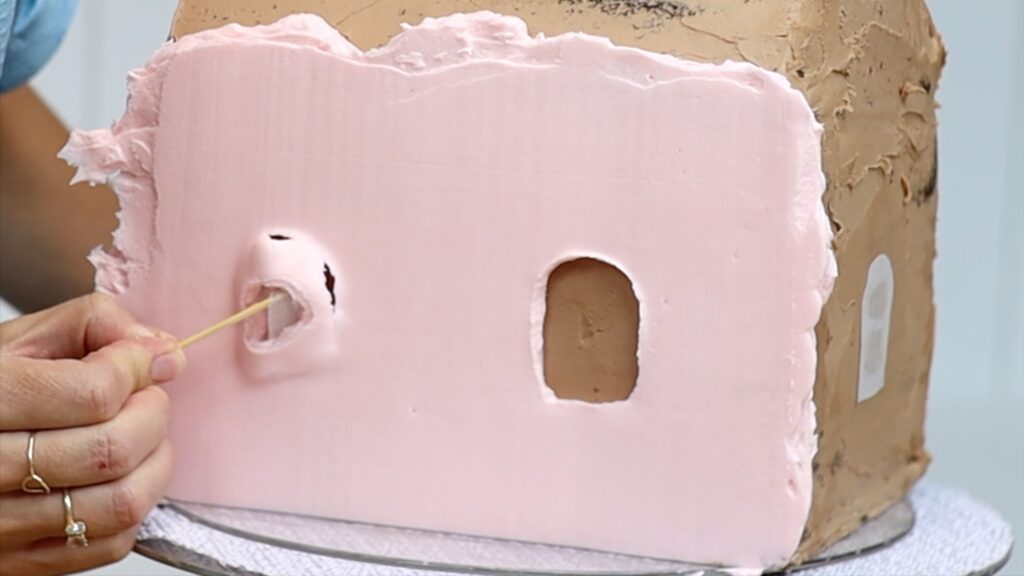
The edges of the windows will have some texture because the final layer of frosting is fairly thick. It doesn't matter because we’ll cover the edges up soon.
Square cakes are much trickier than round cakes because of all of the angles around the sides. To make those angles sharp, spread the buttercream all the way over each edge. When it sticks out, your cake scraper will slice through the extra buttercream around each corner, leaving a 90 degree angle instead of curved or rounded edge.
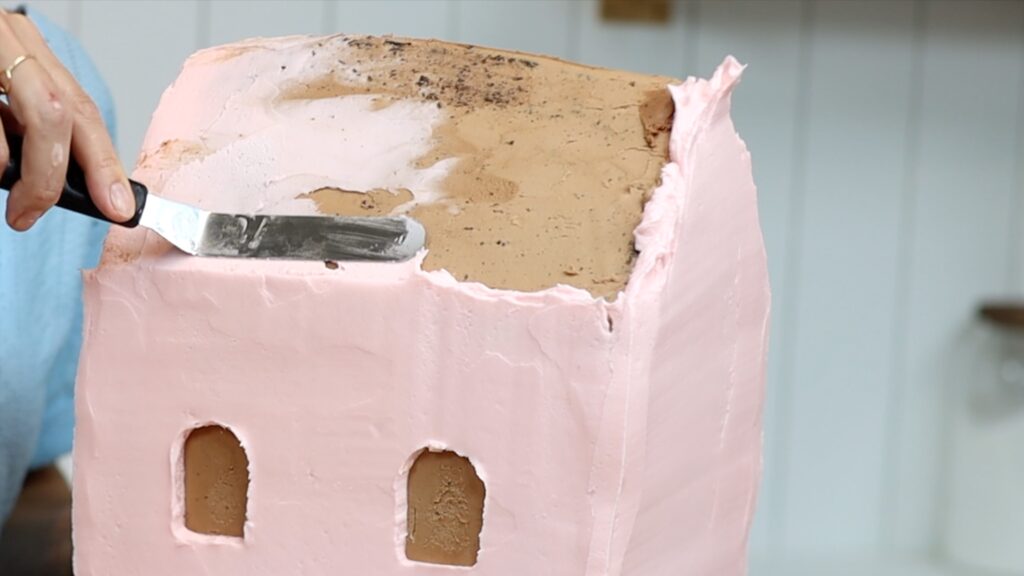
After smoothing all of the sides and peeling off all of the paper windows, spread the buttercream at the top edge of the cake onto the roof. Then put this cake into the fridge to chill before the next step.
While the cake is in the fridge, make some Christmas trees! For a soft green, use a drop of orange to tone it down so it’s not bright green. Put this into a piping bag fitted with a medium round tip. I'm using a #8 by Wilton. You can use a sandwich bag with one of the bottom corners cut off to pipe through instead.
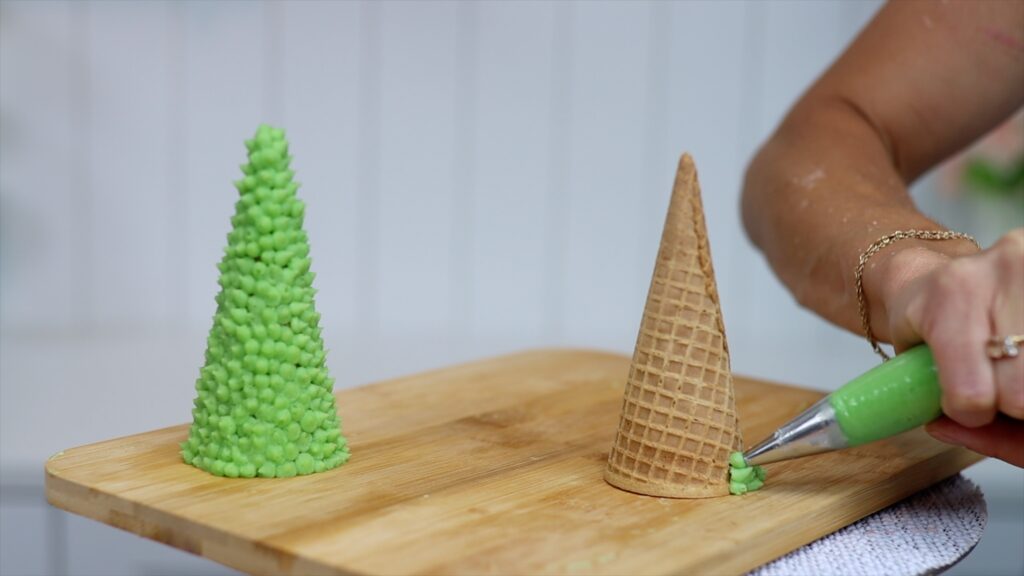
I'm using two ice cream cones to make two trees. Use your green buttercream to cover them in little dots. The trees will be easier to move after the buttercream sets, which is why it’s good idea to make these now so that they set while you're decorating the rest of the house.
Now that the gingerbread house cake is cold and the buttercream is firm, add the rest of the details. Use your ruler to measure up the sides of the cake for some wood panelling. I'm marking every 2cm on mine. Mark on both the left and right of each side to make sure your lines go straight across!
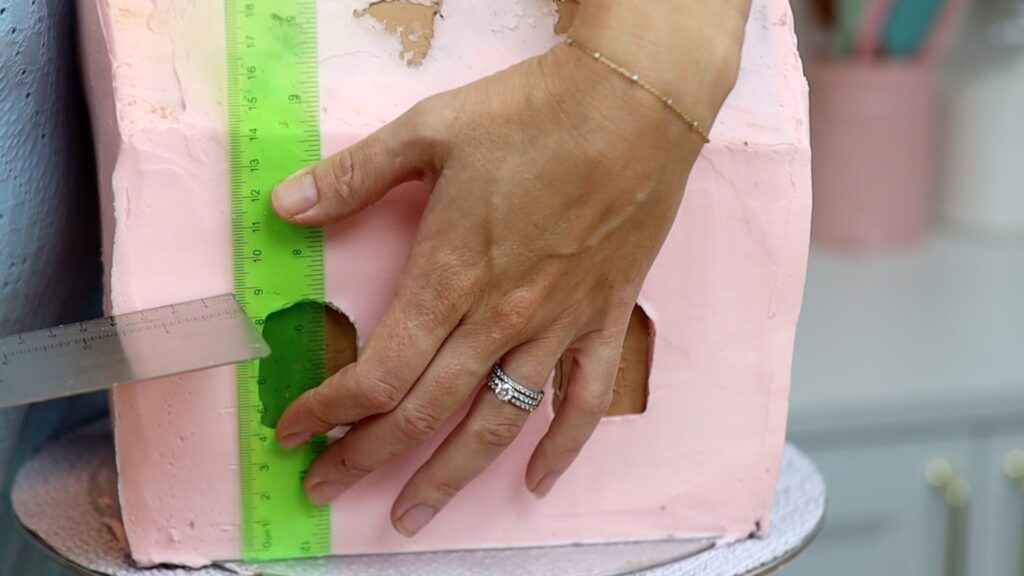
Then push the edge of the ruler into the buttercream to score a line across it. You can use the edge of your cake comb instead if you like. Do this on all of the sides of the cake, except the sloping sides of the roof. You can use a paintbrush to brush off any buttercream crumbs that come off while you’re doing this.
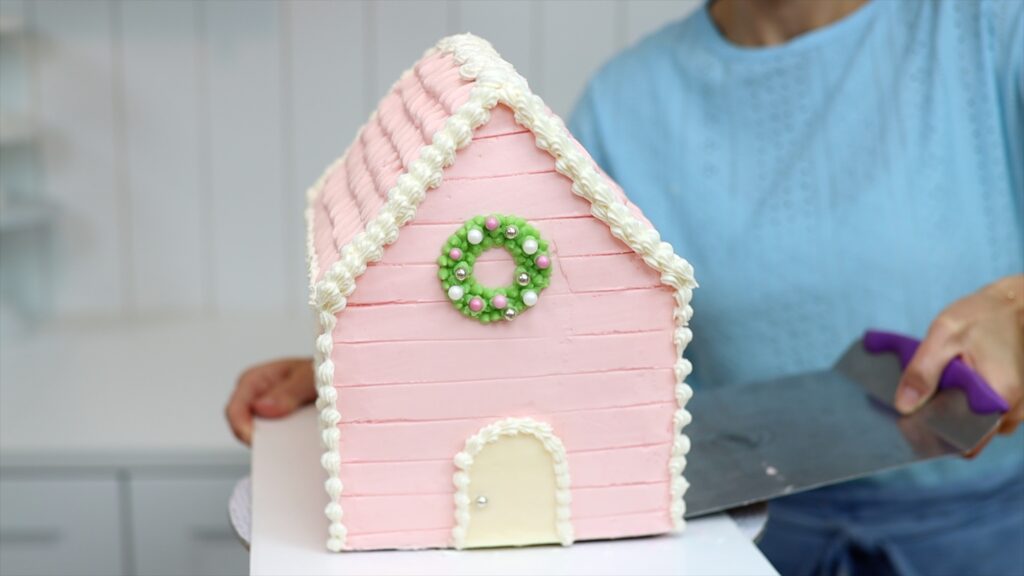
Use one of the windows as a guide to make a door that's a bit taller and wider. Cut it out, leaving the surrounding paper intact. Use this as a stencil, positioning it against the cakes and pressing it to attach it to the condensation.
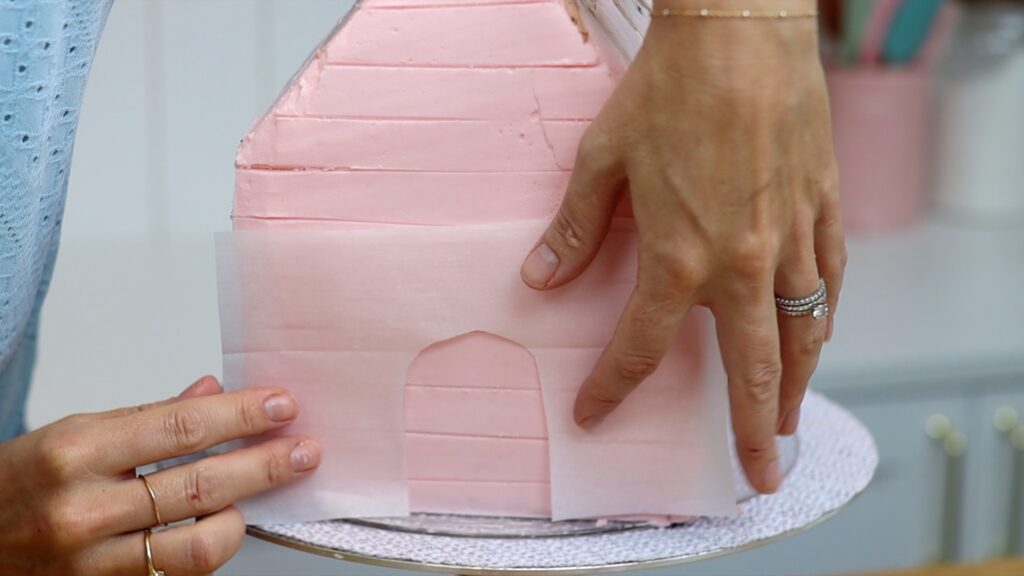
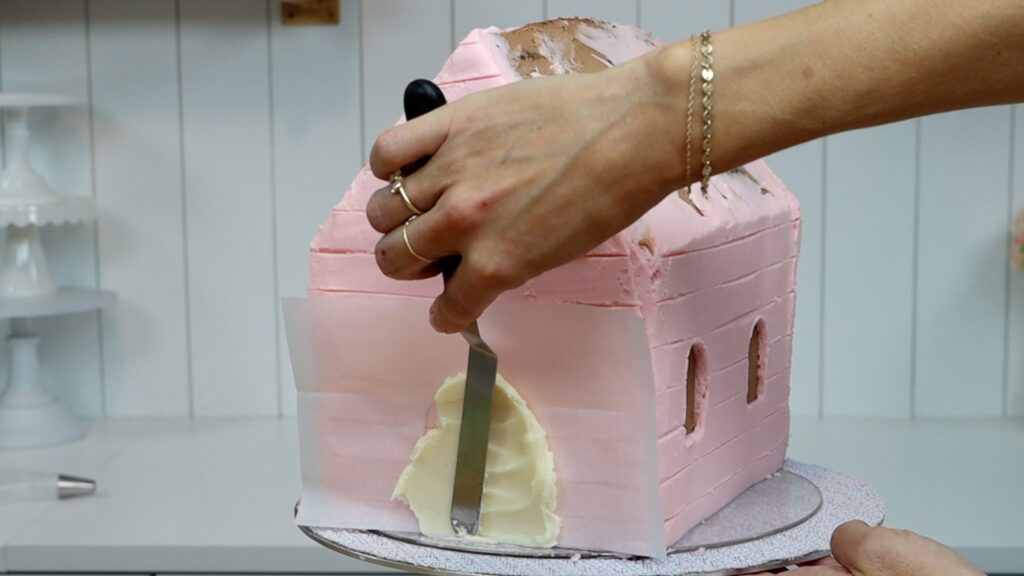
Then spread buttercream over it to fill in the door shape. Smooth the buttercream with a palette knife or
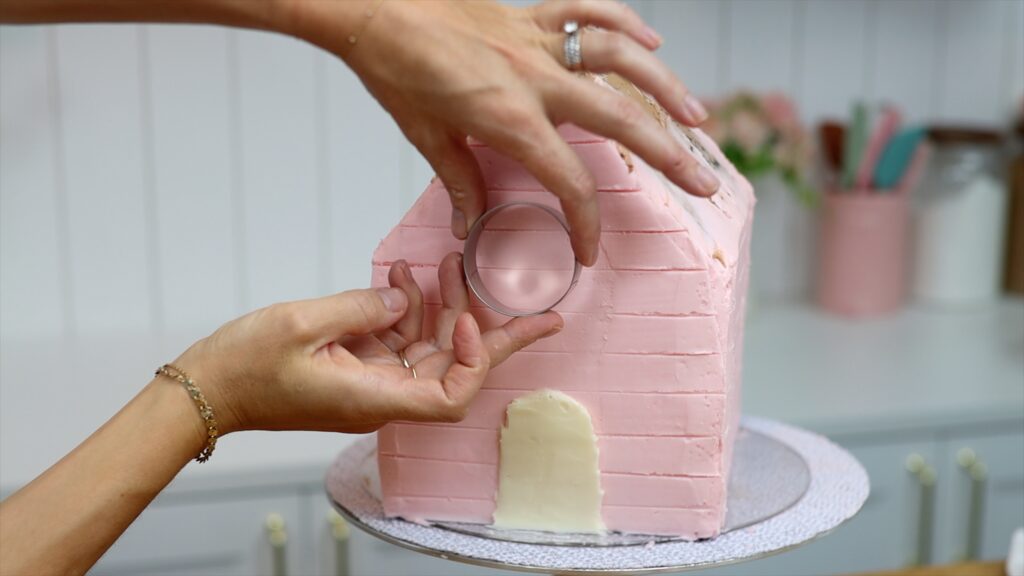
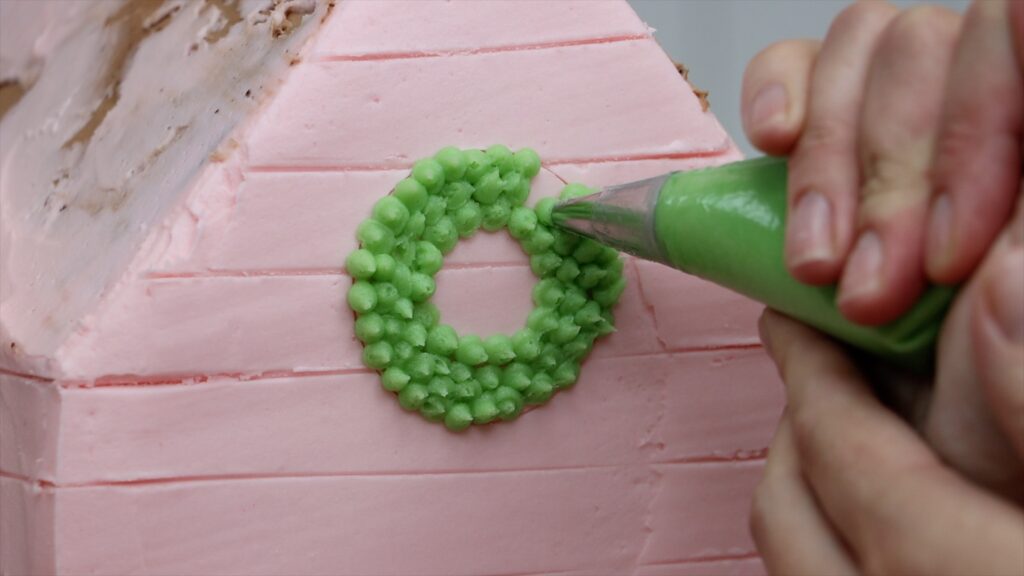
Press a cookie cutter or any round object above the door to make a wreath. Within this circle, press a smaller circle like the base of a piping tip.
Pipe green dots to fill in the wreath, just like you did for the Christmas tree cones. We’ll add baubles or ornaments to this later.
For the roof, fill a piping bag fitted with a large round piping tip like a 1A. Pipe dots of buttercream along the bottom edge of the roof so that they touch each other in a row. Then press the tip of a spatula into each dot and drag upwards to make scallops.
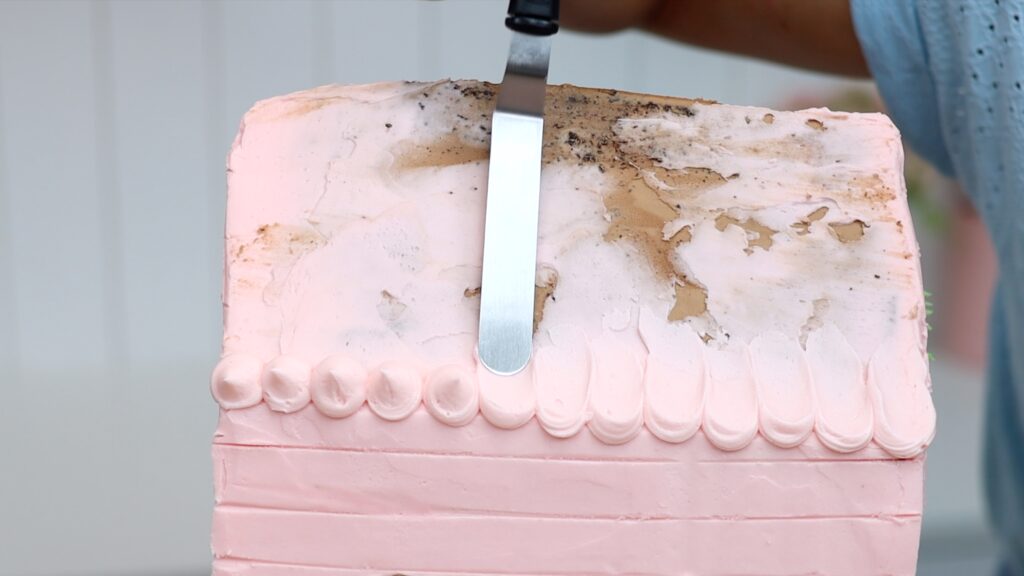
Pipe another row of dots above with each dot in between the two dots below it so that they’re offset.
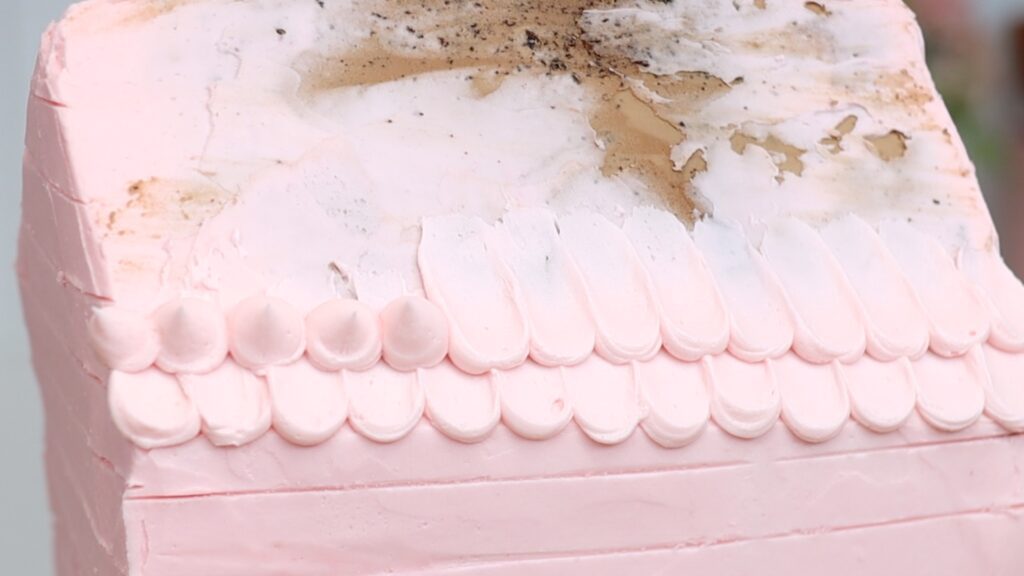
The first and final scallop don't need to line up with the edge of the roof because we’ll fix that later. If in doubt, add an extra scallop so that it sticks out over the edge. Go all the way up to the top of the roof on both sides of the house.
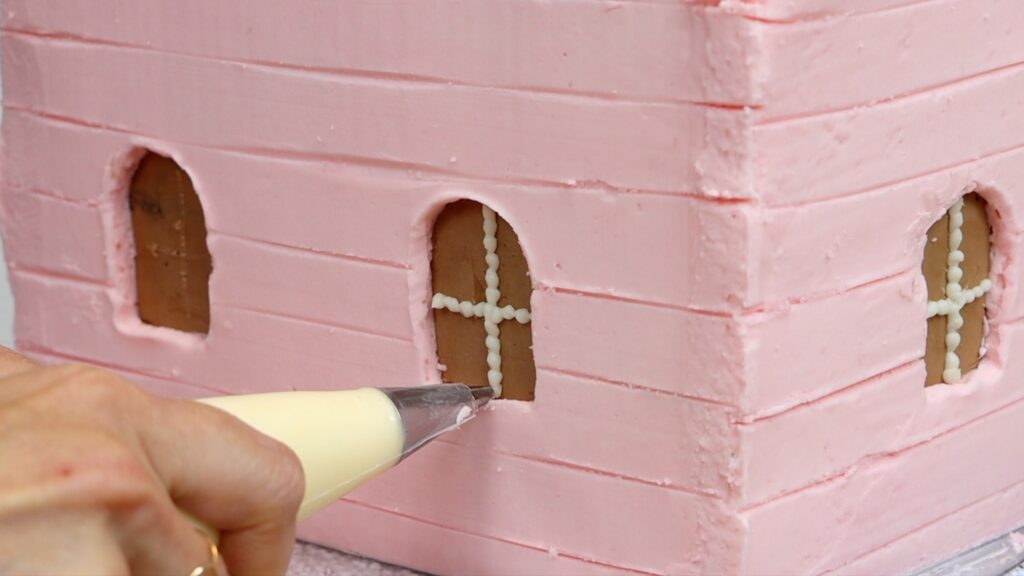
Now let’s add details to the windows and door. Use a toothpick to make a cross in each window, as a guide to pipe along. Then you'll need white buttercream in a piping bag fitted with a small round piping tip. This is a #4. You can pipe straight lines if you like but they're very tricky so instead, piping dots is easier. As you squeeze the piping bag, the buttercream bulges out to make a dot. As you stop squeezing, pull the bag away to leave a little peak on each dot, which the next dot will overlap.
If the buttercream roof hasn’t set yet, put the cake back into the fridge for another 30 minutes. Then use a sharp knife to slice along the front edges of the roof scallops so that they're flat.
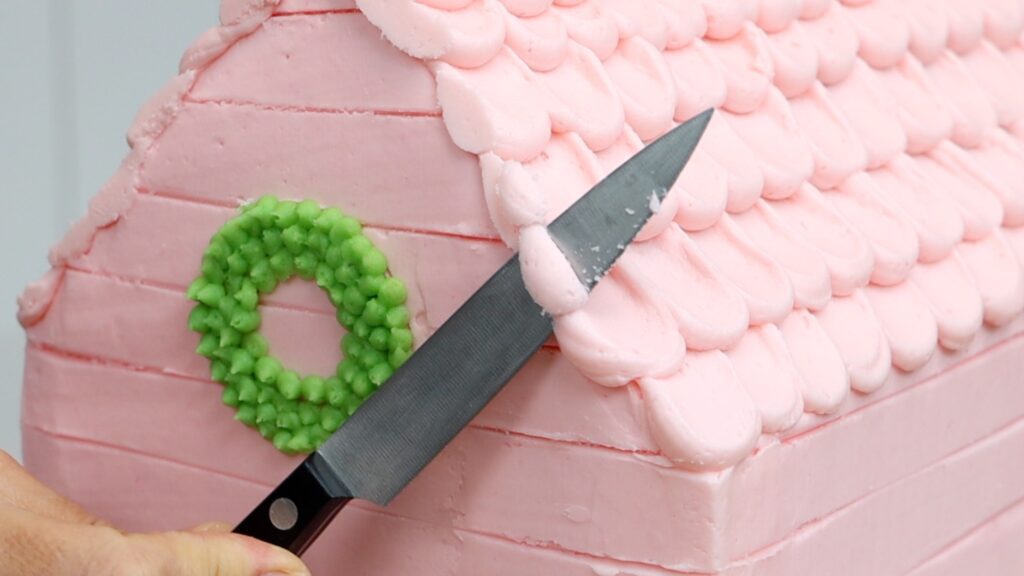
Use a round or star shaped piping tip like this # 18 to pipe along the edge. I'm using the same technique as for the windows, squeezing the piping bag to let the buttercream bulge out and then pulling away as you stop squeezing the bag. This leaves a peak or tail, which you pipe over with the next one.
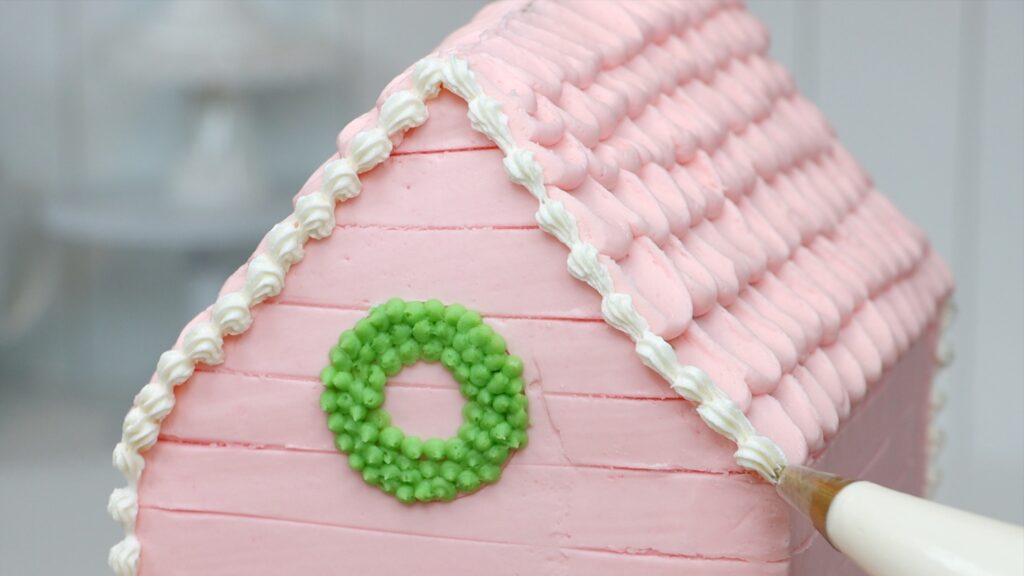
Continue down from the edge of the roof, along the edge of the bottom of the house. Do this on both the front and the back of the house.
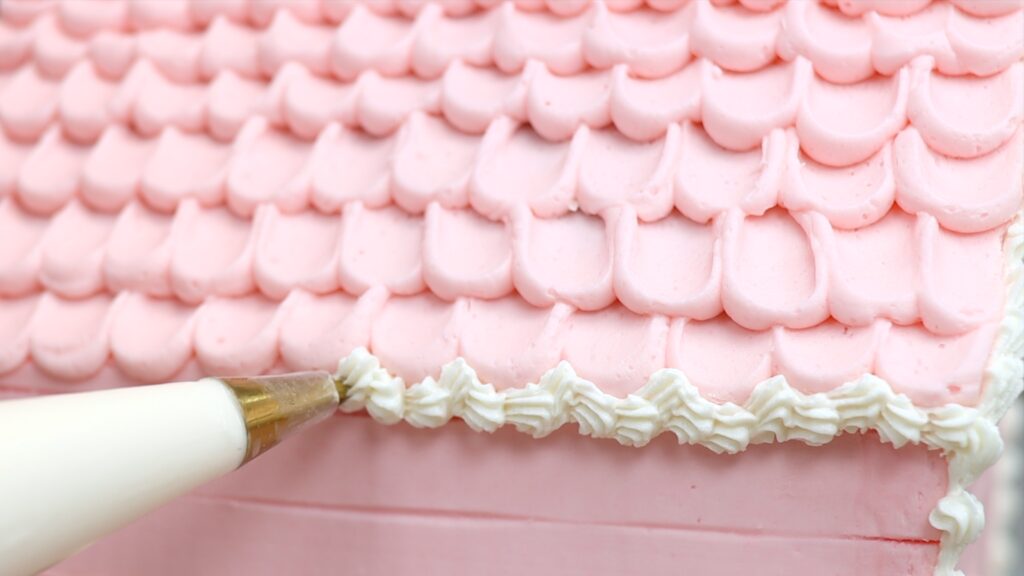
For the top of the roof you can use the same technique or pipe little spiral swirls. For these, pipe a ring spiraling outwards and then drag that across and pull away. Repeat but piping in the opposite direction, so clockwise for the first, and then anti-clockwise or counter-clockwise for the next.
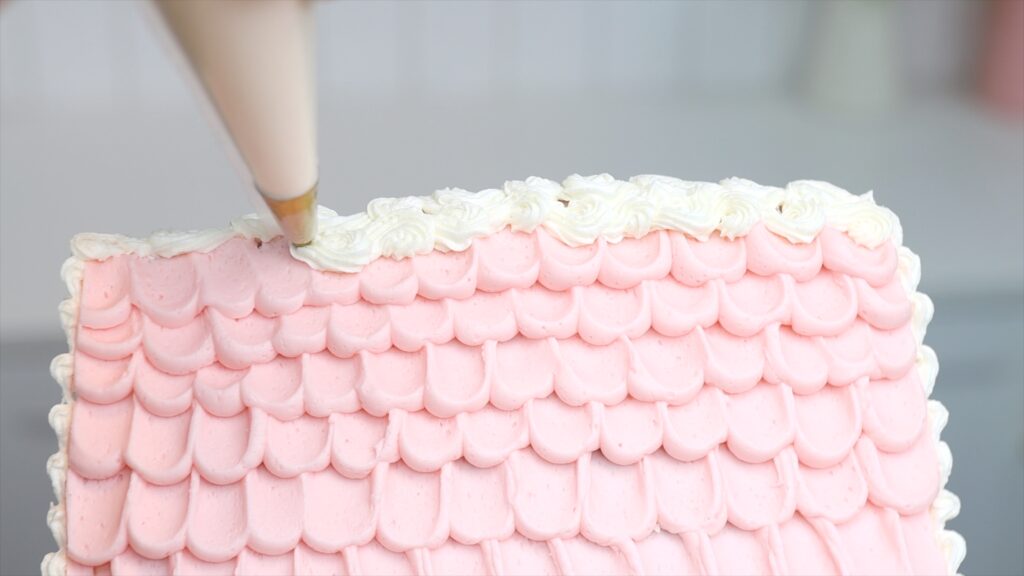
I’m piping two lines of these to cover up the join of the scallops along the top edge of the roof. I’m also piping along the bottom edge of the scallops. This makes them match the other edges of the cake and also looks a bit like snow or icicles hanging down from the roof.
To decorate the wreath I’m piping dots wherever I want to place a bauble or ornament. Then press a sprinkle into each of those dots.
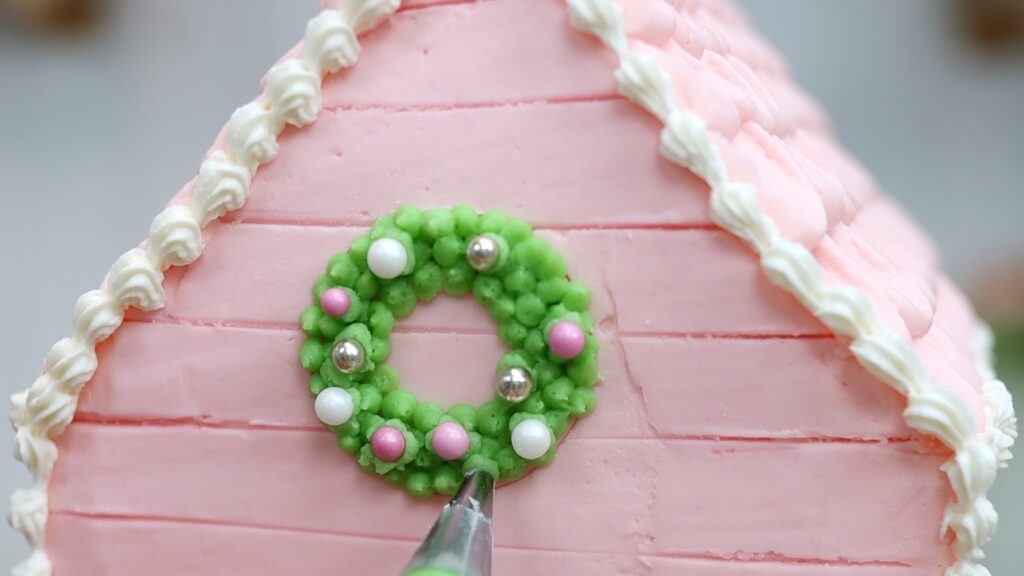
I need these piped dots because the buttercream wreath has already set, so sprinkles won’t stick to it anymore. If you decide earlier than I did that you want to add sprinkles, I suggest adding them straight after piping the wreath! They’ll stick to the wreath and you can skip the step of piping these extra dots.
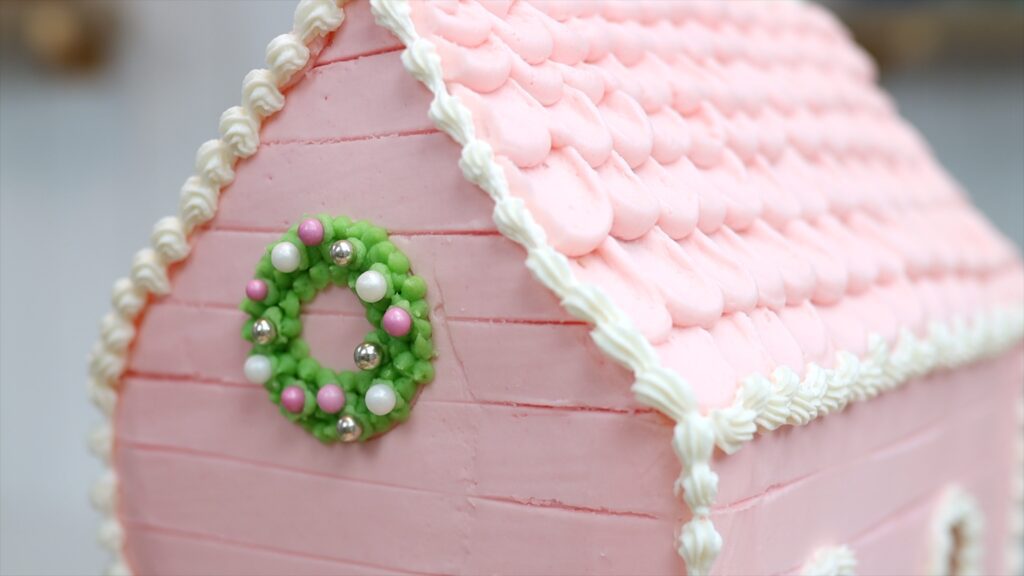
The door has set too, so I’m piping a dot to attach another sprinkle as a doorknob. I'm piping the same border around the door and windows as I did for the edges of the cake.
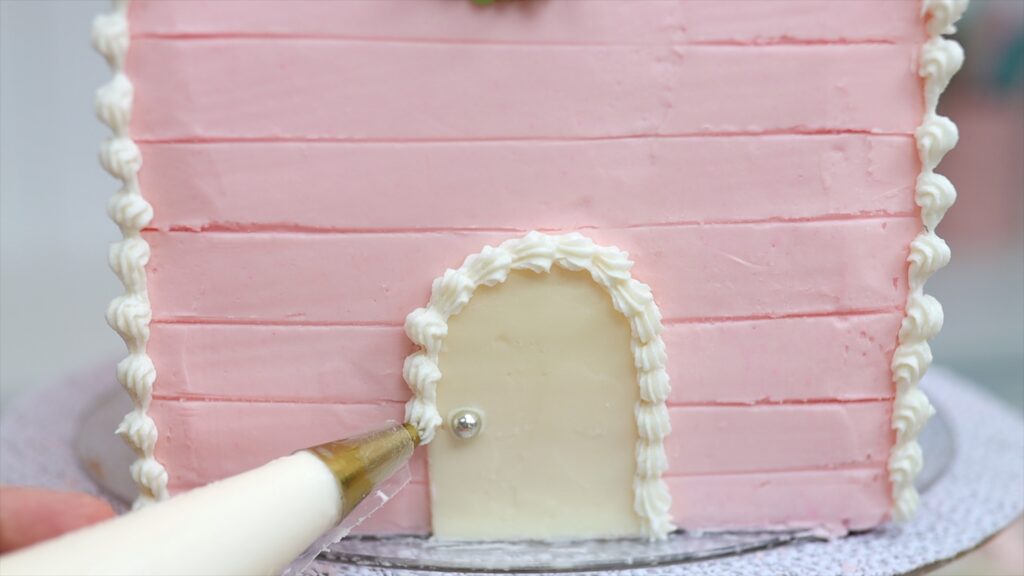
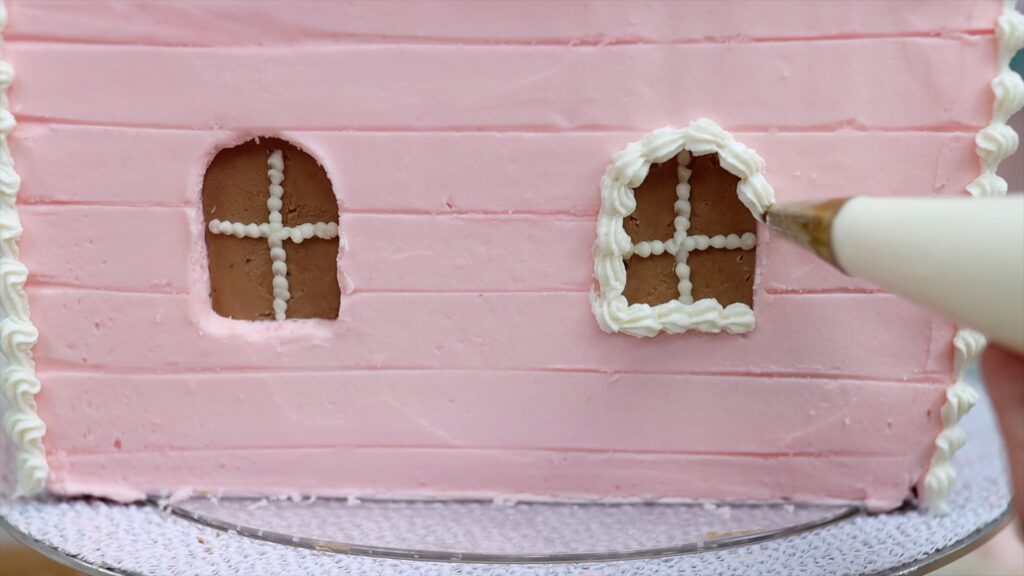
You might choose to add extra rows of piping around the edges of the cake to make it look more wintery. Extra piping is also a good way to hide any imperfections in the frosting!
Before adding the finishing touches, move your cake onto the final cake board, which is the other rectangular cake board. Use two dots of buttercream to attach the house, which is still on that little rectangular piece of cake board you cut out at the beginning,. This board makes it easy to lift and move the cake without breaking. Use a cake lifter or spatula to center the cake on the board.
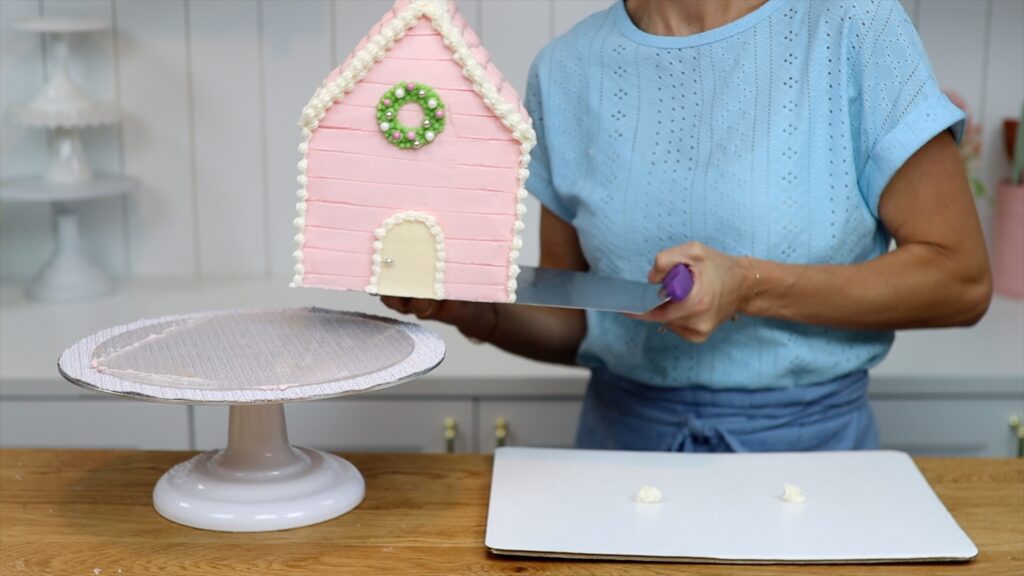
Pipe white buttercream around the bottom edge of the house and around the cake board. Spread it to cover the board and then press cling film or Saran Wrap down onto it.
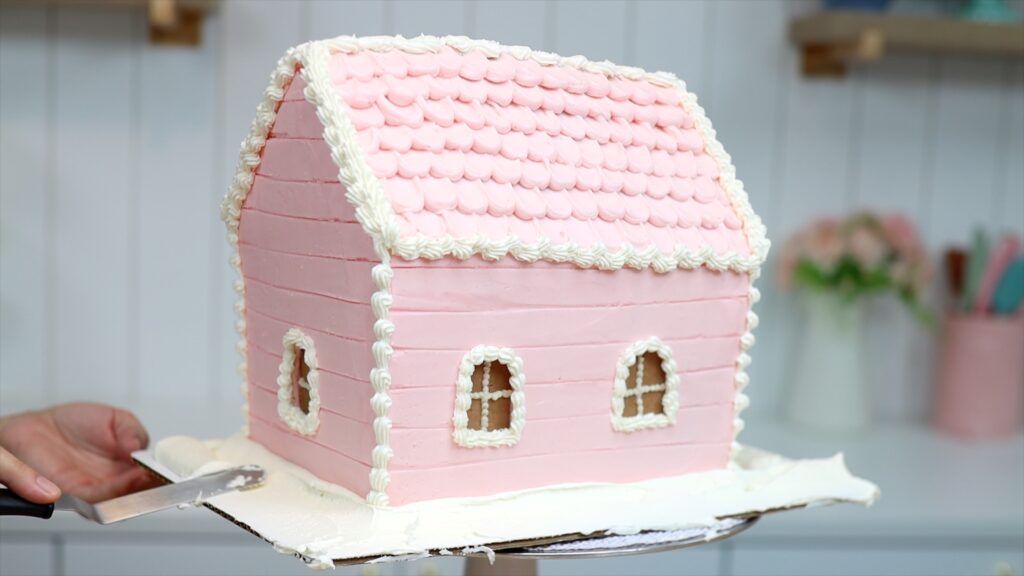
This will smooth and flatten it. Then lift it up to leave snowy texture in the buttercream.
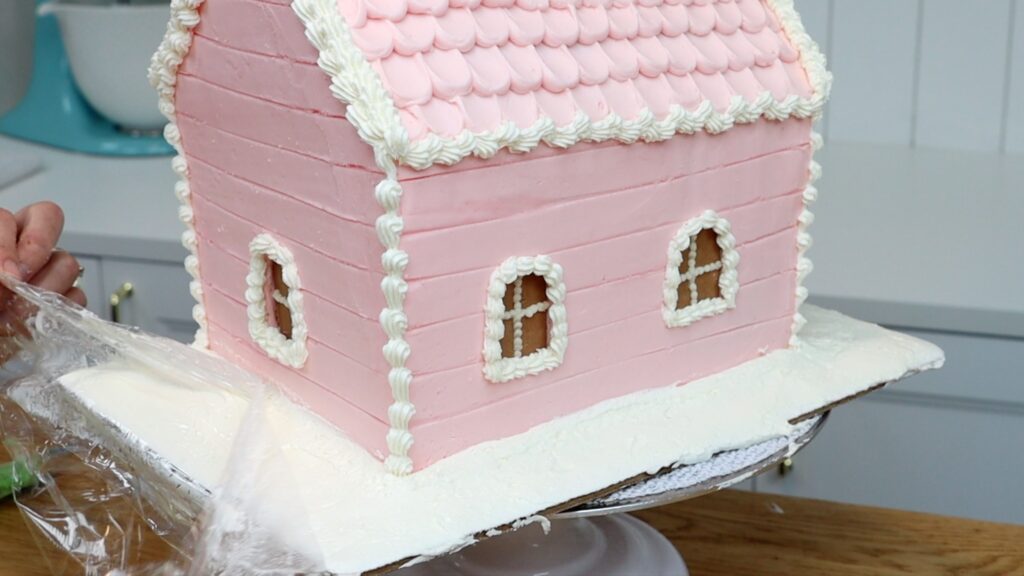
Pick up your Christmas trees and press them into the buttercream snow in front of the gingerbread house. Since the piping on the trees has set, you can touch it without damaging it.
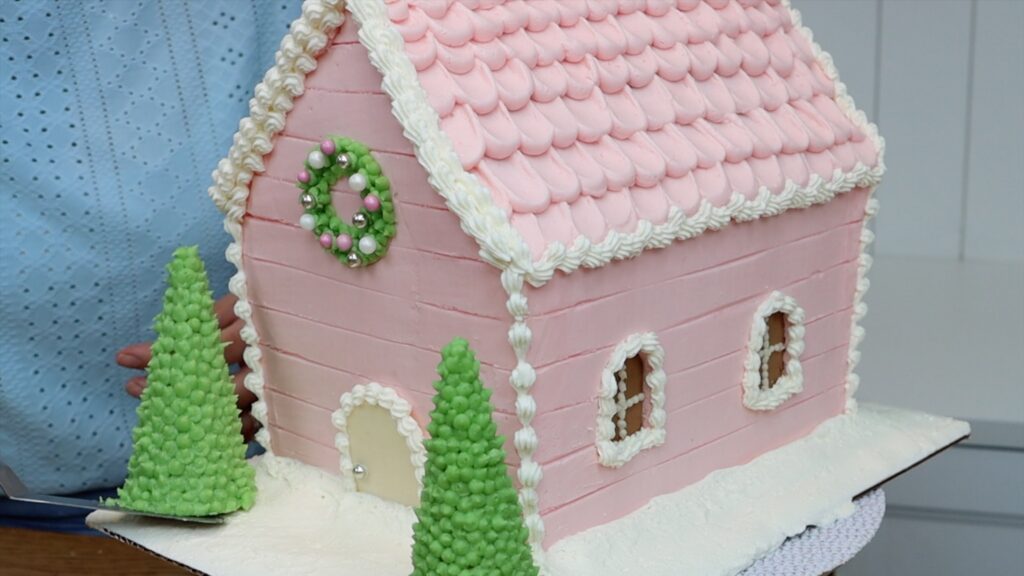
If you want to decorate them with sprinkles, you need to either add the sprinkles straight after piping or pipe some dots now to act as glue.
Now it's time for the final details! Use a powder brush to dust the cake and snow with tinker dust or edible glitter. This will make it sparkly.
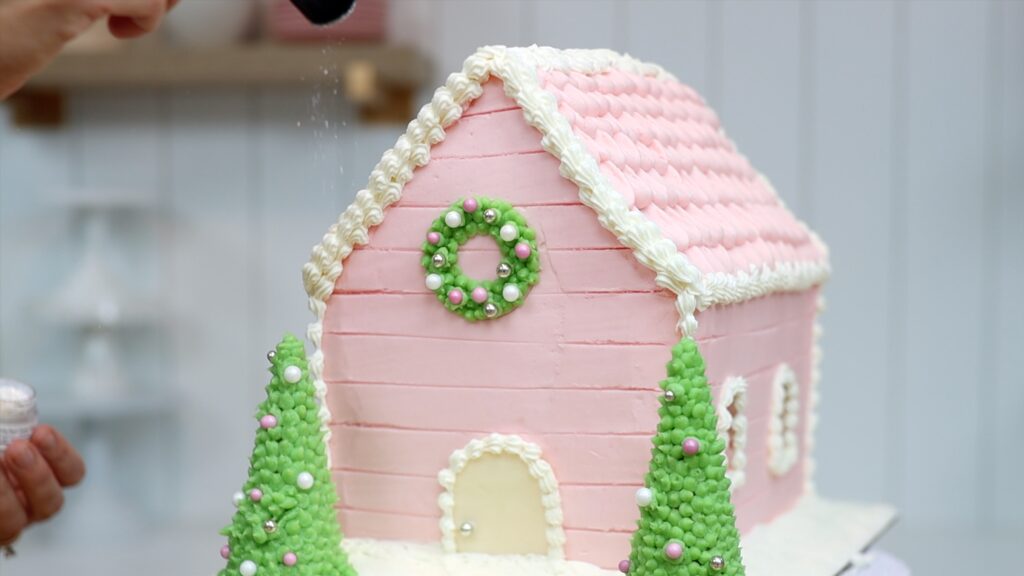
Wrap a fabric ribbon around the cake board to add some colour and cover up the corrugated cardboard edge of the board.
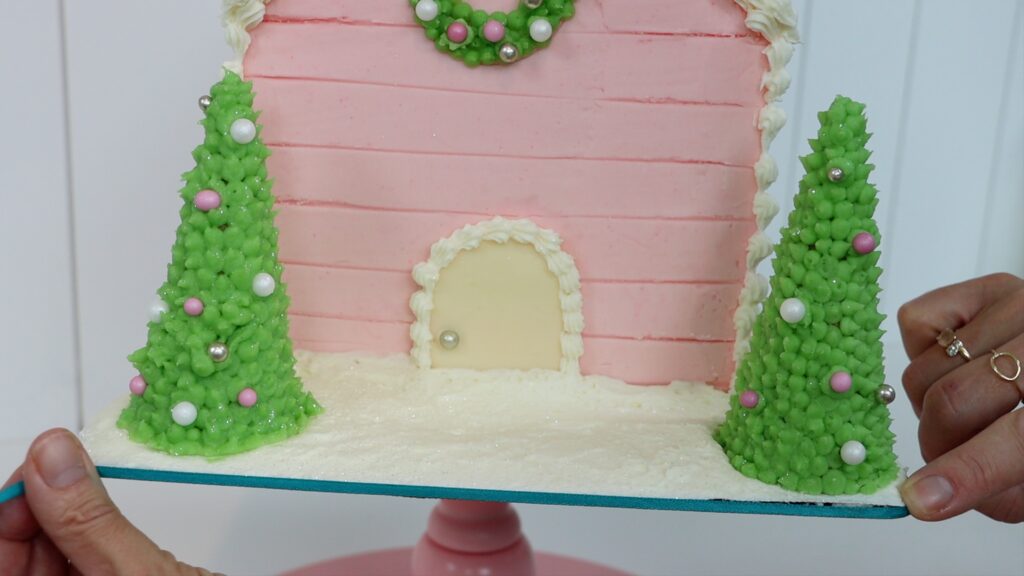
Isn't it beautiful? I was so excited to cut into this cake!
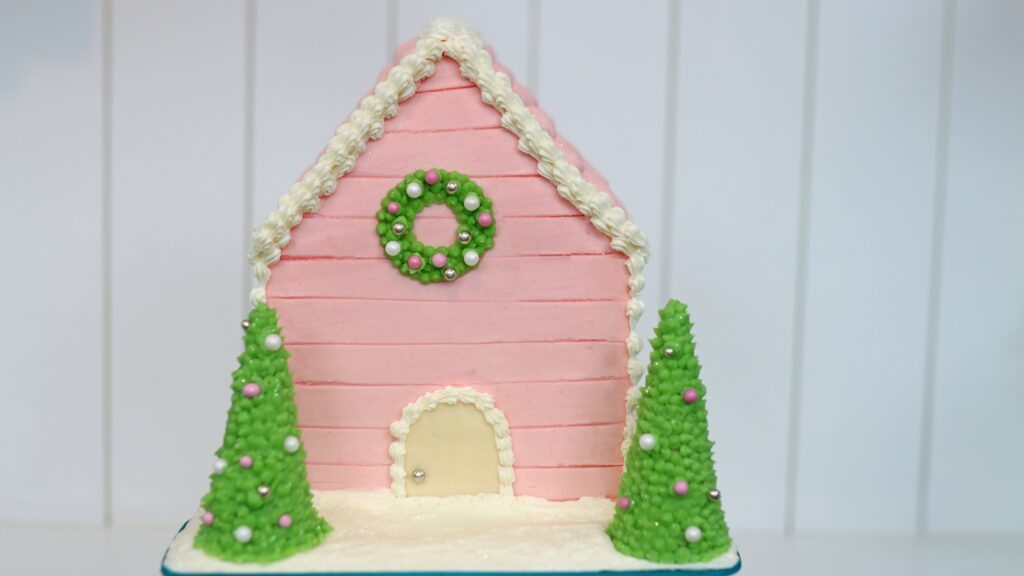
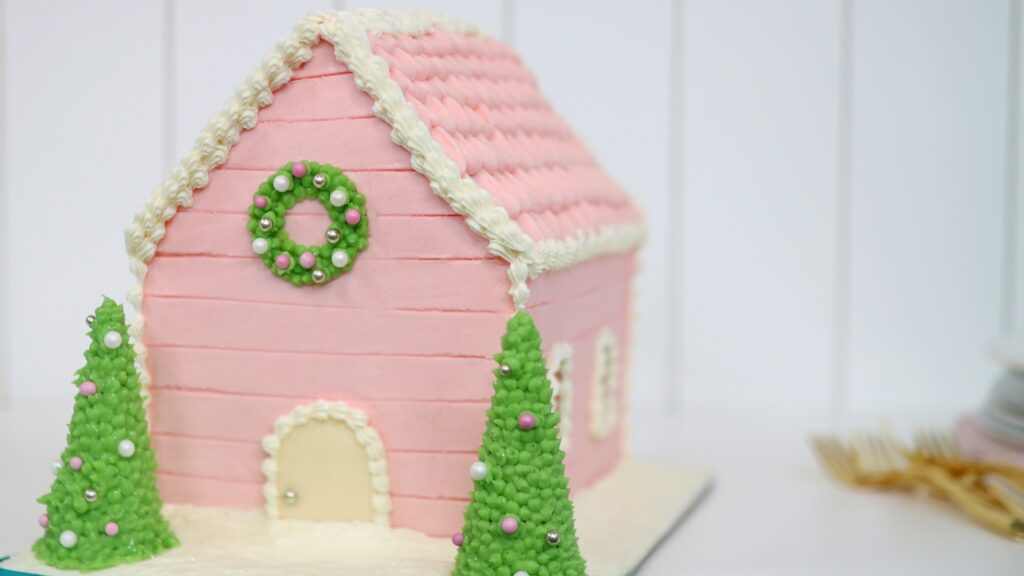
To serve a tall cake like this is surprisingly VERY simply. Start by cutting from the top down until you feel your knife hit the cake board in the middle. Serve those slices and then lift up the cake board underneath.
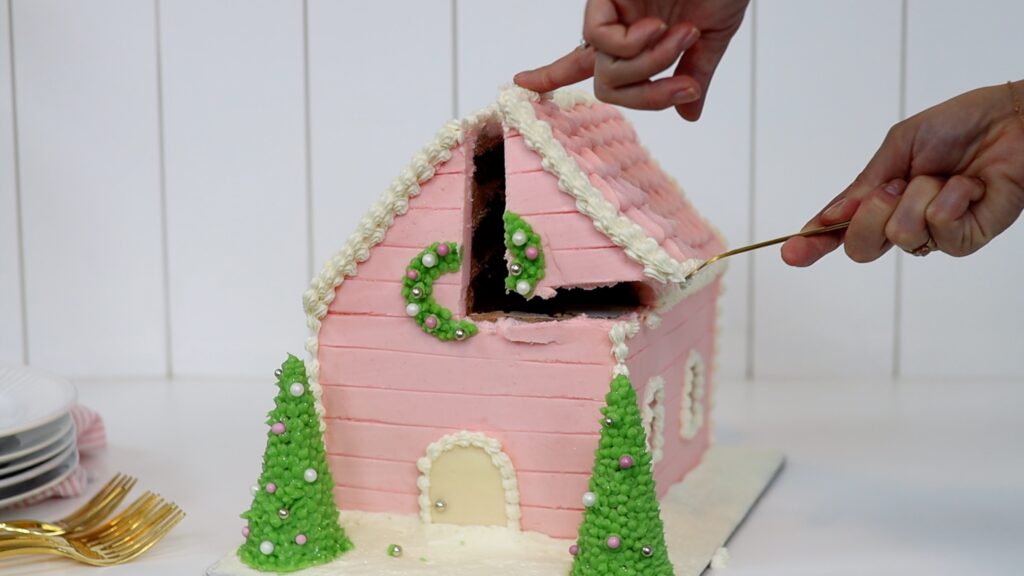
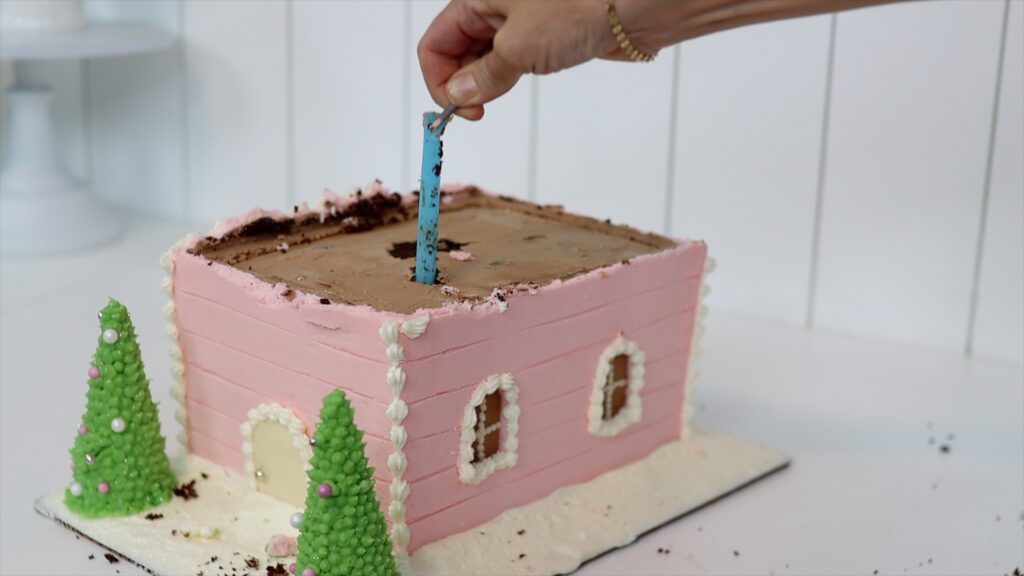
Pull out the supports, and then serve the bottom part of the cake! Yum! This gingerbread house cake is not only stunning, it’s also absolutely delicious, with moist chocolate cake layers and rich buttercream filling and frosting.
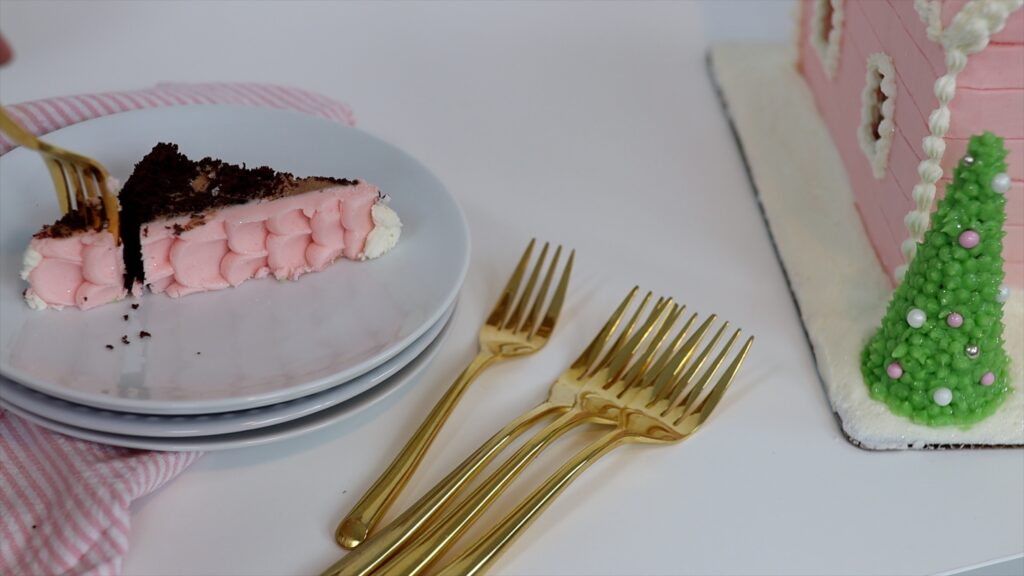
If you have any questions about how to make this gingerbread house cake, ask me in the comments below. Visit my online cake school to learn hundreds more cake decorating techniques and designs! You can also watch a video of this tutorial on How to Make a Gingerbread House Cake here:
