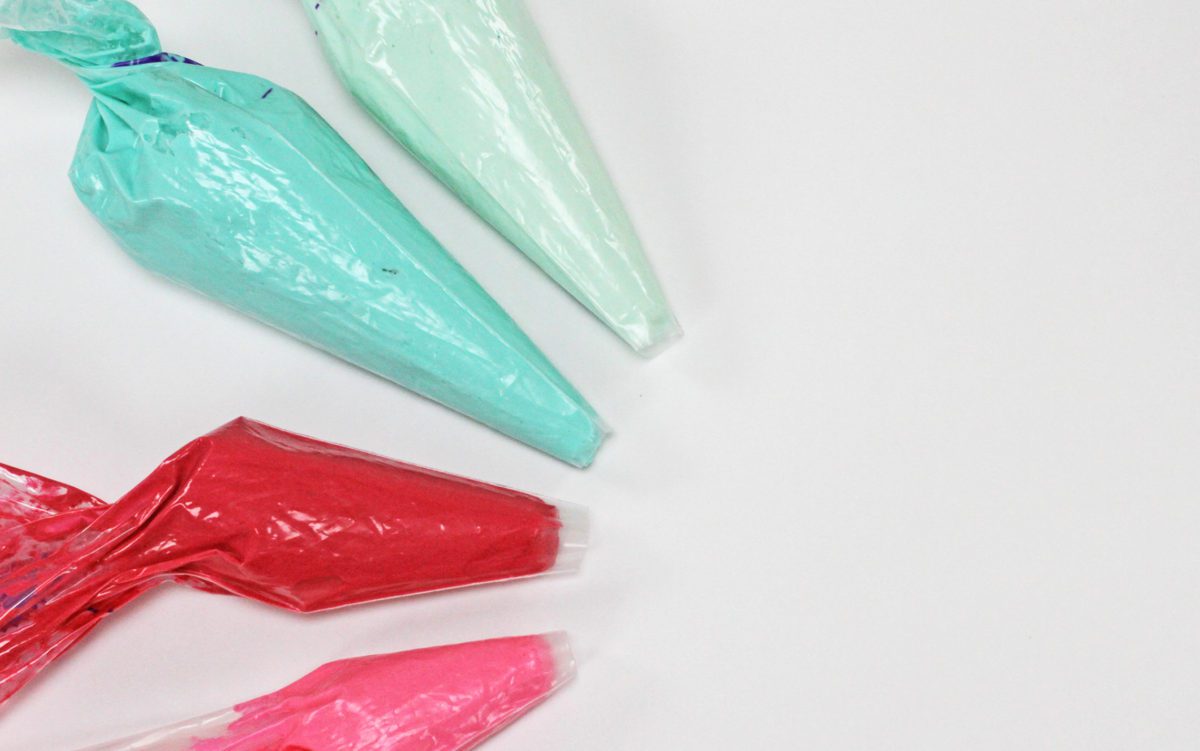
With simple steps you can create bright and bold colours with buttercream and in this tutorial I’ll show you how! If you prefer to watch a video of this tutorial, scroll to the bottom of the page.
I use gel colours to colour my buttercream because they’re very concentrated, much more concentrated than the liquid colours you can buy at the supermarket or grocery store. You only need a few drops to get a bright colour. I’m using my 4 Minute Buttercream for this tutorial but the same principles will apply to whipped cream or meringue buttercream.
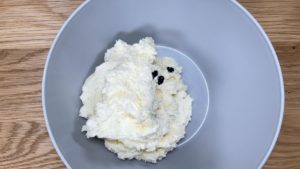
Start slow with just a drop or two – it’s easy to adjust the darkness of the colour by adding a few more drops but not as easy to make the colour lighter after you’ve added too much colour. I used 3 drops of teal for this buttercream.
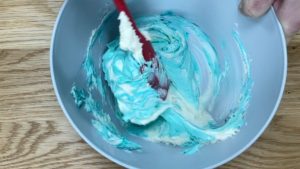
If you make your buttercream too dark by adding too much gel, to lighten it just add some plain white buttercream to it. This also works if you have a colour you like, and you want a tint another bowl of buttercream to be a lighter version of the same colour.
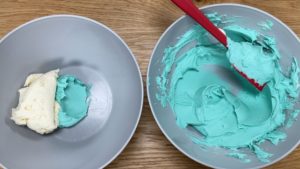
Put a little bit of your first colour into a bowl and then add some plain white buttercream to keep the exact same colour but lighten it.
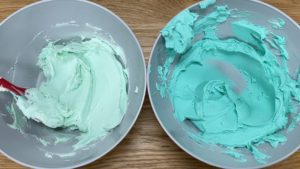
This is really useful if you’ve used lots of different colours to create your first colour, say, royal blue and sky blue and leaf green, and instead of using half the amount of each of those gels to create a lighter version of the colour from scratch, you can lighten it very easily by adding white buttercream.
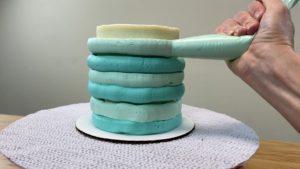
Alternatively, to make this colour from scratch you could add just 1 drop of gel instead of the 3 drops I added to make the darker shade. This is easy if you paid attention to exactly how many drops of each gel you added to your buttercream, but if you added more and more gel as you mixed and lost track of the numbers it will probably be easier to add white buttercream to lighten it.
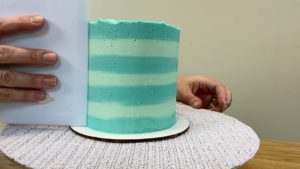
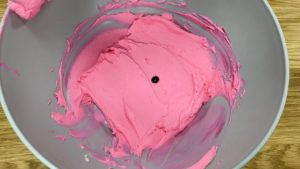
To make a specific colour, start with the colour that’s closest to that colour. So for a raspberry colour I’m starting with pink.
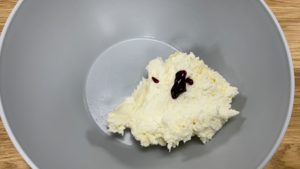
If there’s another colour that’s obviously part of the colour you’re trying to make, add that next, just a tiny amount at a time. I’m adding a drop of red.
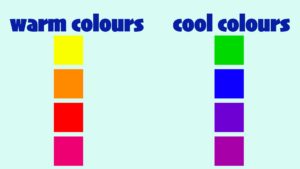
Then think about whether you want the colour to be warmer or colder. Warm colours are yellow, orange, red and pink, and cool colors are green, blue, purple.
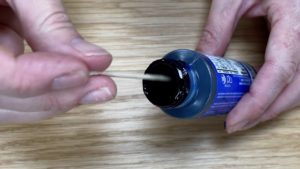
I want to add a teeny tiny bit of blue, much less than a full drop, and to do that just take the lid off that bottle of colour of gel and dip a toothpick inside.
Then pull the toothpick through the buttercream to leave a little bit behind. You can add the rest of the gel on the toothpick later it you need to add more.
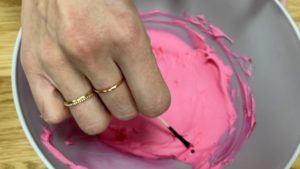
Don’t panic if you don’t get the right colour straight away because you can keep tweaking it until you’re happy with it. I’m adding a few more squeezes of pink until I make the colour I want, but a lighter version of it.
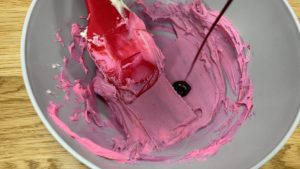
Colours develop and darken with time and exposure to air so expect the colours you make to be a little bit darker by the time you’ve frosted and decorated you cake. I know this colour is going to darken by the time I use it…
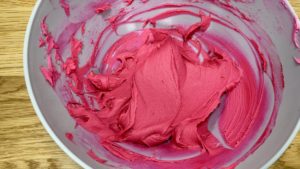
… After finishing the other decorations on my cake, this raspberry buttercream has developed to become not quite red but close to it, a deep raspberry pinky red. You can see the difference about 30 minutes makes, from the pinky raspberry colour in the bowl in the photo above to this shade I’m piping with which is closer to a raspberry red.
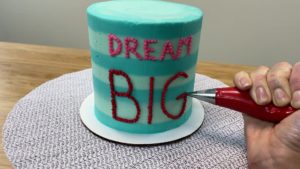
You can mix colours to create every shade imaginable with different numbers of drops of each colour and I share the drop counts for 43 different colours in my online course on The Basics of Buttercream, with exactly how many drop so each of the basic colours you need to use to create particular colours like olive, slate, copper, lavender, salmon, and neon green.
Black and red are the two colours that people find the most challenging to make and I’ll show you how much gel you need and two ways to make the colours even darker without using more gel in my online course on The Basics of Buttercream.
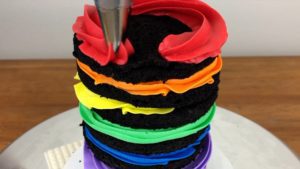
I also teach how to make buttercream, store it, and use it for lots of unique techniques – click here to find out more about the online course.
Here’s the video version of this tutorial:
