You don’t need lots of fancy tools to be able to create stunning cakes. I’m going to show you how to decorate a cake without tools in 8 different ways, using things you already have at home like spoons and baking paper. The techniques are simple but the results will look professional!
You can make homemade versions of most tools, like cake stencils, which I’ll make and use on this first cake.
To make your own stencil for cake borders first measure the circumference of the cake. The easiest way to do this is to wrap a piece of string or ribbon around the cake. Cut it so that it's the length of the diameter of the cake.
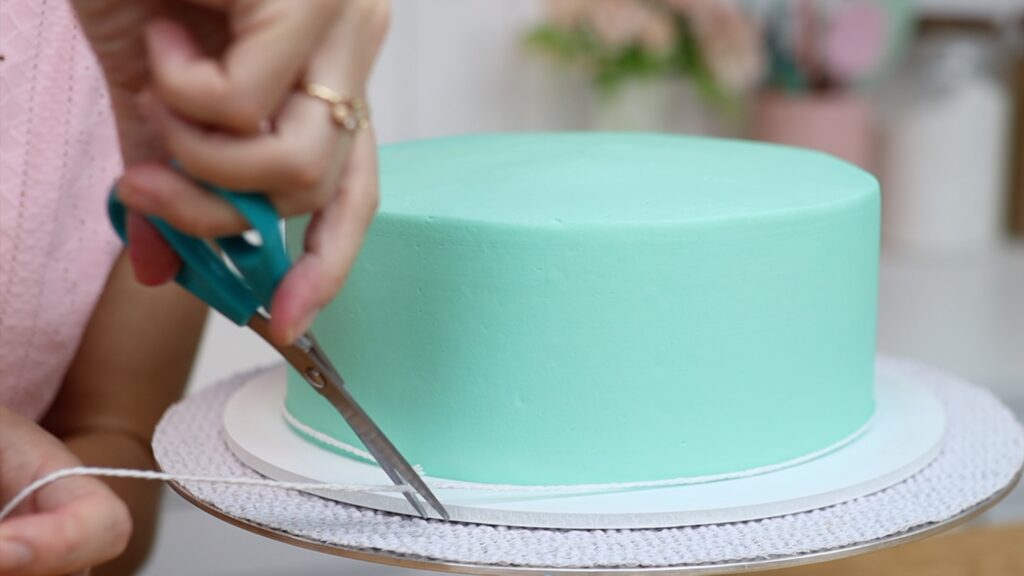
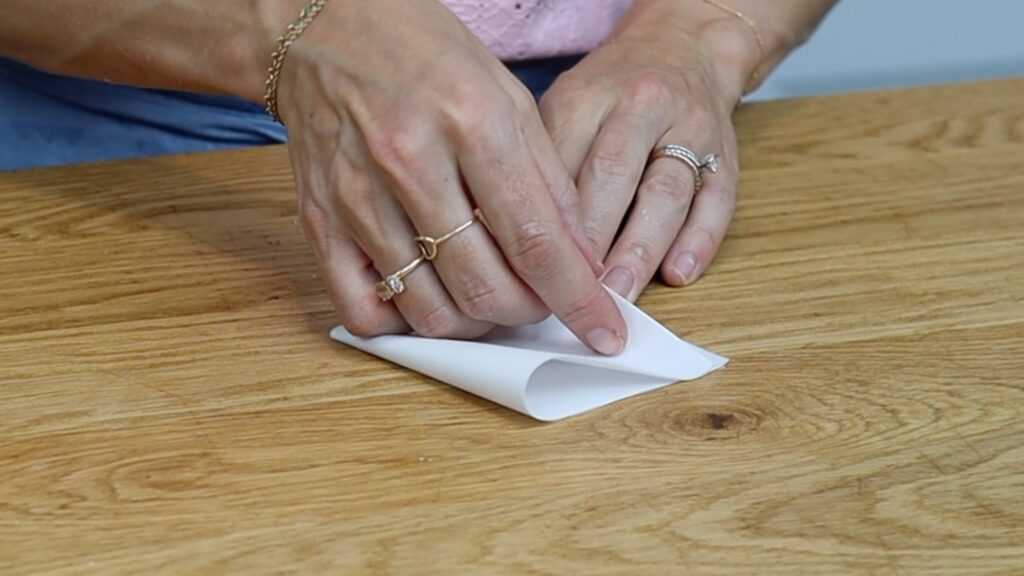
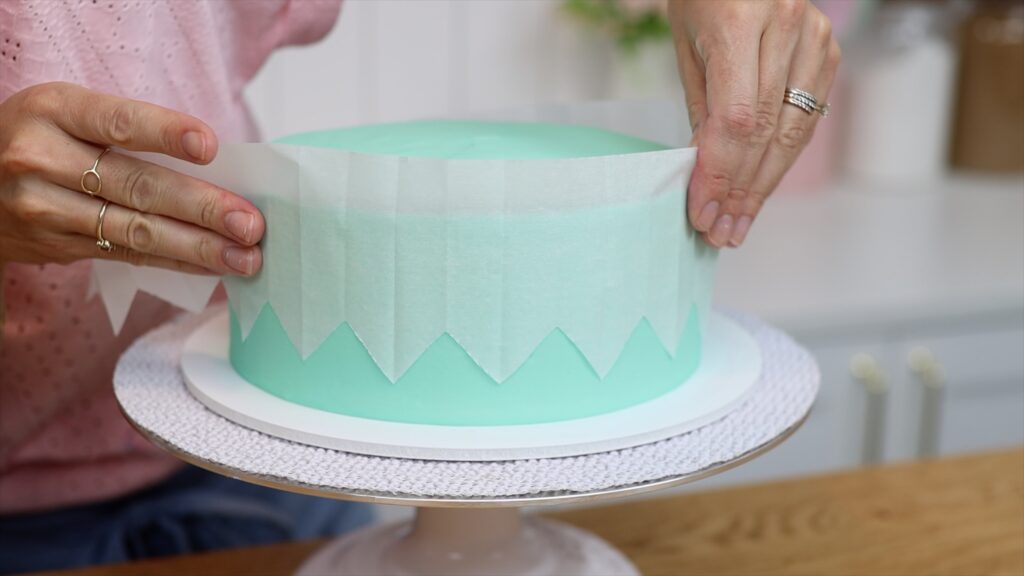
Now you’ll need baking paper or parchment paper or wax paper. Use the string to measure a piece just long enough to wrap around the cake. Cut it so that it’s about the same height as the cake, too. I’m going to make a zig zag pattern for a border around the bottom of the cake but you can use this technique for any pattern. To space the zig zags evenly fold the strip of paper in half and then in half again and again and again until it’s the size that you want the zig zags to be.
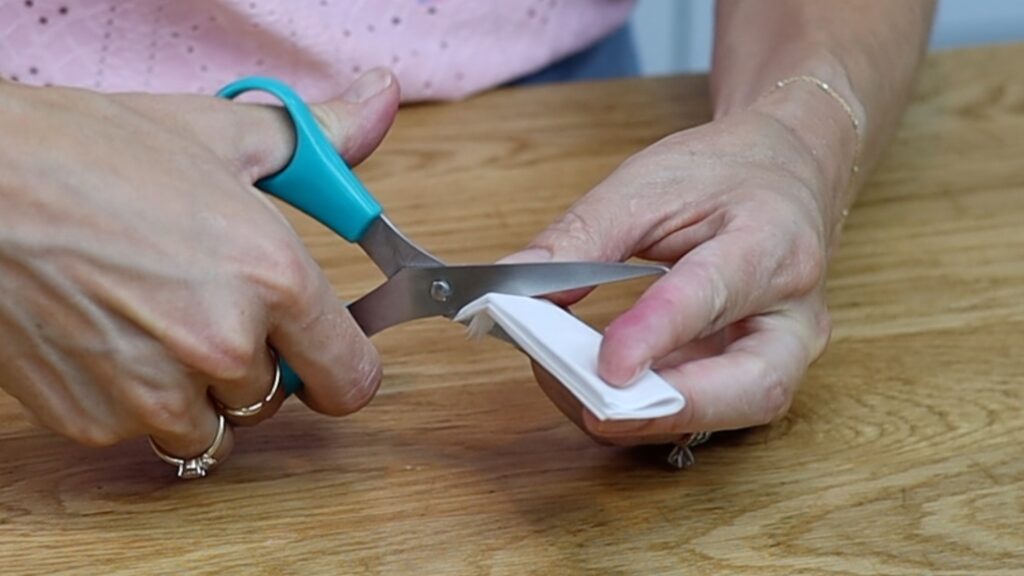
Cut diagonally up from one of the bottom corners, unfold the paper and voila! A zig zag stencil! Wrap it around your cake, lifting it up as high as you want the border to go. Press it gently against the cake to attach it. You need to put the cake in the fridge for at least an hour before doing this so that it gets cold and firm. That way you won’t damage the buttercream icing or frosting when you press the stencil against it. Tiny condensation droplets will form on the frosting when you take the cake out of the fridge, which make the stencil stick to it.
I'm using my 4 Minute Buttercream for this cake and all of the others in this tutorial. Spread another colour of buttercream below the stencil to cover up the exposed part of the cake. It’s fine if you get the buttercream all over the stencil and that’s why it’s a good idea to cut the paper so it’s about the same height as the cake. The stencil protects the higher parts of the sides of the cake from any unwanted streaks and smudges.
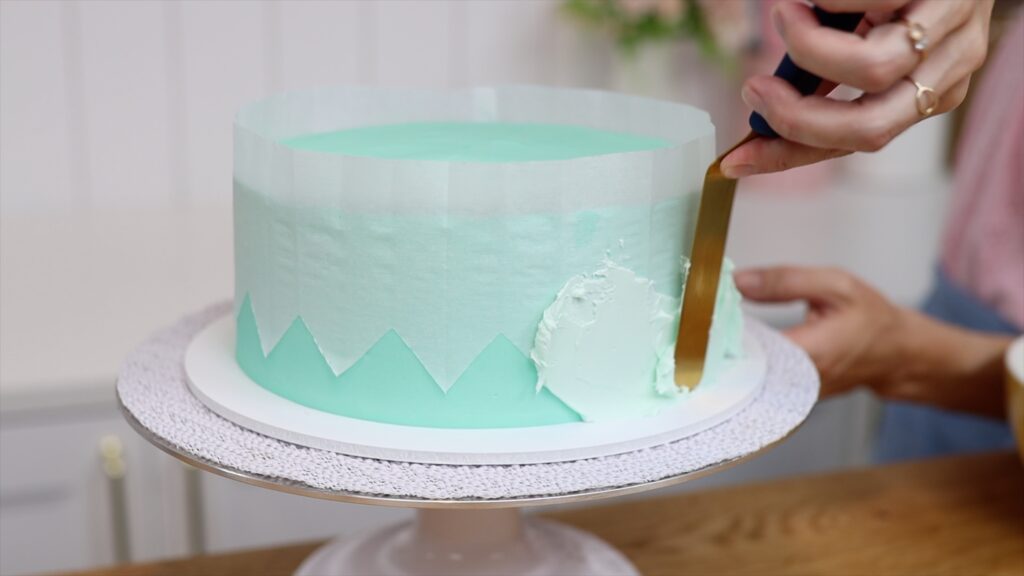
When you’ve worked your way around the whole cake, use the edge of your spatula or palette knife to smooth the buttercream you’ve just spread on. Spin your
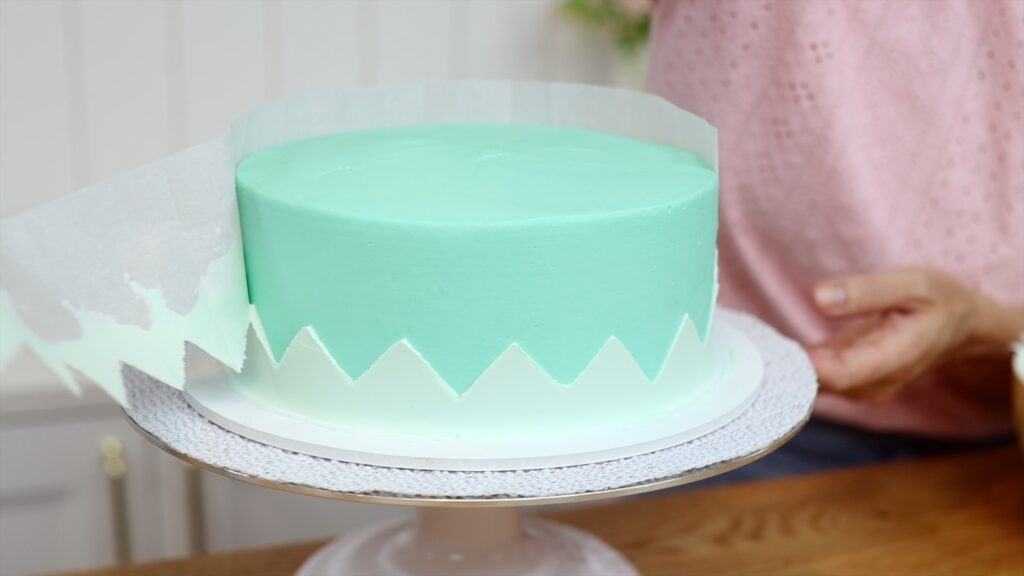
Scrape your spatula around the cake board to wipe off any buttercream smudges. This pretty border adds colour and detail to your cake. It's a simple method of how to decorate a cake without tools like expensive stencils that you only use once!
I share more ideas for cake decorating using parchment paper in this tutorial.
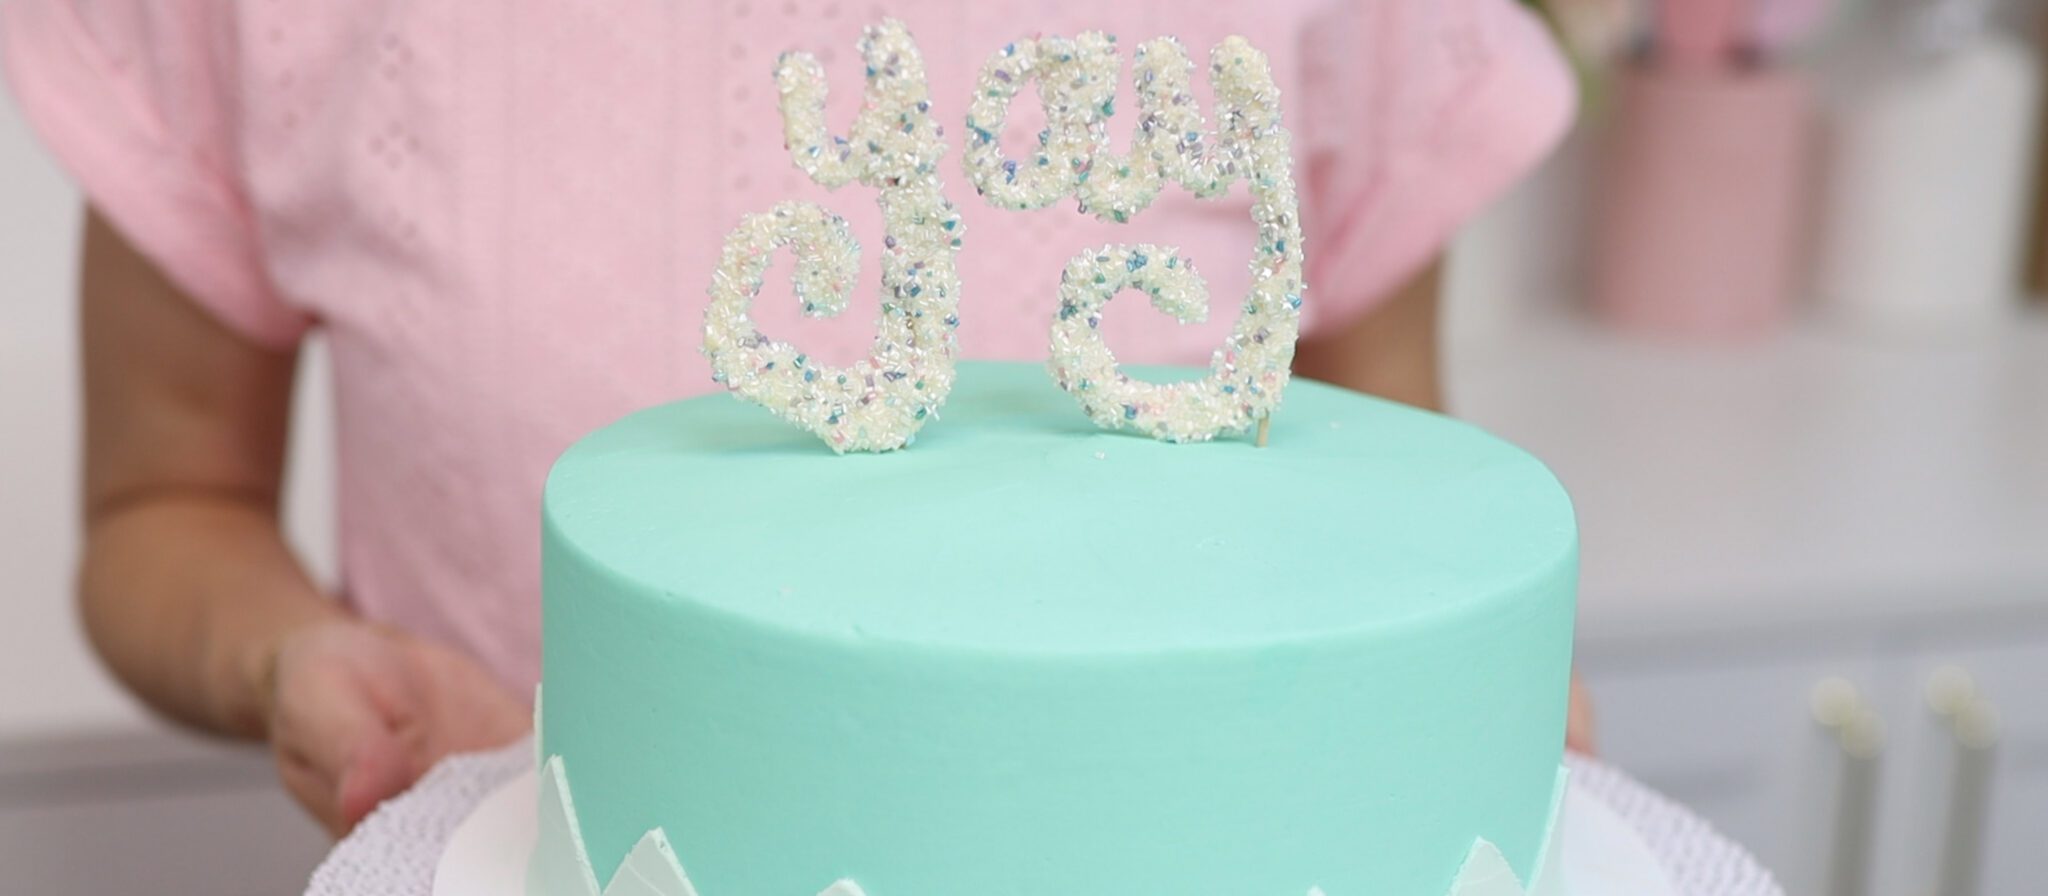
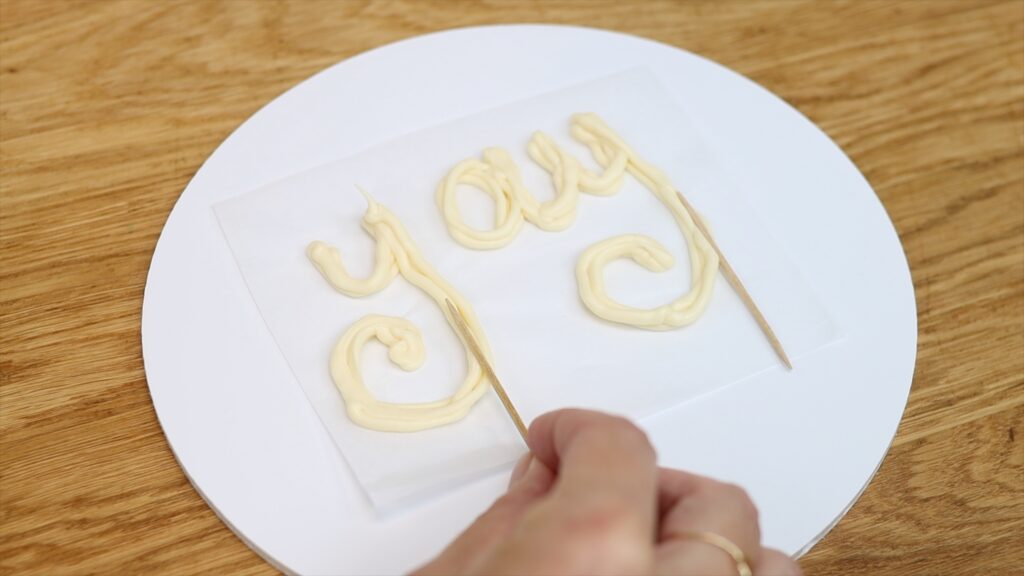
Now let’s use chocolate to make a sparkly cake topper. You can use any kind of chocolate chips or a chopped up chocolate bar for this. I'm using white chocolate chips. Melt the chocolate in the microwave at 70% power for 30 seconds at a time. By using low power and short intervals you won't burn the chocolate. Stir it until it’s smooth and then spoon the chocolate into a sandwich bag. Cut a tiny piece off one of the bottom corners of the bag to make your own piping bag. Then squeeze the chocolate through the hole to write onto a piece of baking paper, parchment paper or wax paper.
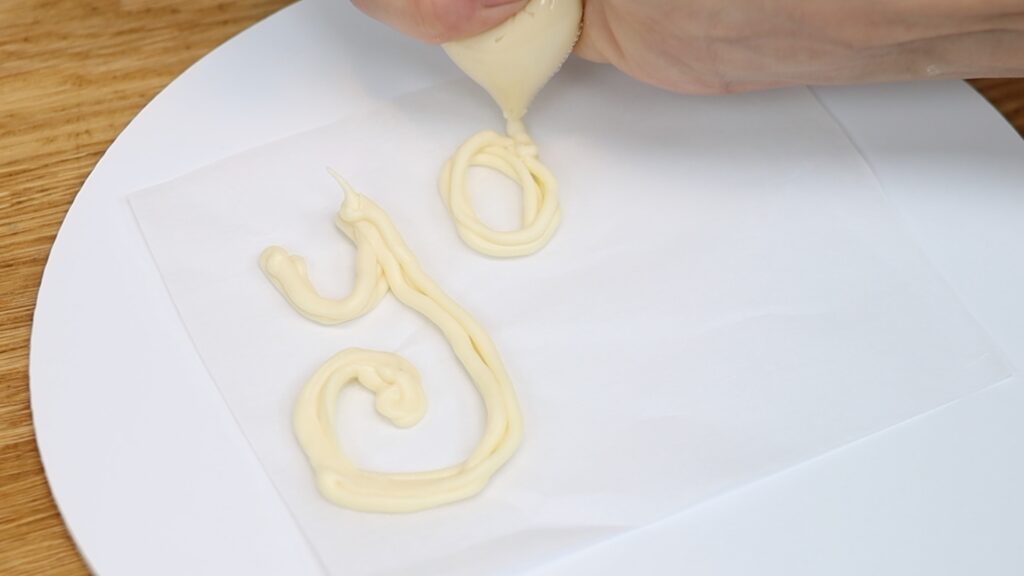
Make the lines as thick as you can, while still being legible, so that they’re strong and less likely to snap than if they’re thin. The lines don’t need to be neat or smooth because you'll cover them up soon. Push a toothpick into the bottom of each section and pipe more chocolate on top.
Next, pour sprinkles or coloured sugar over the chocolate, pressing down gently to attach them. It’s a good idea to do this on a cake board or a small tray so that you can lift it up.
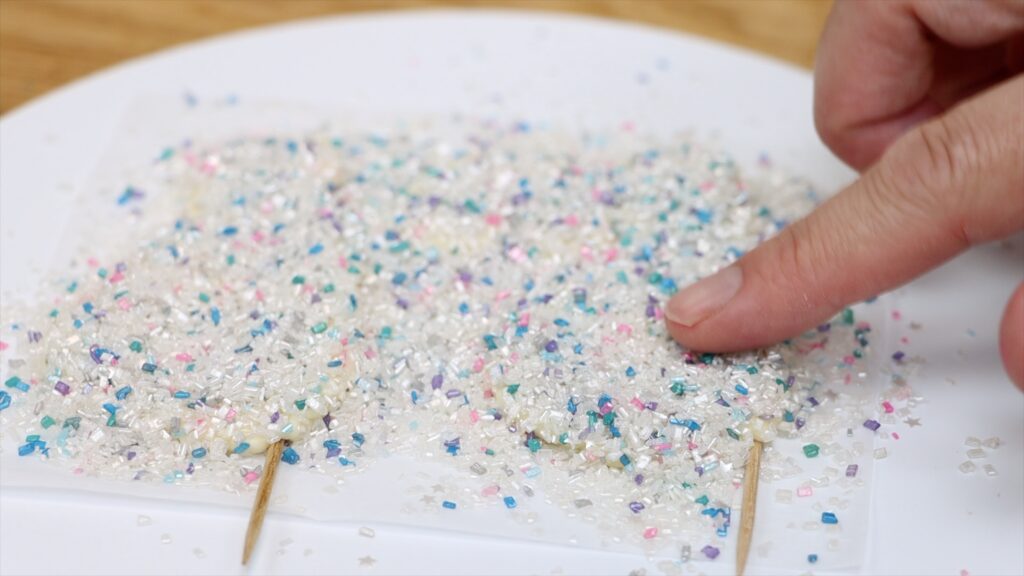
Put the chocolate into the freezer to set, which takes about five minutes. The chocolate will be strongest when it’s cold so when you take the toppers out of the freezer, use them straight away. Pick up the toothpicks to lift up the chocolate and push them into the cake. The toothpicks will secure the letters so that they stands up straight.
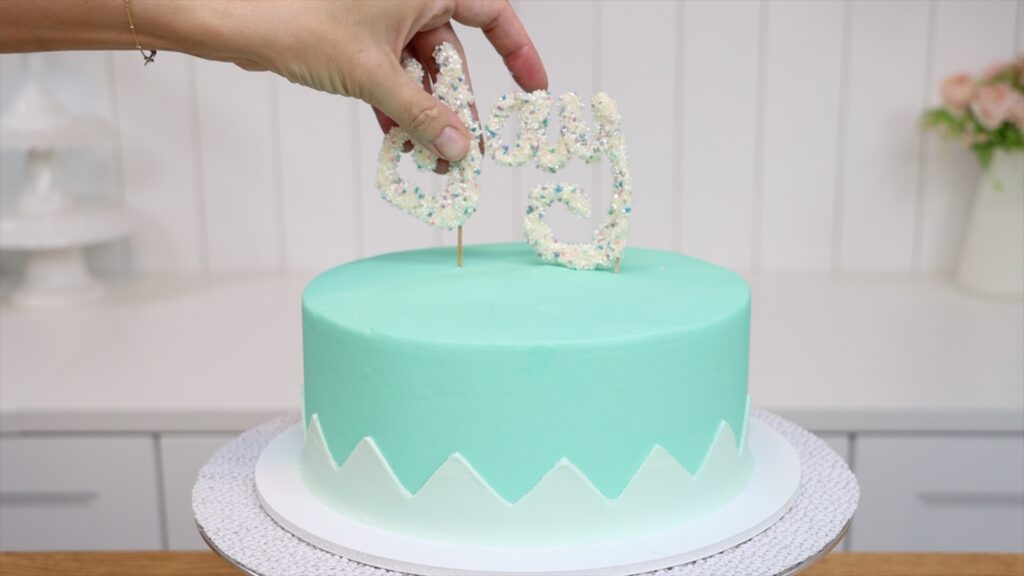
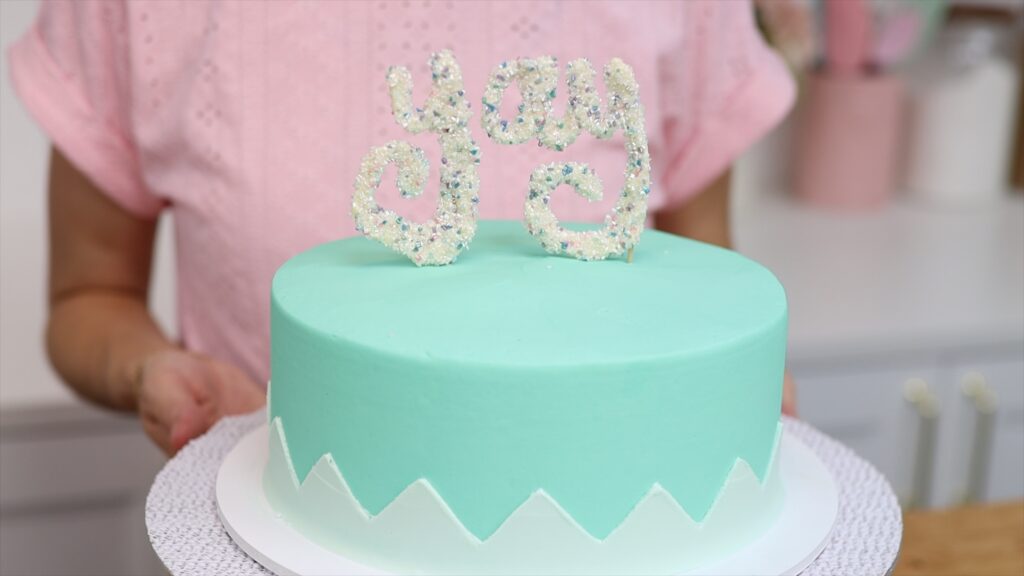
If you're looking for how to decorate a cake without tools and materials like custom cake toppers, this is a fun option. It's an easy way to make colourful and delicious decorations that add height and detail to your cakes.
With just a simple spoon you can create lots of interesting textures and I’ll show you how to decorate a cake without tools other than a spoon on this next cake.
If you struggle to get your buttercream smooth, texturing it is a great option! Use a cake comb or icing scraper to get the sides of the cake straight and the top level. Don’t worry about indents or any imperfections on the surface of the buttercream beaus those will be smoothed out next. Hold a spoon sideways and press the back of the spoon gently into the side as you spin the cake on the
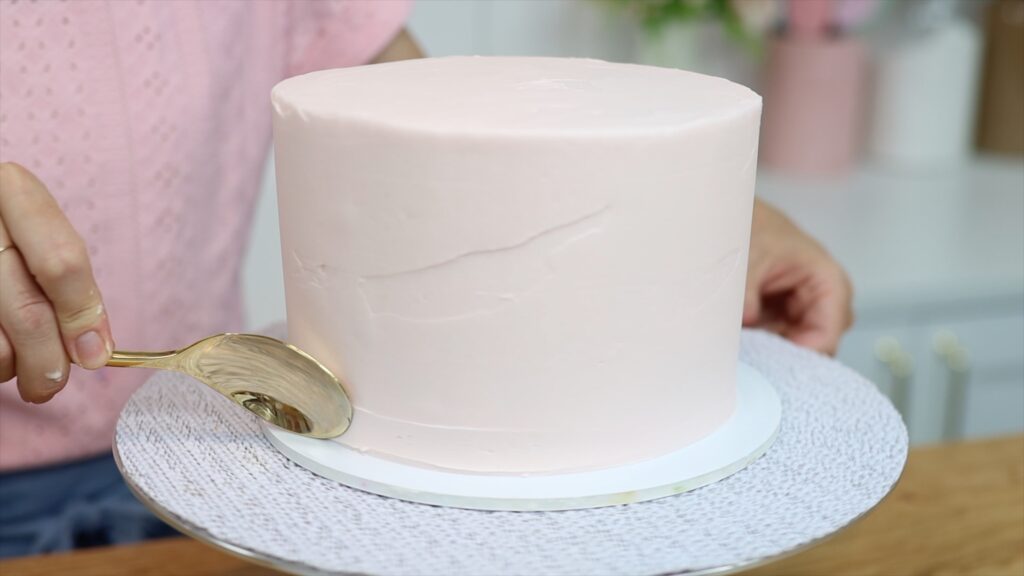
Do this as soon as you finish frosting the cake so that the frosting is still soft. Drag the spoon slowly up the sides of the cake as you finish each lap so that the texture continues all the way up. If buttercream builds up on the spoon just swipe away, clean the spoon, and then start again.
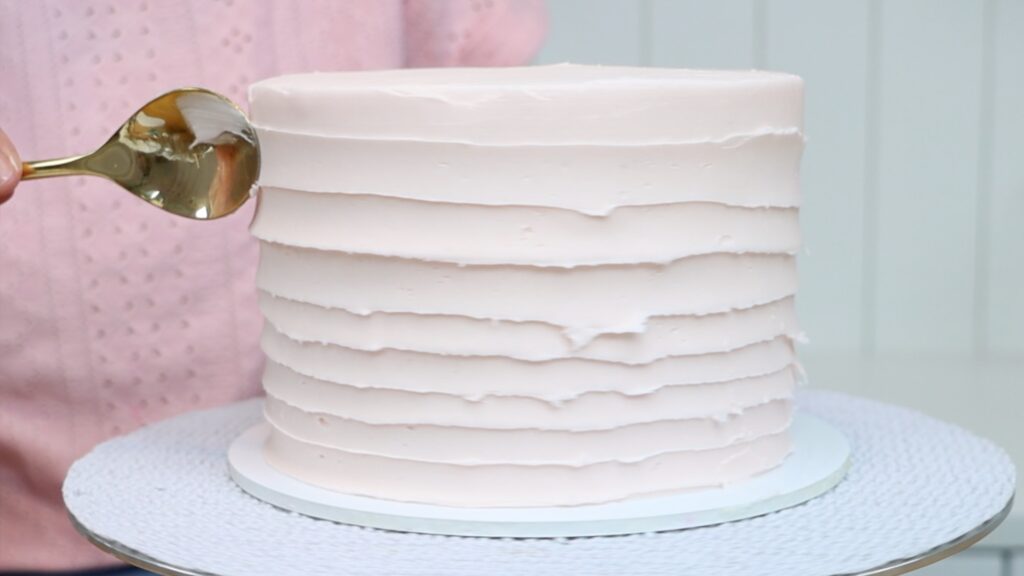
You’ll get the neatest results if you dip your spoon into a cup of hot water and then dry it before pressing it against the cake. The hot metal will glide easily across the buttercream and leave a smooth surface behind. You can leave the top edge unfinished or push sideways with a spatula to flatten and smooth it.

This is a fun technique to do because it’s not precise and the result is pretty and rustic.
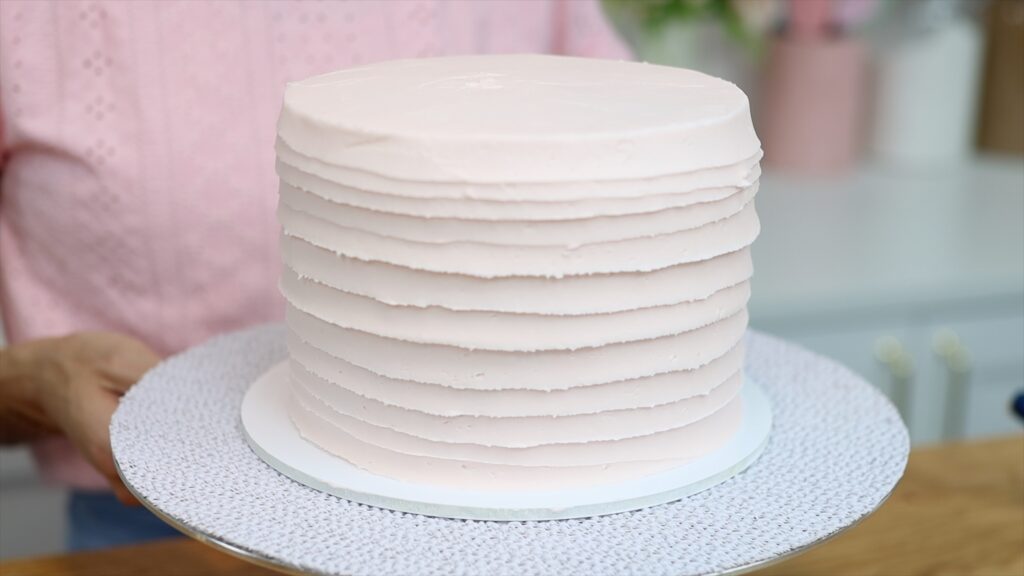
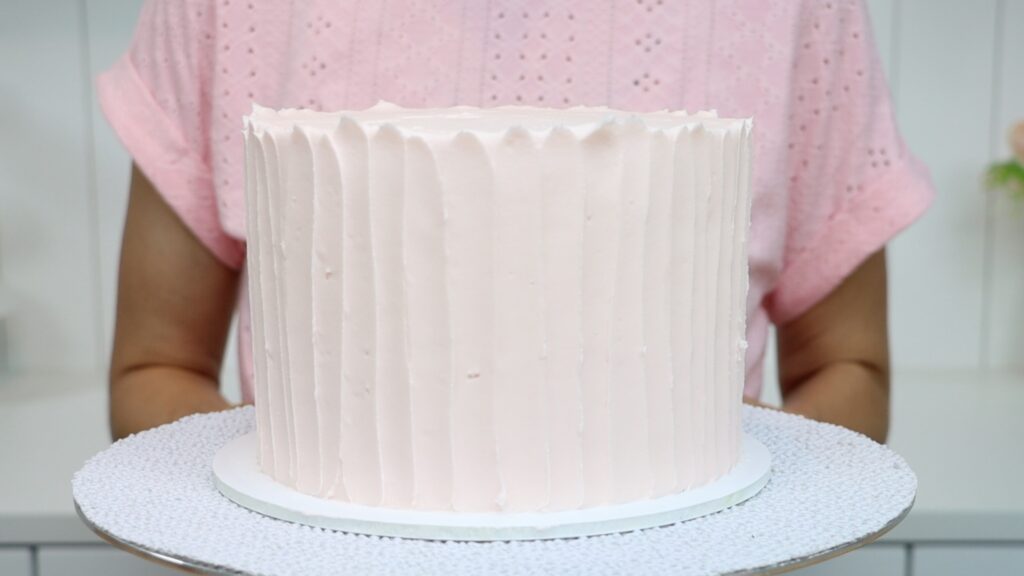
Here's a similar technique but in a different direction. Press the back of the spoon into the cake and drag upwards. Push gently against the buttercream to leave a trail going up the sides of the cake. Keep pulling all the way up above the top of the cake to leave a peak at the top.
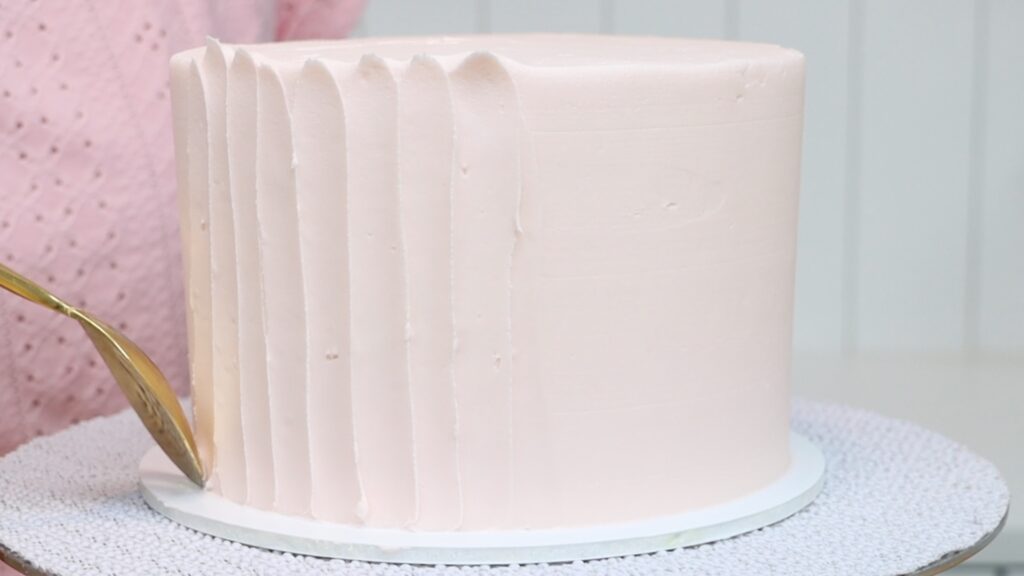
Start each one right beside the previous one, overlapping slightly so that there aren’t any gaps in between the texture. This also works best with a spoon that’s been dipped into hot water and dried. If you skip that step you might get little air pockets in the buttercream where the spoon pulls and tears it.
You can leave the peaks at the top as they are or tidy them up with your spatula like I did with the last texture. This is another simple design that’s a great base for other decorations like cake toppers.
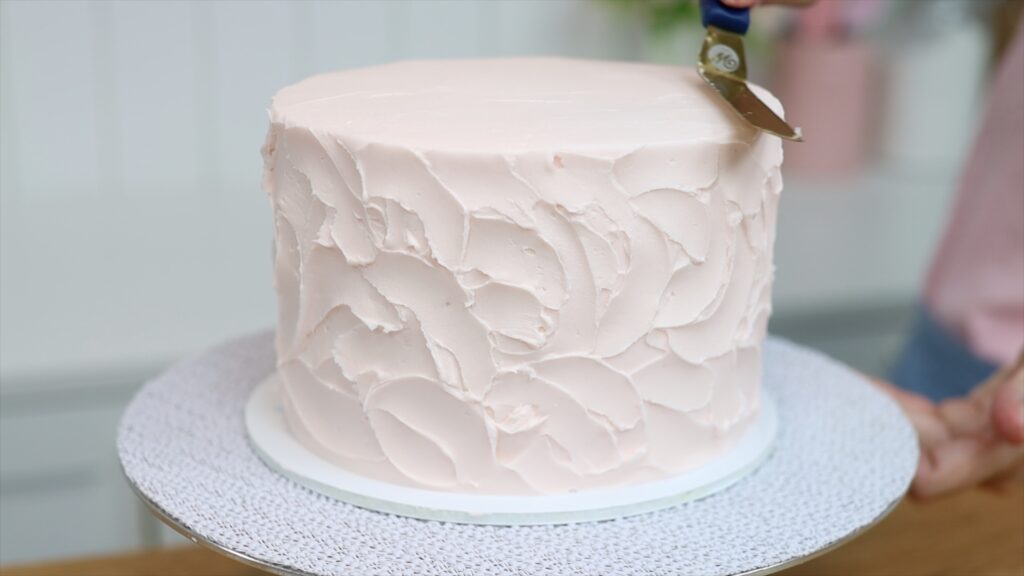
For this third texture using a spoon, use your spoon in every direction to make little arc shapes in the buttercream. Curve up and down and side to side to completely cover the cake with random “swooshes” of texture. Just like the other two textures, you’ll get the neatest results with a hot spoon because the hot metal will melt the very outer layer of buttercream and leave it smooth with no air pockets or unwanted texture.
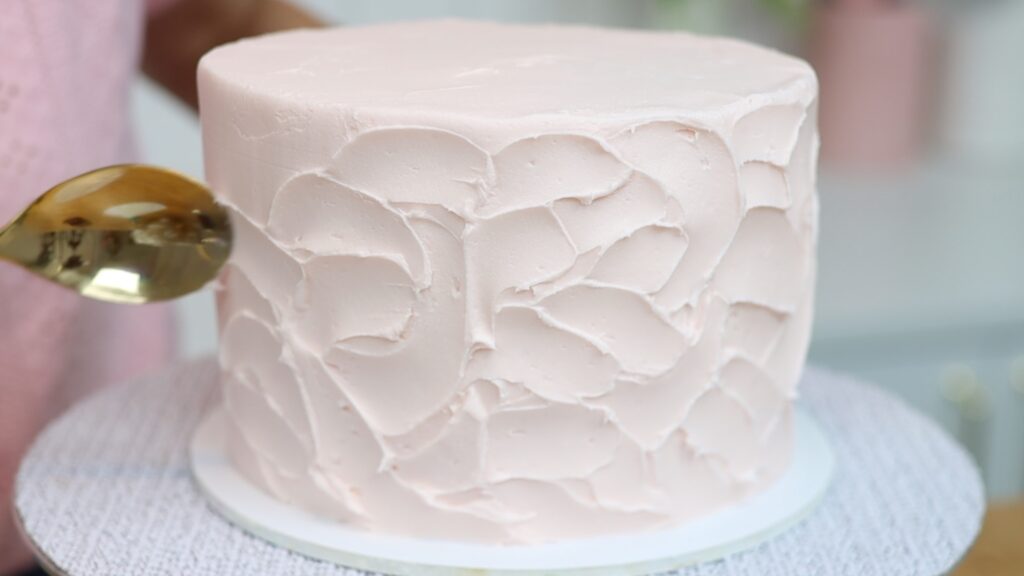
I often say less is more, but that’s not the case here! I think this texture looks best all over the cake rather than having a few scattered arcs around the cake. At the top of the cake, as you curve your spoon around you’ll push the buttercream up above the top edge. You can leave it like that or level it with your spatula to make a straight top edge.
For any of these textures created with spoon, cake toppers will turn a simple cake into something much more eye-catching.

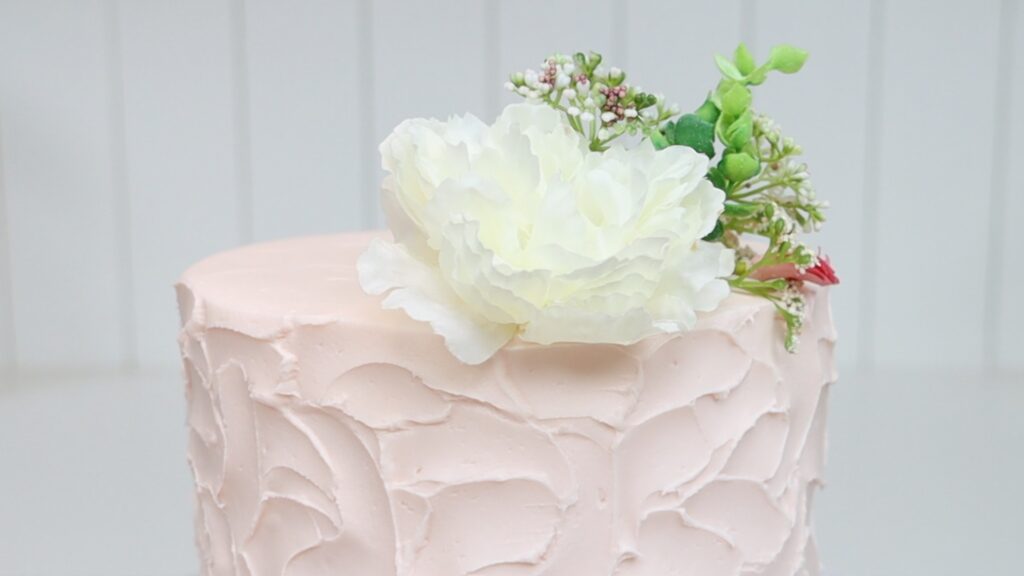
A very quick way to add detail to any cake is with fresh or artificial flowers. Wash them and let them dry and then wrap the stems in cling film or plastic wrap. This way they won’t come into contact with the cake. Wrap large flowers on their own or group little bunches of flowers together.
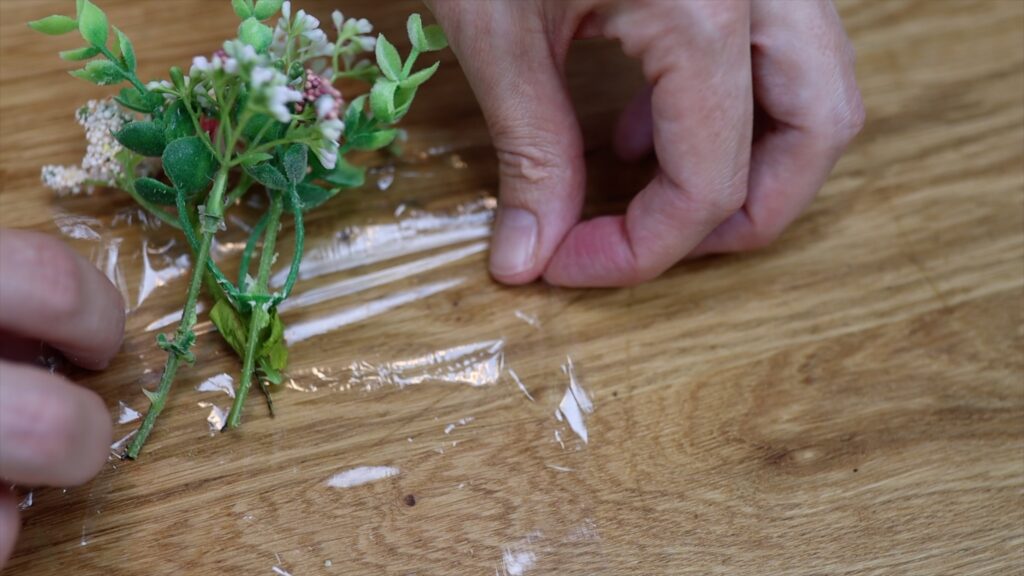
Fresh flowers are beautiful but if you want to decorate the cake a day or two in advance, artificial flowers are great because they won’t wilt or discolour. Push the wrapped stems into the cake and tadaa! Now you know how to decorate a cake without tools in seconds for a beautiful result!

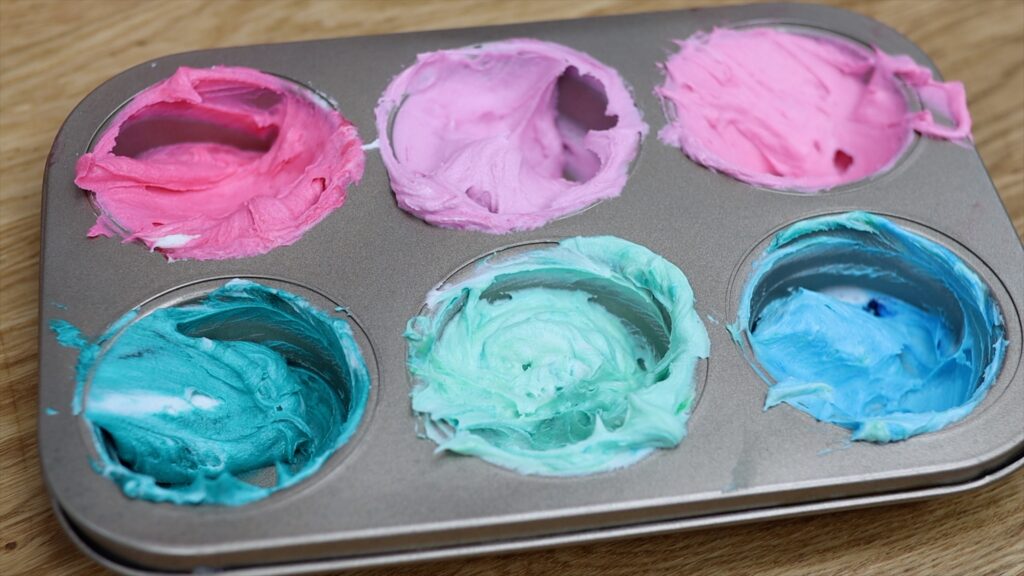
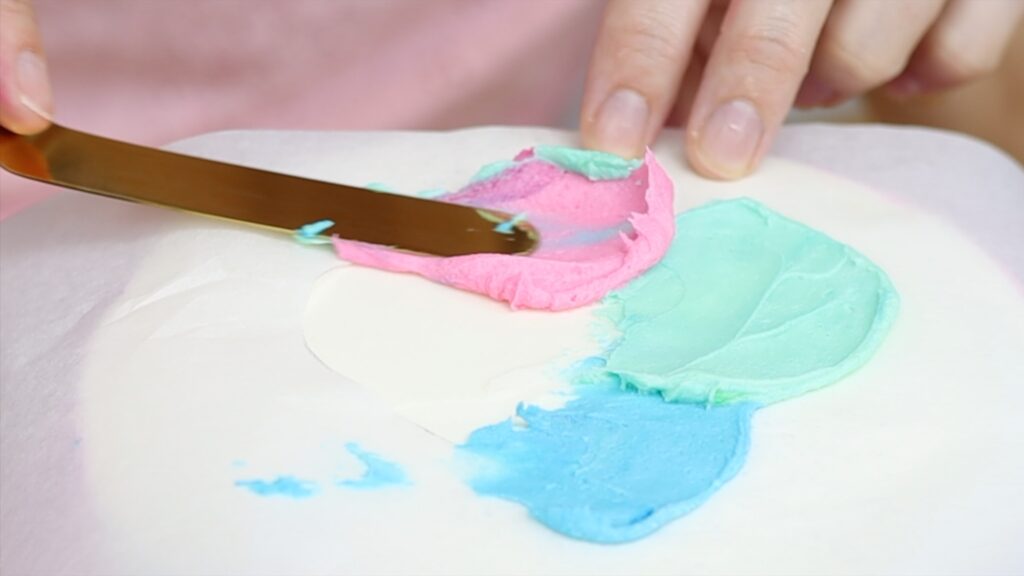
For this next cake I’ll use a cupcake pan to mix my buttercream colours. It’s more convenient than using lots of little bowls because it’s quicker to wash up afterwards compared to using a different bowl for each colour. Put a small amount of buttercream in each hole because you don't need much for this technique. To make a buttercream palette add some colour to each hole and stir to mix it in.
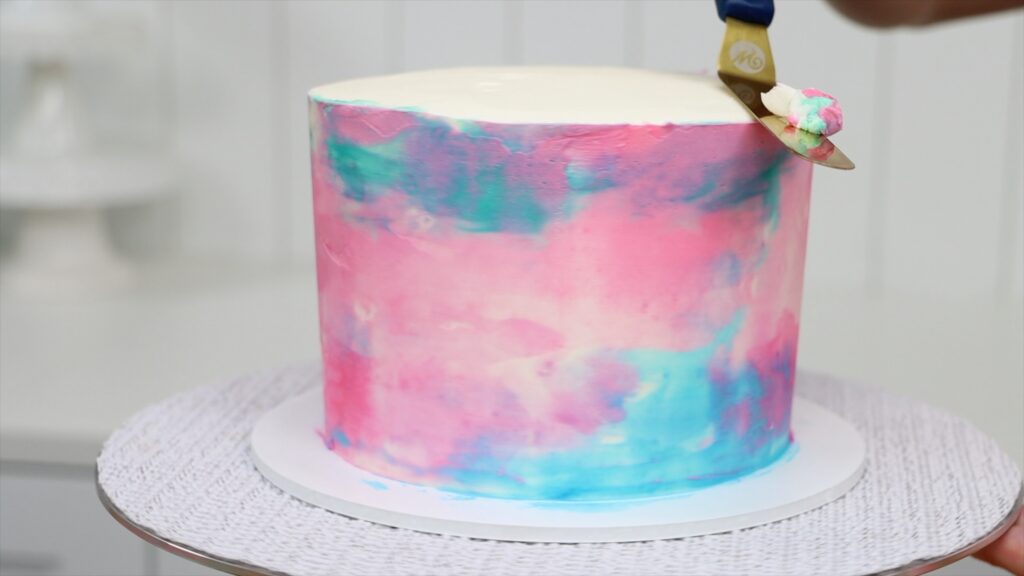
For this technique you’ll need the buttercream on your cake to set so it’s firm. The best way to do this is to chill the cake in the fridge for about an hour. Then scoop up a colour and spread it onto the cake. Since the icing or frosting has set, the colours won’t blend into it. Instead, they’ll sit on top.
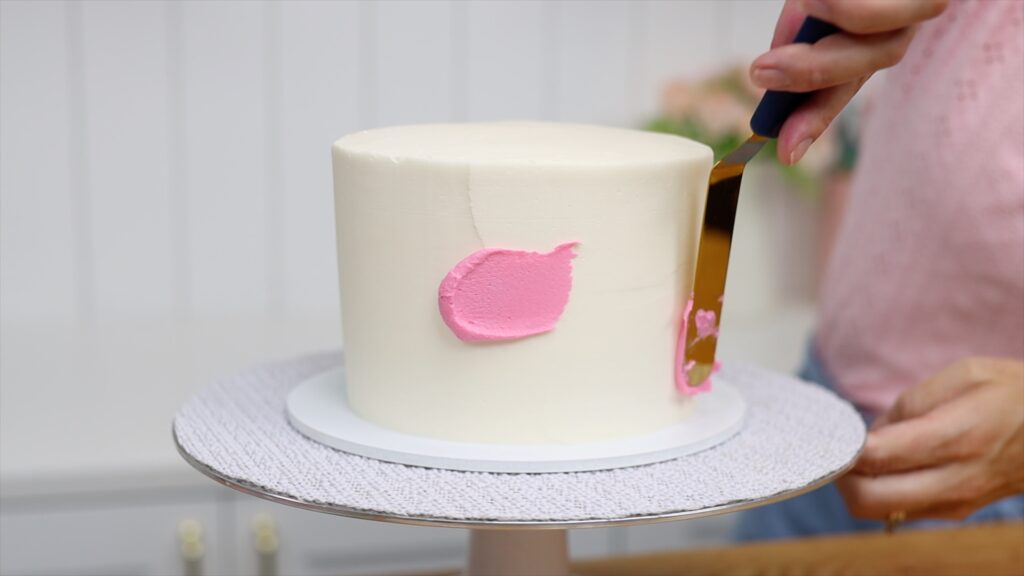
The coloured buttercream will chill quite quickly after you’ve spread it on so the different colours won't blend together.
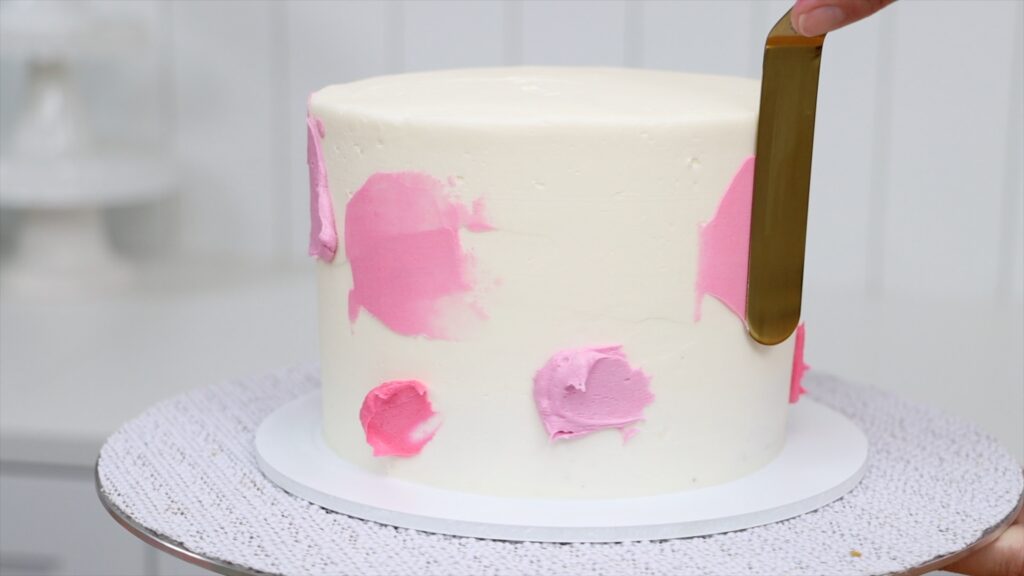
Continue to add colours all over the cake, scraping off the excess to leave a thin layer of each colour on the cake. By adding the colours one by one to a cold cake you’ll end up with a bold, oil painted effect rather than a blended, watercolour effect.
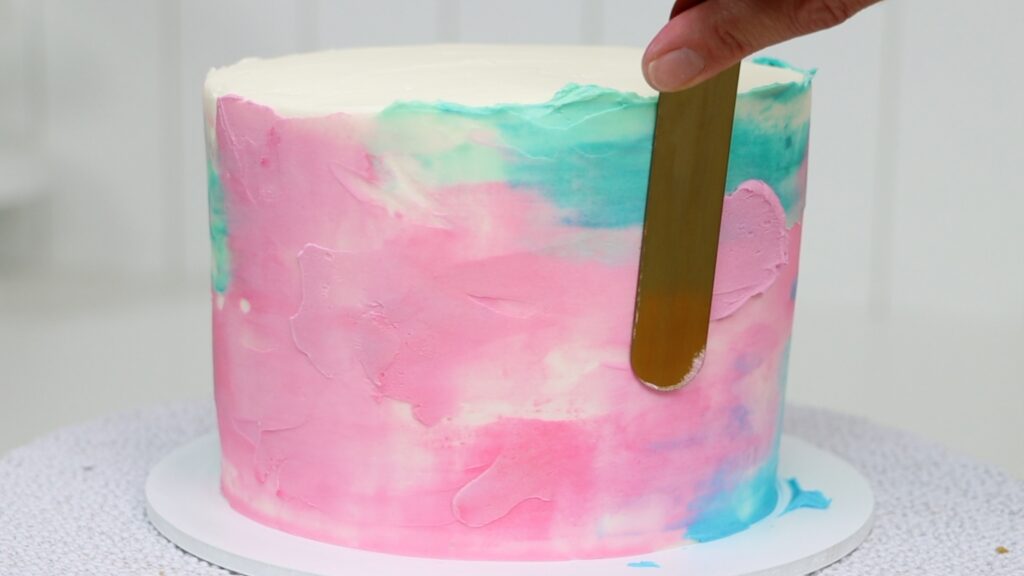
You might choose to leave the top of the frosting uneven, sticking up above the edge of the cake, to match the uneven effect of the colours. If you want to smooth and flatten the top you can do that with an
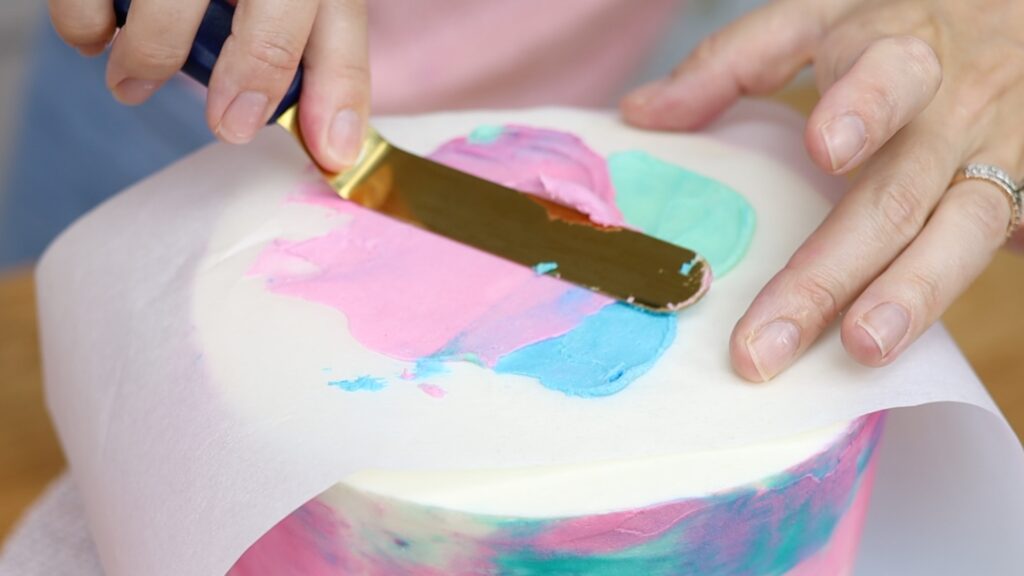
Now let’s add a stencil design to the top of the cake. Just like the stencil border for the first cake, this method for how to decorate a cake without tools will save you a lot of money on pre-made stencils! Draw a shape like this heart onto baking paper or parchment paper or wax paper and cut it out. Position it on your cake after the cake has been in the fridge for at least an hour so that the frosting is firm. Now spread buttercream onto the stencil to cover up the shape you’ve cut out.
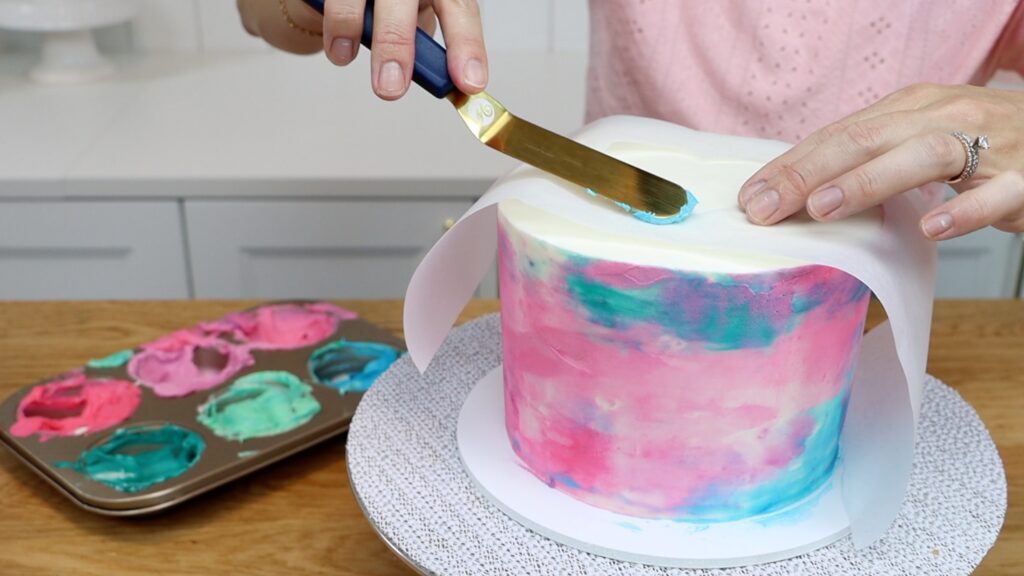
You can use one colour or several colours. If you're using several colours, keep in mind that they will blend together and create new colours!
Scrape and smooth the coloured buttercream with a spatula or cake comb to leave just a thin layer behind.
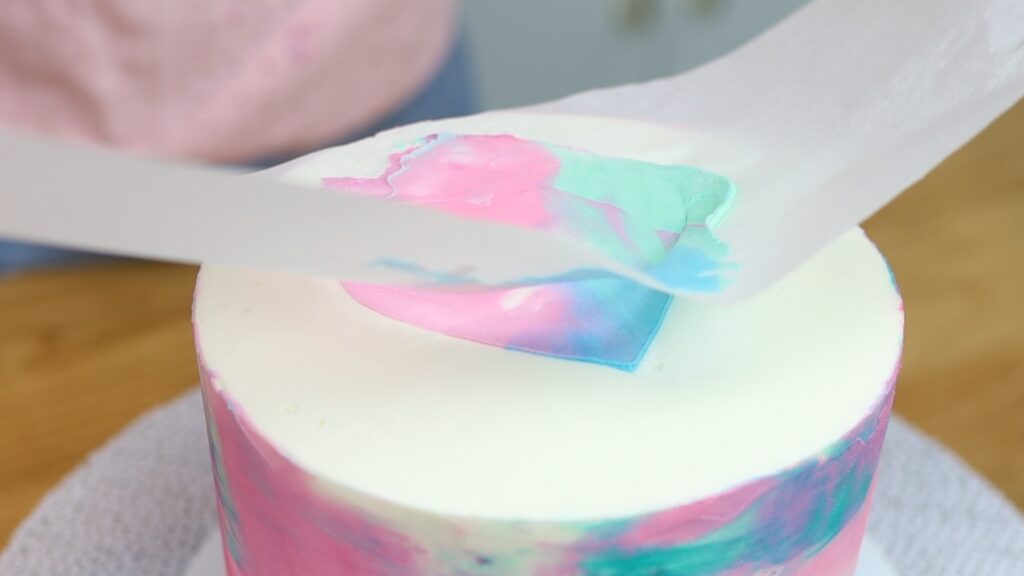
Then peel off the stencil. It’s important to take the stencil off as soon as you’ve finished spreading the colours onto it because while that frosting is still soft and sticky you’ll get the neatest edge to your design.
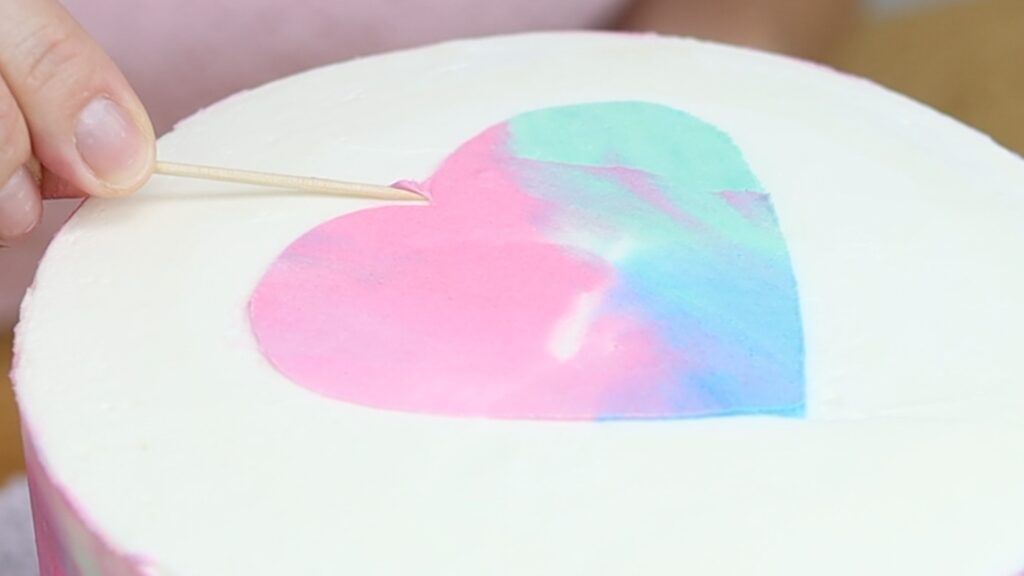
Use a toothpick to touch up any smudges, which happen if the stencil moves while you’re spreading the colours on.
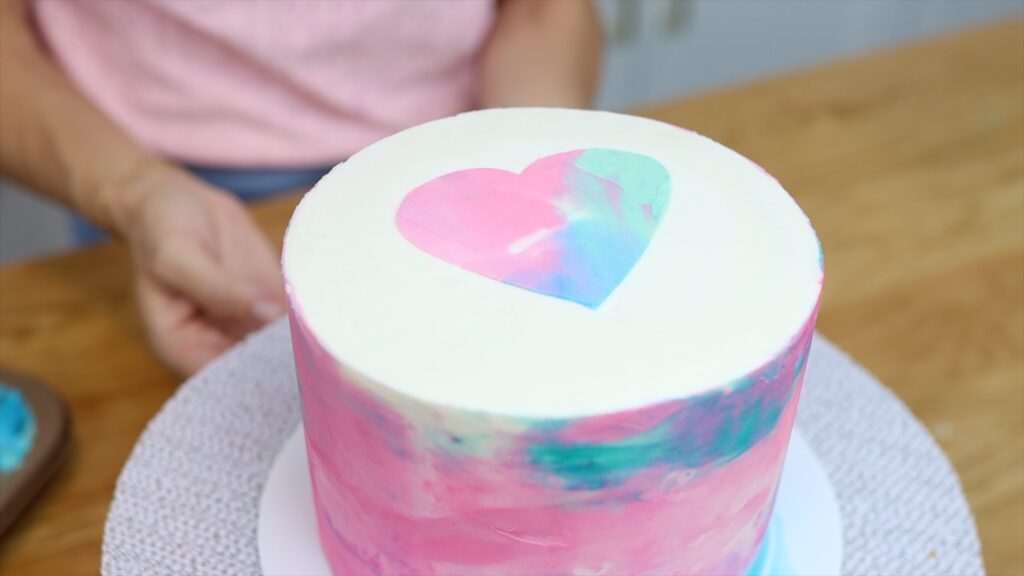
This is such a quick and cheap and easy way to add an interesting detail to your cake.
And there they are! 8 different techniques for how to decorate a cake without tools. If you try any of these at home please tag @britishgirlbakes so I can see what you come up with! If you’re looking for more tutorials, visit my online cake school.
Tell me in the comments below which technique is your favourite!


