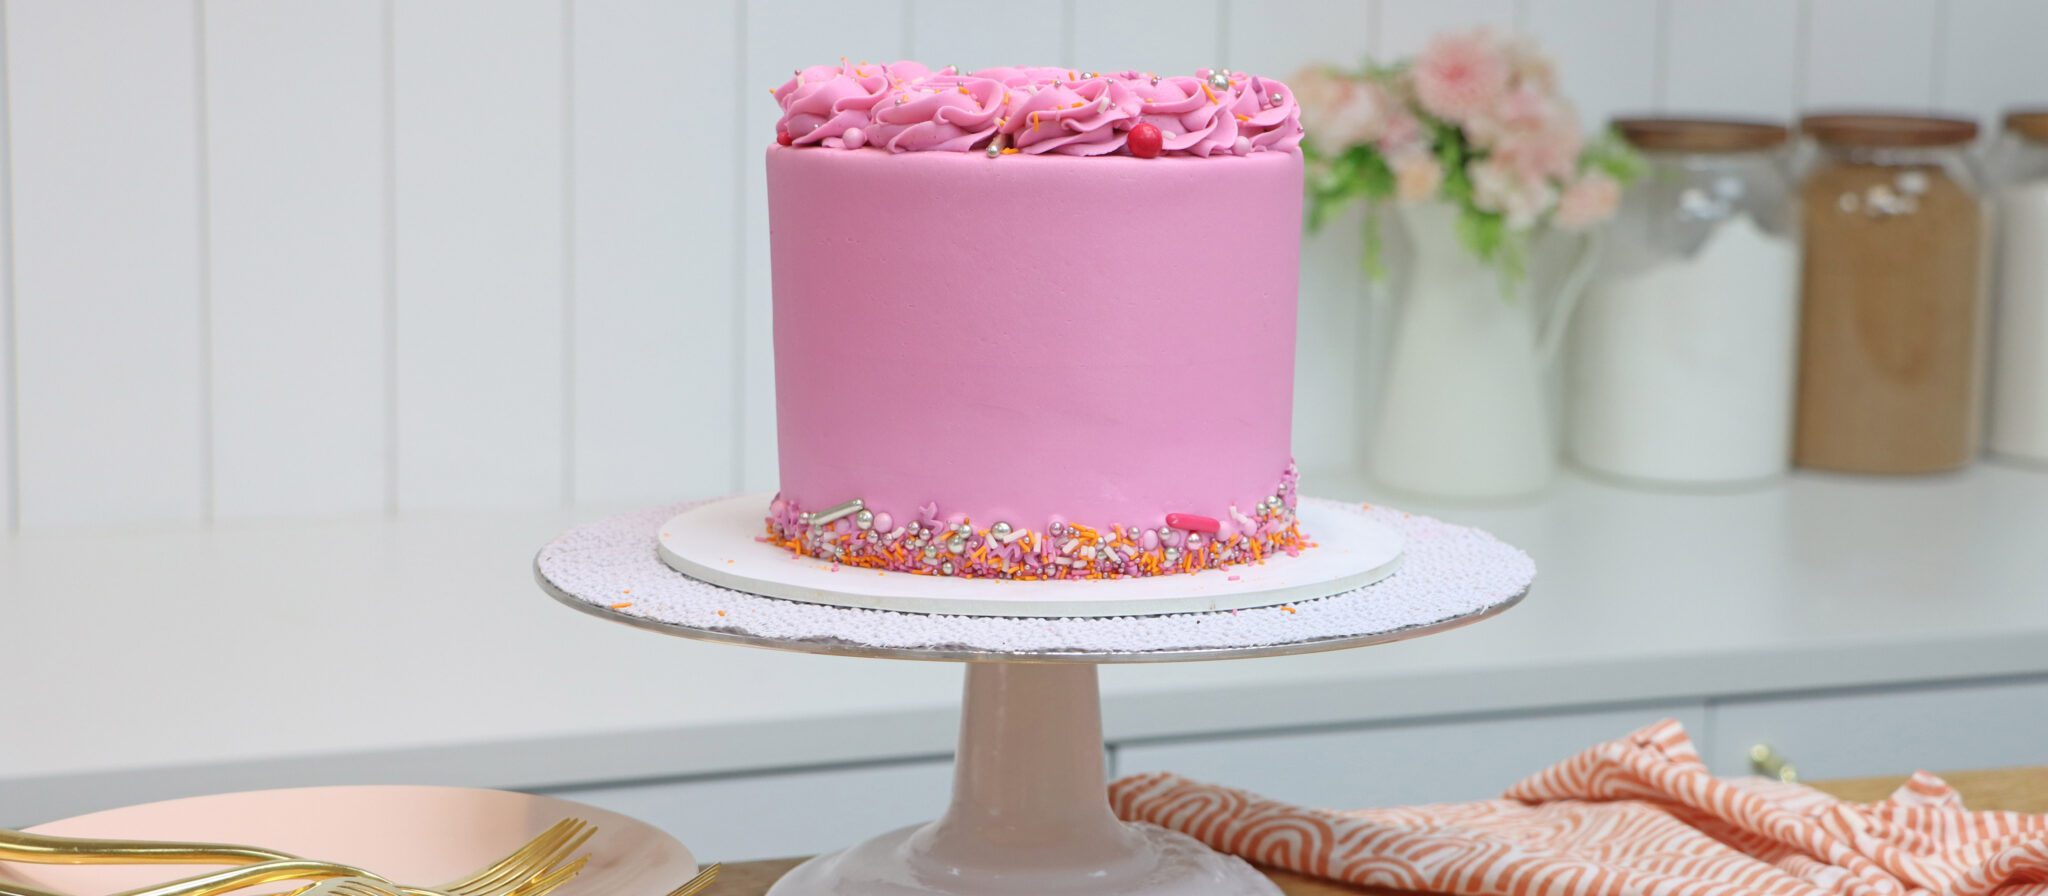
Layer your cake and fillings, cover everything in buttercream or any other frosting, add some decorations and tadaa! With the right tips and tricks it really can be this easy and in this tutorial I'll show you how to decorate a cake!
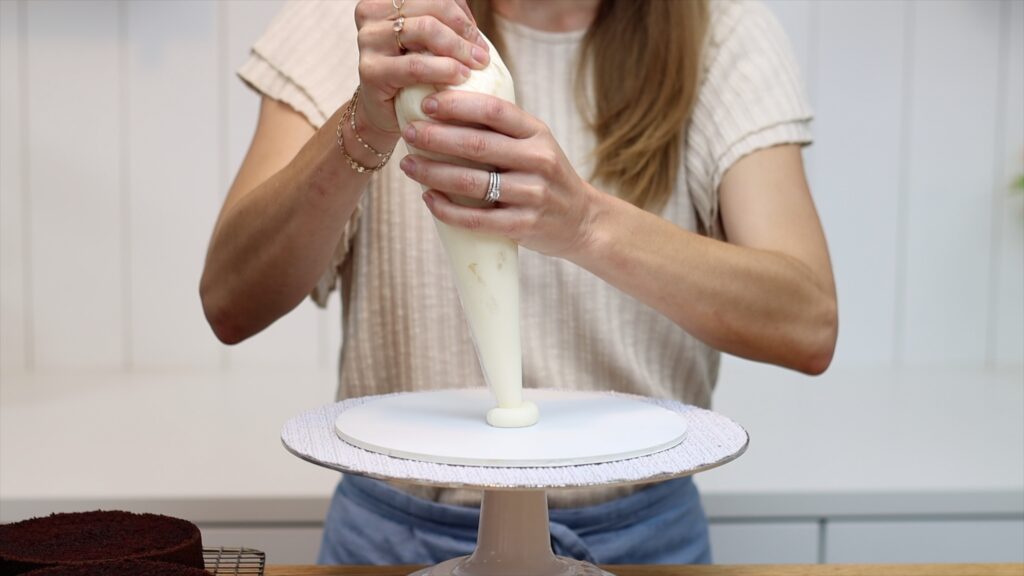
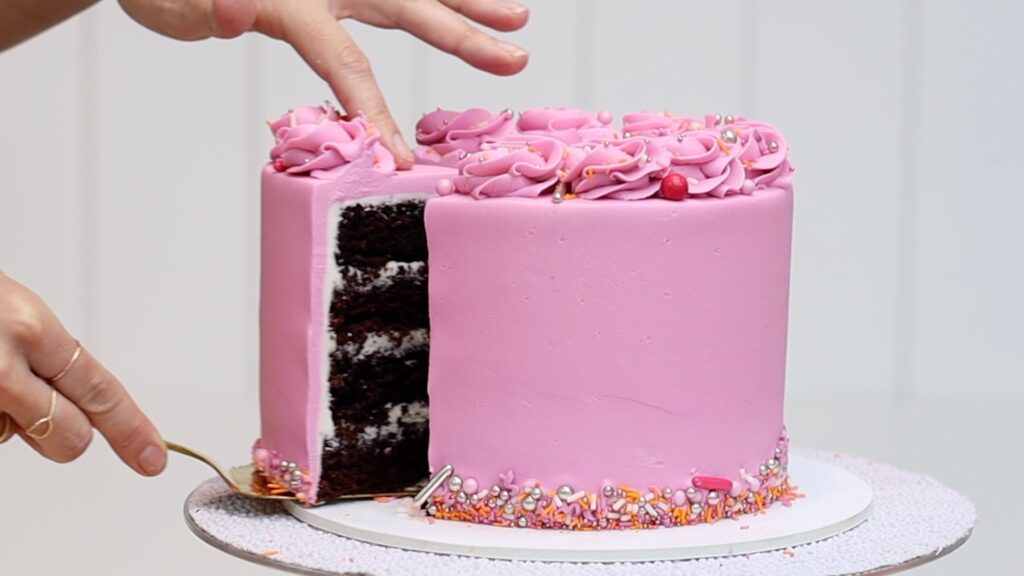
Maybe the most important part is to pipe or spread a bit of buttercream onto the middle of your cake board. This will attach the cake so it doesn't slip and slide around while you frost and decorate it. Push your first layer of cake down onto this and it will will act like glue to hold it still. I'm using my Perfect Chocolate Cake and my 4 Minute Buttercream for this tutorial.
Now alternate between your cake layers and your filling. You can divide your cake layers in half to make twice as many layers, which means more filling in between. Your filling can be buttercream or you can use jam or lemon curd or Nutella or anything else you like. Filling adds flavour but it has two other purposes as well. It helps to level the cake so that it's flat for every layer you put on top. It also acts as glue to hold the next cake layer in place so that the cake is straight.
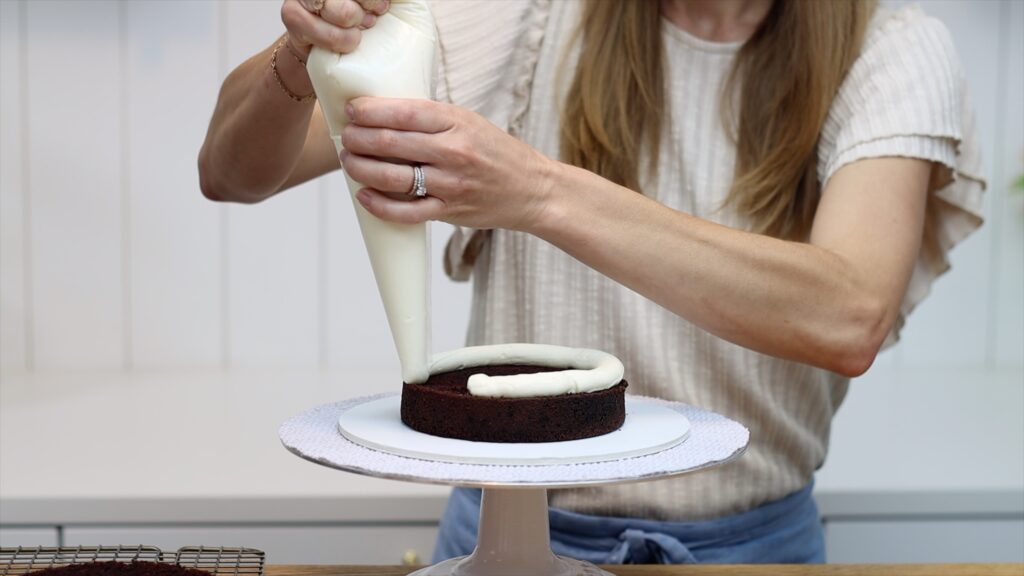
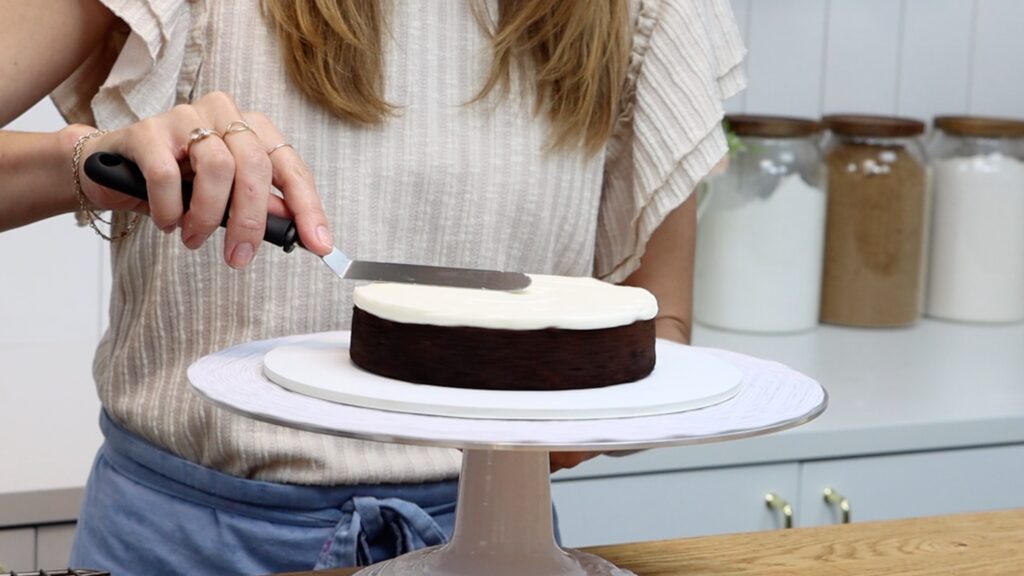
You can pipe the filling on using a piping bag or you can spread it on. Using a piping bag is quicker and neater but both work.
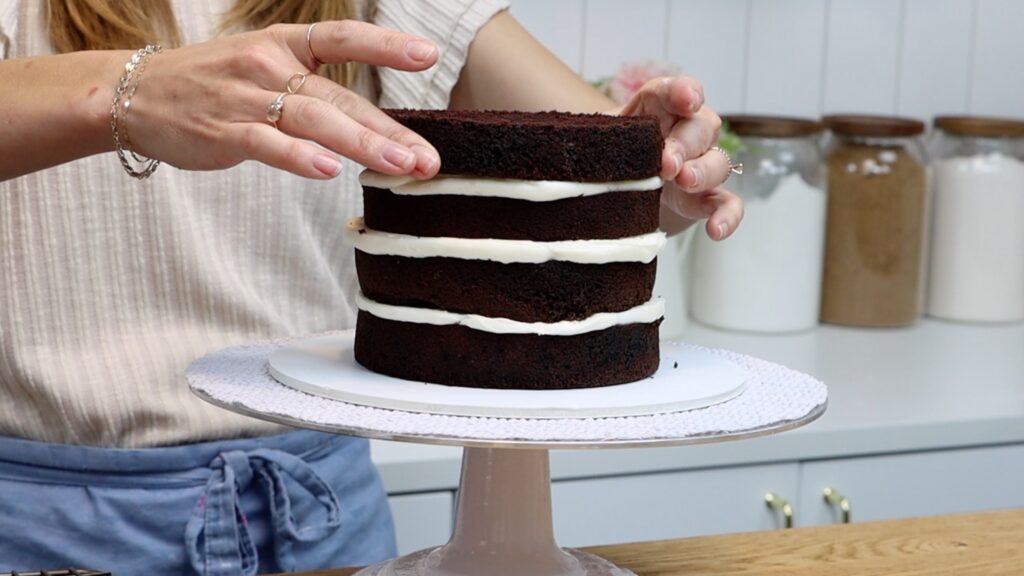
After you've assembled your cake it's time for the crumb coat. This is the first layer of frosting you're going to put onto your cake. Spread (or pipe and then spread) this all over the top of the cake and around the sides. The purpose of the crumb coat is to trap any crumbs that come off the cake so they get stuck in this layer of frosting. This means they won't go into the final layer of frosting, so you won't have visible crumbs on your cake.
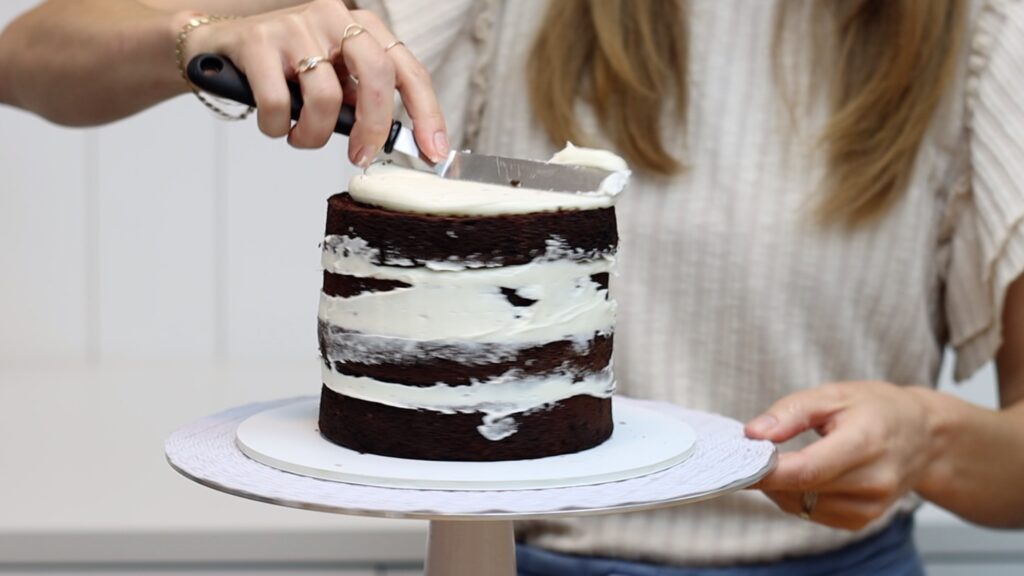
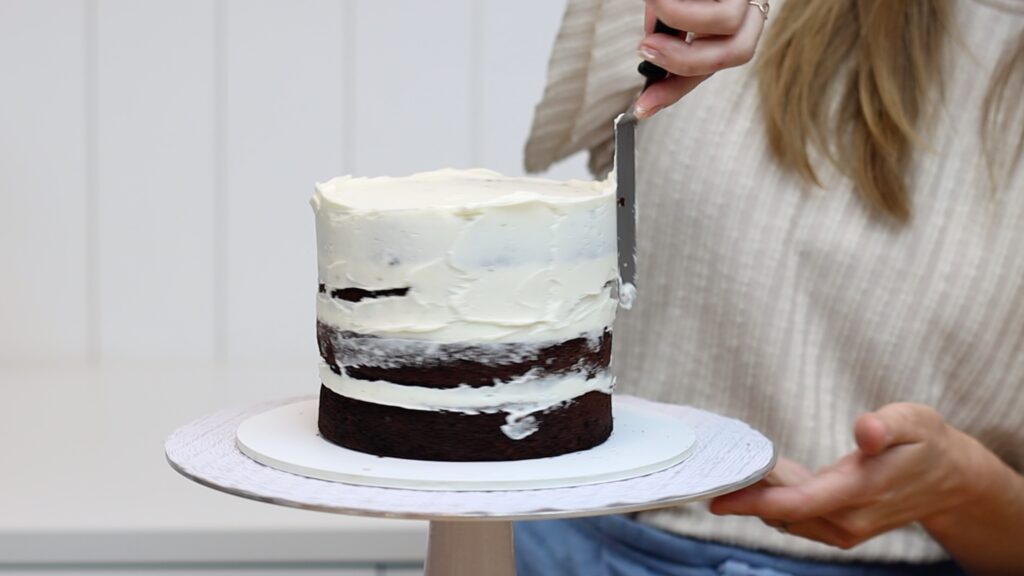
Because this is going to be covered up with another layer of frosting, this doesn't need to be really neat. It does need to cover up all of the naked cake so those crumbs can't get into the final layer of frosting.
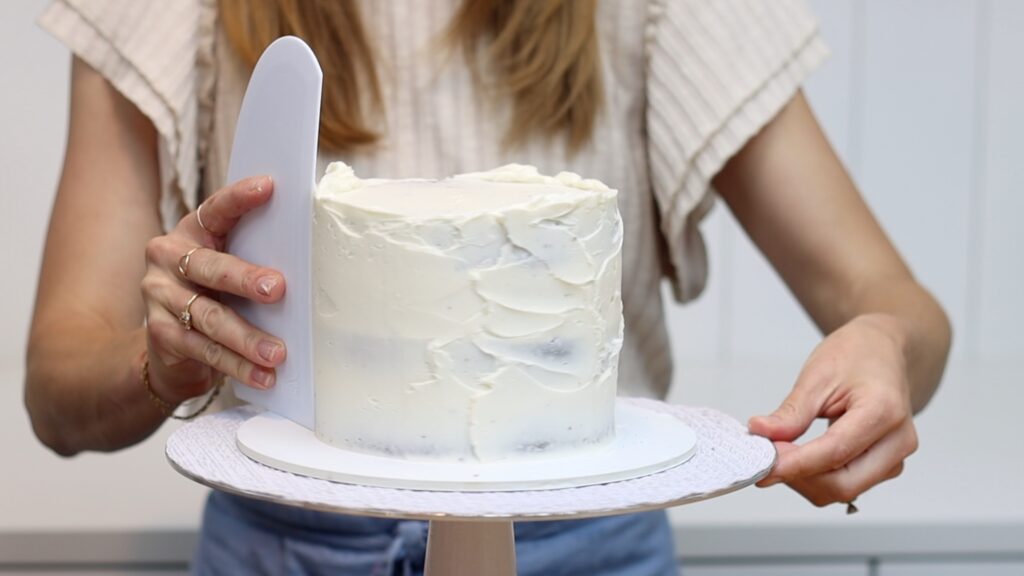
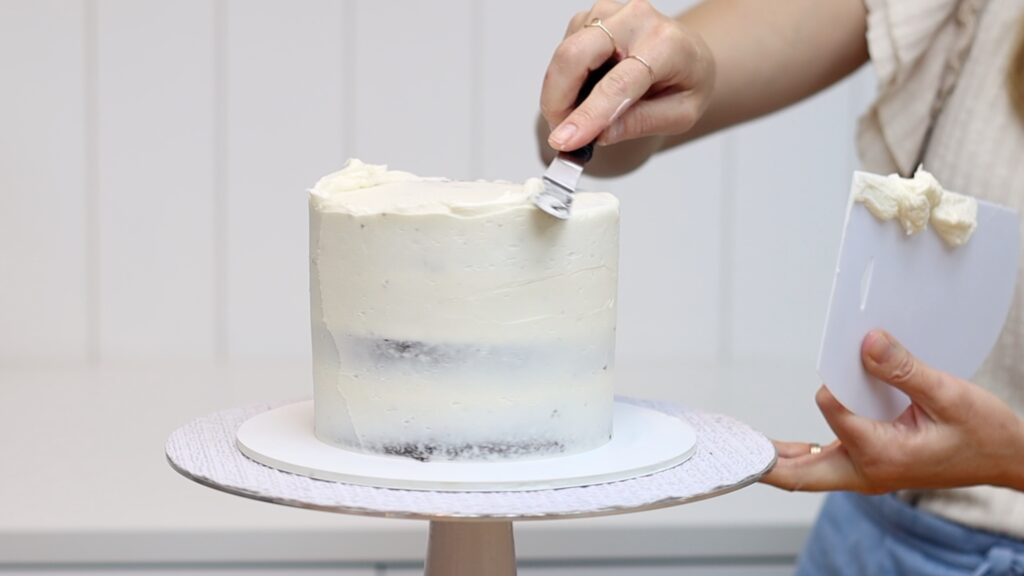
When you've finished your crumb coat, put the cake into the fridge or the freezer to chill it. It will need about 15 minutes in the freezer 30 minutes in the fridge. When the crumb coat gets cold it will set, which is necessary before the next step.
After chilling the crumb coat, your final layer of frosting will sit on top instead of blending together with it. This is what keeps the crumbs out of the final layer of frosting.
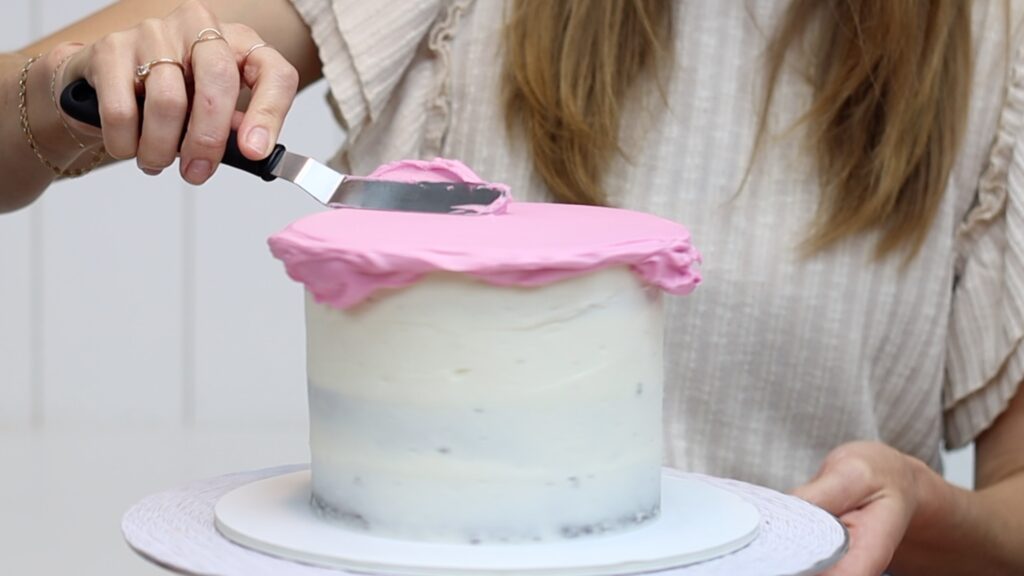
Spread your frosting all over the top and sides of your cake and then switch to a straight cake comb. This is the first reason for using a cake board: it provides a flat surface to rest your cake comb. Now you can line the comb up straight to create straight sides as you scrape around the cake. So push the base of your cake comb down on the cake board as you spin the
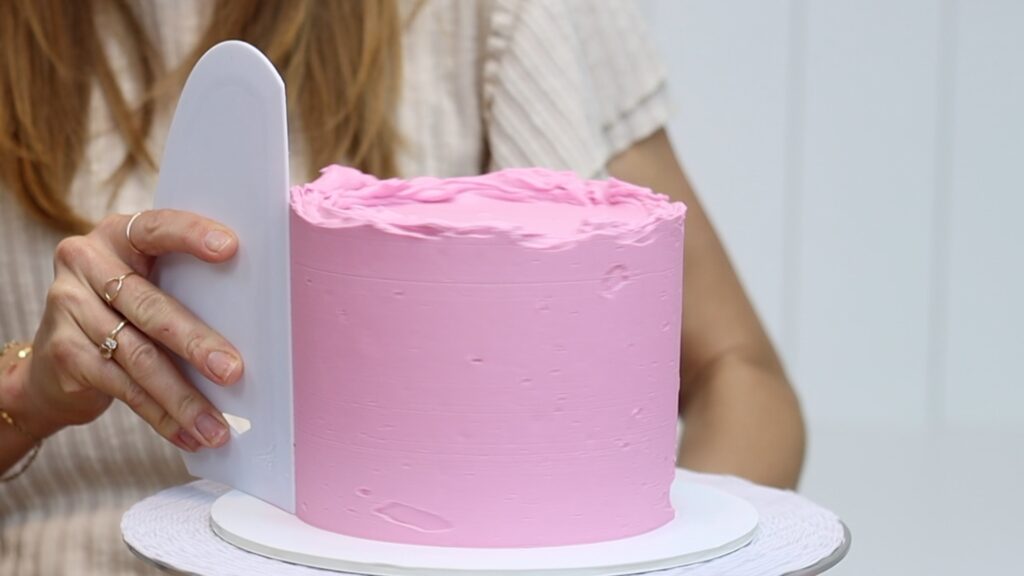
After scraping around the cake a few times, spread more frosting over any indents or air pockets and scrape again.
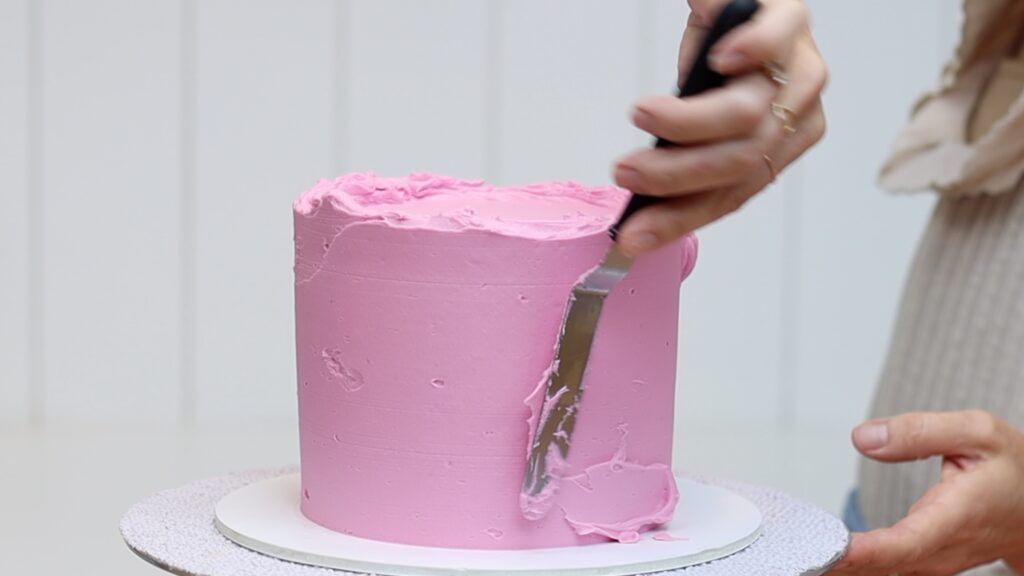
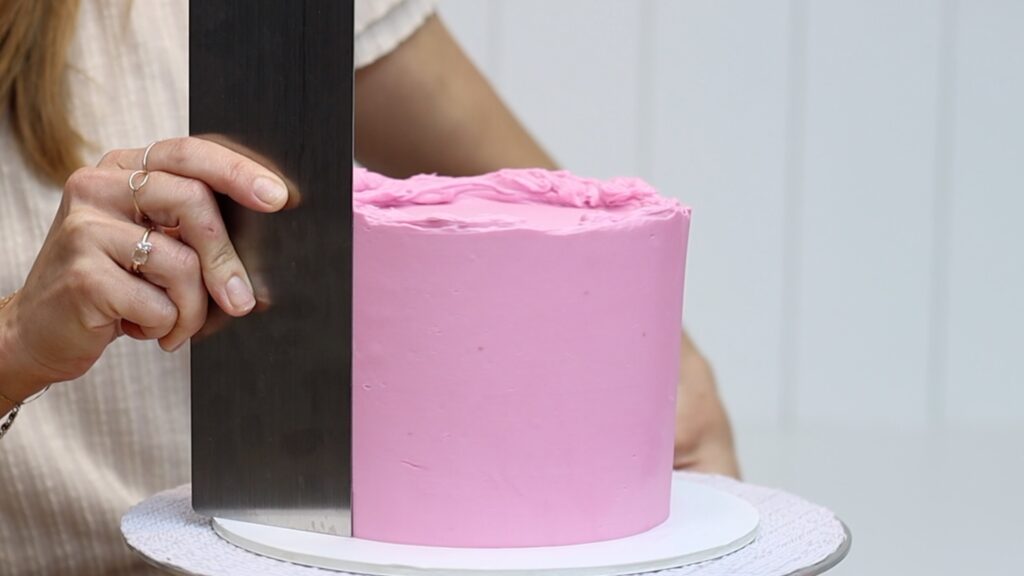
When the frosting is smooth, tidy up the top edge by pushing sideways with your offset spatula. Make sure you don't push down because that will cause bulges around the sides of the cake.
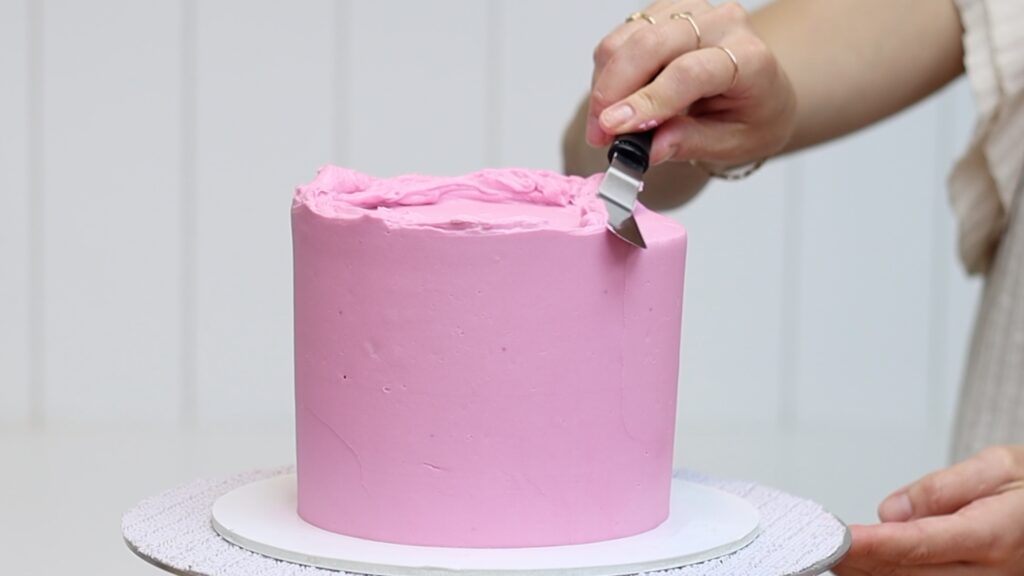
The best time to add sprinkles to the cake is now, while the frosting is still soft and sticky. Lift your cake up and put it onto a tray, which will catch any falling sprinkles. This is the second reason for using a cake board: it makes it easy to move the cake around while you're decorating it or to transport or serve.
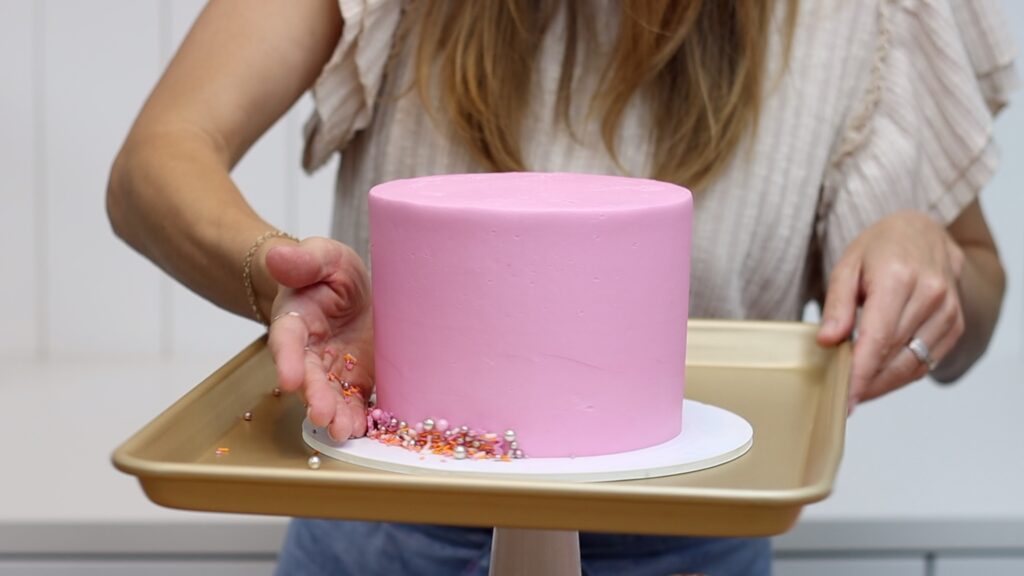
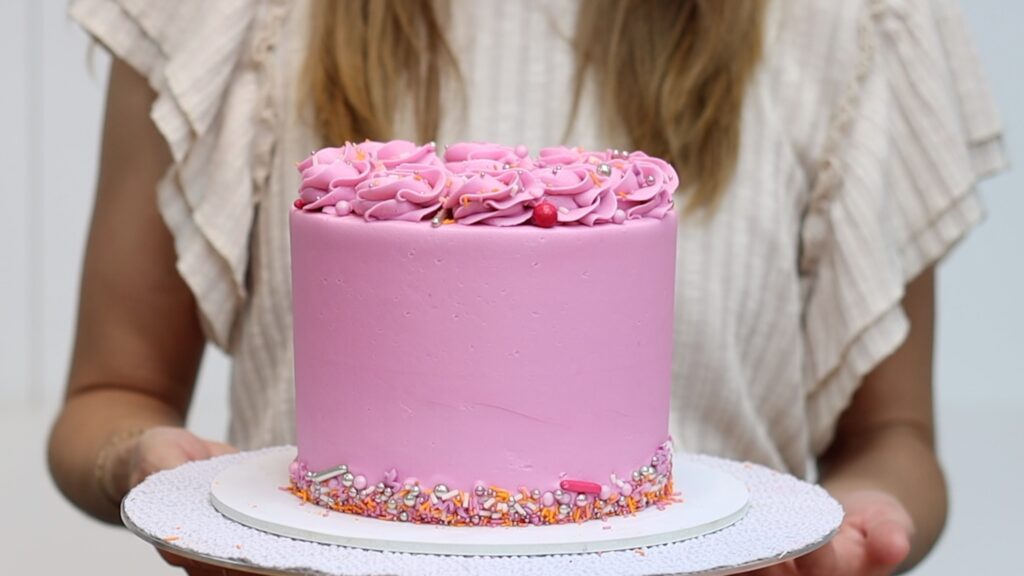
I like to pick the big sprinkles out of a sprinkle mix and only push the smaller ones into the side of the cake. Press them into the bottom inch or so of the frosting. Then at the end, hand place the biggest sprinkles so that they're evenly spread around the cake.
When you finish, tap the cake board a few times so that the extra sprinkles fall off onto the tray. You can do this is because you've chilled the cake so it's set onto that dot of buttercream on the cake board. You don't need to worry about the cake falling over! Tilt the tray so that the sprinkles roll down to the bottom corner and then pour them back into the container.
Before piping onto the top of the cake I really recommend chilling the cake briefly to set the frosting. 15 minutes in the freezer or 30 minutes in the fridge is enough time. While it's chilling, scoop up your leftover frosting and put it into a piping bag fitted with any star-shaped tip. I'm using a 1M tip.
Take your cake out and that short amount of time in the fridge or freezer will have firmed up the frosting. Now the weight of the swirls you pipe on top won't cause the frosting to sink or droop.
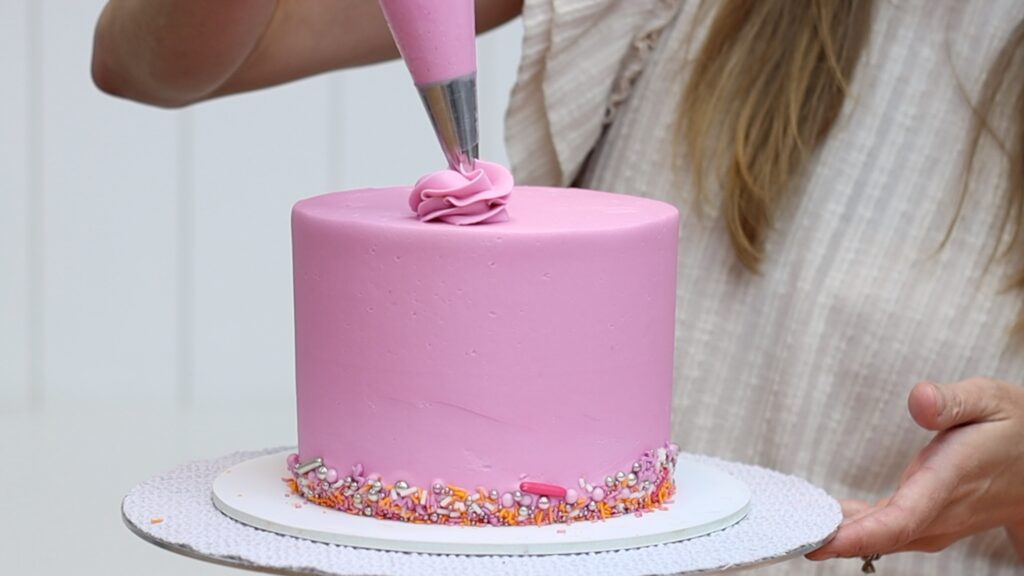
You can pipe very tall swirls, like the ones you would pipe onto a cupcake, or just pipe a few rings. I'm piping two laps around for each of my swirls. Always pull away in the same direction so that the swirls look neat at the end.

Add a few more sprinkles on top while the piping is still soft and sticky so that they attach easily. I recommend storing cakes in the fridge so that the frosting and decorations don't droop or slide off the cake.
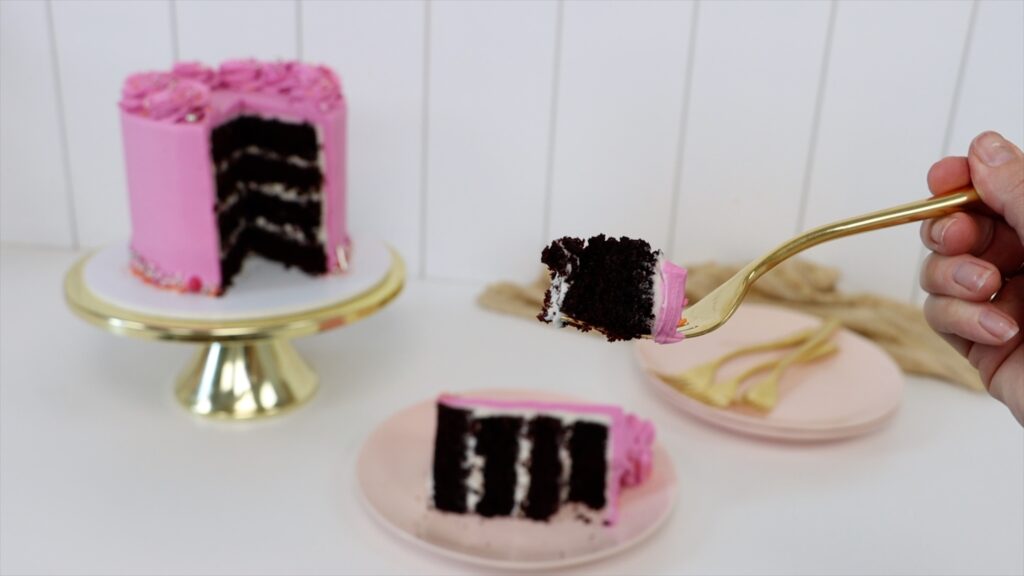
Take the cake out of the fridge 2 to 4 hours before you serve the cake. This allows the cake and buttercream to warm up to room temperature and that's when they will taste the best!
I hope this tutorial has been useful! I can't wait for you to make your first cake. Visit my cake school to learn hundreds of ways to decorate cakes with my online courses and memberships.
You can also watch a video of this tutorial on how to decorate a cake:

Thanks for your positive and can-do attitude it gives me hope! I’m hopeless with the smoothing frosting! OMG I try and try so now I just put sprinkles or frosting decorations to hide the imperfections and call it art! LOL
That's a great tactic 🙂