No
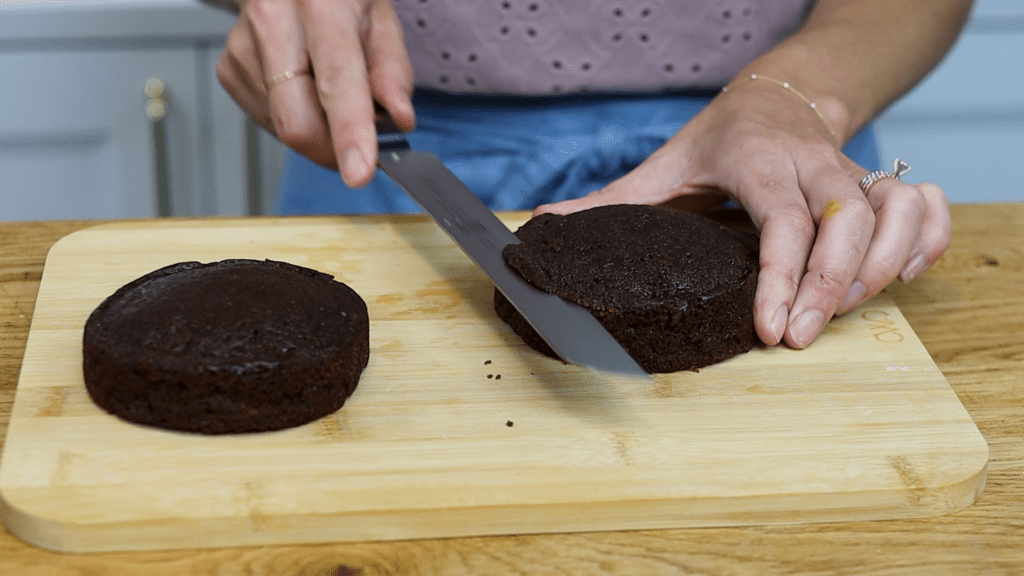
It's best to use cold cake layers because they're less crumbly and wobbly. I wrapped my Perfect Chocolate Cake layers in plastic wrap and put them in the fridge for an hour. Use a serrated knife like a bread knife to trim off any domed tops. This makes the cake level, which will help you make a straight cake that doesn't lean to one side.
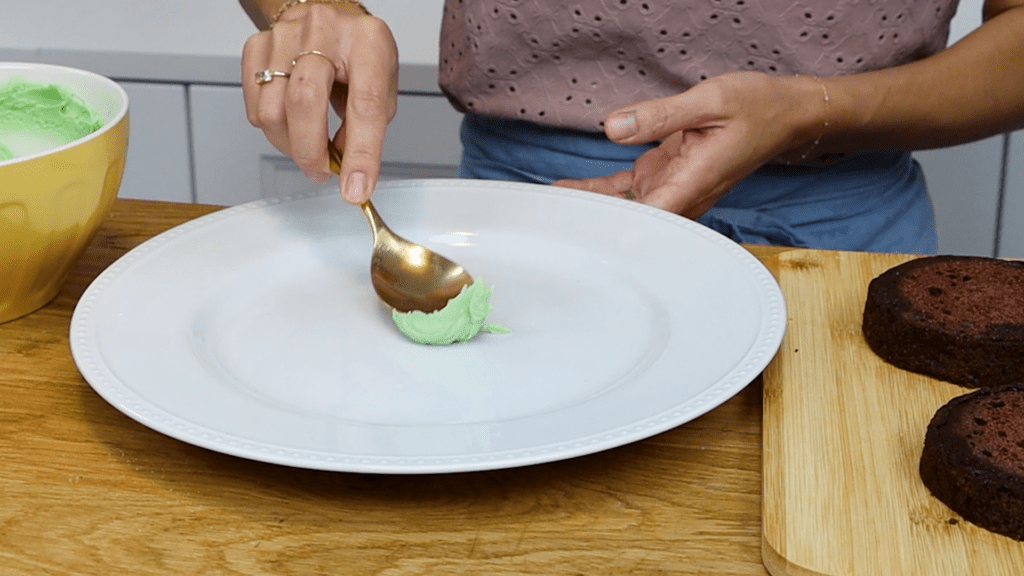
Now you'll need a plate. To attach the first cake, spoon some buttercream onto the middle of the plate. This will act as glue to secure the cake and hold it still. You can use any filling and frosting for this. This is my 4 Minute Buttercream and I've used gel colours to tint it to make a soft green.
Then add your filling with a spoon or a palette knife or
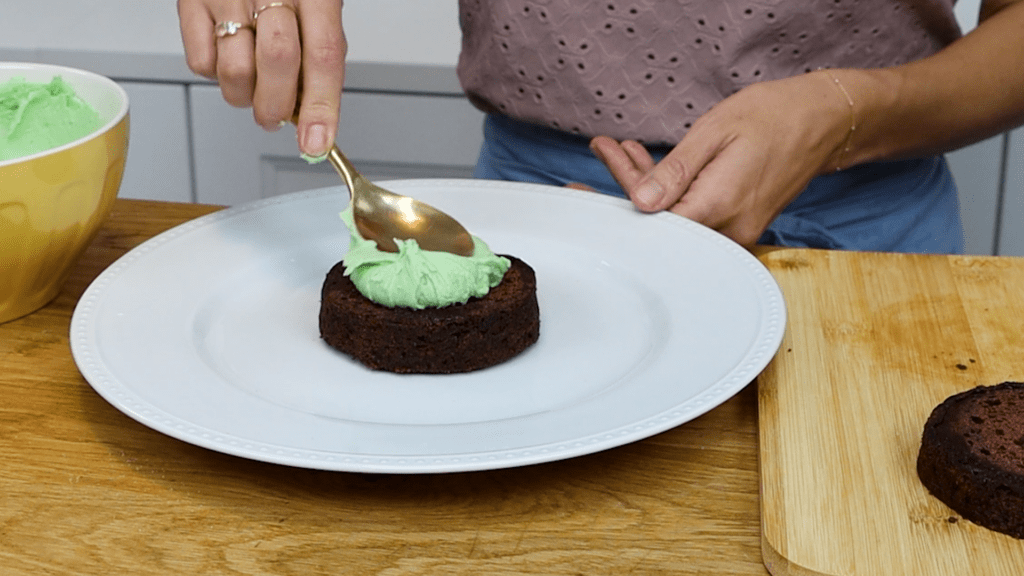
Then put your next cake layer on top. If you have more cake layers, repeat with more filling and more cake. Make sure each cake is centered on top of the cake layer below so that the sides of the cake are straight.
Now use a spoon or knife to put more buttercream on the cake and to spread it around. The best way to do this is to use little arc motions, swiping in circles around the cake. This will spread the buttercream without pulling crumbs off the cake. Using cold cake really minimizes how many crumbs come off the cake as well, compared to trying to frost a cake at room temperature. Your goal here is to completely cover the cake with frosting so you can't see any of the cake sticking out. It doesn't matter how neat this is now because smoothing comes next.
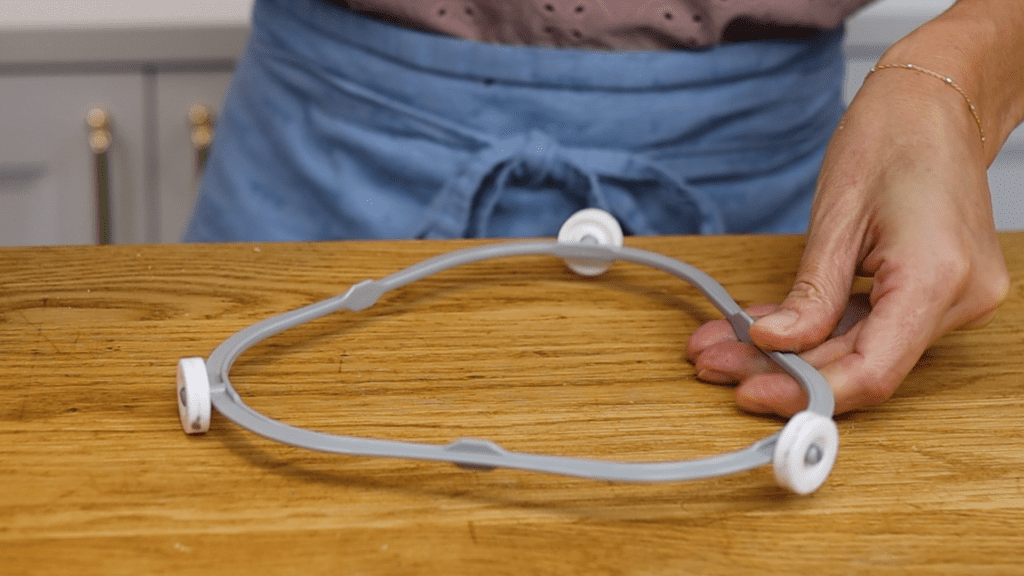
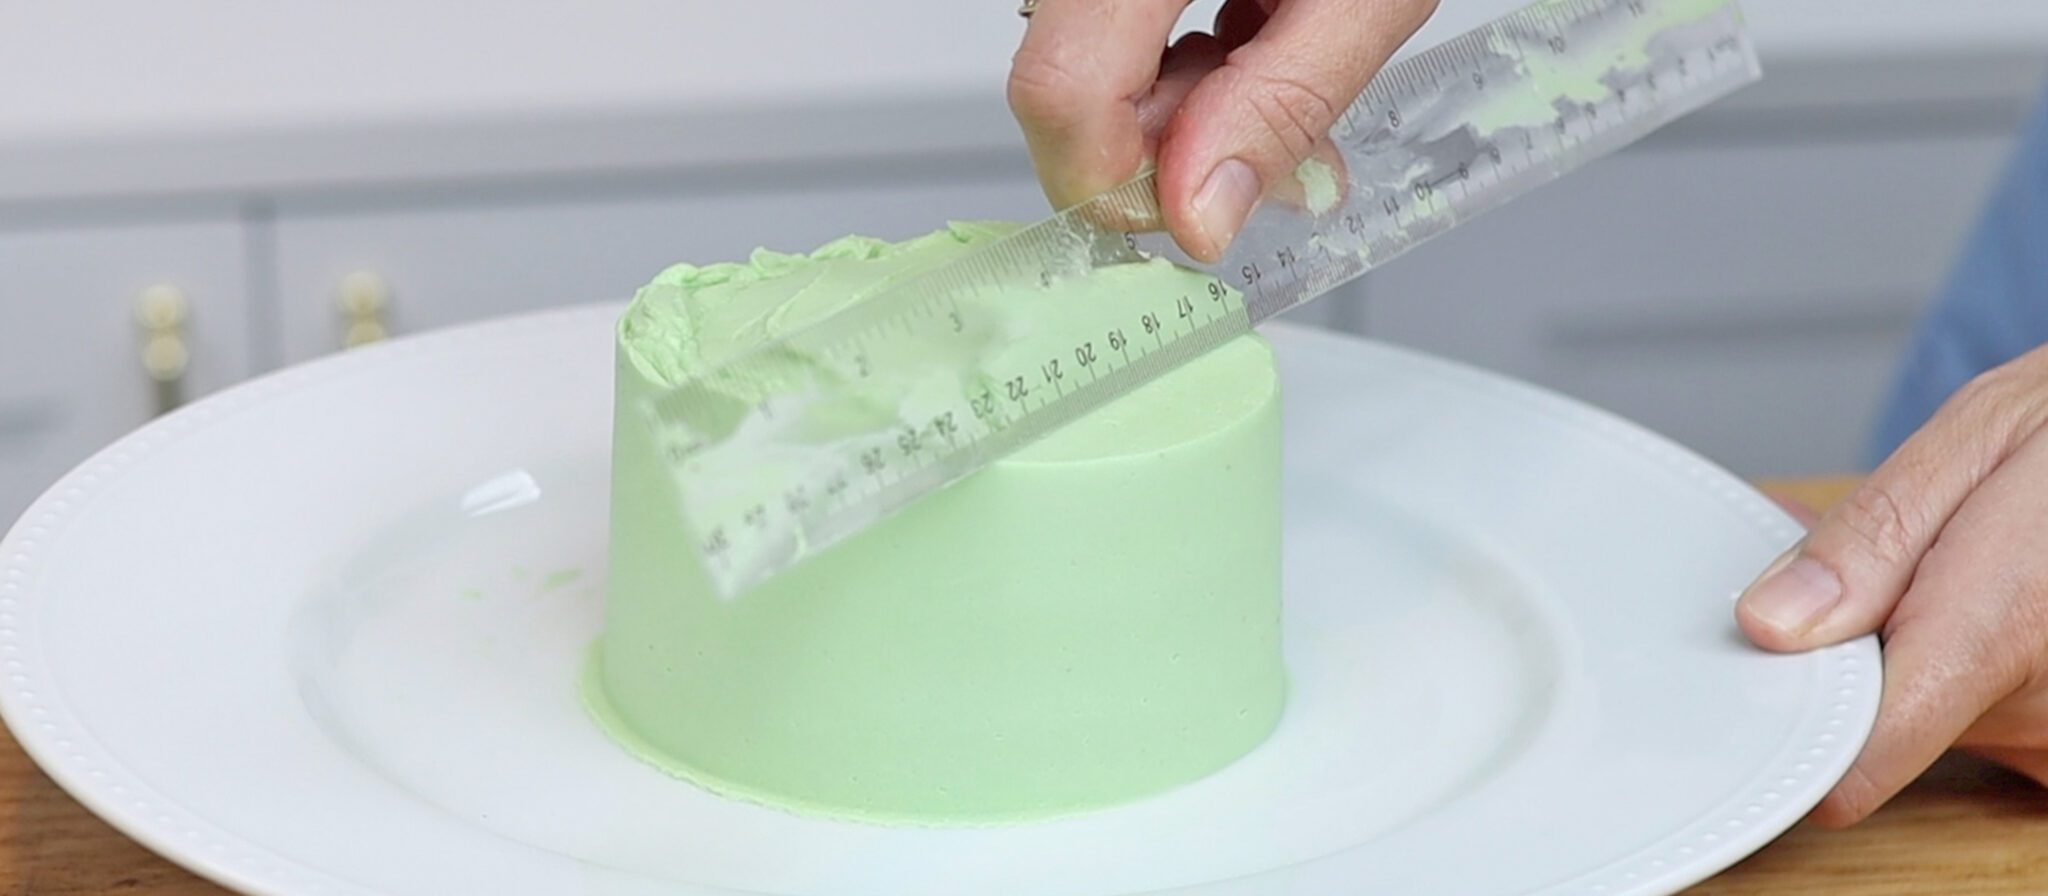
Here's a really useful hack: use the wheel from your microwave as a
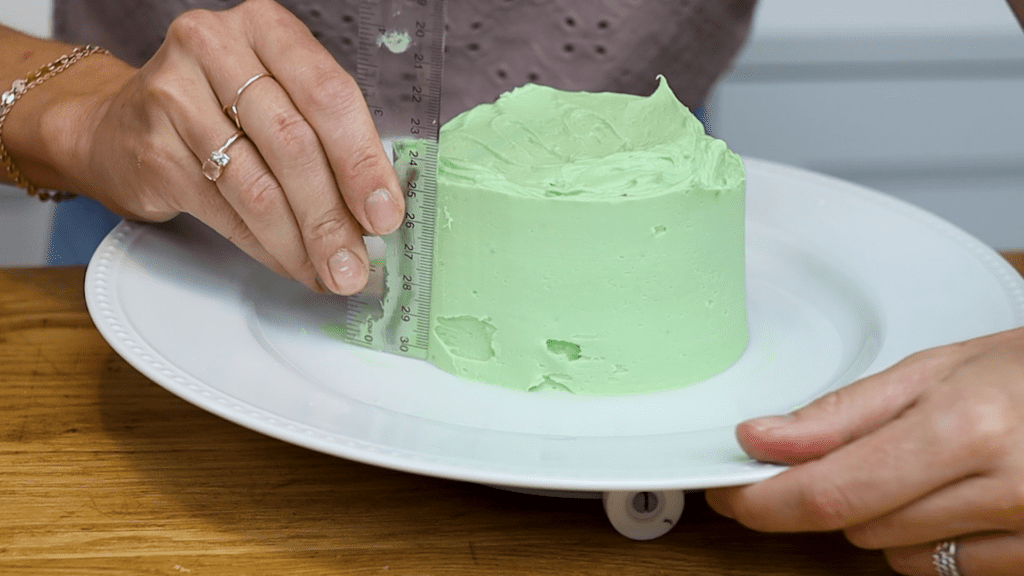
Pull the ruler away, wipe the buttercream off it into your bowl and then do this again and again. THe frosting will get smoother and smoother.
When you choose your plate, choose one with enough room to fit your ruler next to the cake before the plate starts to slant upwards.
If there are any big gaps or indents in the frosting, spread some more buttercream over them. Then scrape over that part of the cake with your ruler.
For the top edge, swipe sideways with your ruler to push that buttercream that's sticking up over the top edge and lift it away on your ruler. Scrape it into your bowl, wipe the ruler clean and repeat all around the top edge of the cake.
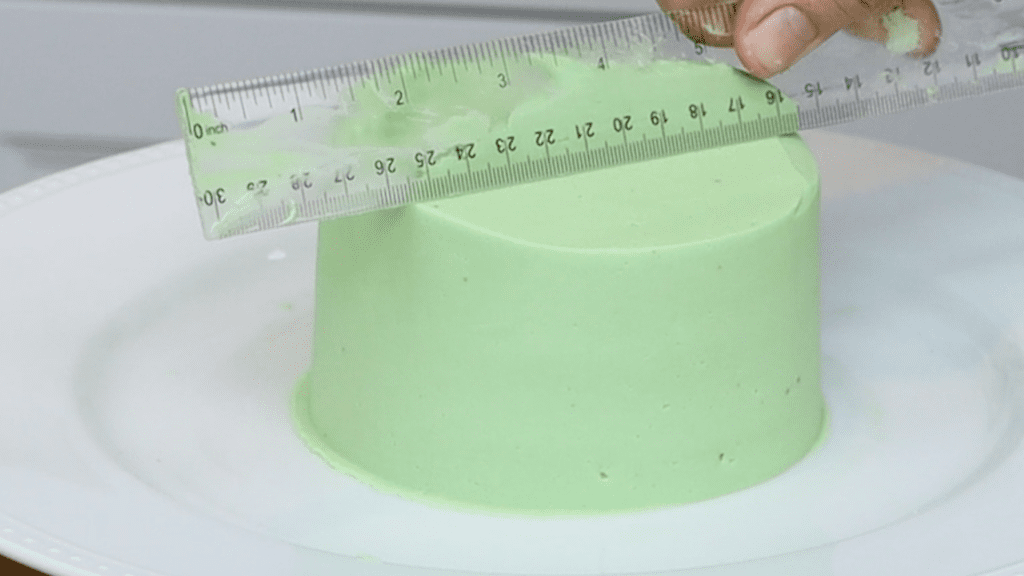
Pushing sideways only, not down will give you sharp edges without creating a bulge in the side of the frosting.
Wrap your finger in a towel or paper towel and wipe the plate around the edges of the cake to take off any buttercream smudges.
Here are some quick decorating ideas that don't require any fancy tools.
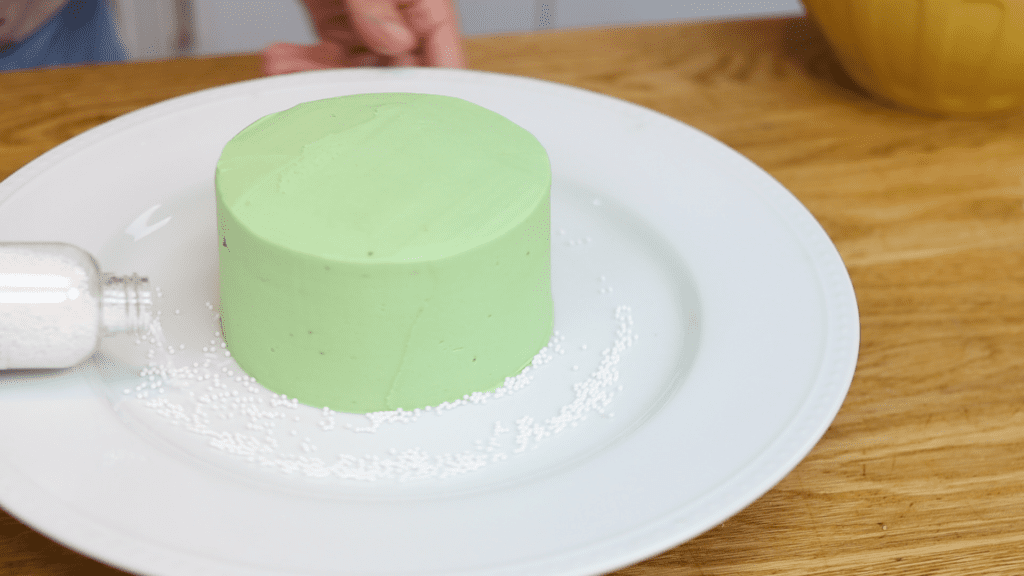
Pour sprinkles onto the plate and push them into the bottom of the frosting. Before the frosting sets it's still sticky so the sprinkles will attach easily. You'll make a pretty border around the bottom of the cake. Then pour the extra sprinkles off the plate and into a bowl or the jar or bottle or wherever.
To make a custom cake topper, measure a paper straw a centimeter or half an inch taller than the cake. Cut it there. Draw a design or a letter or a number and place a piece of parchment or wax paper on top of the drawing. Trace over it with melted chocolate, which is easiest to melt in a microwave at 60% power for 30 seconds at a time so that you don't overheat it. Spoon the melted chocolate into a sandwich bag and push it down to one of the bottom borders. Cut a little piece off that corner and then follow the outline of the shape through the parchment paper.
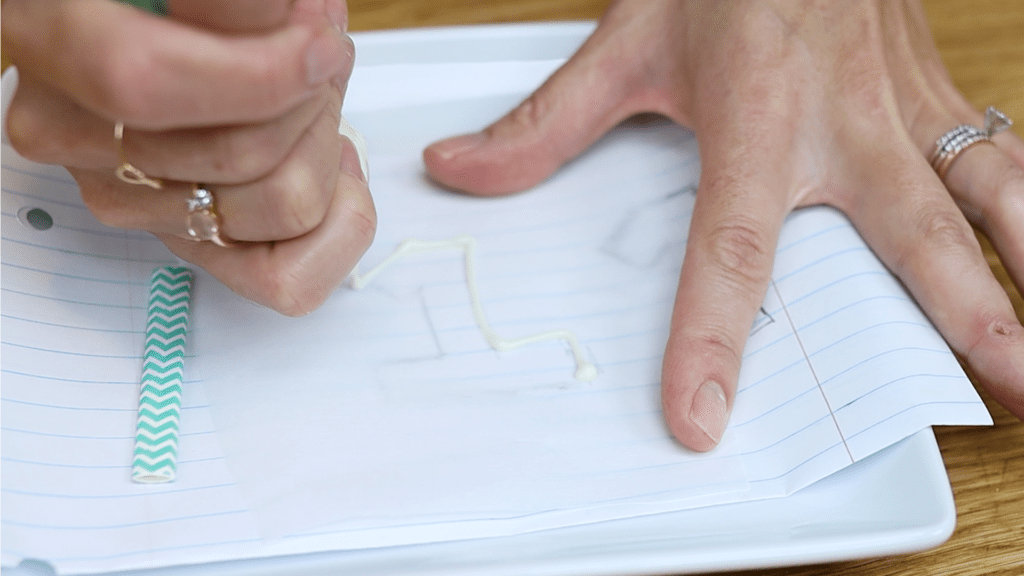
Fill it in with zig zags to cover the shape and then smooth the chocolate with a toothpick. Press your paper straw into the bottom and cover that with chocolate, too. Then pour sprinkles over the top. Press them gently into the chocolate to attach them.
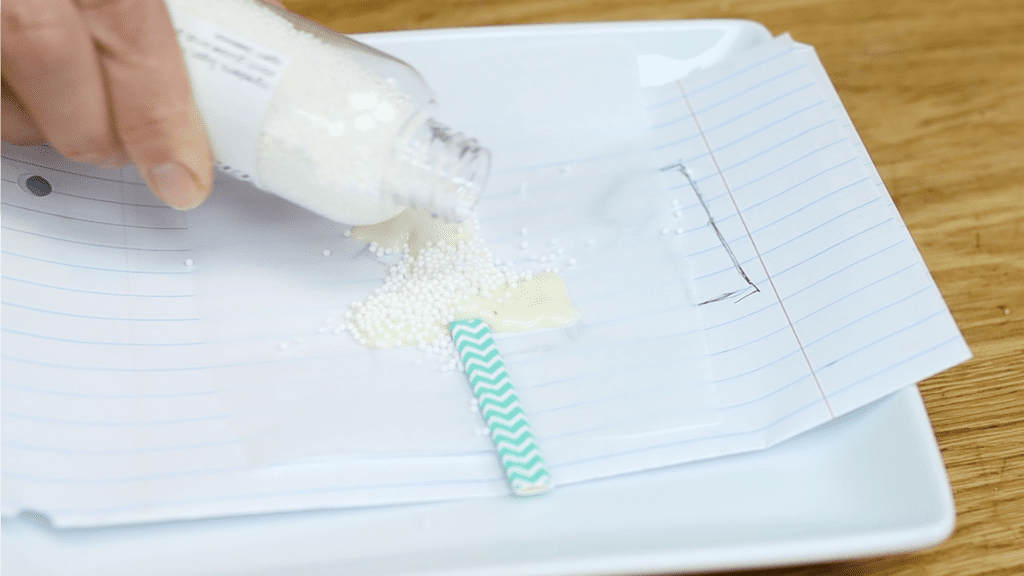
Leave the chocolate to set or put it into the freezer for five minutes. Lift the chocolate up and now you have a homemade cake topper! You can brush this with edible glitter or luster dust if you like. Push a plain straw into your cake to make a hole and then pull it out. Now when you push your cake topper in you'll need minimal pressure so you won't snap the chocolate as you push.
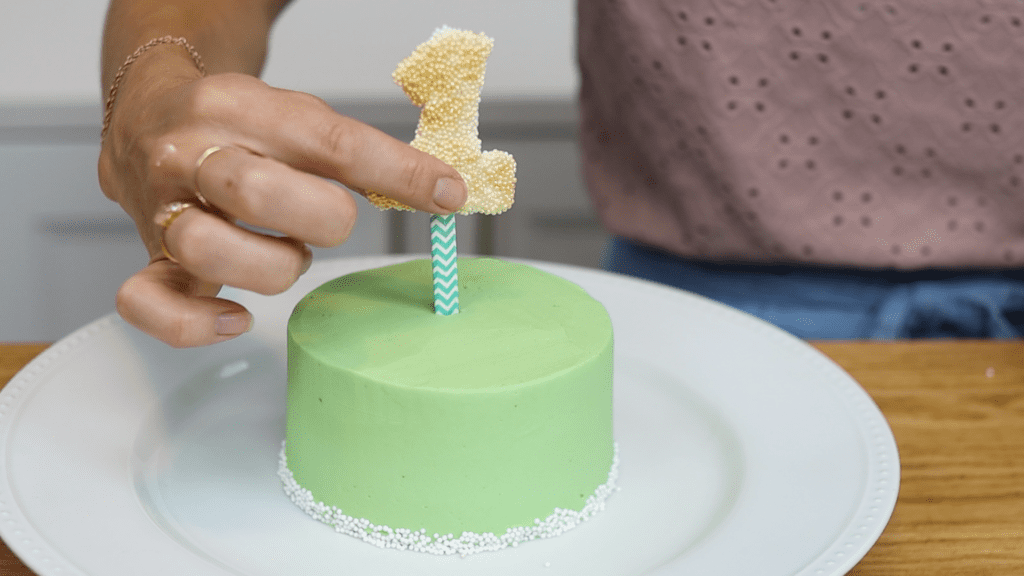
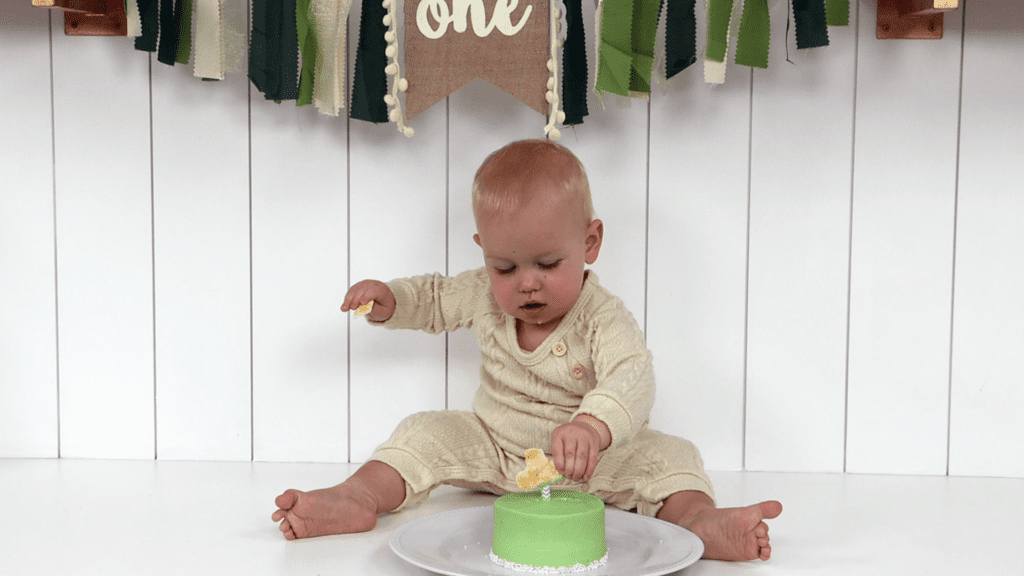
Tadaa! A simple cake that's pretty enough for any occasion and only takes a few minutes to make!
I hope this tutorial has been useful. Visit my cake school to learn hundreds of cake decorating techniques and designs! You can also watch a video of this tutorial on how to frost a cake without tools:
