Getting smooth buttercream doesn’t have to mean spending ages scraping around your cake over and over again. In fact, in the video below I assemble, fill, crumb coat, chill and frost an entire cake in just 10 minutes.
The secret isn’t rushing. It’s using a few simple techniques that make each step quicker and easier. From starting with cold cake layers to knowing when to stop scraping, here are my best tips for how to get buttercream smooth without spending all day frosting your cake.
The easiest way to speed up assembling and frosting a cake is to start with cold cake layers. I put my cake layers in the freezer for about an hour before I start. This makes them really firm, so they don’t move around as I spread on the filling and the crumbs don’t get mixed into the buttercream.
For this cake I’m using my Very Vanilla Cake with my 4 Minute Buttercream, with Oreo crumbs mixed in for the filling and crumb coat.
Another advantage of using cold cake layers is that the buttercream filling starts to set as soon as you spread it onto the cake. This holds the layers in place so they don’t slide around, which means you can move straight on to the crumb coat without chilling the assembled cake first.
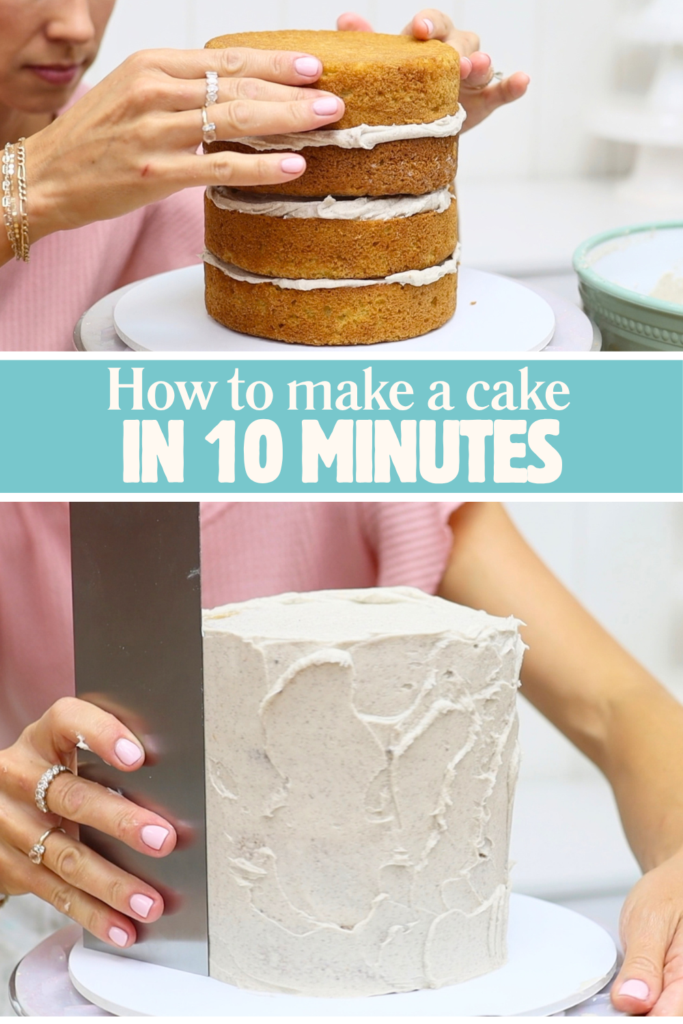
A crumb coat is a very thin layer of frosting that covers the cake and traps any loose crumbs. When you add your final layer of frosting, those crumbs stay underneath instead of getting mixed into the frosting and becoming visible on the finished cake.
Your crumb coat doesn’t need to look pretty!
Spread a thin layer of buttercream over the top and sides of the cake and smooth it enough to remove any large bulges or ridges. Pay particular attention to any buttercream sticking out from the sides or above the top edge of the cake because once it sets, it can get in the way when you add your final layer of frosting.
Apart from that, don’t spend time trying to get the crumb coat perfectly smooth. It’s about to be completely covered up, so no one is ever going to see it.
Normally, you’ll need to chill a crumb-coated cake until the buttercream feels firm before adding your final layer of frosting. Starting with cold or partially frozen cake layers makes this much quicker. Because the cake is already very cold by the time I finish assembling and crumb coating it, I only need to put it into the freezer for about a minute to set the crumb coat.
Use that chilling time to do something else. While my cake is in the freezer, I tint the buttercream for my final layer of frosting. By the time the buttercream is coloured, the crumb coat has set and I can move straight on to the final layer.
The consistency of your buttercream makes a huge difference to how easy it is to get smooth frosting. If your buttercream is too stiff, it will be difficult to spread and you’ll need to use much more pressure with your cake scraper. If necessary, add a little milk to your buttercream to thin it until it spreads easily.
I use my 4 Minute Buttercream for all of my cakes and change the flavour by adding ingredients like Oreo crumbs, Nutella, caramel, lemon curd, peanut butter or freeze-dried strawberries blended into a powder.
Whatever buttercream you use, getting the consistency right before you start frosting will save you a lot of time later.
For smooth sides and sharp edges, you need enough buttercream on the cake before you start scraping. Spread buttercream over the top of the cake first, pushing it out beyond the edges. Then spread buttercream around the sides, making sure it sticks up above the top edge.
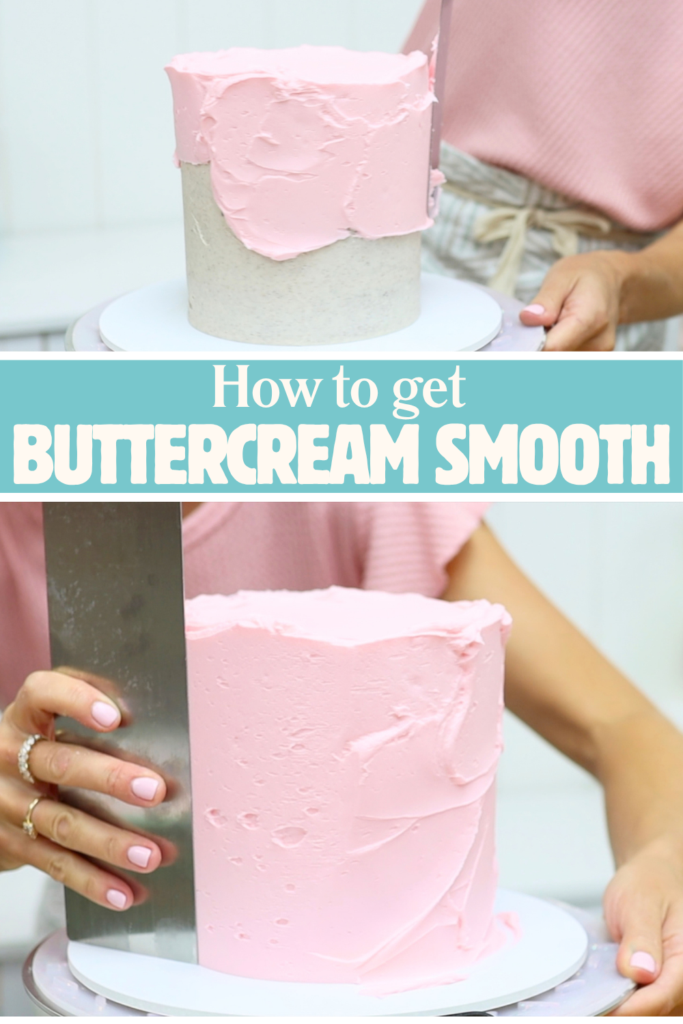
This extra buttercream is important. As you smooth the frosting, you’ll remove some of it with your cake scraper. If you don’t have enough there to begin with, you’re more likely to end up with gaps, rounded edges or a domed top that is higher in the middle and slopes down towards the sides.
It’s much easier to scrape off excess buttercream than to try to create smooth, sharp edges without enough frosting.
This is one of the biggest tricks for how to get buttercream smooth: don’t just keep scraping.
Scrape around the cake once or twice and then stop and look at the frosting.
If there are gaps or indents, repeatedly scraping over them isn’t going to magically fill them in. Instead, you’ll keep removing more and more buttercream until eventually you expose the crumb coat or even the cake underneath. Spread a little more buttercream directly over any gaps or indents and then scrape around the cake again.
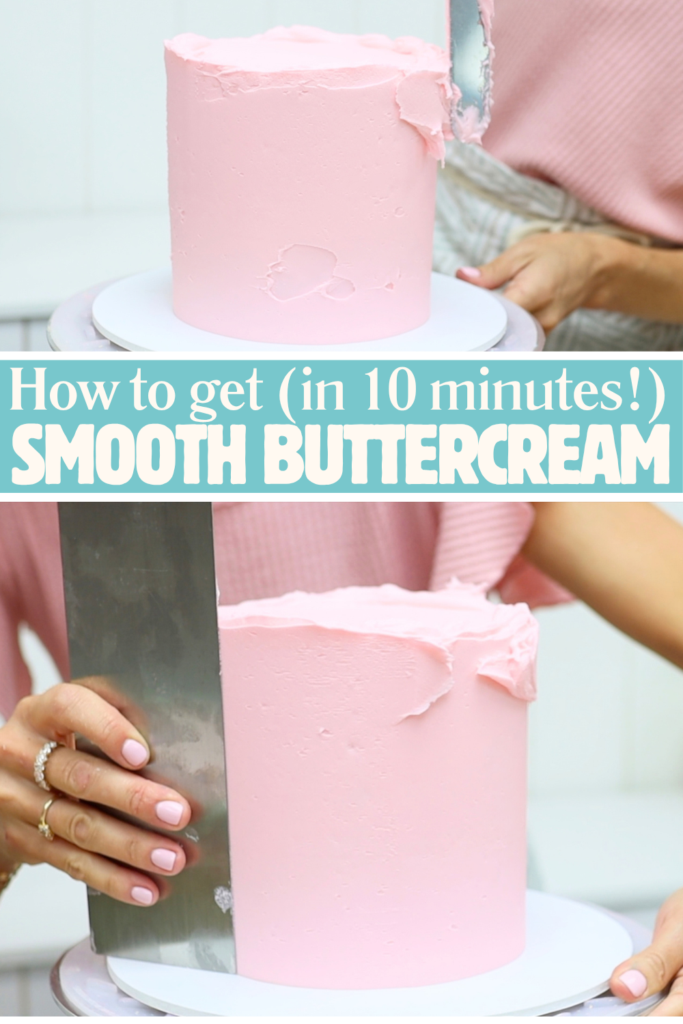
Repeat this process as necessary: scrape, fill the imperfections and scrape again. This is much faster and more effective than endlessly scraping around the cake.
Once the sides of the cake are straight and there are no major gaps or indents, heat can help make the buttercream even smoother.
This is one reason I like using a metal cake scraper. You can warm it easily with hot water, a hair dryer or a blowtorch. If you use water, make sure you dry the scraper completely before putting it against the cake.
The scraper should be warm, not hot. If it gets too hot, it can melt the buttercream and change its colour.
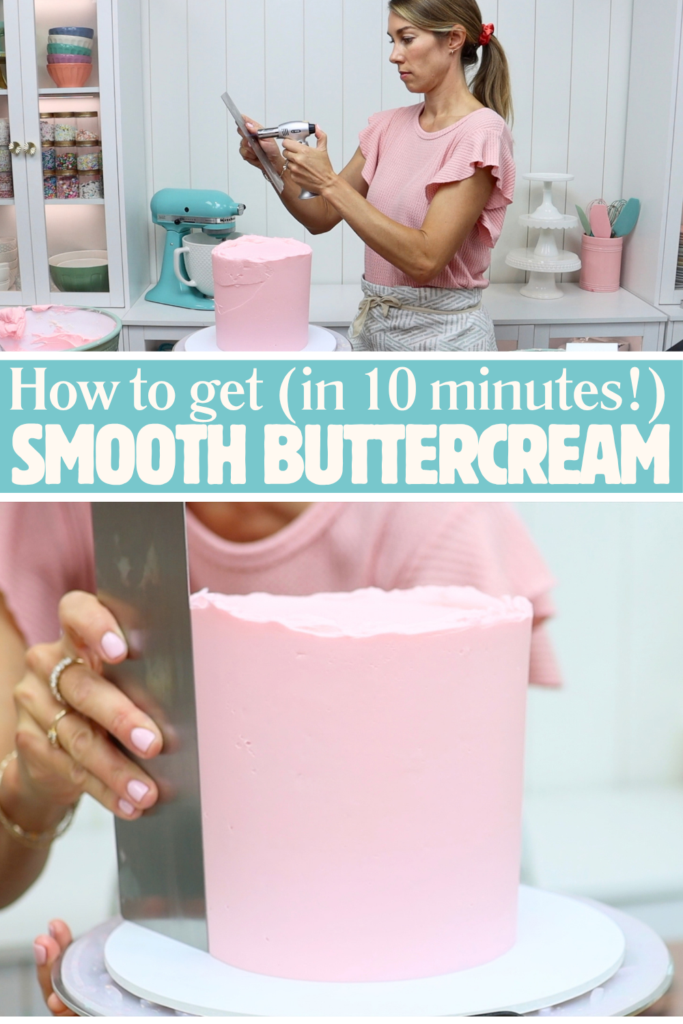
Gently scrape the warm metal around the cake to smooth out the last little imperfections in the frosting.
Once the sides are smooth, you’ll have a lip or wall of buttercream sticking up above the top edge of the cake. Use an
After every swipe, scrape the excess buttercream off your blade into a bowl and wipe the blade completely clean before swiping again.
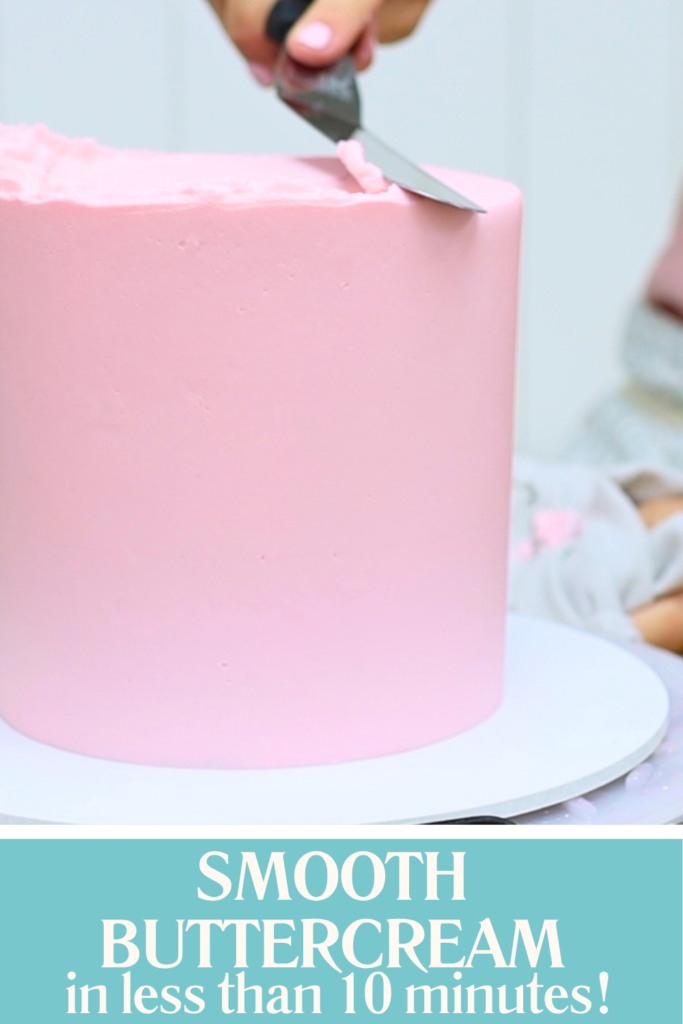
Push the blade sideways rather than downwards. If you push down as you swipe, you can create a bulge in the frosting around the top of the cake.
Continue working your way around until the top edge is sharp and smooth.
You don’t need many tools to frost a cake smoothly.
I use an
You’ll also need a cake scraper. I prefer a metal scraper because it’s easy to heat for the final smoothing.
Your cake board should be at least 2 inches wider than your cake, although I prefer one that’s 4 inches wider. This gives you a flat surface to rest your cake scraper on while you smooth the sides. This cake is 6 inches wide and I'm using a 10 inch cake board.
A
I also use a silicone non-slip mat between my
When you’re frosting a cake, you’re actively looking for imperfections. You’re standing very close to it, concentrating on every tiny line, air pocket or uneven patch. Once the cake is finished and decorated, no one else is going to inspect it at that level of detail. One of the skills that comes with practice is knowing when to stop.
While the buttercream is still soft you can continue making little touch-ups, but if you’ve started with cold cake layers, the frosting will set fairly quickly. At some point, continuing to scrape and adjust the frosting can actually make it worse rather than better.
If the sides are straight, the buttercream is smooth and you’re happy with the overall finish, move on!
To recap: if you want to frost cakes faster, focus on technique rather than trying to physically move faster.
Start with cake layers that have been in the freezer for at least an hour. Their cold temperature will keep the cake stable while you assemble it and help the crumb coat set much more quickly.
Don’t waste time perfecting a crumb coat that’s going to be covered up.
When you apply the final layer, use plenty of buttercream and spread it beyond the top edge of the cake before smoothing.
Most importantly, don’t scrape endlessly. Scrape a few times, spread more buttercream over any gaps or indents, and scrape again. Once the cake is smooth, warm your metal scraper for the final few scrapes.
Using these techniques, I was able to assemble, fill, crumb coat, chill and frost this cake in 10 minutes, including the chilling time. And although there’s no need to race a stopwatch every time you make a cake, these same techniques can make frosting your cakes much quicker, easier and less frustrating.
Watch this video of me making this cake in 10 minutes: