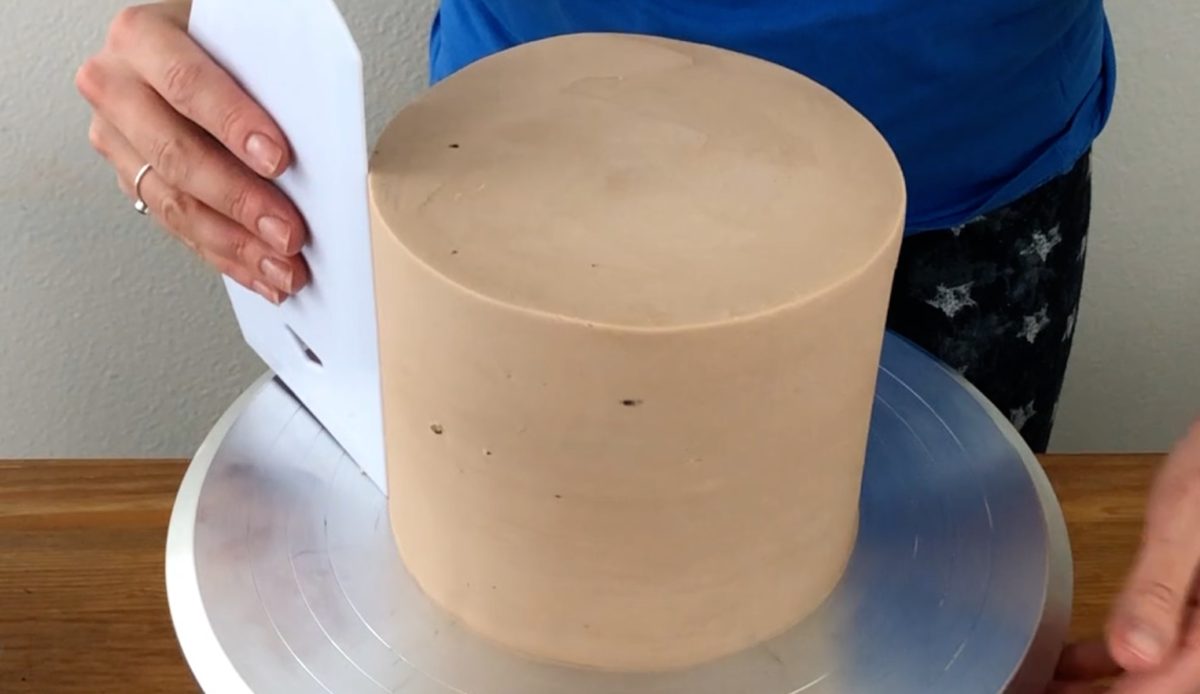
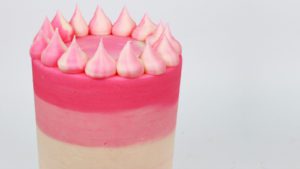
Have you ever wondered how to get frosting so perfect that it looks like fondant? I’m going to show you how to get smooth frosting using just 3 tools: a
I frost all of my cakes with my 4 Minute Buttercream but this technique will work for whipped cream, ganache, and meringue buttercreams as well. Whatever you use for your frosting, the consistency is very important. If it sticks to the cake in clumps and pulls off the cake when you try to spread it, it’s too thick.
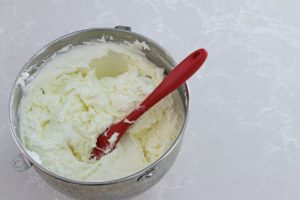
To test the frosting before spreading it onto your cake, scoop some up with a spatula. It needs to be thick enough that it holds its shape when you lift a spatula out of the bowl, but the peaks should be smooth, not rugged. If you’re using my 4 Minute Buttercream you can thin it out with a bit of cream or milk until you get a nice spreadable consistency.

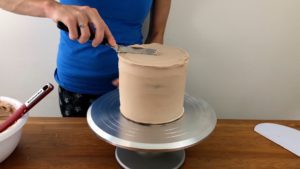
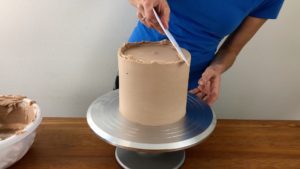
After you’ve built your cake, start by spooning some frosting onto the top. Use an

Never lift the spatula straight up off the cake, because it will pull the frosting and maybe some cake up with it. Angle the spatula slightly and pull it off the cake in a sweeping motion and that way it will come off neatly.
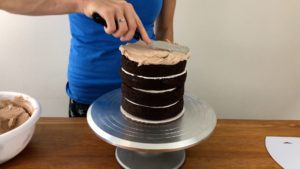
Once the top is covered, put the top of the spatula in the middle of the cake and angle the spatula at about 45 degree and then spin the cake, scraping off the top of the frosting and leaving a smooth top. You can do this a few times until you’re happy with the top.
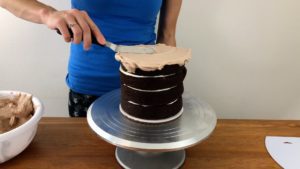
Then use your
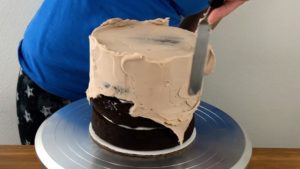
I like to go from top to bottom with the frosting, and then I go around the top again to make sure the frosting goes up over the top of the cake. If it doesn’t, you’ll have gaps in between the sides and top of the frosting.
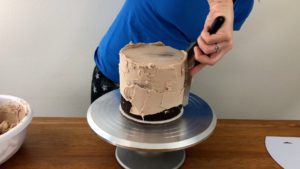
This first coat of frosting is a crumb coat, to lock in any crumbs that come off the cake, and we’re going to do a second coat of frosting later so this one doesn’t have to be perfect. You’ll probably be able to see the cake through the frosting in some places and that’s fine. We’ll cover it up later,

Next you need a frosting scraper or frosting smoother. Anything with a flat side – it can be plastic, metal or acrylic. Hold it against the side of the cake and spin the
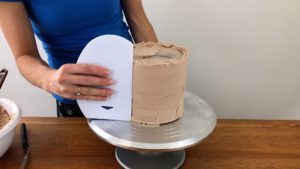
After going around the cake a few times with your frosting smoother, you’ll notice some areas where there are indents in the frosting, where it’s not as thick as it is over the rest of the cake. Use your

When you’ve filled in all of the gaps, scrape with your frosting smoother again. Remember that this coat of frosting doesn’t have to be perfect – it’s just the first layer.
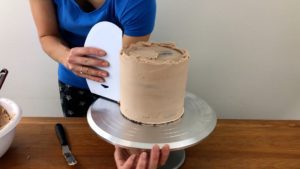
When you’ve finished your crumb coat, it needs to set before you apply the next coat. I chill my cake layers before frosting so my crumb coat sets within a few minutes in a fridge but if your cake is at room temperature, you can leave it for about an hour to set or put it in the fridge for 30 minutes or in the freezer for 15 minutes.

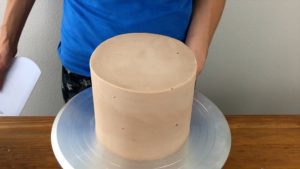
Now we’re going to repeat the process, starting with the top of the cake, using an
Now apply the frosting to the sides, going from the top all the way down to the bottom, spreading it from side to side to cover the whole cake. You might need to spread more buttercream around the top of the sides to make sure the frosting goes all the way up over the top of the sides of the cake, to make sure there are no gaps, aiming for the same thickness all the way around the sides of the cake.

Scrape around the cake with your frosting smoother and after each scrape, wipe any frosting off from the frosting smoother into a bowl with your
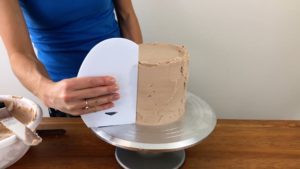
After a few scrapes, use your
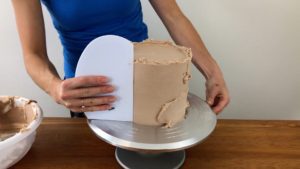
If you start spinning the
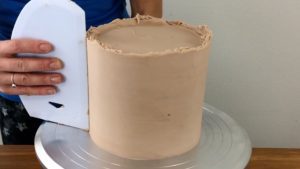
Smooth frosting is the foundation for so many cake designs. Once you’ve mastered this, you can decorate all kinds of styles of cakes. I have a free online course on 10 Frosting Techniques and you can sign up here.
When you’re happy with the sides, tidy up the top edge of the frosting on the cake. Swipe your frosting smoother or
Scrape around the sides of the cake again to flatten the bulge of frosting around the top of the sides and then tidy up the top again, swiping from the outside to the middle.

You can do this as many times as you like, until you like the shape of the cake. By alternating between scraping the sides and the top of the cake, the edge around the top of the cake will get neater and sharper as you go.

This technique takes a few tries to perfect but I love how simple it is – you only need a
You can watch the video of this tutorial below or for my online ‘Frost Along’ class, where I frost a cake from start to finish while you follow each step as you frost your cake, click here.

Here’s the video version of this tutorial:

Thanks for this tutorial. It was very helpful
I'm happy it was helpful!