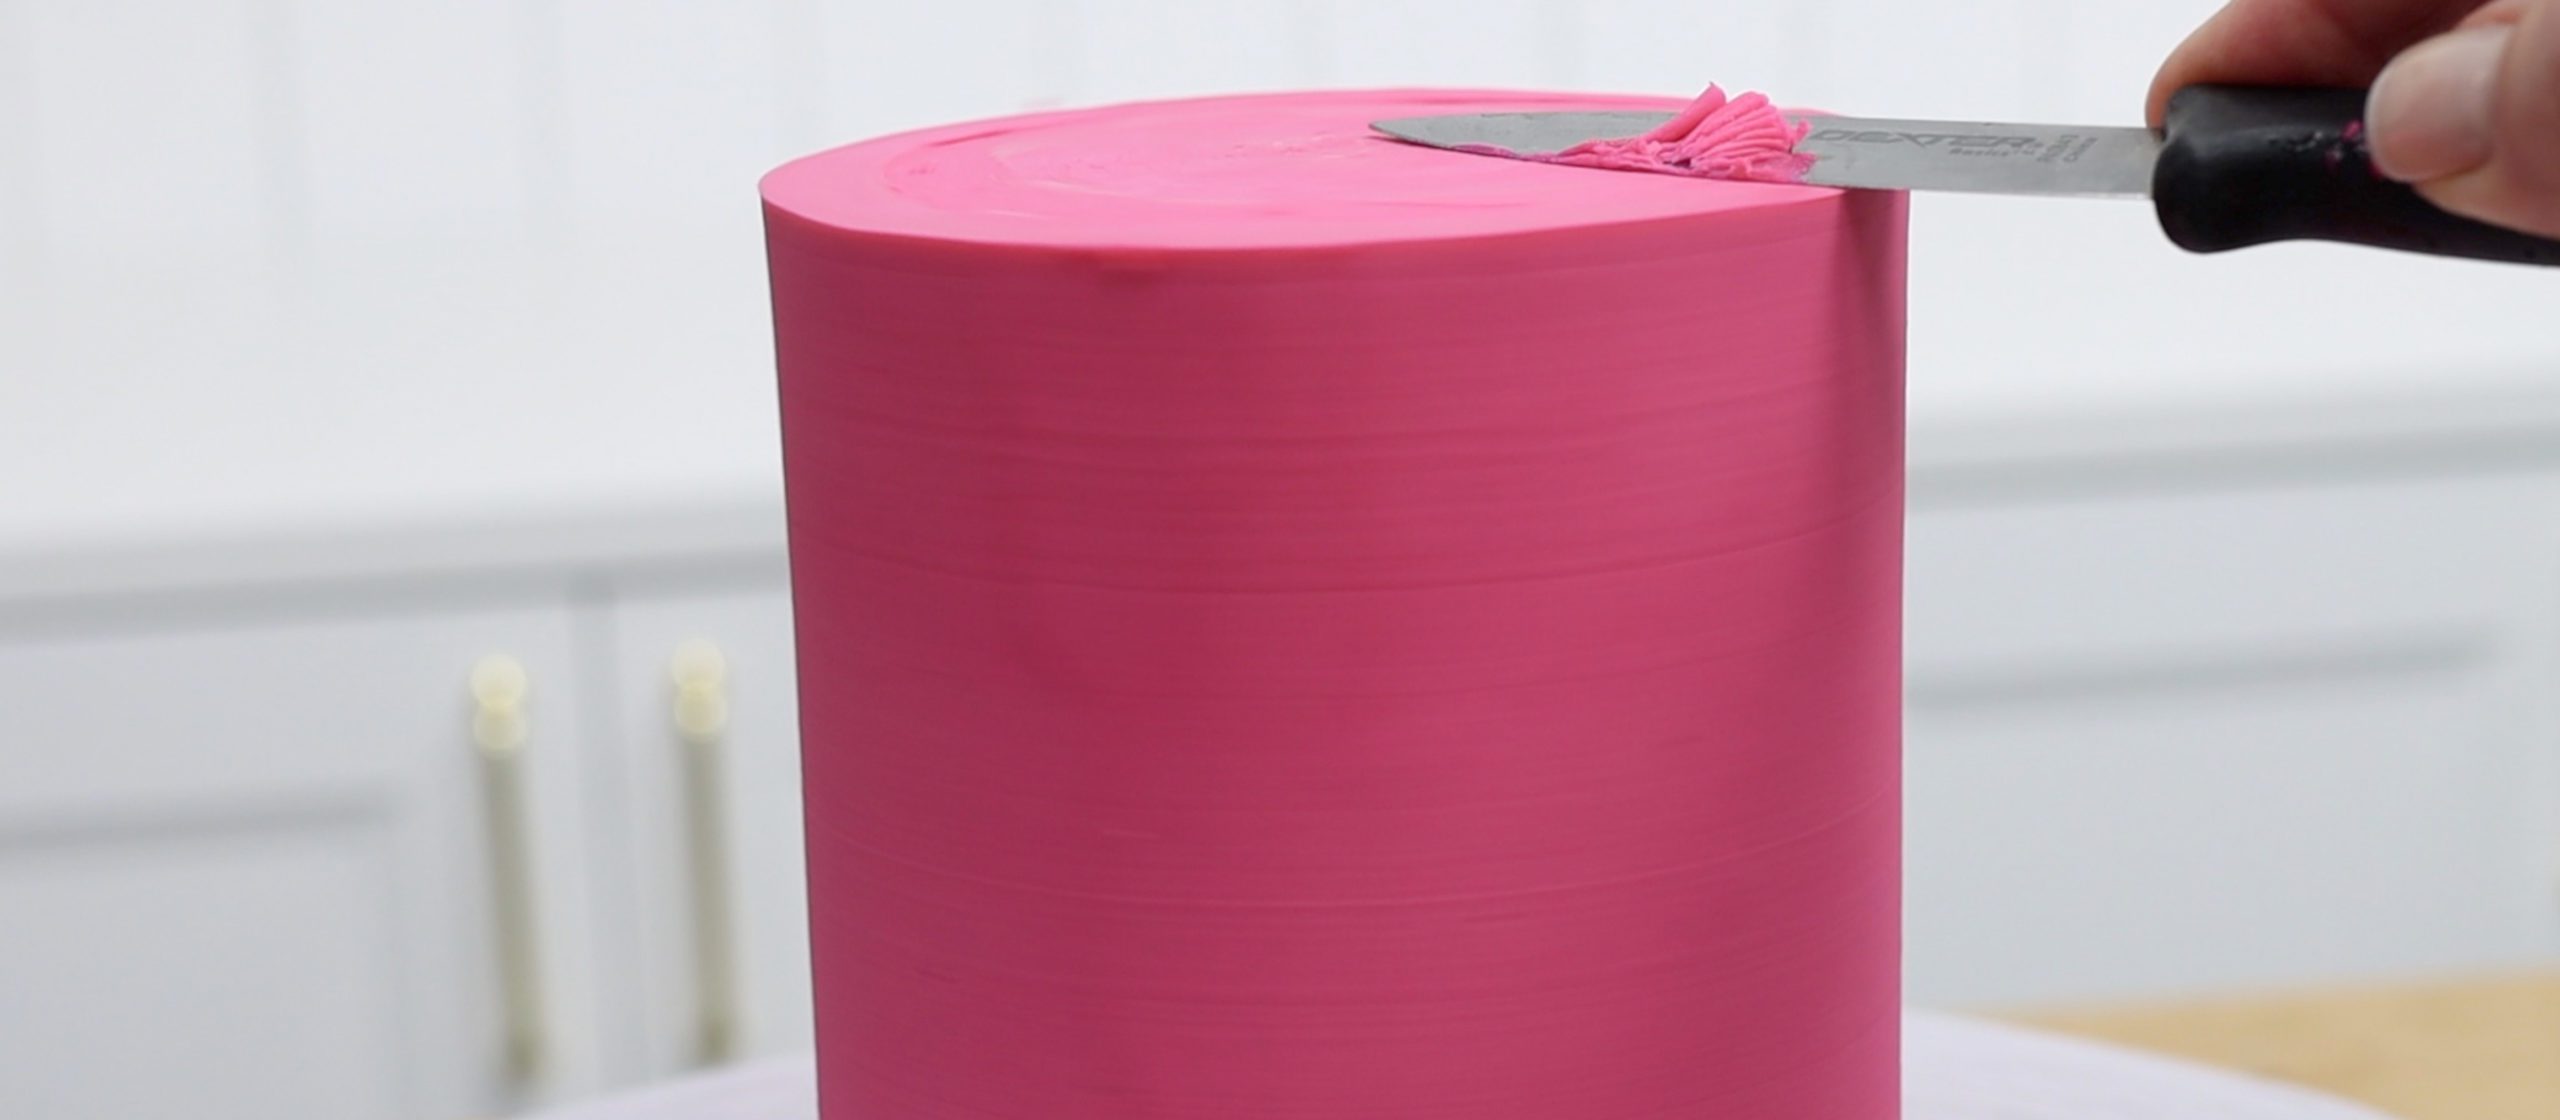
Smooth frosting with sharp edges is the #1 struggle among cake decorators and in this video I’ll share a foolproof technique to achieve them!
If you prefer to watch a video of this tutorial, scroll to the bottom of the page.
You can use any kind of buttercream for this technique. I’m using my 4 Minute Buttercream, which I love because it’s quick and easy to make, it’s stable, and it makes hundreds of decorating techniques possible!
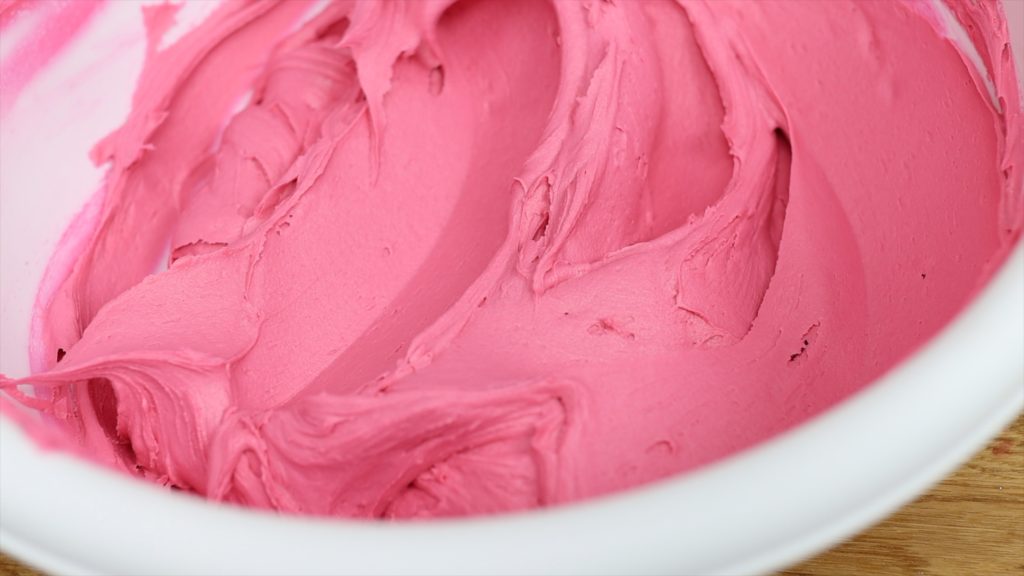
Frost your cake as normal apart from one thing. Just like you normally would, spread the frosting on and then scrape it with a cake comb to smooth it.
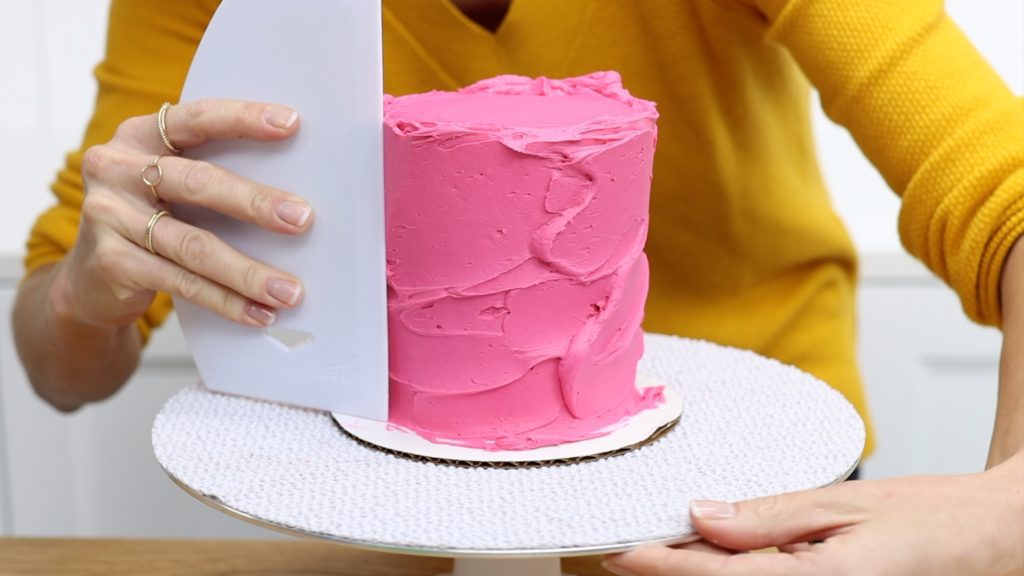
Then do your touchups over any air pockets or indents, by spreading more frosting over those areas and scraping again until the sides are nice and smooth.
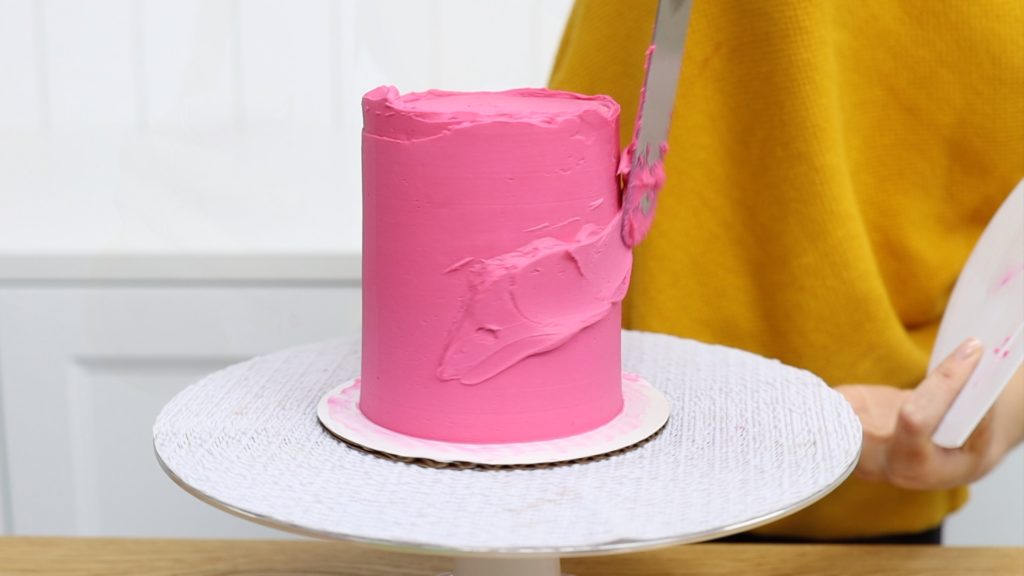
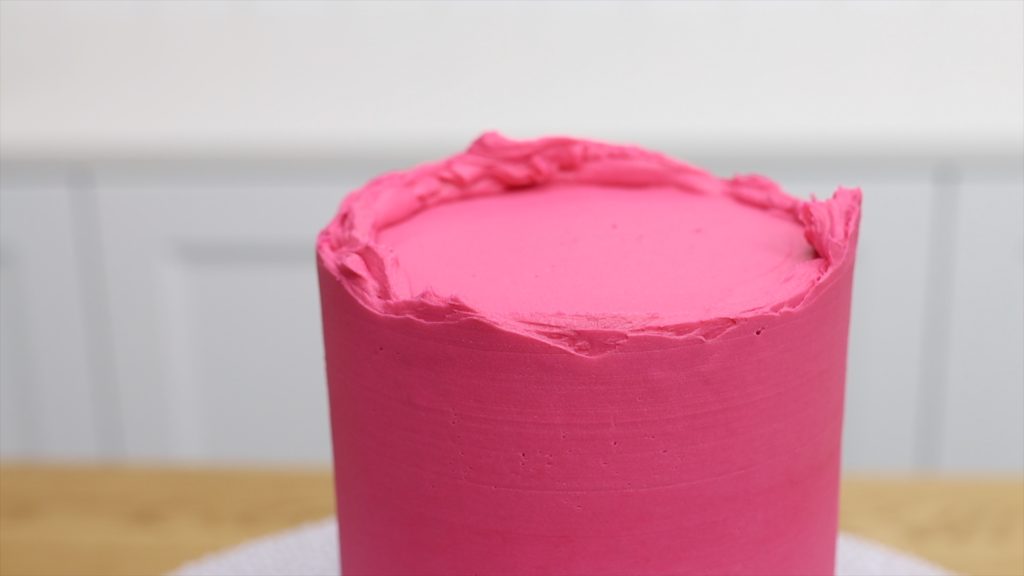
The difference for this technique for sharp edges is that you need to push the frosting up as you’re spreading it so that it sticks up above the top edge of the cake, all the way around the cake. You won’t have another chance to fix this later so it’s essential to get it right now so as a double check, after smoothing the frosting on the sides of the cake with your cake comb, it’s a good idea to spread another layer of frosting around the top edge and scrape that smooth. Whether you’re using this techie or any other technique to flatten the top edge of the cake, you won’t get neat results unless your frosting goes up high enough.
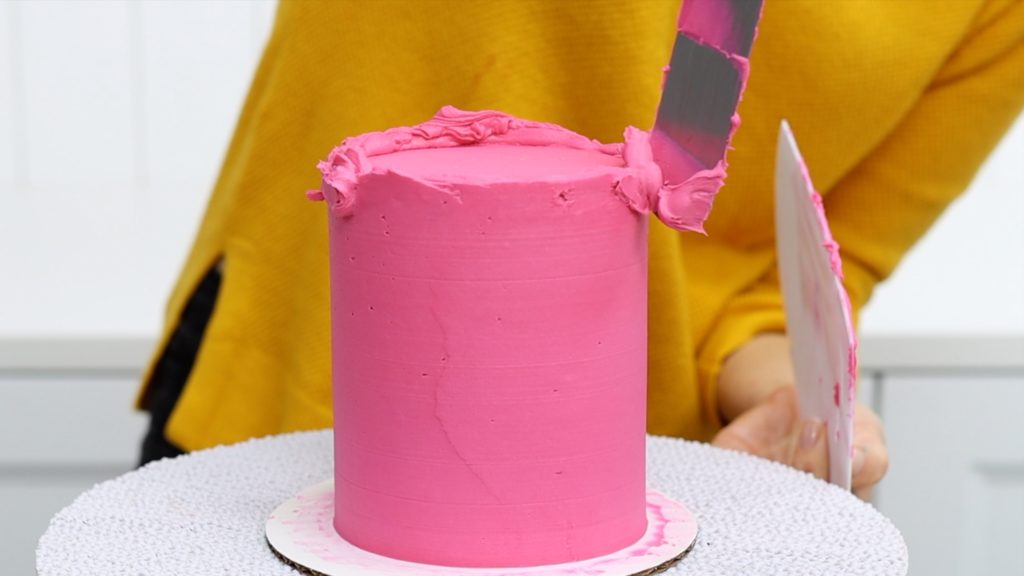
Your cake will now have smooth sides but an uneven top edge, which should be sticking up higher than the smooth top surface of the cake. Put your cake in the freezer for 30 minutes, to chill the frosting.
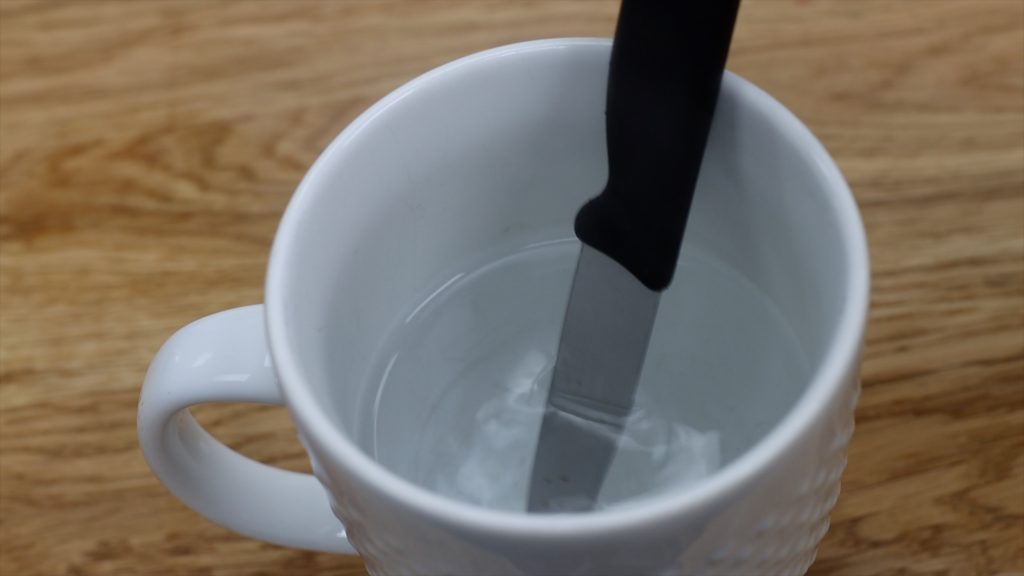
Meanwhile, boil some water and pour it into a cup or a bowl or even a vase, ideally something as tall as the length of the blade of your knife. Take your cake out of the freezer and dip your knife into the hot water and then dry the knife on a towel or paper towel.
Use the knife to cut off that frosting sticking up above the top edge of the cake. It’s going to be messy to begin with, because there are lots of chunks of frosting to remove.
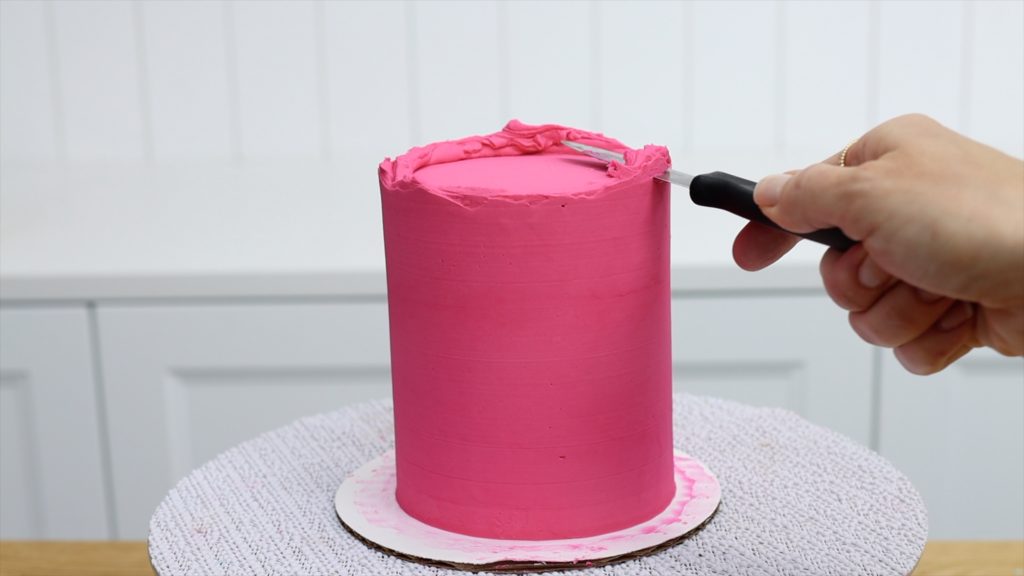
Dip your knife into the hot water every 30 seconds or so, shaking it around to loosen any frosting attached to it. Always dry the knife off before using it on the cake again, and use the knife immediately after dipping and drying it so that it’s hot when you come into contact with the frosting.
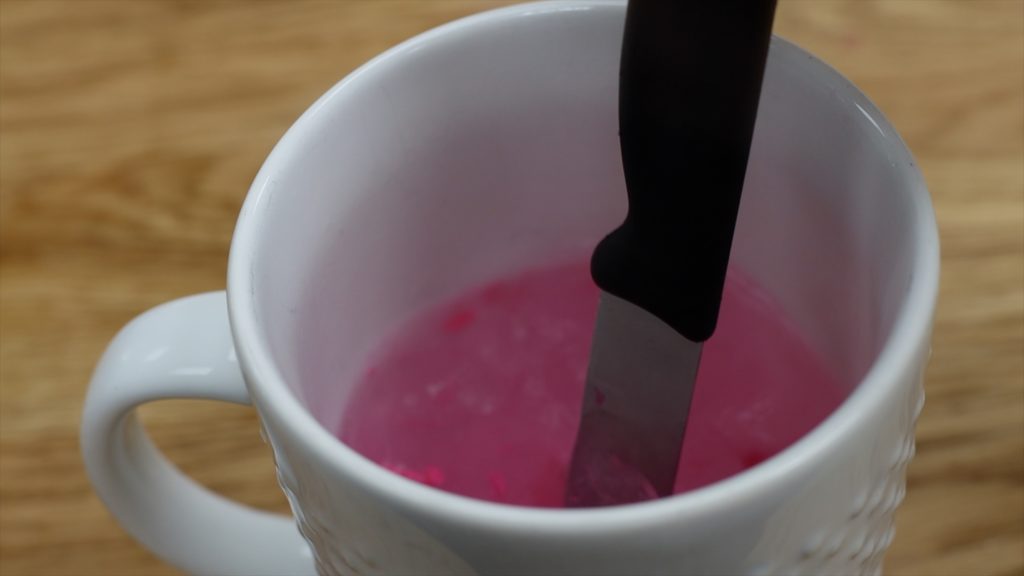
You should brush the chunks of frosting that you cut off, off the cake before they warm up and stick to the frosted cake. If you scrape them into a bowl you can reuse the frosting when it warms up!
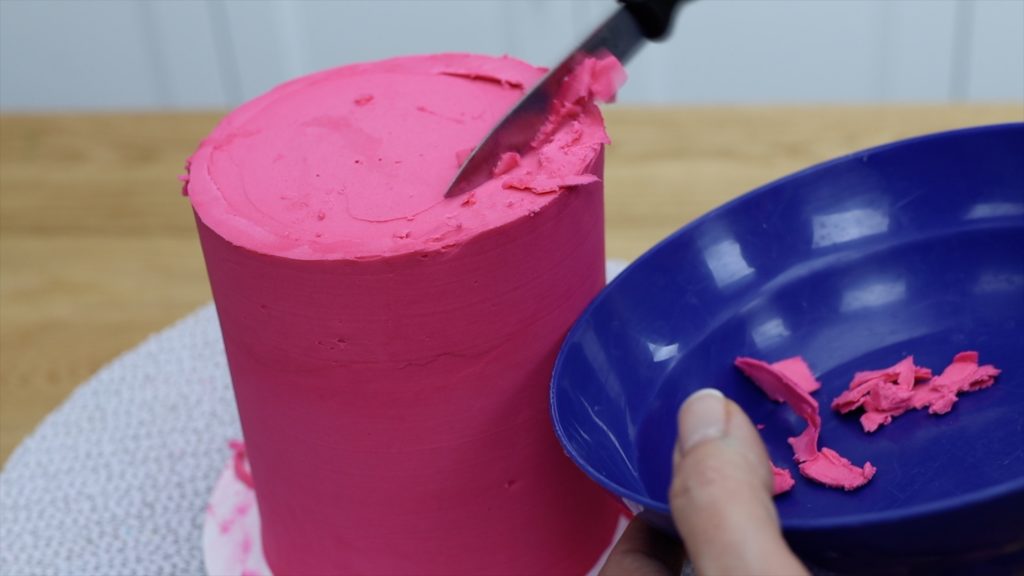
After several spins of the cake, the frosting on the top will almost be level, so cutting gets easier. If you notice any dregs of cut off frosting sticking to the cake, lift those off with your knife now, before they set onto the cake. Since you’re spinning the cake while pressing your knife down slightly to trim the frosting, your knife will stay at the same height all the way around the cake so you’ll have a perfectly level cake top, with sharp angles from the top down onto the side of the cake.
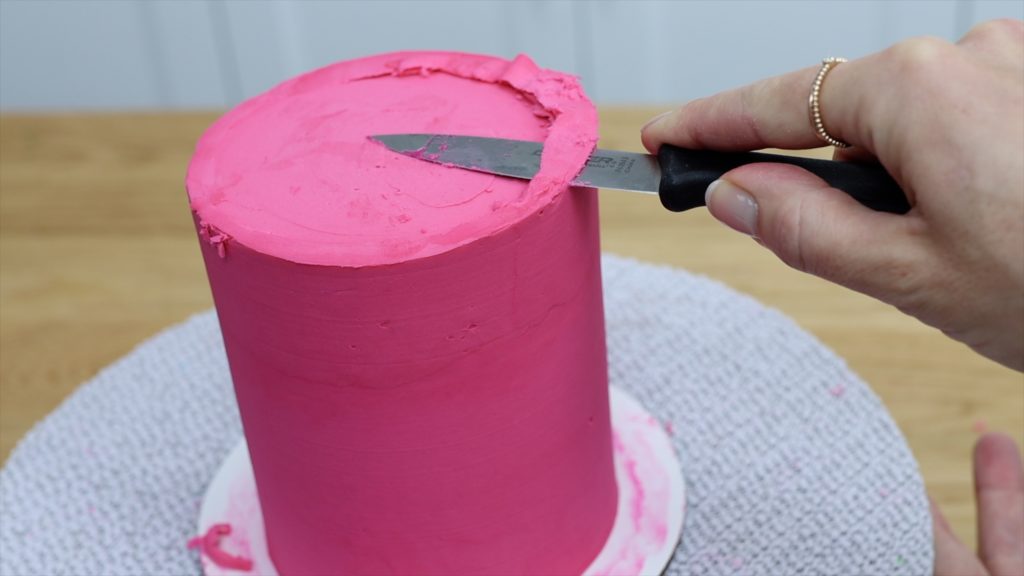
Any idents you see around the top edge of the cake are there because the frosting wasn’t spread high enough there, and you can keep trimming but just keep in mind that there’s a crumb coat and cake underneath the frosting, so if you cut off too much frosting you’ll expose those!
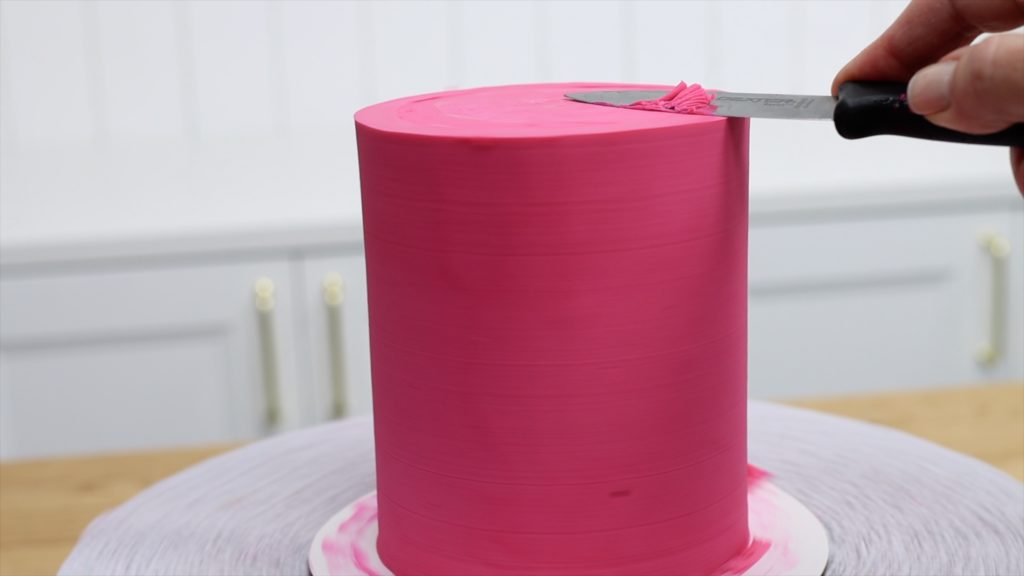
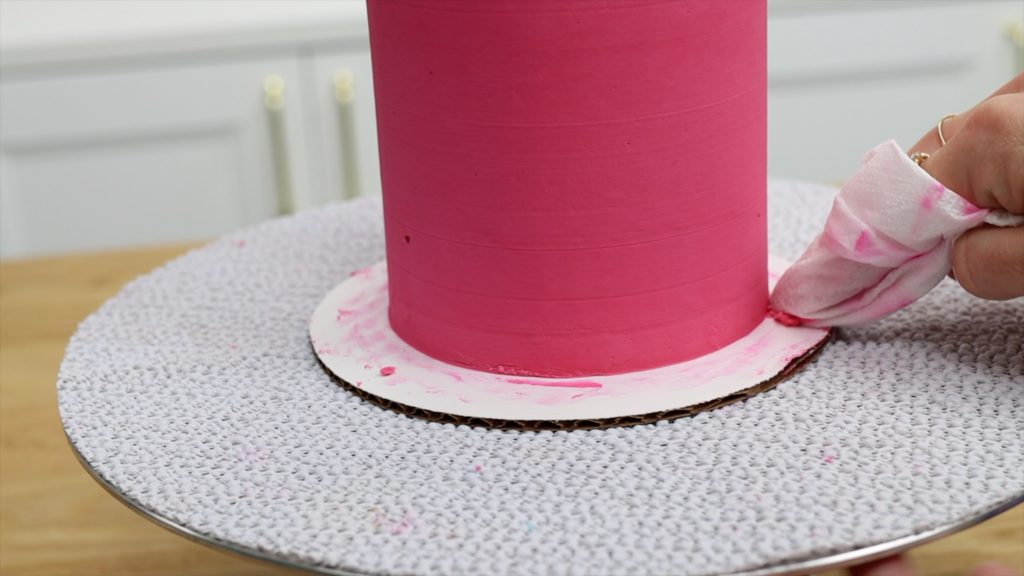
Your cake board will be covered with frosting smudges now, so wrap a towel or paper towel around your finger and push down firmly on the cake board as you spin the cake and you’ll wipe off all of those smudges. Since the cake has been chilled, the frosting on the cake will be firm and even if you accidentally brush against the side of the cake with your towel or paper towel, you won’t damage the frosting.
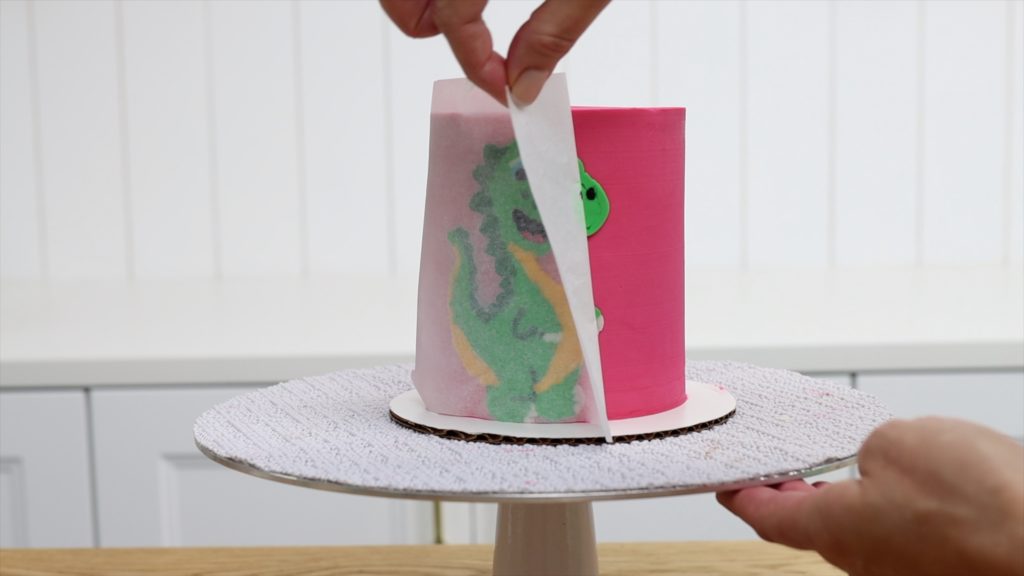
Now you can decorate your cake and any design will look its best on a cake with smooth frosting with sharp edges!
If you have any questions about this method, ask me in the comments! Check out my online cake school for hundreds of cake designs and techniques and join my ClubPLUS for access to them all!
Here’s the video version of this tutorial:
