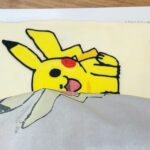
Want to put a character, picture or detailed design onto a cake without having to draw it freehand? A buttercream transfer is one of the easiest ways to do it!
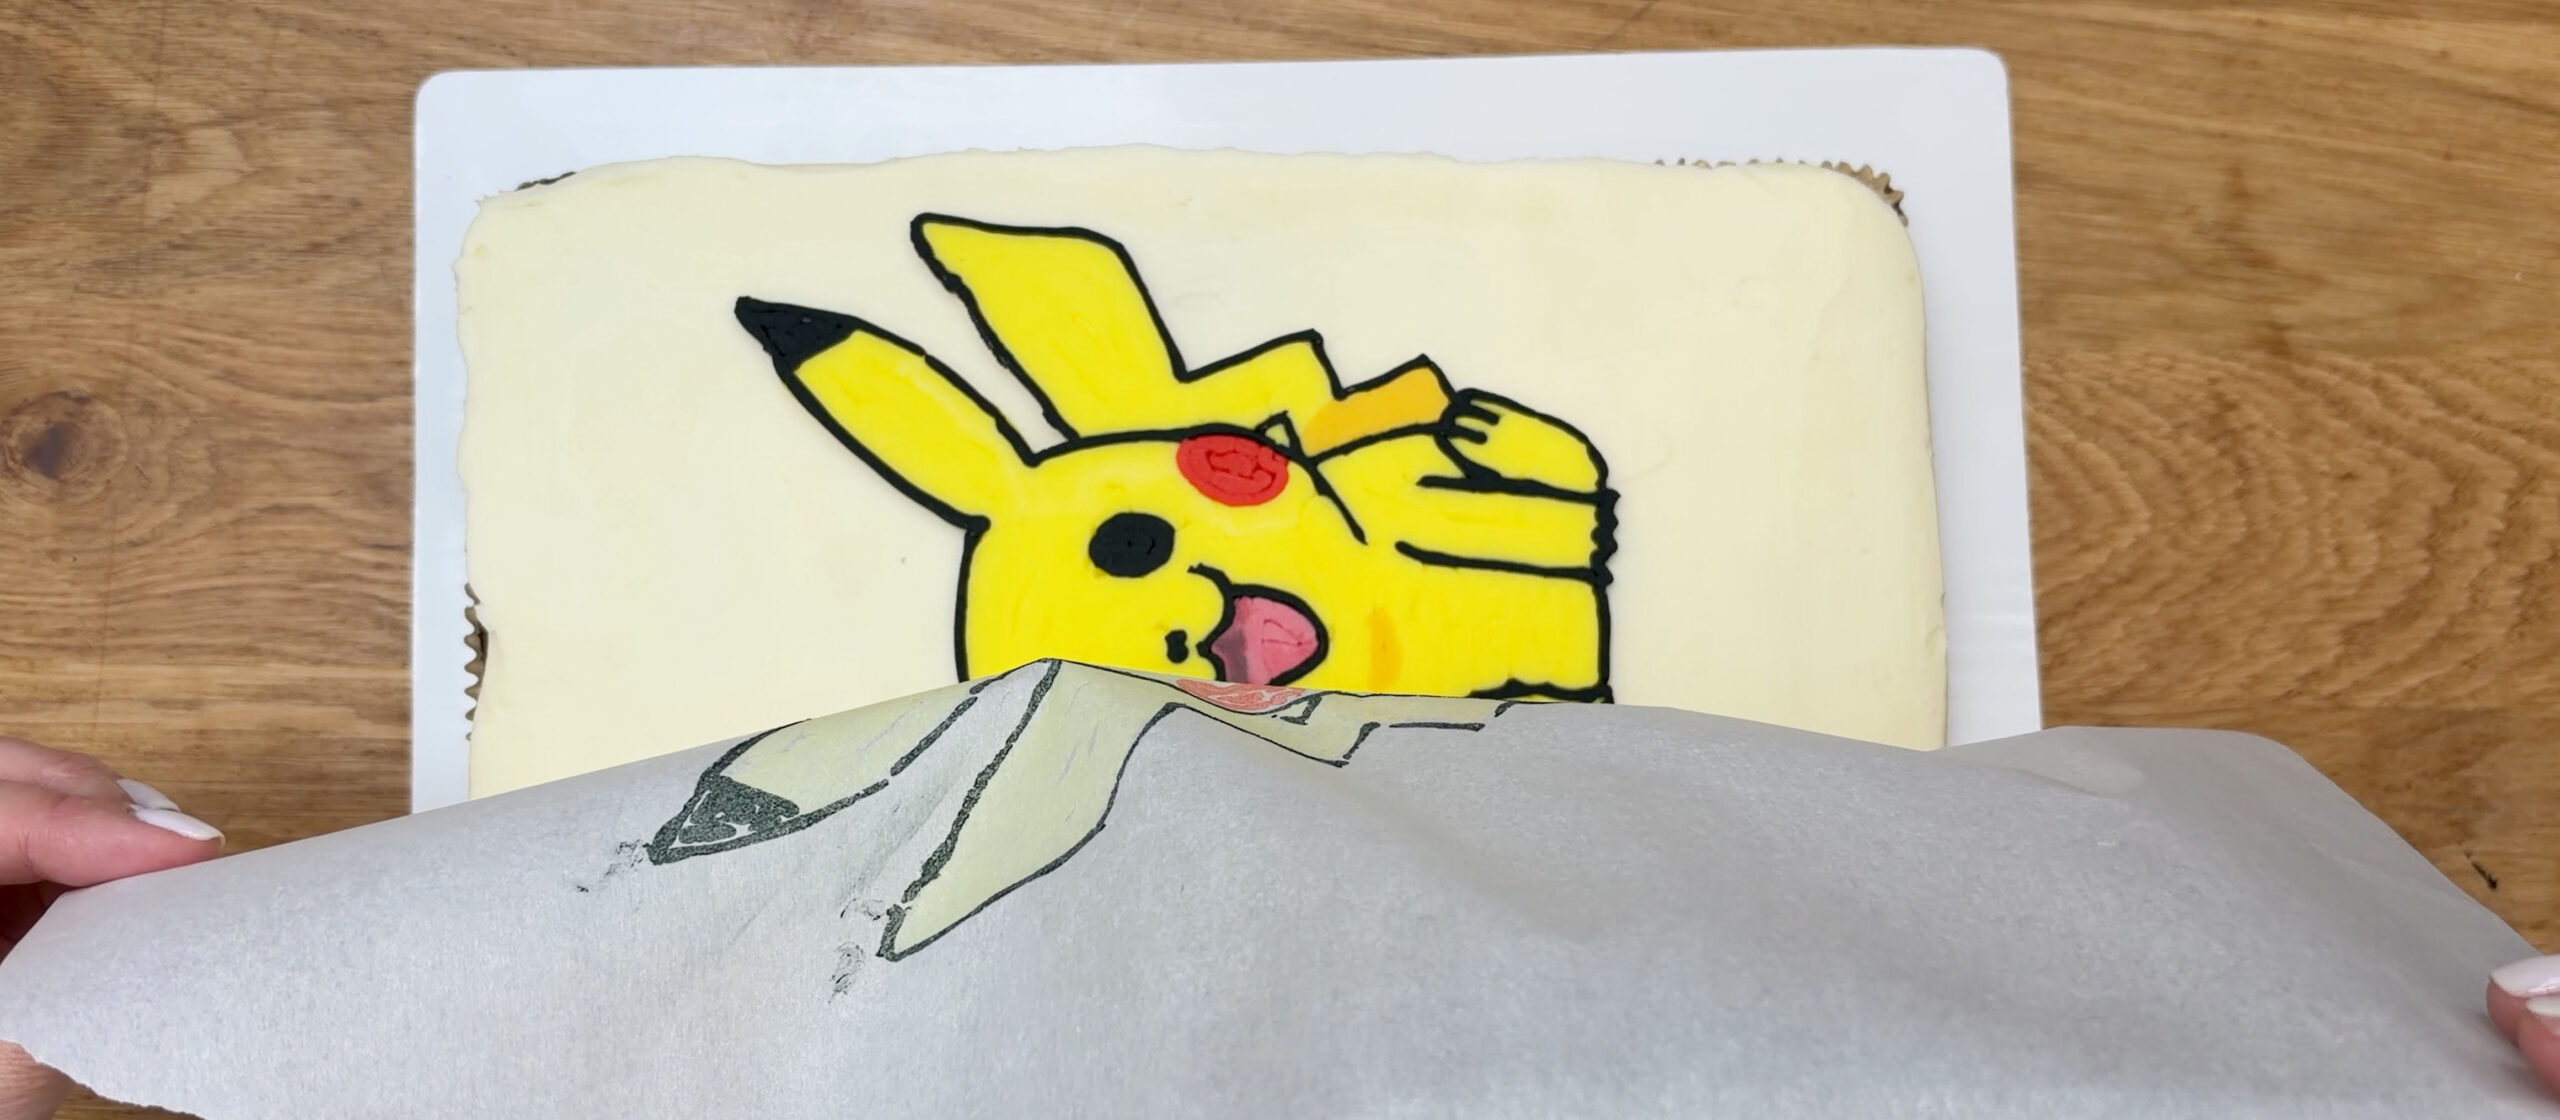
You pipe your design onto parchment paper, freeze it, and then flip it onto your cake. When you peel away the parchment, you're left with a smooth buttercream design that looks like it was drawn directly onto the frosting.
In this tutorial I'll show you how to make a frozen buttercream transfer, including my tricks for avoiding air pockets, getting it smooth, and fixing any imperfections.
Start by tracing or printing printing out the character or picture you want to put on your cake. I resize the image on my computer screen and then trace it over the screen onto a piece of paper. You'll need the mirror image so either flip the paper over and follow the lines on the back of the paper, or first flip the image horizontally on your screen.
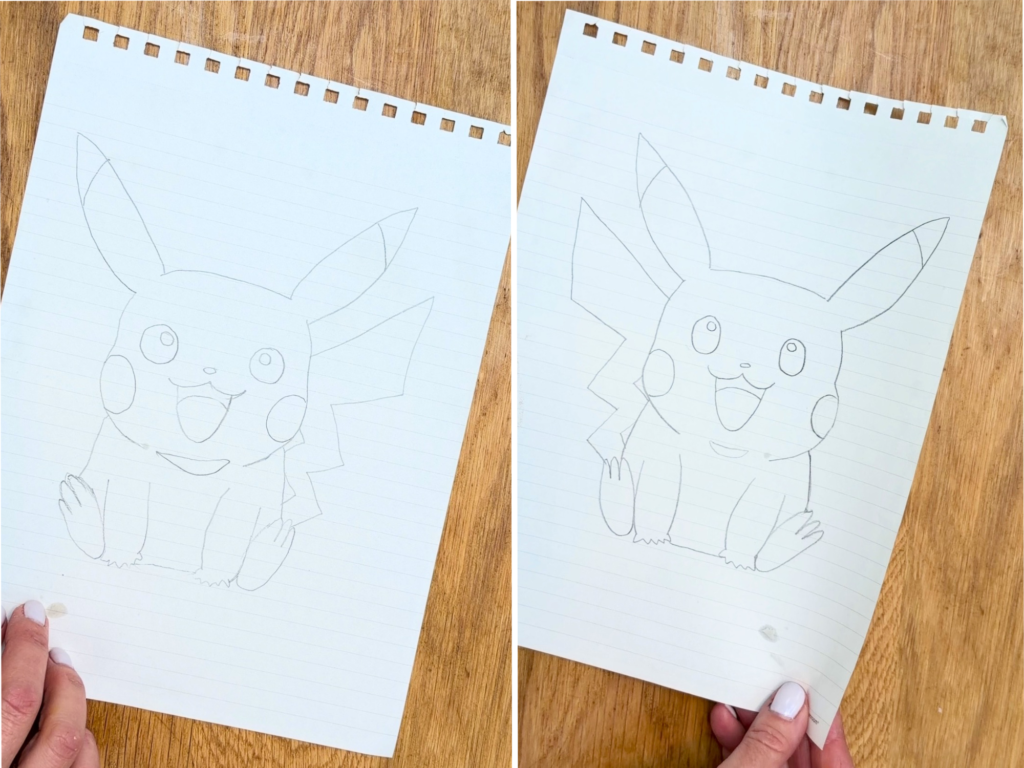
Place a piece of parchment paper over the drawing so you can see the lines through it.
Using a piping bag filled with buttercream, trace the outline of your design. I love using my 4 Minute Buttercream for this! Take your time to pipe straight, smooth lines because these lines will be visible on your finished cake design.
Once you've finished outlining the design, put the parchment paper in the freezer for 10 minutes to firm up the buttercream.
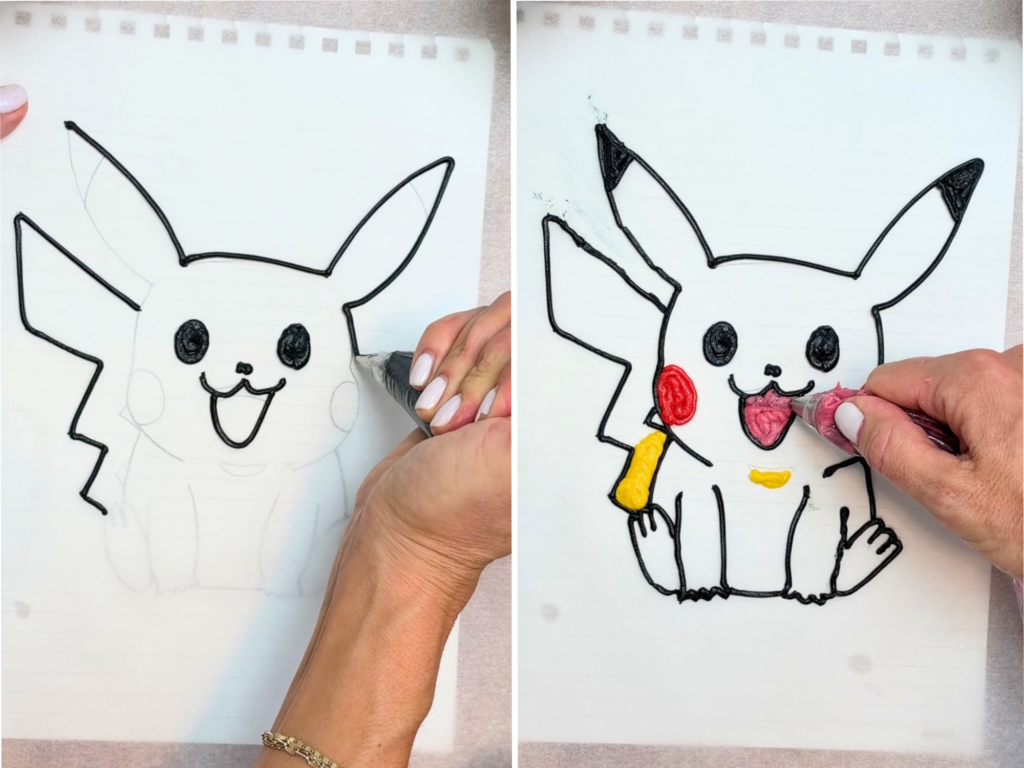
Next, fill in the different sections of your design with coloured buttercream.
Pipe tight spirals or zigzags to fill each section completely. The trick here is to keep the piping tip close to the parchment paper, pushing the buttercream right down against it as you pipe. This helps prevent air pockets, which can leave little holes in your finished buttercream transfer.
Continue filling in all of the sections, working carefully around the outlines.
Once you've finished, put the design back in the freezer to firm up again before adding the background.
For the background, you'll want buttercream that's a little softer than the frosting you used for the details. You can loosen the consistency by microwaving the buttercream for about 5 seconds or mixing in a small amount of milk.
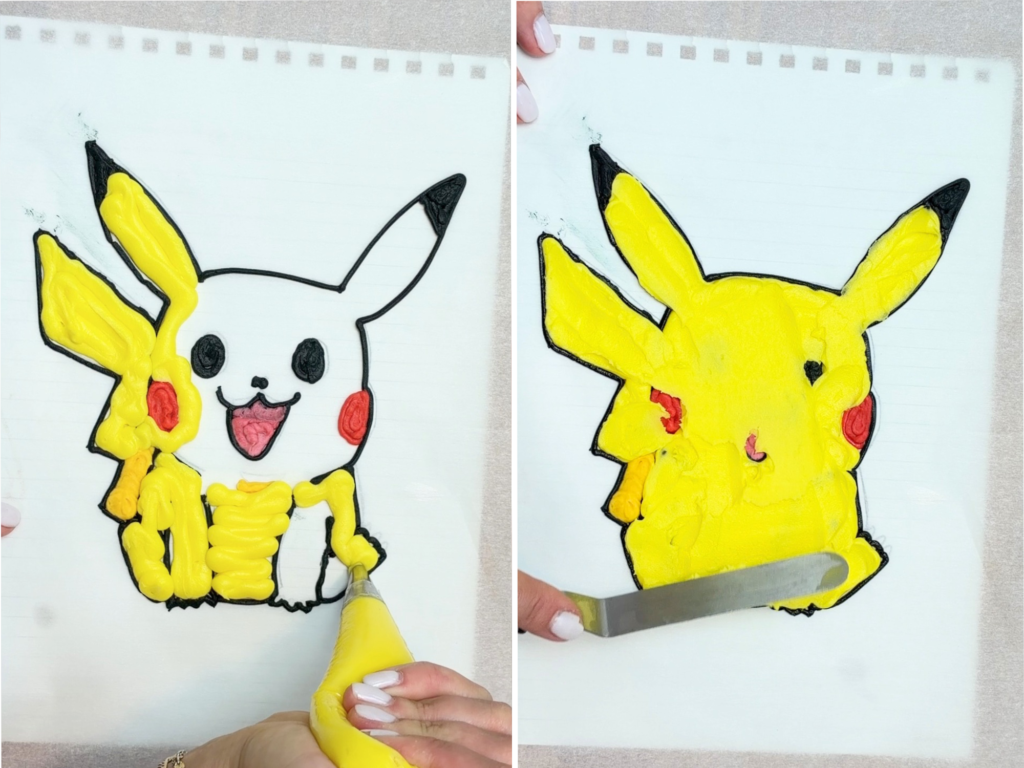
Spread the softer buttercream over the design, filling in the background and covering the piped details. Use an
Before adding your buttercream transfer, make sure your cake has been frosted and chilled in the fridge for at least an hour. The frosting needs to be firm so that you can position the transfer without damaging the surface of the cake.
Carefully pick up your parchment paper with the buttercream design and flip it over onto the cake, with the buttercream against the frosting. Gently press it into place. If you press too hard, you'll warp or smudge the outline.
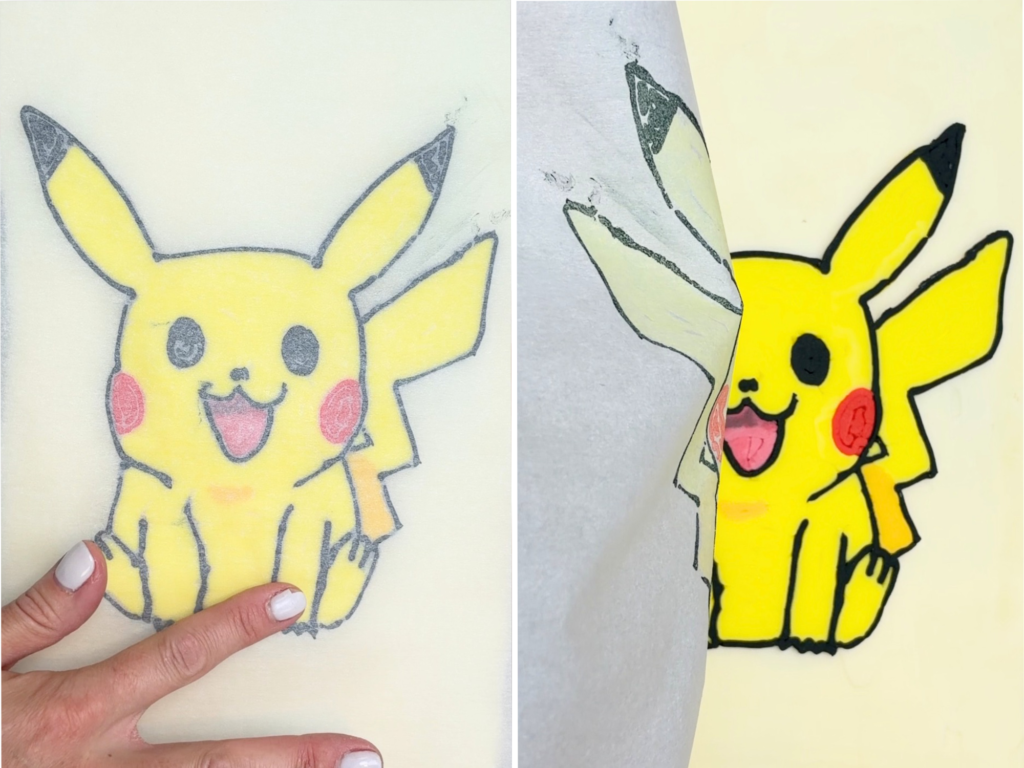
Now you need to chill the cake again so the buttercream transfer becomes firm enough for the parchment paper to peel away cleanly. You can either refrigerate the cake for one hour or freeze it for 30 minutes.
Once the buttercream is firm, carefully peel off the parchment paper to reveal your design!
Don't worry if your buttercream transfer has a few little holes or gaps. They're easy to fix! Spread or pipe more buttercream over any imperfections, using the same colour as the surrounding area. Then scrape off the excess buttercream to leave a smooth surface. Because your buttercream transfer is cold and firm, you can scrape over the surface without damaging the design underneath.
Some tiny details are easier to add after the buttercream transfer is on the cake. For example, you can pipe the whites of a character's eyes directly onto the finished design.
I like to add more textured details to make the design more interesting, for example sprinkles and buttercream borders.
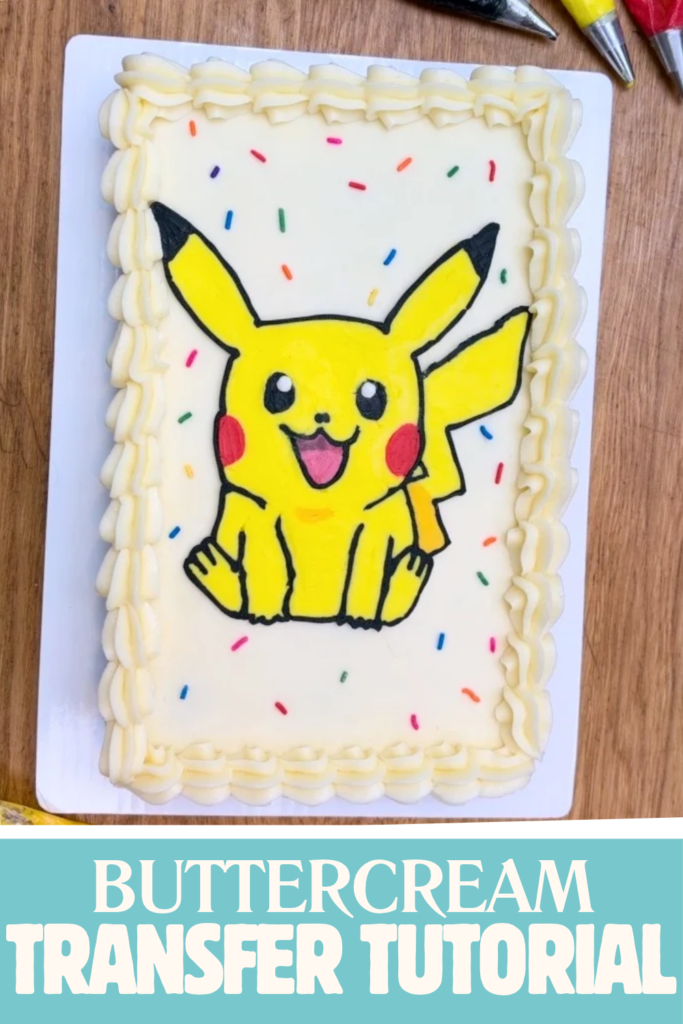
And that's it! You've made a detailed character cake using a frozen buttercream transfer, without having to draw anything freehand onto the cake.
Here are the most important things to remember:
Yes! This technique is perfect for cartoon characters, simple illustrations, logos, lettering and other designs that can be divided into sections of different colours. You don't need to be good at drawing because you're tracing the picture rather than drawing it freehand. Just remember to reverse the image before you start!
Little holes in a frozen buttercream transfer are usually caused by air pockets between the buttercream and parchment paper.
To prevent them, hold your piping tip close to the parchment and use tight spirals or zigzags to fill each section.
If you still end up with a few holes, fill them with more buttercream after peeling off the parchment and then scrape away the excess while the design is cold.
You'll need to chill the buttercream at several stages:
The exact time can vary depending on how thickly you've piped the buttercream and how cold your fridge or freezer is.
A buttercream transfer is an easy way to decorate a character cake with surprisingly neat results!
Watch my video tutorial to see every step of the process and try this technique the next time you want to put a picture onto a cake!