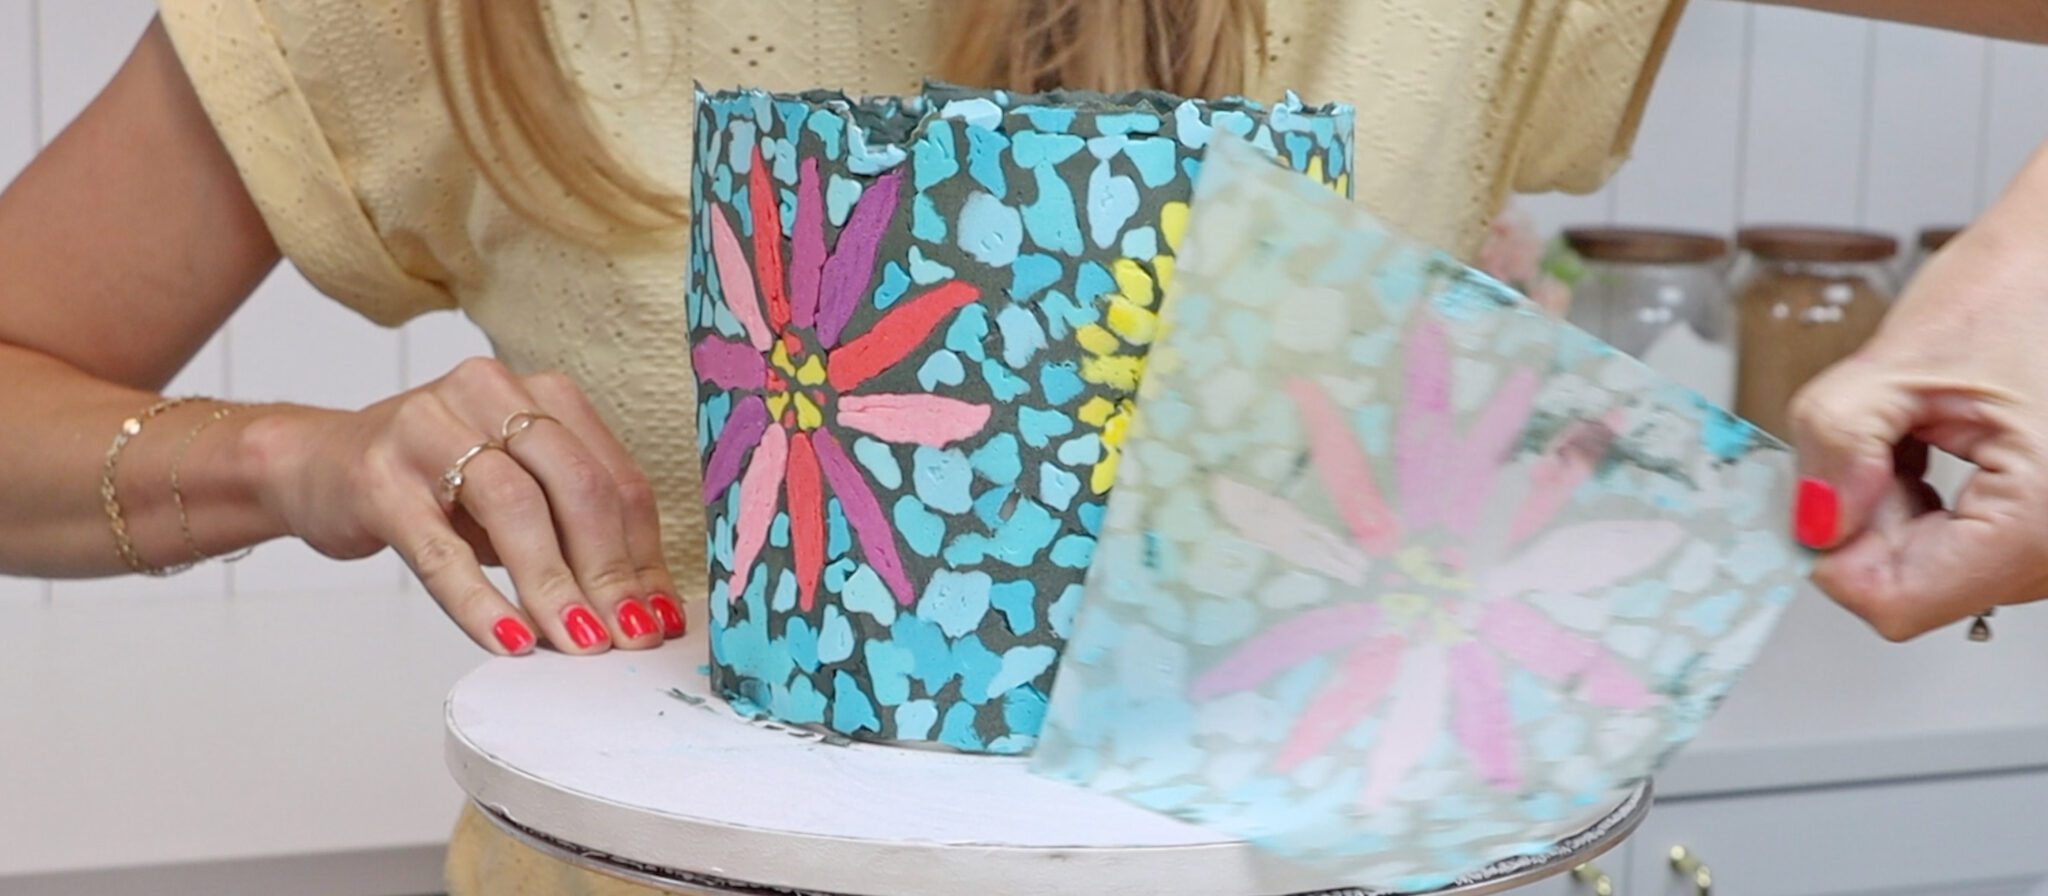
Turn any image into an eye-catching, edible mosaic cake with this simple but stunning technique! Use basic tools and materials like parchment paper or wax paper, a toothpick, and coloured buttercream.
Alternate cake layers and filling to assemble a layer cake. The taller the cake, the more space you'll have for your mosaic cake design. Check that each layer is lined up directly on top of the layer below so that your cake is straight. If the sides lean even slightly, it will be impossible to wrap the mosaic tightly around the cake.
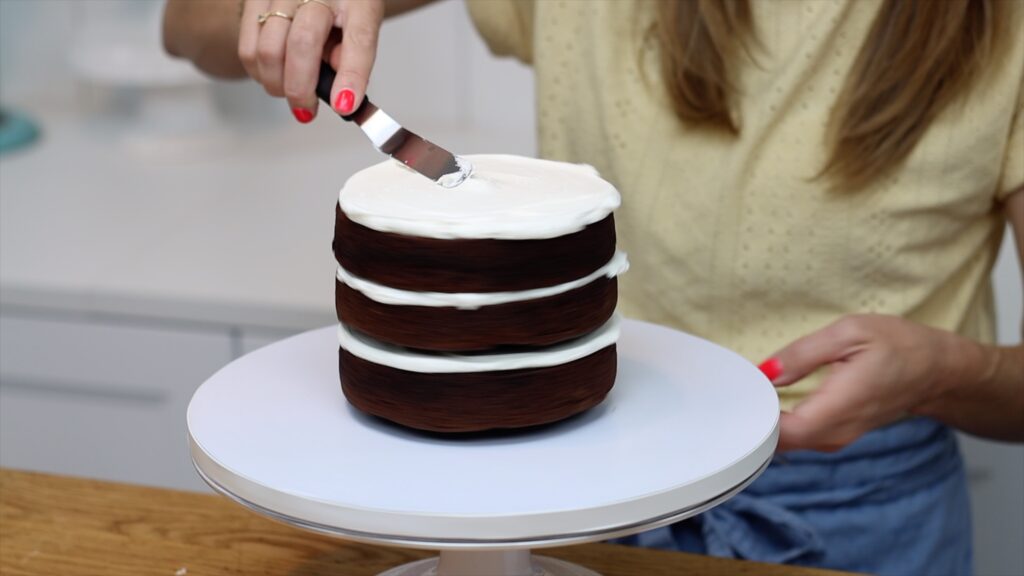
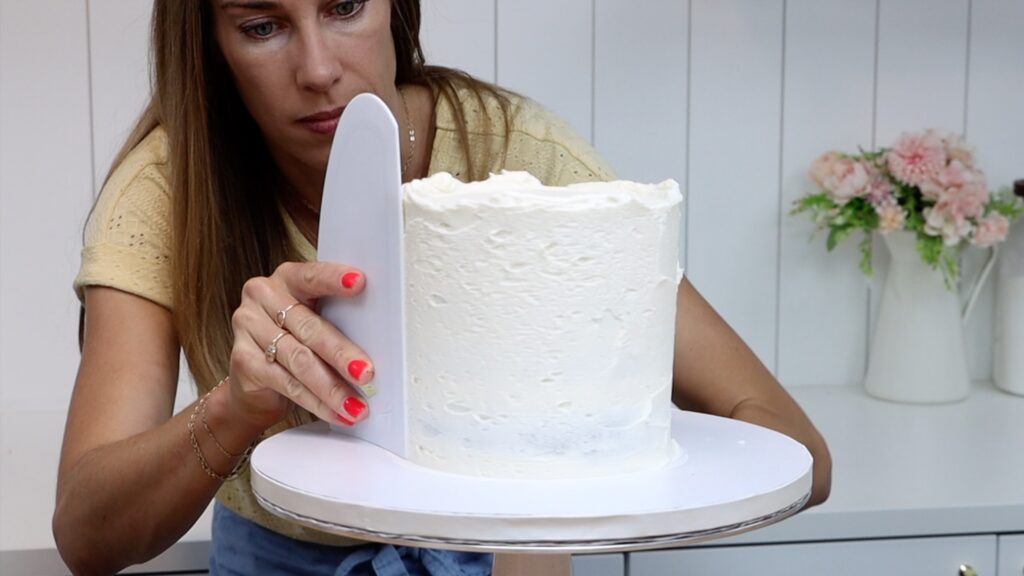
Cover the cake in a crumb coat, which is a thin layer of frosting to trap any crumbs. Normally this doesn't need to be neat but for this design it's important it's smooth. The mosaic design is going to sit on top, mimicking this shape of the cake.
Now measure the height of the cake so that you know how tall to make the design. To measure the circumference, wrap string around the cake or just multiply the width by 3.14 to calculate the circumference. Cut a piece of parchment or wax paper about a finger taller and two fingers wider than the circumference.
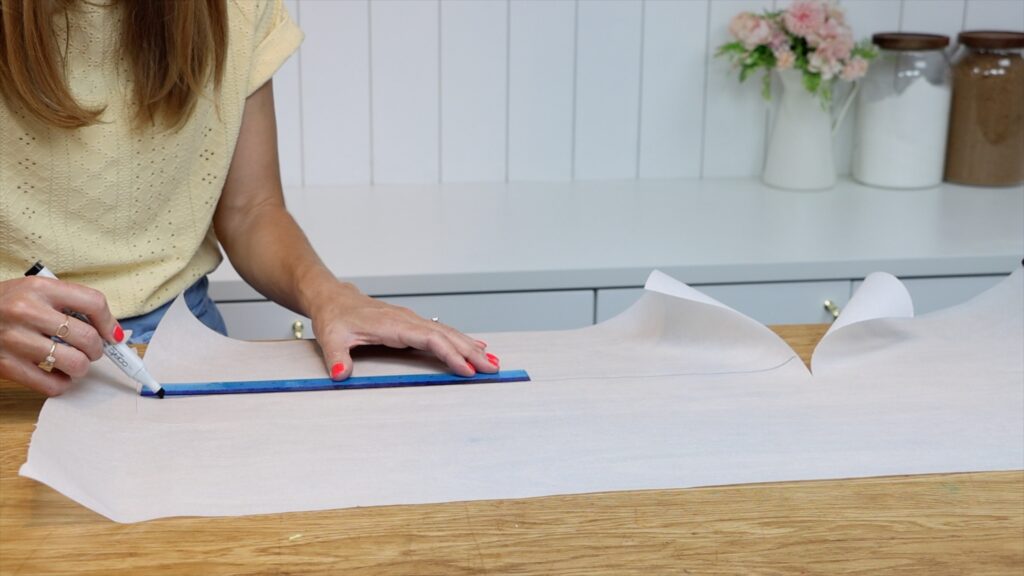
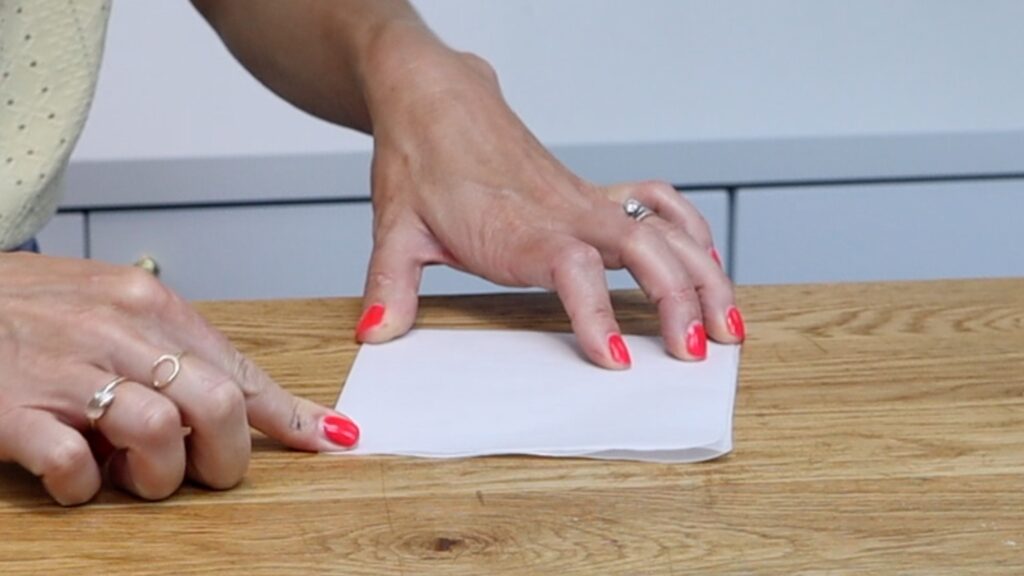
Chill the cake in the fridge while you draw your design. I'm folding my paper in half twice so that I have four sections for four different flowers.
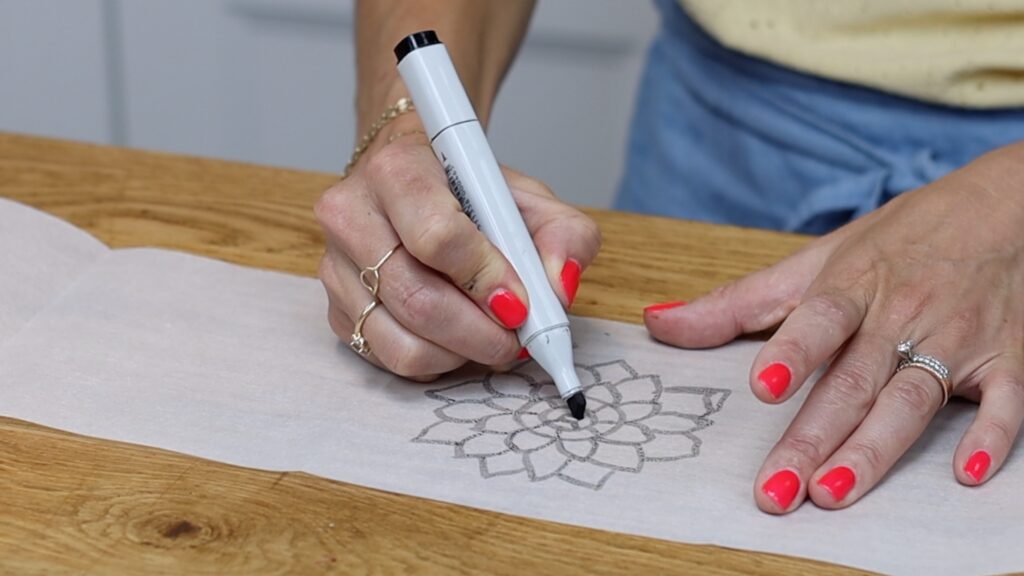
Use a thick pen or marker to draw because it makes wide gaps in between each petal. This way, each petal will become a separate tile when you transfer the image to create a mosaic cake.
You can create your design on parchment paper or wax paper by adding buttercream to the other side, but acetate is thicker and stronger so if you have it, that's ideal.
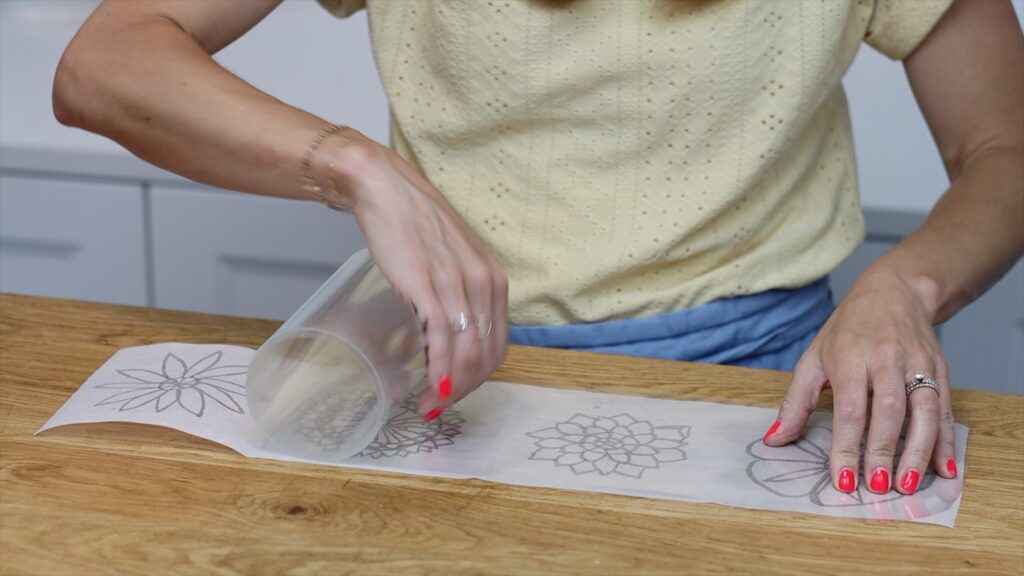
Notice that if your parchment or acetate comes in a roll it will curve. Put your design on the inner side of the curve so that it's curling up from the table or countertop. Tape down the corners or use some objects to weigh it down.
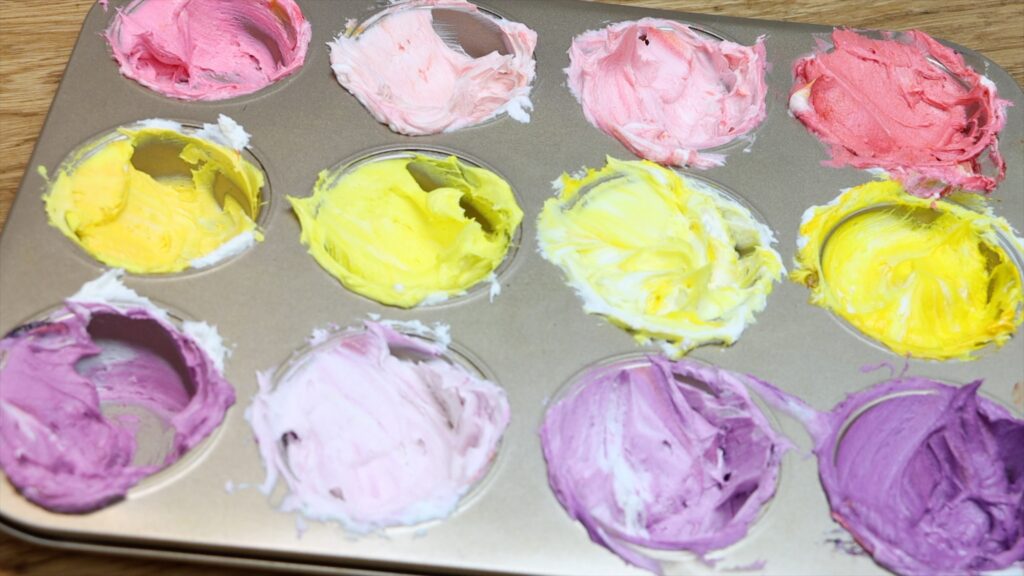
Tint buttercream whatever colours you choose. To make a few shades of each colour, mix the colour and divide it between a few bowls or holes in a muffin pan. Then add different amounts of plain white buttercream to each.
Next, you'll trace the image you drew to turn the drawing into a mosaic of buttercream tiles. There are lots of ways to create the tiles for the mosaic design, both with and without piping bags.
If you have several piping bags and small round piping tips, use a different one for each colour. Switch between the colours to pipe your design by squeezing the buttercream out to trace over the design you drew earlier. The smaller the piping tip, the easier it is to pipe little details.
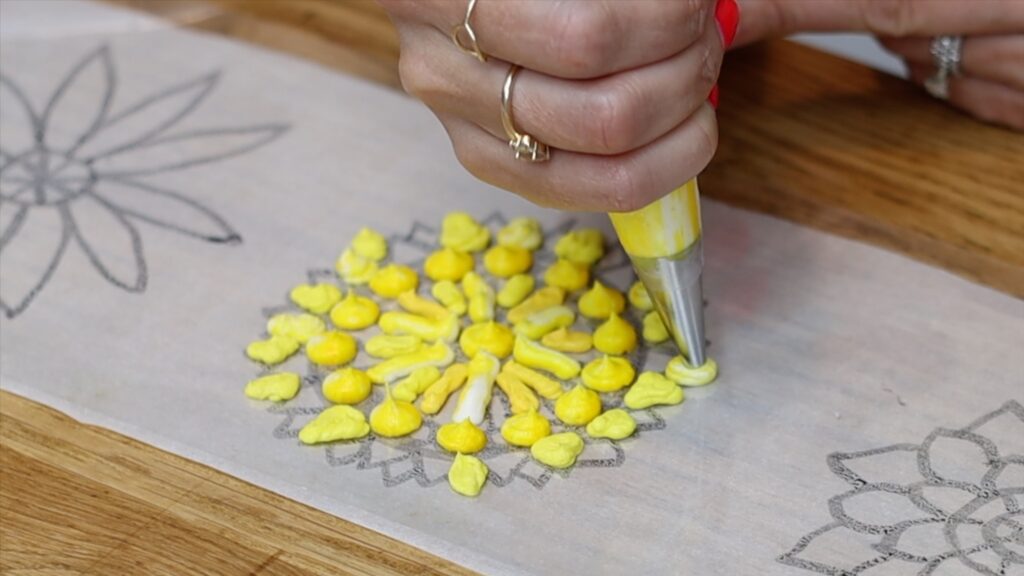
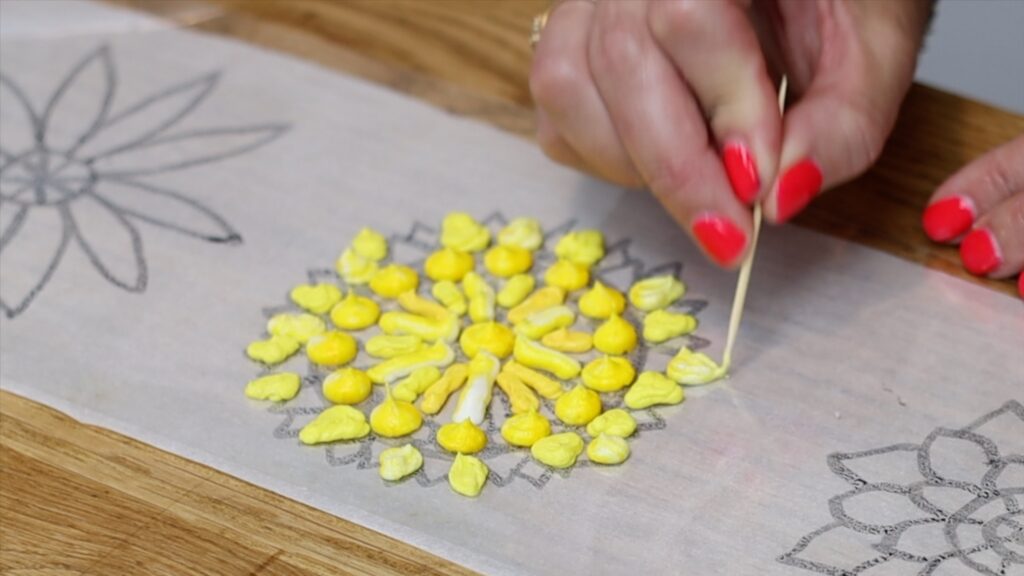
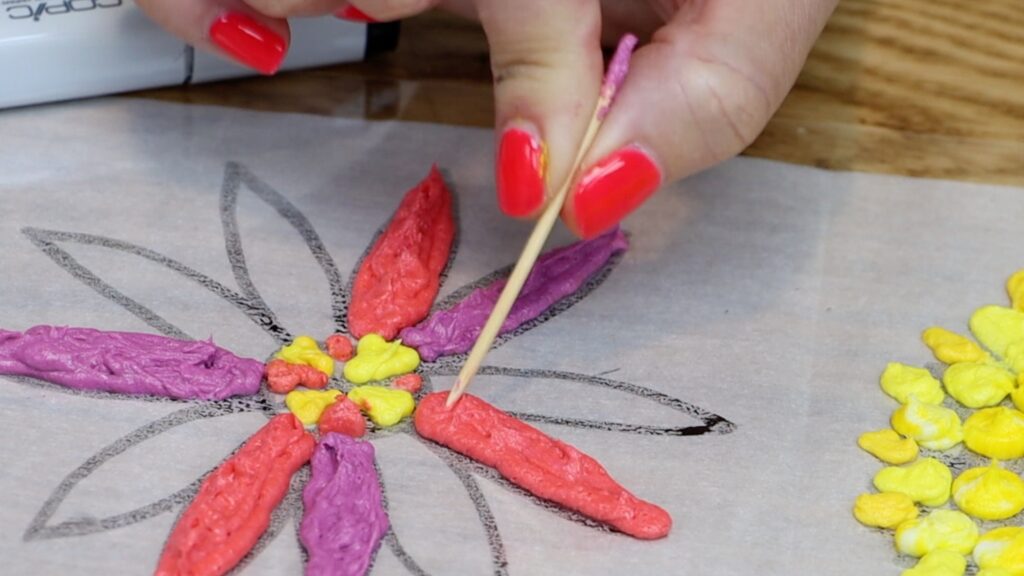
Make points at the tips of petals with a toothpick, nudging the buttercream to reshape it while it's still soft, before it sets. The consistency of your buttercream is really important for this. If it's too stiff it will take a long time to pipe all of the mosaic tiles of a design. You'll have to squeeze the bag hard to push the buttercream out, which is tiring and will cause cramping. The best consistency for buttercream is runnier, slightly thicker than whipped cream. You'll be able to squeeze it easily out of the piping bag and it will fill your outlines easily. I'm using my 4 Minute Buttercream for this mosaic cake.
If you only have one small round piping tip, you can use it with several piping bags. Put your coloured buttercream into piping bags with no piping tips, just the ends of the bags cut off.
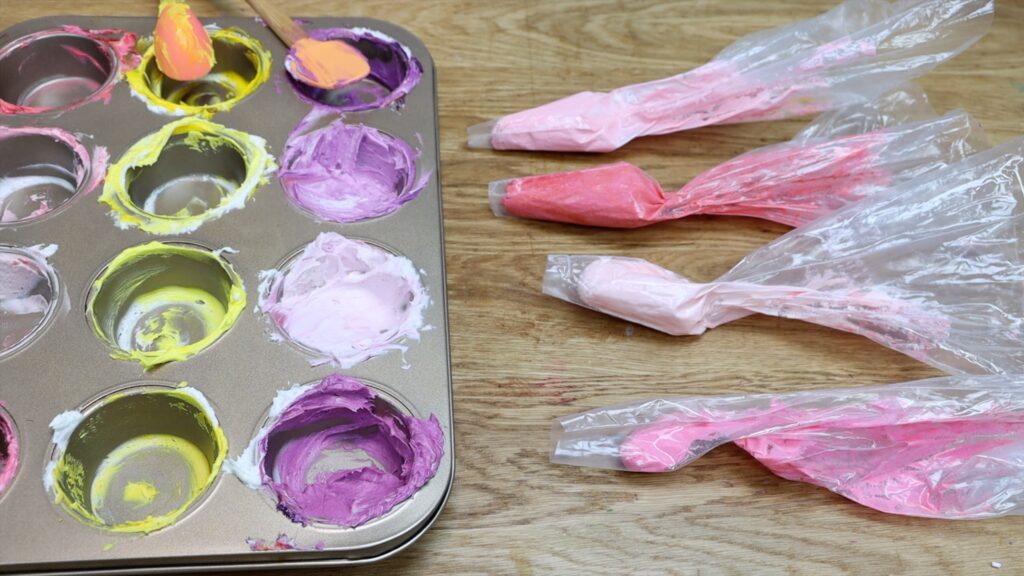
Then put the piping tip into another piping bag. Now drop one of the coloured bags into the bag with the piping tip.
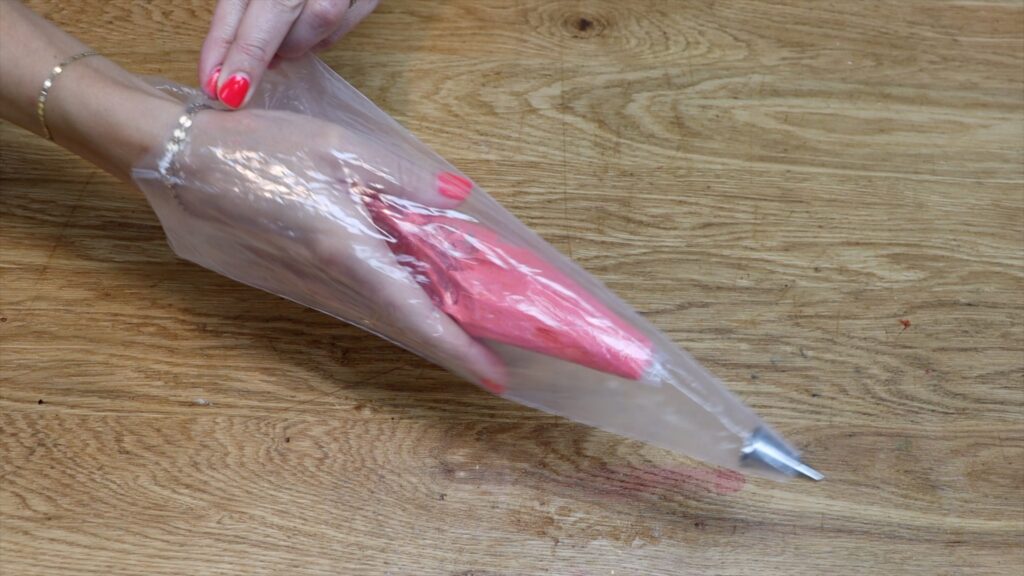
When you squeeze the bag you'll push the buttercream out through the piping tip. And when you finish with this colour it's easy to switch to a different colour. Just pull this coloured bag out of the bag with the piping tip and drop the next coloured bag in.
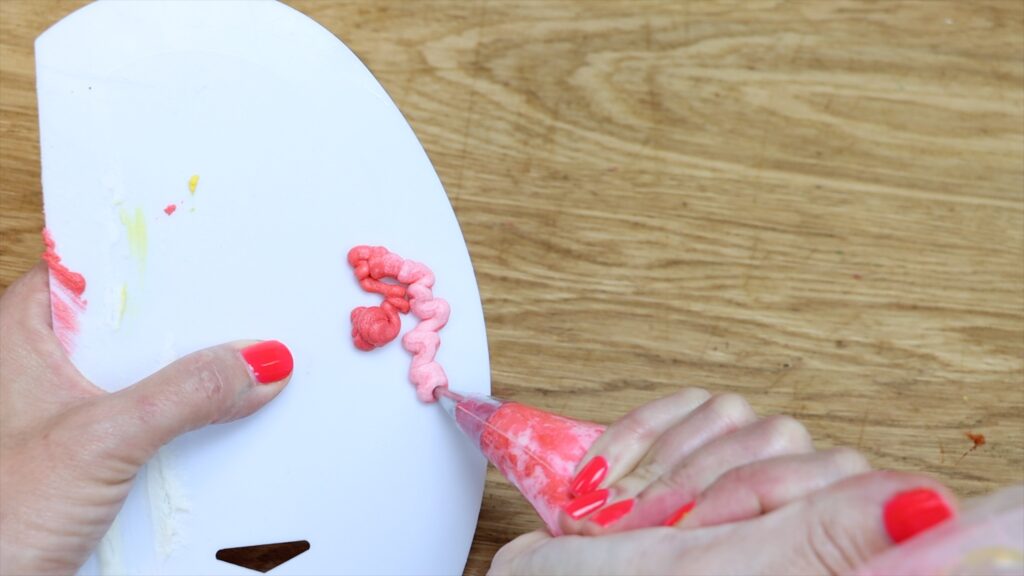
Squeeze the bag to get the last little bit of the previous colour out, piping it into a bowl. When you see the new colour coming through, it's ready to pipe!
Start with the outline of each petal or shape and then fill it in with zig zags. Make sure you don't pipe over the lines you drew because you need those gaps to stay there. The gaps keep the tiles spaced apart from each other, which will turn the piping into a mosaic.
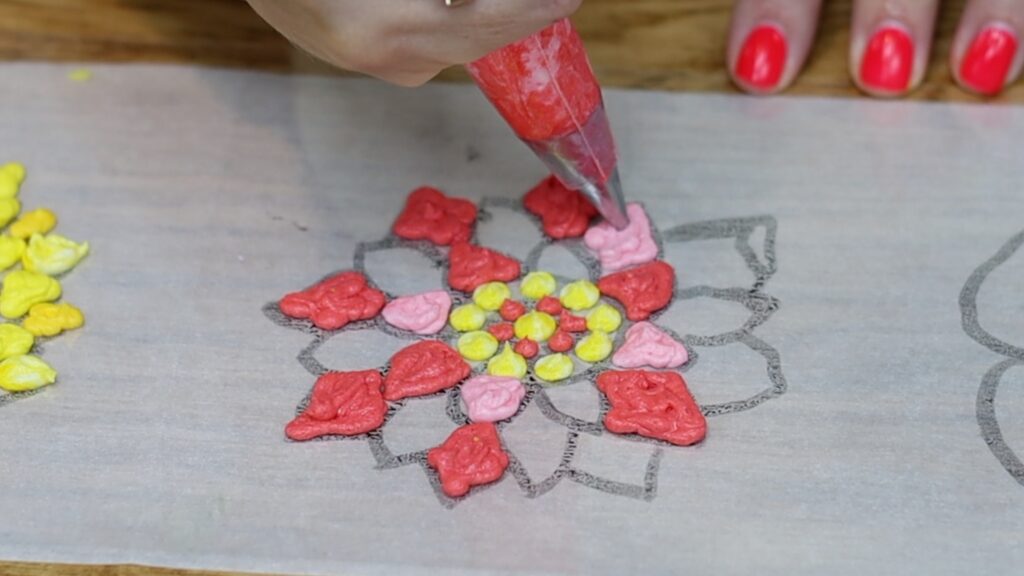
Pipe all of the details you want to be this colour. Then pull this colour out and drop the next colour in. Squeeze until you see the new colour coming through and then pipe with this colour.
If you have couplers it will be even easier to switch between colours. After putting a coupler into each piping bag, put your piping tip onto the outside of one of the bags. Screw it onto the coupler using hte coupler ring, to hold it in place. Then fill the piping bags with different colours of buttercream. Pipe with the first colour and when you finish, unscrew the coupler ring and take the piping tip off. Put it onto one of the other couplers and pipe with that colour next.
The more colours you use, the more interesting the mosaic cake design will be. But of course, more colours also makes it more time consuming to create your design. Aim for an equal thickness of the buttercream all over your design for the smoothest finish later. To layer colours over each other, let the first colour set first by putting the acetate into the freezer for about 5 minutes. Then add your next colour on top. This way the second colour won't blend with the first colour, it will sit on top of it.
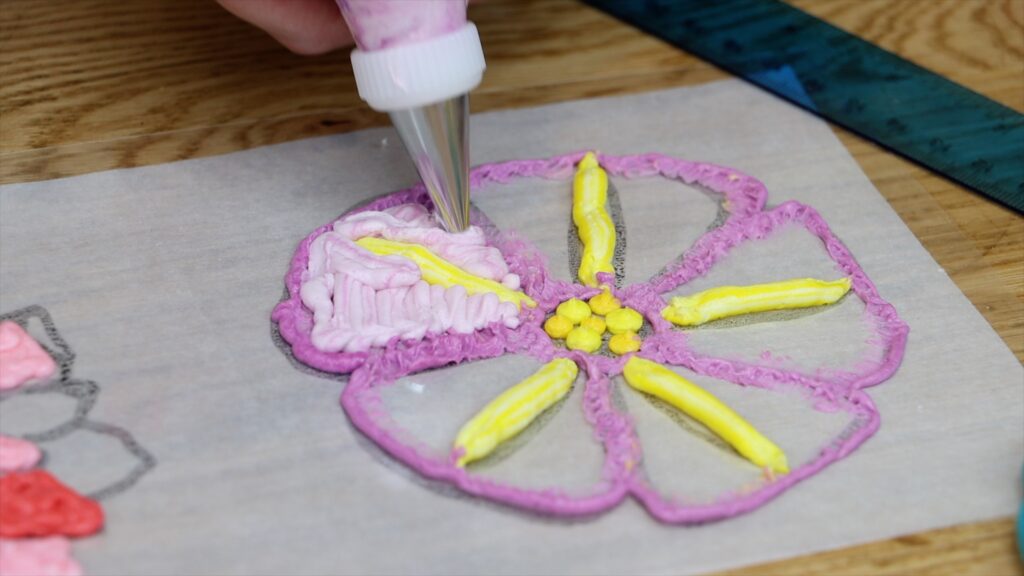
This side you can see here isn't going to be visible because it will be pressed against the cake.
It's common for air to get trapped in between this buttercream you're piping and the acetate or parchment below it. As you fill in sections of colour by zigzagging back and forth within an outline, squeeze quite hard to push the buttercream down. Then use a toothpick to flatten it, using dabbing motions to press the buttercream into any air bubbles.
If you don't have piping bags or piping tips, use sandwich bags like Ziploc bags instead. Spoon buttercream in and push it down to one of the bottom corners. Cut a tiny piece off the corner to make a hole to pipe through. You have less control over the buttercream you pipe through a soft plastic hole compared to a hard metal piping tip so your lines won't be as neat but you can tidy them up with a toothpick. Sandwich bags are really ideal I think for the next step, which is to fill in the background.
For the background the goal is simply to fill in the remaining area with tiles. The exact size and shape of the tiles doesn't matter like it did with the flowers I piped first. That's why sandwich bags are perfect for this step. These slightly blobby shapes are fine and the sharper angles or narrow points aren't necessary like they were for the petals.
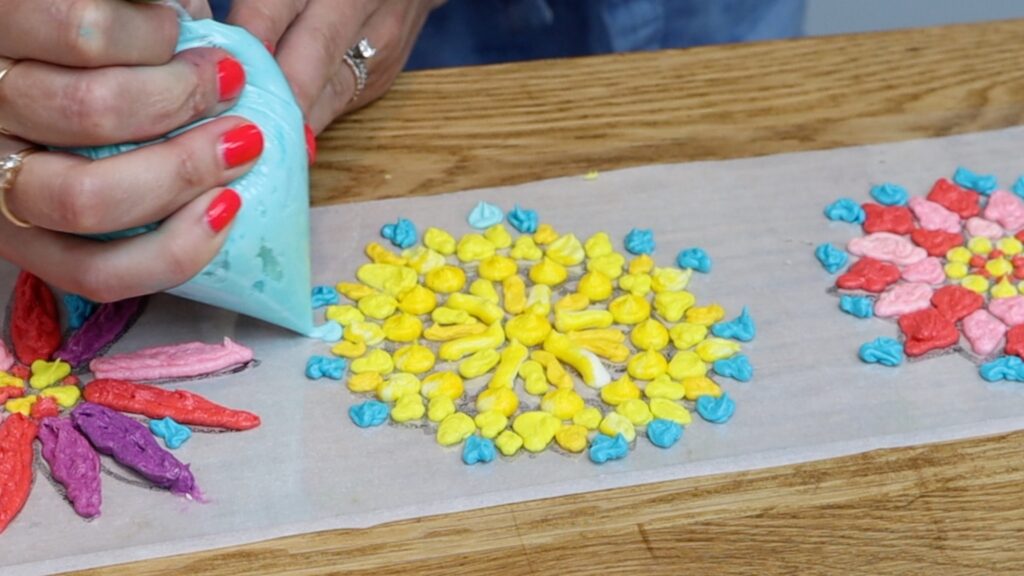
The more random these shapes are, the better. Using several shades or colours will make the background more interesting than using the same colour for all of the tiles.
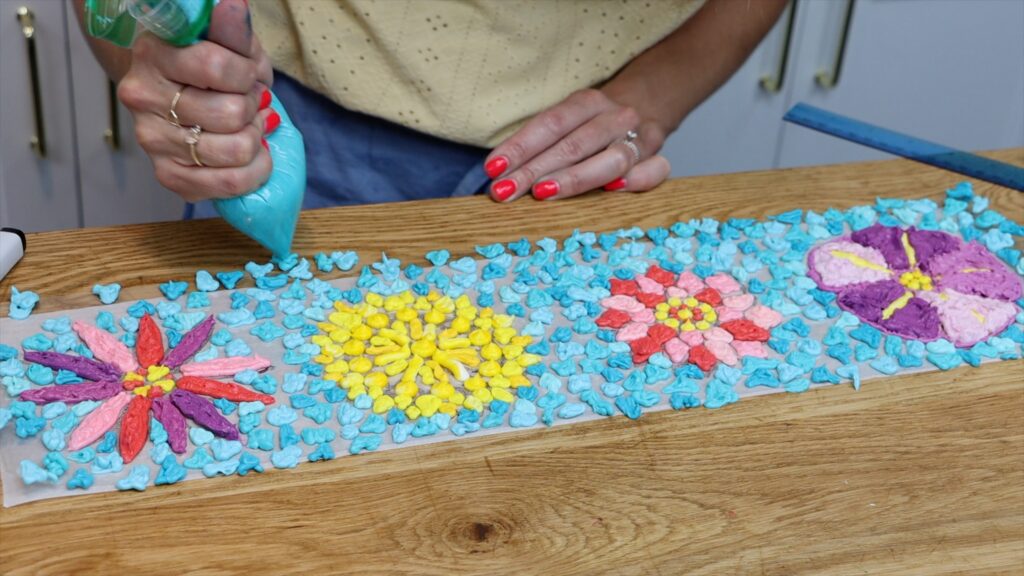
When you've covered the acetate or parchment with tiles, pick it up and put it into the freezer for 15 minutes. This will set the buttercream so it gets very cold and firm. Meanwhile, pipe a design onto the top of your cake or just cover it with the background color tiles. Use the same technique of piping individual shapes with gaps in between them.
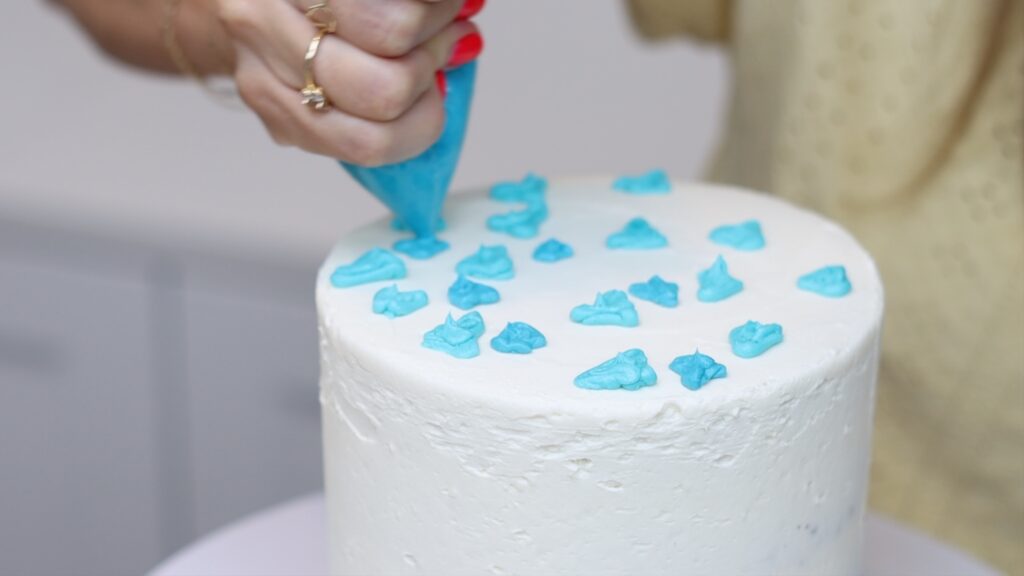
I'm free-handing these tiles because there's no set design for them. For another flower or specific design you might choose to sketch out your design first. Use a toothpick to scratch the shapes into the frosting on the cake, which you can then trace with buttercream.
Put the cake in the freezer for 15 minutes to set these tiles. Meanwhile, prepare a colour to fill in the gaps between the tiles, which would be grout on an actual mosaic. Grey or a sandy colour are the most common for mosaics but you could use chocolate buttercream for brown. You can use the leftovers of your other colours to make this colour but save a bit of every colour for touch-ups later.
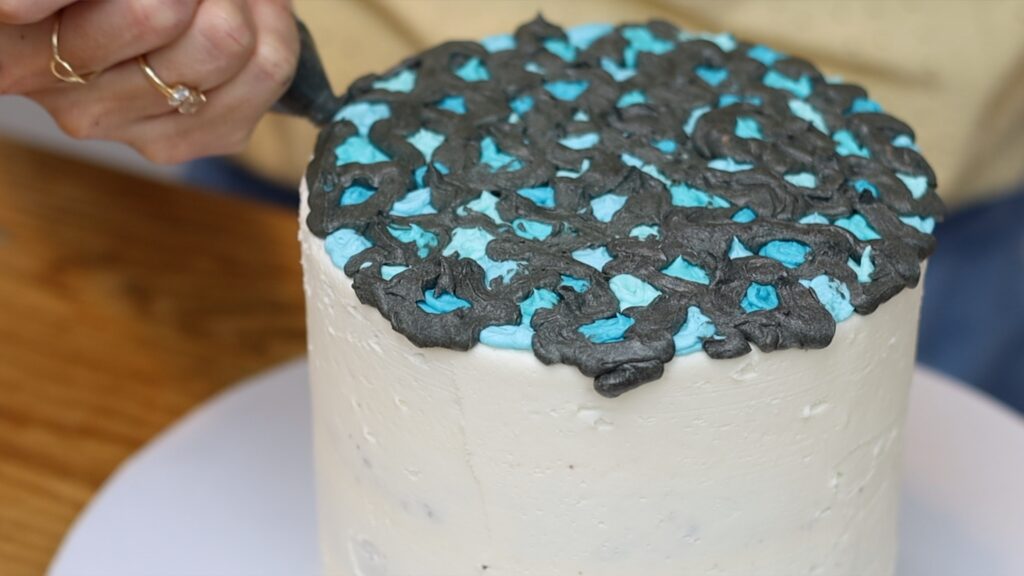
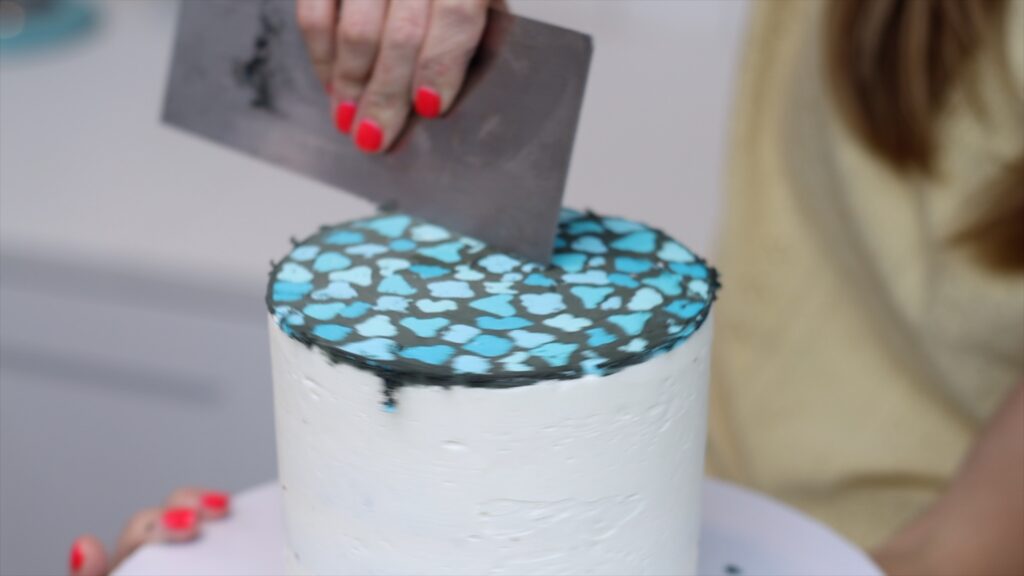
When the tiles on the cake have set, pipe or spread this colour on top, covering up the tiles. Don't try to smooth this yet because you'll knock off pieces of the frozen tiles into the gaps.
Put the cake back in the freezer for 15 minutes to set the buttercream grout. Then use a warm metal cake comb to scrape the top flat. I'm using a blow torch to heat the straight edge of the comb but you could use hot water instead. Scrape off the excess buttercream revealing the smooth, colourful tiles underneath and creating a flat, level, sharp edge around the top of the cake.
Now take the design out of the freezer and spread that same colour, grey for me, over the whole design. Push this colour into the gaps between the piping to fill them in like the grout in between mosaic tiles. Also spread it over the whole design because since it's been in the freezer it's not sticky anymore. This final colour of buttercream will act as glue to attach the tiles to your cake. Spread back and forth with an offset spatula or a cake comb to flatten and smooth the frosting.
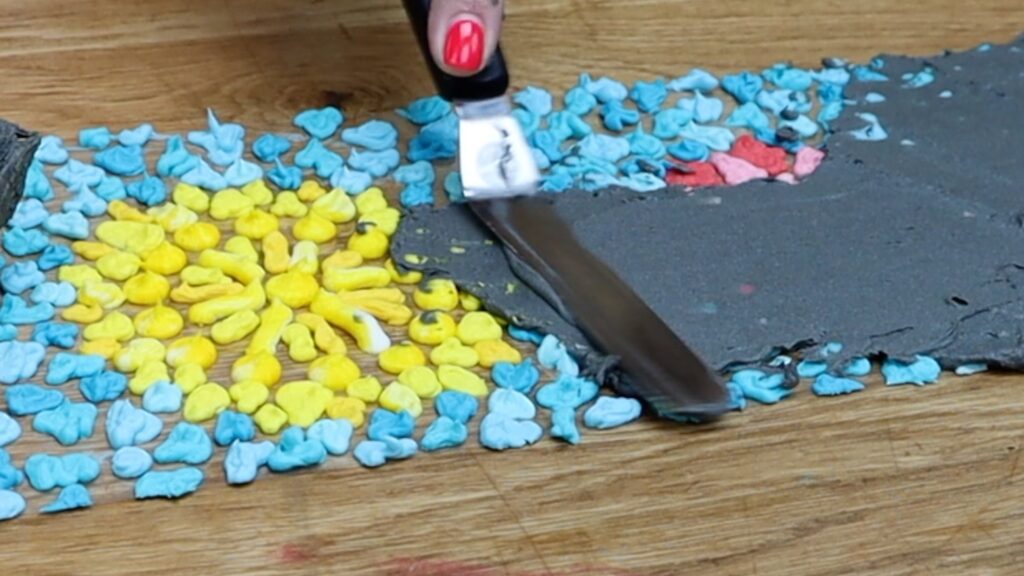
Straight away, lift up the acetate or paper and wrap it around your cake. By piping onto the inner side of the curve it will wrap easily around the cake, doing most of the work for you.
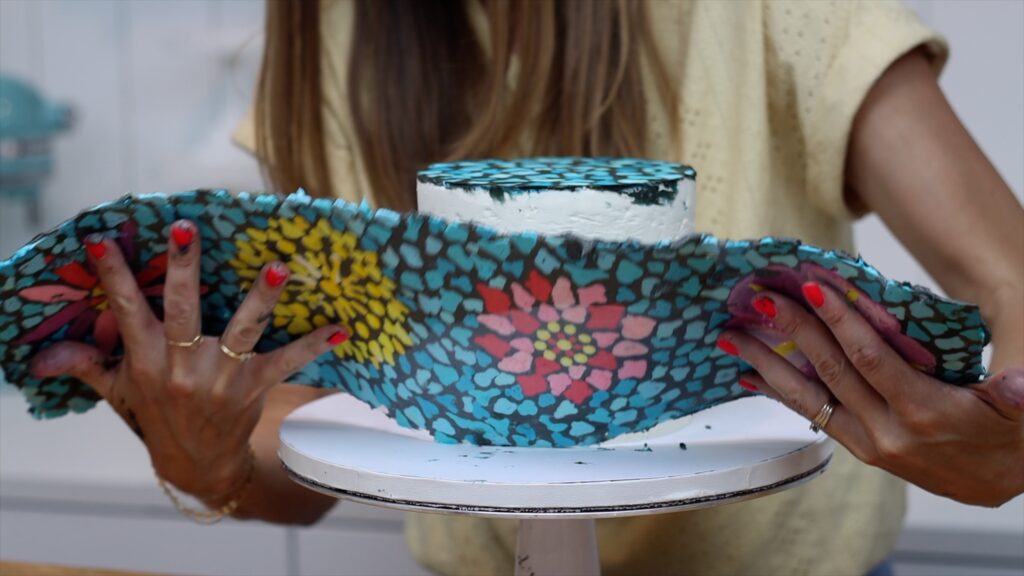
Rest the bottom of the design on the cake board so there are no gaps down there. Press the design tightly around the cake so it doesn't buckle or crease or warp, especially if you're using parchment paper instead of acetate since it's thinner and not as strong.
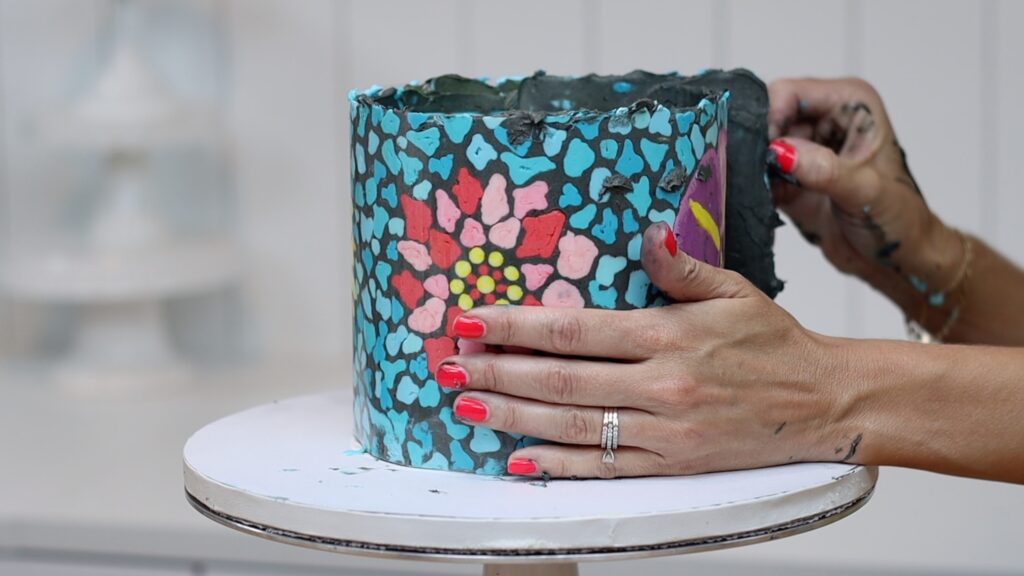
Press gently against the cake to attach the design and to flatten and smooth it. The join of the beginning and the end of the acetate or parchment should overlap slightly. Now put the cake in the fridge for at least an hour or the freezer for 30 minutes.
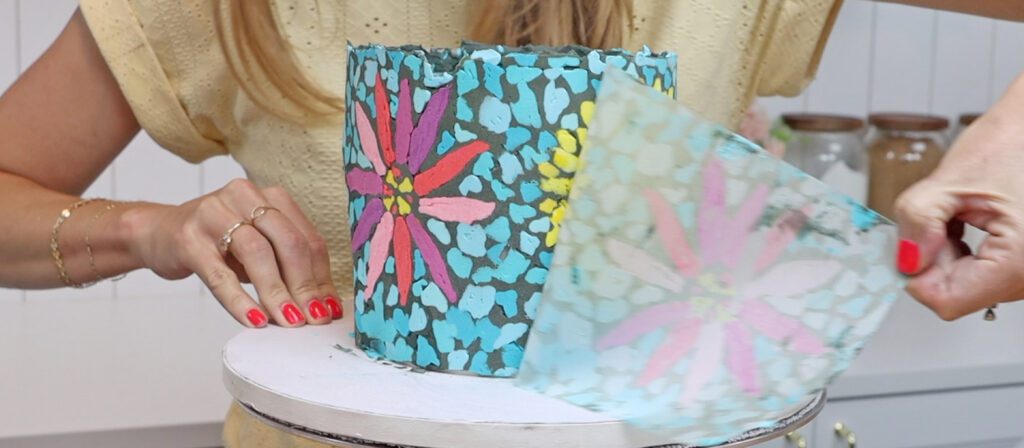
Pinch a corner of the acetate or parchment and peel it off to reveal this eye-catching mosaic cake design.
To level the top edge, use the edge of the blade of your
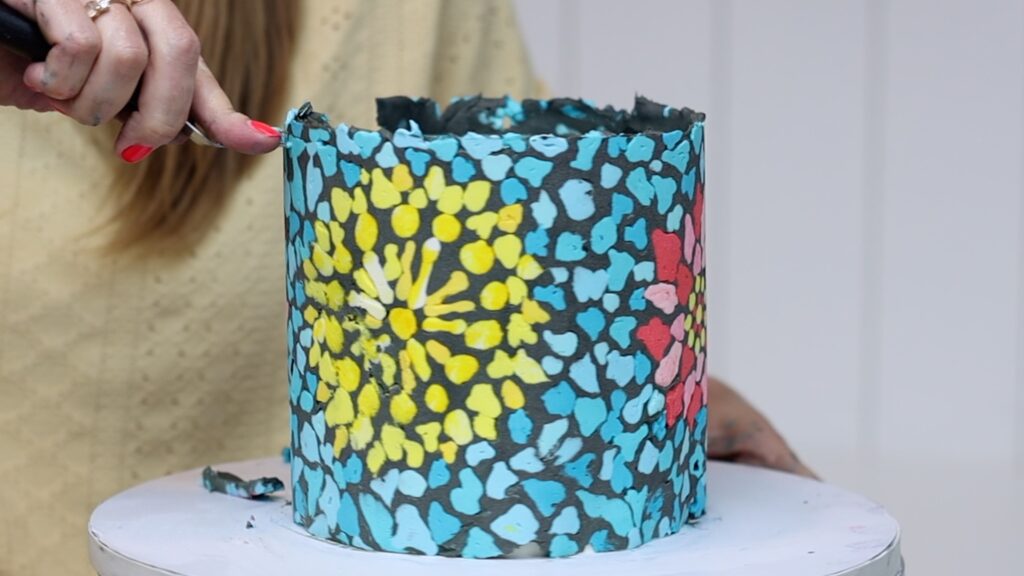
Hold your metal cake comb under hot water or run a blowtorch along the edge to heat it. Then scrape around the cake a few times to smooth any bumps or imperfections in the frosting. The hot metal will melt the outer layer of frosting and drag it around the cake, filling in tiny air bubbles. Air bubbles happen when the buttercream you pipe doesn't go all the way down to the acetate or parchment paper because there's air trapped down there.

Pipe or spread coloured buttercream into any deep air bubbles to fill them in. Then scrape over that part of the cake to take off the excess buttercream and leave a flat surface behind.
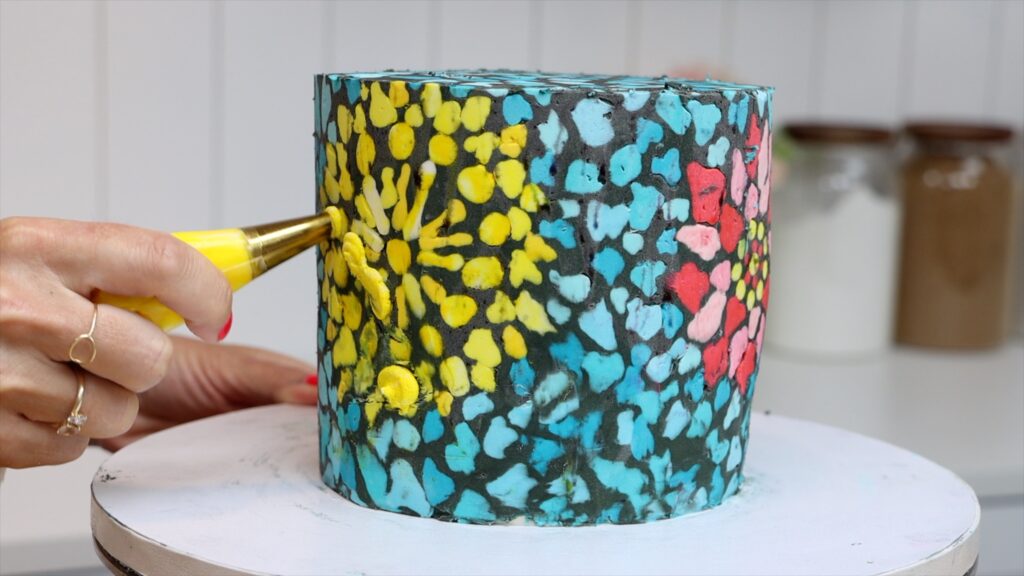
The result of this mosaic cake technique is a very elaborate design that only uses basic tools and materials. From start to finish this cake took 2 hours to assemble, frost and decorate.
What do you think? Will you try this? Tell me in the comments and ask me any questions there too! And visit my cake school to learn hundreds of other cake decorating techniques and designs!
You can also watch a video of this tutorial on how to make a mosaic cake:
