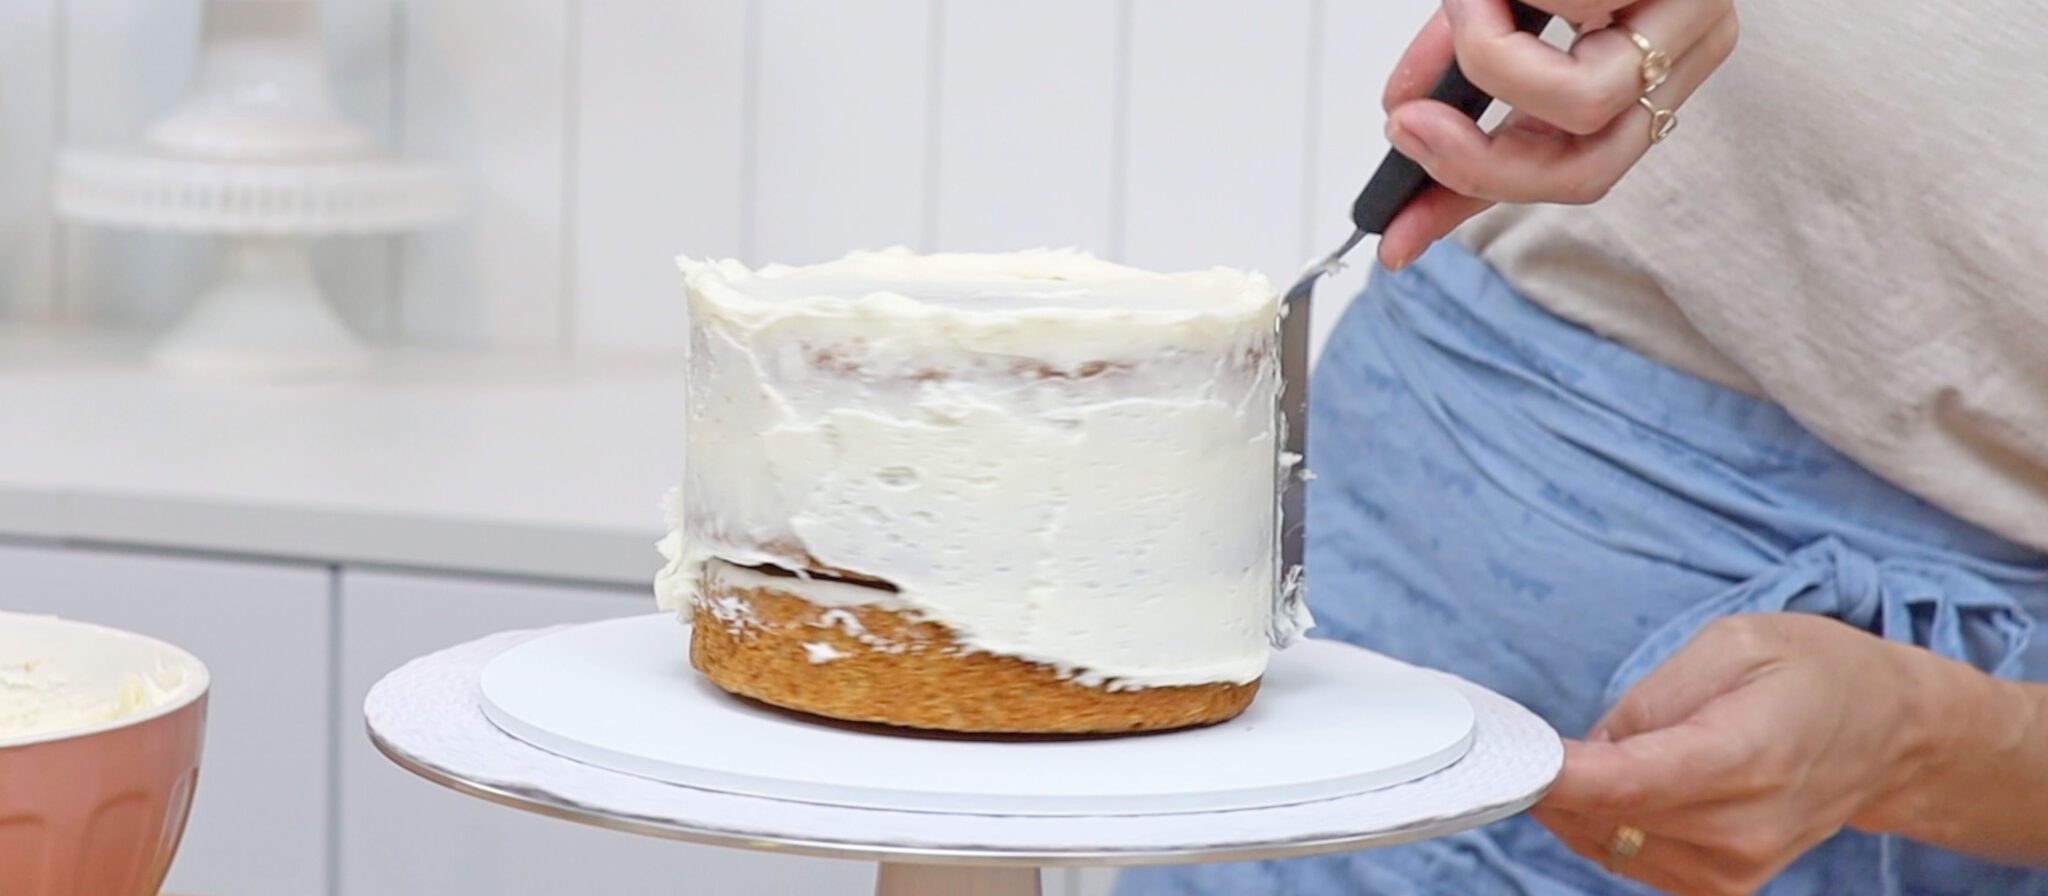
Make a quick cake with these tips and tricks! Should you pipe or spread cake filling and frosting? Should your cake layers been chilled or at room temperature? What kind of cake comb is the best? In this tutorial I'll answer all of these questions!
Let's start with the basics of making a cake. After baking and cooling your layers, put a bit of frosting on the cake board. This will attach your first layer of cake to the board. Then alternate filling and cake layers. Cover the cake in a this layer of frosting, called a crumb coat, before spreading on the final coat. Then add decorations! But let's rewind to see the best way to do each stage to make a quick cake.
I'm going to use two cakes to spread and pipe my 4 Minute Buttercream as the filling.
To spread filling onto a cake, use an
To pipe filling, spoon it into a piping bag with the end cut off or use a round piping tip. Pipe a spiral onto the cake and then optionally, spread that to flatten and level it.
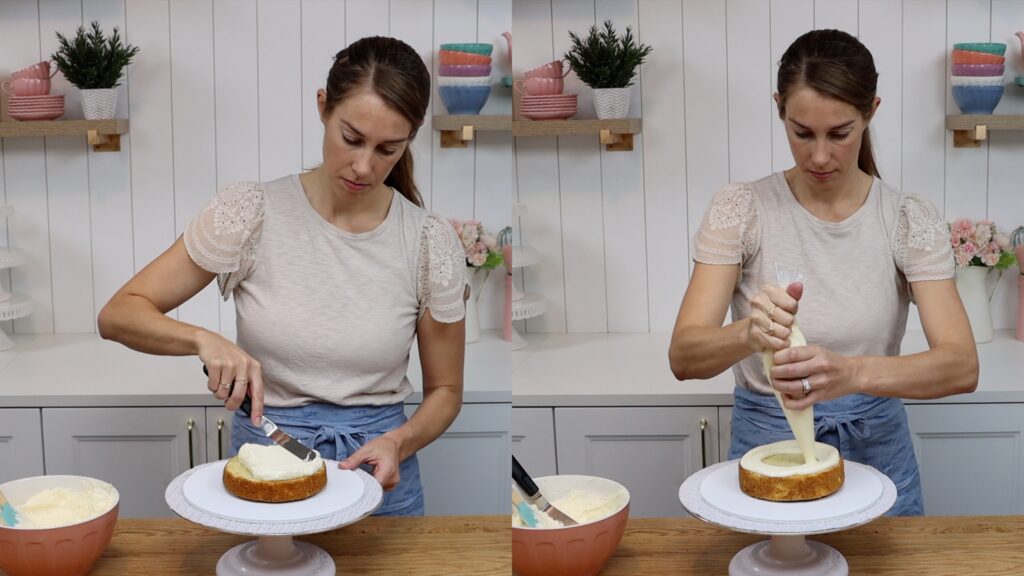
Which is faster? Piping the filling gives it a neater edge than spreading it and piping also takes less time than spreading. However, if you choose to spread and smooth piped filling you’ll add some time to the process. This makes piping just a tiny bit faster than spreading the filling straight on.
PRO TIP for a straight cake: get down to eye level several times as you assemble the cake. At eye level you can make sure you place each layer of cake directly over the layer below it. This way, the cake will have straight sides and won't lean to one side.
Spreading frosting onto the top of the cake is the same process as for the filling. Spread the frosting to cover the cake and then smooth it to flatten it. For the sides, side to side motions are the quickest way to spread the frosting all over the cake.
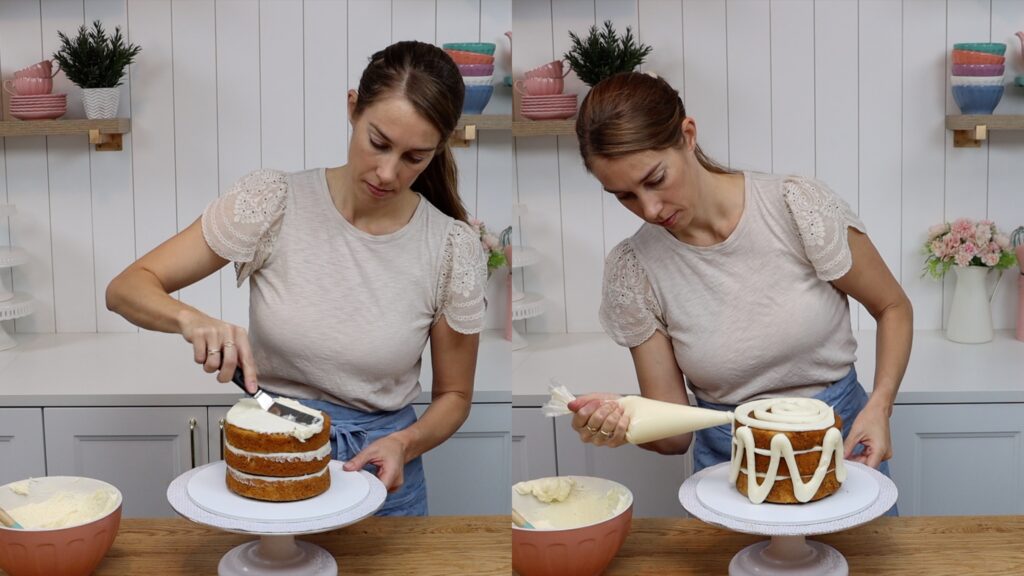
Piping frosting onto the top of the cake is also the same process as for the filling. For the sides of the cake I like to pipe zig zags all the way around. This evenly spreads the frosting over the cake without ending up with too much frosting. I like to pipe a ring around the bottom of the cake too, since that’s the trickiest part to reach with an
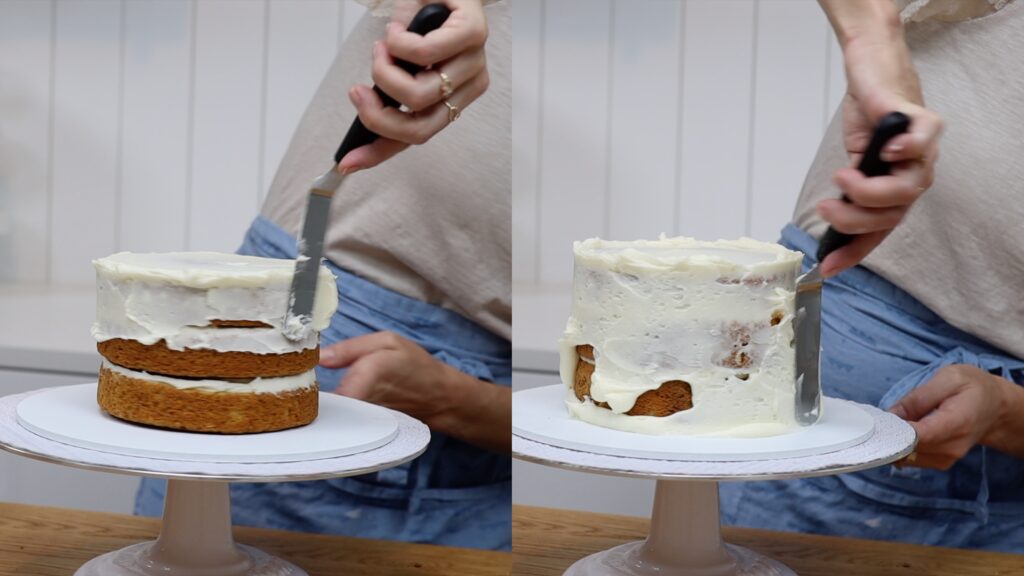
Which is faster: spreading or piping? Definitely piping! Although it’s an extra step to fill a piping bag with frosting, you’ll see that it takes a lot less time to spread frosting that's piped evenly over the cake compared to scooping up dollop after dollop of frosting from a bowl and spreading that straight onto the cake. To frost a quick cake, pipe your frosting before spreading it.
What’s key with either the spreading or piping method is to completely cover the cake with frosting. This first layer of frosting is called a crumb coat. Its purpose is to trap any crumbs that come off the cake so they don’t get into the final layer of frosting. To prevent crumbs you need to be sure not to leave any cake exposed.
Let’s compare the two most common materials, plastic and acrylic. Plastic is quicker to clean off after each scrape around the cake. Acrylic is much thicker so you have two surfaces to wipe off each time, which takes longer.
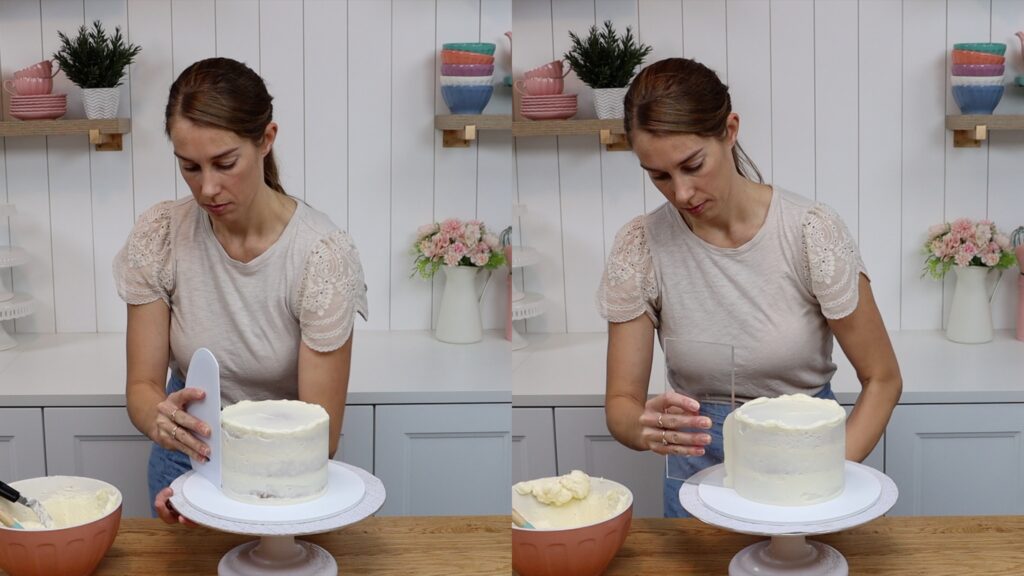
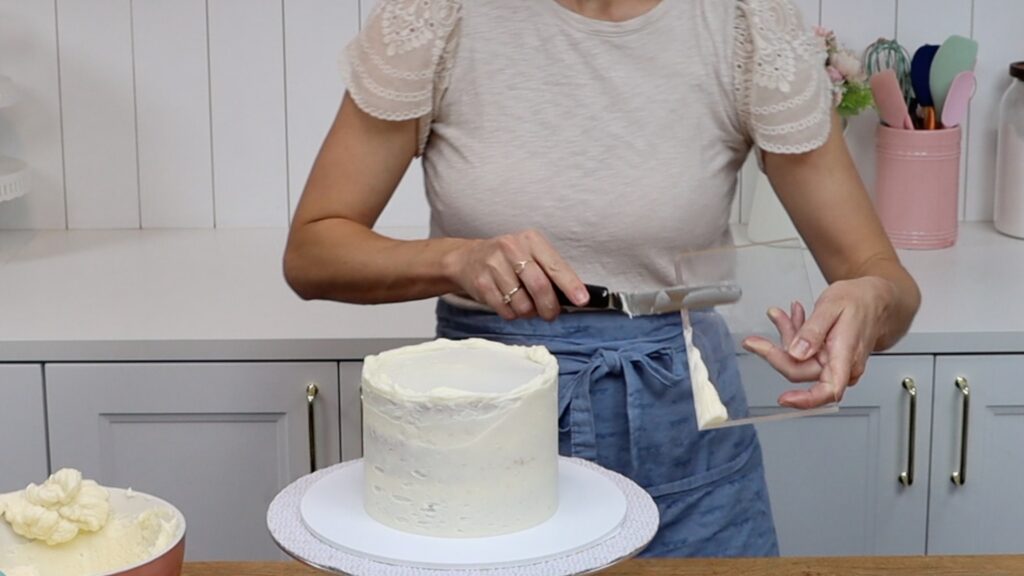
I should mention that I find that the frosting is much smoother if I use acrylic rather than plastic. However, for the crumb coat I use a plastic cake comb because making a quick cake is my goal, rather than appearance. Since the crumb coat is going to be covered up with another layer of frosting, it doesn’t matter what it looks like. For the final coat of frosting I choose acrylic over plastic because I want that frosting to be as smooth as possible.
Probably the most important factor in assembling a cake is the temperature of the cake layers. Cakes that have cooled to room temperature after baking are the most difficult and time consuming to frost. Even light pressure from an
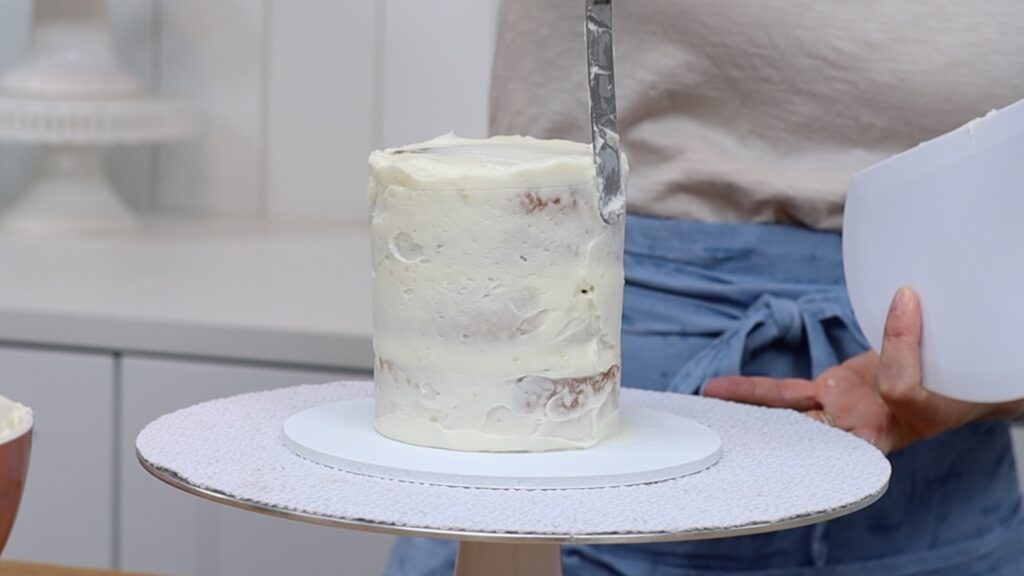
These cake layers have been in the freezer for an hour so they’re cold and firm. This makes the cake much sturdier. The dot of buttercream on the cake board sets after about a minute because the cold cake chills the buttercream and it attaches the cake very securely to the cake board. I can spread the frosting with my
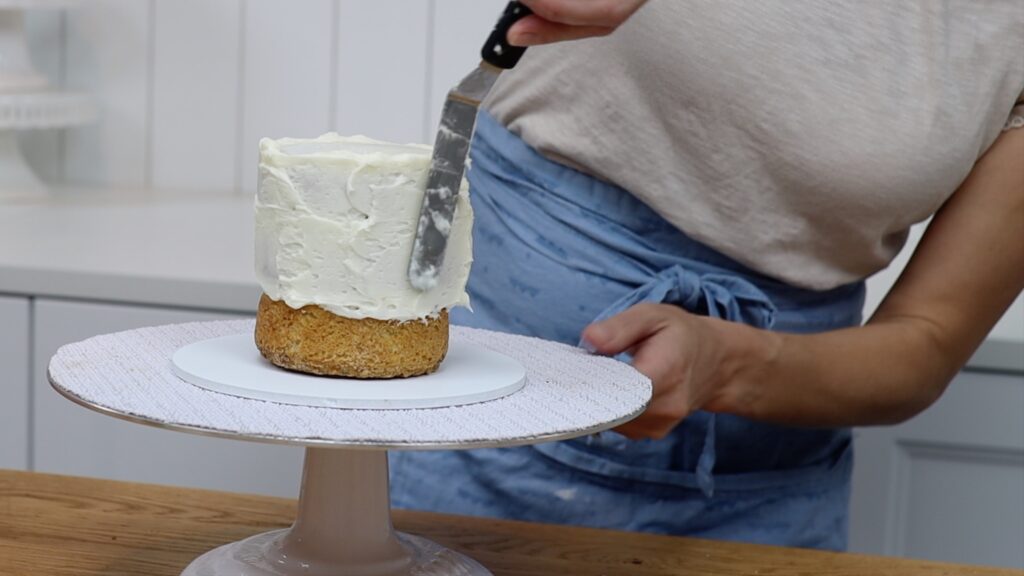
With the room temperature cake layers I have to stop and start several times as I adjust the cake when it moves. But with the cold cake layers, the cake stays still as spread and smooth the frosting. Frosting chilled cake layers is much quicker than room temperature cake layers.
So, now you know how to make a quick cake! Learn all of my tips for cake decorating on my online cake school with hundreds of cake designs and decorating techniques.
