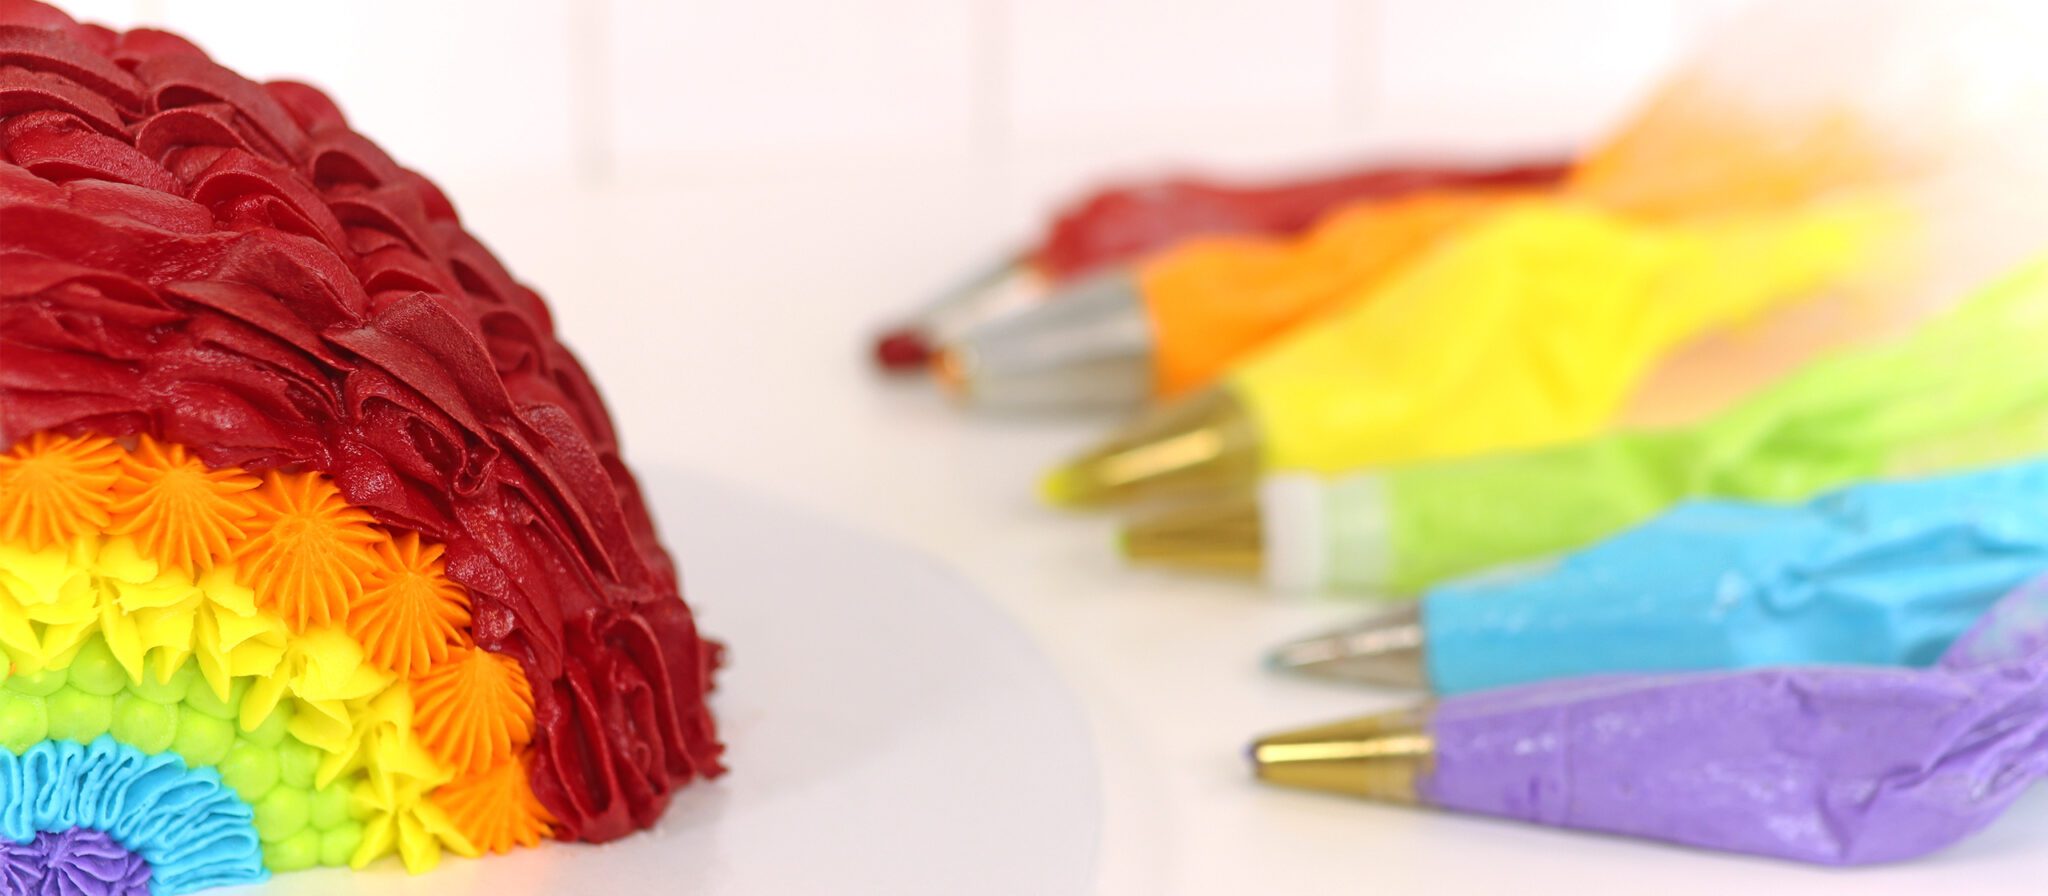
This 3D rainbow cake is rainbow coloured inside and out, with gorgeous textured details and, best of all, it’s easy to make! After baking your cake and preparing your buttercream, decorating this cake will take about an hour.

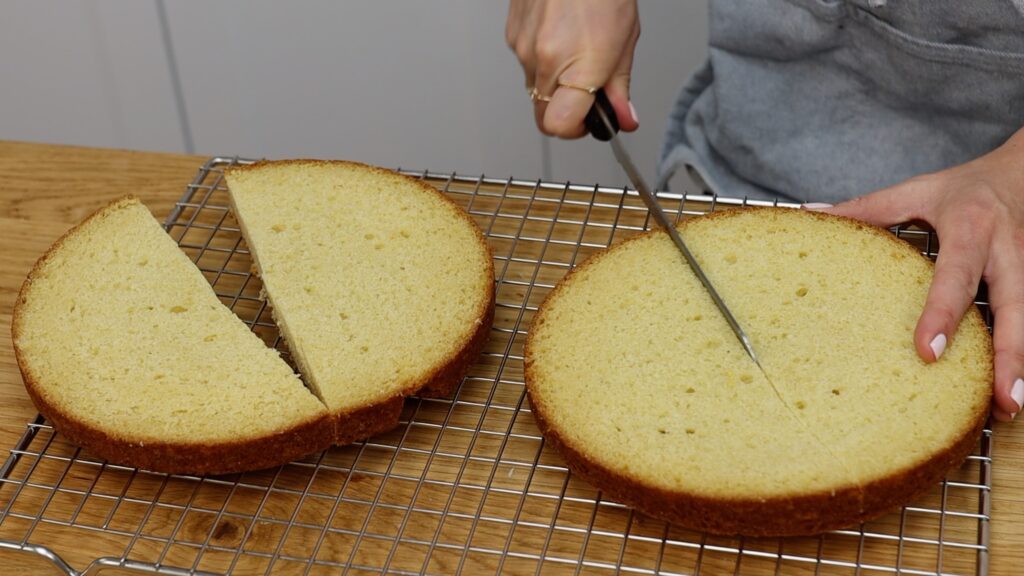
All you need is one round cake layer. Level it if it’s domed by trimming the top off with a serrated knife like a bread knife and then cut the cake layer in half horizontally, using little sawing motions as you spin the cake around and that will help you cut straight through the middle. I find it easiest to do this after chilling the cake in the fridge for about an hour or in the freezer for 30 minutes so it’s less delicate and crumbly. This is an 8 inch layer of my Vanilla Cake. Now you have two round cake layers. Cut both of these in half to make four semi-circles and these will create the rainbow shape of your cake.
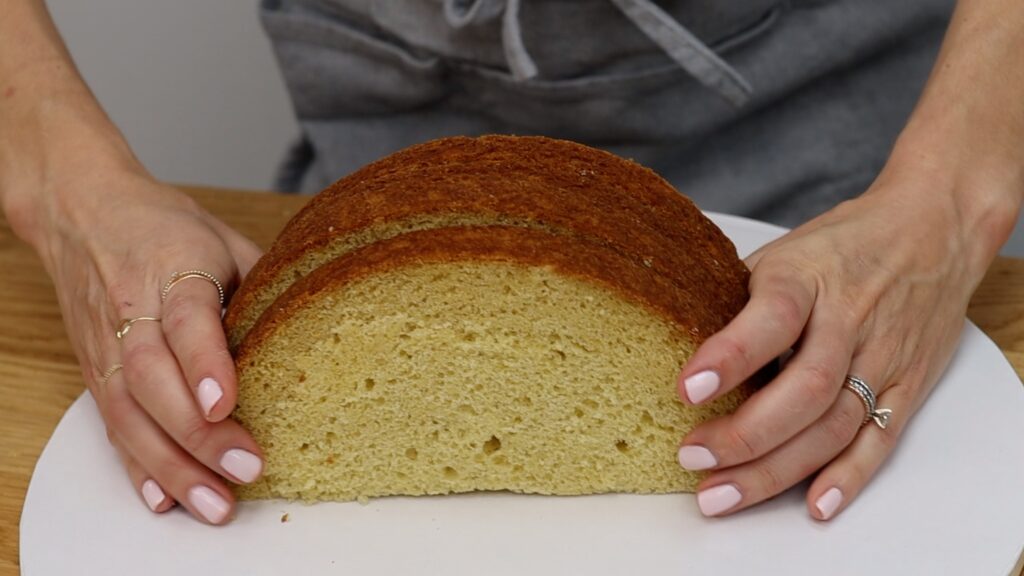
Choose a cake board that’s at least 4 inches wider than your cake to leave space for the frosting, but we’re going to assemble the cake before moving it to this board.
For rainbow frosting I’m using one batch of my 4 Minute Buttercream. Set aside one cup of frosting for later and divide the rest into six bowls. Add a few drops of colours to each bowl and I recommend gel colours because they’re the most concentrated so they’ll give you the brightest and boldest colours.
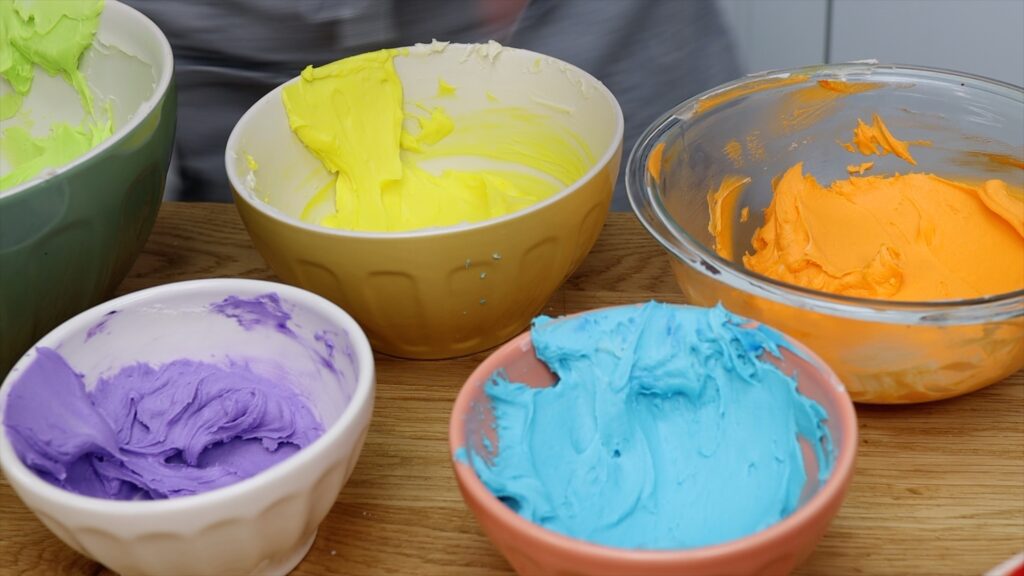
You’ll need the smallest amount of purple frosting, then blue, green, yellow, orange, and for the red frosting you’ll need about three times as much as the orange. Red frosting can be tricky but the secret is simple - use a LOT of gel! If you have time, after mixing the red frosting you can cover it and leave it to develop for an hour and it will get darker.
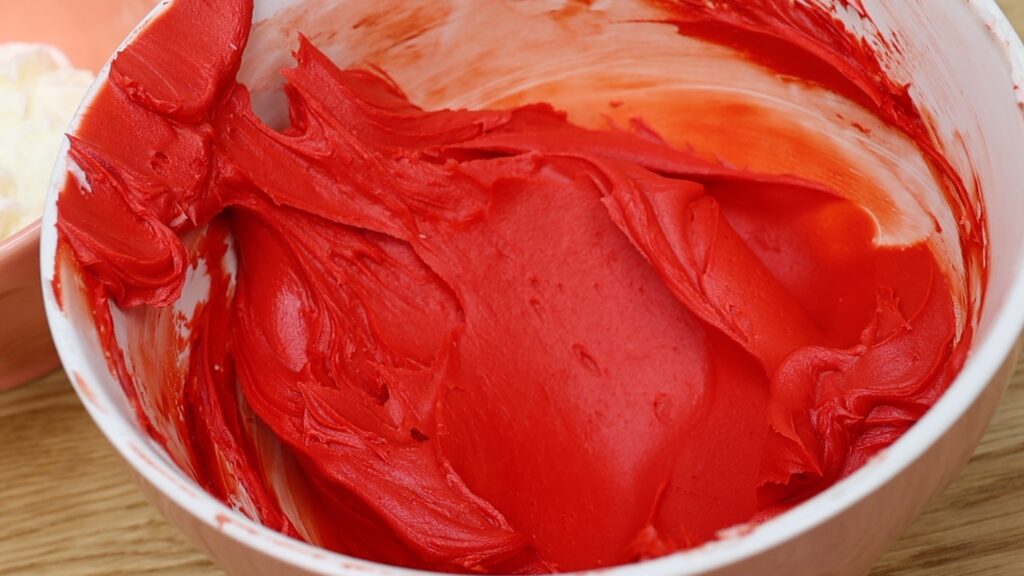
Now put each colour of frosting into a piping bag with the end of the piping bag cut off, but you don’t need any piping tips for this part. You won’t fit all of the red frosting into the bag but that’s fine - you can refill it later. I like to use glasses to hold the piping bags open, folding the top of the bag over the rim of the glass and that keeps the top of the bag clean so your hands don’t get covered in frosting when you pipe.
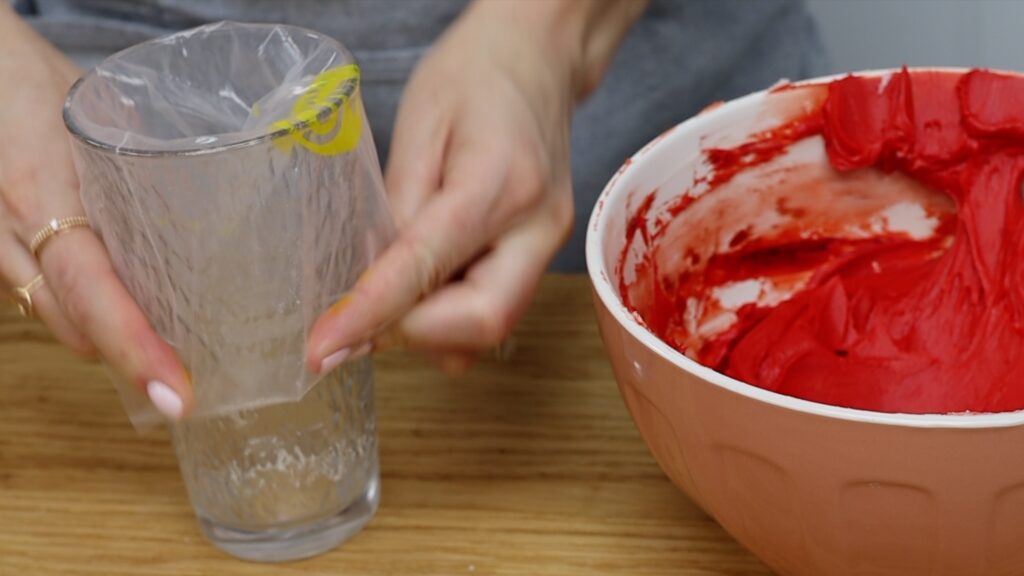
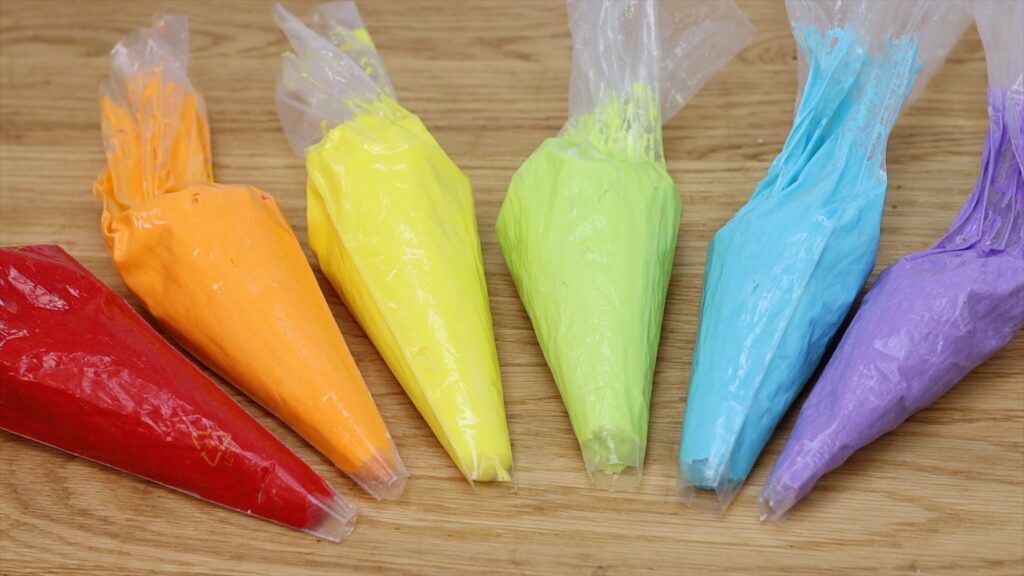
Ok, let’s make a rainbow! Pipe lines of colored buttercream, filling the curve of the semi-circle to make a rainbow. If you start on the outer edge, with red first, it will be easier to keep the curve symmetrical than if you start at the bottom, with purple.
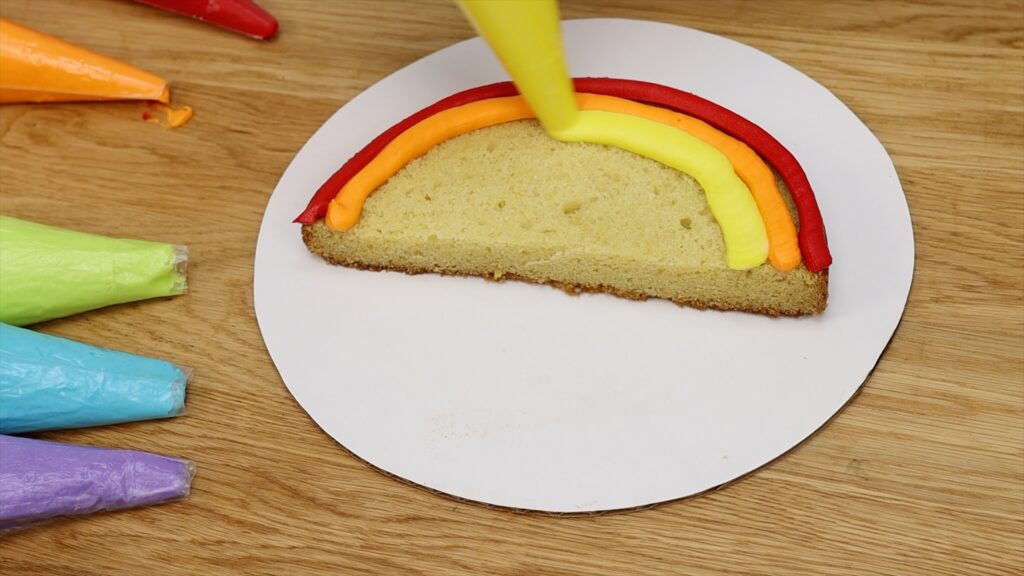
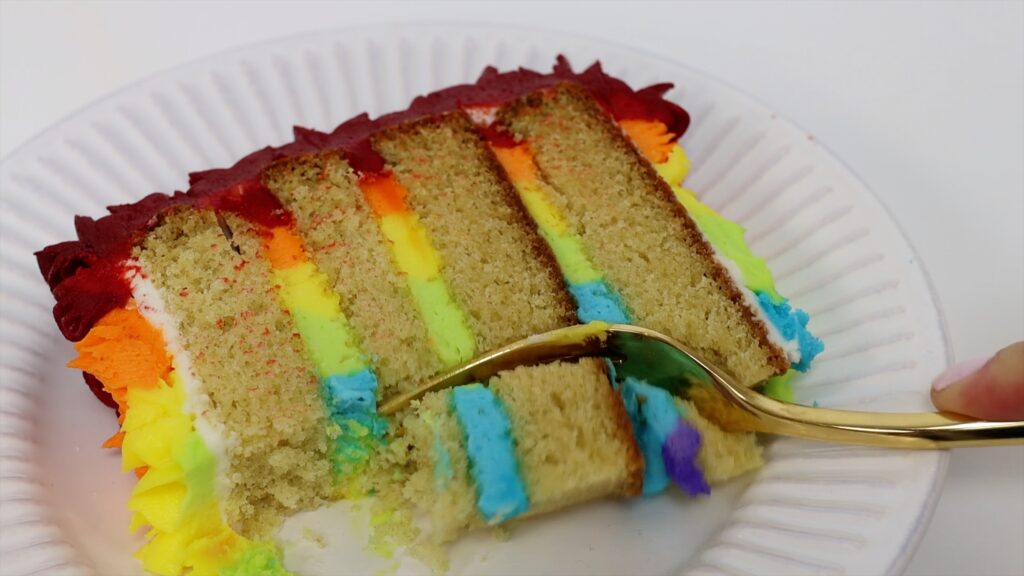
This piping will create a rainbow of filling within each slice when you cut into the cake.
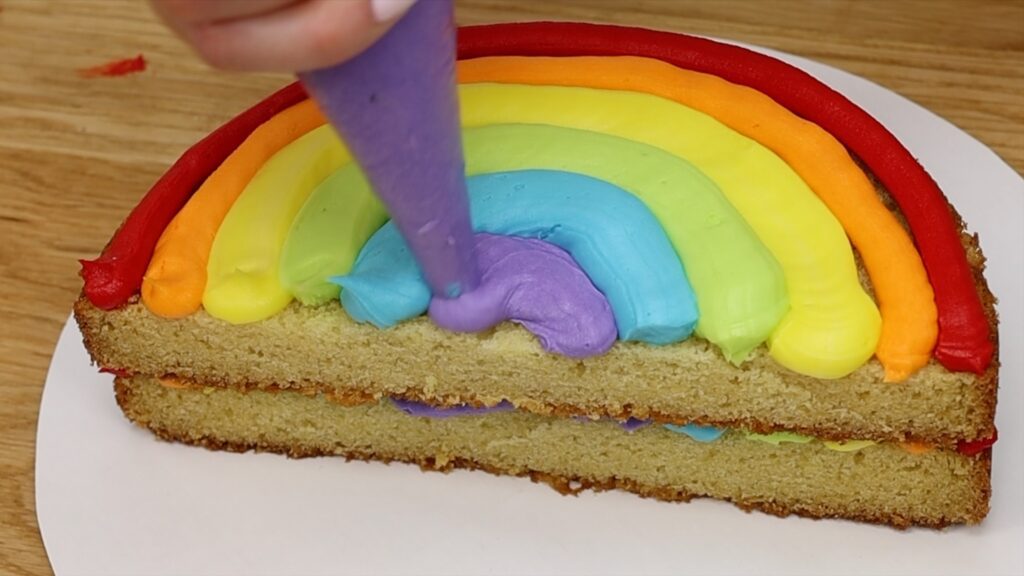
After piping a rainbow of filling onto each semicircle of cake, place the next cake layer on top. Take your time to line it up so that each layer sits directly on top of the layer below, and this will create a straight, level cake.
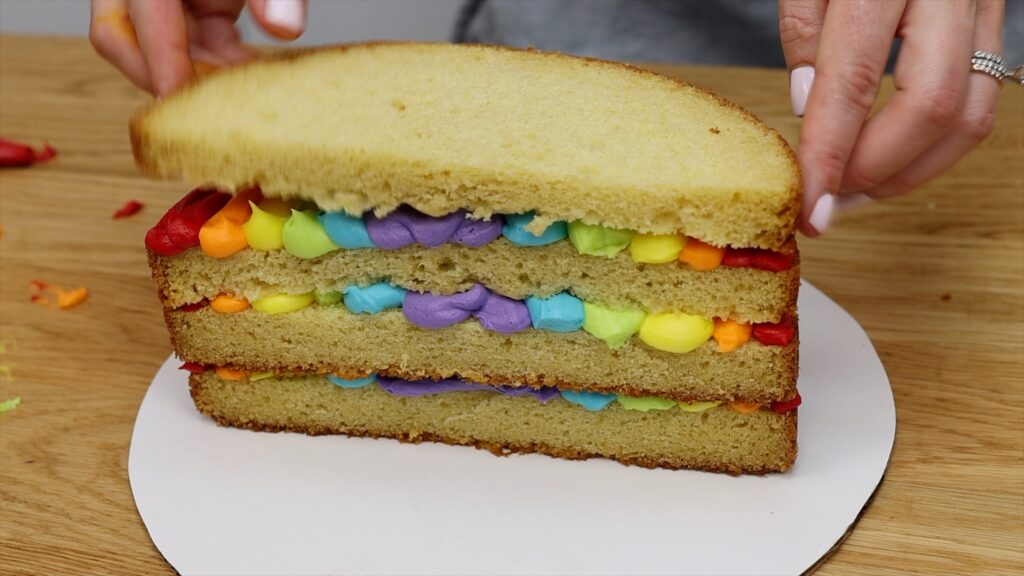
Now grab your big cake board and spread some frosting along the middle to act as glue, and then flip the cake over so the flat side is facing down and press it into the line of frosting and it will secure the cake in place so it doesn’t slide around as you frost it. Adjust it to center it on the cake board and you should have at least two inches of space all the way around the cake for rainbow piping.
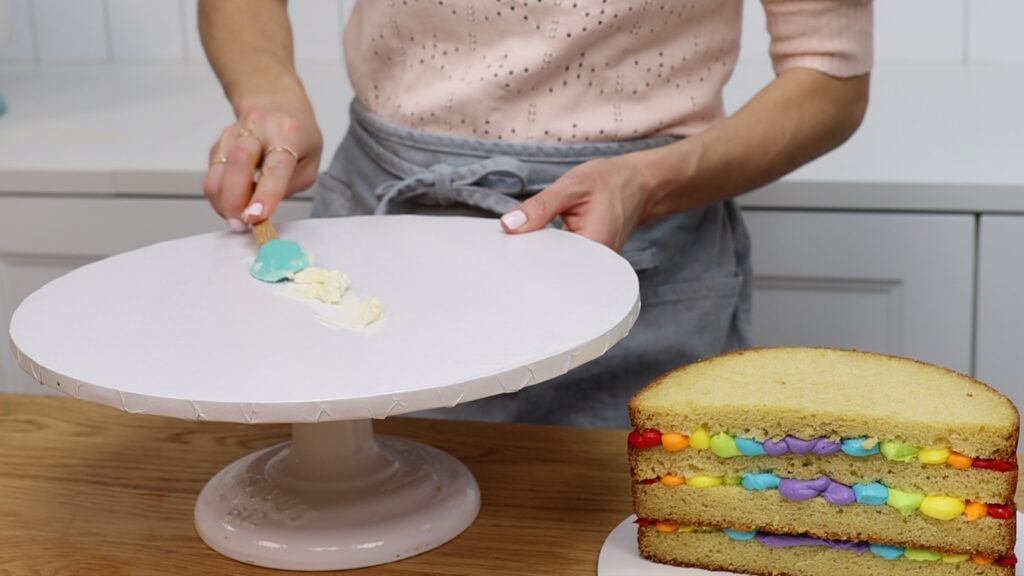
Cover the cake with plain white frosting, which is called a crumb coat because it will trap any crumbs that come off the cake so that they don’t get into the rainbow frosting next.
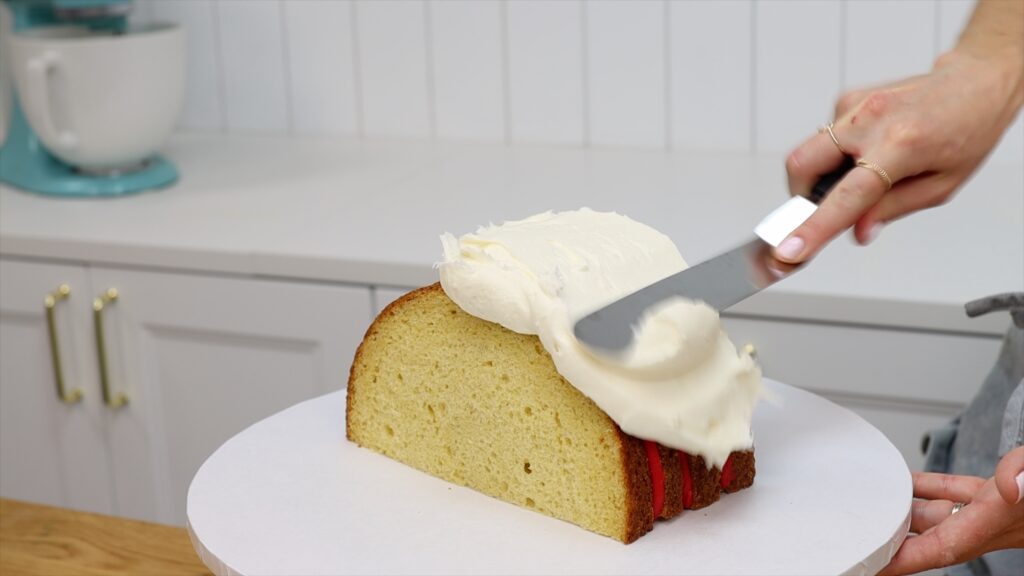
When you’re piping frosting onto a cake it’s really important to have another layer of frosting underneath because this layer seals the moisture into the cake, completely covering it up so even if there are any little gaps in between your piping, this crumb coat will make sure the cake doesn’t dry out.
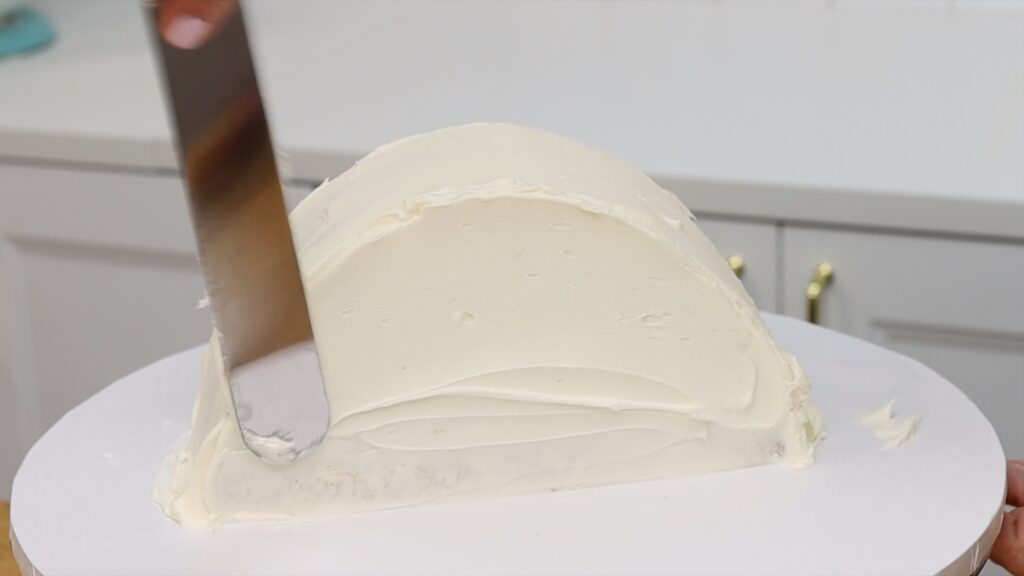
Use an
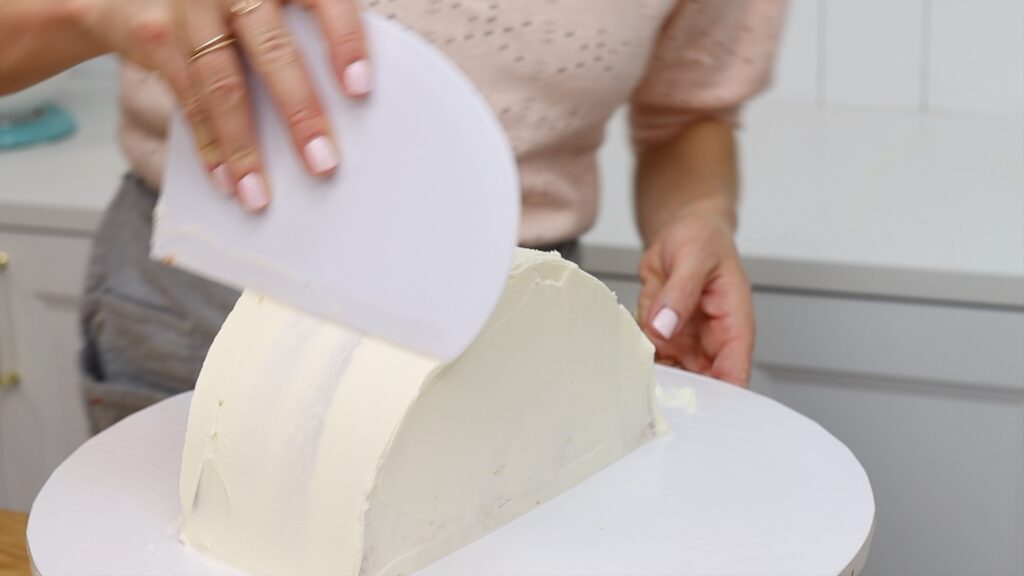
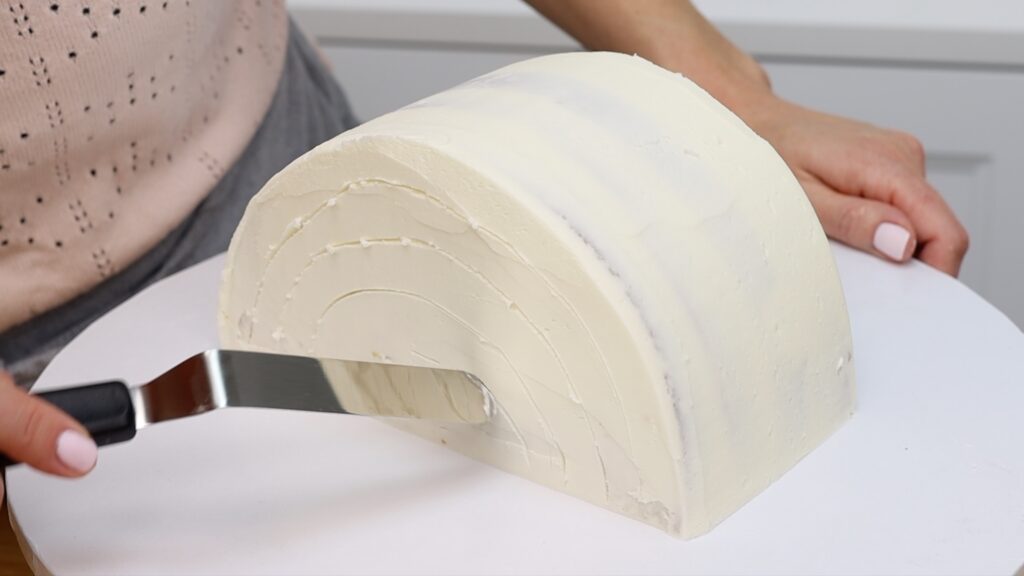
Then switch to a cake comb (also called a frosting smoother or icing scraper) to smooth the curve of the rainbow and the two flat sides. It doesn’t have to be very neat because you’re going to cover it with rainbow piping next but get it as smooth as you can because that will give the cake a neat shape to build onto.
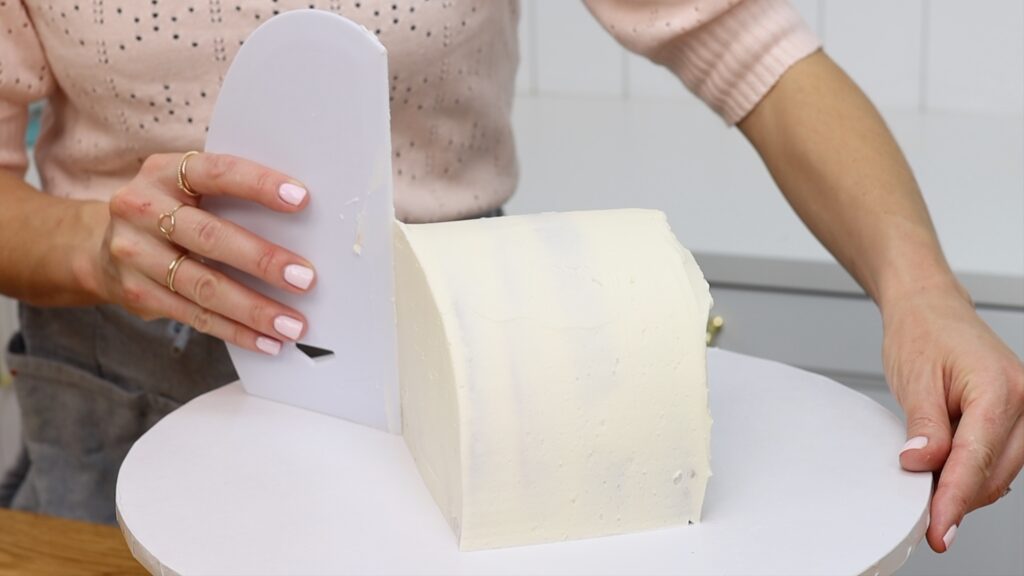
I like to put cakes in the fridge to set the crumb coat while I’m preparing my frosting.
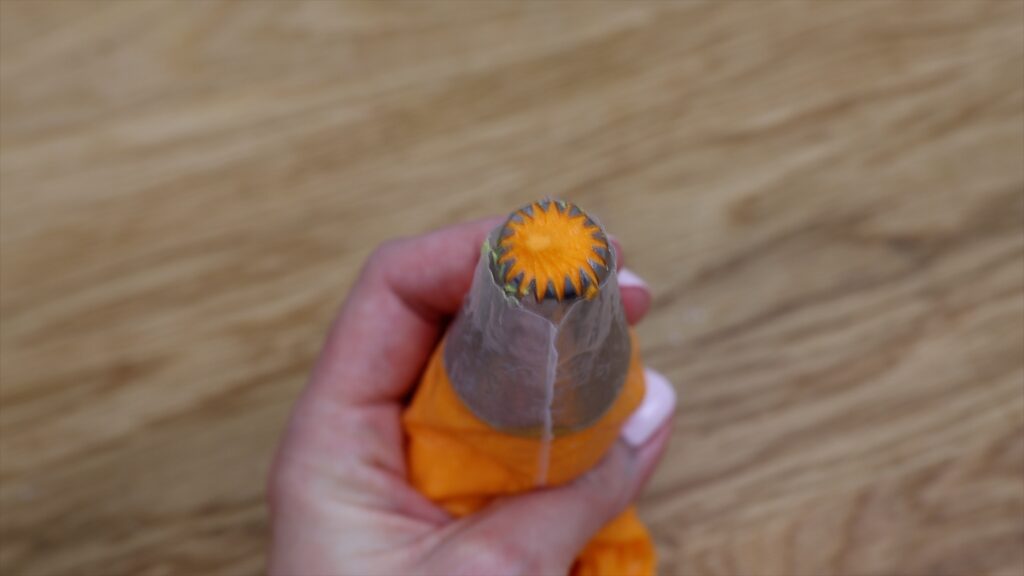
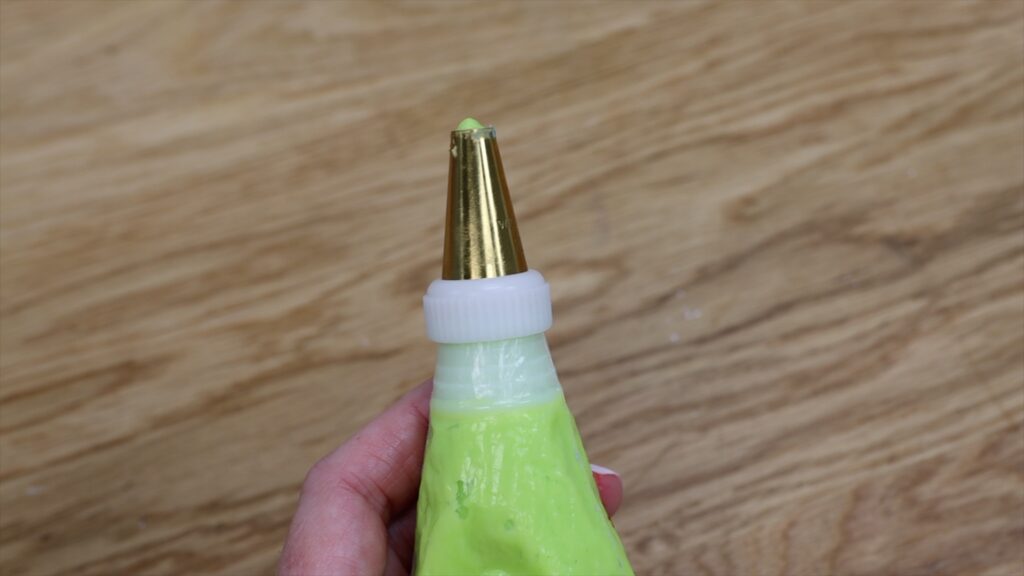
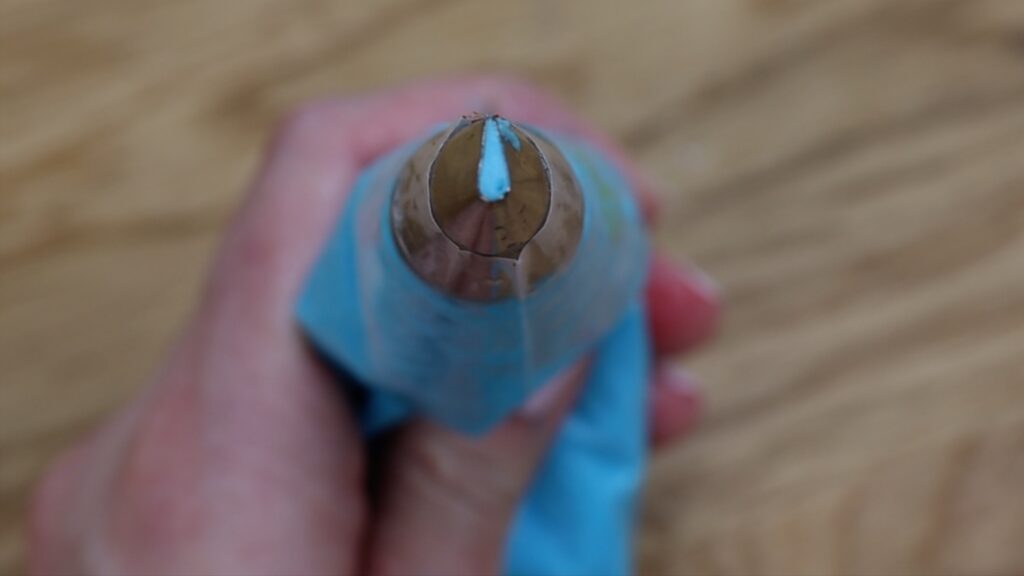
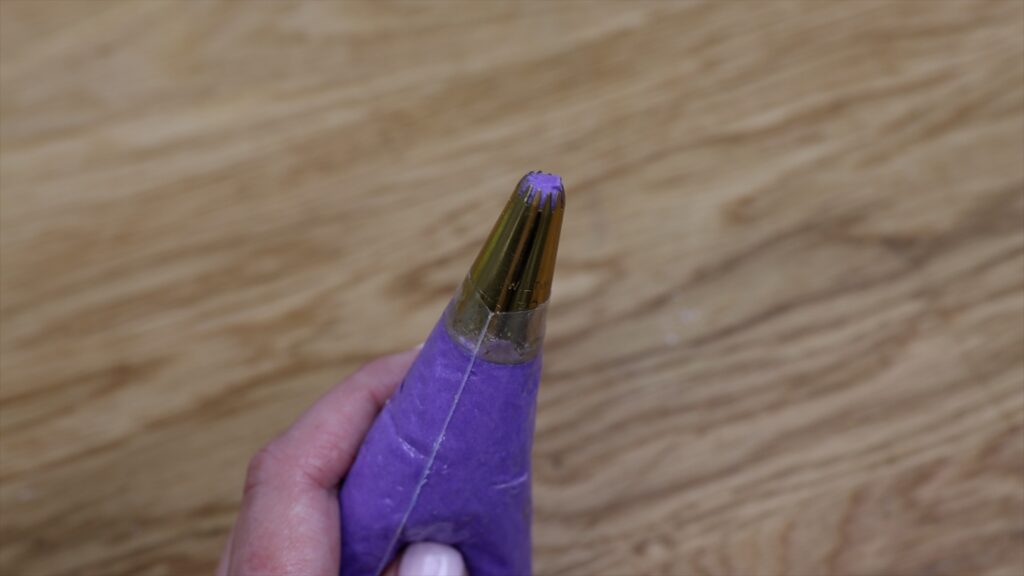
Choose your piping tips for the rainbow piped frosting. Piping will be easiest if you use smaller tips for the colours at the bottom of the rainbow and larger tips for the colours at the top of the rainbow. I’m using 1M star tip for red and also for yellow, a 4B open star tip for orange, medium round tip #12 for green, small petal tip #102 for blue and open star #32 for purple.
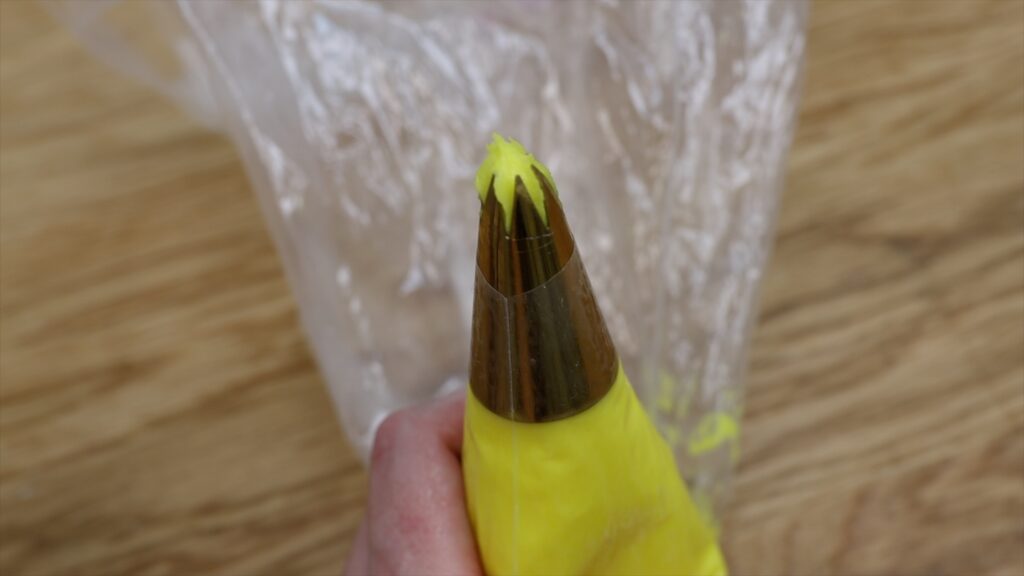
Use an
I’m going to pipe a rainbow on both sides of my cake so I’m scoring the same lines on the other side, too.
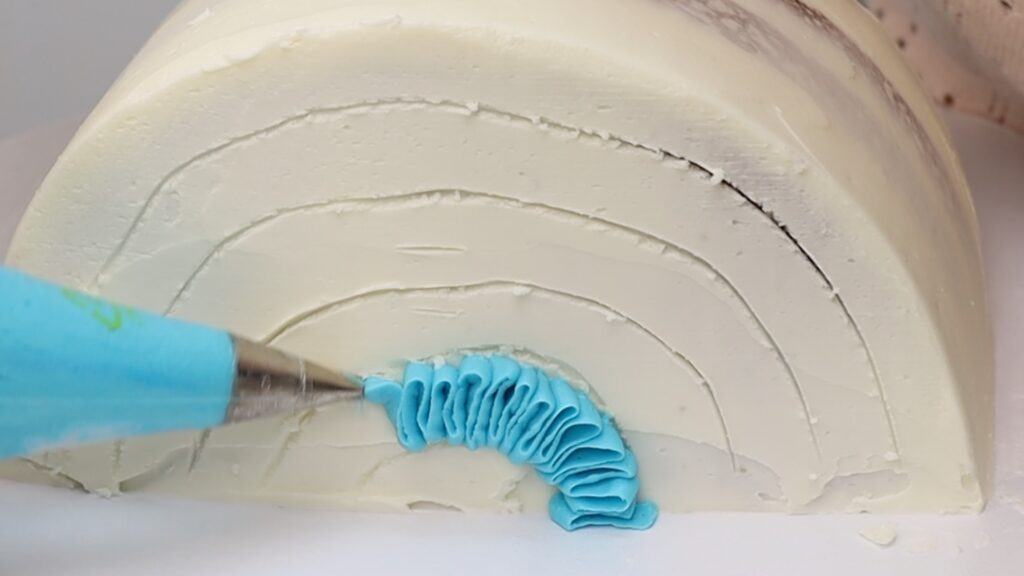
To pipe the colours, it’s usually easiest to start with the colour at the bottom and work your way up but if you’re piping ruffles like this with a petal tip, it’s easiest to do those colours first, wherever they are on your rainbow, to give you the most space to maneuver the piping bag.
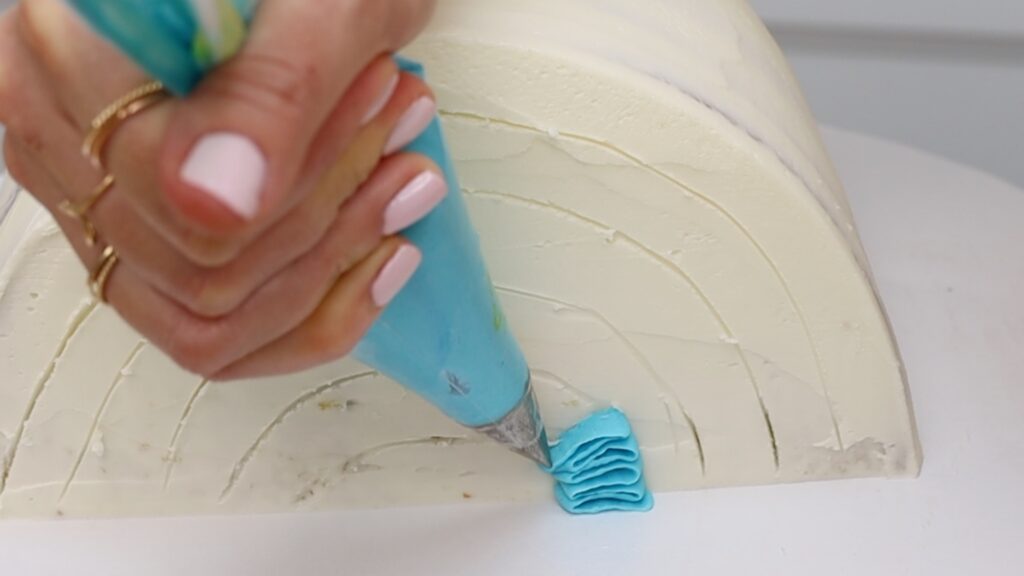
A petal tip looks like a teardrop and when you’re piping with one, the narrow end of the teardrop should always be pointing outwards from the cake, with the wide end pressed against the cake. That way your piping will be more securely attached to the cake and the piping you see sticking out from the cake will be thinner and wavier because it comes through the narrow part of the piping tip.
For the purple you could pipe an arc shape and leave the bottom section plain white but I’m piping all the way down to the bottom to add the most colour to my cake.
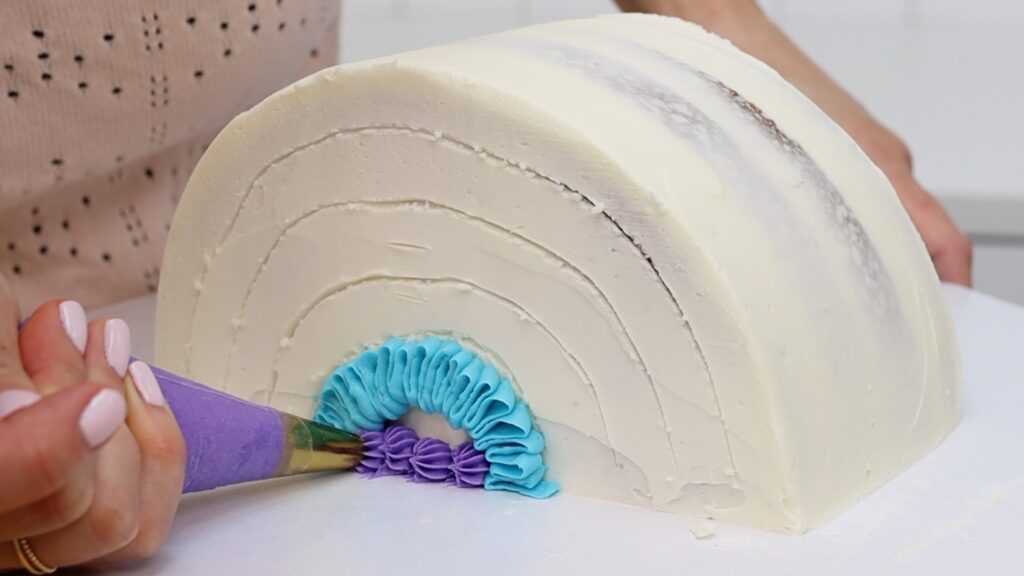
You might be thinking about how many piping bags I’m going to have to wash and that’s definitely the downside to rainbow cakes! If you want to minimize piping bags you could put the colored frosting straight into piping bags with these piping tips and use those to pipe on the filling between the cake layers,
To pipe neat dots with a round tip, squeeze the piping bag and let the frosting bulge out from the bag and then and stop squeezing as you pull the bag away and that will leave a neat point on each dot.
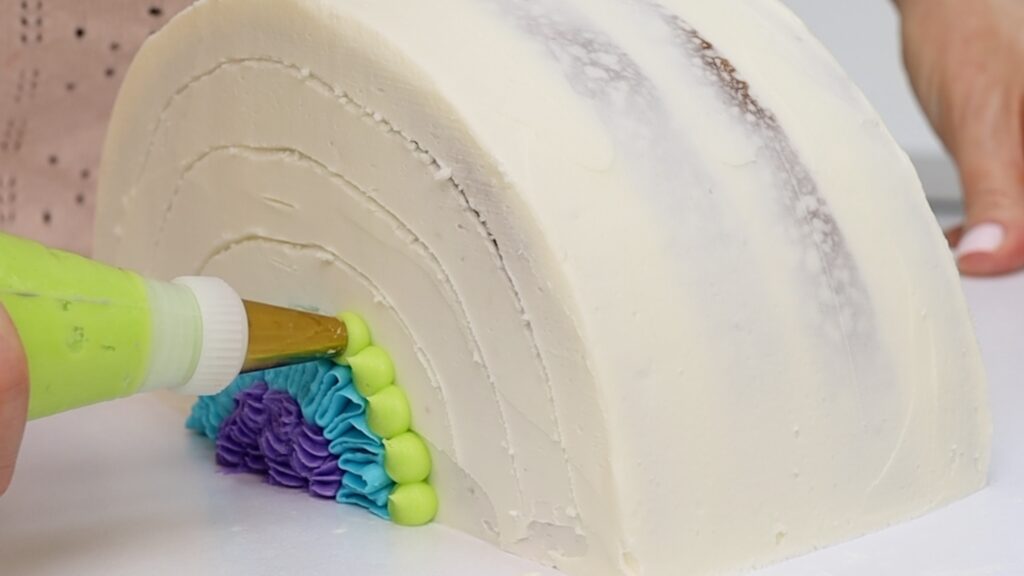
Piping will be the neatest and also the easiest on your wrist if your frosting is the right consistency, and I teach all about that in my Basics of Cake MasterCourse on my online cake school.
The quickest piping is to use a large star tip so you can just pipe one row to fill the entire band of colour. A 1M tip is great for this and it’s a piping tip that almost everyone has!
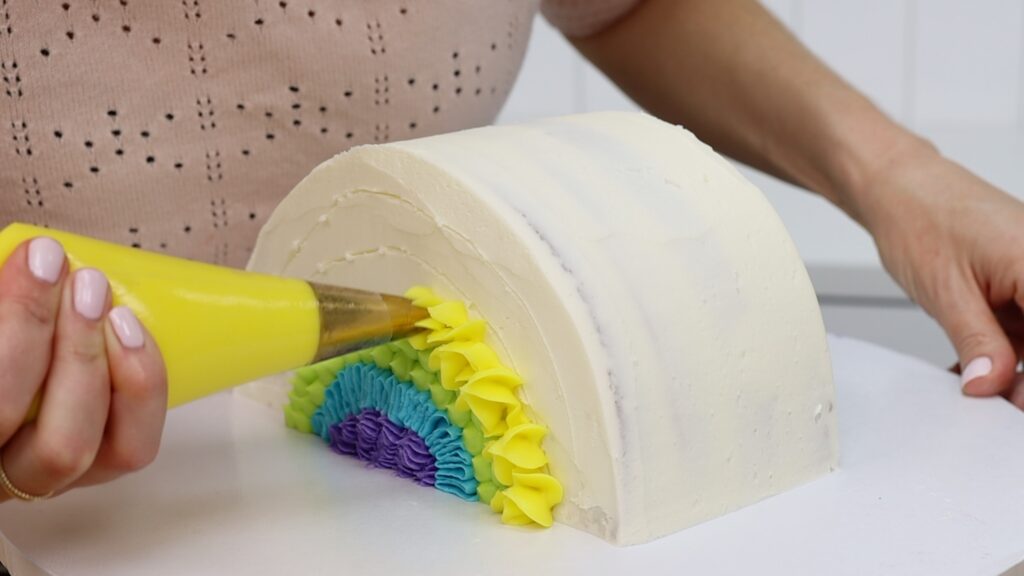
Open star tips like this 4B tip are also great for quickly covering large areas of cake with piping. Just like with the round dots, if you stop squeezing the piping bag at the same time as you pull the bag away from the cake, you’ll leave a neat peak on your piped rosettes.
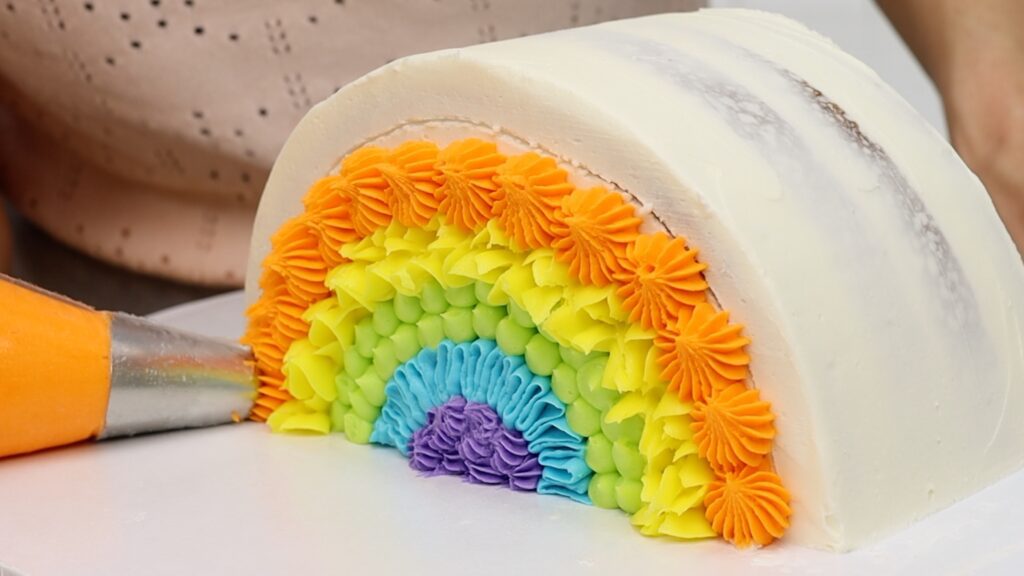
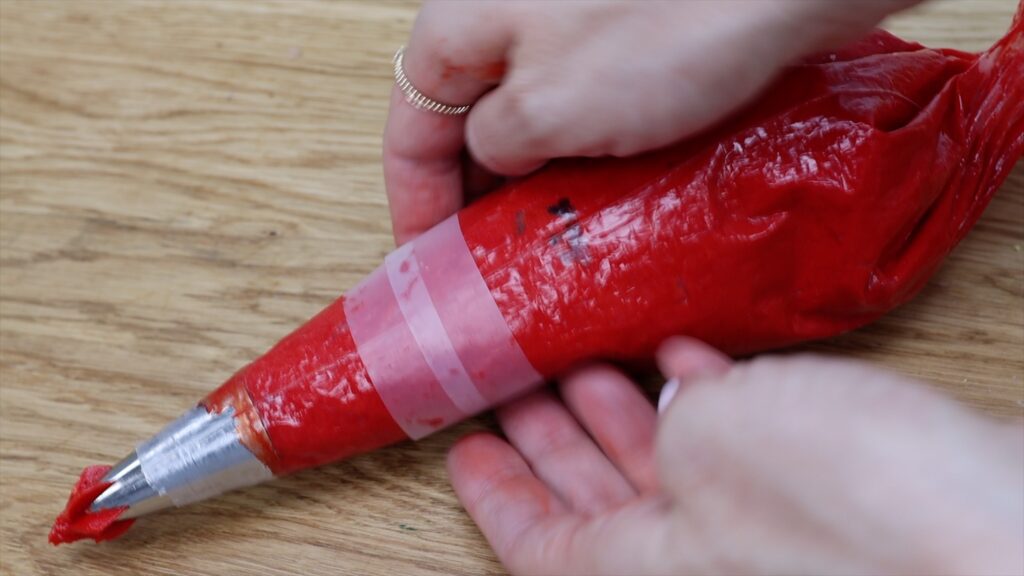
For the red I’m going to pipe waves of frosting. I’ve used this piping bag a few too many times because buttercream is oozing out through tiny holes in it. Quick tip to fix this: wipe the frosting off the outside of the bag and then use tape to cover up the holes and rejuvenate your piping bag for a few more uses!
Having your cake on a
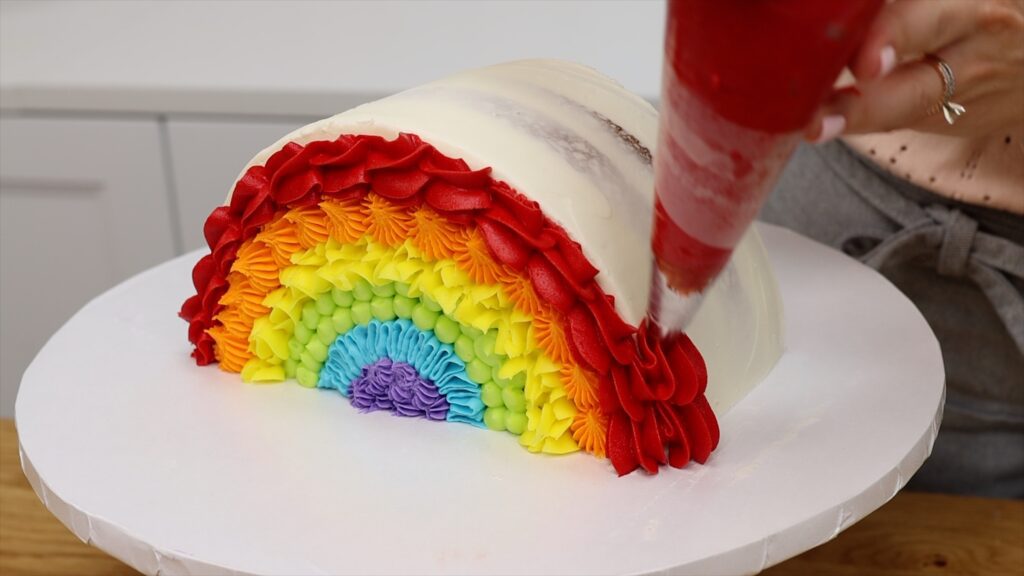
As well at the top arc of the rainbow, I’m using the red frosting to cover the top of the cake, piping the same wave texture all along the top curve.
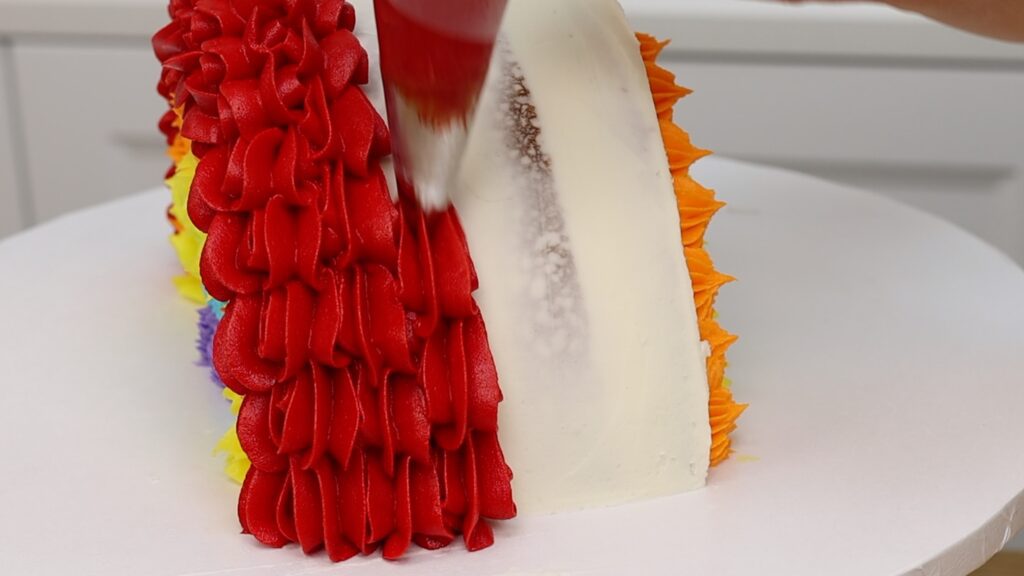
Another benefit of using a

You can store this rainbow cake int he fridge for two days but the red frosting will darken significantly in the fridge so if you plan on refrigerating it, use less gel when colouring the red frosting. This cake tastes best at room temperature so if you do refrigerate it, take it out of the fridge at least two hours before serving so that it comes to room temperature before you eat it.
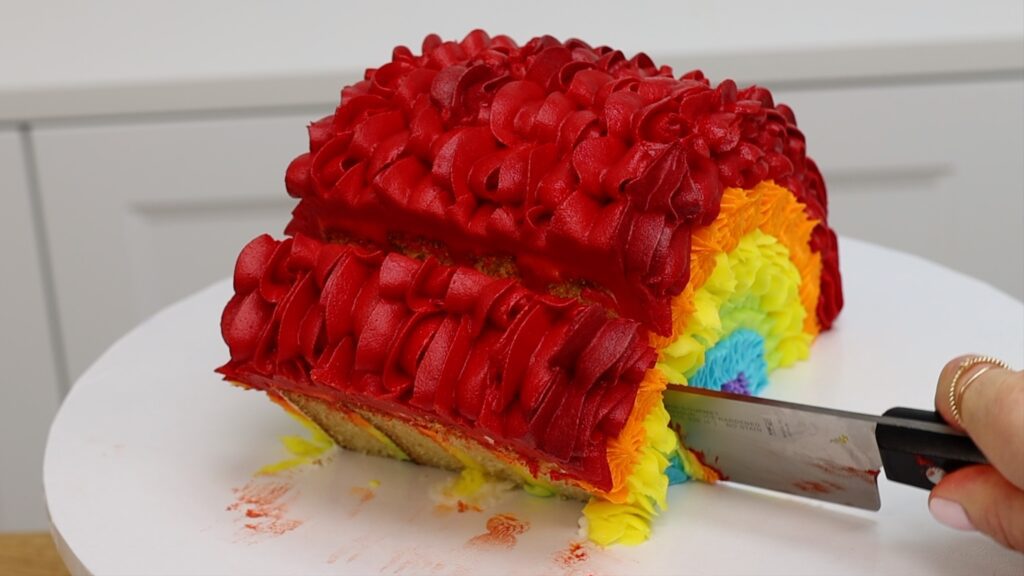
When you cut the cake, you can cut straight through it but if you cut diagonally, towards the middle of the purple frosting each time, you’ll get a nice cross section of all of the colours of filling so there will be a double rainbow on each slice: along the edge, and also through the middle.
For more visual instructions, watch my video of how to make a rainbow cake!
