
In this tutorial I’m going to show you a few ways to make and decorate with marble drips! I’ll cover how to prepare drips, how to apply marbled drips onto the sides of the cakes, and how to apply them to the top using a few different techniques so you can choose your favourite. If you prefer to watch a video of this tutorial, scroll to the bottom of the page.
PREPARE YOUR DRIP
Make a ganache by mixing heavy whipping cream (double cream in the UK) with either chocolate or candy melts. For candy melts the ratio is 4 parts of candy melts to 1 part of cream, so here I’m using 40g of candy melts and 10g of cream.

Heat this in the microwave for 1 minute at 50% power and stir until it’s smooth. If you prefer you can use white chocolate and the ratio for that is 3 parts of white chocolate to 1 part of cream. For white chocolate ganache, heat the cream first until tiny bubbles start to form around the edges and then add the chocolate and stir until it melts.
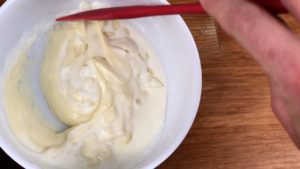
To make the white chocolate ganache really white you can add white icing colour. The one I used here is called White White Icing by Wilton.
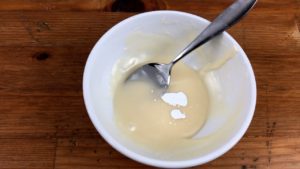
Marble the drip
with two colours of ganache
The first way to create a marble drip is to mix two colours of ganache together. You can use equal amounts of each colour or use more of the colour you want to stand out.
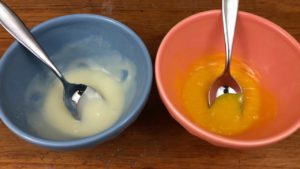
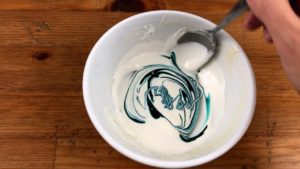
Pour one colour into the other and stir it just once to blend it slightly to make it marbled. It will marble more when you apply it to a cake later.
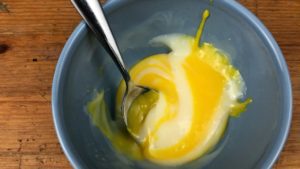
with ganache and gel colour
Instead of marbling two colours of ganache, you can use one color of ganache and add a few drops of gel food colour, swirling it slightly with a toothpick or a spoon. In a minute I’ll show you how different these two options of drips look on cakes.
APPLY YOUR DRIP
Frost your cake and then refrigerate it before applying the drip. The coldness helps to stop the drips as they go down the sides of the cake. Your drip needs to be the right consistency as well and I cover all of this and more in lots detail in my online course on 10 Cake Decorating Techniques.

Now I’ll show you a few ways to apply your drip, starting with the sides of the cake and then moving on to the top of the cake.
How to apply a marble drip to the sides of your cake
With a spoon
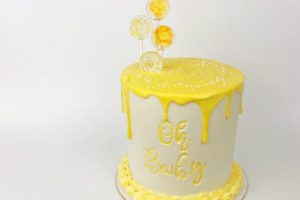
One way to apply a marbled drip is to spoon it onto your cake. This is an example of using a marble drip made with two colours of ganache (white and yellow) and you can see that the colours blend together a lot as I apply the drip.
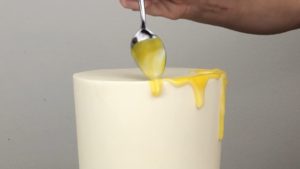
For this cake I’m using the drip I made with one colour of ganache swirled with teal gel. The marbled effect is much more dramatic because the gel colour varies in darkness depending on its concentration and the marbling lines are more defined with gel than they are with ganache.
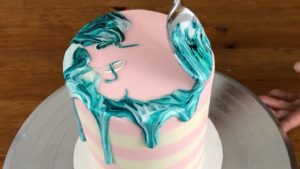
A fun way to jazz up a marble drip is to incorporate metallics. For this next cake I’m using white and navy ganache with gold edible paint, which you can buy or you can make your own with vodka and gold luster dust.
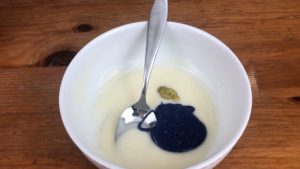
Put all of the colours in a bowl and swirl them together slightly with a toothpick or spoon. This mixes them very subtly but they’ll marble more as you apply the drip.

Scoop up spoonfuls of the marbled ganache and move your spoon slowly around the edge of the cake, pausing wherever you want there to be a drip to let more ganache spill off the spoon.

With a bottle
I normally prefer applying drips with a condiment bottle instead of a spoon because it’s quicker. However, you have more control over how much you blend the colours together when you do it with a spoon.

Using two toothpicks, I added a tiny amount of pink and blue gel to white chocolate ganache. Without mixing them together at all, I’m pouring them into a bottle and already, the colours are blending together more than I would like.
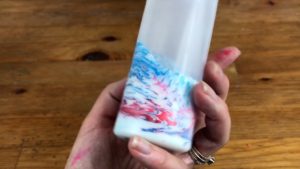
With the pouring motion and then tipping the bottle upside down, everything has blended together more than I wanted. Instead of a white drip with pink and blue marbling, the pink seems to have been swallowed by the blue.
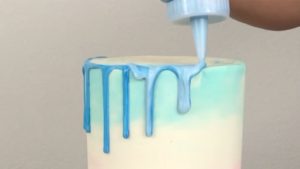
So for marbled drips I definitely recommend using a spoon instead of a bottle!
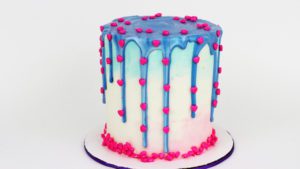
With a jug
Finally, another option to consider is to pour the marbled ganache onto your cake. Here I’m using a measuring jug with orange ganache. For pouring from a jug, the ganache needs to be a bit runnier than you might use for spooning it onto a cake,
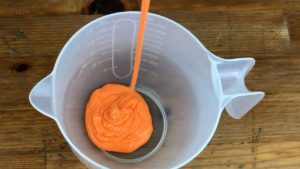
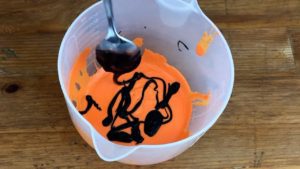
Using a spoon, drizzle a bit of your second colour of ganache over the first colour. Don’t stir it together at all because you risk over-mixing the colours and blending them together.
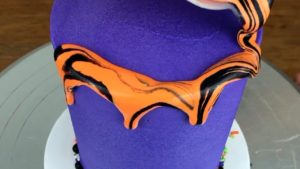
Move the jug to the edge of the cake and tilt it to pour some ganache out onto the edge of the cake, letting it spill over the side to make a drip.

Move the jug around the top edge of the cake to continue making drips. The colours will marble together a bit less than if you spoon the ganache onto the cake. You’ll have less control over the drips than you would if you used a spoon, but the marbling looks great!
How to apply a marble drip to the top of your cake
With a spoon
Here, I scooped up ganache with a spoon and then wiggled the spoon randomly above the cake to drizzle the colour to help with marbling.

But spreading it around blends the colours together so it reduces the marbled effect. (Of course, if you’re going to put something on top of the cake, like a chocolate sail, it doesn’t matter if the marbling isn’t obvious.)
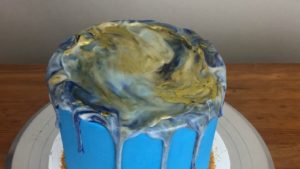
To make the marbling more obvious, after drizzling and spreading all of your colours of ganache you can drizzle one of the colours on again with a spoon.
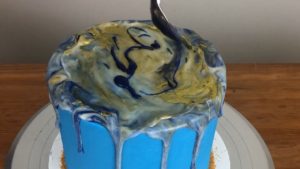
Spread it lightly over the top of the existing marbling to blend it slightly and this will accentuate that colour within the marble drip.

By drizzling and then spreading the colours of ganache, the effect is more marbled than mixing the colours in the bowl first and then pouring and spreading them onto the cake. However, it’s still not as marbled as the drips on the sides of the cake.
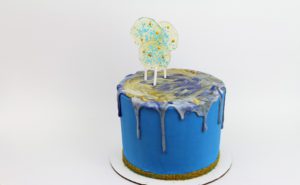
With a jug
To make the top even more marbled you can pour the lightly marbled ganache onto the top of the cake, spiraling your jug to cover the entire surface. The marbling is preserved instead of being blended by spreading with a spatula.
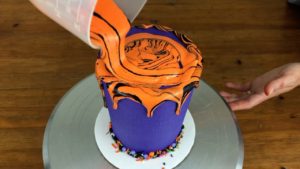
If you want to create more veining you can use a toothpick to blend the colours a bit more after pouring them. Swirl it randomly through the ganache on top of the cake, not pushing down deep enough to go through the ganache and into the frosting.
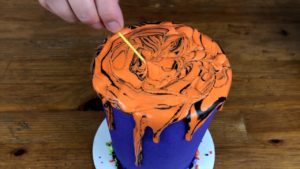
In summary, for the most effective marble drips I recommend:
1. Using a base colour of ganache and swirling it with gel colours instead of marbling two colours of ganache

2. Applying the drip to the sides of the cake with a spoon

3. Pouring the rest of the ganache with a jug onto the top of the cake.

I hope this tutorial was helpful! When you try out a marble drip please comment below to tell me which method you like best and if you share any photos of it on instagram, please tag me @britishgirlbakes so I can see it!

Here’s the video version of this tutorial:
