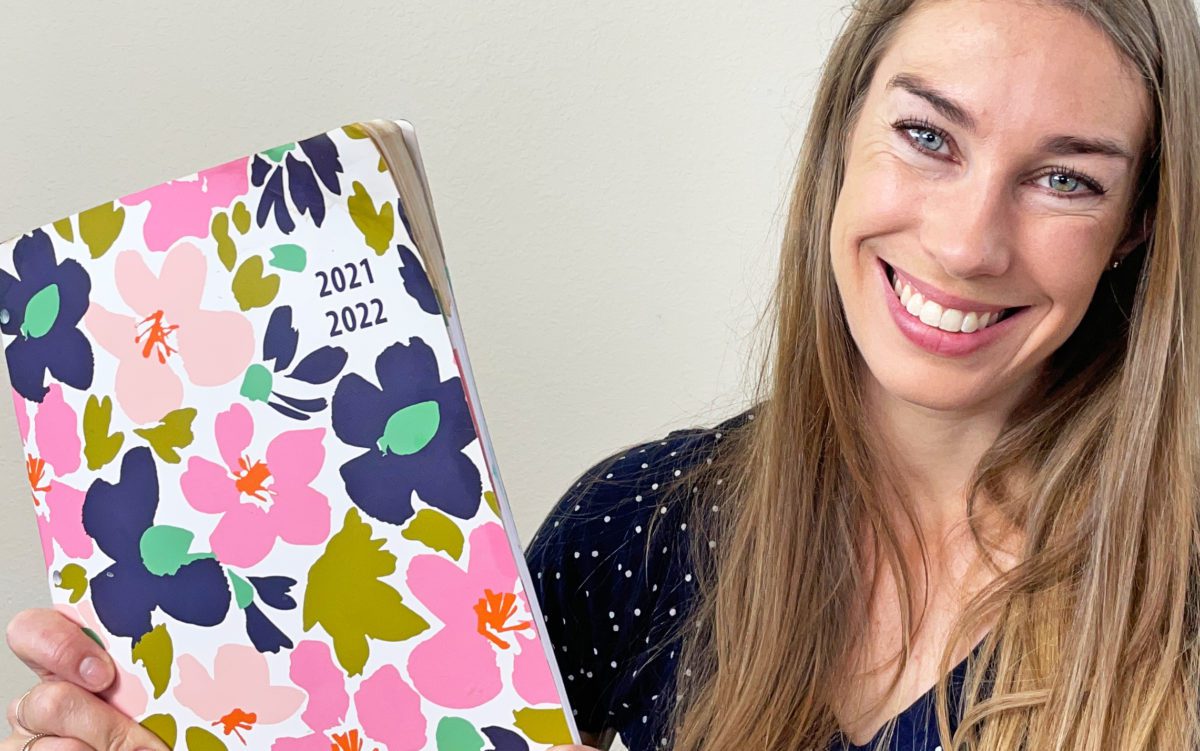
I’m going to show you how to transfer ANY design onto a cake! Pretty notebook covers, wrapping paper, a patterned scarf… whatever you like. Best of all, you don’t have to be an artist to do this! If you prefer to watch a video of this tutorial, scroll to the bottom of the page.
You’ll need the design you choose, some piping bags with any piping tips you have handy, a cake with a crumb coat, and a piece of acetate.
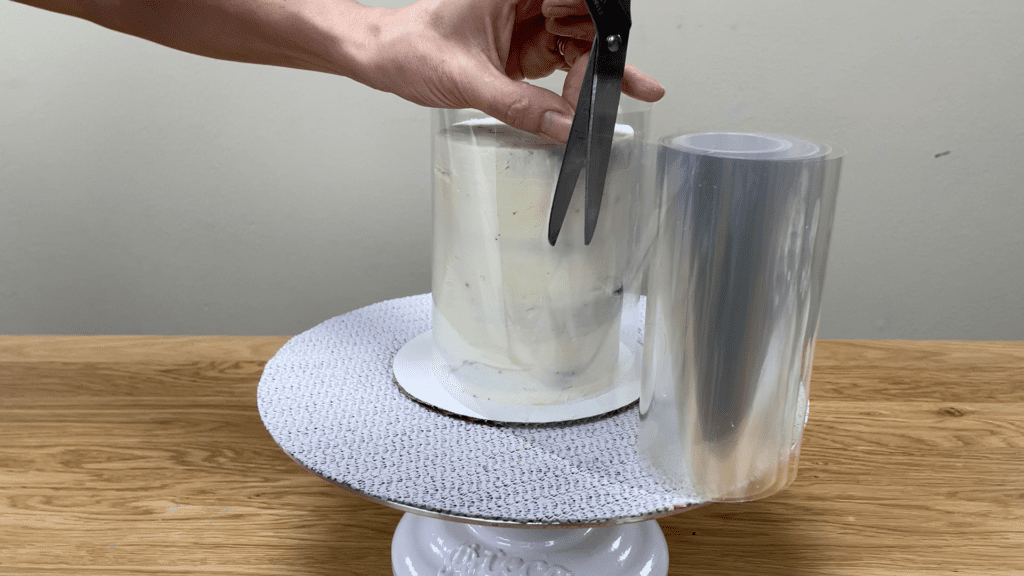
Wrap the acetate around your cake and add a few inches to leave room for frosting. If you can find acetate on a roll, that’s easiest and I’ll show you why later. Pinch the acetate and cut it there, so that you’ve got a piece wide enough to go all the way around your cake plus a few inches and also at least as tall as your cake, too.
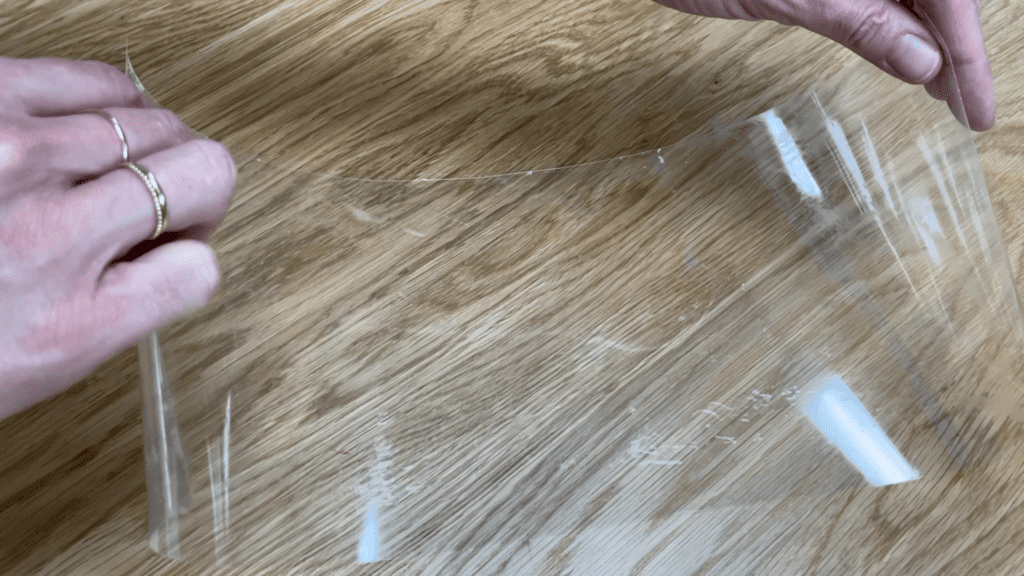
Put the cake in the fridge until you’re ready to transfer the design onto it. Place the acetate down on the counter so that it curves upwards and then tape it down onto the design you’ve chosen, facing that same way.
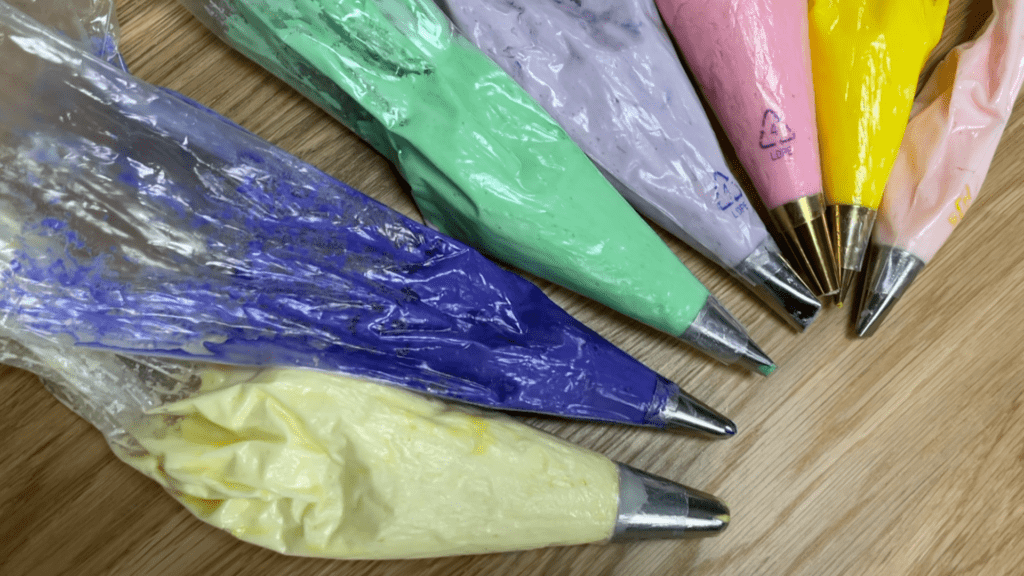
Now use your piping bags to pipe frosting onto the acetate, tracing the design underneath. You can use whatever colours you like instead of matching the original design. This side you can see is going to be pressed against the side of the cake so it doesn’t matter that it’s messy but it’s a good idea to spread it with an
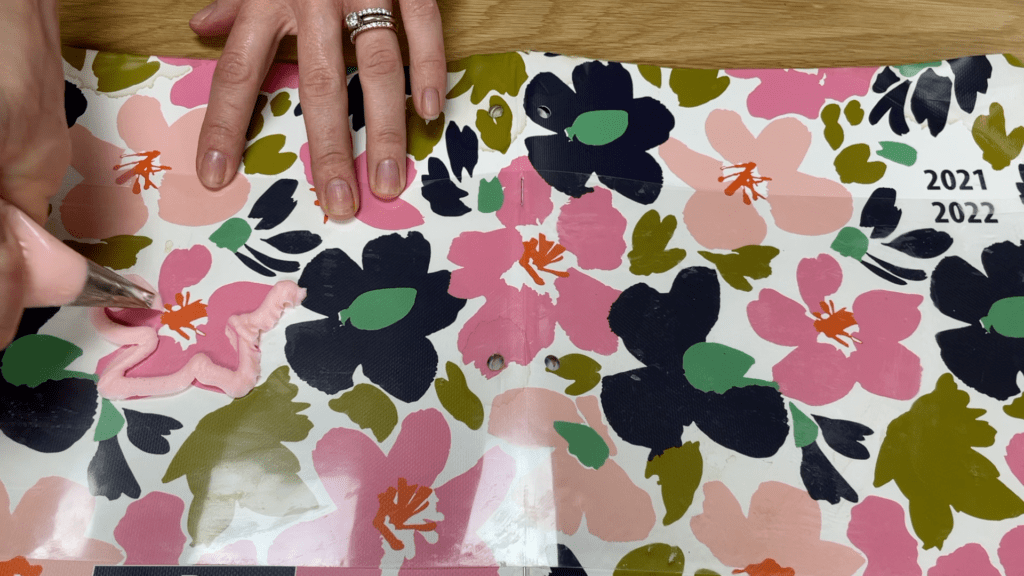
Firstly, to push the frosting down so that it’s pressed against the acetate and there aren’t any air pockets. Secondly, because you want the frosting on the acetate to be the same thickness all over so that it lies flat against the cake later, so as you spread each section you can scrape off any excess frosting to make it level with the rest of the design. Since you’re spreading the frosting, it really doesn’t matter which piping tips you use, although you’ll be able to pipe more intricate, detailed designs if you use small round tips to pipe with.
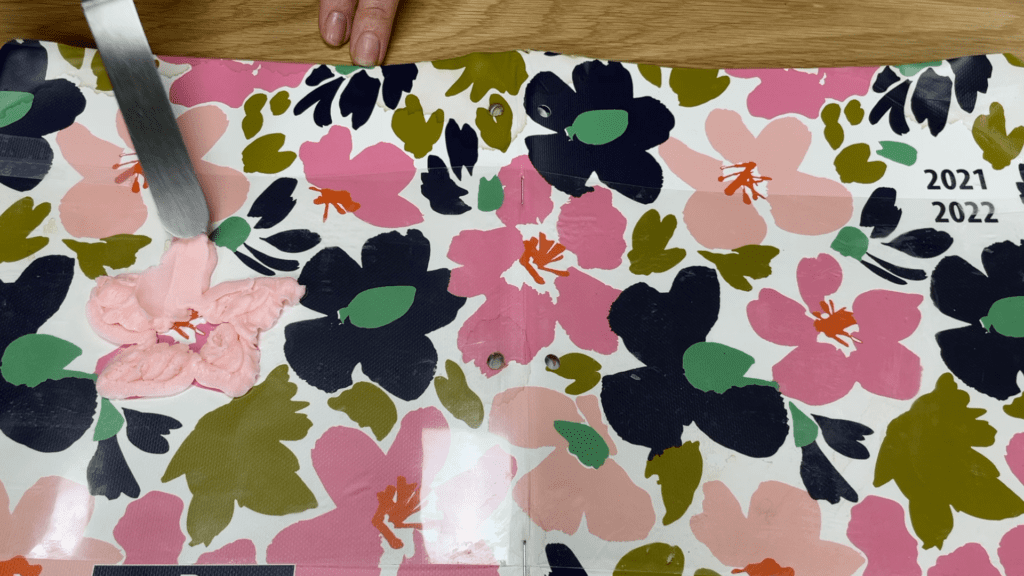
If you don’t have any piping tips you can spread the frosting straight onto the acetate instead of piping it, but your shapes will be much less precise than if you pipe them. I should mention that I’m using my 4 Minute Buttercream for this – I haven’t tried it with whipped cream or meringue buttercream but I suspect that they don’t set firmly enough for this technique to be possible. If you try it, tell me in the comments how it worked for you! After creating the whole design except for the background colour, save the leftover frosting for later and put the acetate in the fridge or freezer so that the frosting sets. It will only take about 5 minutes in the freezer.
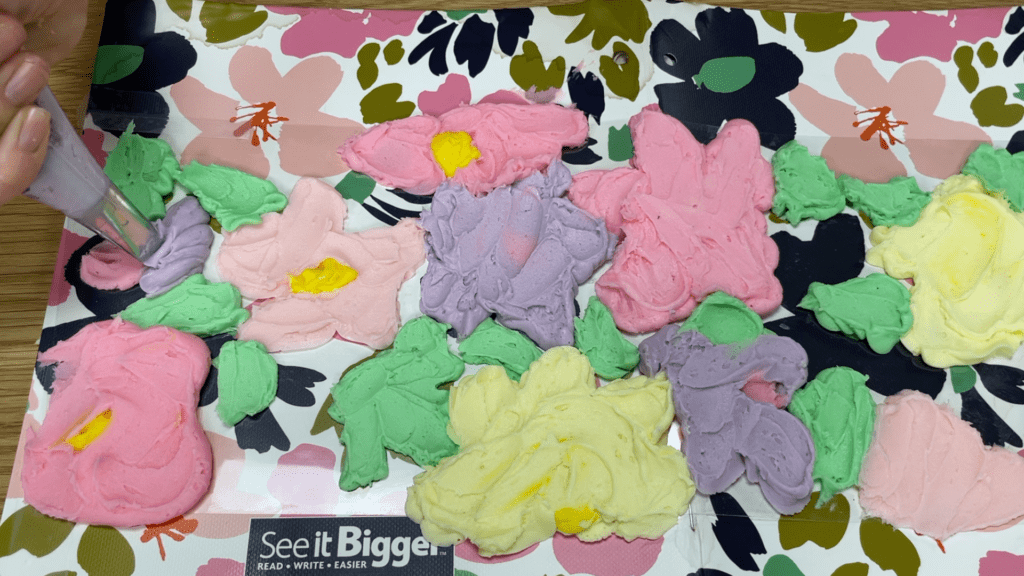
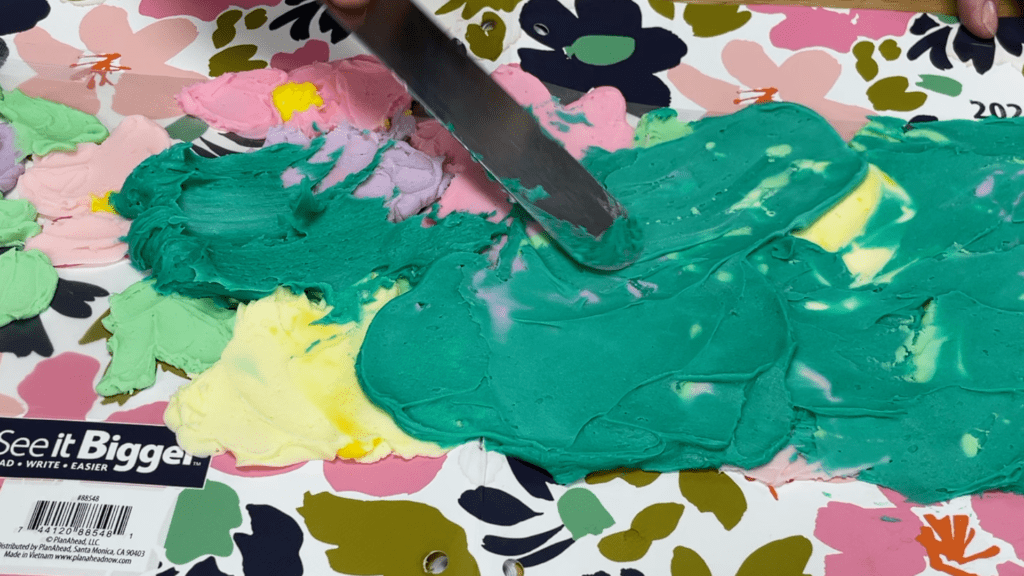
When you take it out, peel the tape off the corners and the weight of the frosting will keep the acetate flat now. Pipe or spread you background colour onto the design, spreading it with your
Spread this colour up to the edges of the acetate to cover it completely and also spread all over the top of those hard parts because now that they’ve set, they won’t be sticky anymore and you need that fresh sticky frosting to attach the design to your cake.
Take your crumb coated cake out of the fridge and it will be cold and firm and sturdy enough to withstand the pressure you’re about to apply to it. Lift up the acetate up by sliding your
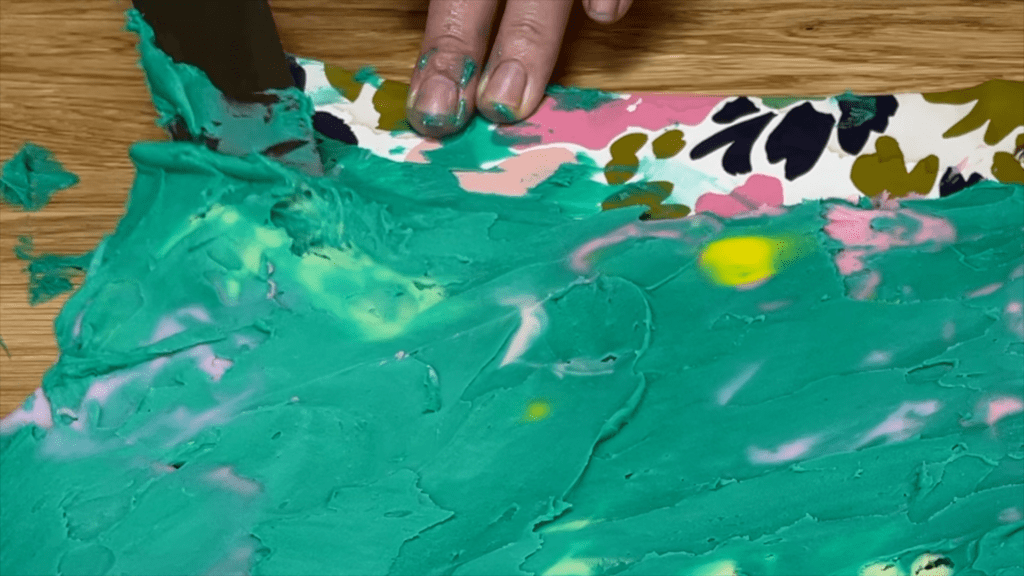
Lower the acetate down so that the bottom edge rests on the cake board to make sure the design goes all the way down to the bottom of the cake.
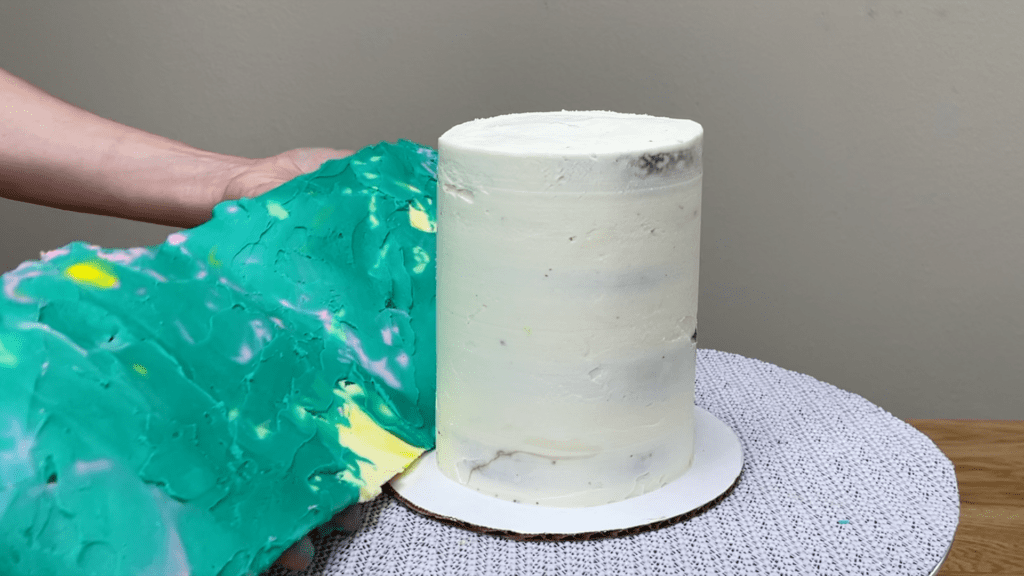
Then raise the rest of the acetate until it’s pressed against the side of the cake. Let the acetate wrap around the cake, and this is why using acetate from a roll is ideal, because it will curve naturally to wrap the cake with hardly any help from you.
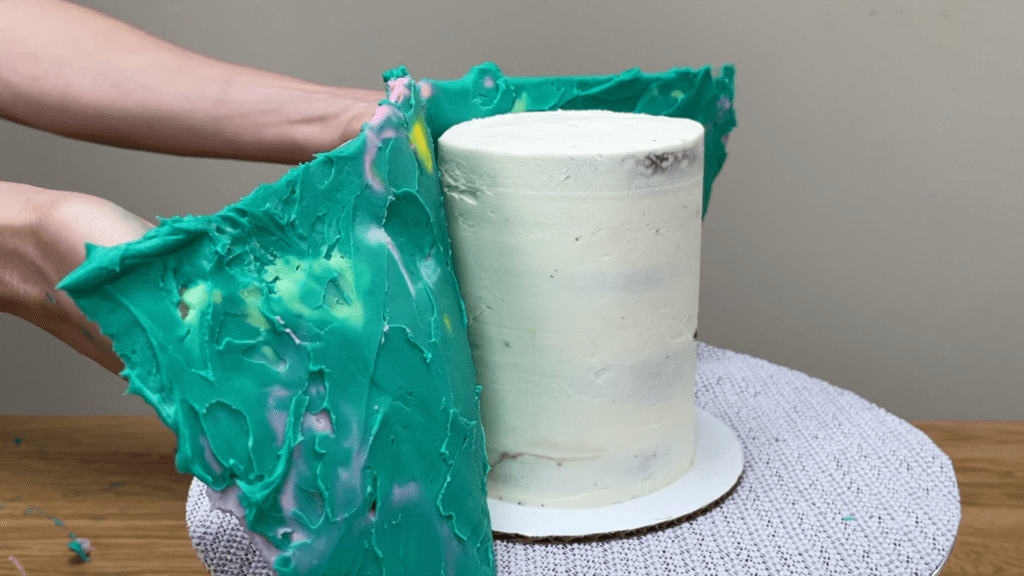
Once you’ve lined the acetate up against the cake, use your hands to press it against the cake, rubbing up and down the sides to attach the entire design to the cake, or you can use a fondant smoother. Press firmly enough so that the sticky frosting attaches to the crumb coat of the cake, but don’t press so hard that you squeeze and distort the frosting design.
The end of the acetate will overlap the beginning and that’s fine – make sure the beginning is pressed flat against the cake and press the end over the top of it and we’ll sort that out later. When the acetate is smooth and pressed securely against the cake all the way around, put the cake in the fridge for at least an hour to allow the frosting to set so that you’ll be able to remove the acetate.
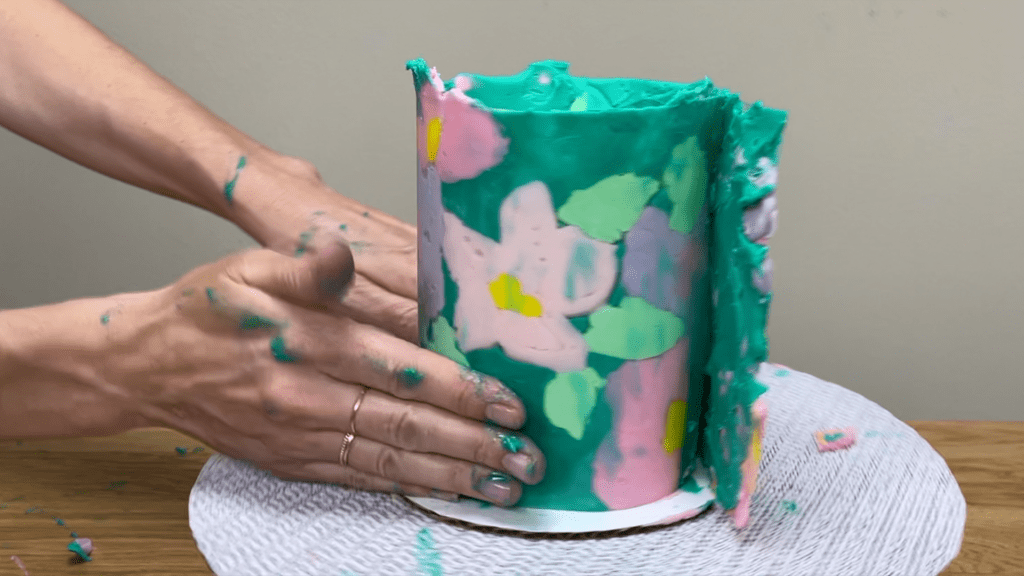
When the frosting is cold and hard from the fridge, pinch a corner of the acetate and peel it off. You’ll see the residue of each colour on the acetate but the frosting shouldn’t peel off with the acetate, it should stay behind attached to the cake in a smooth layer.
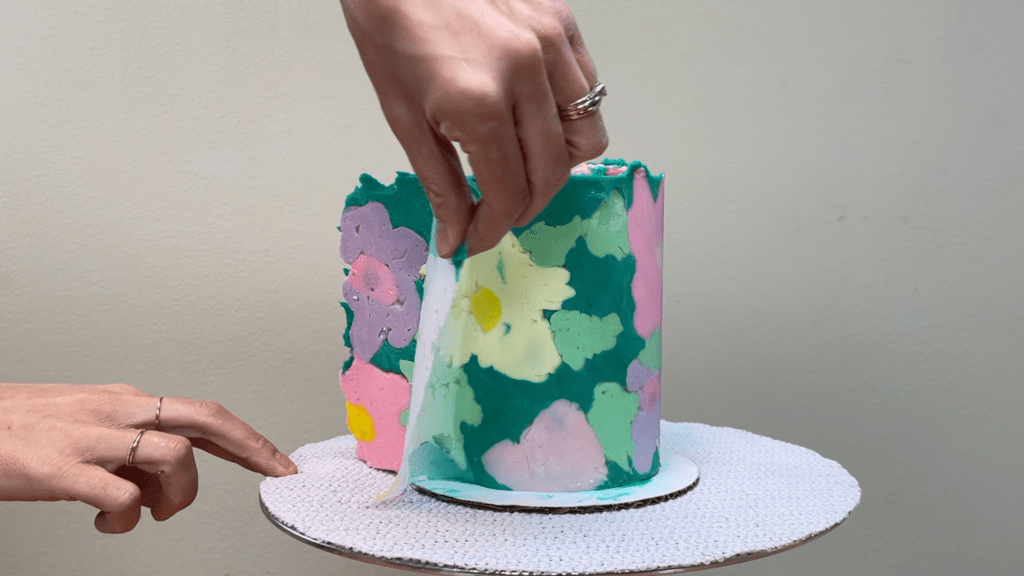
This is what the acetate should look like – the design has left an impression but the frosting hasn’t transferred from the cake onto the acetate.
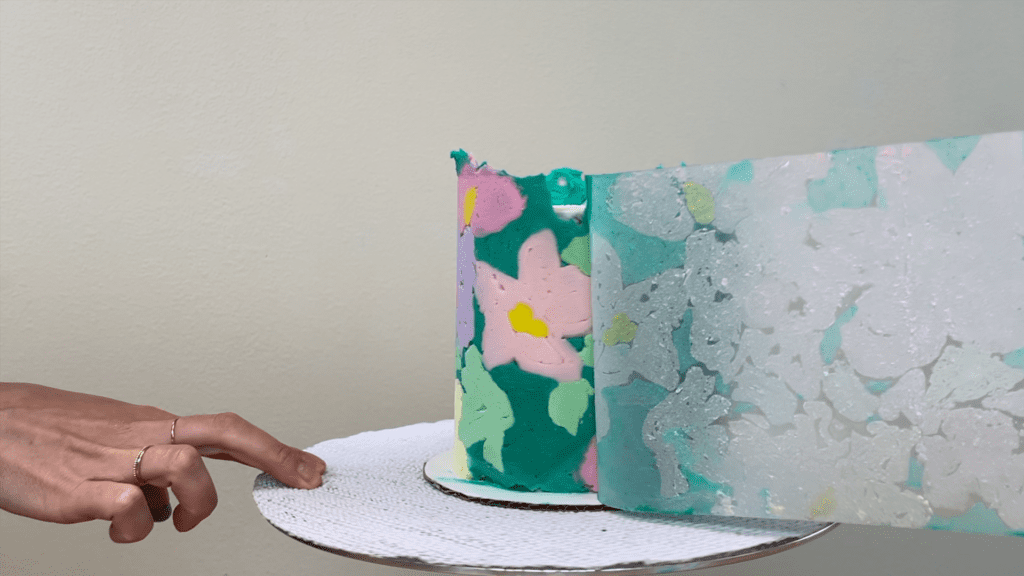
At the join of the two ends of the acetate, use a sharp knife to cut off the excess frosting sticking out and and then carefully peel off the last section of the acetate. We’ll tidy up this seam here in a minute.
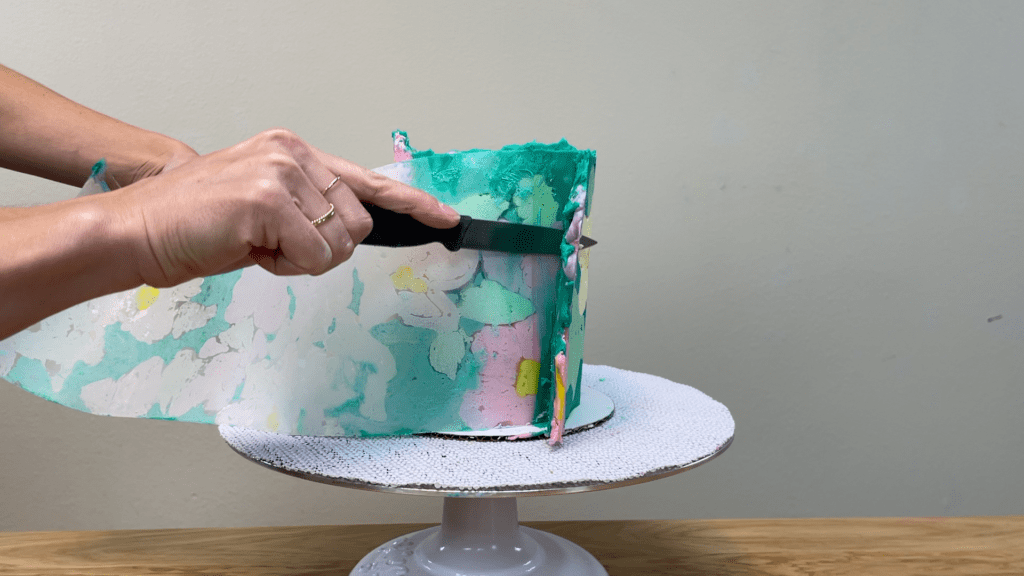
You can see that the frosting goes up higher than the cake because the acetate was a bit taller than my cake. You can trim off the excess with a sharp knife. It should slice away easily if it’s still cold for the fridge. If you feel your knife sticking to the frosting instead of gliding through it you can put the cake back in the fridge to chill it again before you do this.
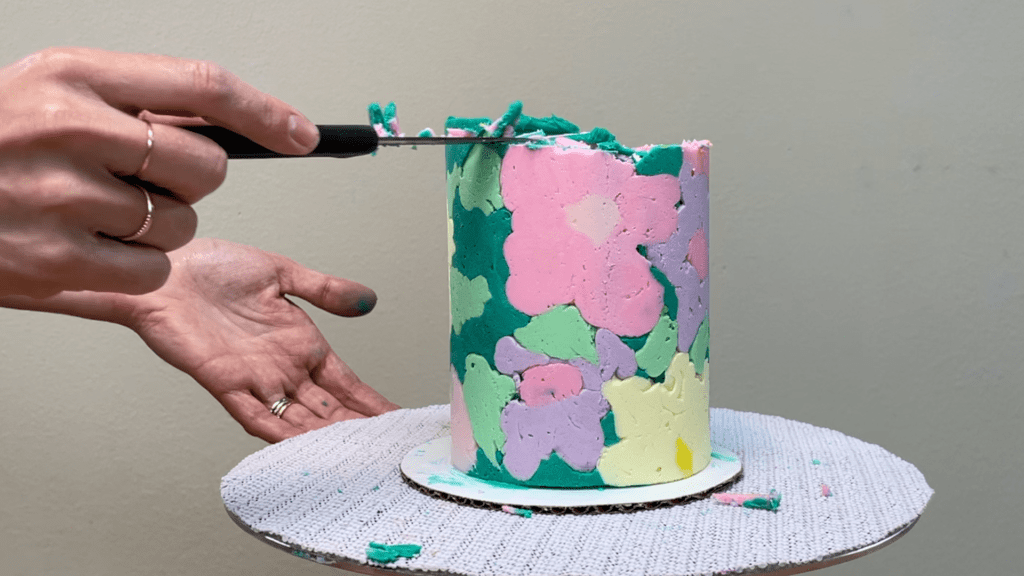
Now spread frosting onto the top of the cake to cover up the crumb coat, making sure the frosting goes all the way over the edges fo the cake so there aren’t any gaps later. Spin the cake around a few times as you press down with your
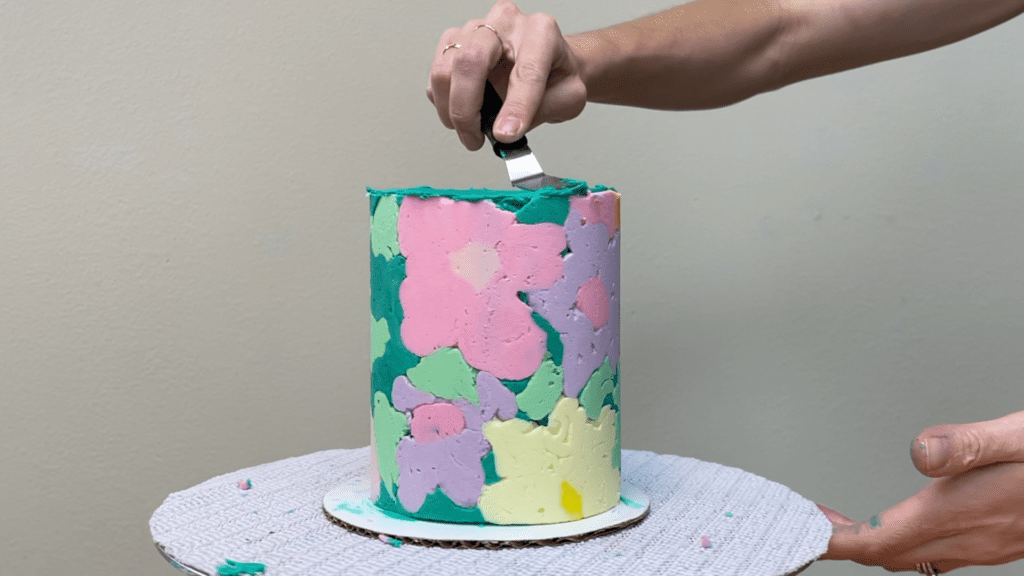
Fill in any gaps around the top of the sides of the cake, where any pieces of frosting broke off when you peeled off the acetate or trimmed the top edge. Don’t worry if you spread this frosting over any other colours in your design – you’ll see why in a moment.
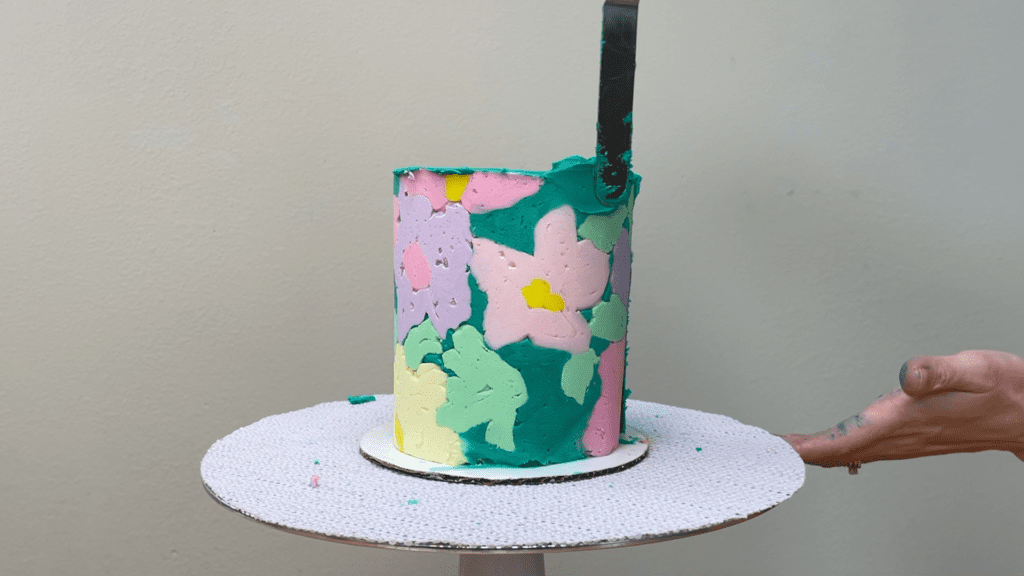
Use a frosting smoother to scrape around the cake, paying attention to the top to take off any excess frosting that you just spread on. The frosting design you transferred from the acetate will be cold and hard so you won’t damage it as you do this.
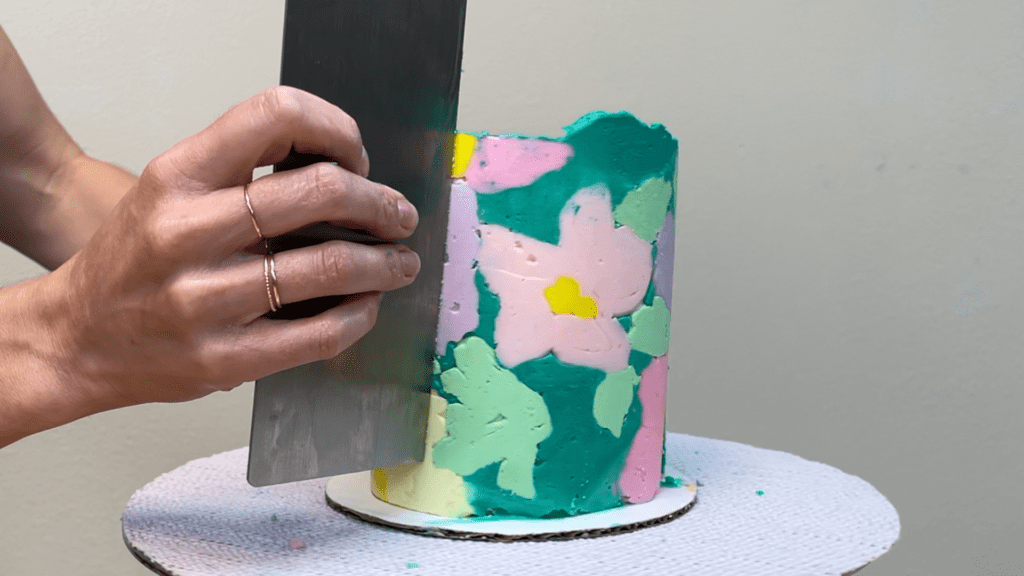
Now the the top of the cake is tidy it’s time to hide the seam, where the two ends of acetate met after wrapping around the cake. Use your frosting smoother to scrape upwards, taking off the excess frosting to leave the sides of the cake smooth. For the part of the seam close to the top of the cake, it’s best to scrape downwards instead of upwards because the frosting at the top of the cake is the most delicate, so by going in this direction that you won’t snap off any of the frosting with the pressure you’re applying.
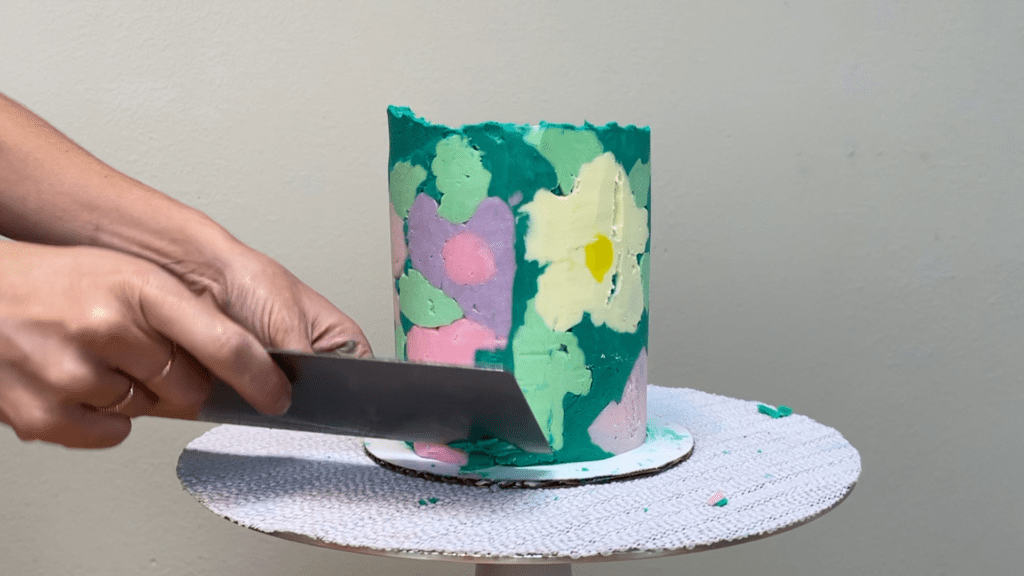
When the seam is smooth and it disappears into the design so you don’t notice it was ever there, it’s time to do any touchups in the design. You’ll notice lots of little air pockets around the design – pipe or spread frosting over them one colour at a time.
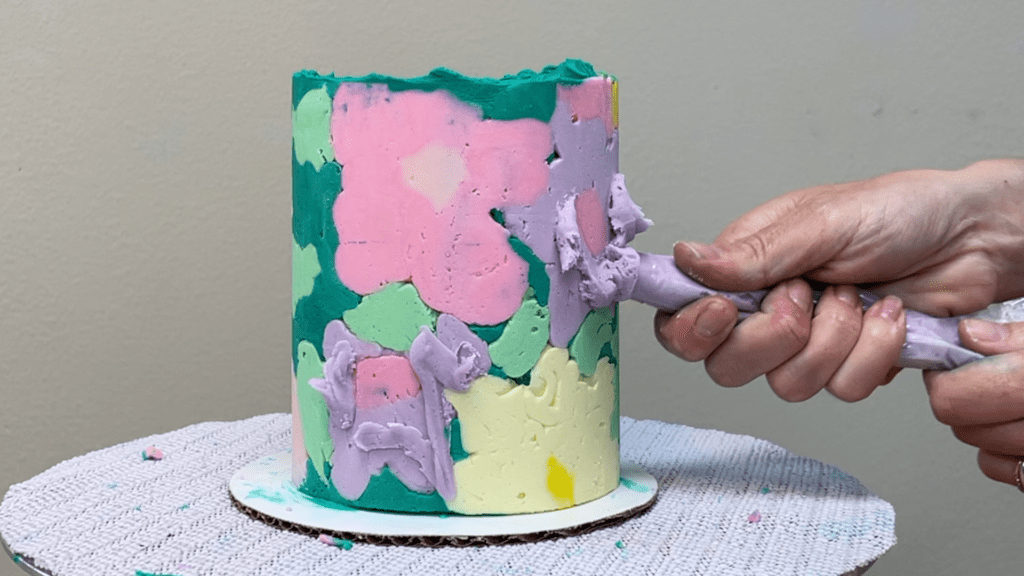
Use an
By doing just one colour at a time, you won’t blend the colours of this fresh frosting together.
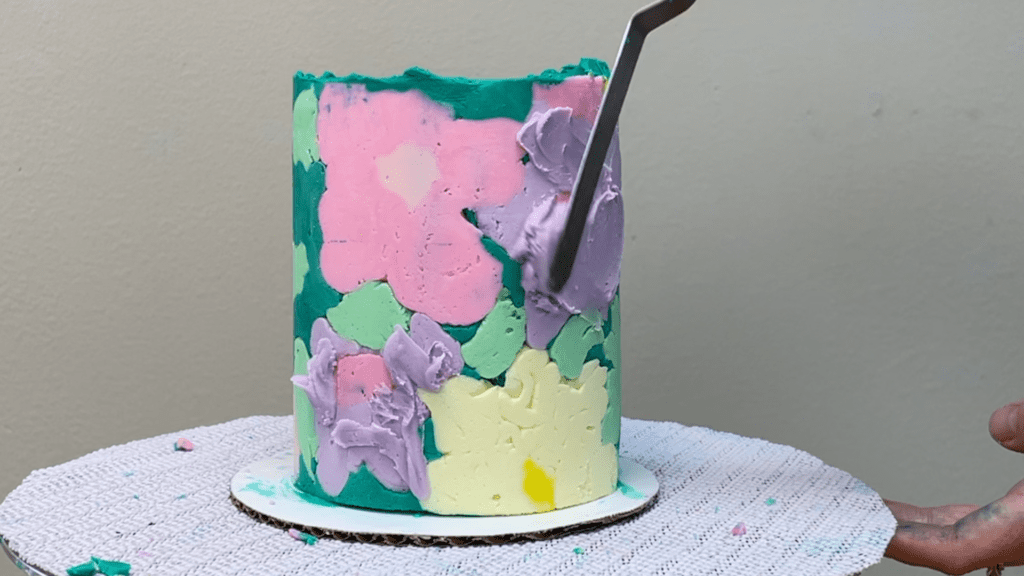
Then use your frosting smoother to scrape over that section to take off the excess frosting and reveal the design underneath. This only works because the frosting of the design has set and it’s cold and firm, so when you spread frosting over it, it sits on top of the design instead of blending together with it. This means you can scrape over it to take off layers and layers of that fresh frosting without damaging the design underneath.
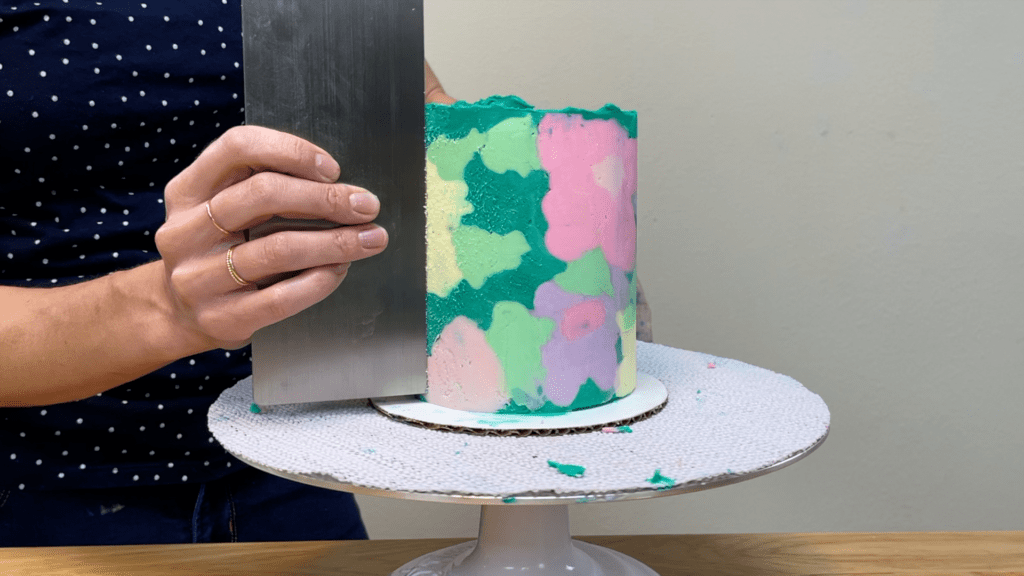
If you feel the frosting of the design softening and your frosting smoother starts to leave texture behind as you scrape, put the cake back in the fridge to chill it again for a few minutes, maybe 15 minutes, and then you can continue spreading and scraping. Wipe any smudges off the cake board with a paper towel wrapped around your finger
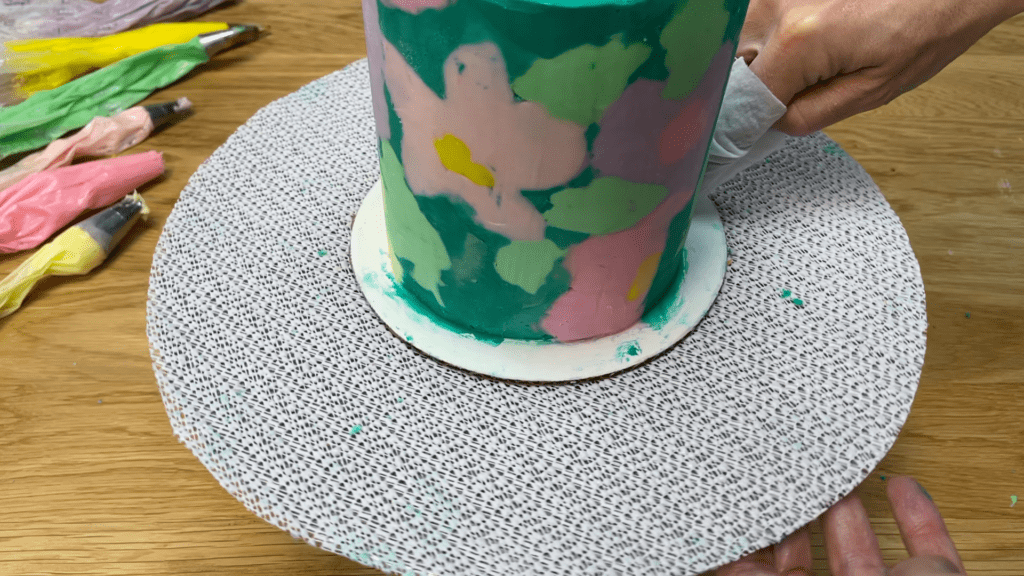
When you spread on more frosting and scrape it off you’ll probably push some of that frosting up about the top edge of the cake. When you’ve finished touching up the sides, tidy up the top edge again with an
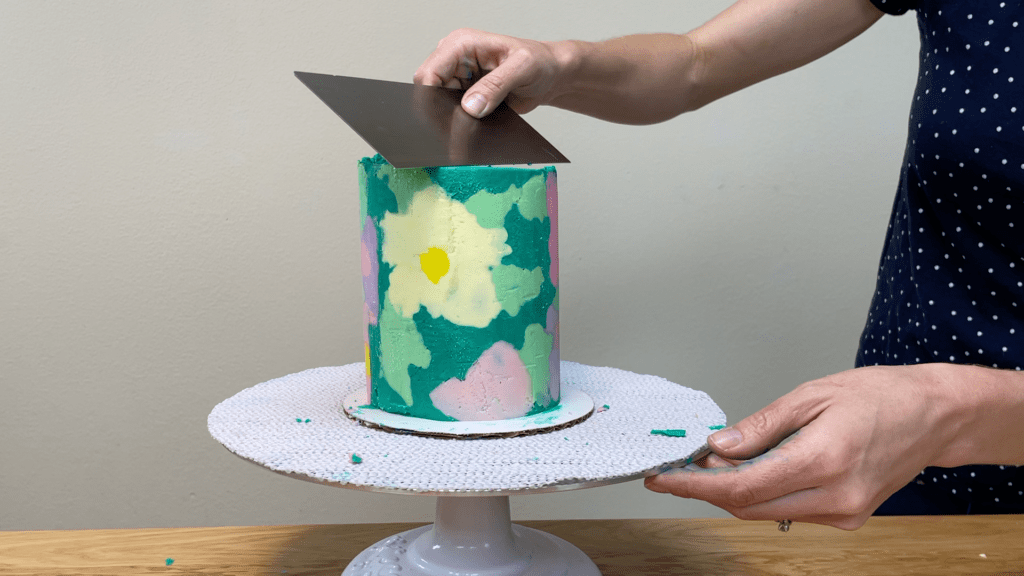
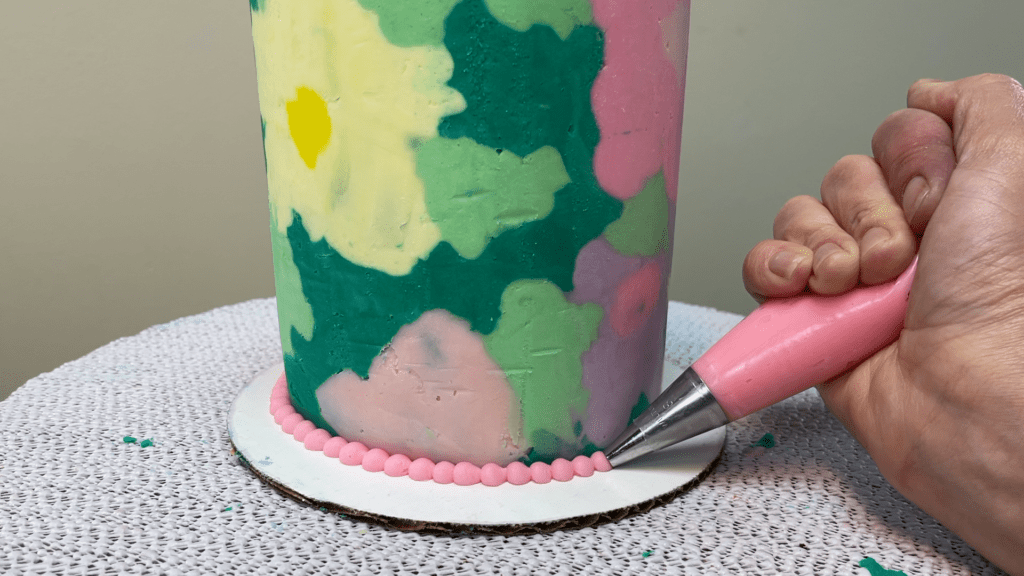
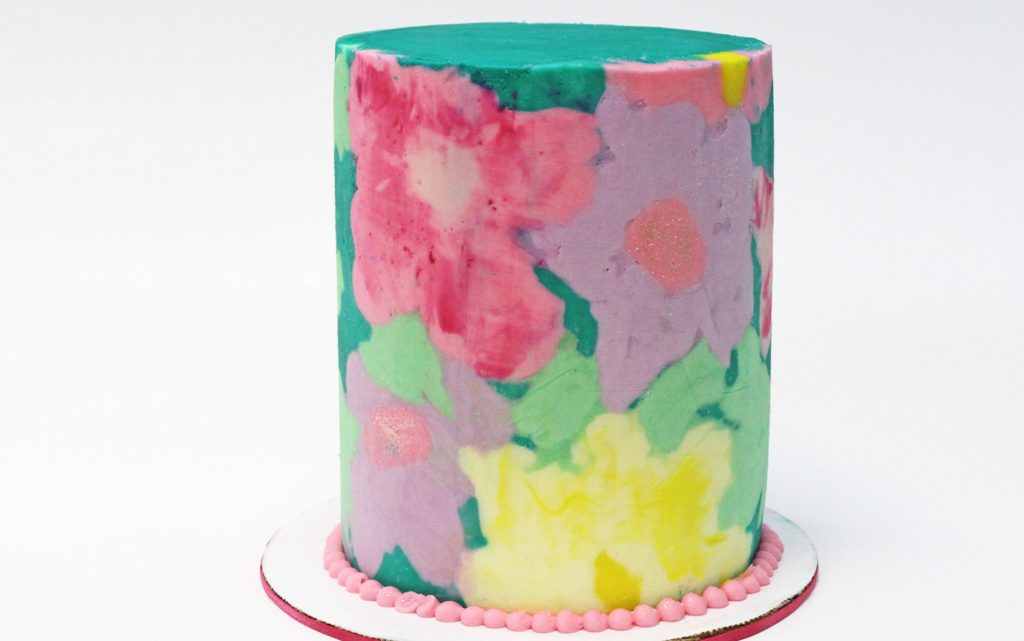
You can leave the cake as it is or there are endless ways to add more detail to it. You can add a border around the bottom as a nice finishing touch. I’m piping this beaded border with a Wilton #4, which is a medium round tip.
To make the design more detailed and intricate, add shading by spreading on darker or lighter shades of frosting to some areas.
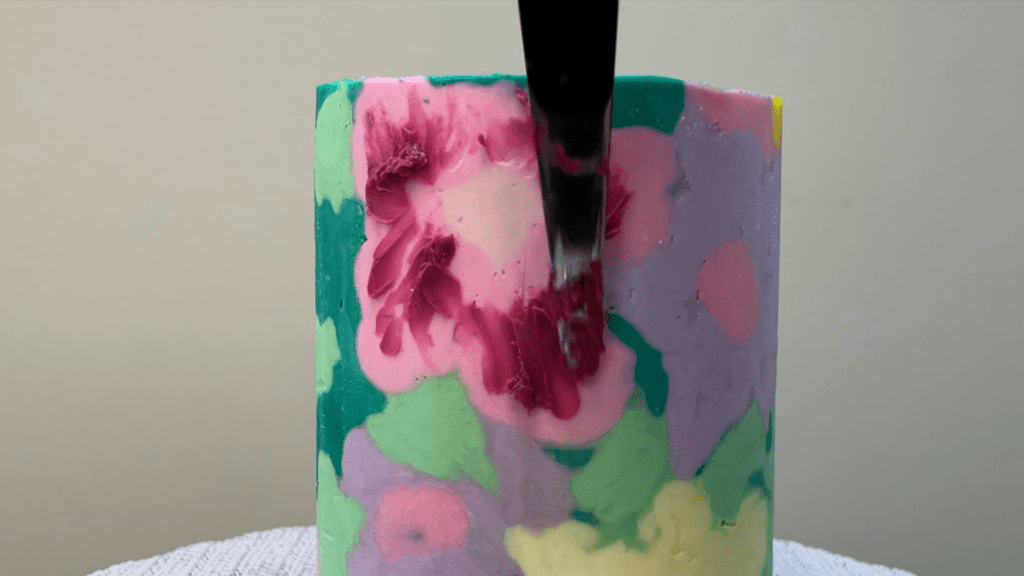
Smoothing this frosting against the design with your
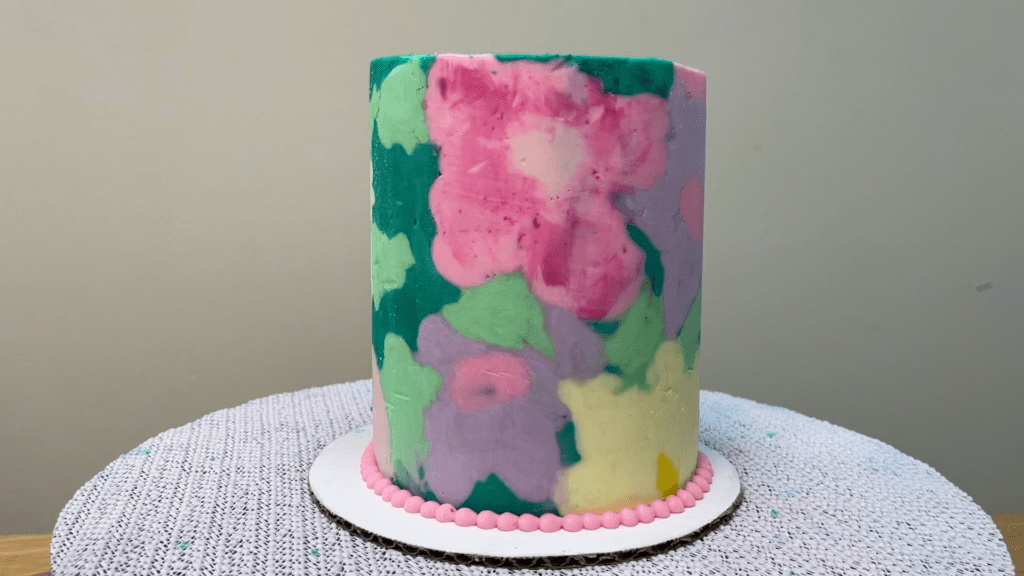
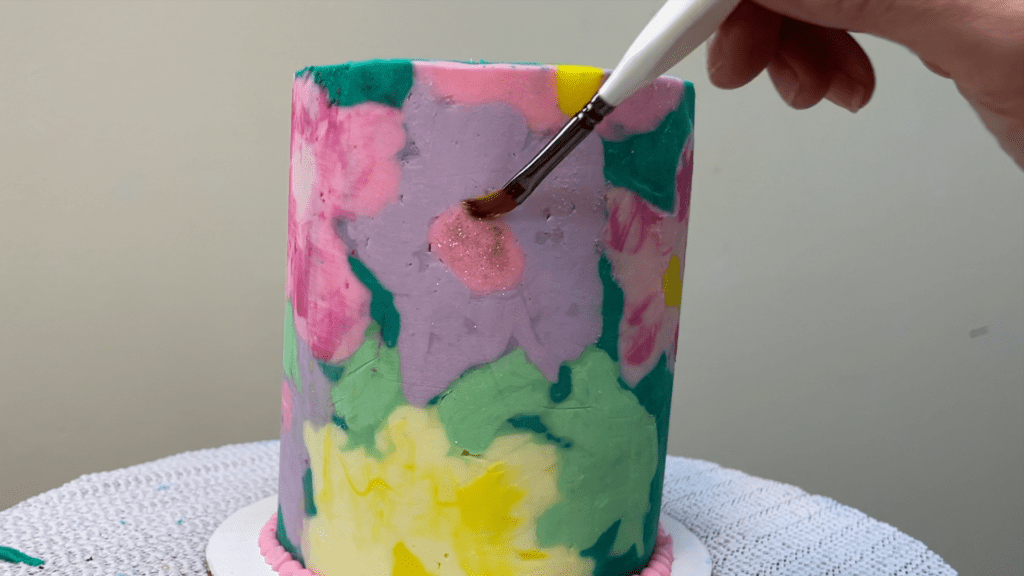
You can add edible glitters or luster dusts for some shimmer or sparkle, and sprinkles add some nice detail and texture, too! This technique has SO many possibilities and I can’t wait to see how you use it – please tag @britishgirlbakes in your photos on instagram so I can see what you come up with!
If you’re looking for cake inspiration, join my Club for access to ALL of my online classes, including lots of different designs you can create using acetate including marble and zig zags!
Here’s the video version of this tutorial:
