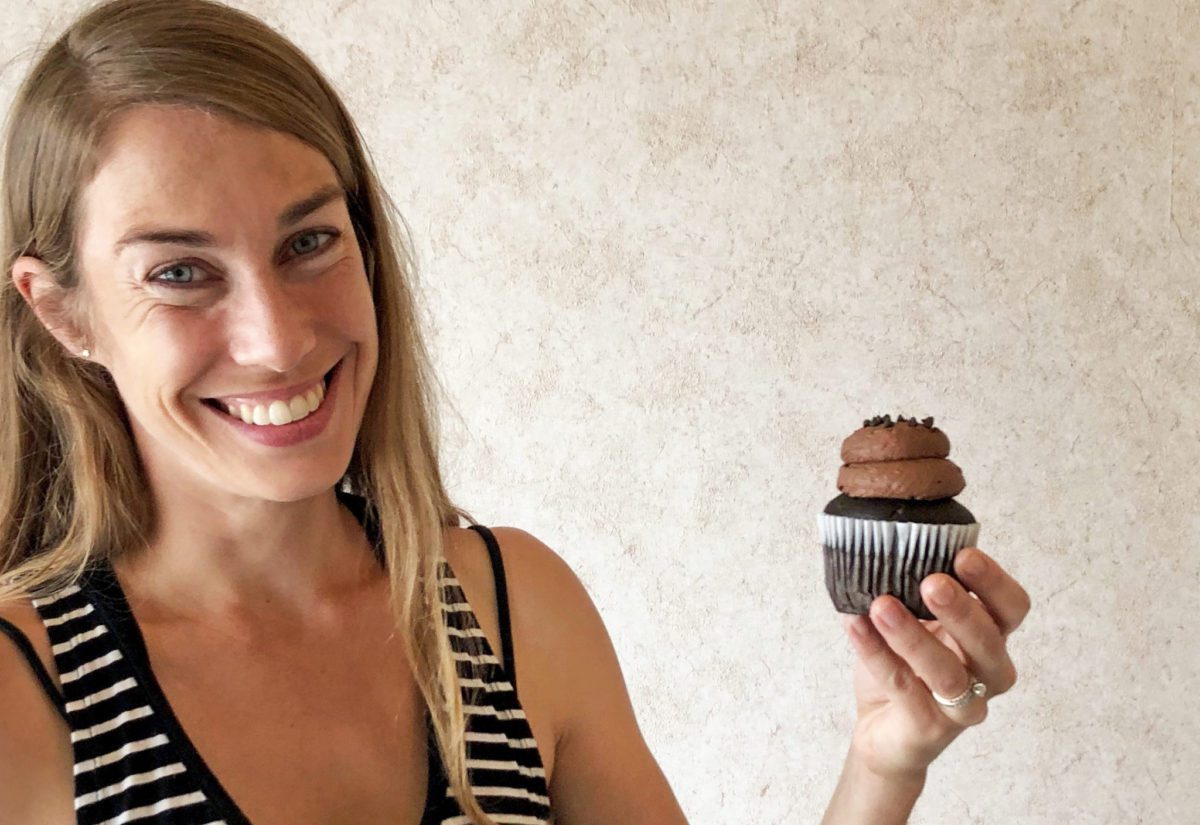
In this tutorial I’m going to share how to turn cupcakes into cake! This is a great hack if you don’t have a mini cake pan or if you have extra cupcakes and want to do something special with them. If you prefer to watch a video of this tutorial, scroll to the bottom of the page.
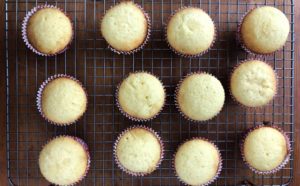
Bake your cupcakes as normal and let them cool completely. You can use any flavour for this but I’ll be using my vanilla and chocolate cake recipes for this tutorial.
If you like, you can put them in a ziplock bag and freeze them for up to a month, to save time on the day you assemble and decorate your cake.
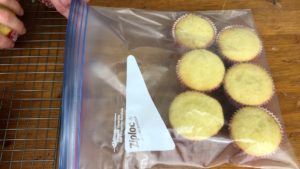
If you freeze the cupcakes, take them out of the freezer and leave them at room temperature for about an hour to thaw before you start.
You’ll need 1 or 2 cupcakes per cake and some buttercream in a piping bag if you want to pipe the filling and/or frosting, or in a bowl if you want to spread it on.
If you baked your cupcakes in wrappers, peel those off now. This means you can bake a batch of cupcakes and later decide to turn some into cakes, or you can use wrappers so that the cupcakes don’t stick to the pan when you bake them.
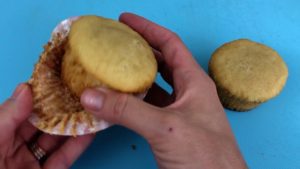
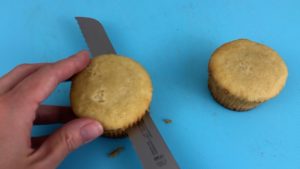
Use a serrated knife like a bread knife to cut your cupcakes horizontally into two halves or into thirds. I’m going to use 1 and a half cupcakes for each of my mini cakes, so I’m cutting my cupcakes into halves and I’ll use 3 cupcakes to make 2 cakes.
You can drizzle the cupcakes with simple syrup if you like, which keeps them moist if you’re not going to eat the cake on the same day, and you make simple syrup by simmering equal amounts of water and sugar together until the sugar dissolves.
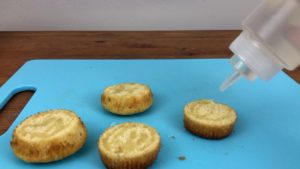
You’ll notice that the top halves of cupcakes are wider than the bottom halves, so your cake layers will be different widths. This doesn’t matter after you frost the cake.
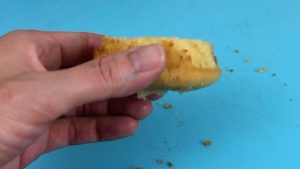
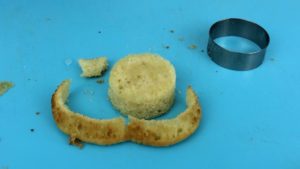
If you want the layers to be perfectly straight when you cut into the cake you can trim the top halves with a knife or a round cookie cutter.
To assemble your cake you’ll need a cake board on a non slip mat on a
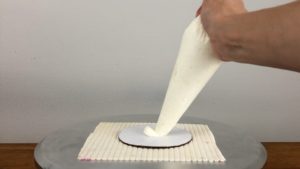
Push a cupcake layer into the buttercream, lining it up so it’s in the center of the board.
Pipe or spread a layer of filling on top. I’m using my 4 Minute Buttercream for this filling and I’ll also use it for the frosting, but you can use whatever you like.
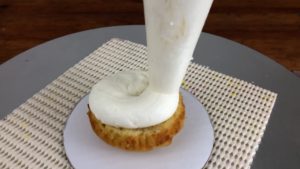
Place the next cupcake layer on top, pushing down to attach it to the filling below.
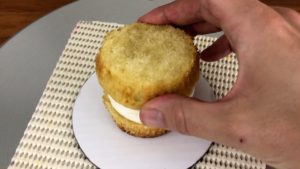
Check the cake from a few angles, or by spinning the
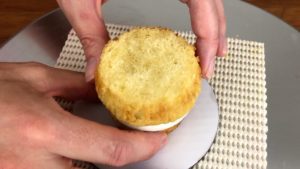
Add another layer of filling. It doesn’t mater if you pipe or spread it – piping it is a bit quicker but if you spread it on instead, you’ll avoid having to wash a piping bag.
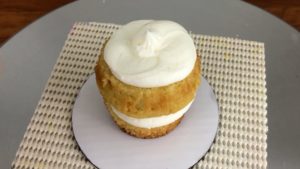
Continue alternating cake and filling and after your final layer, spin the cake around again to check that it’s straight and push down on one side if you need to adjust it a bit. Now chill the cake for about an hour in the fridge or 30 minutes in the freezer to set the filling and that dollop of buttercream on the cake board so that the cake doesn’t slide around you frost it.
Now that the cake is cold, pipe or spread buttercream onto it for the crumb coat. It’s easiest to pipe it on, since the cake is so small that spreading it straight on is a bit tricky, but you can do whatever you prefer.
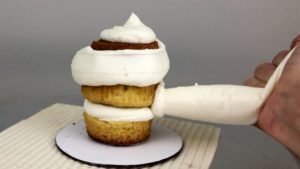
Chilling the cake before you do this is really really important for such a small cake. Although a larger cake will usually stay in place as your frost it, a little bit of pressure from your frosting smoother can push this little cake right off the cake board if it isn’t secured. That buttercream you piped onto the board before assembling your cake will hold the cake firmly in place if it’s properly chilled and set.
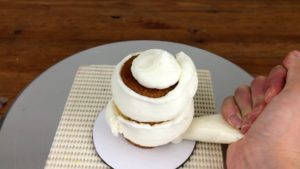
Cover the cake completely with buttercream, spreading it to cover the top of the cake and making sure it goes all the way down to the cake board at the bottom of the cake so there isn’t any cake exposed.
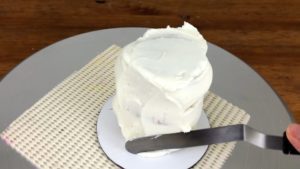
Use a frosting smoother to scrape off the excess buttercream to create a cake with straight sides. Tidy up the top edge by scraping the frosting that’s sticking up, over onto the top of the cake.
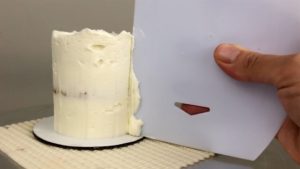
Fill in any air pockets with more buttercream using your
Spread or pipe on the final coat of frosting. You can frost and decorate these little cakes made with cupcakes however you like and I’ll show you two ideas now.
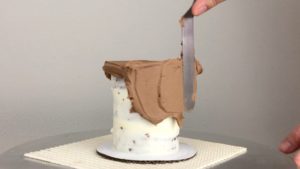
For this first cake I’m using chocolate cupcakes and chocolate buttercream. After smoothing the frosting, use a textured cake comb to imprint texture.
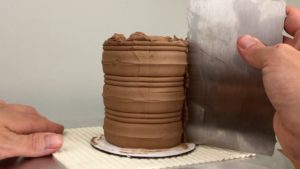
Spread more buttercream over any gaps or air pockets in the frosting and then use the textured comb over that area again. I cover this in much more detail in my tutorial on 5 Tips For Perfectly Textured Cakes.
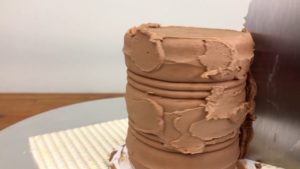
When you’re happy with the frosting, put the cake on a baking tray and then pour chocolate shavings around the cake board. I grated a bar of chocolate against the fine side of a cheese grater to make these shavings but sprinkles would work well too.
Use the back of a spoon or an
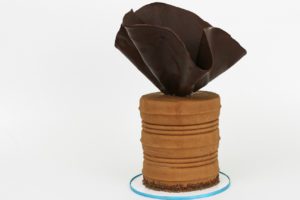
To decorate this cake with a chocolate sail, melt chocolate chips in the microwave at 50% power and spoon the melted chocolate onto parchment or wax paper.
Spread the melted chocolate onto the paper with your
Drape the paper over the top of a bottle to make an upside down bowl shape and arrange the paper to give the sail the shape you want. If you’re looking for more design ideas, I have a detailed tutorial on Chocolate Sails 5 Ways.
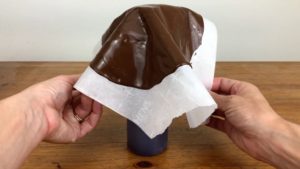
When the chocolate sets and hardens after about an hour in the fridge or about two hours at room temperature, carefully peel the chocolate away from the paper to release the sail.
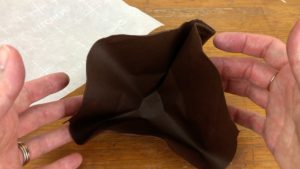
Now place the sail on top of your cake! If the frosting has set, the sail won’t stick to it so you can spread some fresh buttercream onto the cake where you’re going to place the sail, to act as a glue.
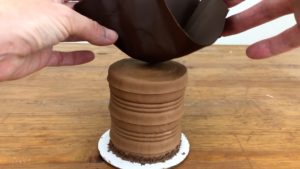
Looking at this elegant little cake, you would never guess it started out as something as simple as a cupcake!
For this next cake I’m using vanilla cupcakes and covering the crumb coat with a final coat of pink buttercream.
You need smooth frosting rather than textured frosting for this design. After smoothing the frosting and tidying up the top edge, chill the cake for 30 minutes in the fridge to set the frosting.
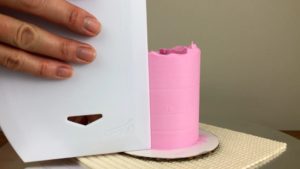
Meanwhile, prepare a piping bag with buttercream. I have a bowl of a few different shades of pink and purple buttercream stirred together just a little bit together, to leave the colour marbled.
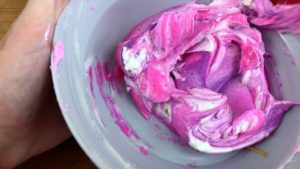
Spoon the buttercream into a piping bag fitted with a petal tip (this is a Wilton #104). You can see that this tip has a narrow end and a wider end, which is important for the next step.
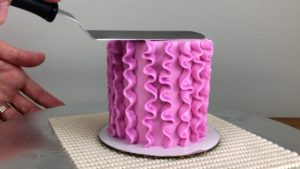
Holding the bag facing down with the wider end pressed against the side of the chilled cake. As you apply pressure to the bag, pull the bag slowly upwards, moving your hand from side to side to make the ribbons of buttercream wave back and forth up the side of the cake.
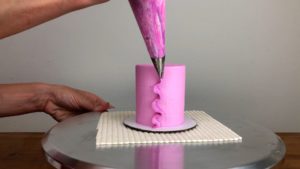
I don’t like this ribbon so I’m scraping it off with my frosting smoother and this works because the frosting on the cake has set because it’s cold, so the frosting isn’t damaged by the pressure of my frosting smoother as I scrape.
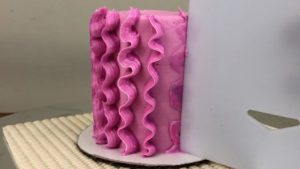
If you use whipped cream frosting or a meringue based frosting that doesn’t set, you can still pipe these ruffles but be very careful not to scrape the frosting with the piping tip because you’ll drag indents into it.
After piping ribbons all the way around the cake, use an
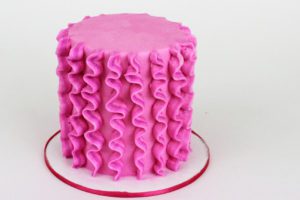
And here it is! Another pretty little cake that looks nothing like a cupcake! For more decorating ideas, check out my tutorial on 8 Ways To Use A Petal Tip.
Here’s the video version of this tutorial:
